After getting the Through-hole based designdone, here I share another working version of the 12V DC Light Flashing Circuit that you could build by yourself, this module is based on SMD parts to keep it as compact as possible.
I used extreme high brightness LEDs in this design to make the Light flashing shiny.
You will learn in this project how to move from a circuit design to a complete assembled gadget of your own so let's get to details.
In this project we will use the Surface Mount Device assembly tool-set and I'm talking mainly about the solder paste, the soldering hot plate and the tweezers, these are the main tools that you will need to deal with the small electronics components while assembling them.
In addition to the above tools you may need a digital microscope camera as an option.
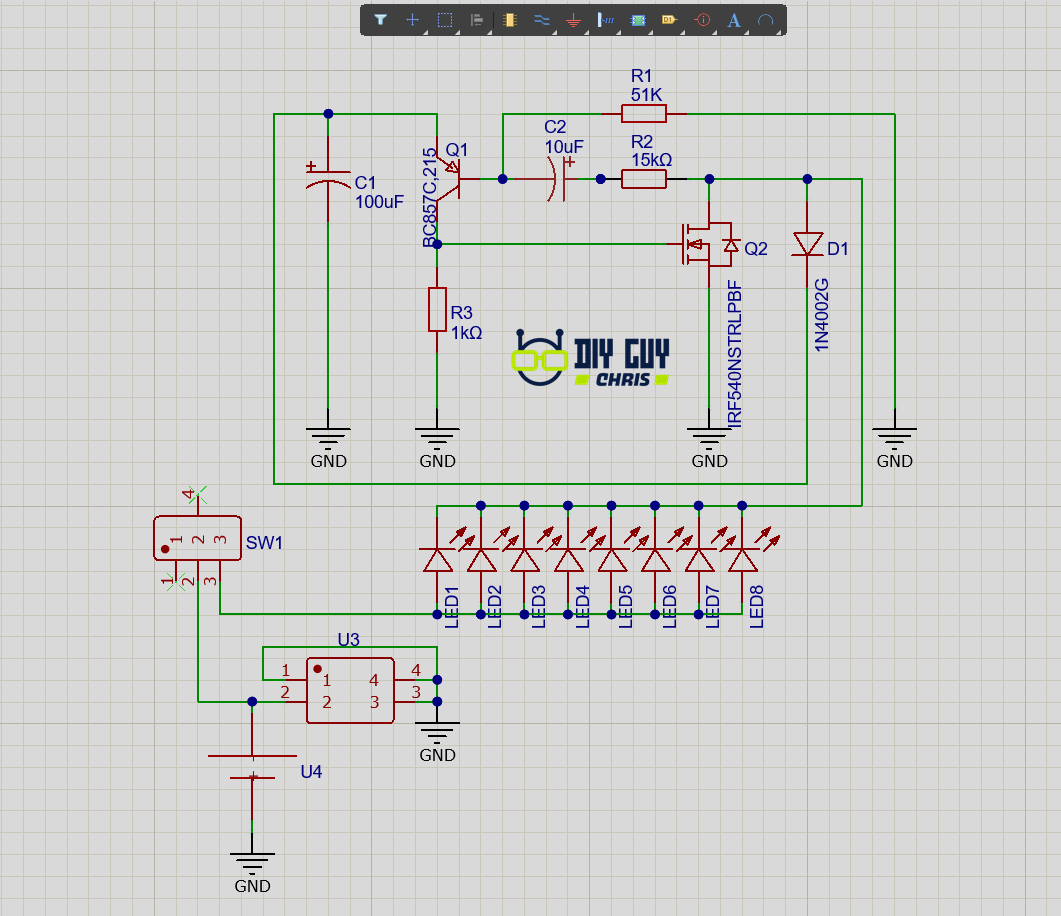
Most important part is getting a working circuit from where we extract the design of our module, it is highly recommended that you try the circuit on a breadboard first but since we already made this module in our previous projectthen we will refer to the same Altium schematic but we will only change the parts packages so we will use the SMD parts instead of the Through-hole ones but and we will keep the same physical value of all components.
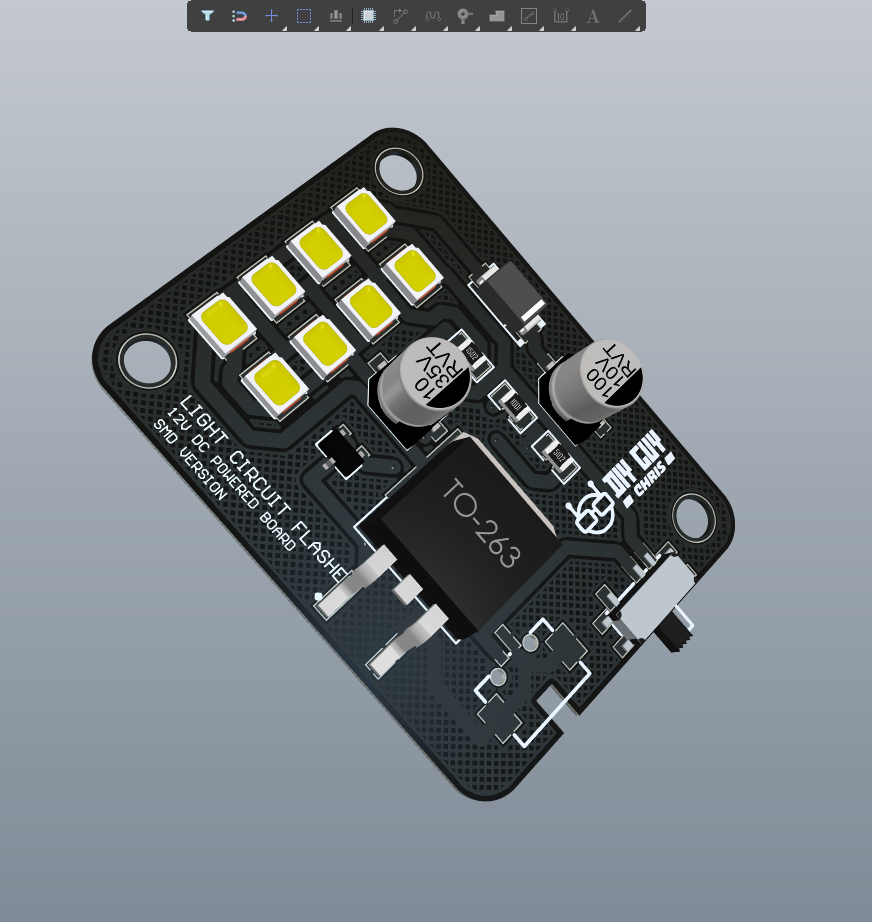
The only difference here is that in this project we will use high brightness LEDs instead of the 12V DC bulbs that we used for the big version.
These LEDs are frequently used in automotive industry and it could handle up to 6.8V DC, remember that we are designing this circuit to make it powered through Car or Bike 12V battery.
I kept a small size for the Circuit board Outline to keep a compact size of the whole module allowing it to be easily installed in small size areas.
You can download the GERBER files of this circuit design from this link
The BOM and Pick&Place files are attached to this post.

As soon as I got the GERBER files of my circuit board design I dropped them for manufacturing from JLCPCB and I set the Black soldermask color and ENIG surface finish which gives a Golden look to the components pads.
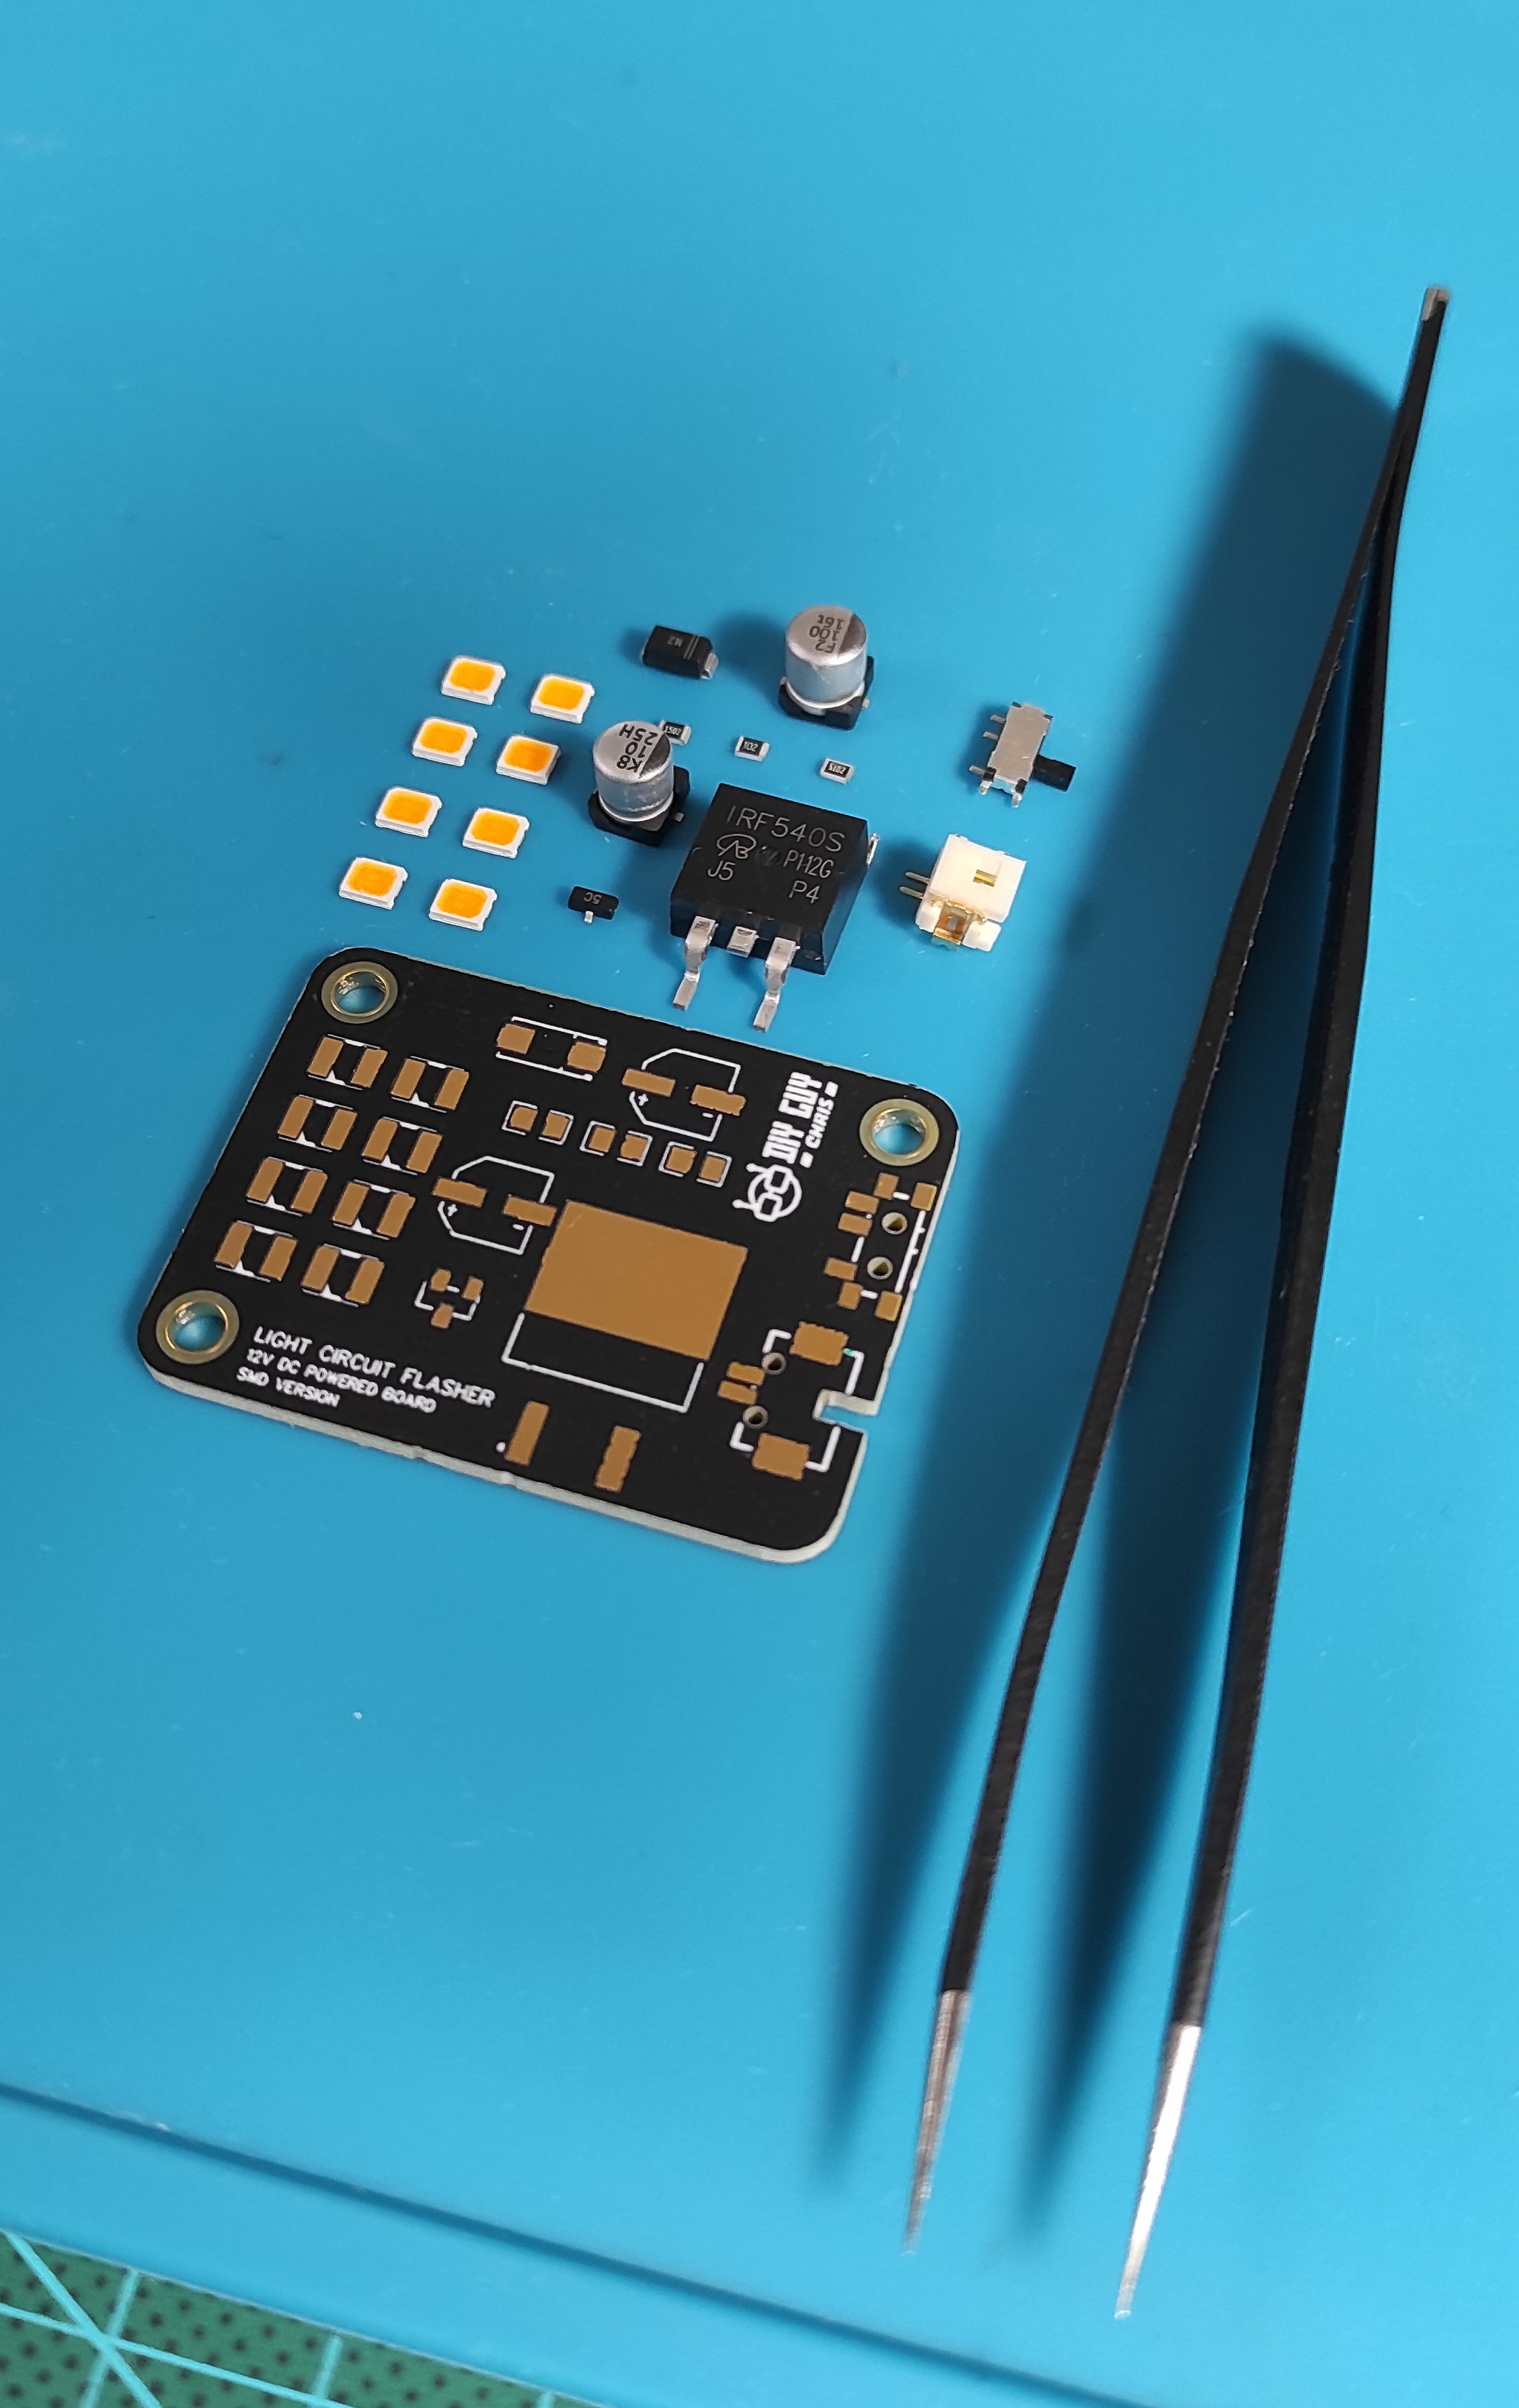
I then prepared my desktop for assembly and I brought the tweezers and the solder-paste.
- First dropped the solder paste to the parts pads.
- Then I placed the components on the board.
- After that I set the appropriate temperature value for the hot plate.
- Then I placed the board on the hot plate to complete the assembly.
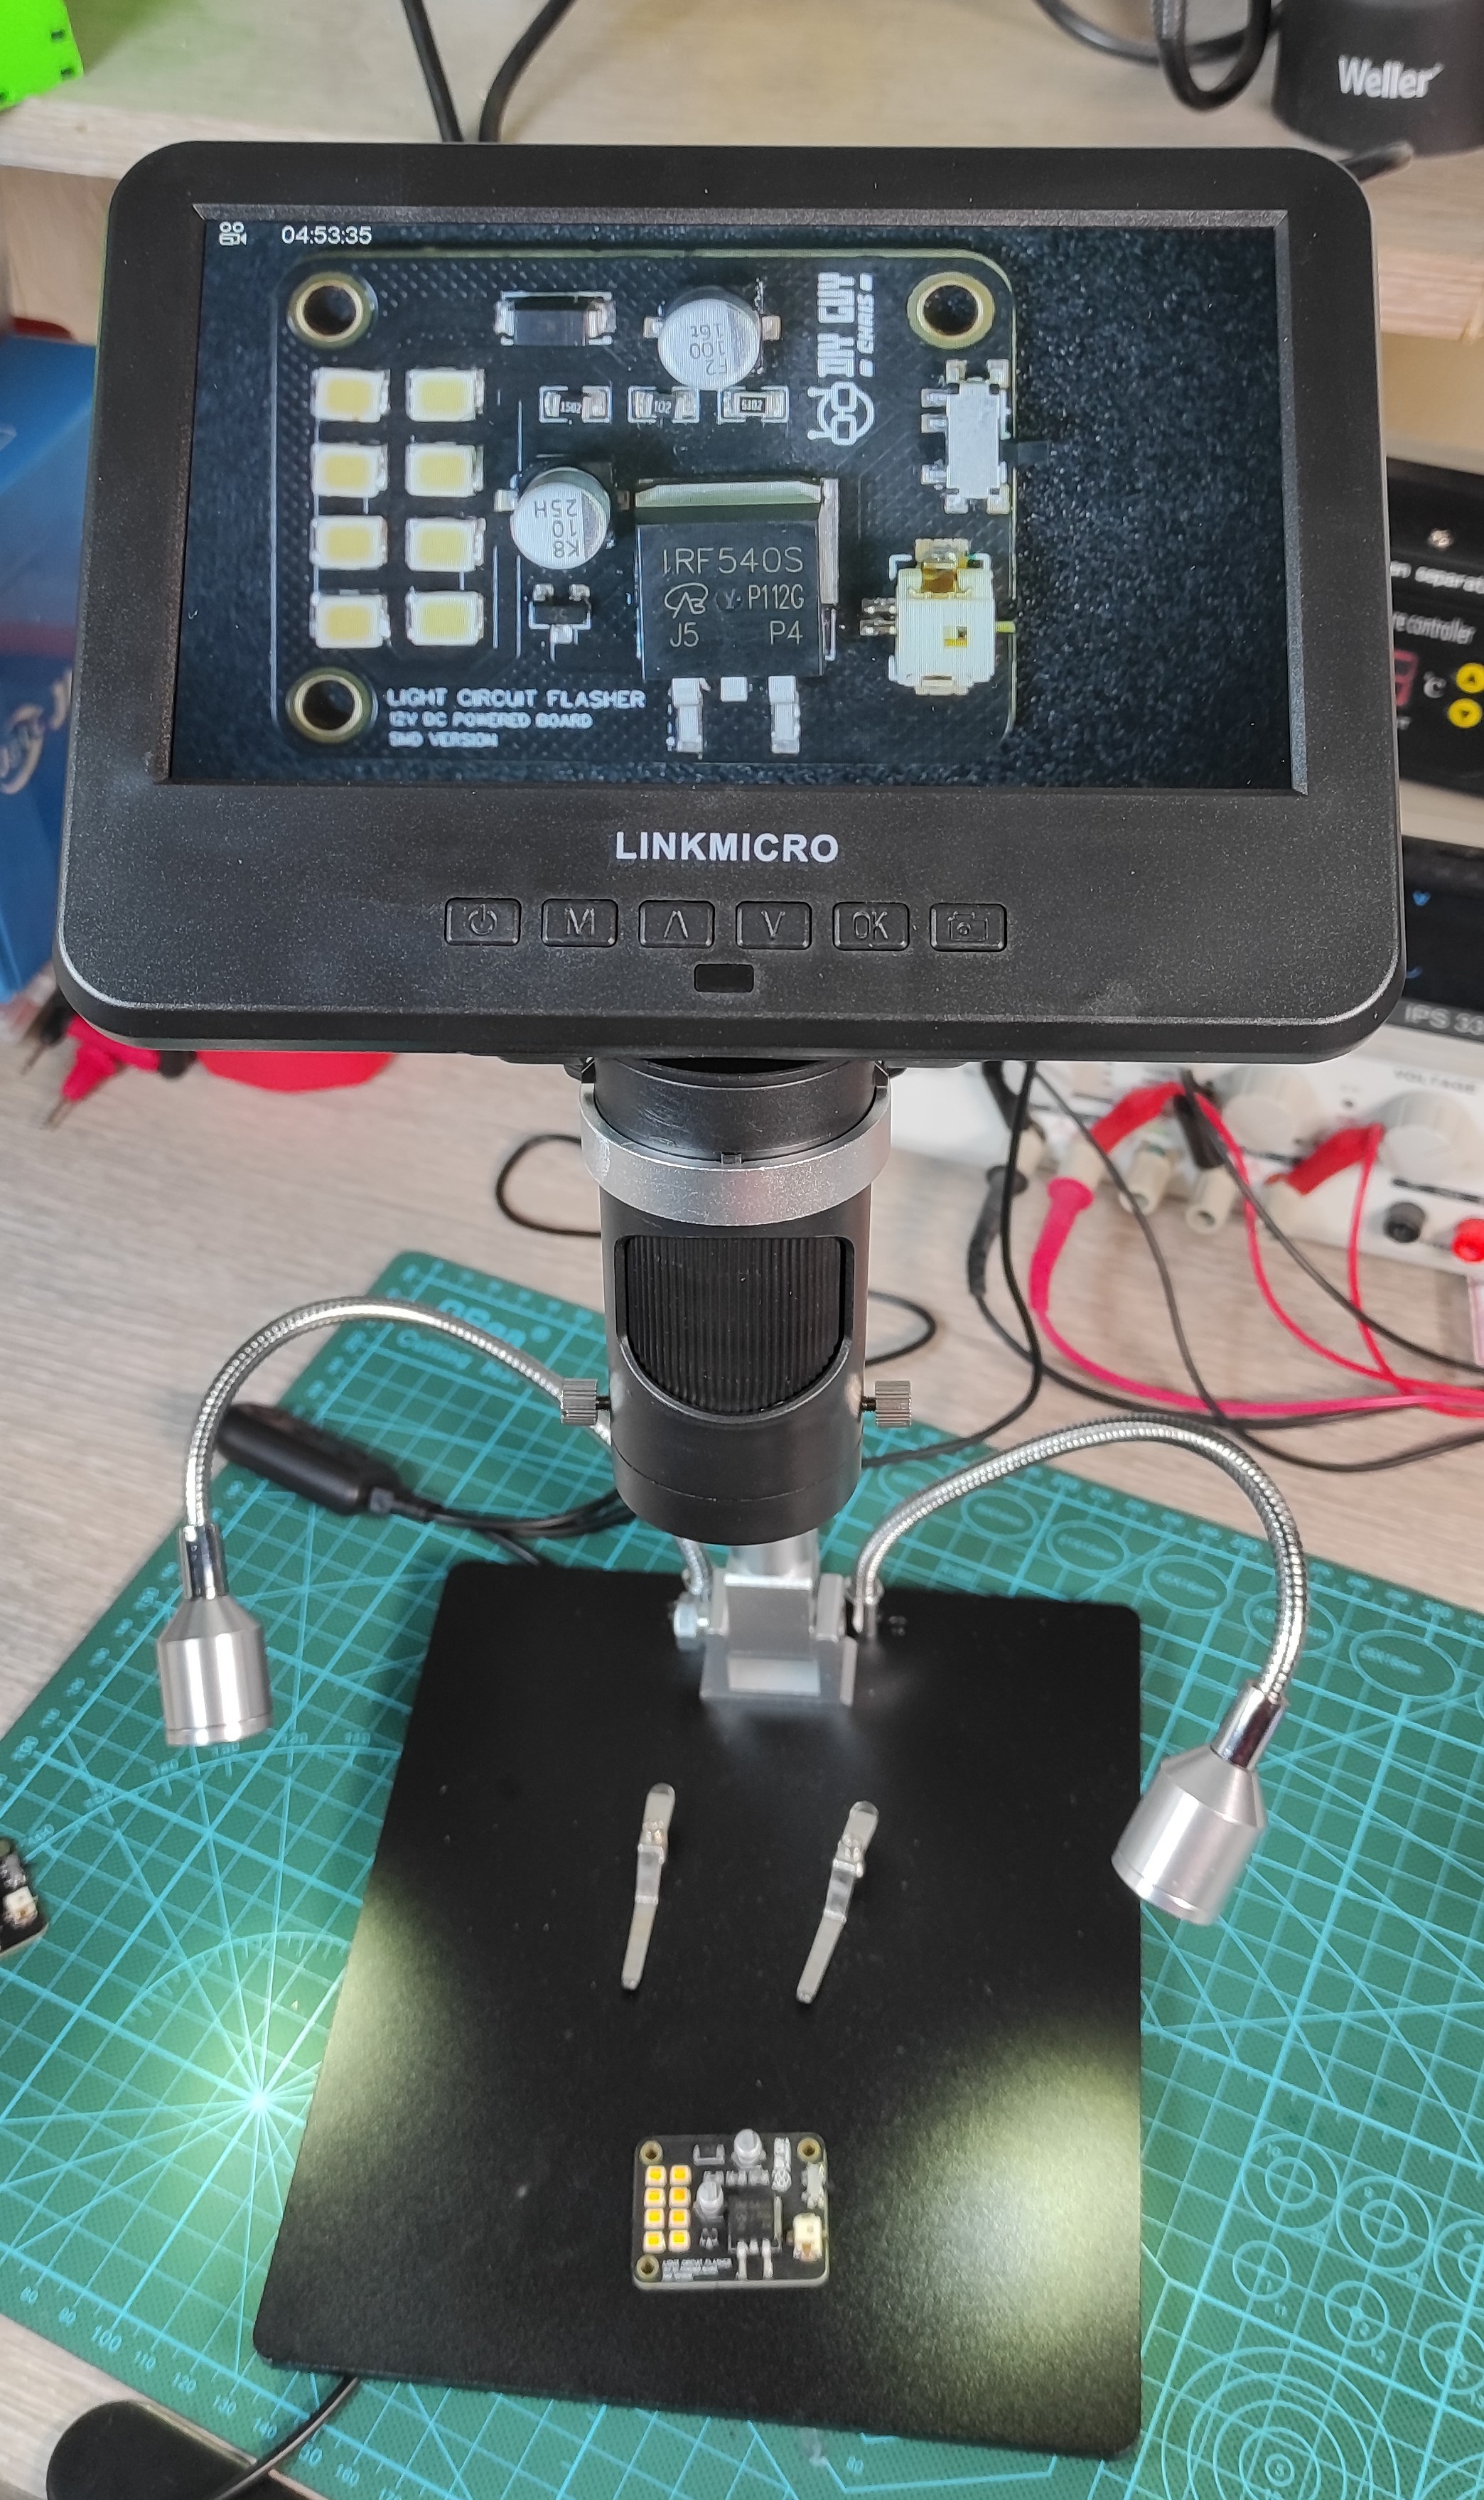
Maybe you want to use a digital microscope camera for a cool deep view of how the solder paste is molten by the high temperature and also to check if there are any solder joints.
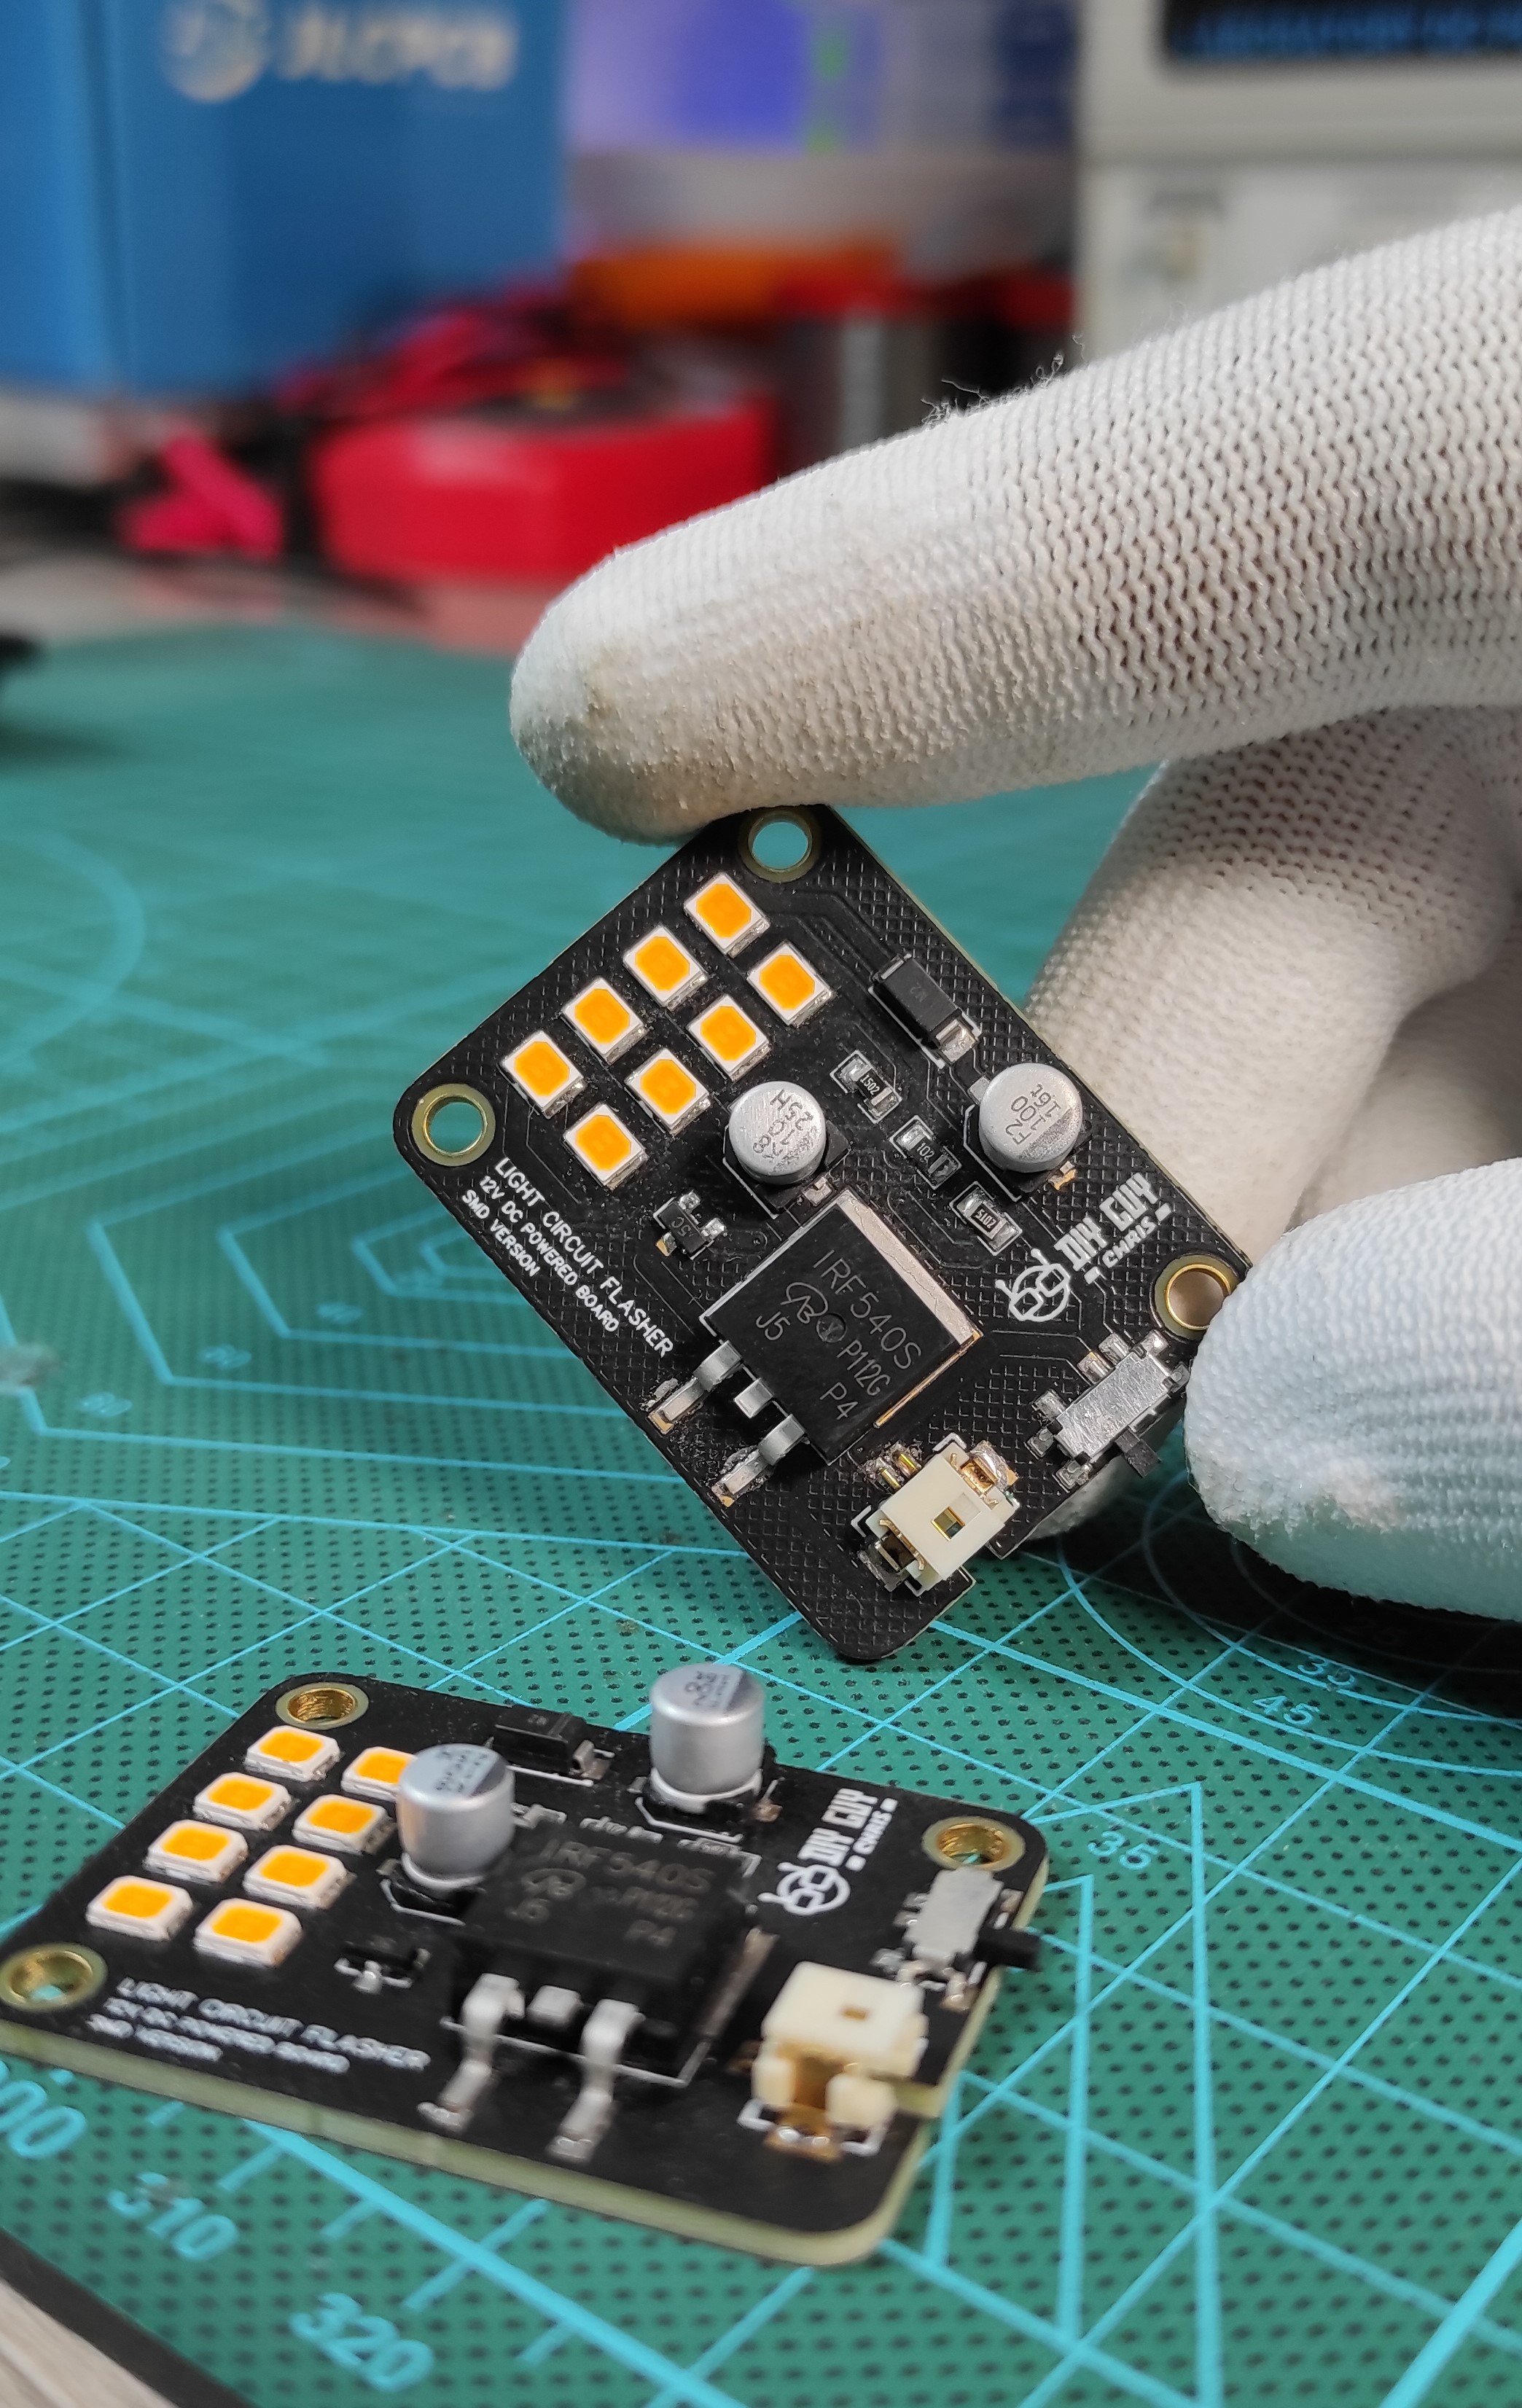
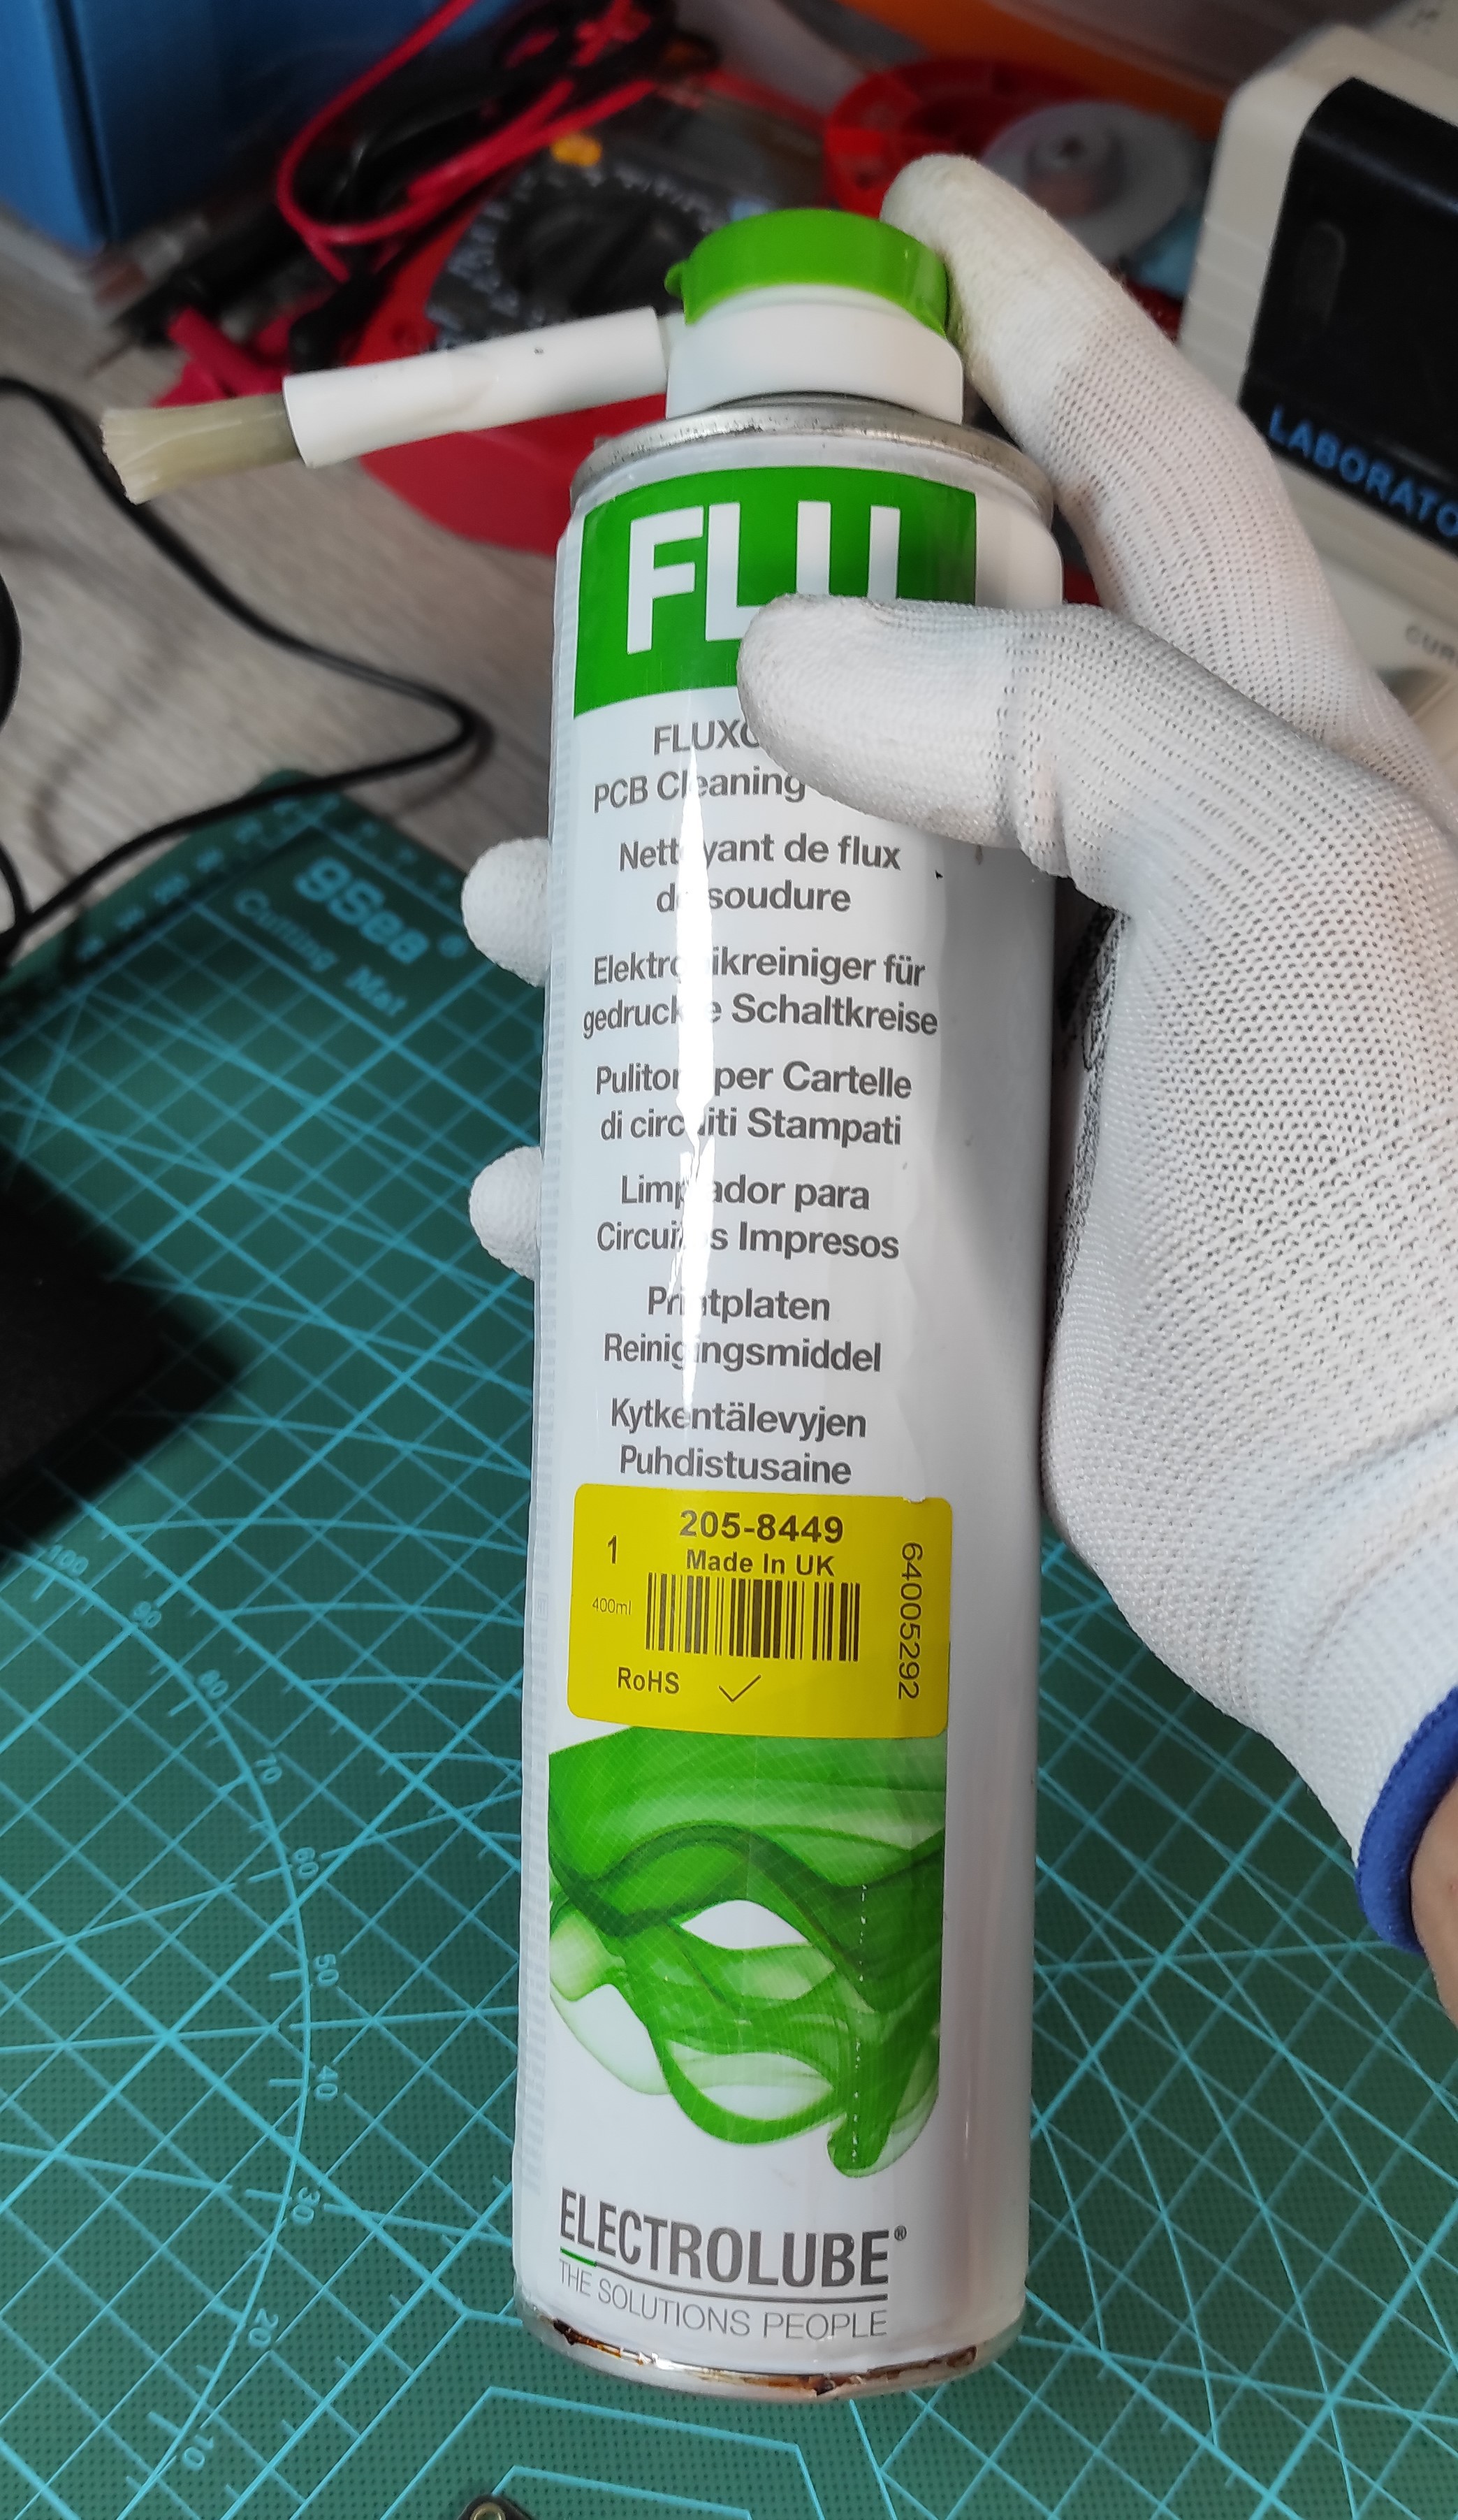
After getting the board assembled I recommend that you clean the board with some flux removal solvent.
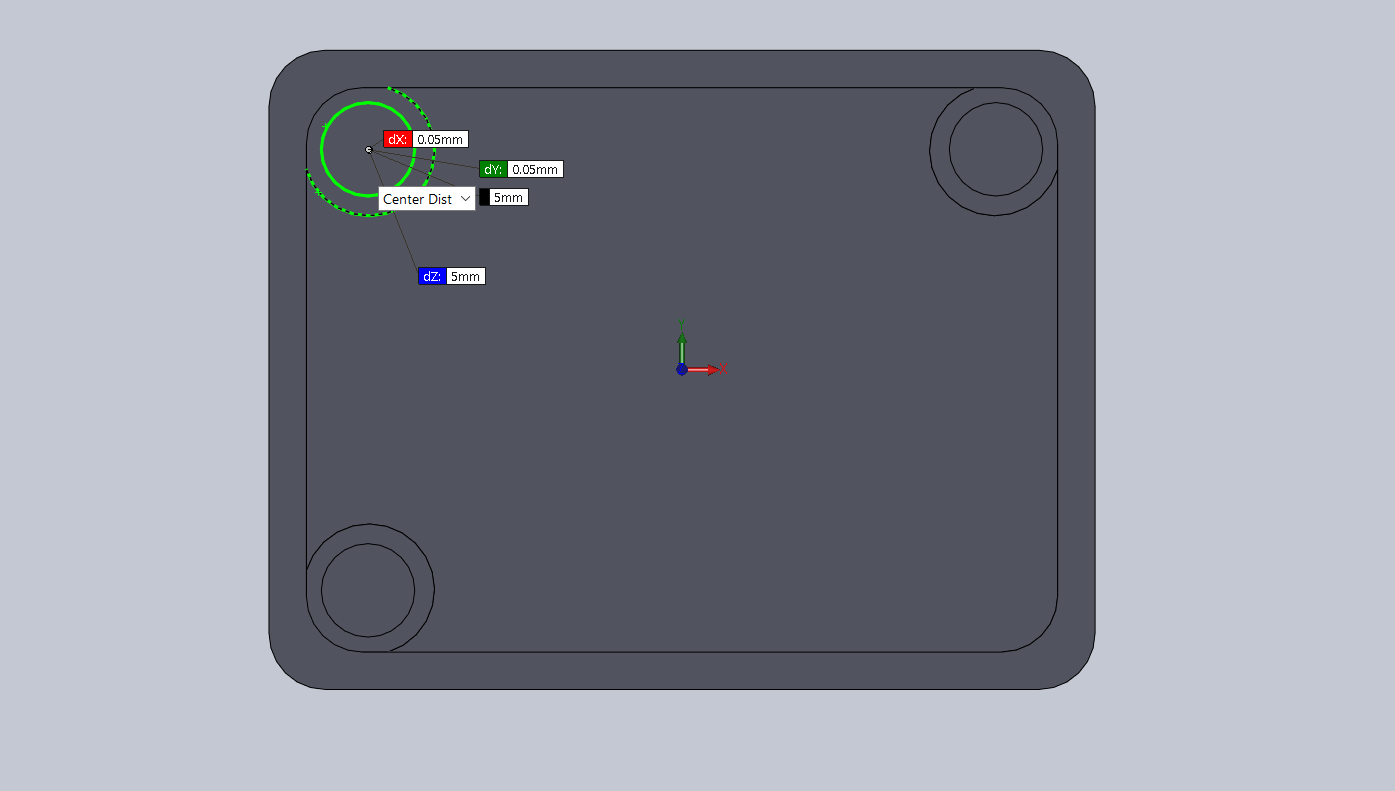
Now we have the circuit board ready and I designed a housing for it to get it after that printed in white filament PLA using my 3D printer, I put three holes on my design to where I manage to place 3mm Threaded inserts to help me screw the circuit board to the housing.
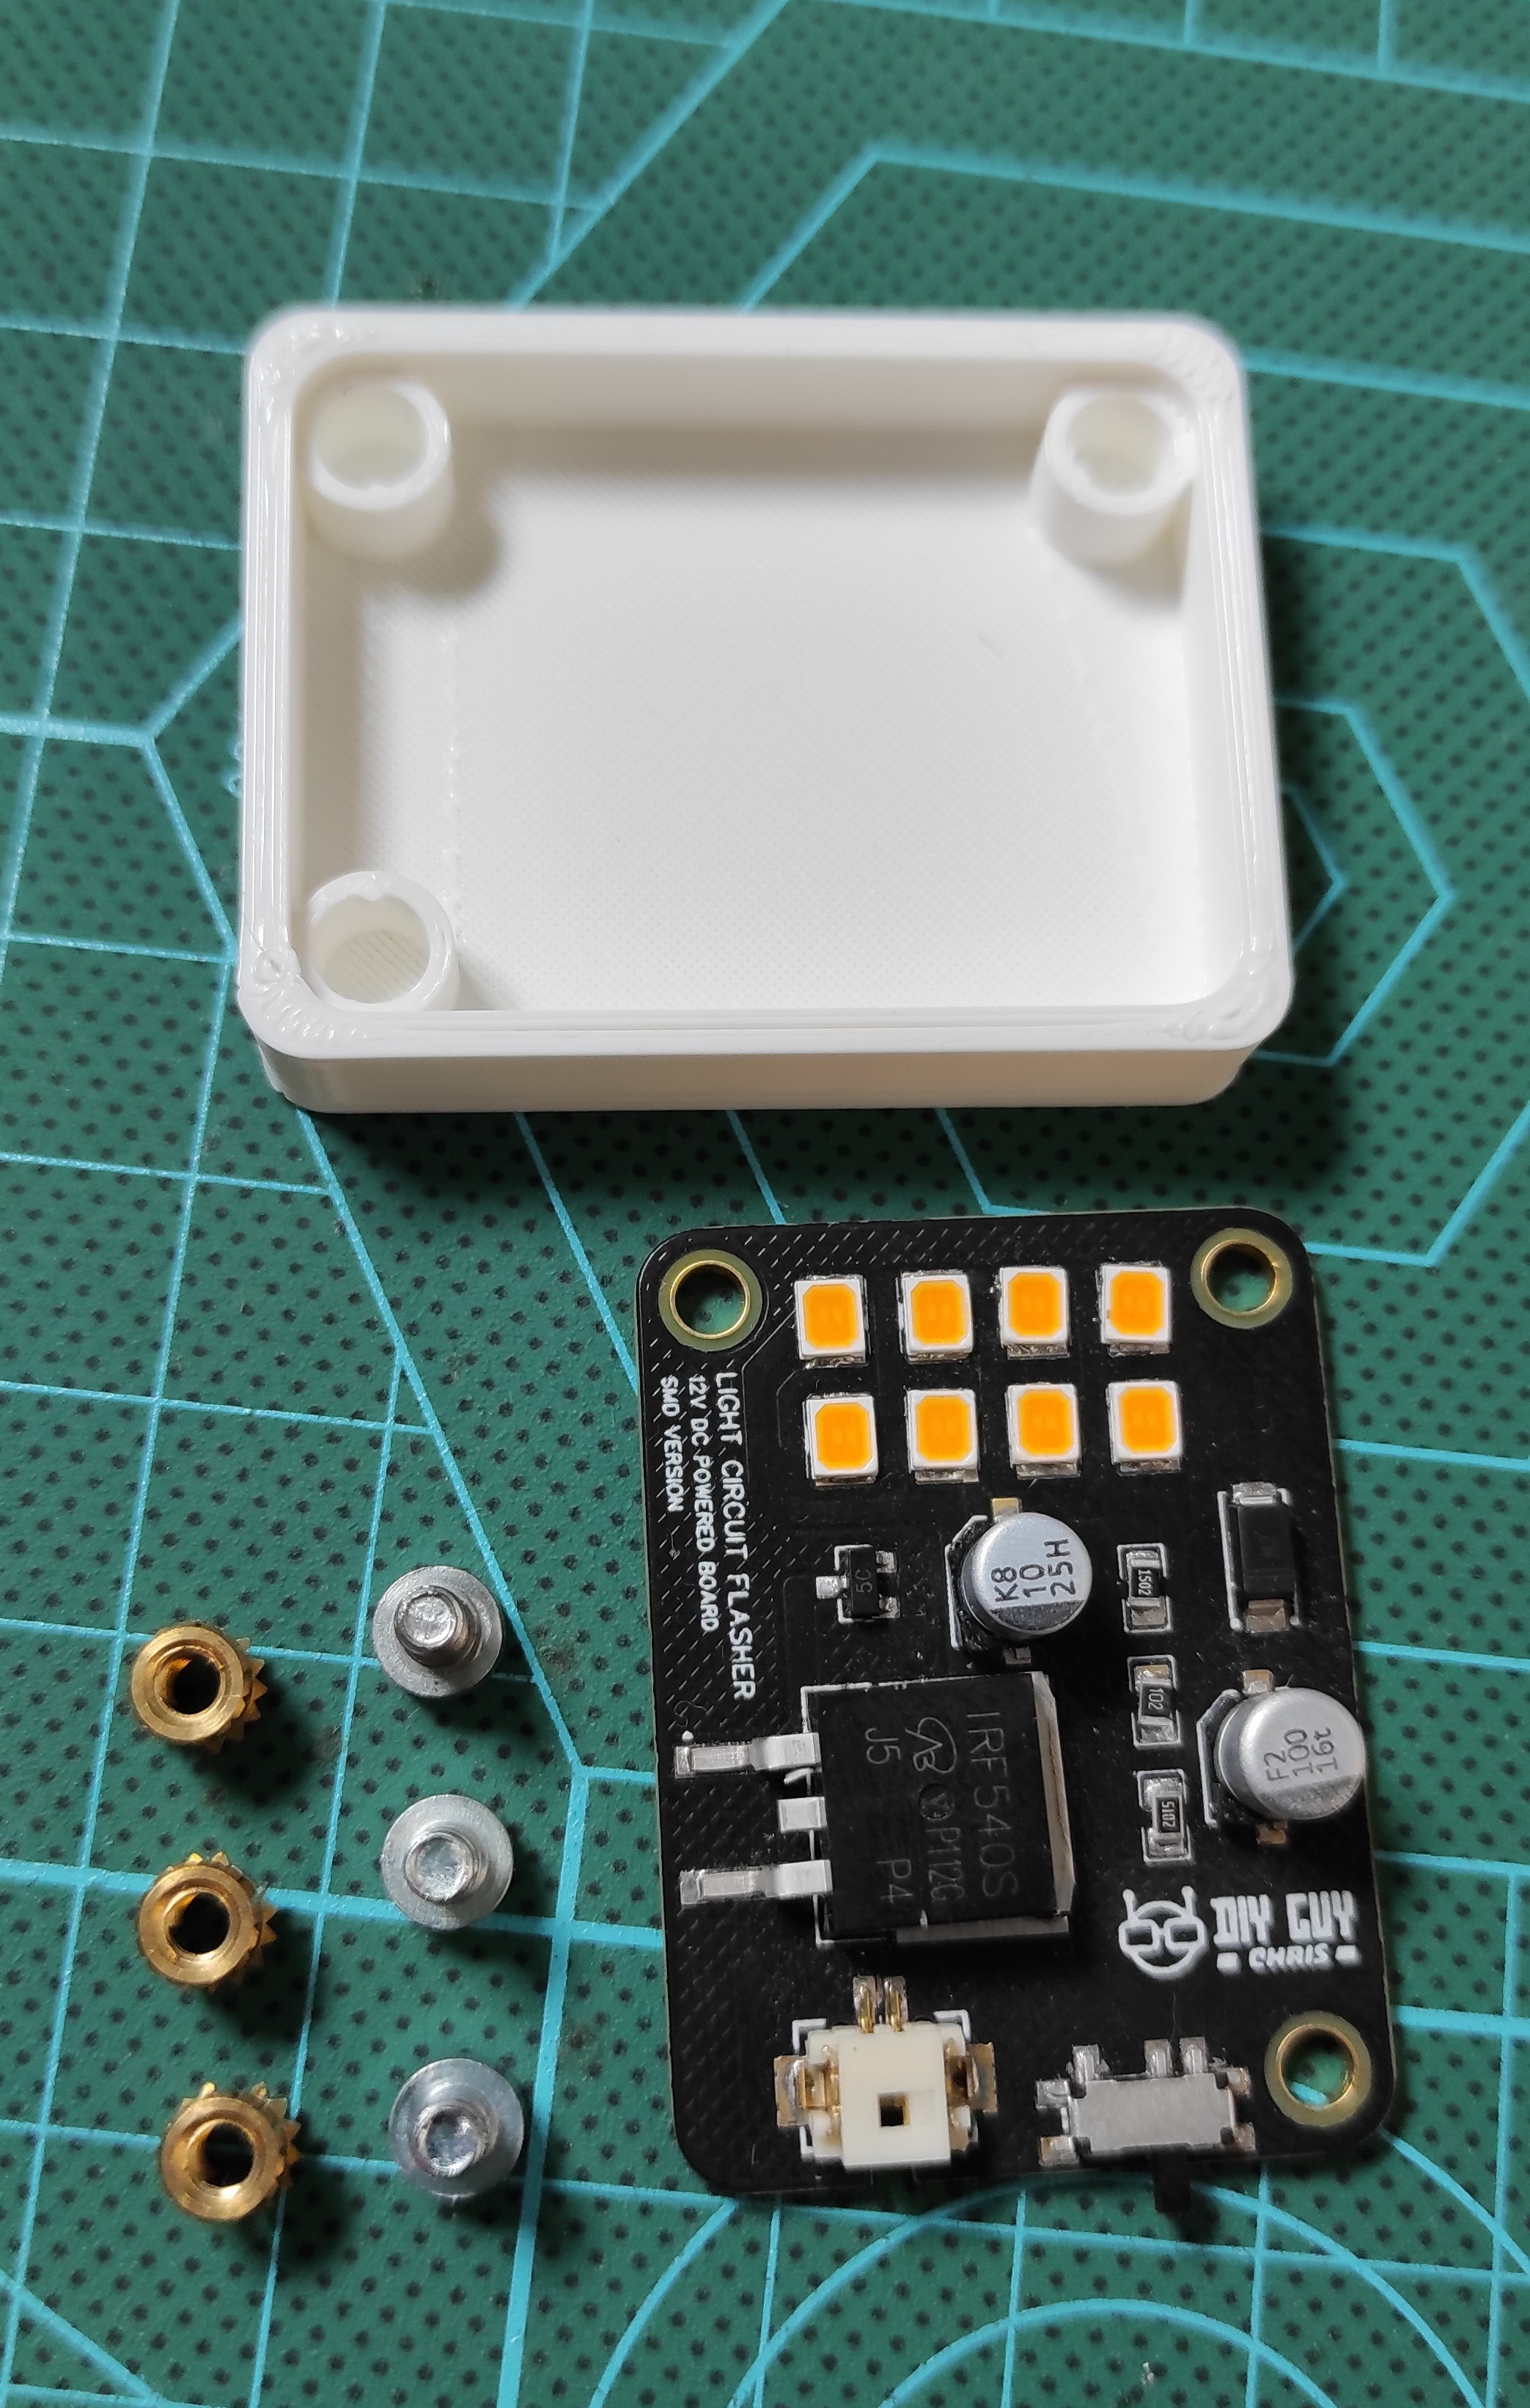
After printing the housing I placed the 3mm threaded inserts to their holes using the help of a solder iron.
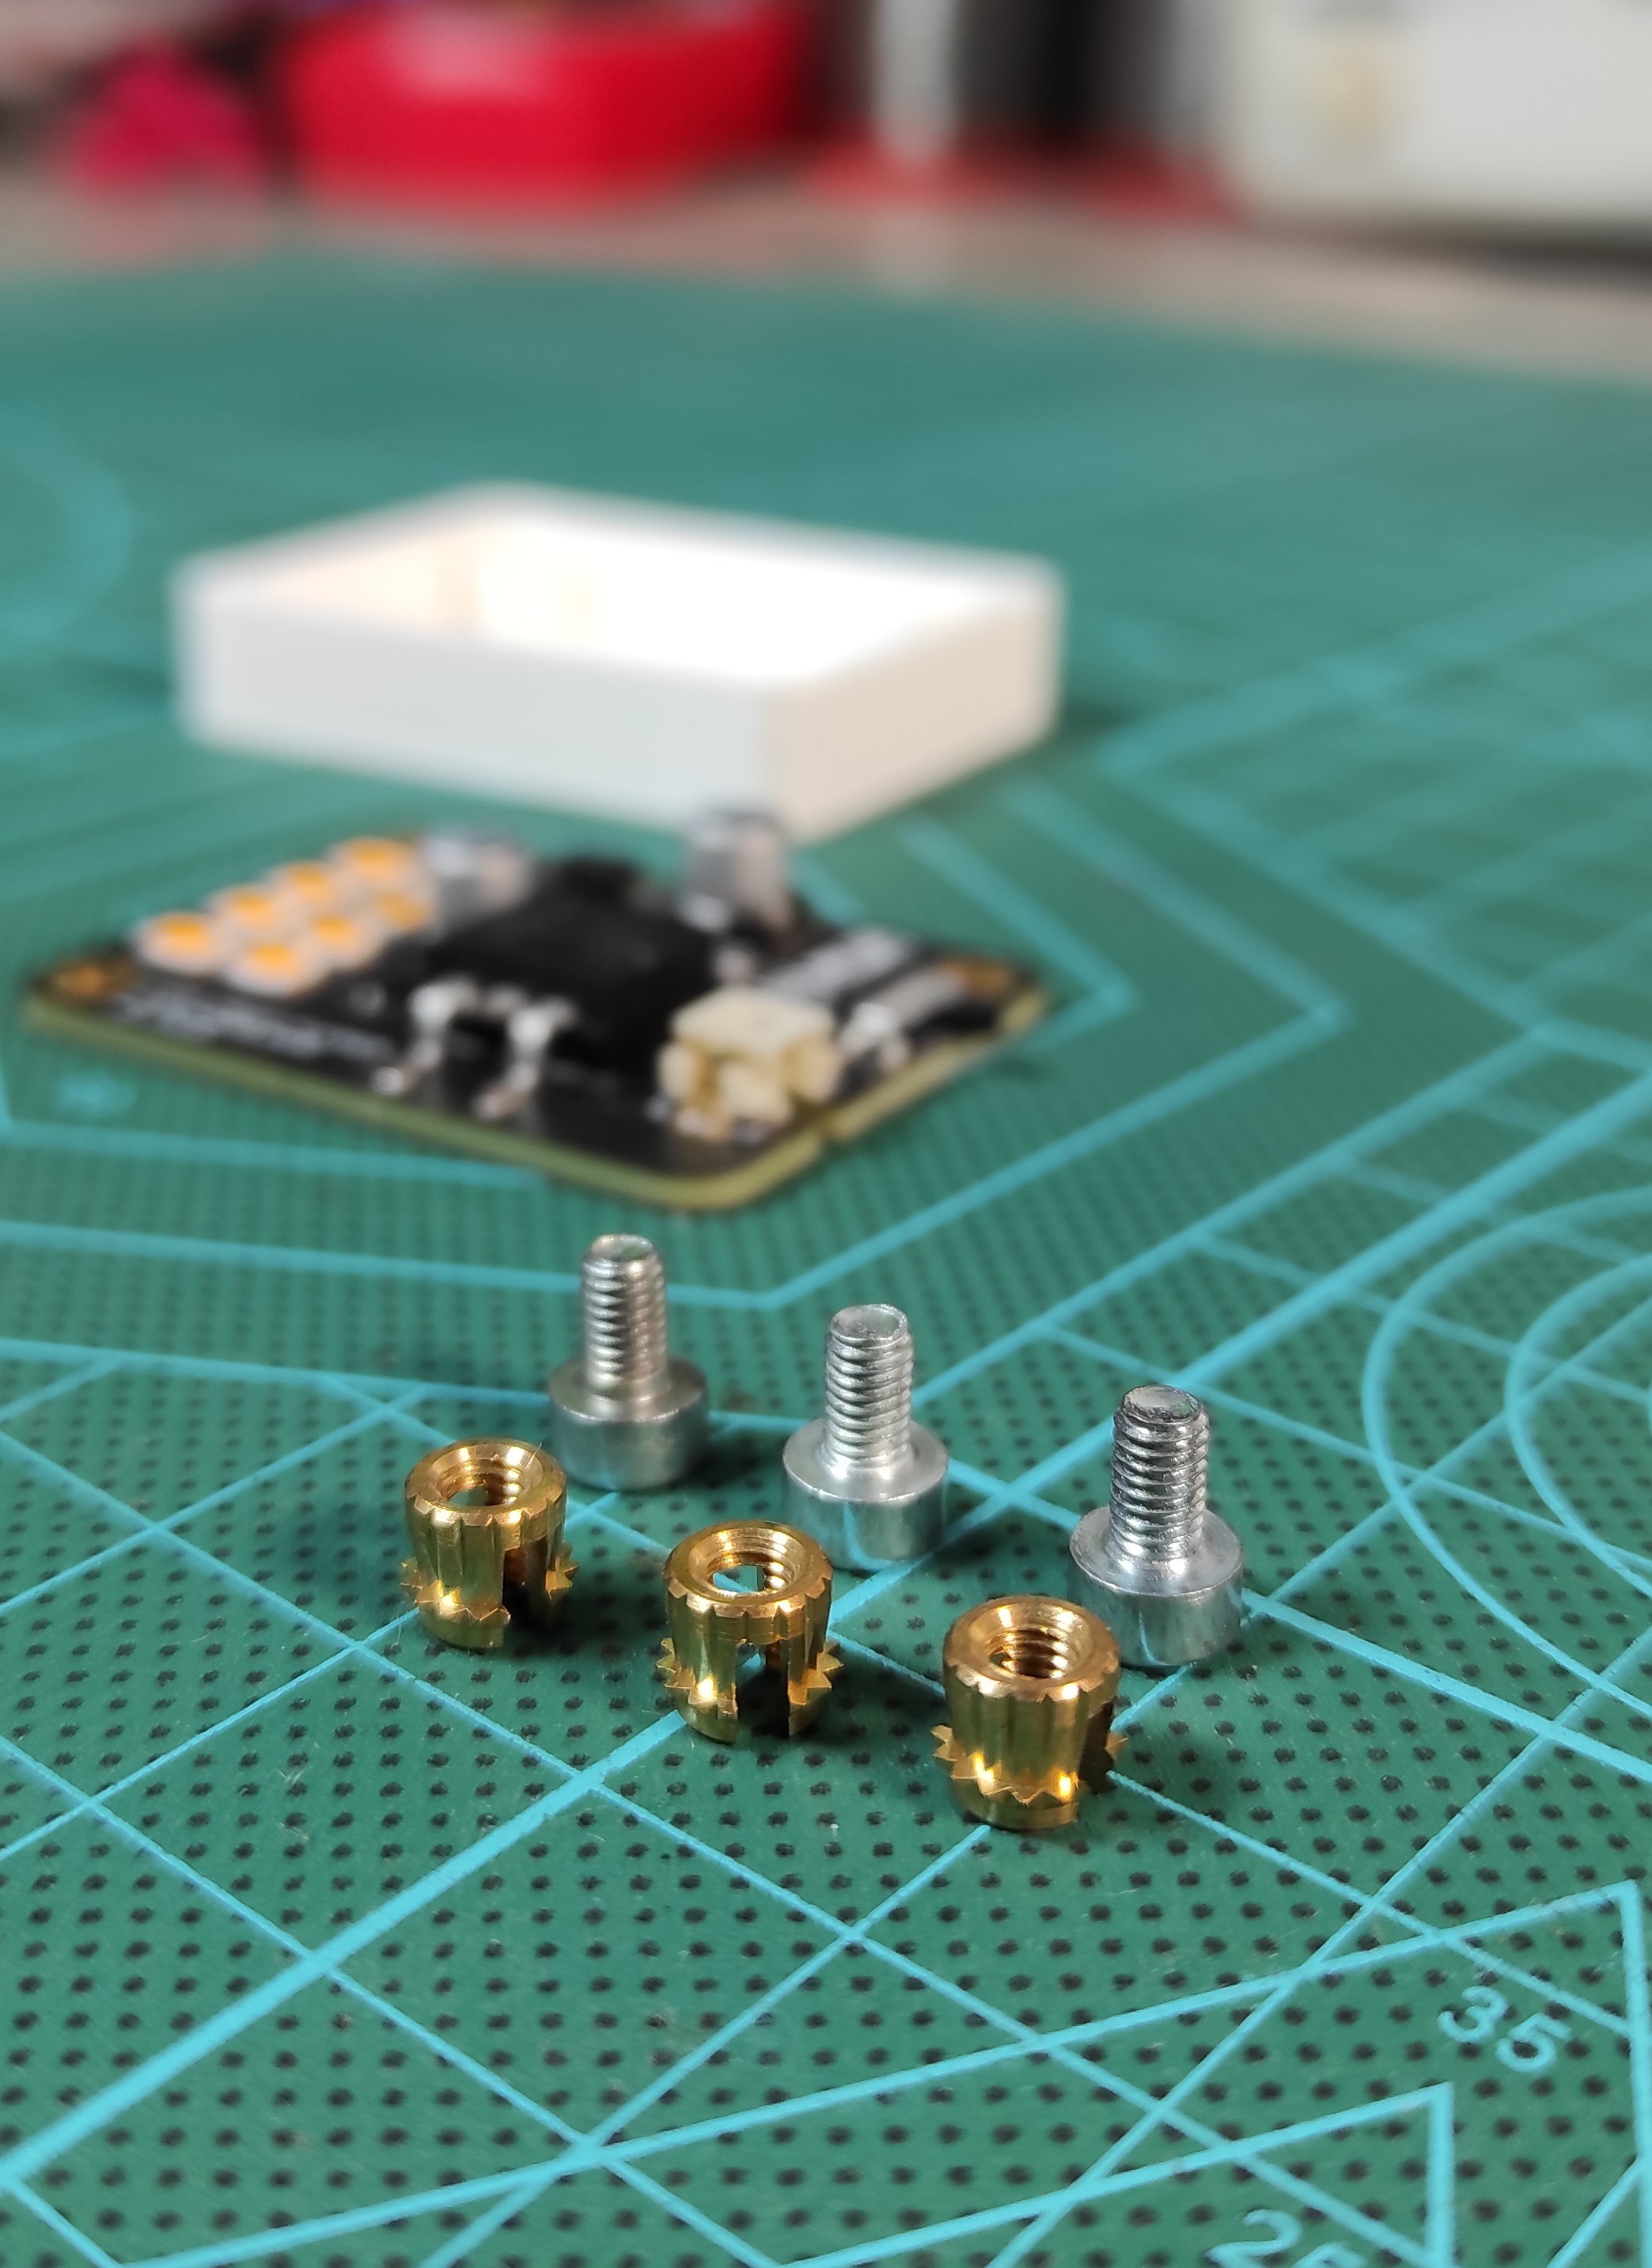
After getting the housing ready to receive the board I then screw the board using M3 screws and I now my module looks ready to receive power 12V power supply through the main input power connector.
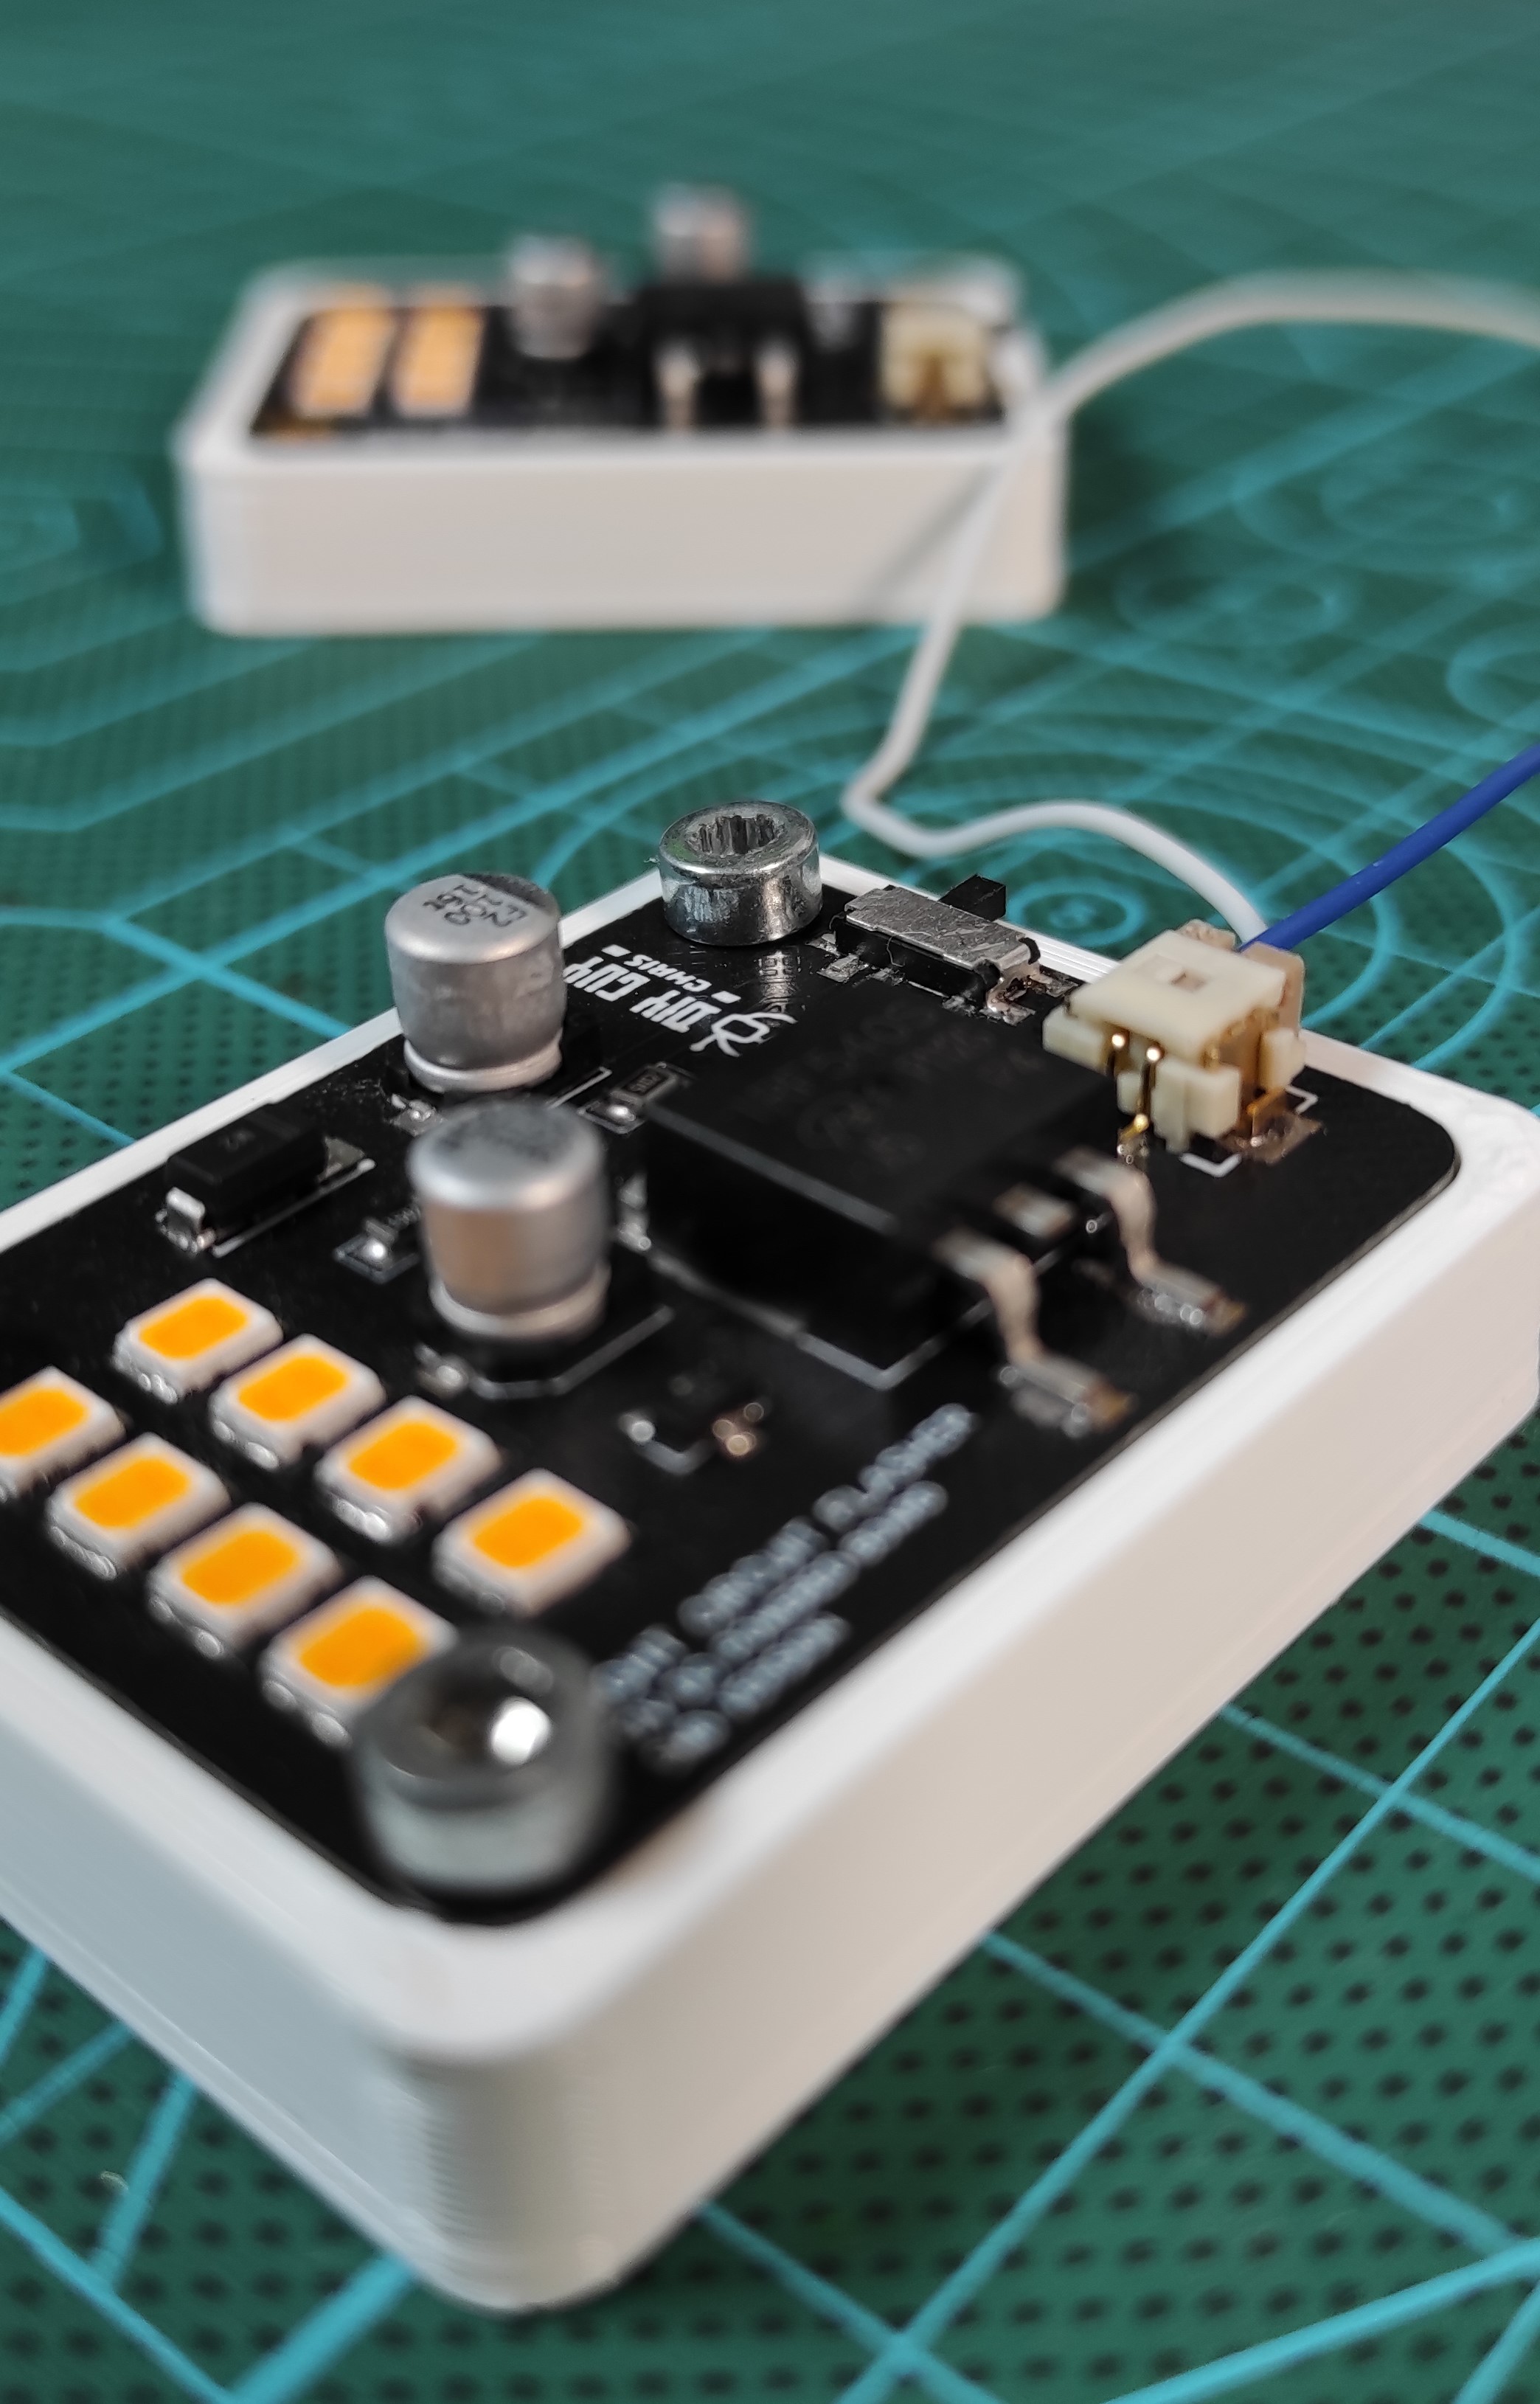
As soon as I power on the device from the power control slide switch the LEDs start on flashing and it looks truly extreme brightness.
Let me know your thoughts about this project in the comments section.
 DIY GUY Chris
 morgan
 Bulbul