-
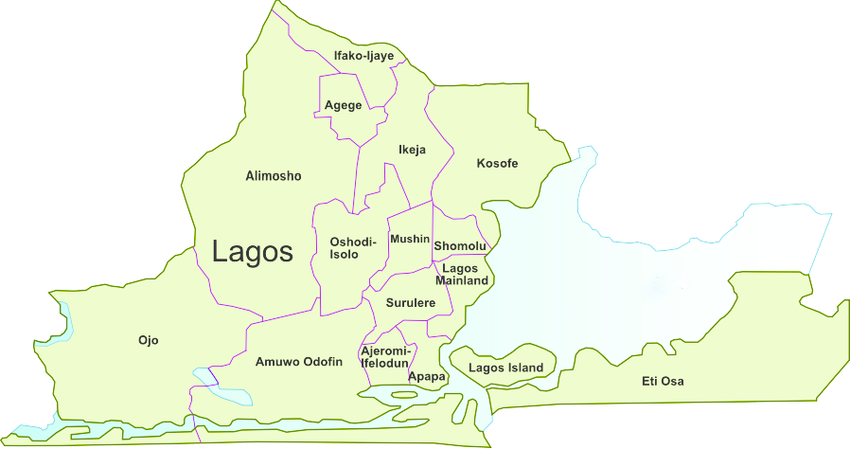
1Get map image
Find a free clean image of the area you wish to build the map for.
![]()
-
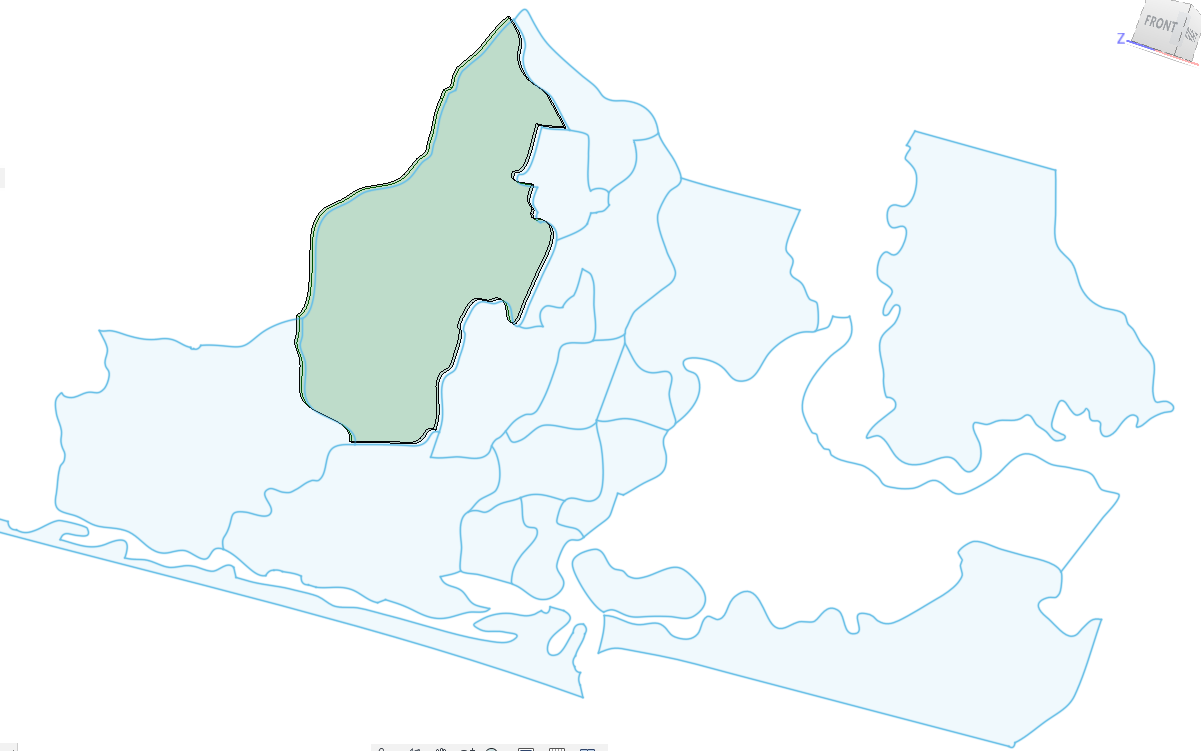
2Trace a vector outline
Trace the outlines of the areas on the map using illustrator or Inkscape
-
3Simplify Paths
Try to run a simplify paths command to reduce the number of points on the traced paths
![]()
-
4Scale image to the appropriate size
For my map, I chose a dimension of 450 x 850mm, scale the image to the size you want for your map
-
5Import Outline file into Fusion 360
-
6Create an Extrude
extrude all closed contours on the image. by 4mm (acrylic sheet thickness)
-
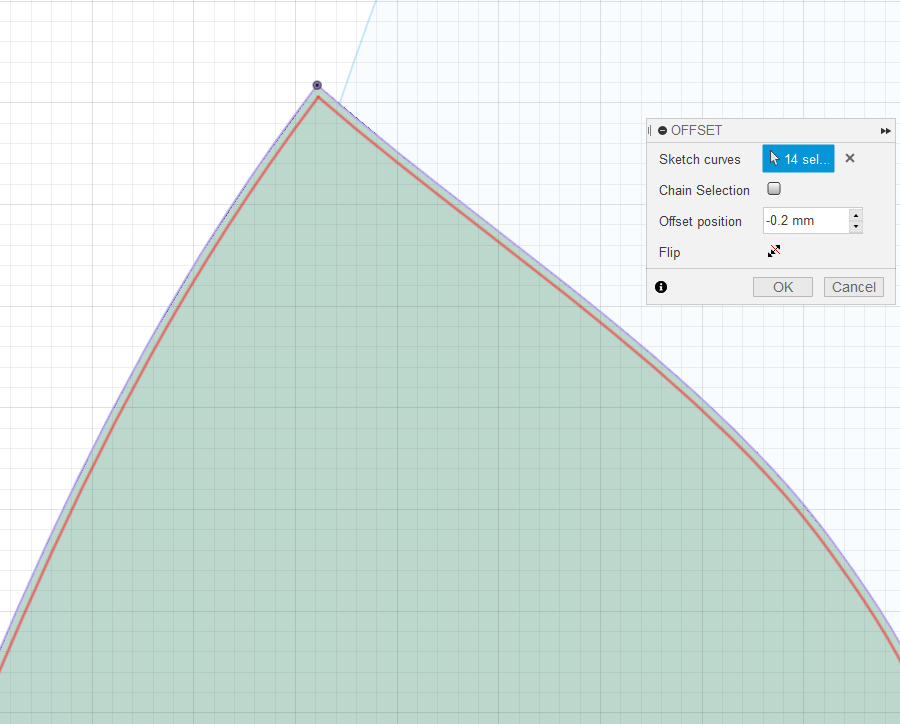
7Offset each Areas
Create an offset between all the cells on the map, this ensures that the map has a standard clearance throughout the build. (0.2mm is good)
-
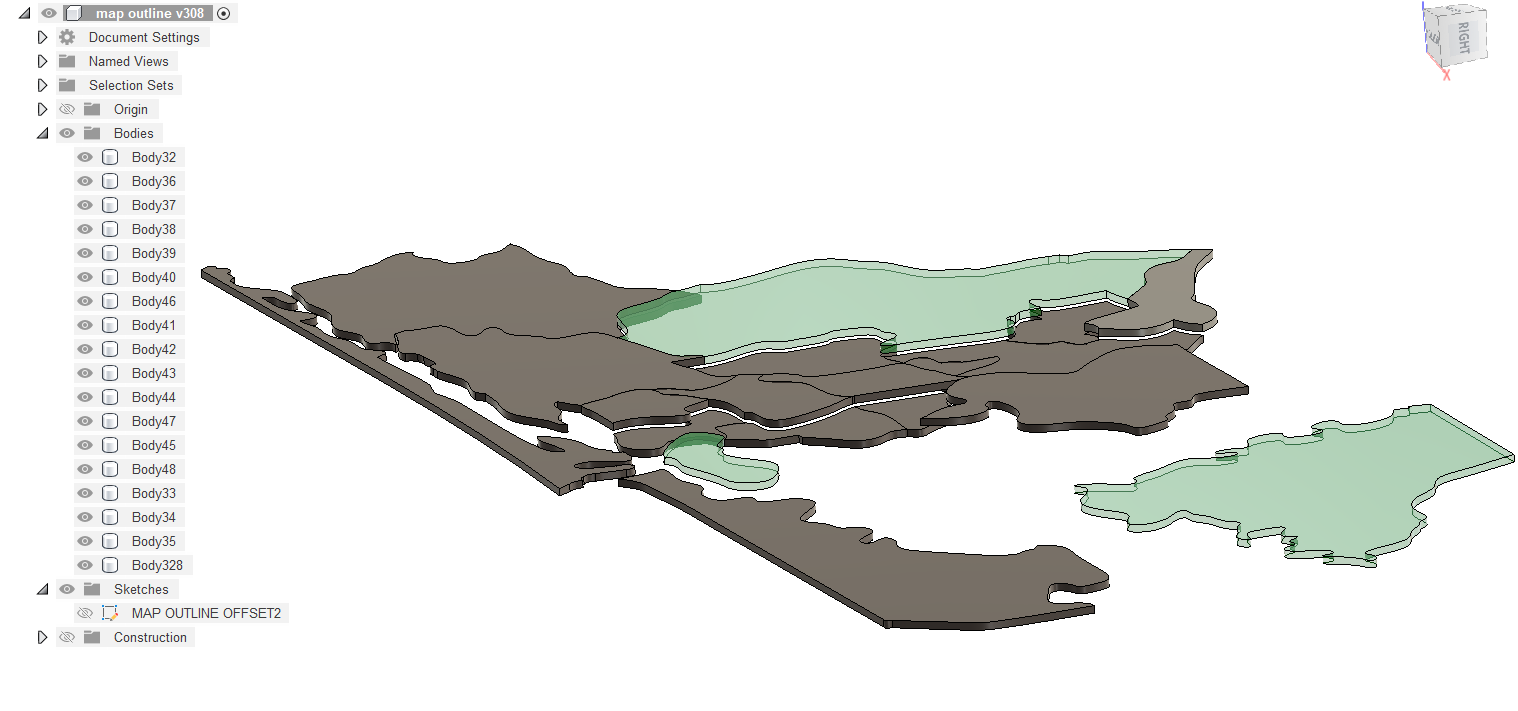
8Choose Map style
The map can be made with all the cells on one plane, or you can choose to raise some areas on the map as I did for my mine, to give the map a little dimension, flat will be easier
-
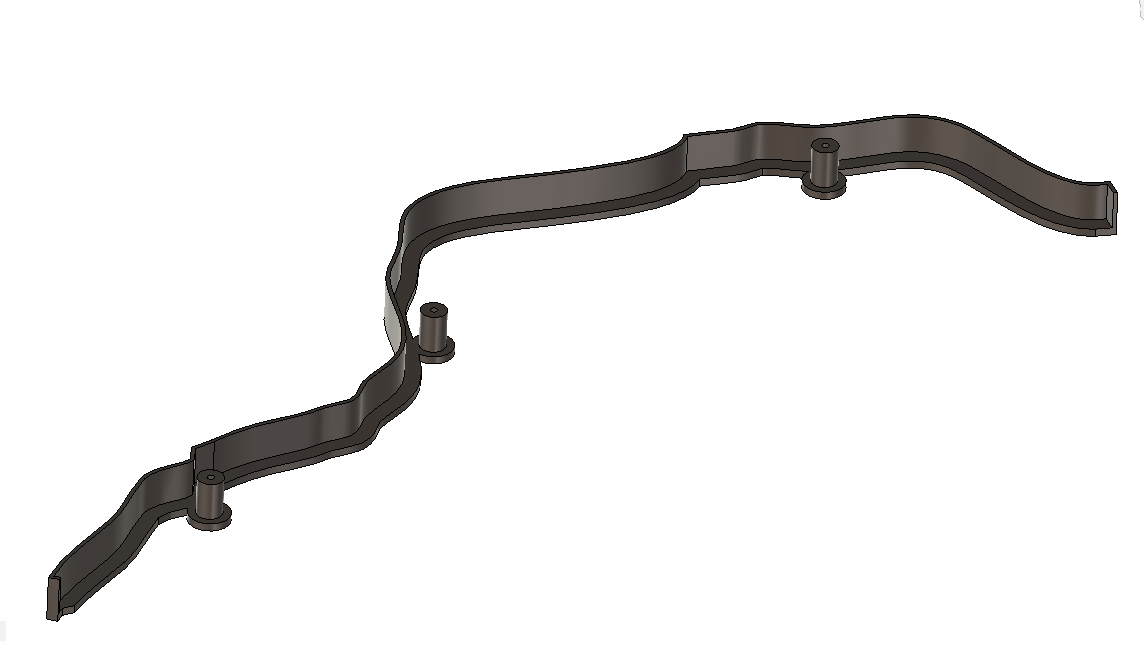
9Model Edge Holder
The 3d printed edge holder is mostly structural, it provides a way to secure the cell to the back acrylic panel, holds the led strip right against the edges of the map cells, and also partially obscures the harsh light from those edges.
Add holes for 3d printed studs, if the map area is large.
-
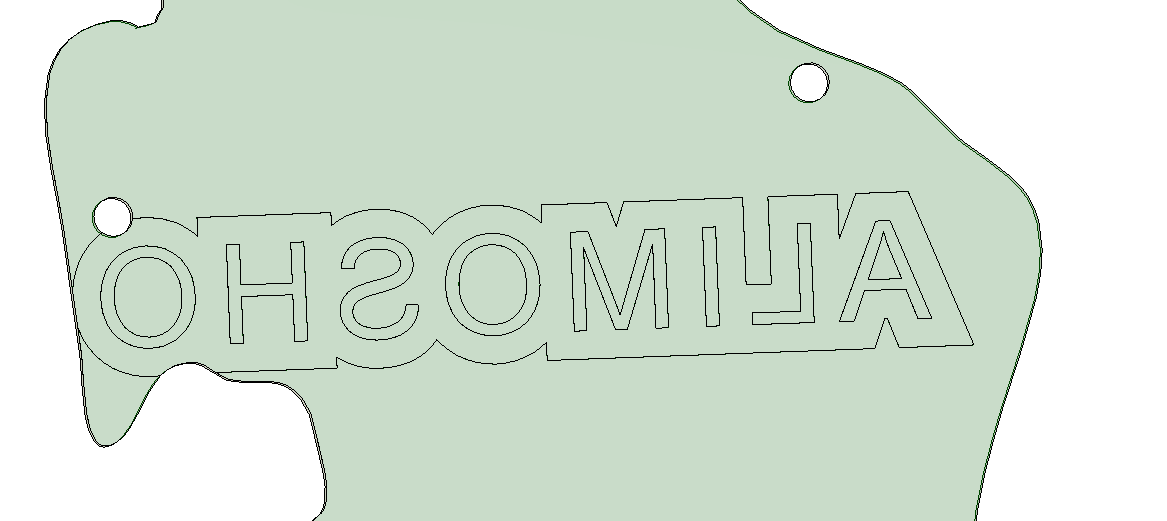
10Add offset area Name
The name feature on the map cells should be inverted so it shows up normally from the front but modeled on the back side.
The Interactive Air Quality Map
A Physical Touch Reactive Map that shows the Air Quality of a location
 Ahmed Oyenuga



Discussions
Become a Hackaday.io Member
Create an account to leave a comment. Already have an account? Log In.