Timescale
-
Think inside the box
11/02/2022 at 00:44 • 0 commentsI think I found a workable setup for all the current components in the box. I'm going to skip the USB hub at the front for now because this also should tie in with my front faux 90's desktop design. The basic layout is pretty simple.
![]()
This is it basically. Ignore the aluminium USB hub at the front at the moment. That is where that SSD is going to go. This was one of the various mock-ups I did earlier before going mental with glue and tape on the box, but this pretty much shows what I can work with.
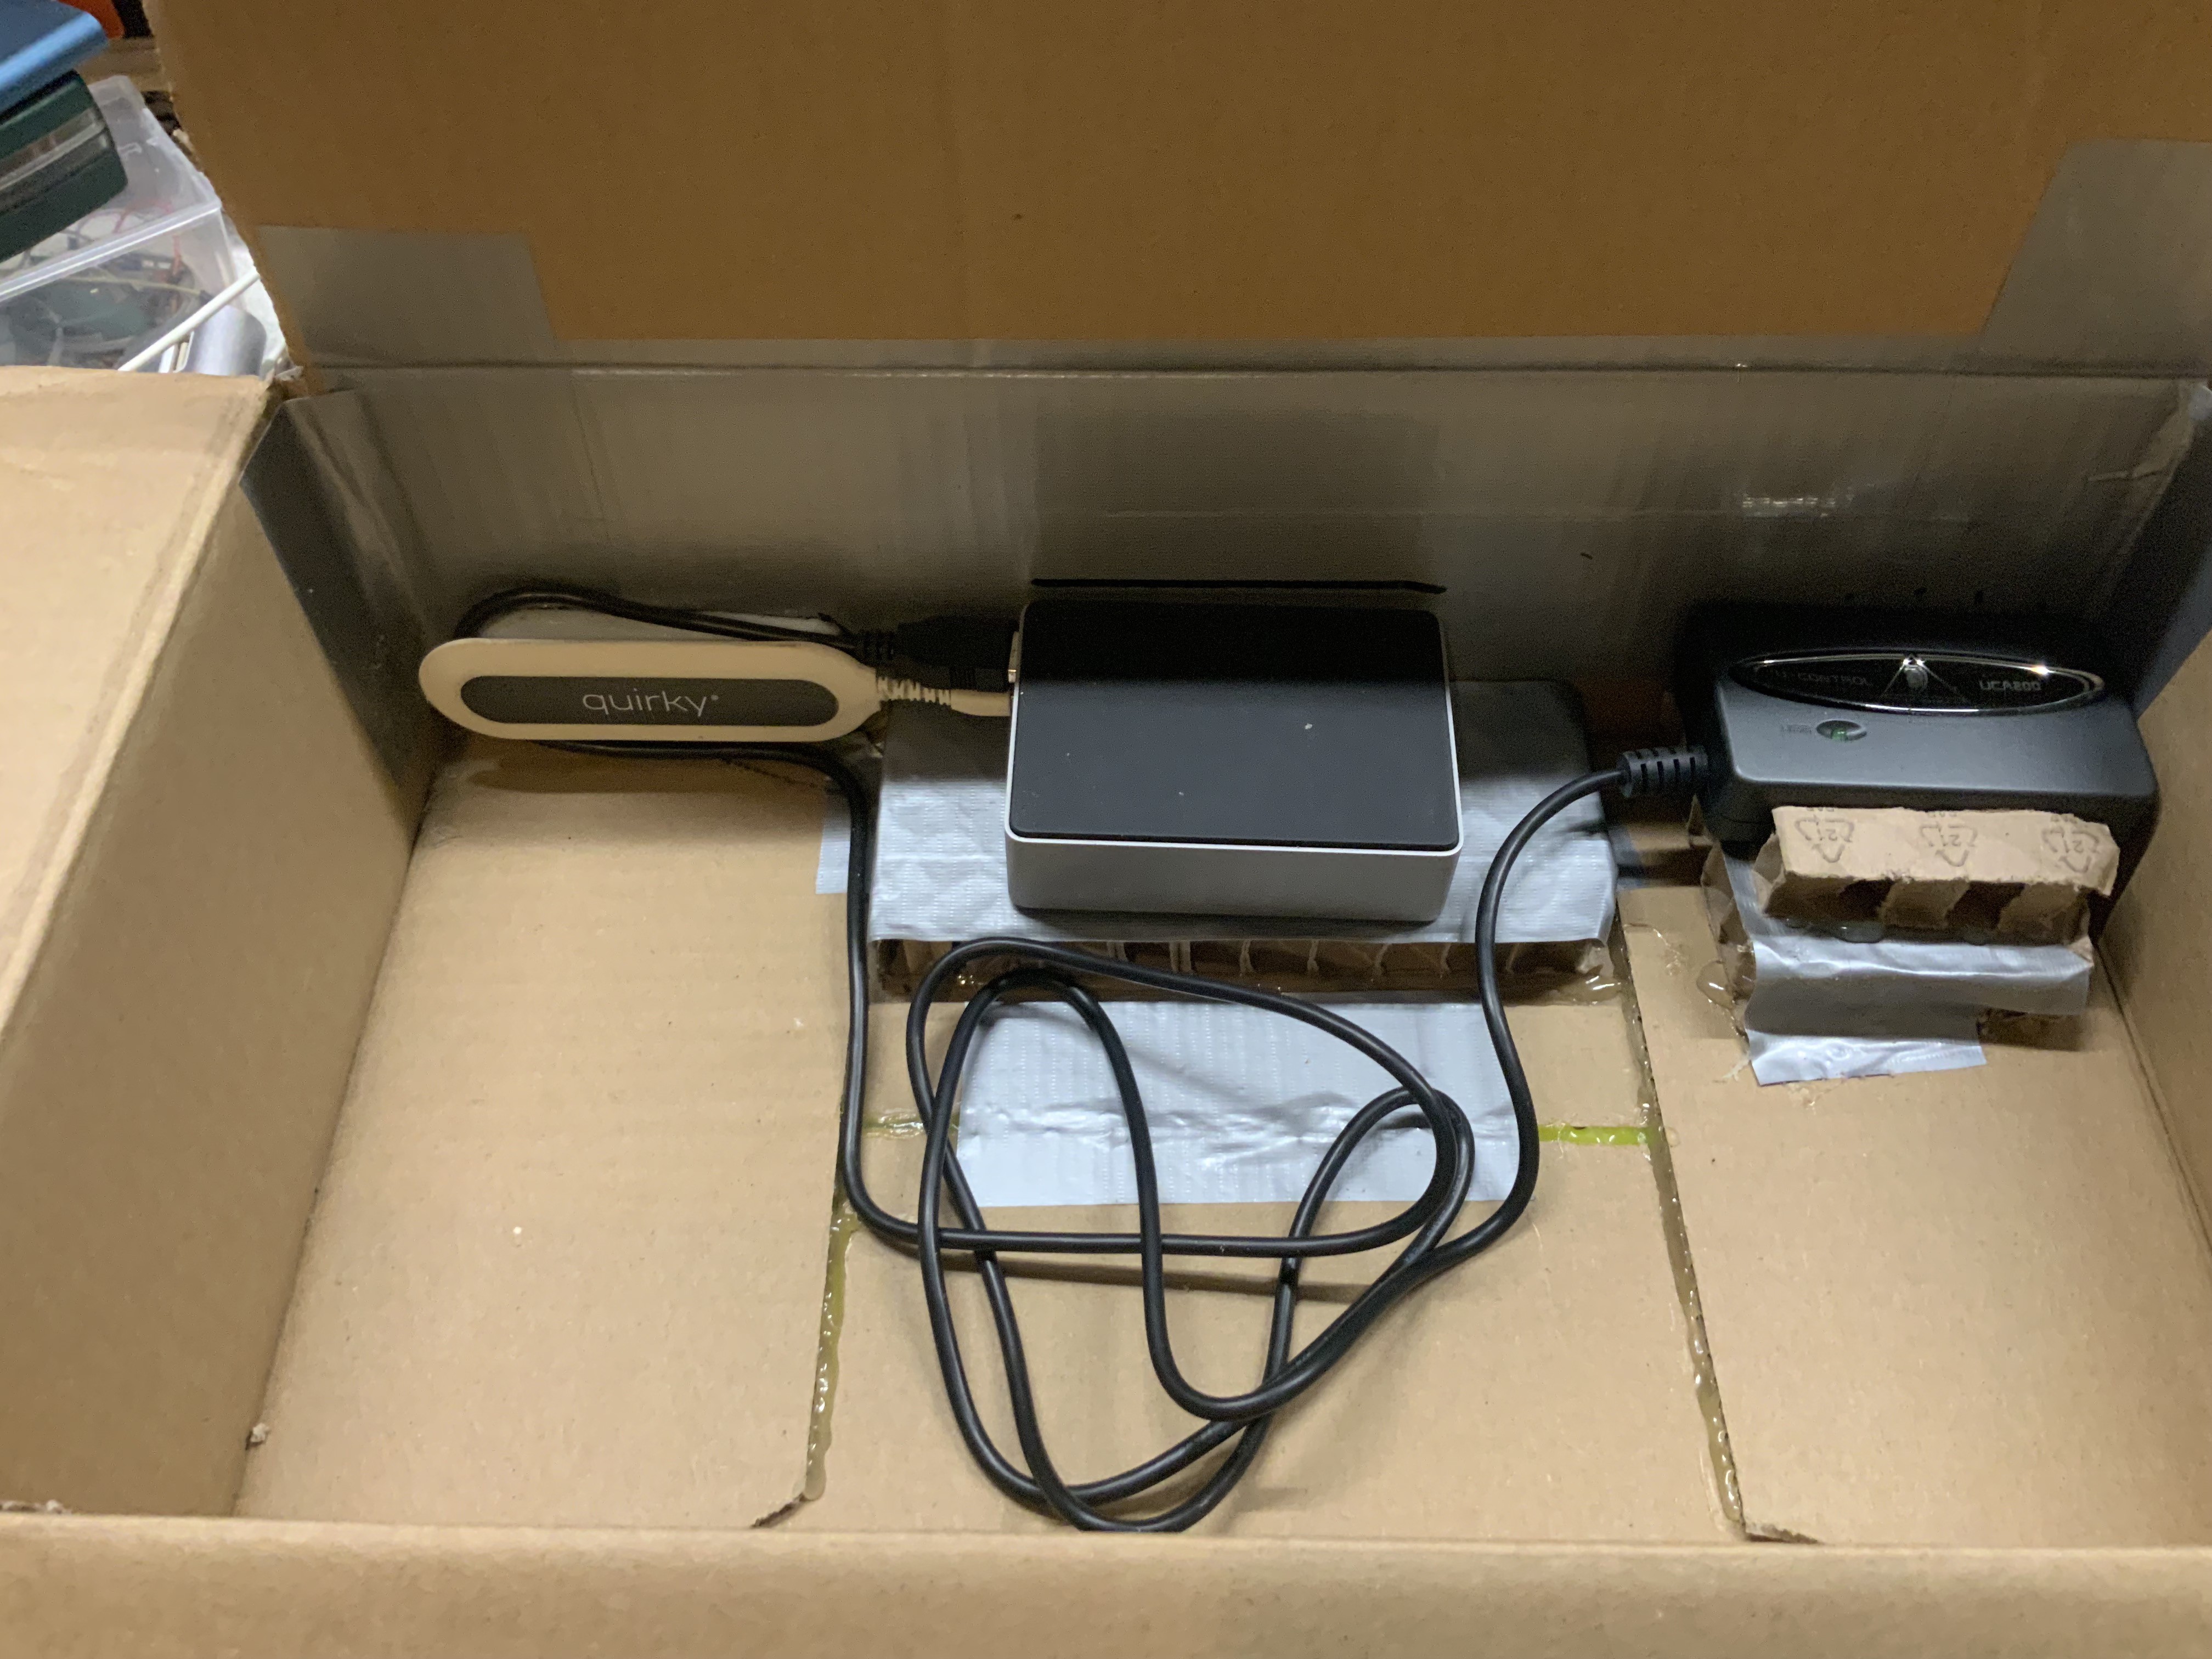
I first installed the audio device by cutting out 4 holes and mounting it on a plateau. It has a fixed USB cable, so tie-wraps are in order there. The USB hub for the back will connect to the slower USB2 port on the RPi. It can twist and I can make a snug fit hole for it. The connectors for the RPi are exposed via a simple square cut out. Here you can see these components roughly in place.
![]()
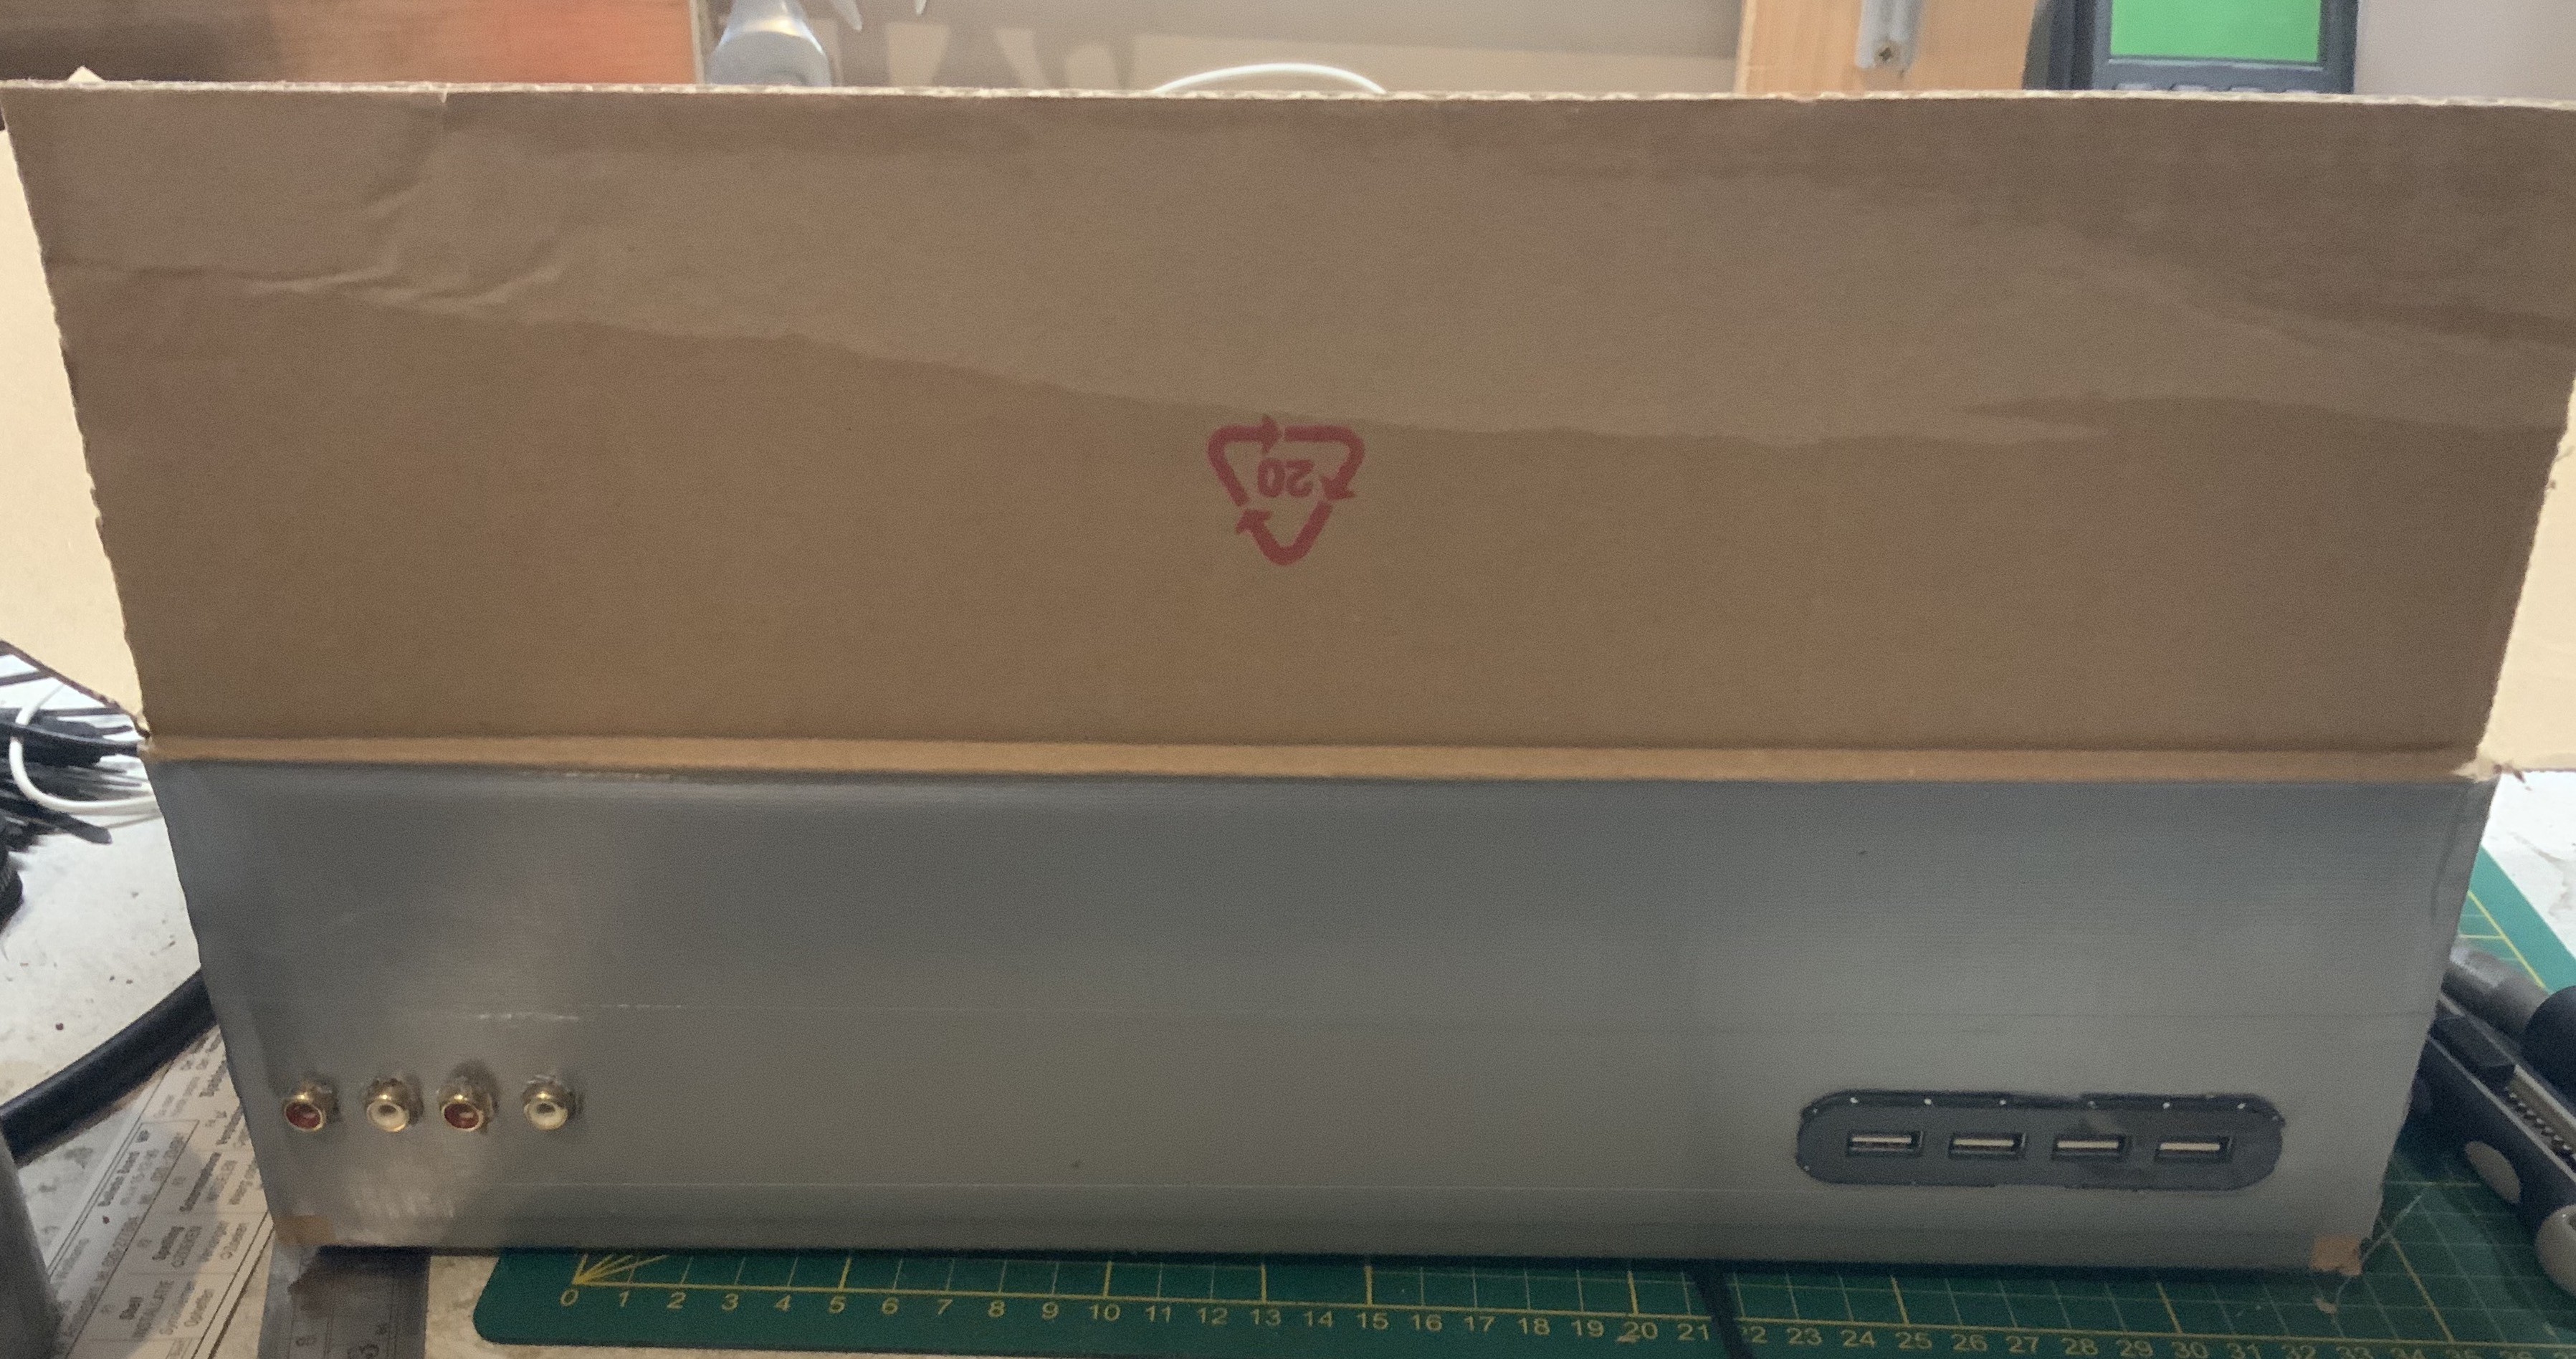
Everything but the RPi itself is fixed reasonably well here. It all is just friction fit, hot glue and duct-tape. At this point, this has been one of the least harmful cases I have ever worked on! There is always the risk of a paper cut of course, but there are no metal burrs in here at all!... Yet... Here is what the back looks like without the cut out for the Rpi : Until the next log, I'm out!
![]()
-
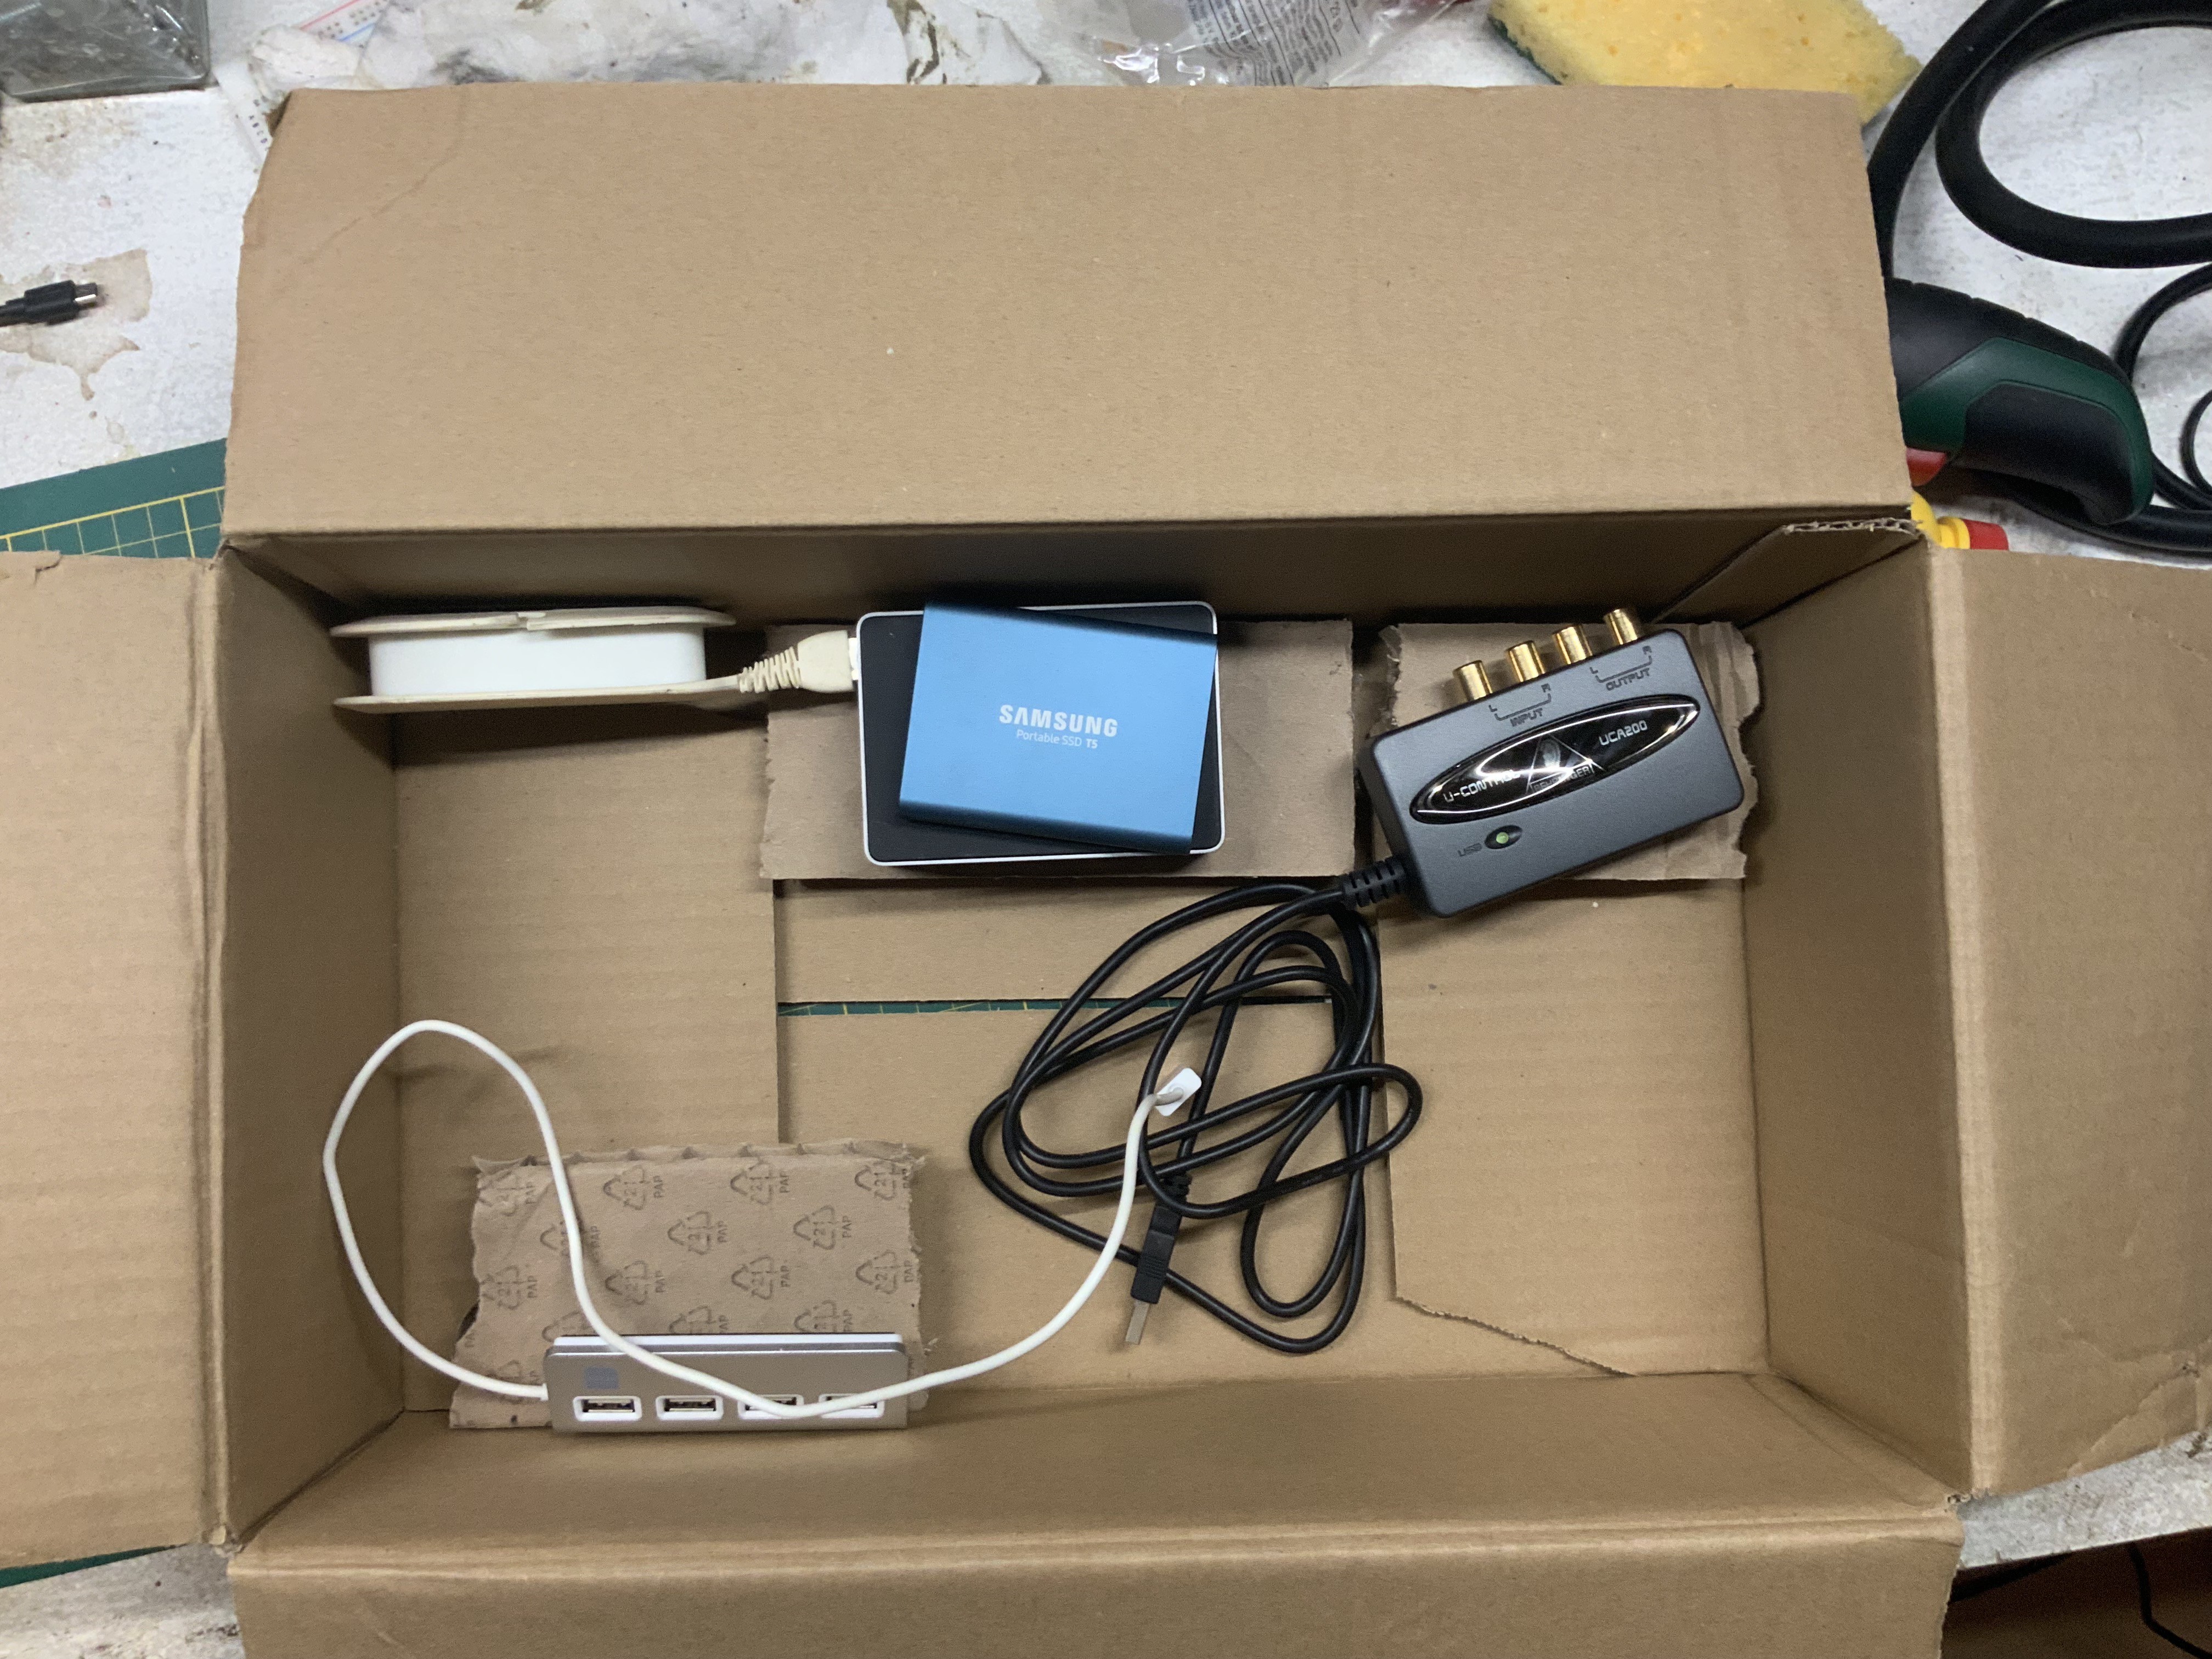
Whazz in da box??????
11/01/2022 at 22:10 • 0 commentsWell, this :
![]()
These are basically all the dangling components I use on my desktop setup. Of course there is the RPi in a nice cool Flirc case, a Beheringer USB audio device. A USB3 SSD because I use Berryboot and hubs, lots of hubs!
My idea is to A, arrange them in such a way that the hardware is easily accessible, reconfigurable and neatly out of my way. The second idea is to make the front look like an old 90's beige'ish desktop. Something goofy and cartoony but clear enough to communicate what it is. Perhaps eventually I will include front panel buttons or something, but right now I want to get this stuff fixed inside the box.
Before I do that, I do have to beef up the box a little. It's a bit flimsy, even for my taste. So out comes the hot-glue and the duct-tape and lets add some resemblance of structural integrity.
![]()
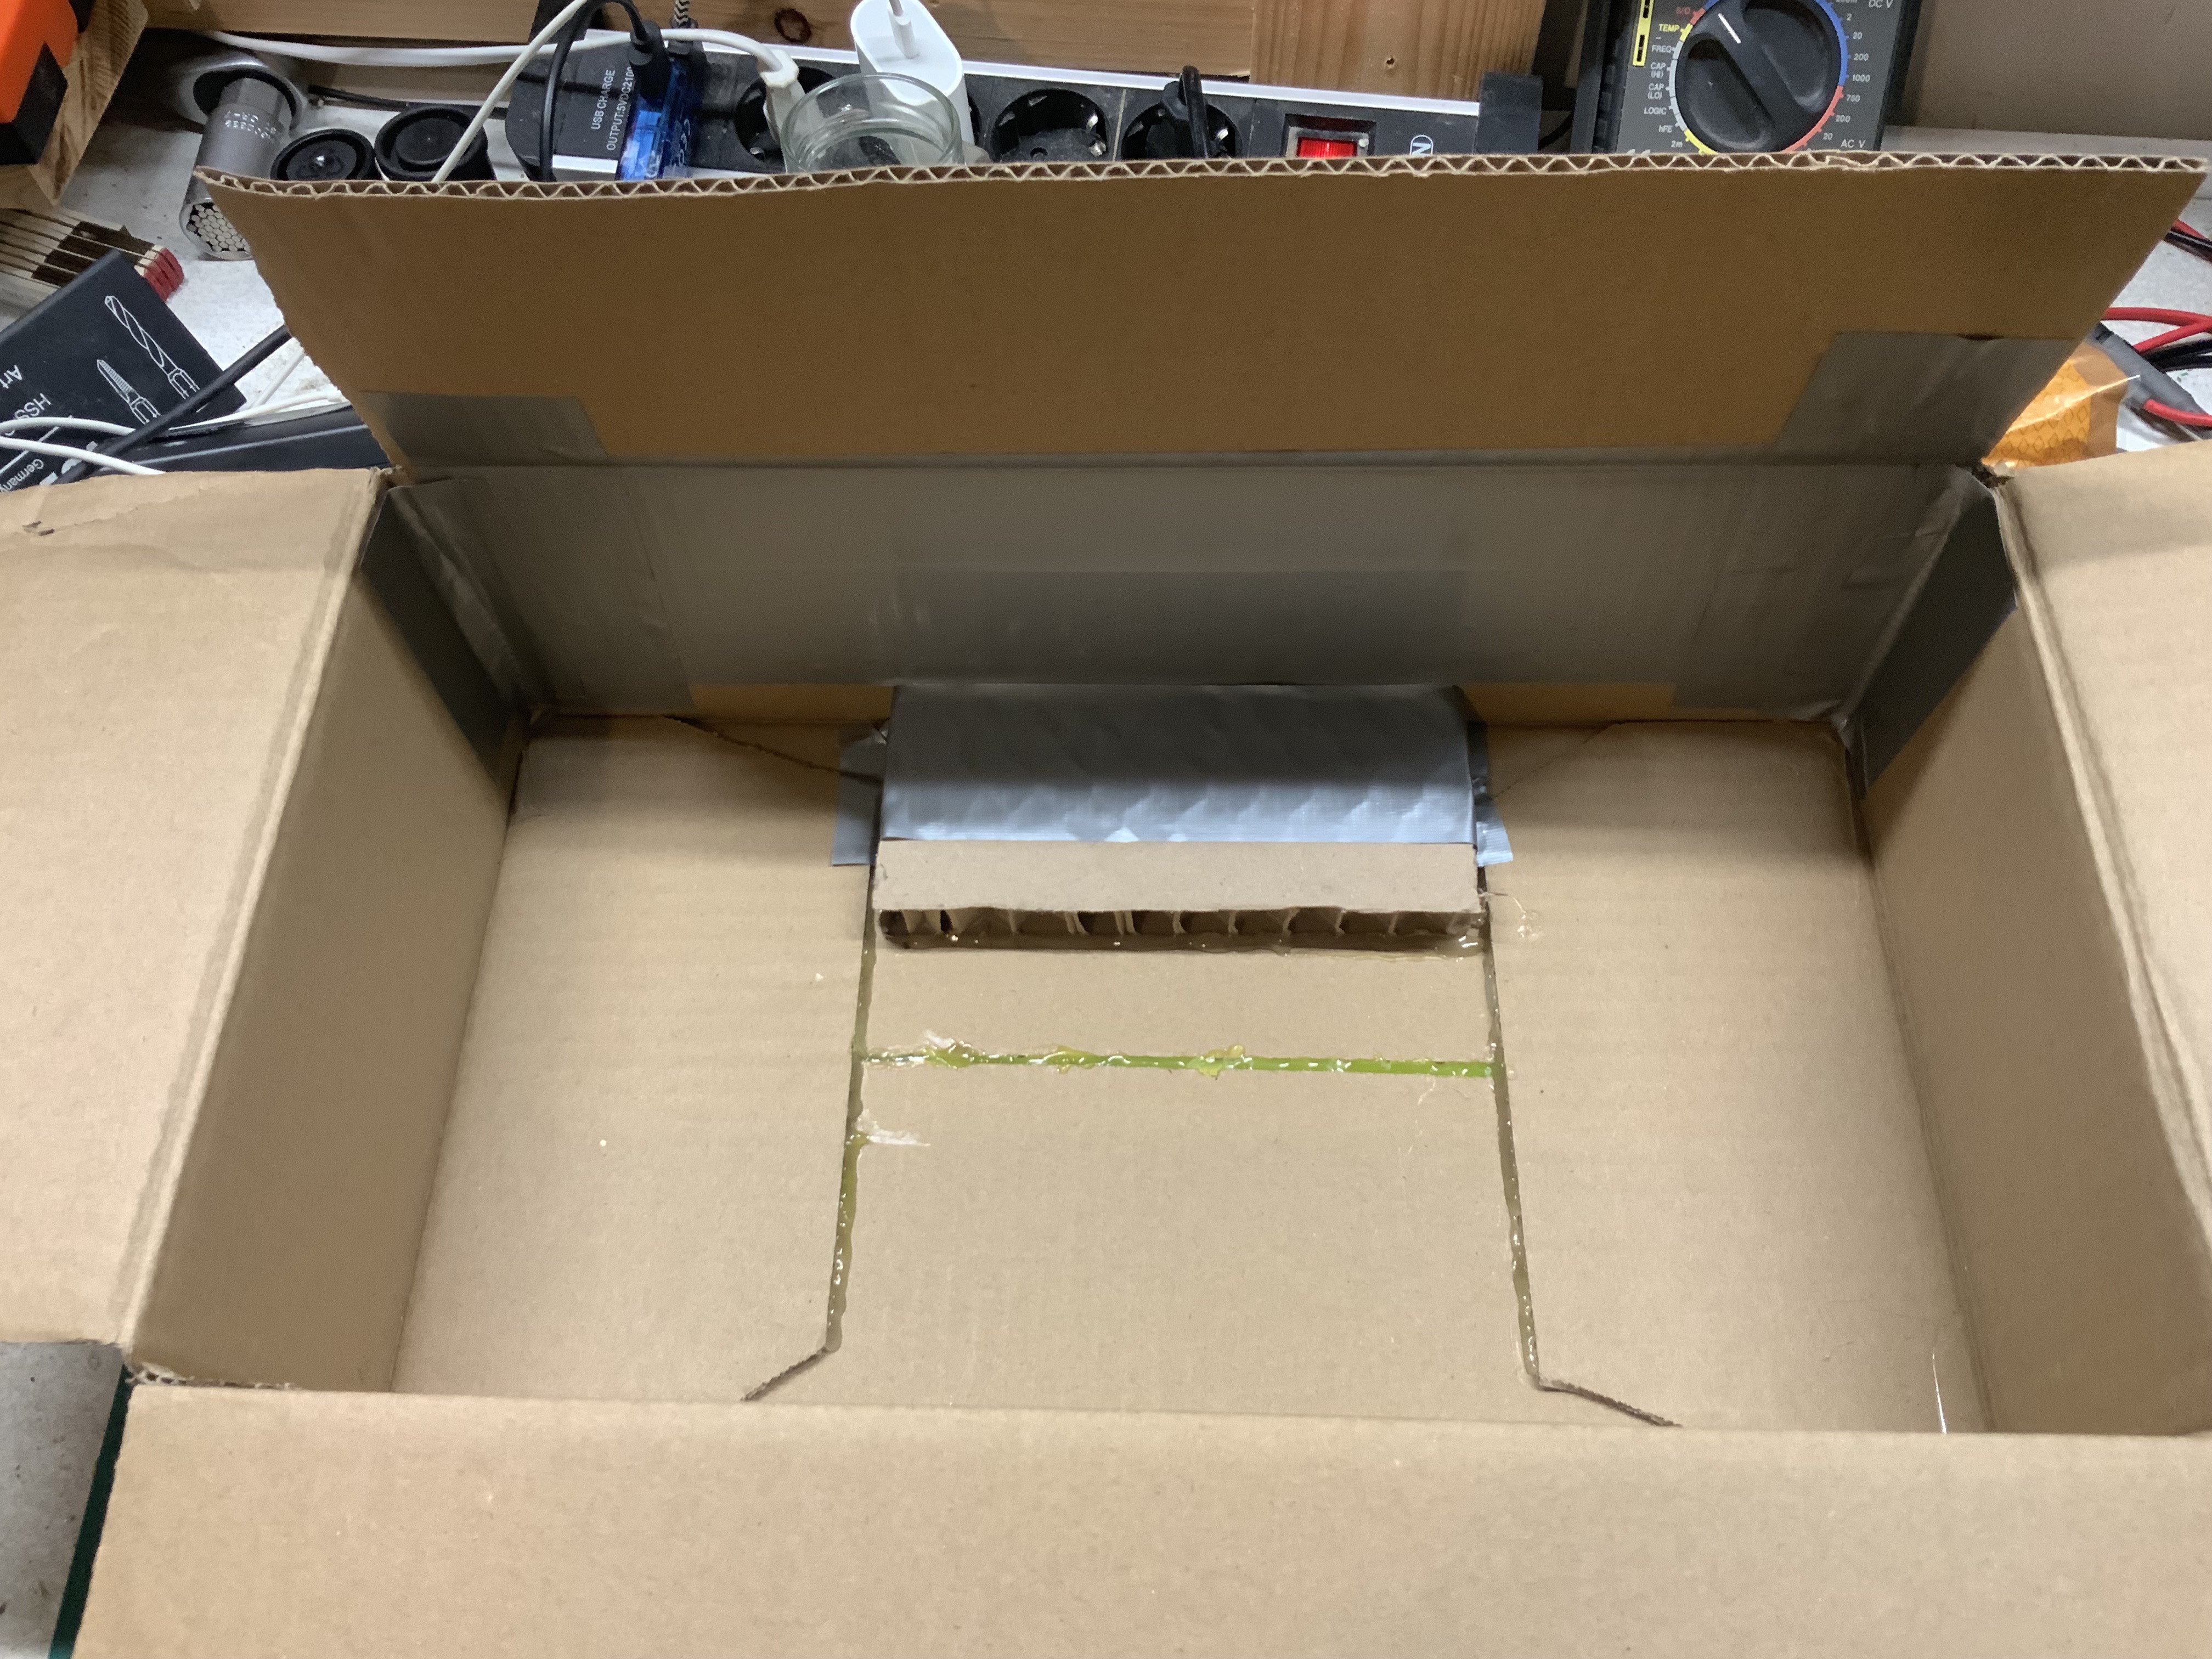
After having glued down the flaps and seems, I started to add duct-tape for added robustness, especially in the back where various holes must be made. The raised plateau, which is a piece of IKEA furniture packing material is for the RPi itself. I do not want holes near to the folds if I can help it, which I can!
The audio device will also get a plateau and the back USB hub will have a snug fit elongated hole cut out for it. I have already dry-fitted this setup and it should work perfectly fine.
For the USB on the front, I'm not sure if I like the other hub I have. It has a weird wedge shape and I can't decide how to mount it. I think I will leave that for later and try to source another hub.
Janky Raspberry Pi box
In an effort to reduce cable clutter, I'm building a desktop case for my development Raspberry Pi... From cardboard, duct-tape and hot-snot!