0%
0%
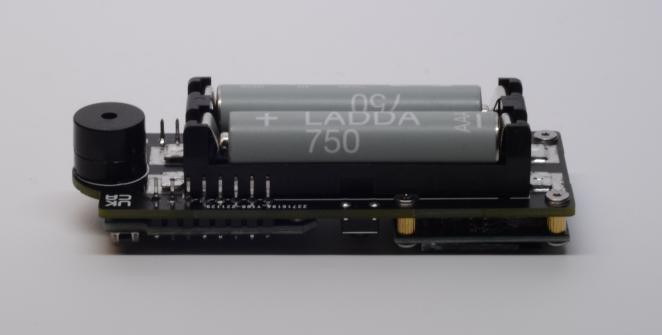
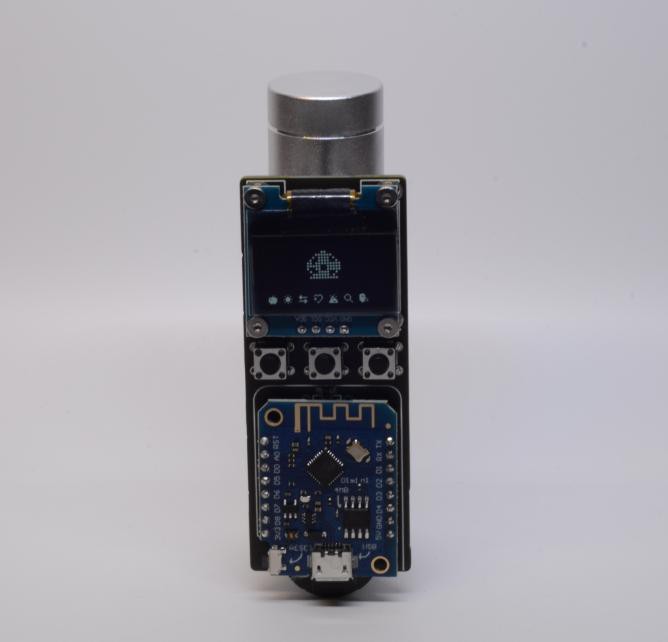
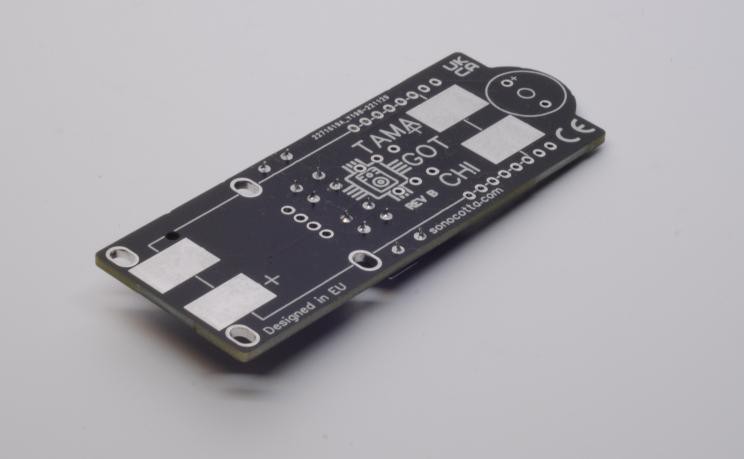
DIY ESP8266 Tamagotchi Kit
Entry-level DIY kit with retro-nostalgia taste
 andriy.malyshenko
Become a Hackaday.io member
Already have an account? Log in.
Just one more thing
To make the experience fit your profile, pick a username and tell us what interests you.
Pick an awesome username
hackaday.io/
Your profile's URL: hackaday.io/username. Max 25 alphanumeric characters.
Pick a few interests
Projects that share your interests
People that share your interests
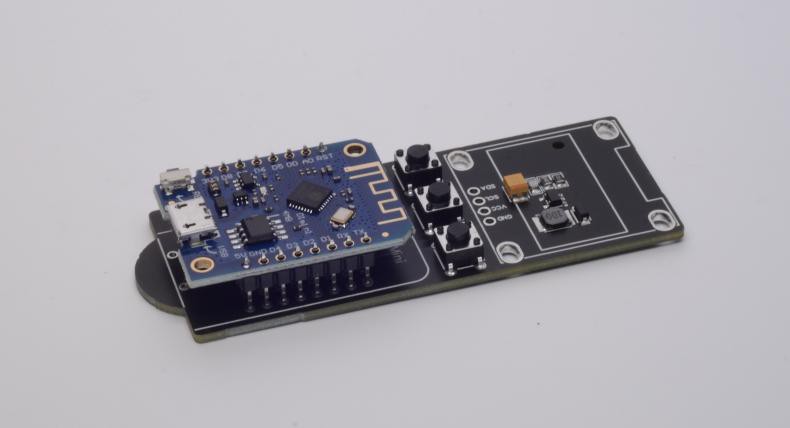
 Firmware source code is in the
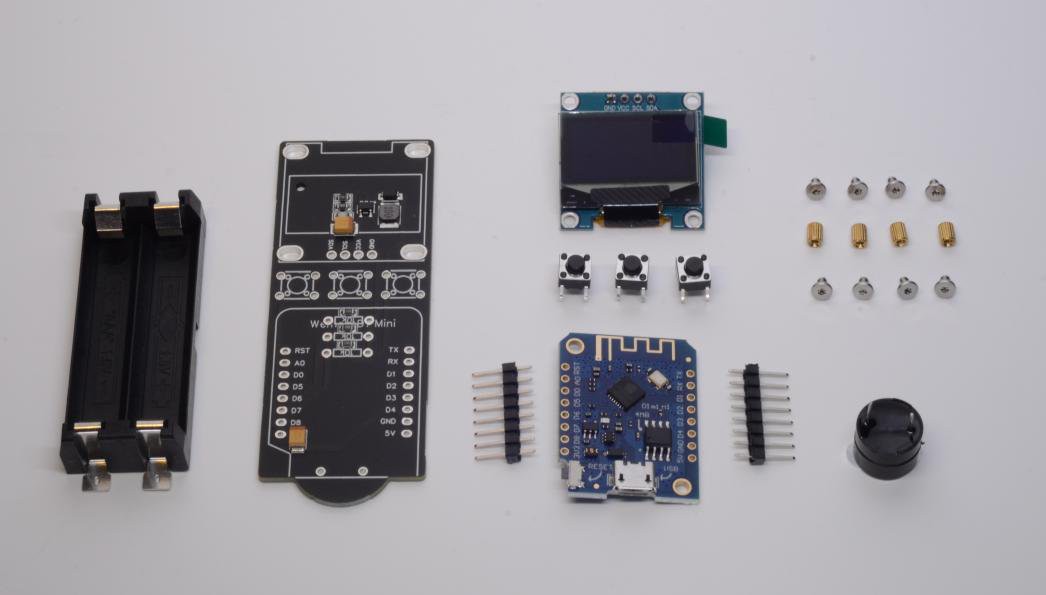
 Please remove sticking part of the pins
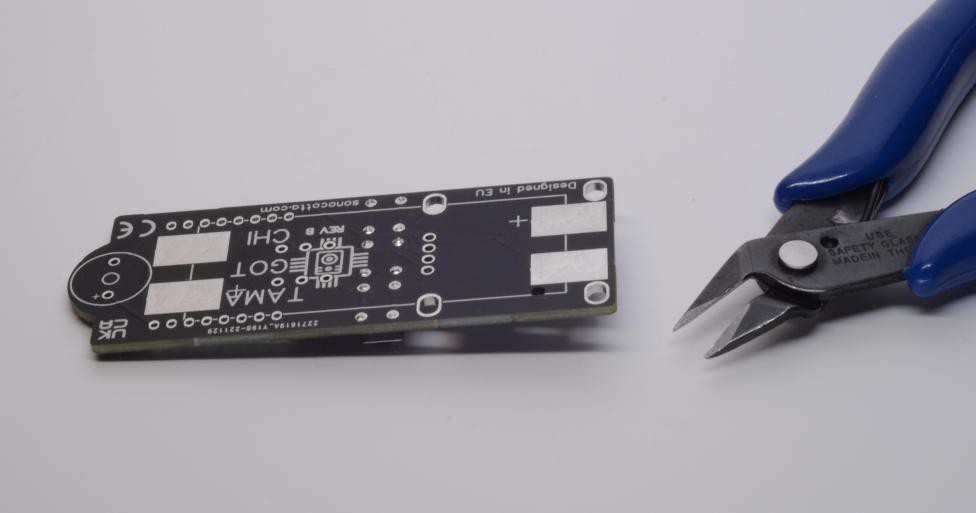


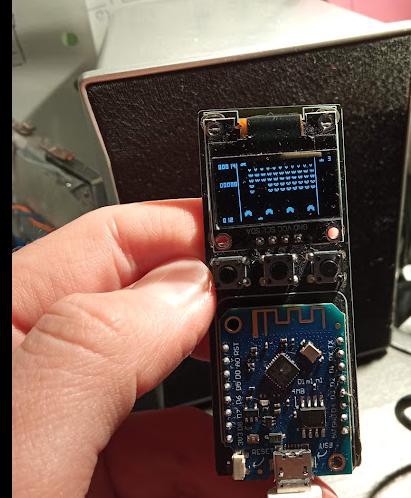
i just upload it to a nodemcu..great work.. i was just wondering if the roms could be swapped? the one in the ArduinoGotchi repo's videos looks different.
the painful part would be putting it in an enclosure (i hate that part) i don't have access to 3d printer so its old boxy box. unfortunately a seller messed up and the oled i got is 2 colors instead if one so the top rows are different than the rest of screen...i could try flipping it and that way the navigation would be yellow while the rest is blue... that is an idea.
anyway thank you.