Make sure that all parts came in good shape and no apparent damage is done on the way. Flash Tamagotchi software to Wemos D1 board just to make sure it works.
2
Solder push buttons
Start by soldering push buttons. Make sure not to apply to much tin, as it will complicate battery holder installation in the future.
Please remove sticking part of the pins
3
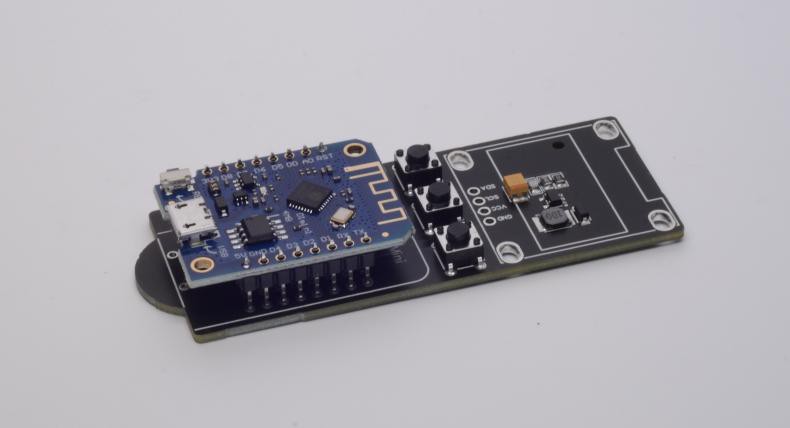
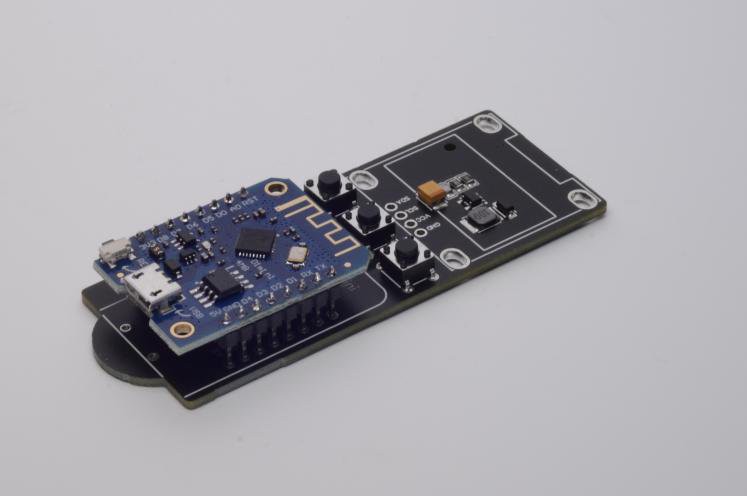
Solder Wemos D1 module - headers to module first
Solder headers to the Wemos D1 module. Long part of the header should be directed to the motherboard. Make sure to align them right, use motherboard as an aligning tool. When soldered it will be tightly pressed against battery socket.
Start with just one pin each side and double check your work. Then you can proceed to other pins.
4
Solder Wemos D1 module - motherboard side
Solder headers to the motherboard from the back side. Do not use too much solder, just enough to make solid connection. Excessive solder will block battery connector later on
5
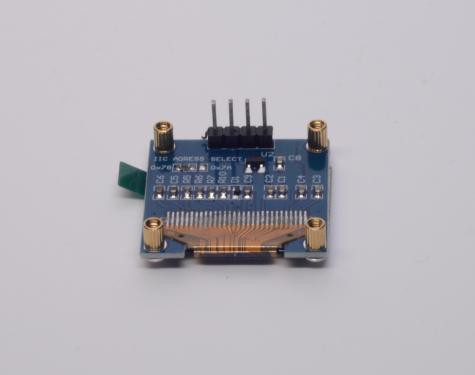
Assemble screen
Assemble 4 brass rings on the screen. Use 4 M2 screws.
6
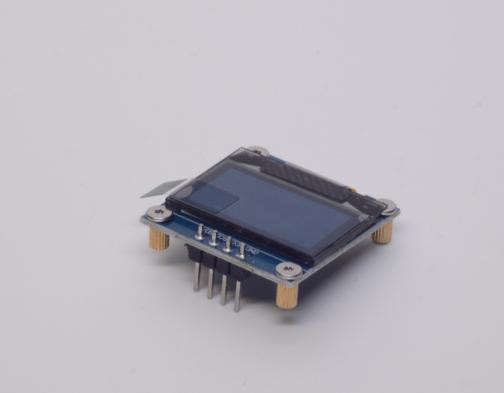
Screw screen to the motherboard and cut screen connecor pins
Use remaining 4 M2 screws to connect screen to the motherboard firmly. Make sure the screen is well aligned.
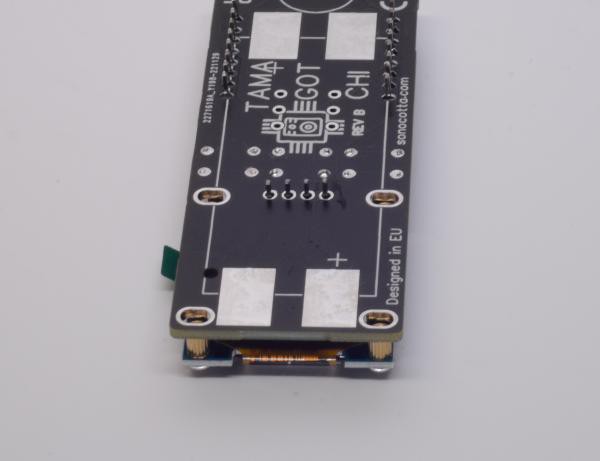
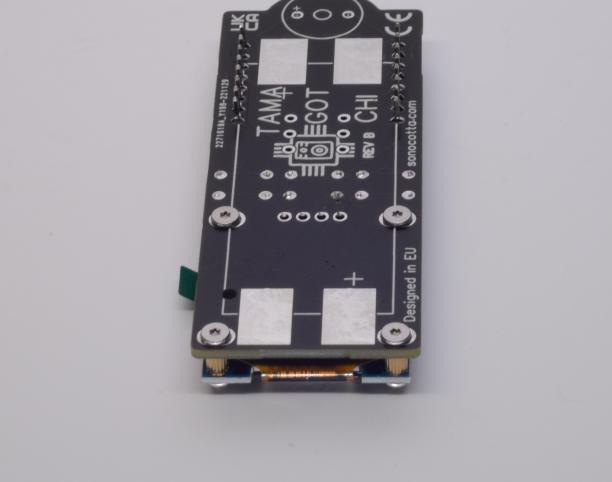
For battery connector to fit properly it is necessary to cut screen pins short. Pin length should be barely above brass PCB surface.
Double check screen alignment and solder screen in place. Do not leave large tin bulges.
7
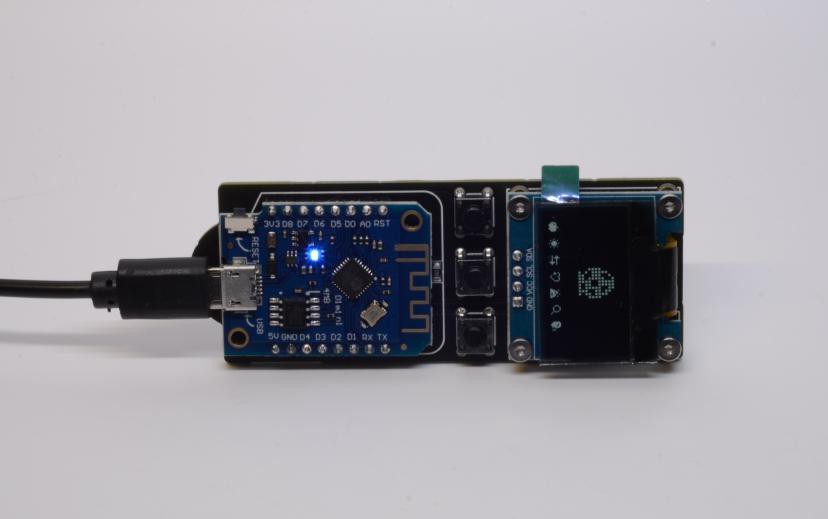
Flash firmware
Before connecting battery socket flash firmware and make sure both Wemos module and screen work together when powered via USB port of D1 module. Only then solder battery connector.
8
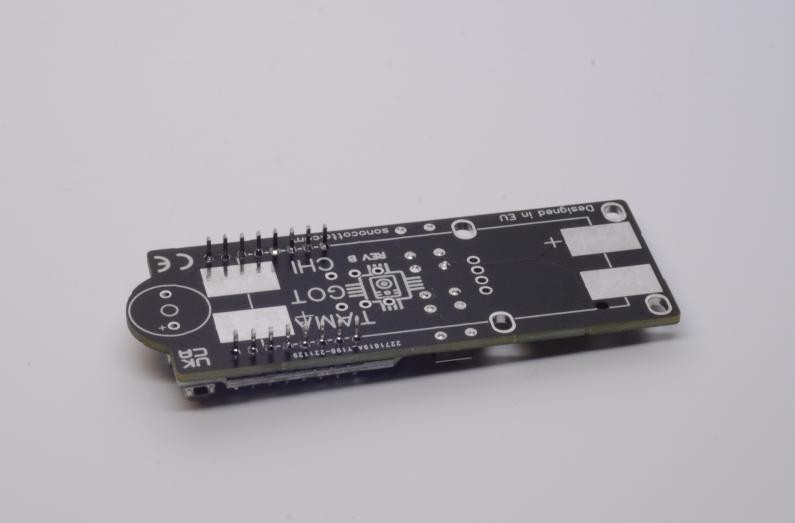
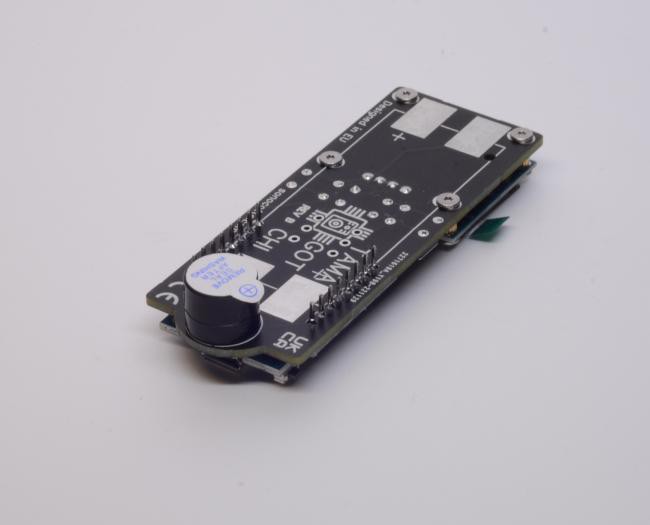
Solder in the buzzer
Solder in the buzzer on the back side of the PCB
9
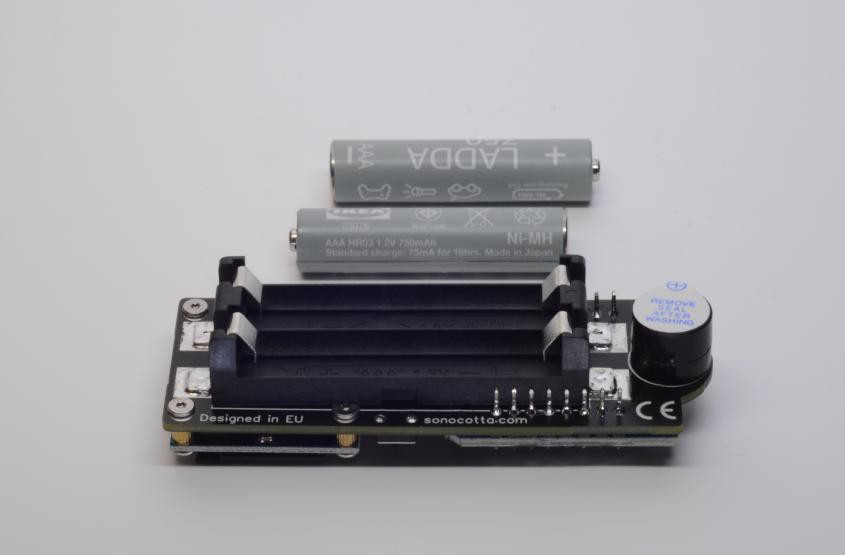
Solder battery socket in place
Place battery socket between Wemos header pins, it should just barely fit. Double check alignment pin and corresponding hole in the motherboard.It will not lay perfectly on the back side of the motherboard because of the screen connector and bolts, but it should be solderable nevertheless.
 andriy.malyshenko
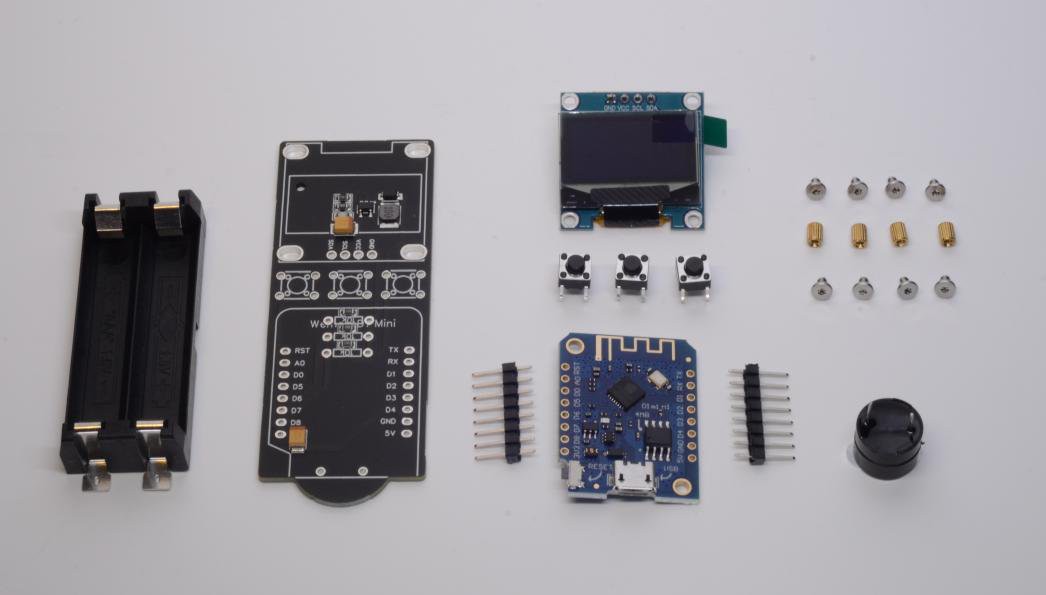
 Please remove sticking part of the pins
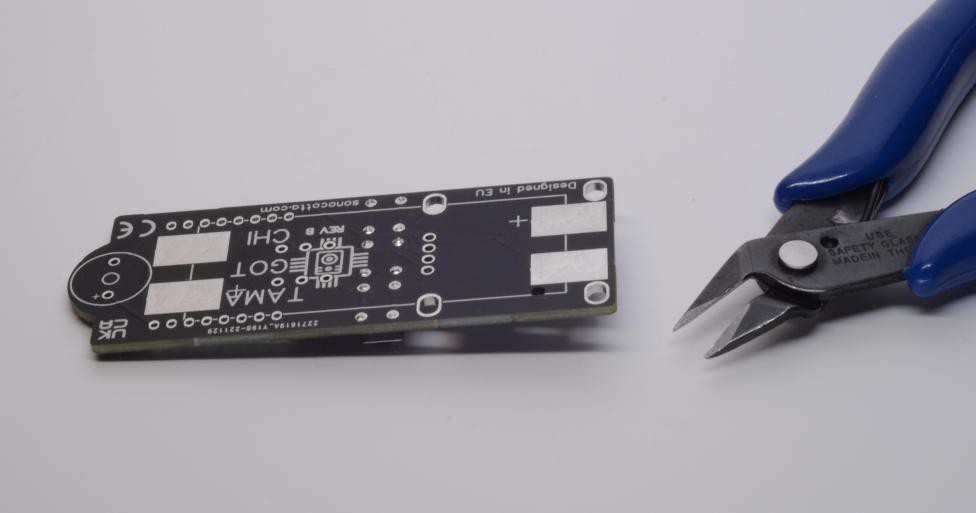
 Double check screen alignment and solder screen in place. Do not leave large tin bulges.
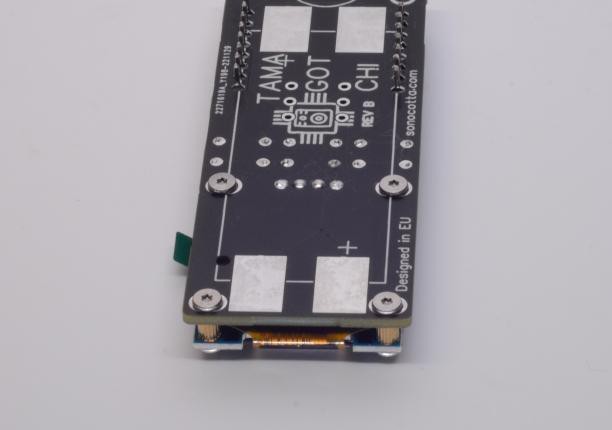
Discussions
Become a Hackaday.io Member
Create an account to leave a comment. Already have an account? Log In.