Close
0%
0%

Laser cutter ragged edge problem

Using scientific inquiry to diagnose and fix a laser cutter problem

Similar projects worth following
My laser cutter makes ragged edges on simple cuts, so I decided to look into the issue in detail using scientific inquiry. The experiments are detailed below.

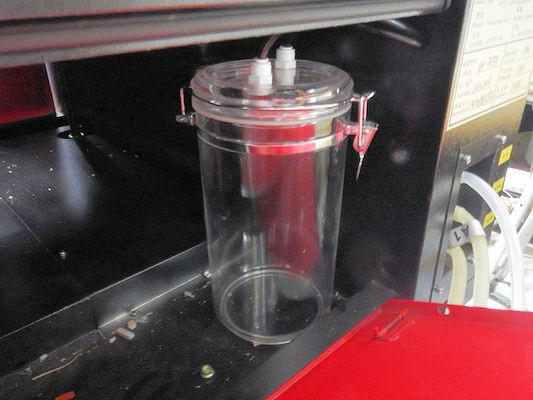
I found that the air assist compressor "puffing" causes the irregular cuts shown, and adding an air tank inline smoothed out the puffing and fixed the problem.

Ragged edges on straight cuts

My laser cutter makes ragged edges on a straight cut.

Over the holiday I finally got into "single issue" mode where I had time to concentrate on what causes it, and how to fix it.

Scientific Inquiry

The scientific method takes a highly structured approach to answering a single question.

Scientific inquiry is a related technique that's less structured. Where the scientific method uses a strict protocol to answer a single question, scientific inquiry uses background research, experimentation, and observation to zero in on an issue. Quite possibly the final issue isn't known at the outset, the process can easily go in unexpected directions and turn up interesting situations.

Scientific inquiry is how you find that first "that's odd..." observation that leads to the scientific method.

So to address the ragged edge problem, I can use scientific inquiry to zero in on the reason.

The solution

After much experimentation, I determined that the "puffing" of the air assist pump was causing the ragged edge.

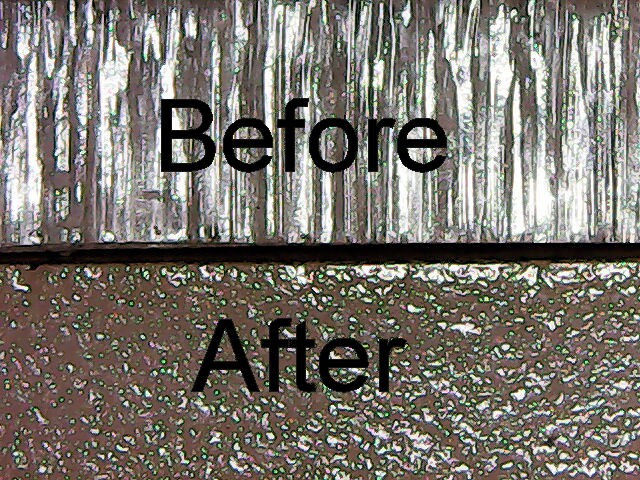
The fix was to install a tank inline with the air assist to smooth out the air puffs. The before/after images show that this completely solves the ragged edge problems.

And here's the before/after for acrylic:
  • It was a loose lens!

    Peter Walsh12/30/2022 at 05:37 0 comments

    After appearing on the HAD blog, someone IM'd me and suggested to check how snugly the lens was seated and... It was a loose lens!

    The lens retaining ring had come loose, and slowly unscrewed itself down the lens tube so that the lens was simply laying on top of the ring. Individual pulses of air caused the lens to jump up, changing the focus and the cut width!

    The retaining ring was waaaay down the tube - more than 10 turns away from snug.

    I'll need some way to permanently set the ring so that it doesn't come loose again.

    Update:

    Looking at the CloudRay store on Amazon, the retaining ring has a plastic washer to protect the lens. They also sell silicone rings to isolate the mirror from the retaining ring. These probably form a locktite interface with the lens.

    My own cheap chinese laser cutter has no such padding - it's a metal ring that presses directly onto the (glass, fragile) lens.

View project log

  • 1
    Step 1: List all the explanations you can think of

    I did some research online to see if anyone else had the same problem, and the only reference I could find was a company that stated that ragged edges is caused by low-quality stepper motors, and I should replace the motors with better ones.

    Replacing the motors on a laser cutter is a complete PITA and would take many hours of swearing and scraped knuckles (and significant expense), so I was understandably hesitant to try this without some evidence that it would work.

    As a first step in debugging the problem, I listed all the explanations I could think of. During the debugging process I thought of some more and added them to the list as well.

    Here's what I came up with:

    1. Crappy stepper drivers
    2. Crappy stepper motorss
    3. Loose linear bearings
    4. Stepper power supply
    5. Puffing air assist
    6. Chiller low
    7. Stepper drivers too much resolution
    8. Too much mass on laser head
    9. Lasers tube frequency
    10. Reflections from the hex grid
    11. Laser housing
    12. Drive belts vibrating during cutting

    These are not in any particular order.

  • 2
    Step 2: Is this a real problem?

    Hypothesis:

    This is not a problem, it happens with all cheap laser cutters

    Discussion:

    Have I jumped the gun on this issue? It may be that all laser cutters have this issue (or at least, all the cheap ones) and there's nothing to be done.

    I don't remember this being an issue on other laser cutters I've used, but it's good practice to check to see if you're chasing something real.

    Experiment:

    My local makerspace has a console laser cutter similar to mine, run the same test there and compare the results.

    Results:

    The makerspace cutter does not have the same problems, or at least doesn't have the problem to the same degree.

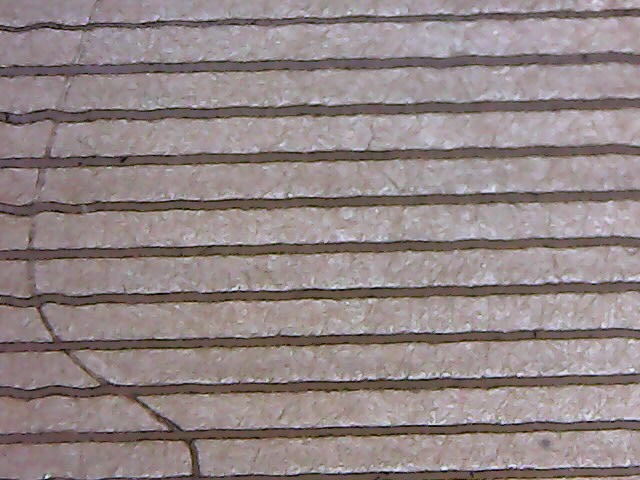
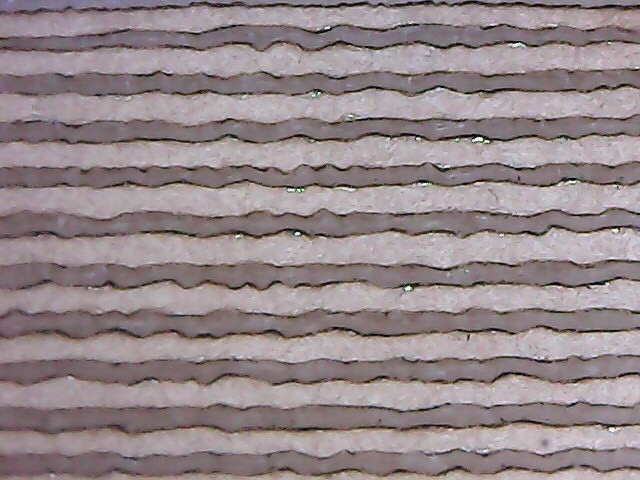
    Comparing the same cut profile from the makerspace cutter (top image, below) shows relatively smooth cuts, not the ragged edge of my laser cutter (bottom image, below).


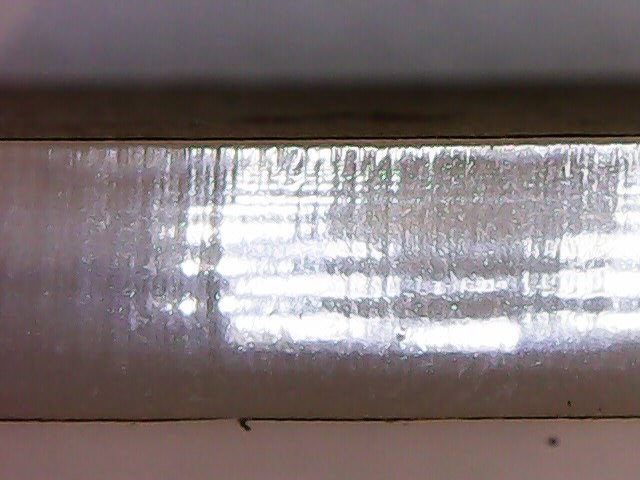
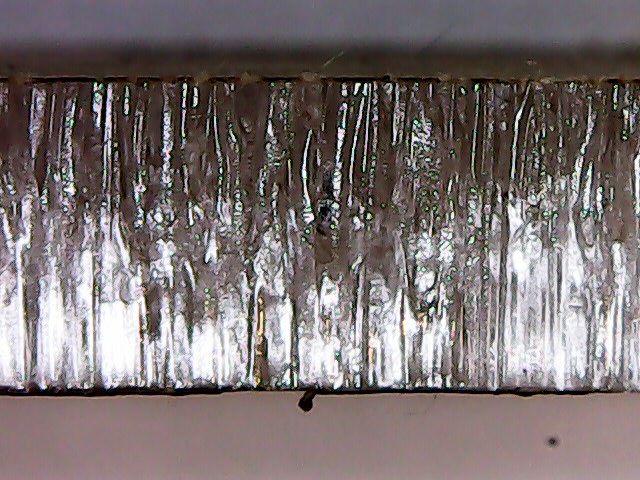
    As further evidence, prior experience I know that the edges of an acrylic piece should be polished and smooth. Comparing the cut edges of a 6mm piece of acrylic from the makerspace (top image, below) with mine (bottom image) shows in stark contrast that it's definitely a problem with my machine.


    Side note: On the makerspace cut above (top image of four) notice the extra hairline cut going top to bottom? That's the makerspace laser not turning off after the job is complete. The laser tube runs at a small power level at all times - even with the lid open and the interlock engaged! Yikes! This observation led to a parallel investigation of the HV power supply at the makerspace.

    It turns out that the trigger mechanism of HV power supplies tends to fail in the "on" position, this can be confirmed by seeing a non-zero value on the ammeter after a job is complete, and even with the lid open. When that happens, it's time to replace your HV power supply.
  • 3
    Step 3: Conduct experiments to confirm or deny all explanations

    Hypothesis:

    Low chiller water is causing the laser tube to glitch.

    The chiller water level gauge is on the border of yellow ("low") and red ("not enough"), maybe intermittent water is causing the laser tube to overheat and periodically glitch out.

    Experiment:

    Refill the chiller and see if the problem goes away

    Results:

    No change.

    Note: A shadow across the water gauge made the water level appear low. Examining the gauge with a flashlight revealed that the chiller was actually full, no extra water was needed.

    Side note: no perceptible loss of water was noted after a year of use, so apparently no water is leaking and no water is evaporating from the system.


    Hypothesis:

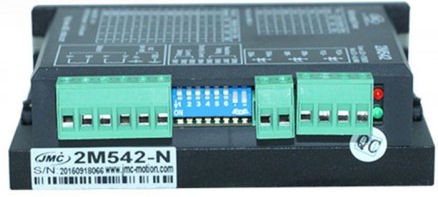
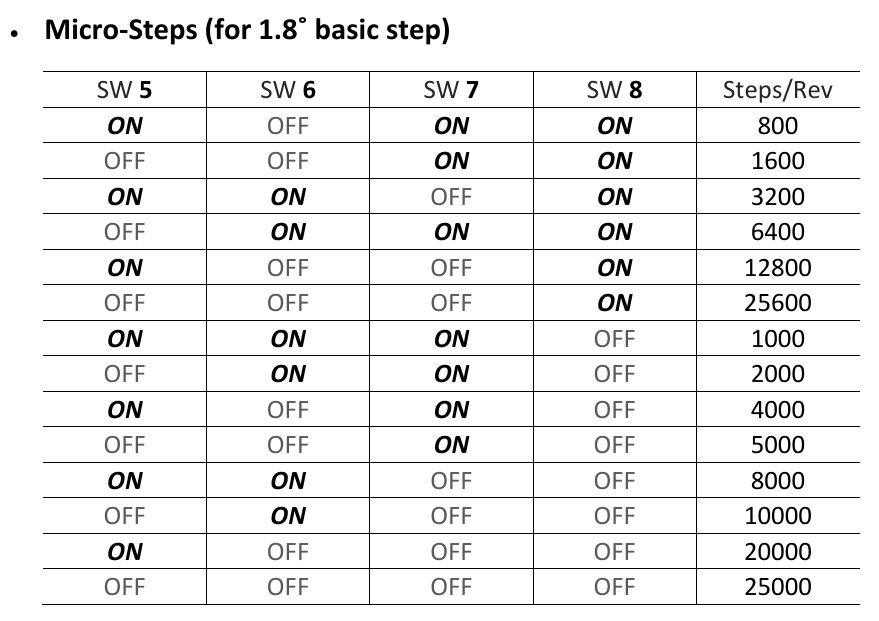
    Stepper motor drivers have too much resolution.

    Discussion:

    Stepper motors have a resolution of 1.8', which is 200 steps per revolution. The drivers can PWM the coil excitation to get microstepping, or steps between the physical motor steps.

    Microsteps have much less power than the physical steps, perhaps the mass and friction of the laser head carriage is too much for the motor driver? Or perhaps the motor driver is cheaply built and a good driver wouldn't have this problem?

    Experiment:

    Change the switch settings on the stepper driver for less precision, see if the problem persists. When changing the settings, also change the corresponding "distance per step" setting in the controller, so that the laser head doesn't go outside the cut area.


    Results:

    No change.


    Hypothesis:

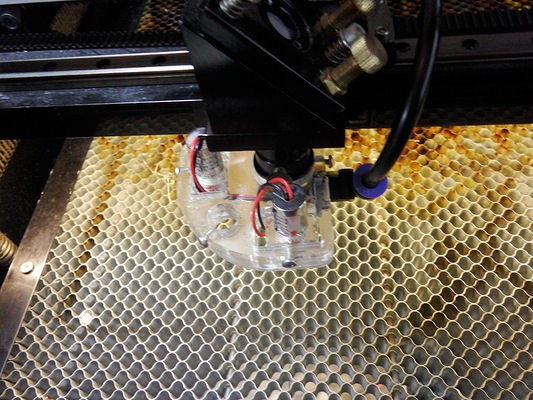
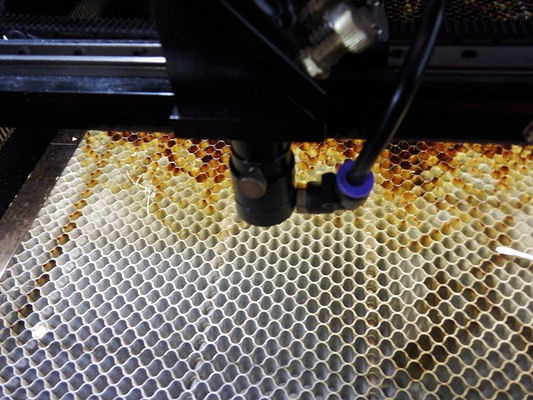
    Laser head extra mass is causing problem.

    Discussion:

    The extra mass from the targeting lasers attachment thingy might be causing resonance in the carriage while the laser is moving, the extra mass might be too much for the motors, the wires (for the target lasers) might be rubbing against the toothed belt, or something else due to the extra attachment.


    Experiment:

    Remove the extra assembly and see if the problem persists.

    Results:

    No change.

View all 8 instructions

Enjoy this project?

Share

Discussions

Similar Projects

Does this project spark your interest?

Become a member to follow this project and never miss any updates