-
1Building the Badge
![]()
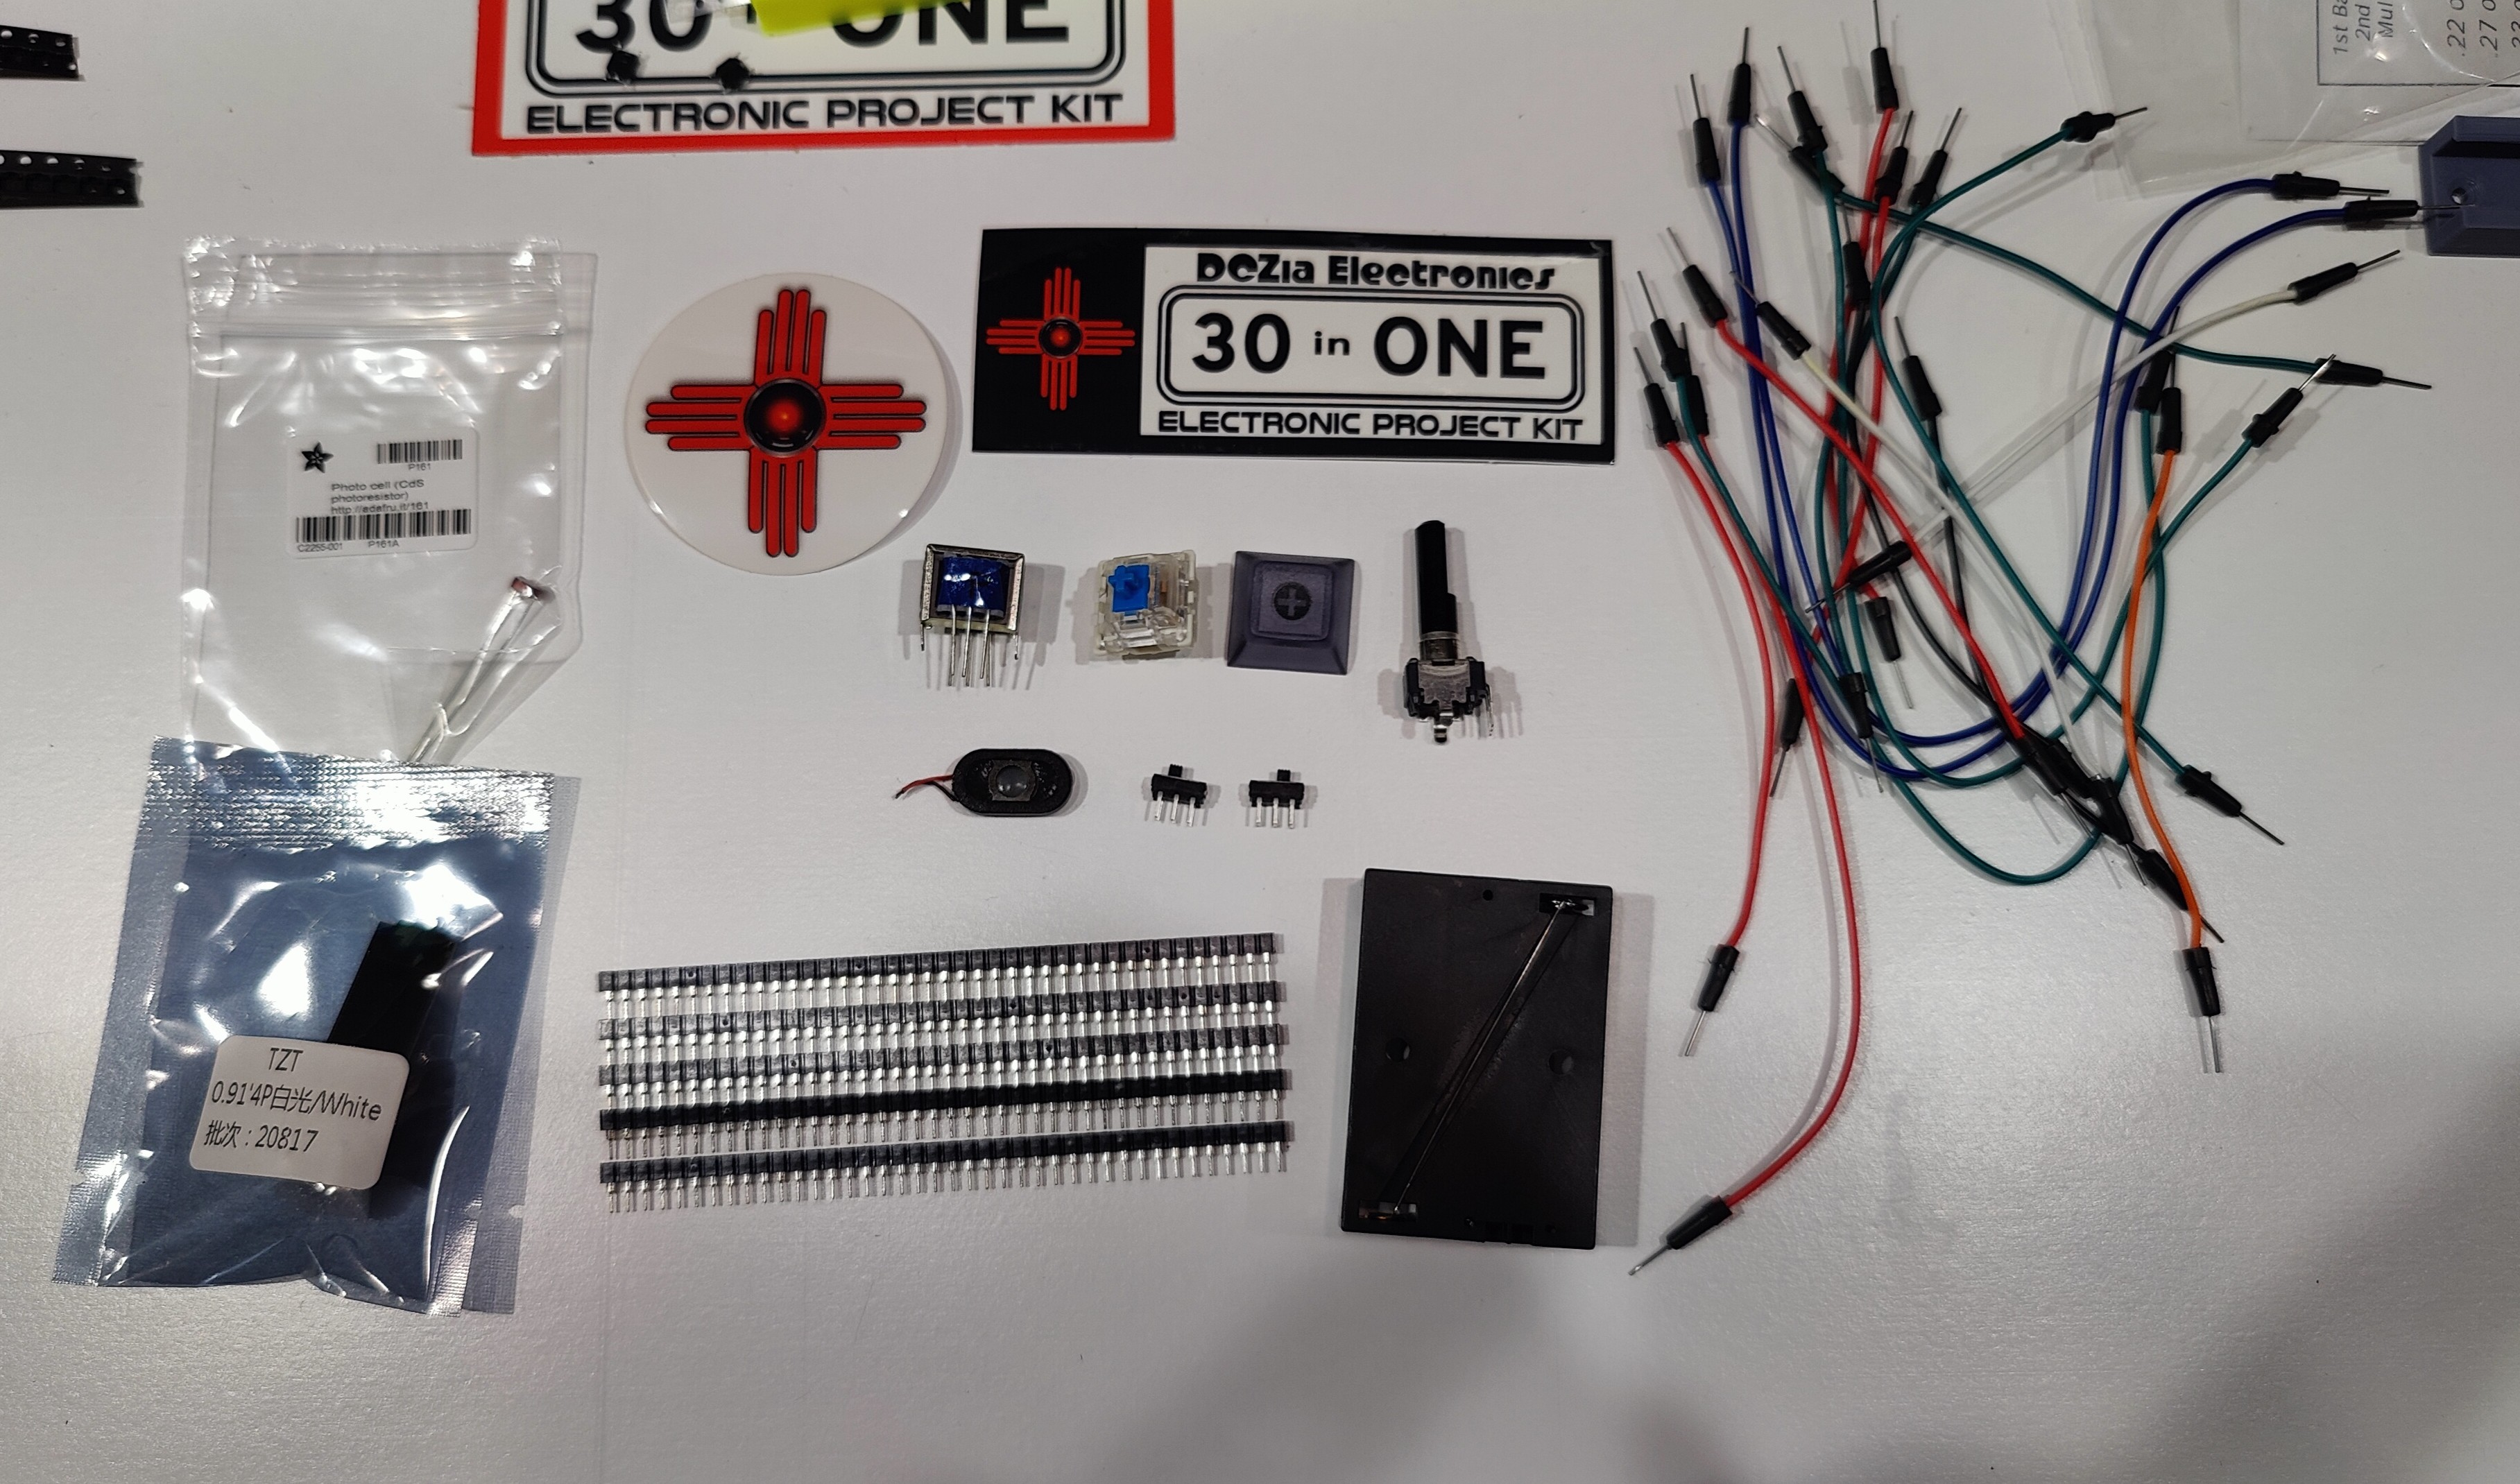
Building the badge is overall pretty simple. The first step is to just get everything unpacked. Included, you should have:
- Two DCZia stickers
- A CdS cell in an Adafruit bag
- A small OLED display
- 5 socket strips
- A transformer
- A key switch
- A key cap
- A potentiometer
- A speaker
- Two slide switches
- A battery box
- A bundle of loose hookup wires
- Batteries
- A lanyard
- A booklet
- A wooden box
- A circuit board
- An instructions card
-
2Video instructions
If you're a visual learner, we have a build video too.
-
3Getting started
Find the build instructions card. It has the simple build instructions.
The first thing you want to do is locate the 5 long socket strips. We'll be snapping them off into smaller strips.
Take your PCB out of the wooden box (the top comes off, and then it slides out). Place it face up on the table.
Start snapping your strips into small 2 and 3 pin sections and filling out the holes in the board. There are a few 6 pin sections.
-
4Flipping the board
Now that you have the strips in place, take the wooden box and place it over the top of the PCB. There are cutouts to allow the tall capacitors to stick through. Cover the whole board.
Now, carefully holding the PCB tightly to the box, pick up and flip the whole thing over. With luck, you didn't lose any of the socket strips.
-
5Soldering the strips
Solder up all the square pads first. Once you've done that, you can pick up the board and look at the other side. If any socket is not sitting flat, just squeeze the socket to the PCB with your fingers, and then re-apply heat on the square pad so it can move. Don't burn your fingers!
Once you have all the sockets flat, solder all the round holes.
-
6Draw the rest of the owl
Now, just start placing the rest of the parts. You'll have the best luck with going for the next shortest part, placing and flipping, soldering like above, before going to the next taller part.
For the transformer, note that the P for primary windings is marked on the transformer and on the PCB. Line those up!
-
7Power on
Insert the batteries, and then slide the switch next to them DOWN to power on. The OLED screed should give you a welcome screen. You're ready to learn!
DC Zia 30-in-One Badge
A defcon badge that's a throw back learning tool in disguise
 hamster
Discussions
Become a Hackaday.io Member
Create an account to leave a comment. Already have an account? Log In.