-
1Step 1 / Paso 1
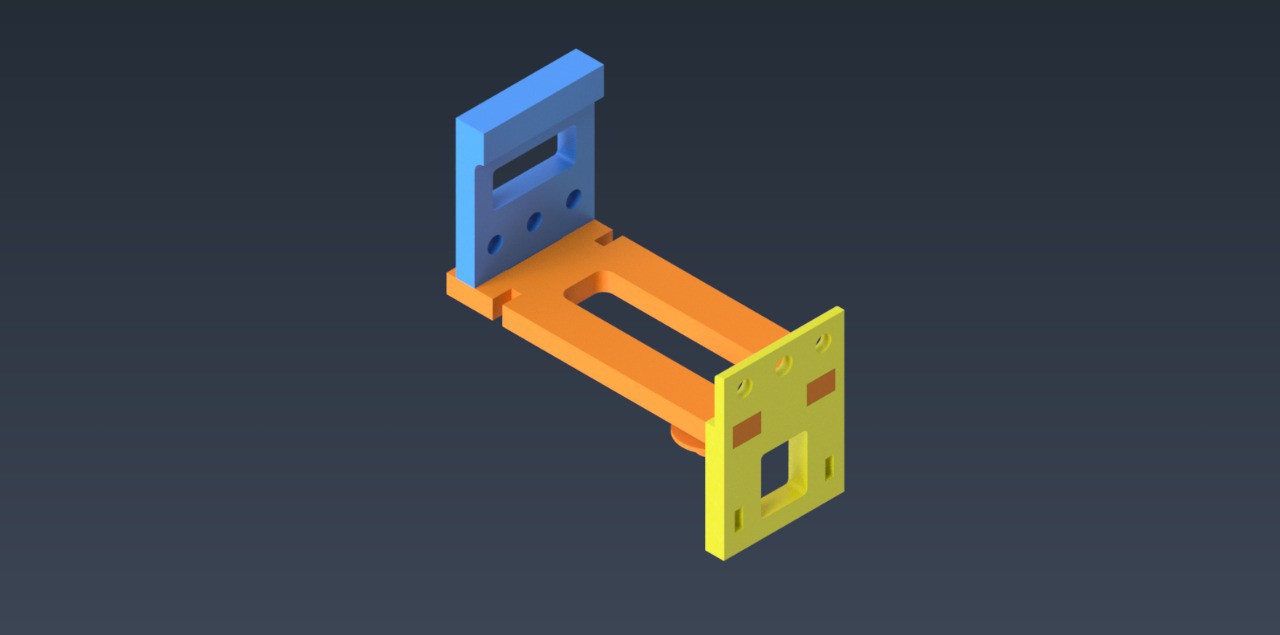
Assemble the main body 3, main body 4, and main body 1 parts as illustrated in the following image:
Ensamblar las piezas main body 3, main body 4, main body 1 tal como se ilustra en la siguiente imagen:
![]()
-
2Step 2 / Paso 2
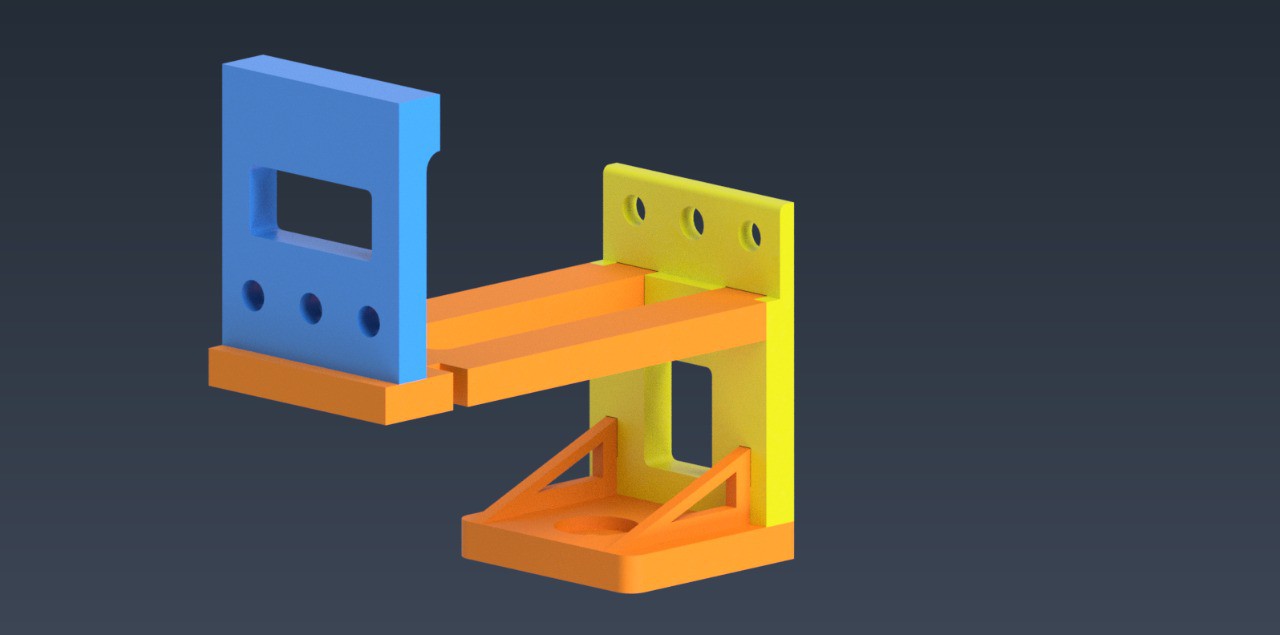
Assemble the main body 2 to the main body 3 using the auxiliary parts 1 as illustrated in the following image:
Ensamblar el main body 2 al main body 3 utilizando las piezas auxiliar 1 como se ilustra en la siguiente imagen:
![]()
-
3Step 3 / Paso 3
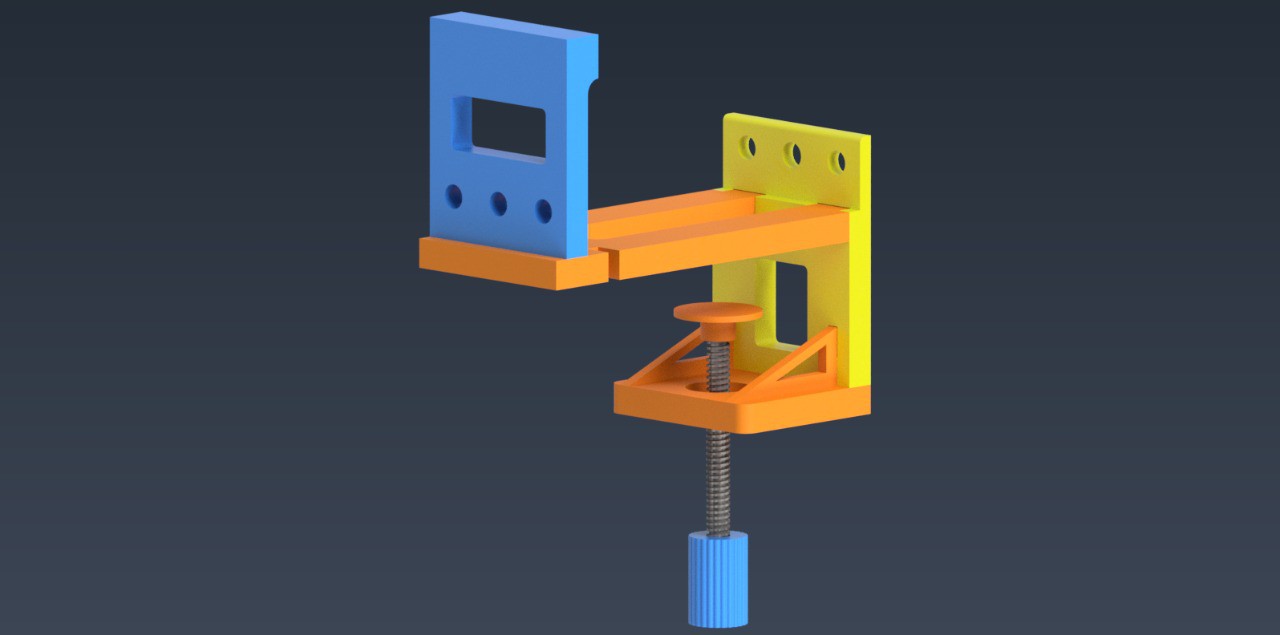
Screw the lower screw to the T8 nut and assemble with its respective knob and cover. See the following image:
Atornillar el tornillo inferior a la tuerca T8 y montar con su respectiva perilla y tapa. Ver la siguiente imagen:
![]()
-
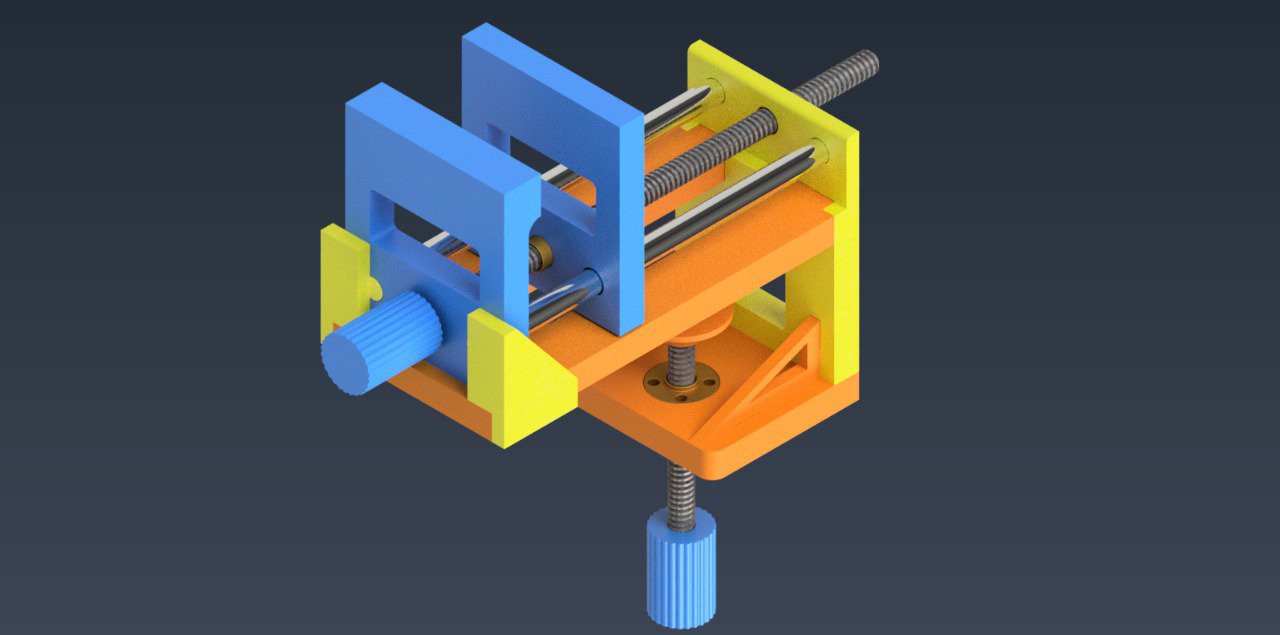
4Step 4 / Paso 4
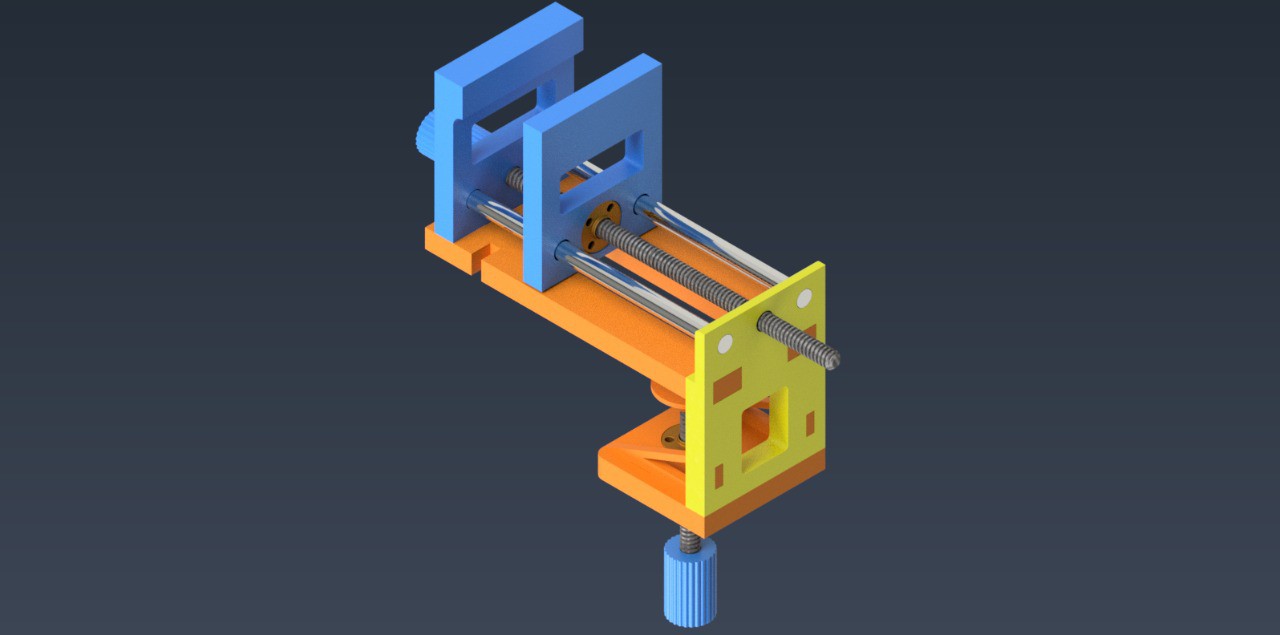
Present the clamp in the upper part of the assembly with its two guides, its screw going through the nut and its respective knob.
Presentar el clamp en la parte superior del ensamble con sus dos guias, su tornillo atravesando la tuerca y su respectiva perilla.
![]()
-
5Step 5 / Paso 5
Fit the last two auxiliary supports.
Montar los últimos dos soportes auxiliares.
![]()
Prensa de banco de escritorio
Diseño en CAD y proceso de fabricación de una prensa de banco de escritorio. Pensado para ser fabricada utilizando polimeros en impresora 3D
Discussions
Become a Hackaday.io Member
Create an account to leave a comment. Already have an account? Log In.