The Arduino IoT Cloud is an online platform that makes it easy for us to create, deploy and monitor IoT projects. The platform allows anyone to create IoT projects, with a user-friendly interface, and an all-in-one solution for configuration, writing code, uploading, and visualization.
Their service allows us to configure, program and deploy our Arduino devices. An all-in-one solution for IoT development, where we can build visual dashboards to monitor and control our devices, integrate with other services, and much more.
2
Get PCBs for Your Projects Manufactured
You must check out PCBWAY for ordering PCBs online for cheap!
You get 10 good-quality PCBs manufactured and shipped to your doorstep for cheap. You will also get a discount on shipping on your first order. Upload your Gerber files onto PCBWAY to get them manufactured with good quality and quick turnaround time. PCBWay now could provide a complete product solution, from design to enclosure production. Check out their online Gerber viewer function. With reward points, you can get free stuff from their gift shop.
3
Getting Started
Arduino IoT Cloud has features that work in real-time and can be done all from a single point of contact, i.e. the Cloud. No more having to repeatedly upload the code to the Wireless Device. Upload it once, and you're good to go! But what else does it offer? Let's have a look -
Data Monitoring- Easily monitor our Arduino's sensor values through a dashboard. Using a Mobile phone or a PC.
Webhooks - HTTP REST APIs help us to integrate our project with any third-party service. This gives a scope to use the IoT from a broader perspective
Amazon Alexa Support - Link the project, voice-controlled with the Amazon Alexa integration.
Dashboard Sharing - Share your visualization data with other people around the world.
Variable Synchronisation- Variable synchronization allows us to sync variables across devices, enabling communication between devices with minimal coding.
Scheduler- Schedule any job to go on/off for a specific amount of time (seconds, minutes, hours). Basically, Automate your IoT projects and watch them work on their own on a regular routine you configure!
4
Device Setup with Arduino Cloud
It is necessary to have a development board that can be connected to the internet. Below is a list of such devices -
ESP32/ESP9266 WiFi (Espressif)
MKR 1000/1010 WiFi (Arduino)
Nano RP2040 Connect (Arduino)
Nano 33 IoT (Arduino)
Portenta H7 (Arduino)
Opta (Arduino)
...and a few other boards
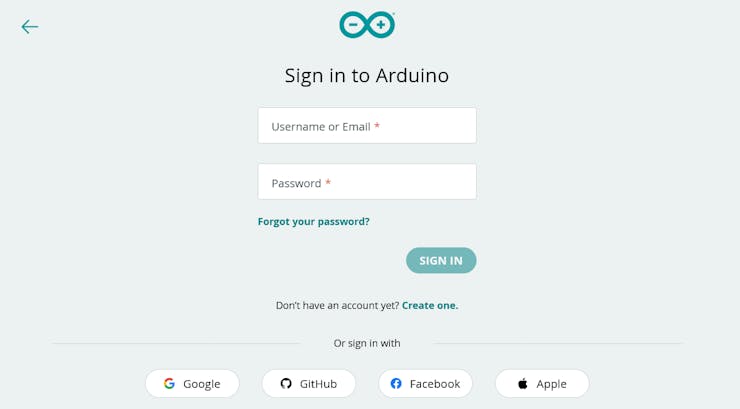
We can choose between using an official Arduino board, or a board based on the ESP32 / ESP8266 SoC. The Arduino IoT Cloud currently supports connection via Wi-Fi, LoRaWAN, and mobile telecom networks.
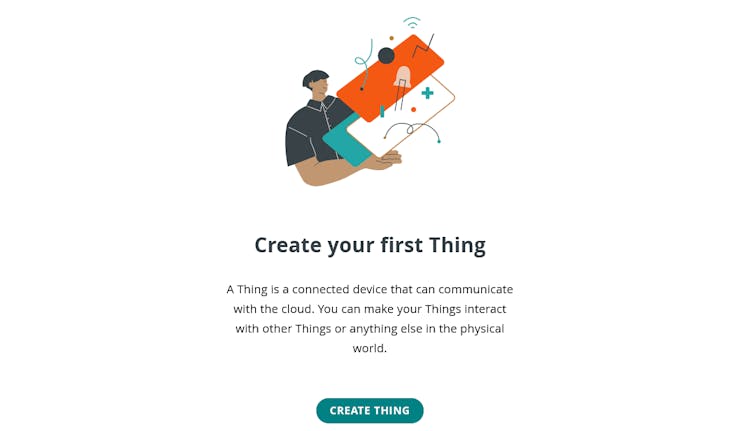
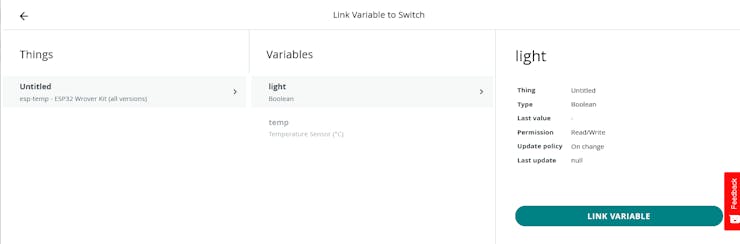
2. Create a 'Thing'. The digital droplet which we will use to communicate with our device. Same as other IoT Platforms.
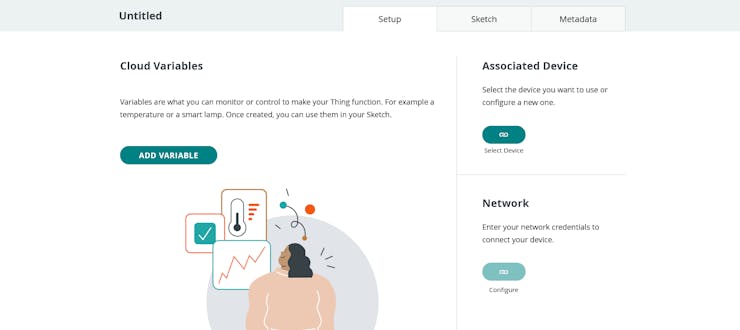
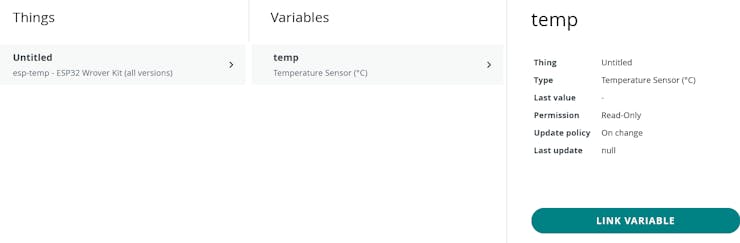
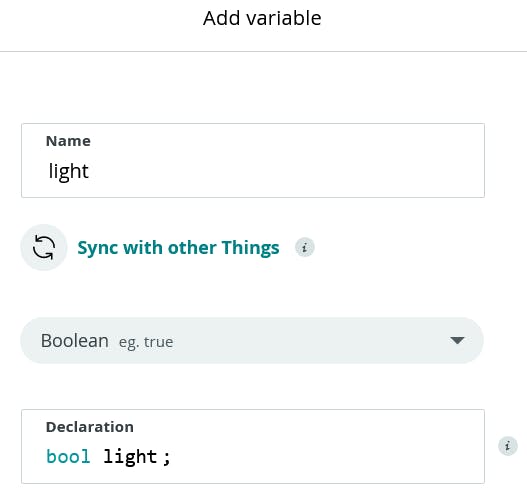
3. Setup the Thing - Add the variable 'temp' to store the data on the cloud. Associate a device and configure the network.
4. We will be using the device for temperature monitoring, select the variable type as 'temperature sensor'. See below -
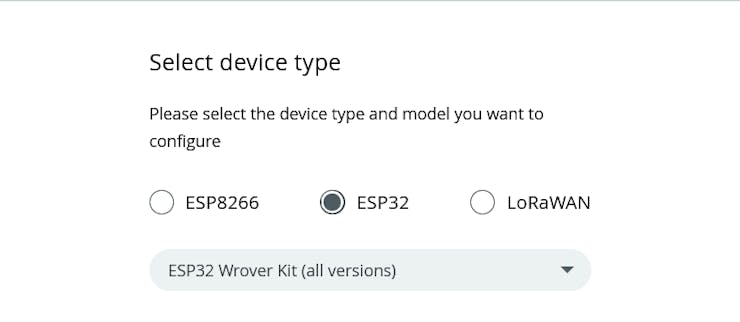
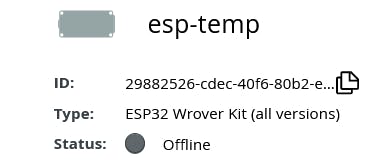
5. Now associate a device, to set up with the ESP32 (in our case). This can be done by selecting a third-party service.
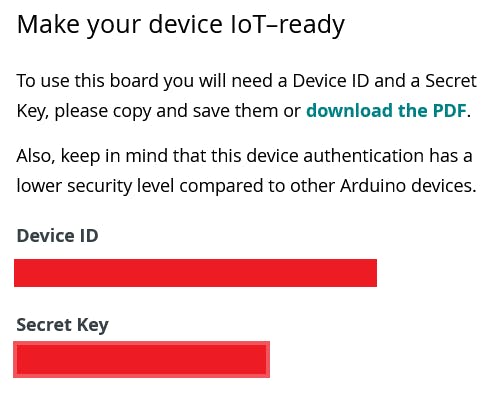
6. Make sure to save the Device ID and Secret Key of the created device. The best way would be to download the PDF which contains both the information.
7. Now configure the network. ESP32 uses wifi, and therefore enter the wifi SSID and Password.
Congratulations! The device setup is complete. We can start with writing and uploading the code.
5
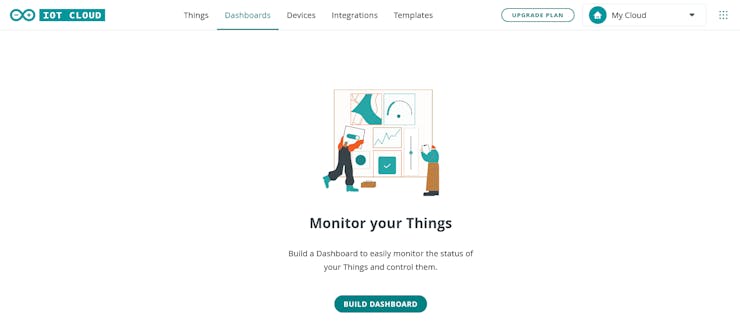
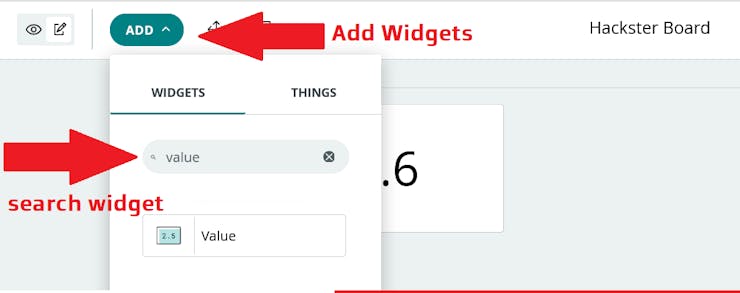
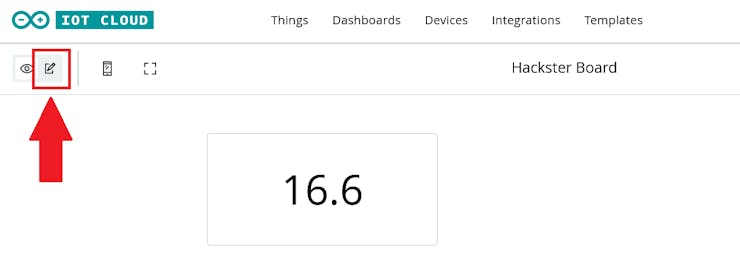
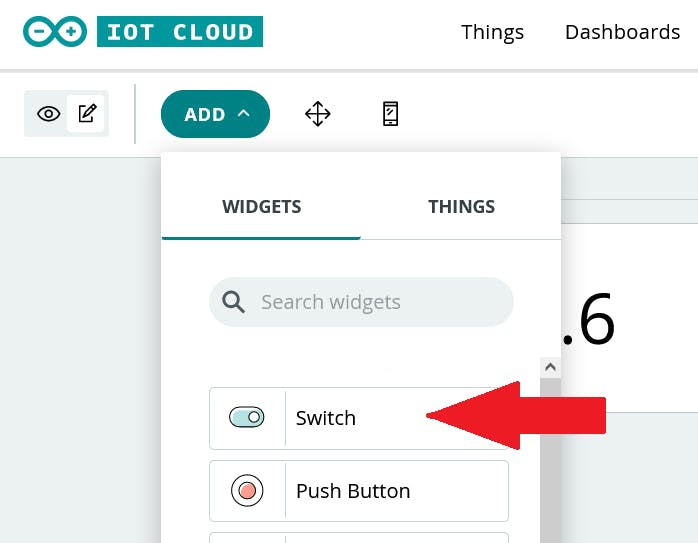
Device View on Arduino Cloud - Dashboard
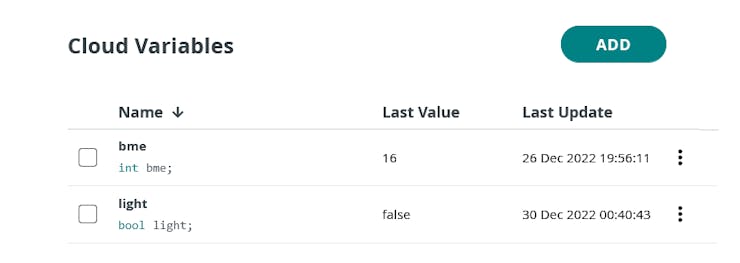
Since we are using the device to monitor temperature, we need to view the data on our Arduino cloud as well. Arduino IoT Cloud provides the feature 'Dashboard' to view the data pushed to the cloud from the Device.


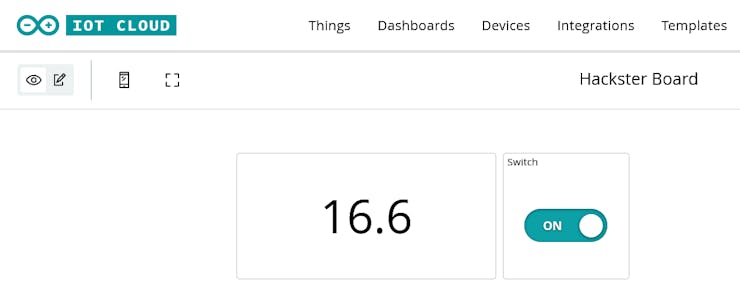
 This was a sample of Data Monitoring and Control using Arduino IoT Cloud !! ✨
Discussions
Become a Hackaday.io Member
Create an account to leave a comment. Already have an account? Log In.