In this project, I will create a HomeAssistant (based on the software of the same name) for me and my family.
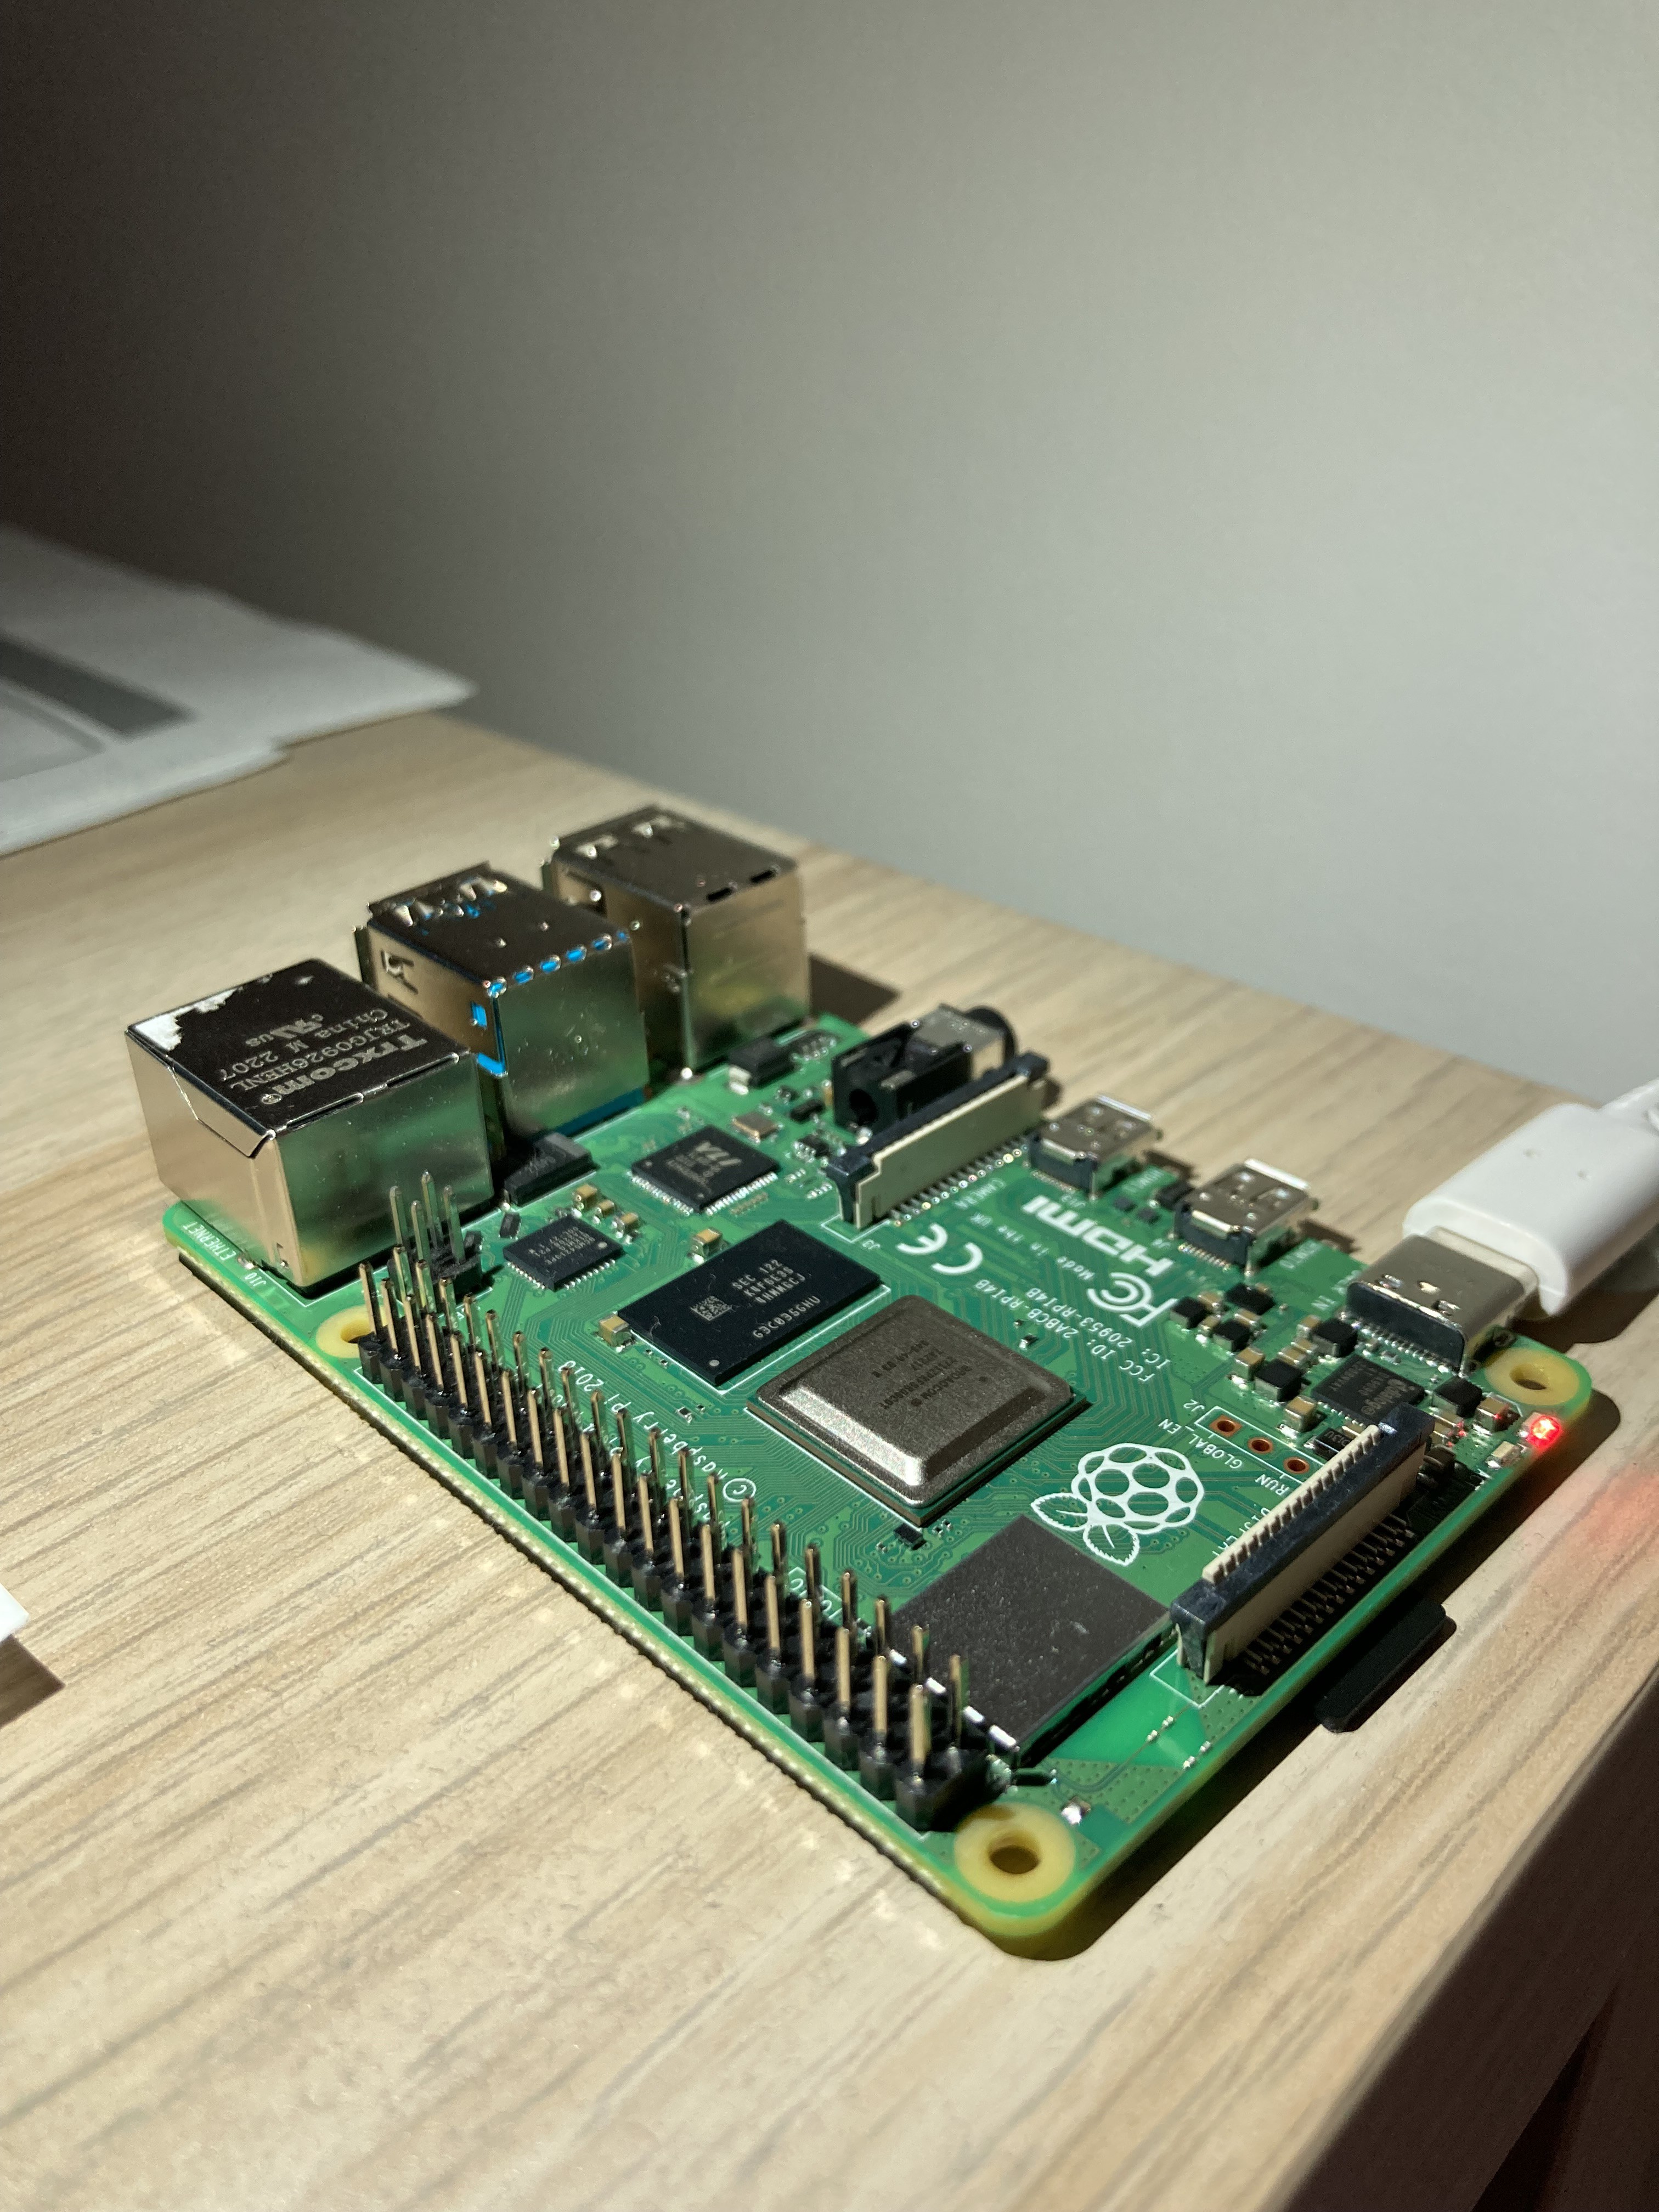
Obviously to run Home Assistant, I used a Raspberry pi4. Home Assistant (HA) software was installed on an SD card and inserted into the raspberry.
Then, to connect HA to the Internet if you want to use an Ethernet cable, just connect it and find the IP address of your HA with: 8123 and here you connect. If like me you want to use wifi, you will need a screen and a keyboard that you plug into the raspberry. Then use the commands «login» then «nmcli device wifi list» to choose the desired wifi with «nmcli device wifi connect «name of wifi» --ask» then enter the password and finally reconnect and it’s okay.
I then create a profile for each person in my family and finally find out about the real projects.
My first desire was to have a camera that I can see from anywhere above my 3D printer to see if the printing is going well. So I had an esp32-cam, perfect because by installing esphome on my HA, the software would have made it possible to code the camera.
To install esphome, go to the add-on in the settings and find the extension.
Once the extension is installed, this page should appear (without the camdam since it is the name of my esp32-cam).
You need to flash esp by opening a new device on HA to start programming.
When this step is complete, simply add . yaml code under the existing code. For esp32-cam, the main parameters are:
esp32_camera: name: My camera
external_clock: pin: GPIO0
Frequency: 20MHz
i2c_pins: SDA: GPIO26
scl: GPIO27
data_pins: [GPIO5, GPIO18, GPIO19, GPIO21, GPIO36, GPIO39, GPIO34, GPIO35]
vsync_pin: GPIO25
href_pin: GPIO23
pixel_clock_pin: GPIO22
power_down_pin: GPIO32
brightness: 1
resolution:
400x296 max_
Frame rate: 10 fps
vertical_flip: False
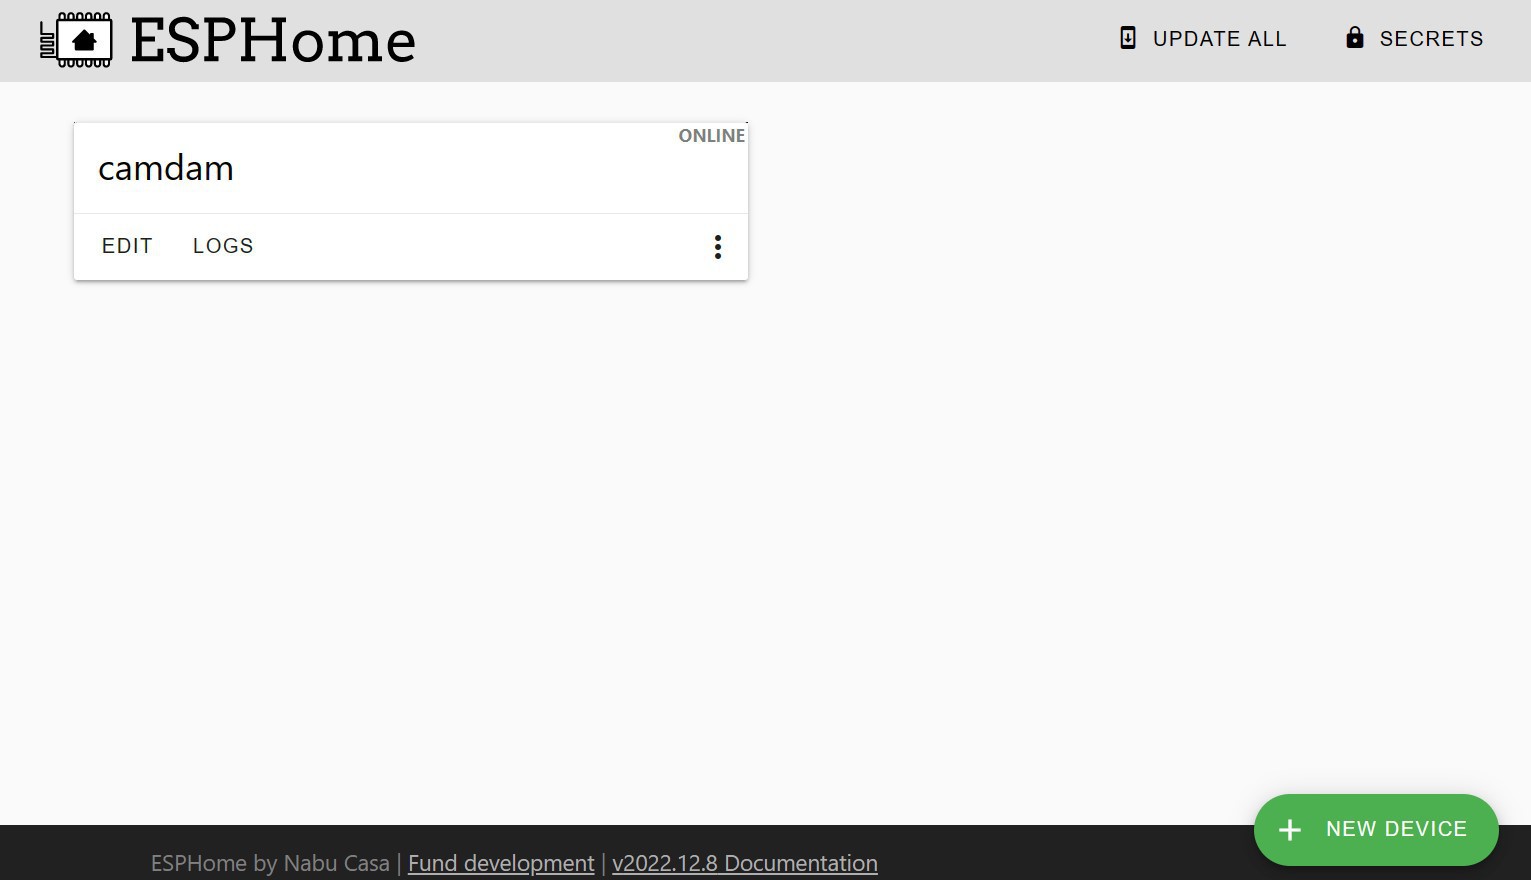
After downloading the program, you have to go into the settings, then into the device, normally your camera must be detected and so offer otherwise click on a new device, search esphome, enter the ip address and ca should be good.
To be able to see the video stream, you must then modify the dashboard, add a map, and then in the images choose the one proposing to broadcast an entity that will be here our esp32-cam. The result should look like this if the same parameters as me were applied.
Now I test the camera on the outside in its case. It is possible that some devices already connect to wifi such as connected bulbs or printer, it is possible to connect them also on HA in the device part.
Later, I will make an automatic watering system of my plants with esp 8266 and of course I think to put some leds.
Thanks for reading, I’ll try to be consistent on this page. Sorry for the mistakes, I did my best for the translation.
Update (14/09/2023)
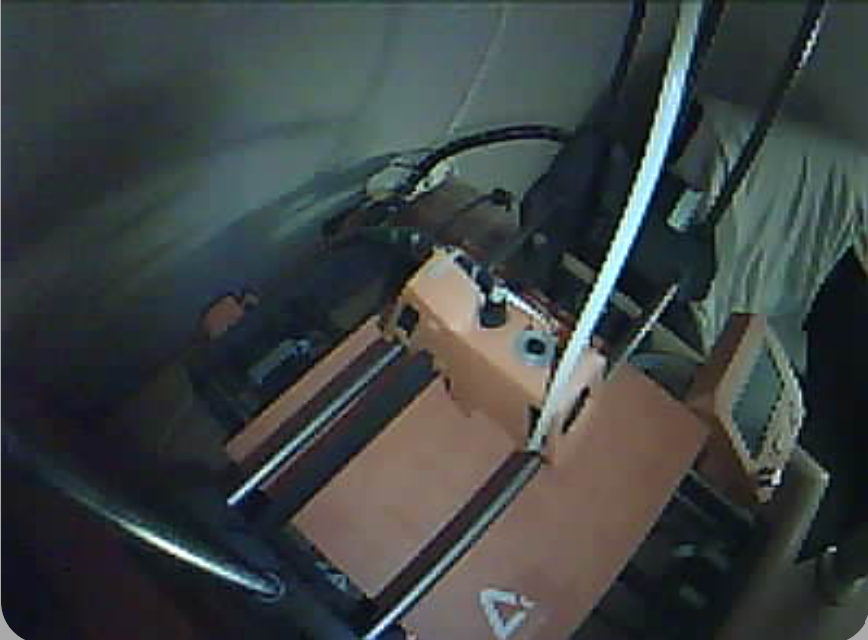
After several months (7) of use, my esp32cam installation is still working well. On this esp, you can see my 3D printer live on HA. This means I can start printing and see how it's going even when I'm outside.
 dadas
dadas

 Christoph Tack
 Carsten Rhod Gregersen
Qudos for you guys !