[5th March 2023]
If this tent doesn't work, the solution is probably a failure. Good news. I'm writing this log inside the tent.
4th March (yesterday)
Assemby
So I received the tent and put it up for the first time yesterday. Interestingly enough, the carrying case is only for the tent fabric and all the other things are just inside a plastic bag or loose inside the box. A bit of a shame, but the folded tent does have a lower Z thickness than the Vivosun edition. I haven't been able to find a 4ft long box or duffle bag, and that's one of the reasons I picked this tent over the noname £108 tent.
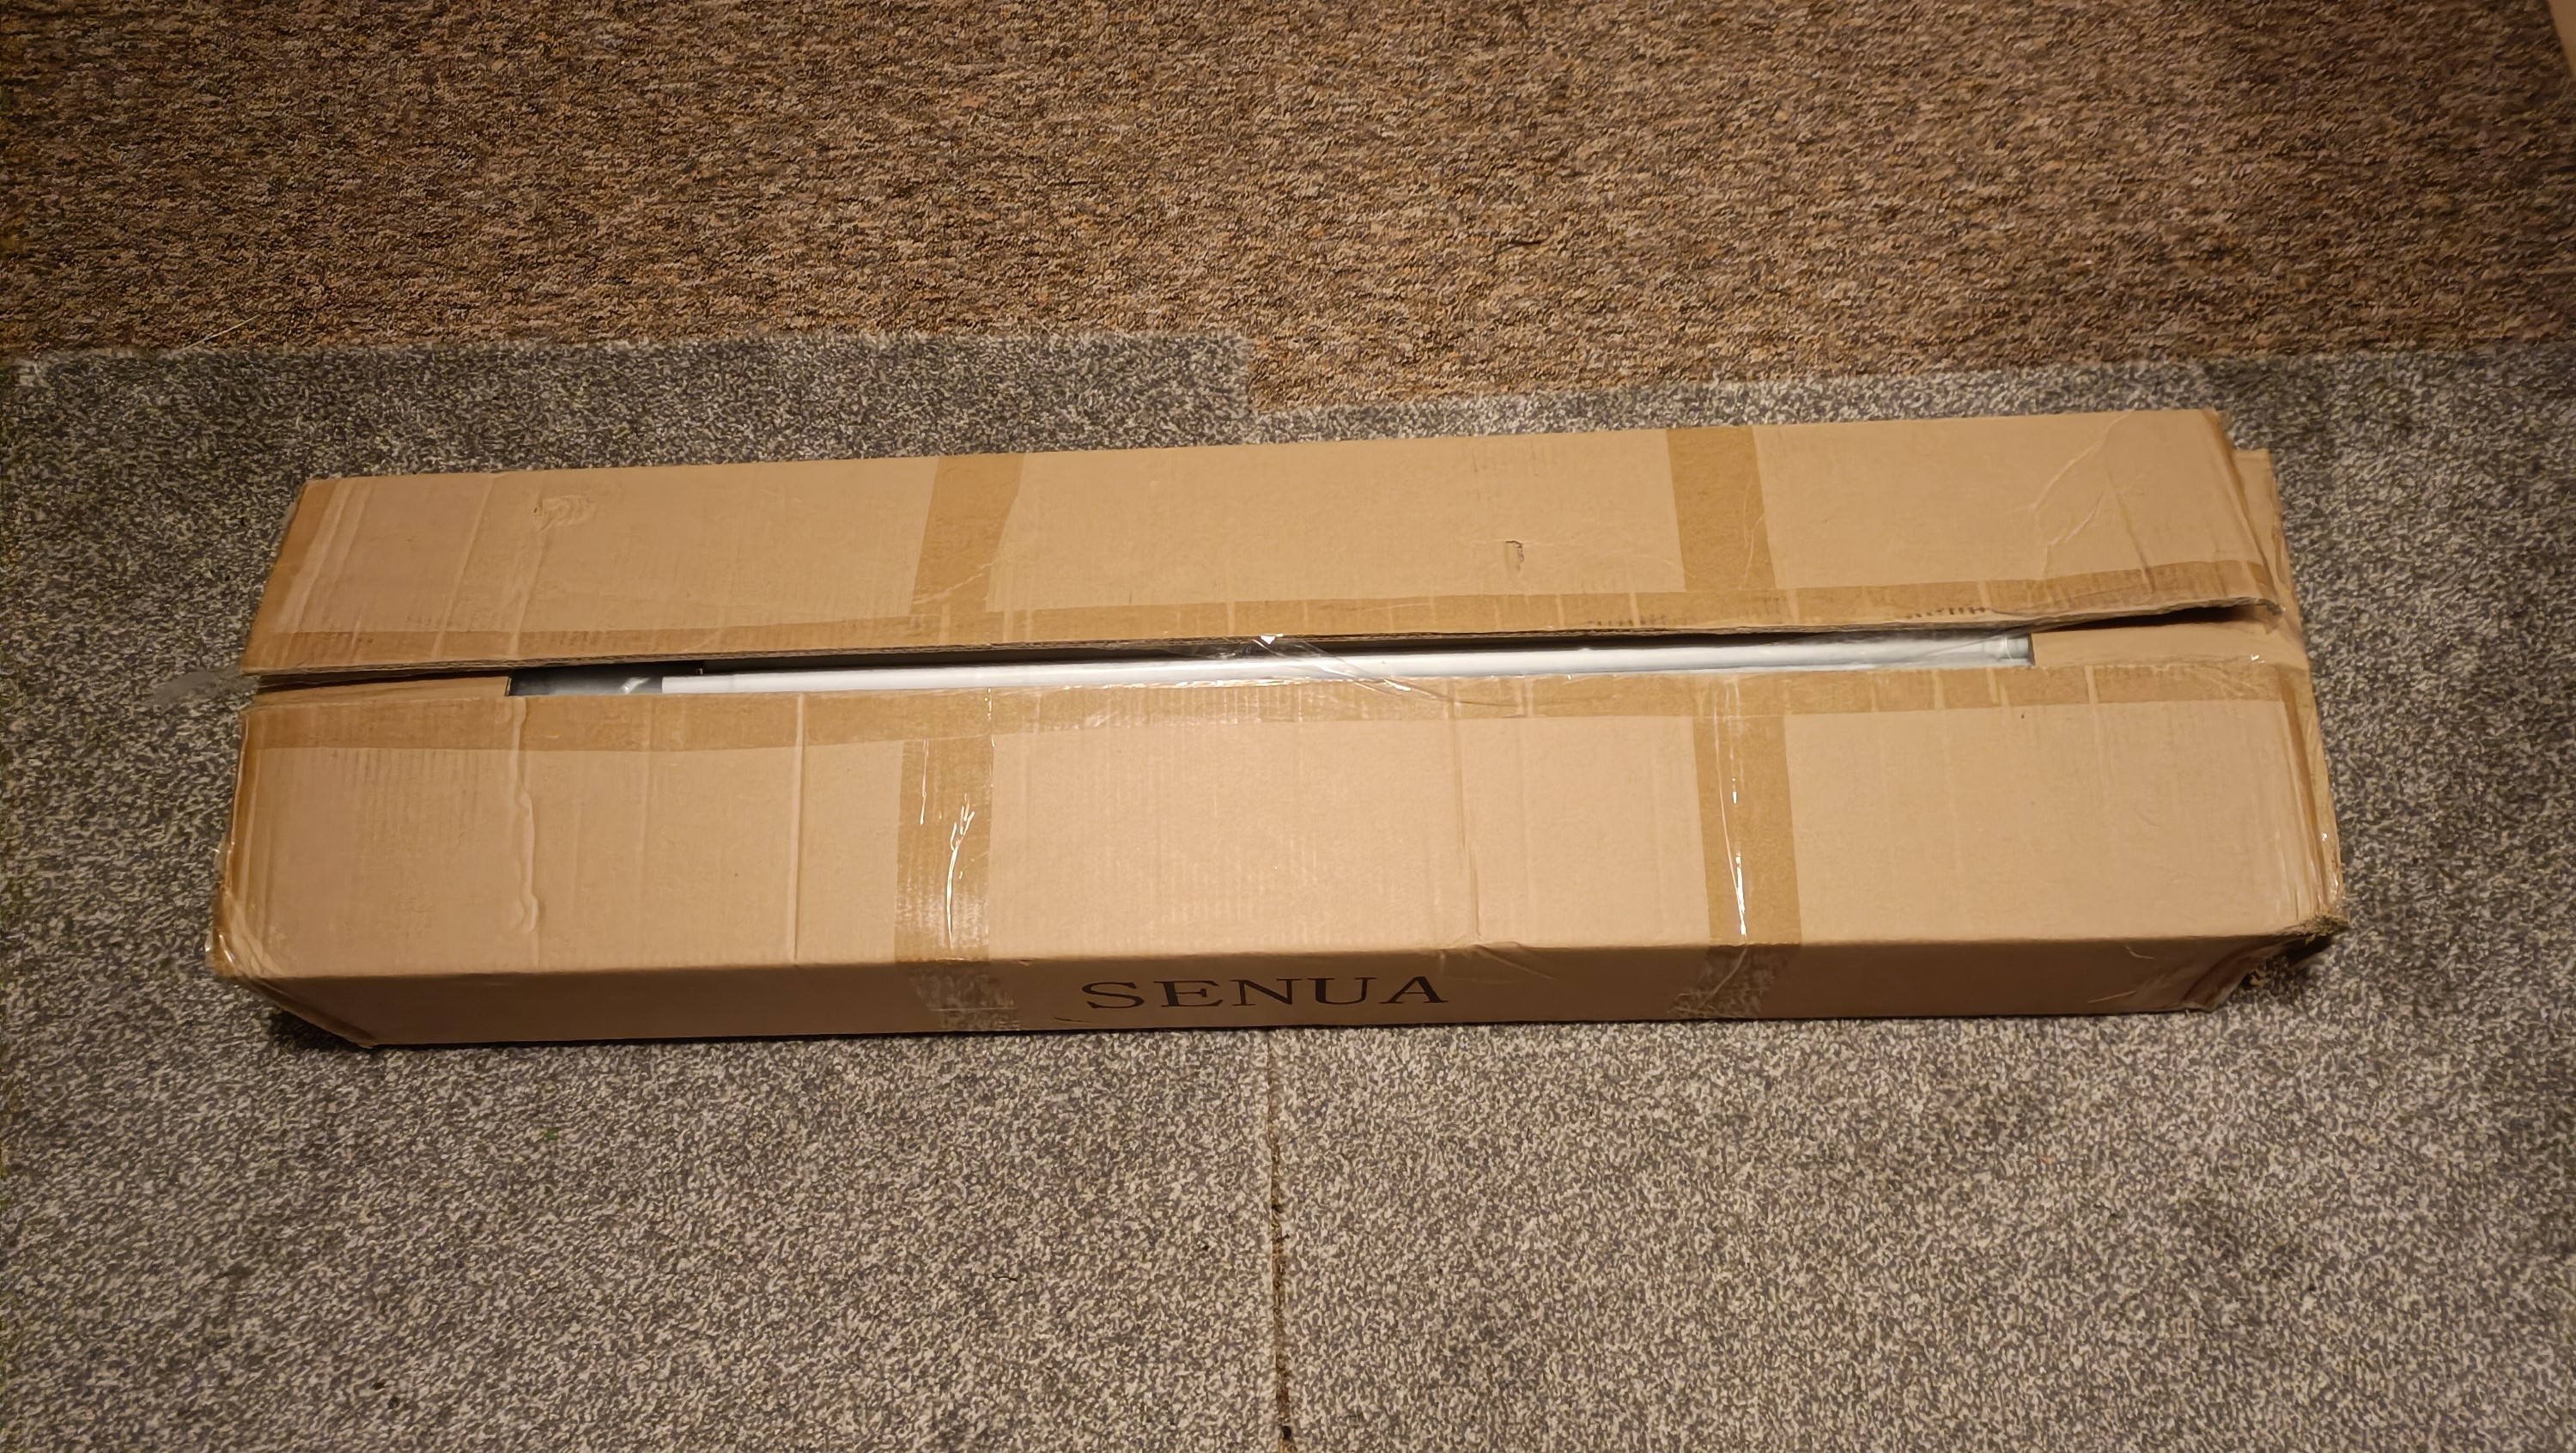
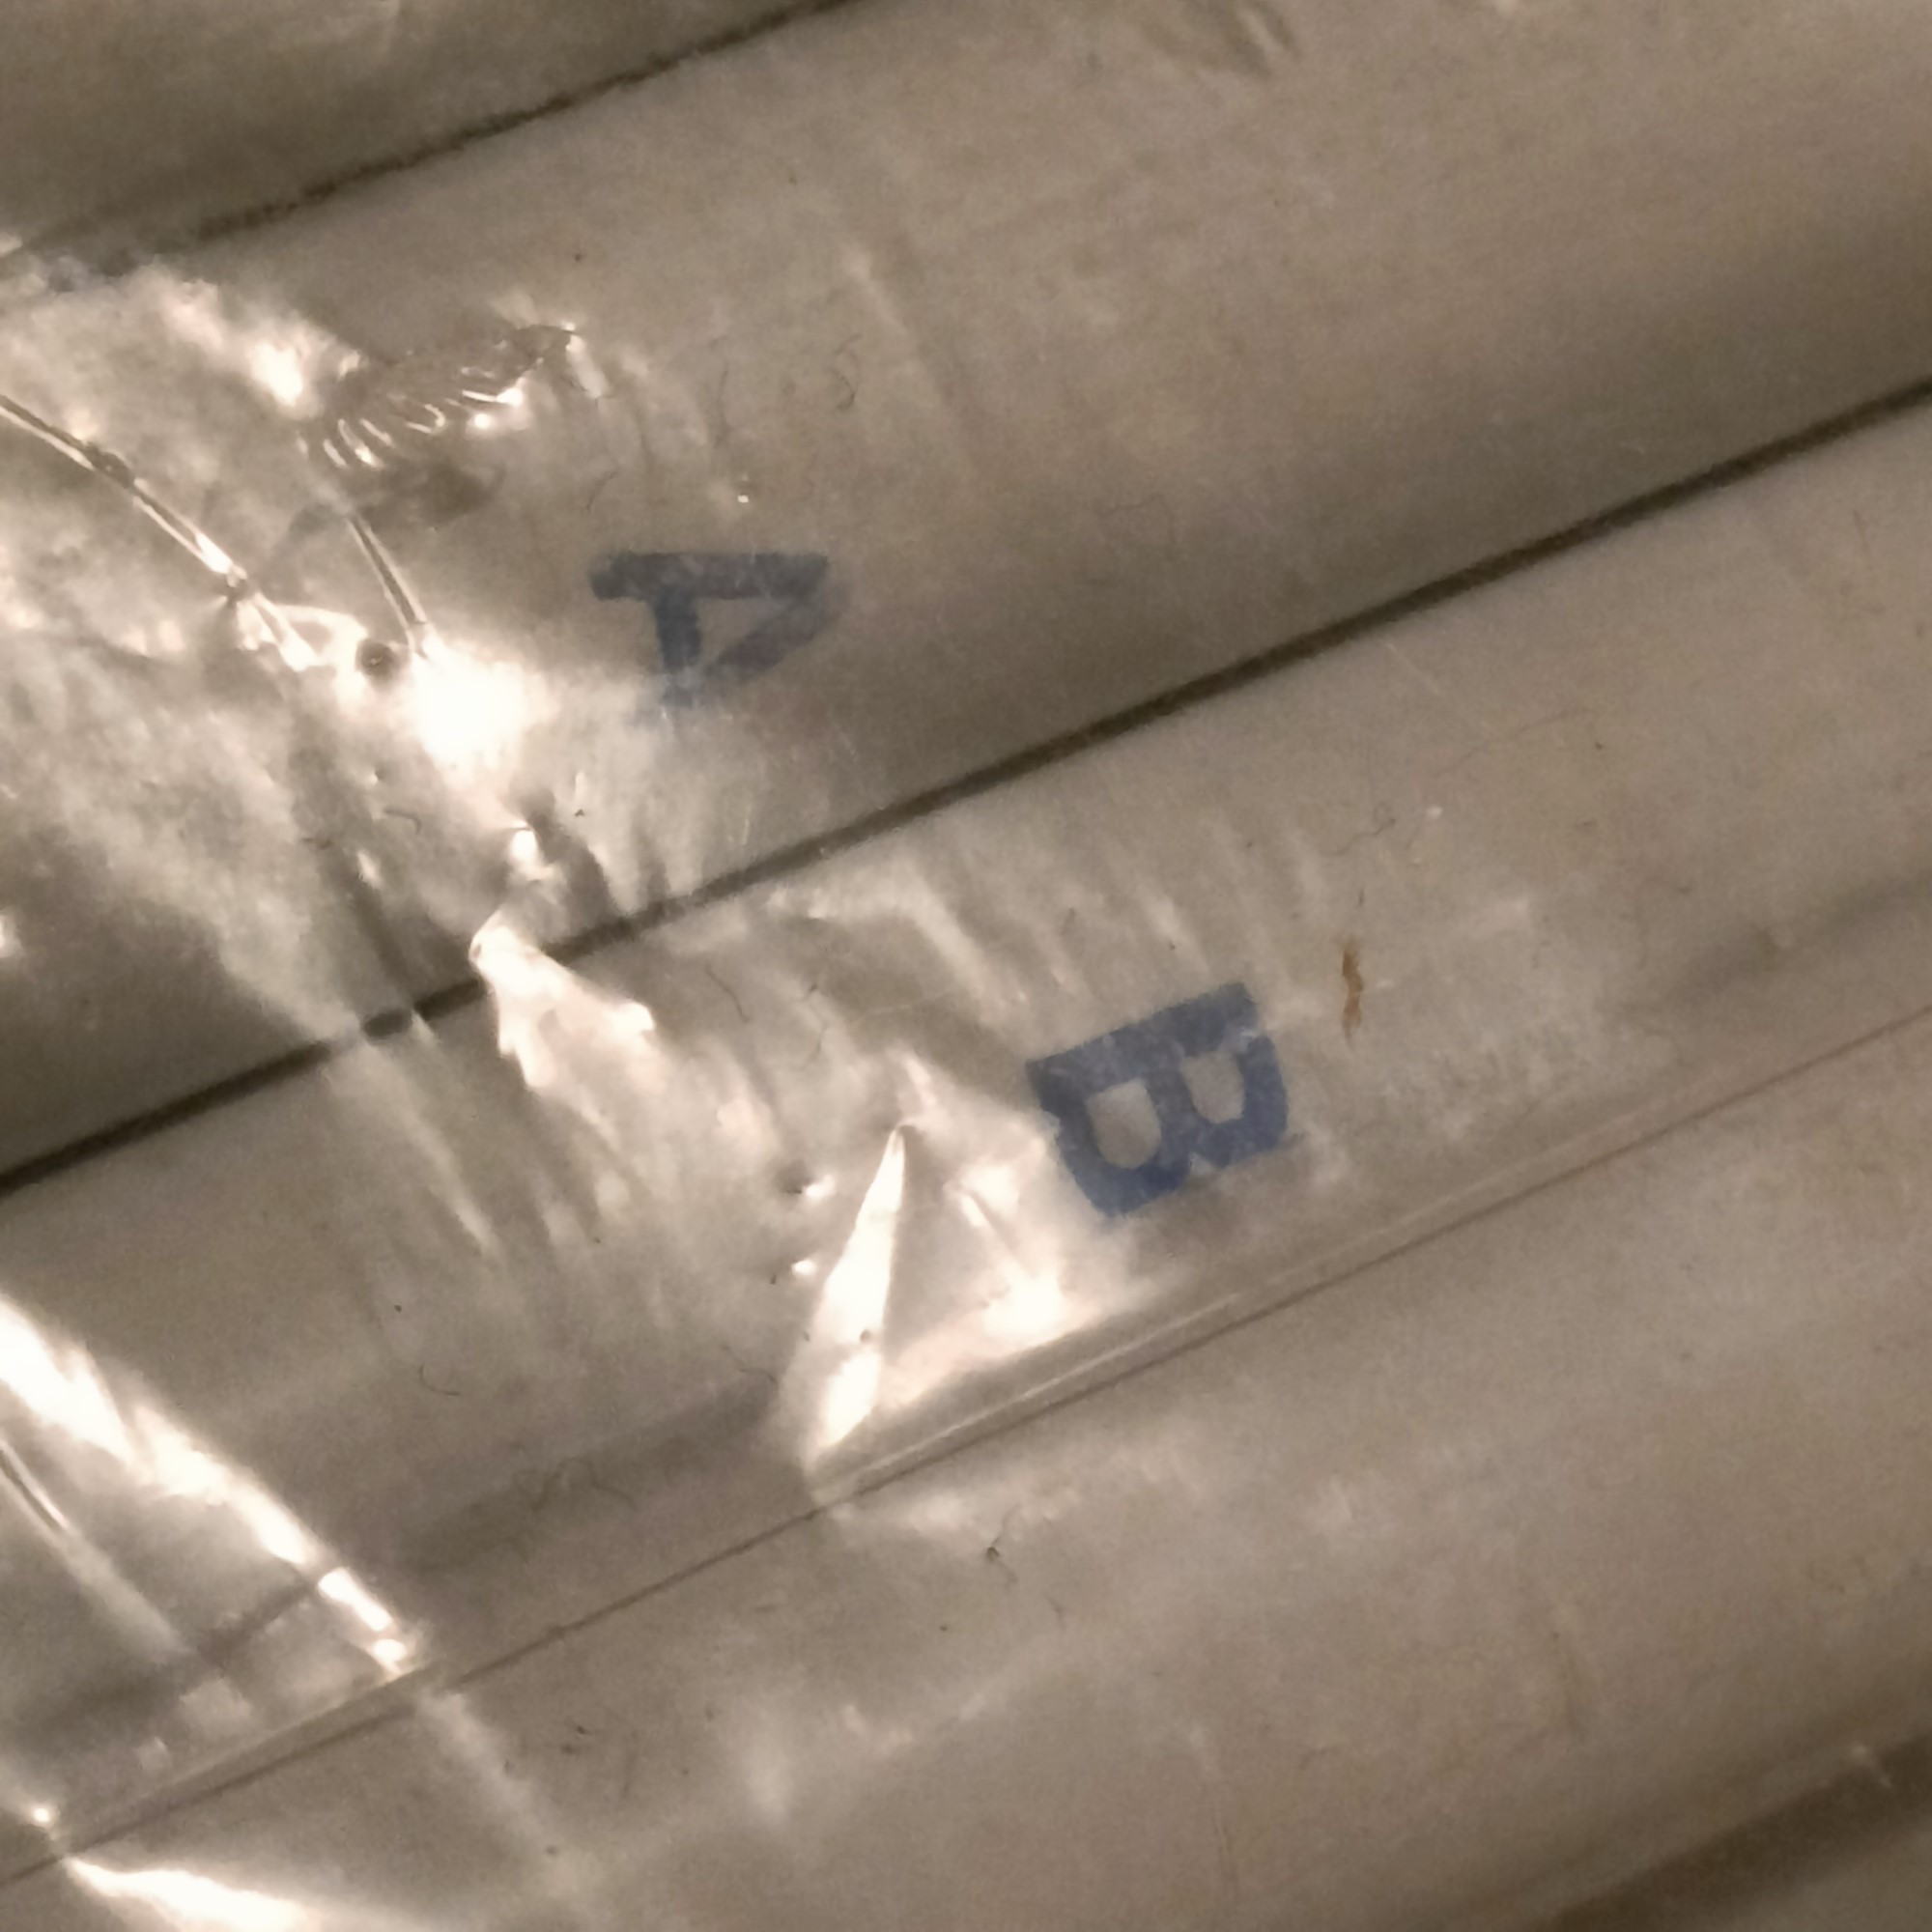
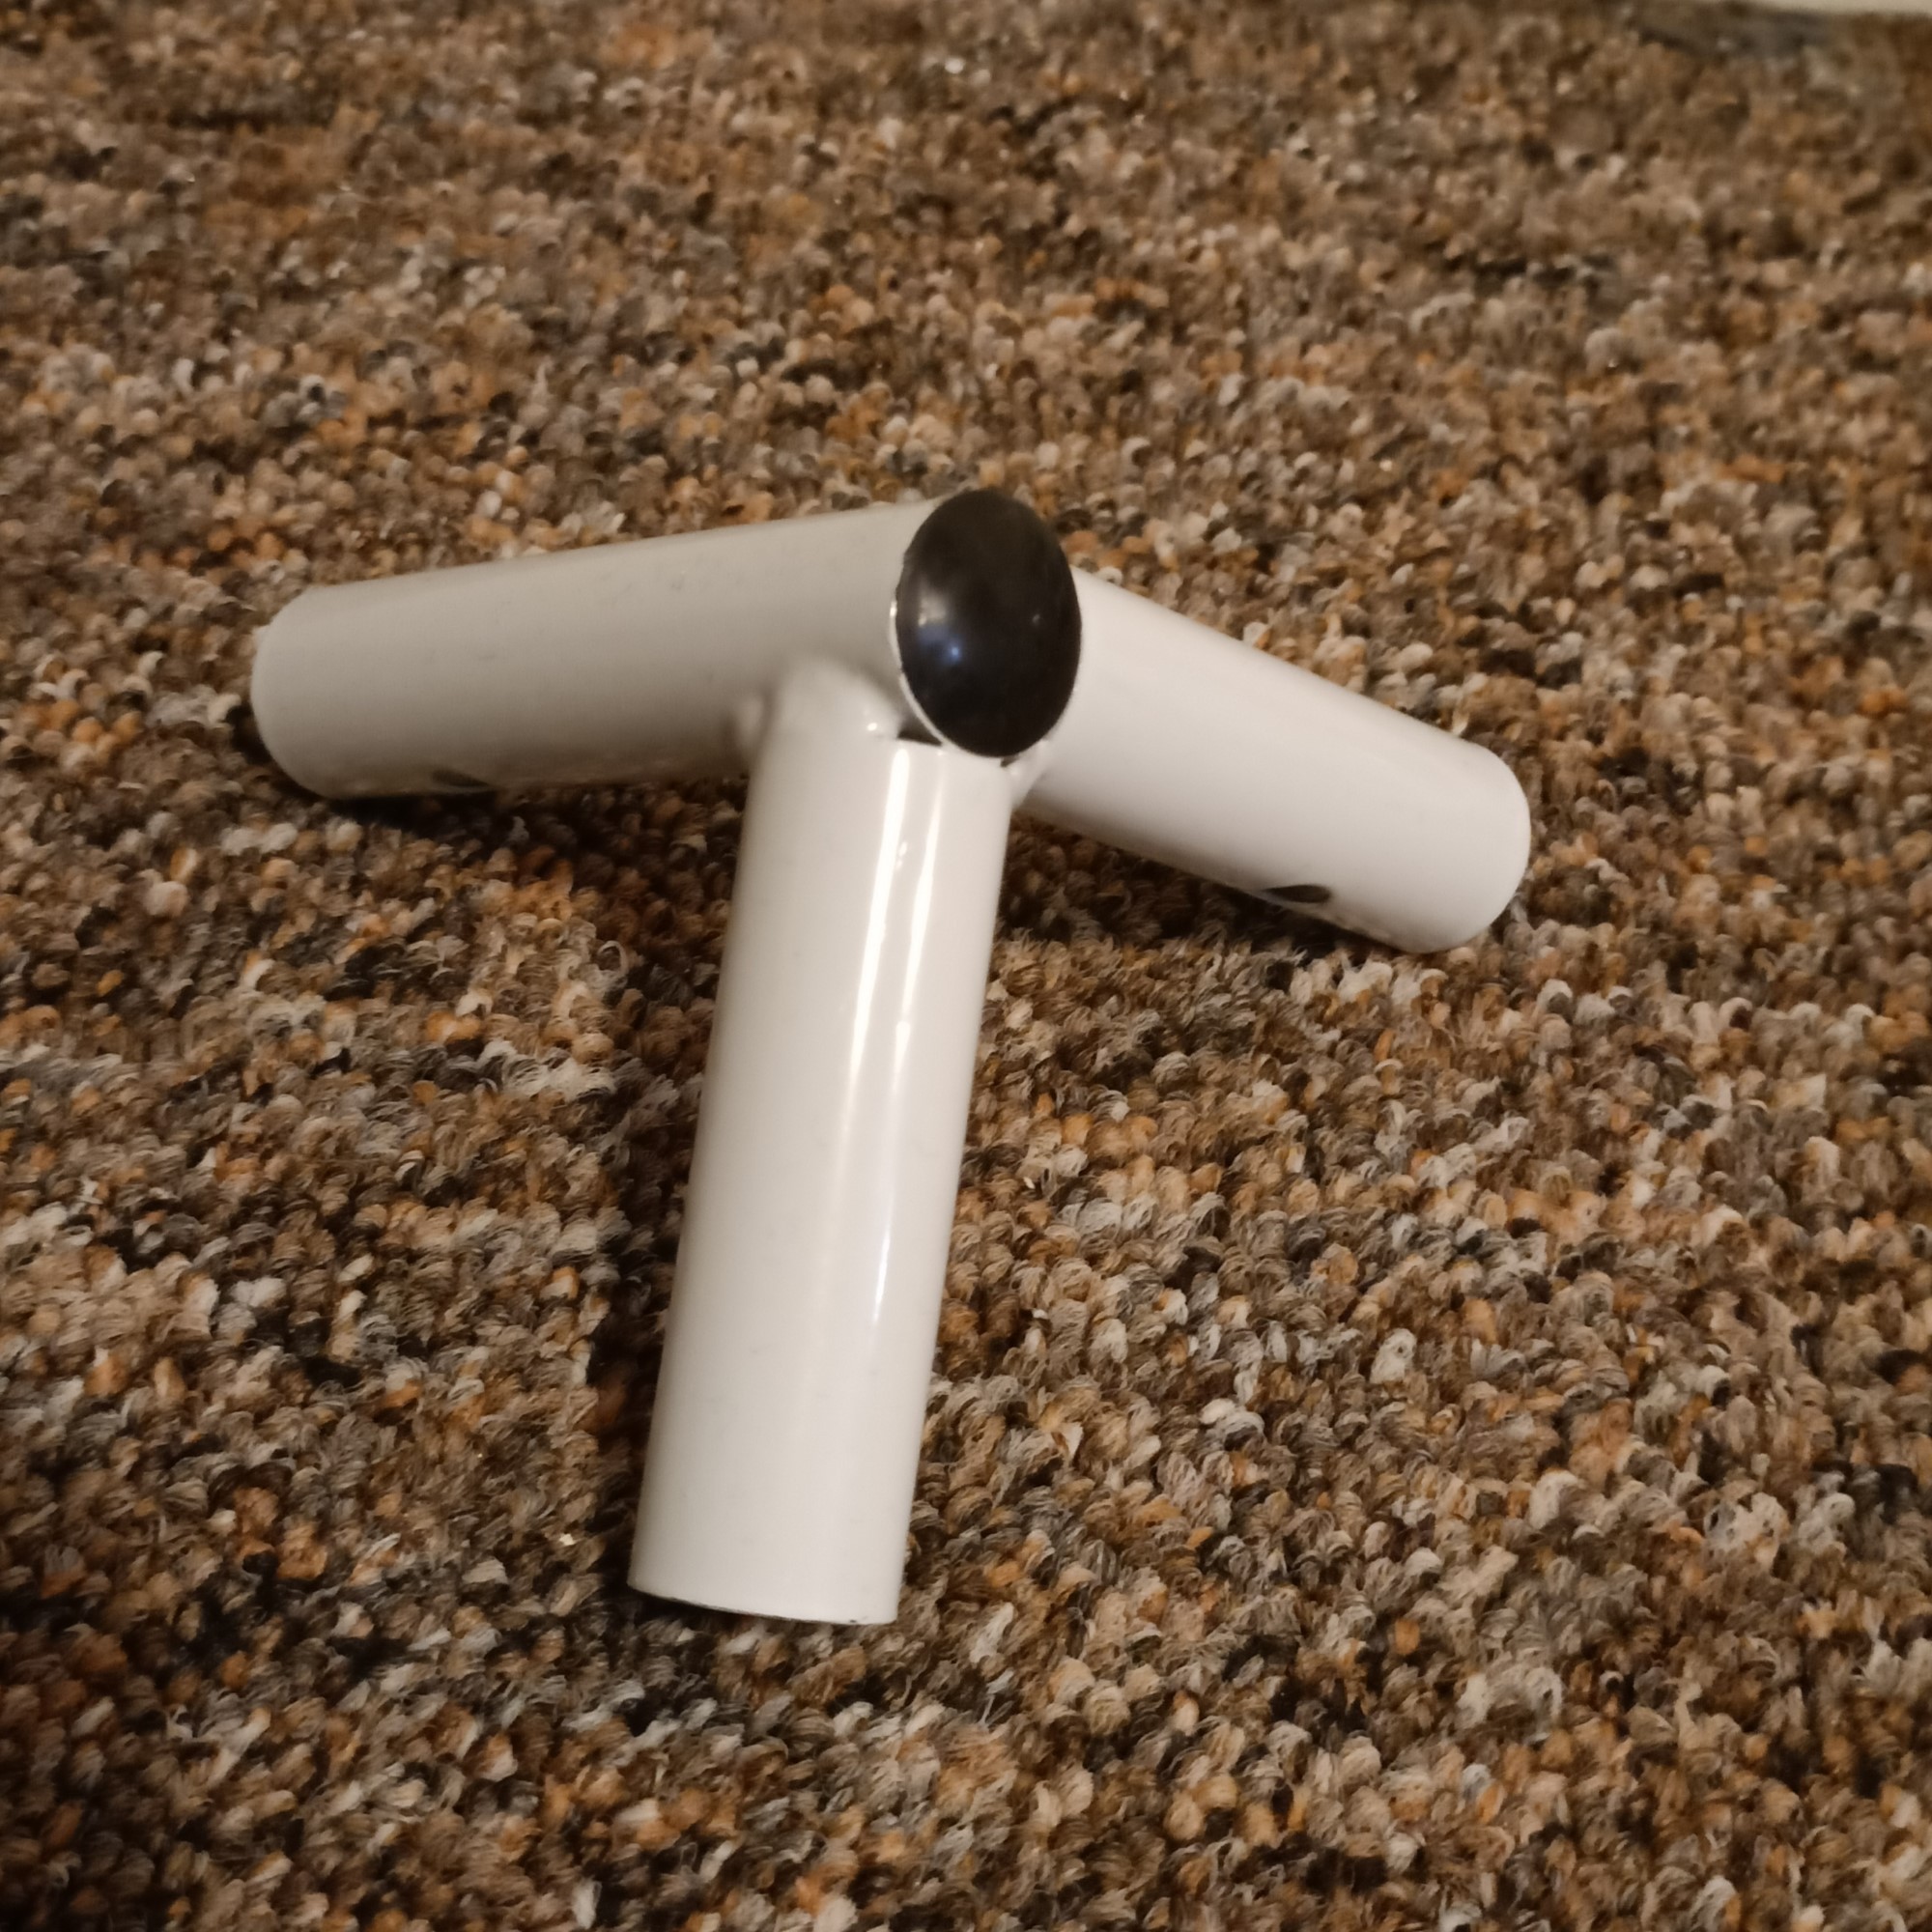
I was also liking the look of the white tubes already, and also like these black caps over the corners. The letters marked onto the tubes were also easier to see, since it was a white background and the font was bold and not a thin-looking Times New Roman as seen on the Vivosun.
The instructions called for sliding the tent over the top instead of the bottom of the frame. "Interesting to see if that makes a difference in ease of assemby" is what I thought.
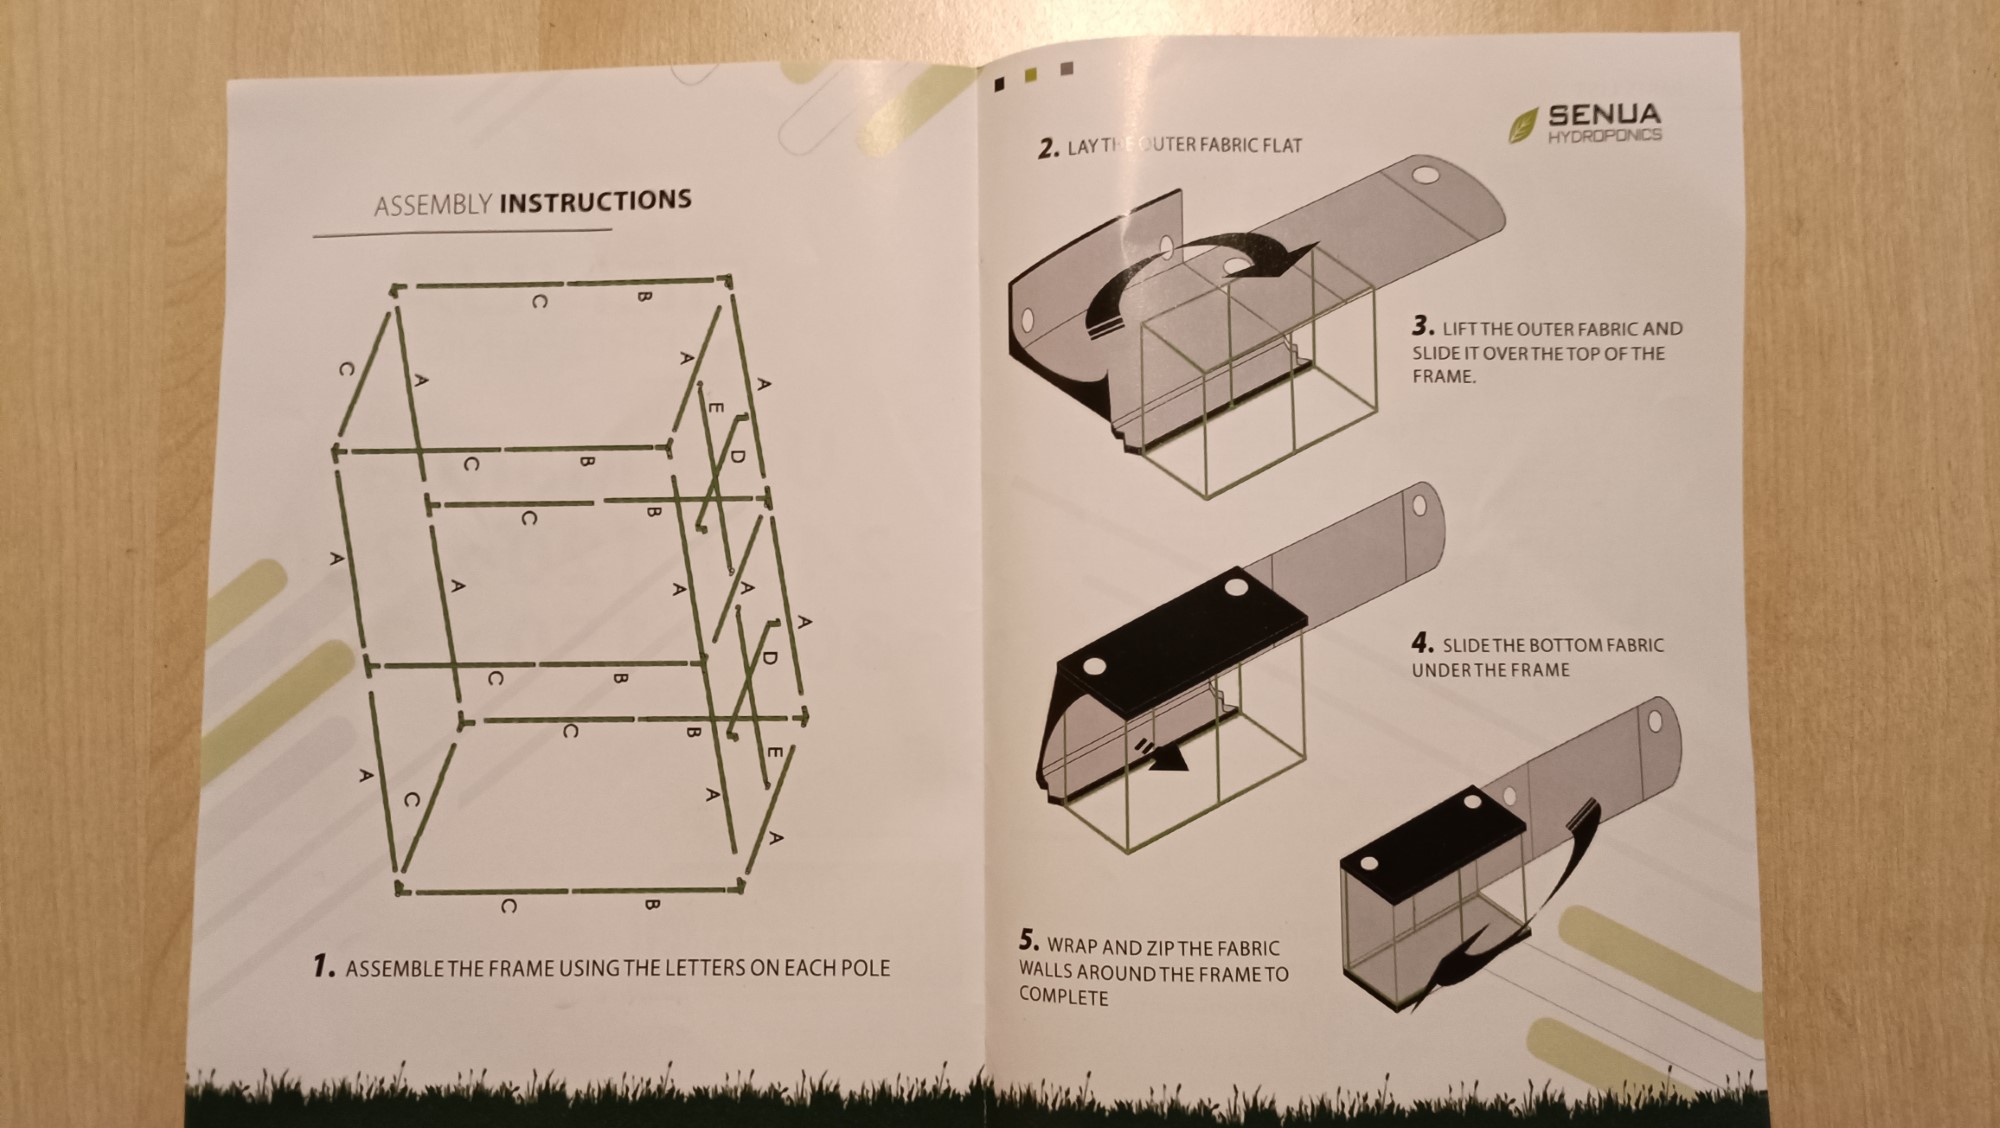
Something I noticed was that the ceiling tubes looked quite bent on one side. I've sent an email to the seller and waiting on a response.
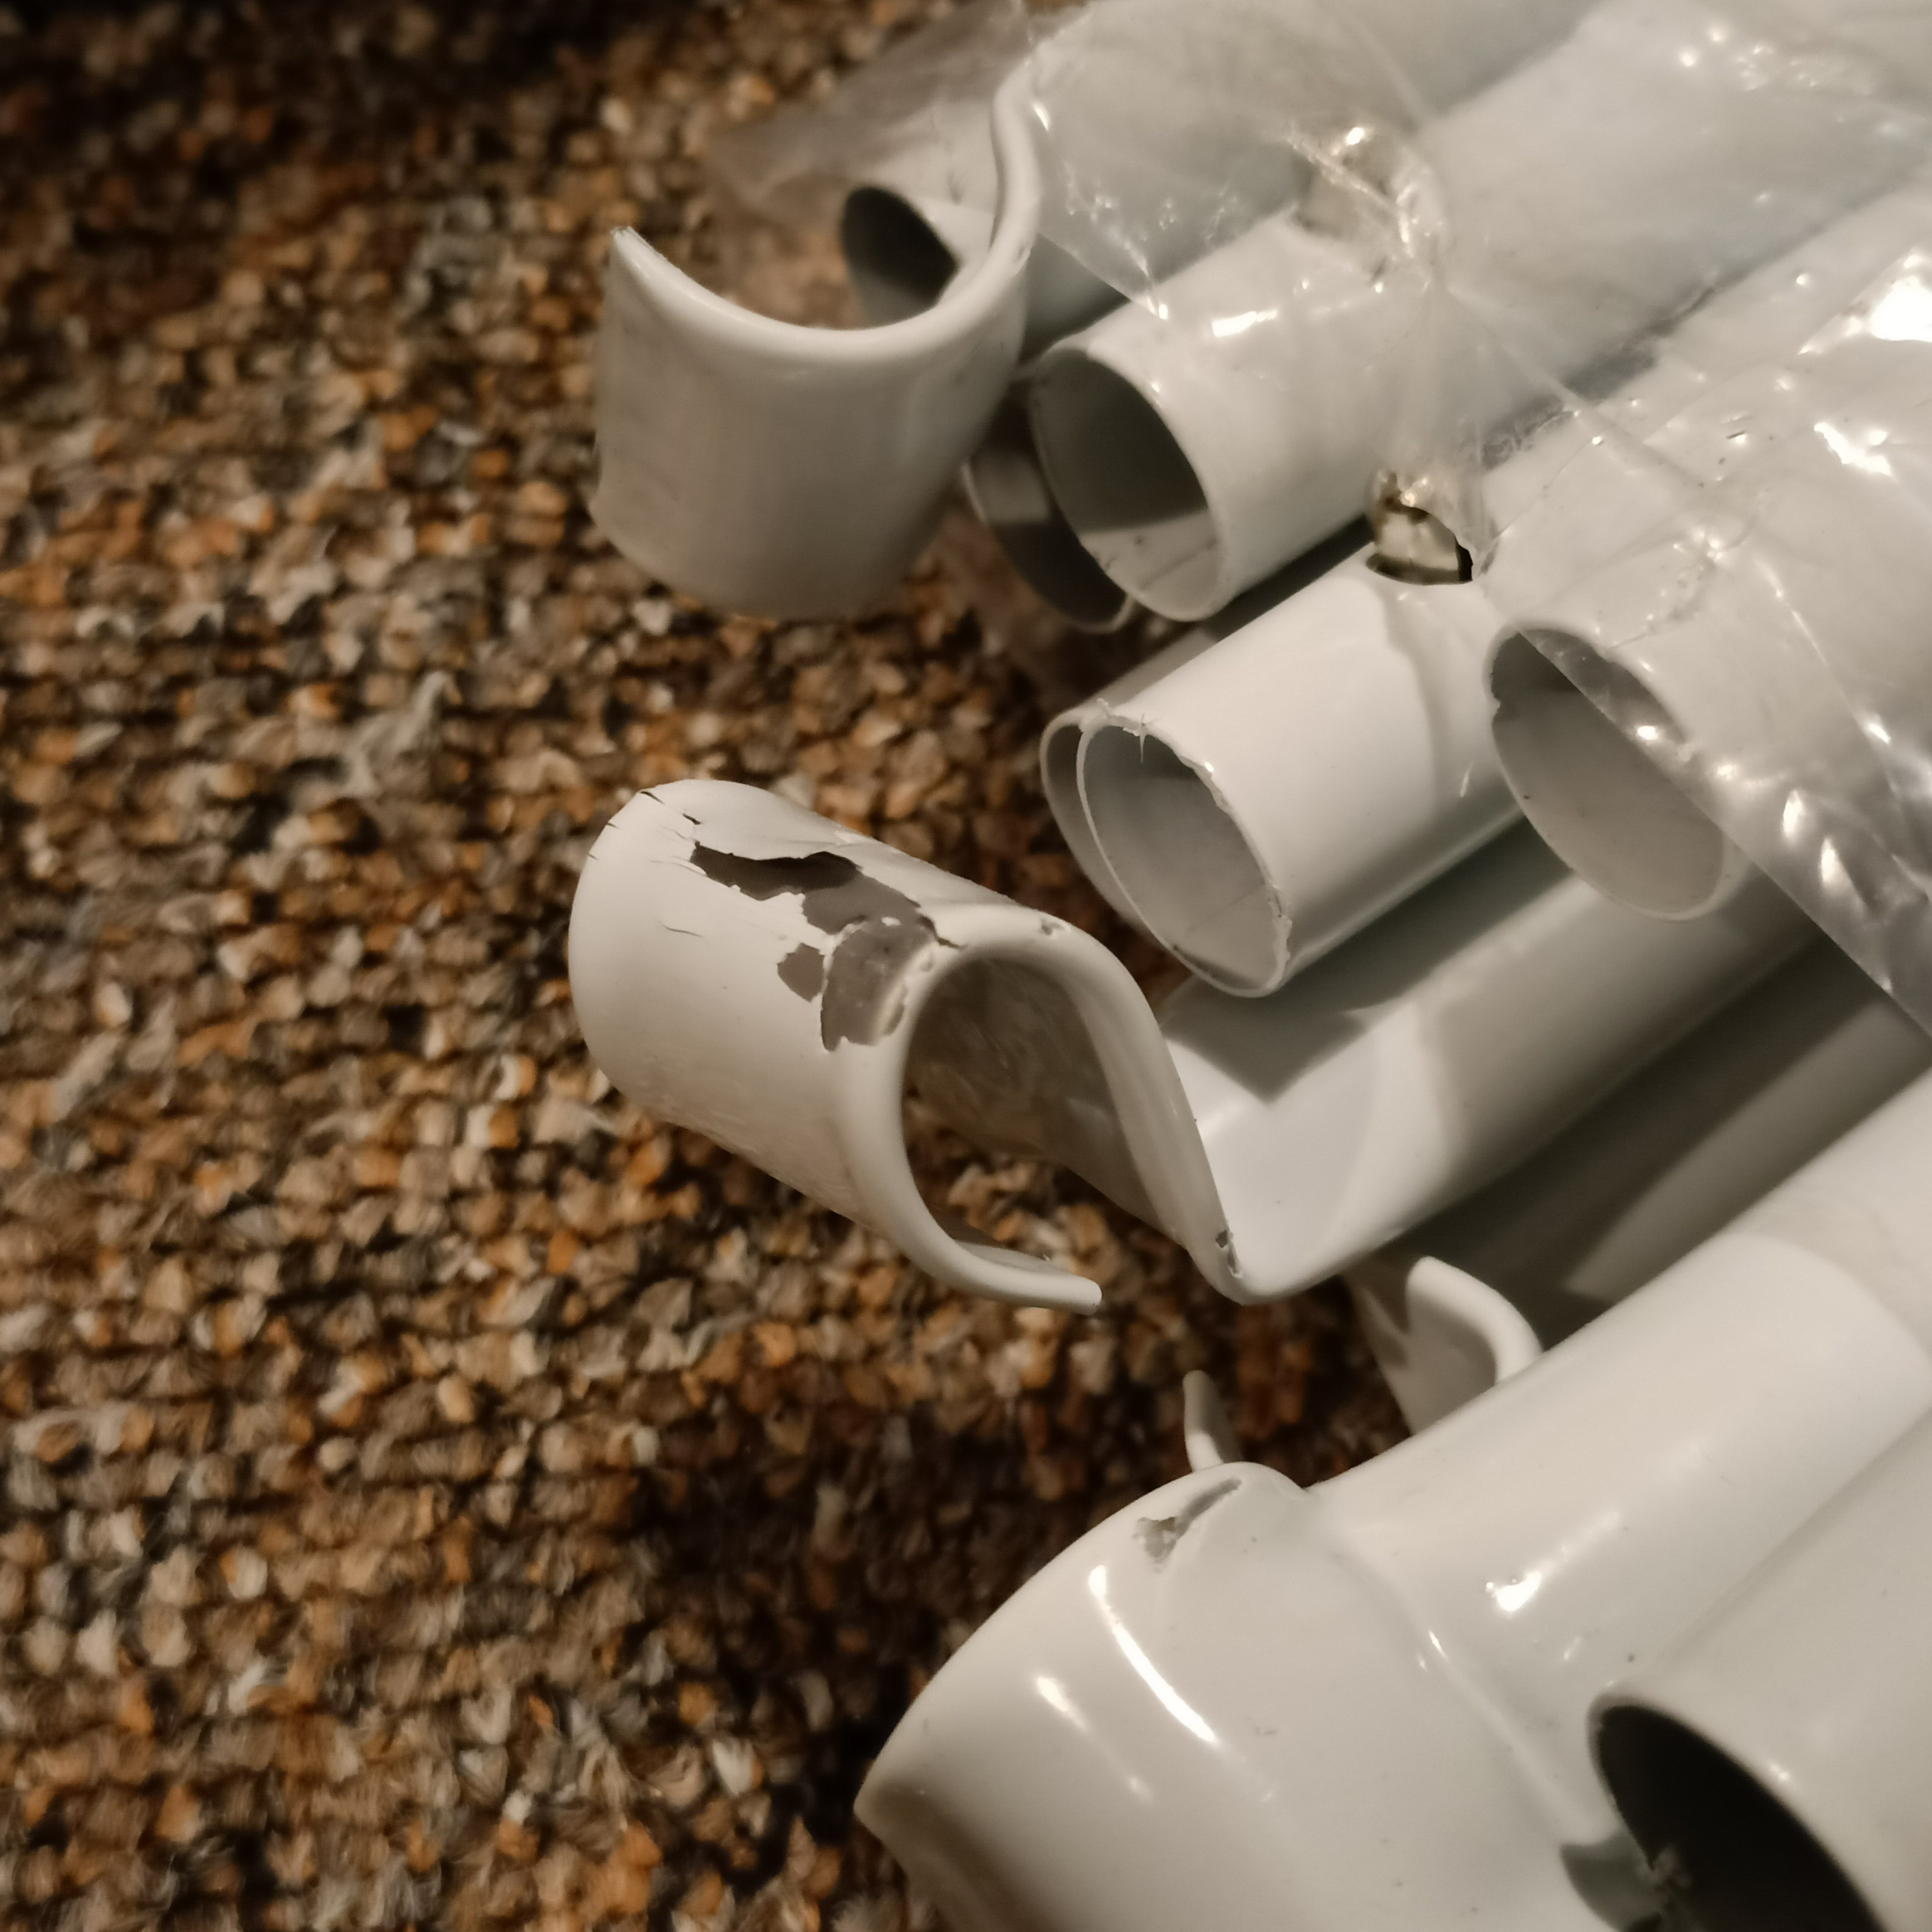
There was also a connector that wasn't exactly round, so required a bit more force to fit the tube in.
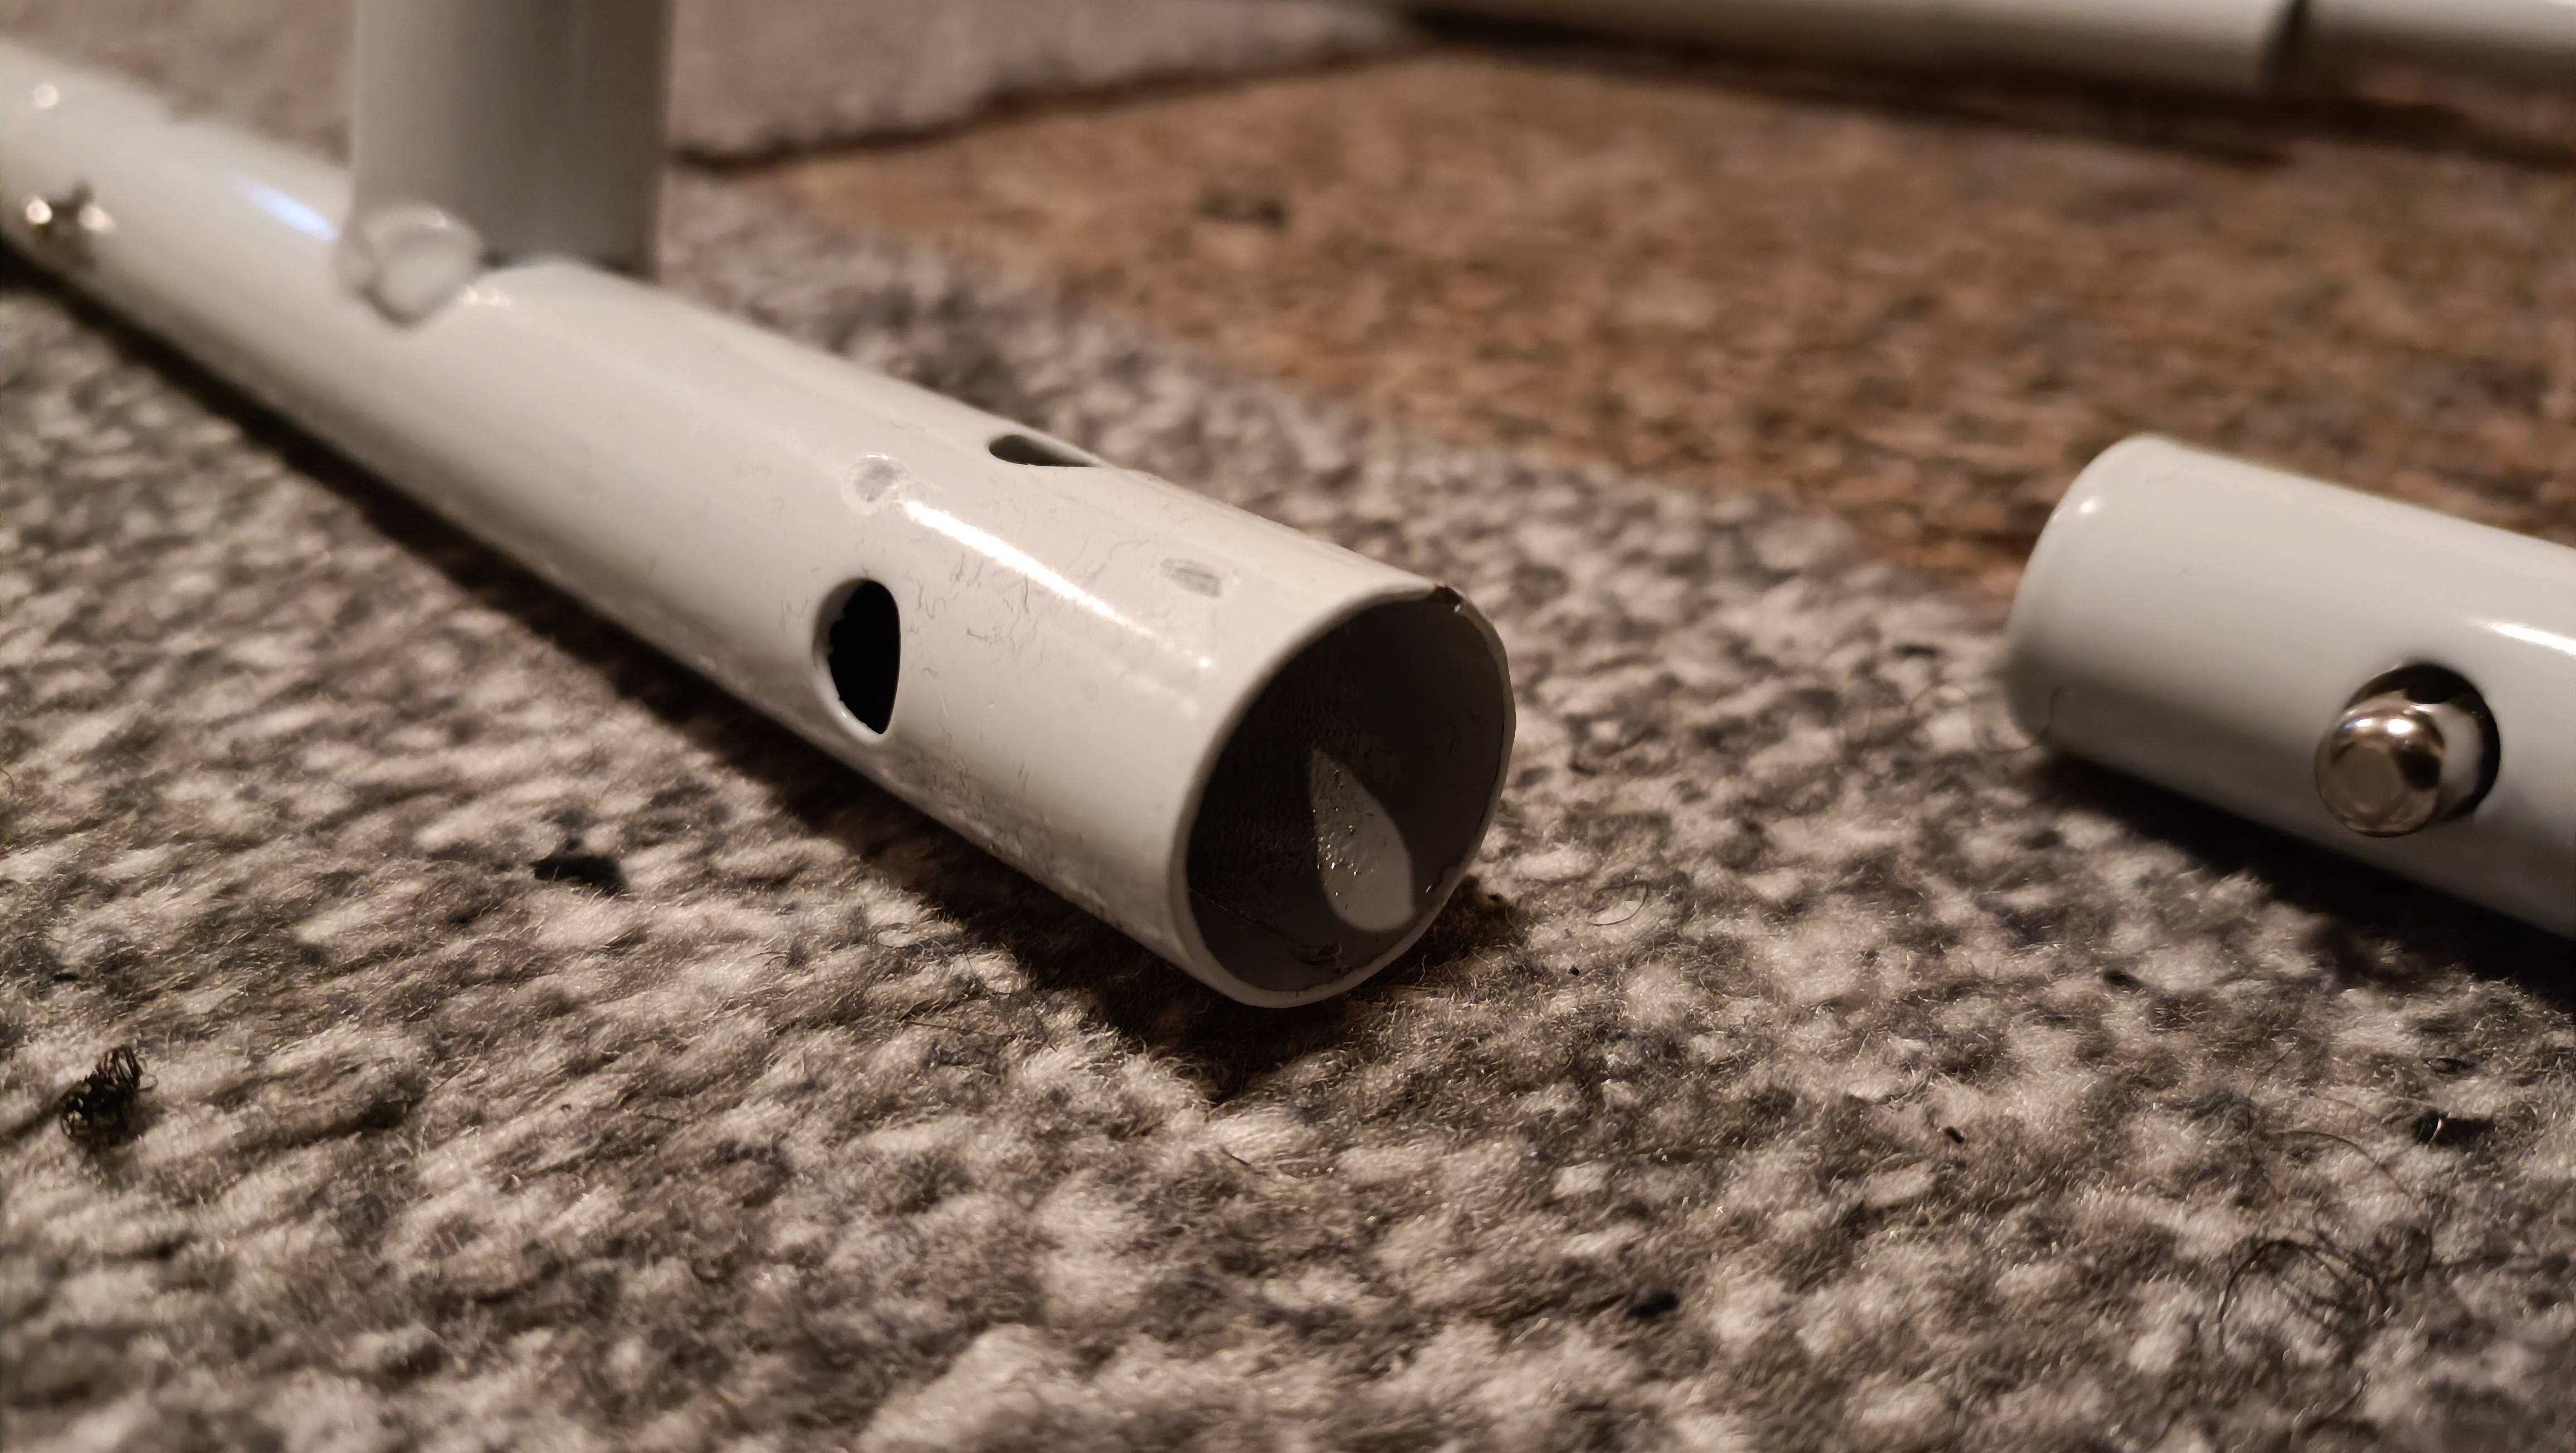
20 minutes later, the frame was made and it was time to unfold the fabric.
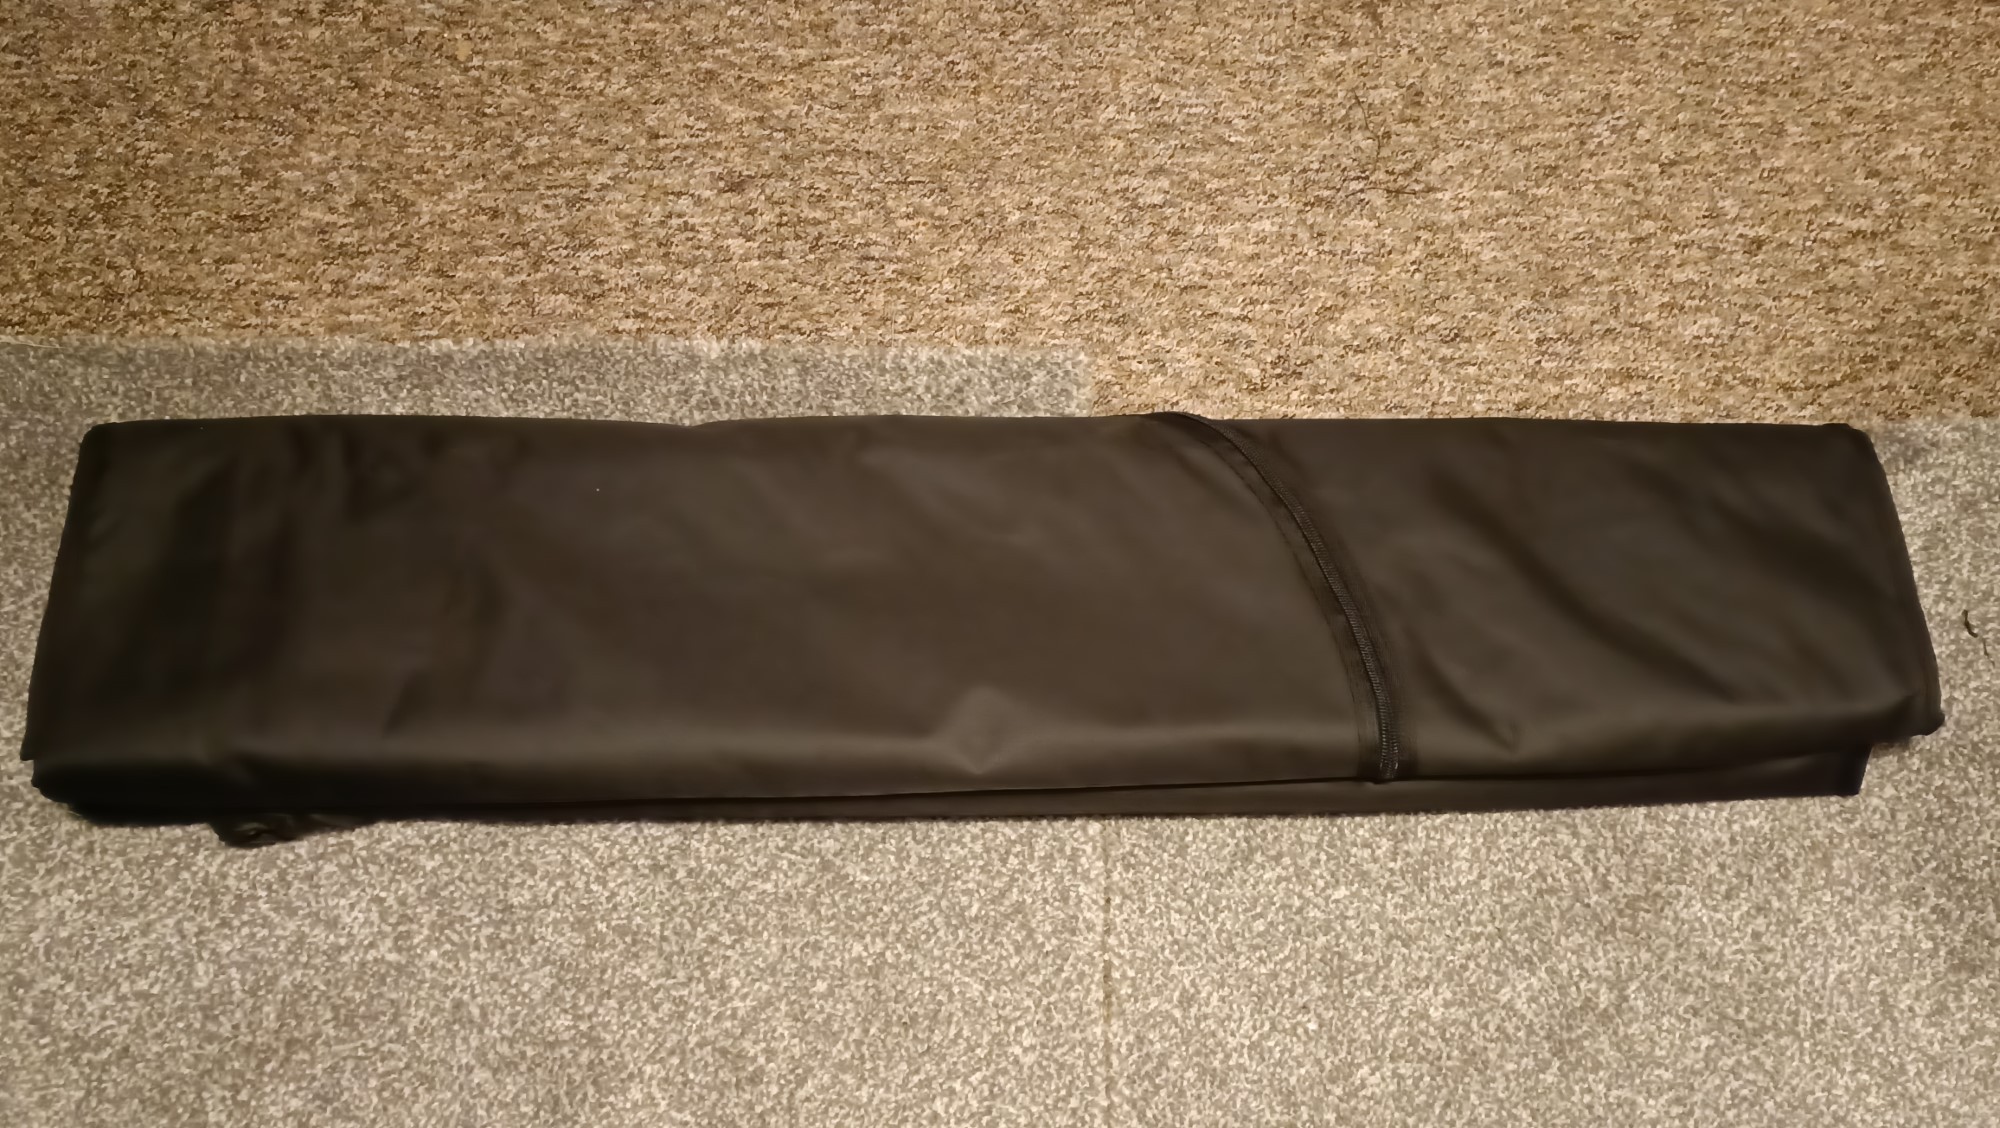
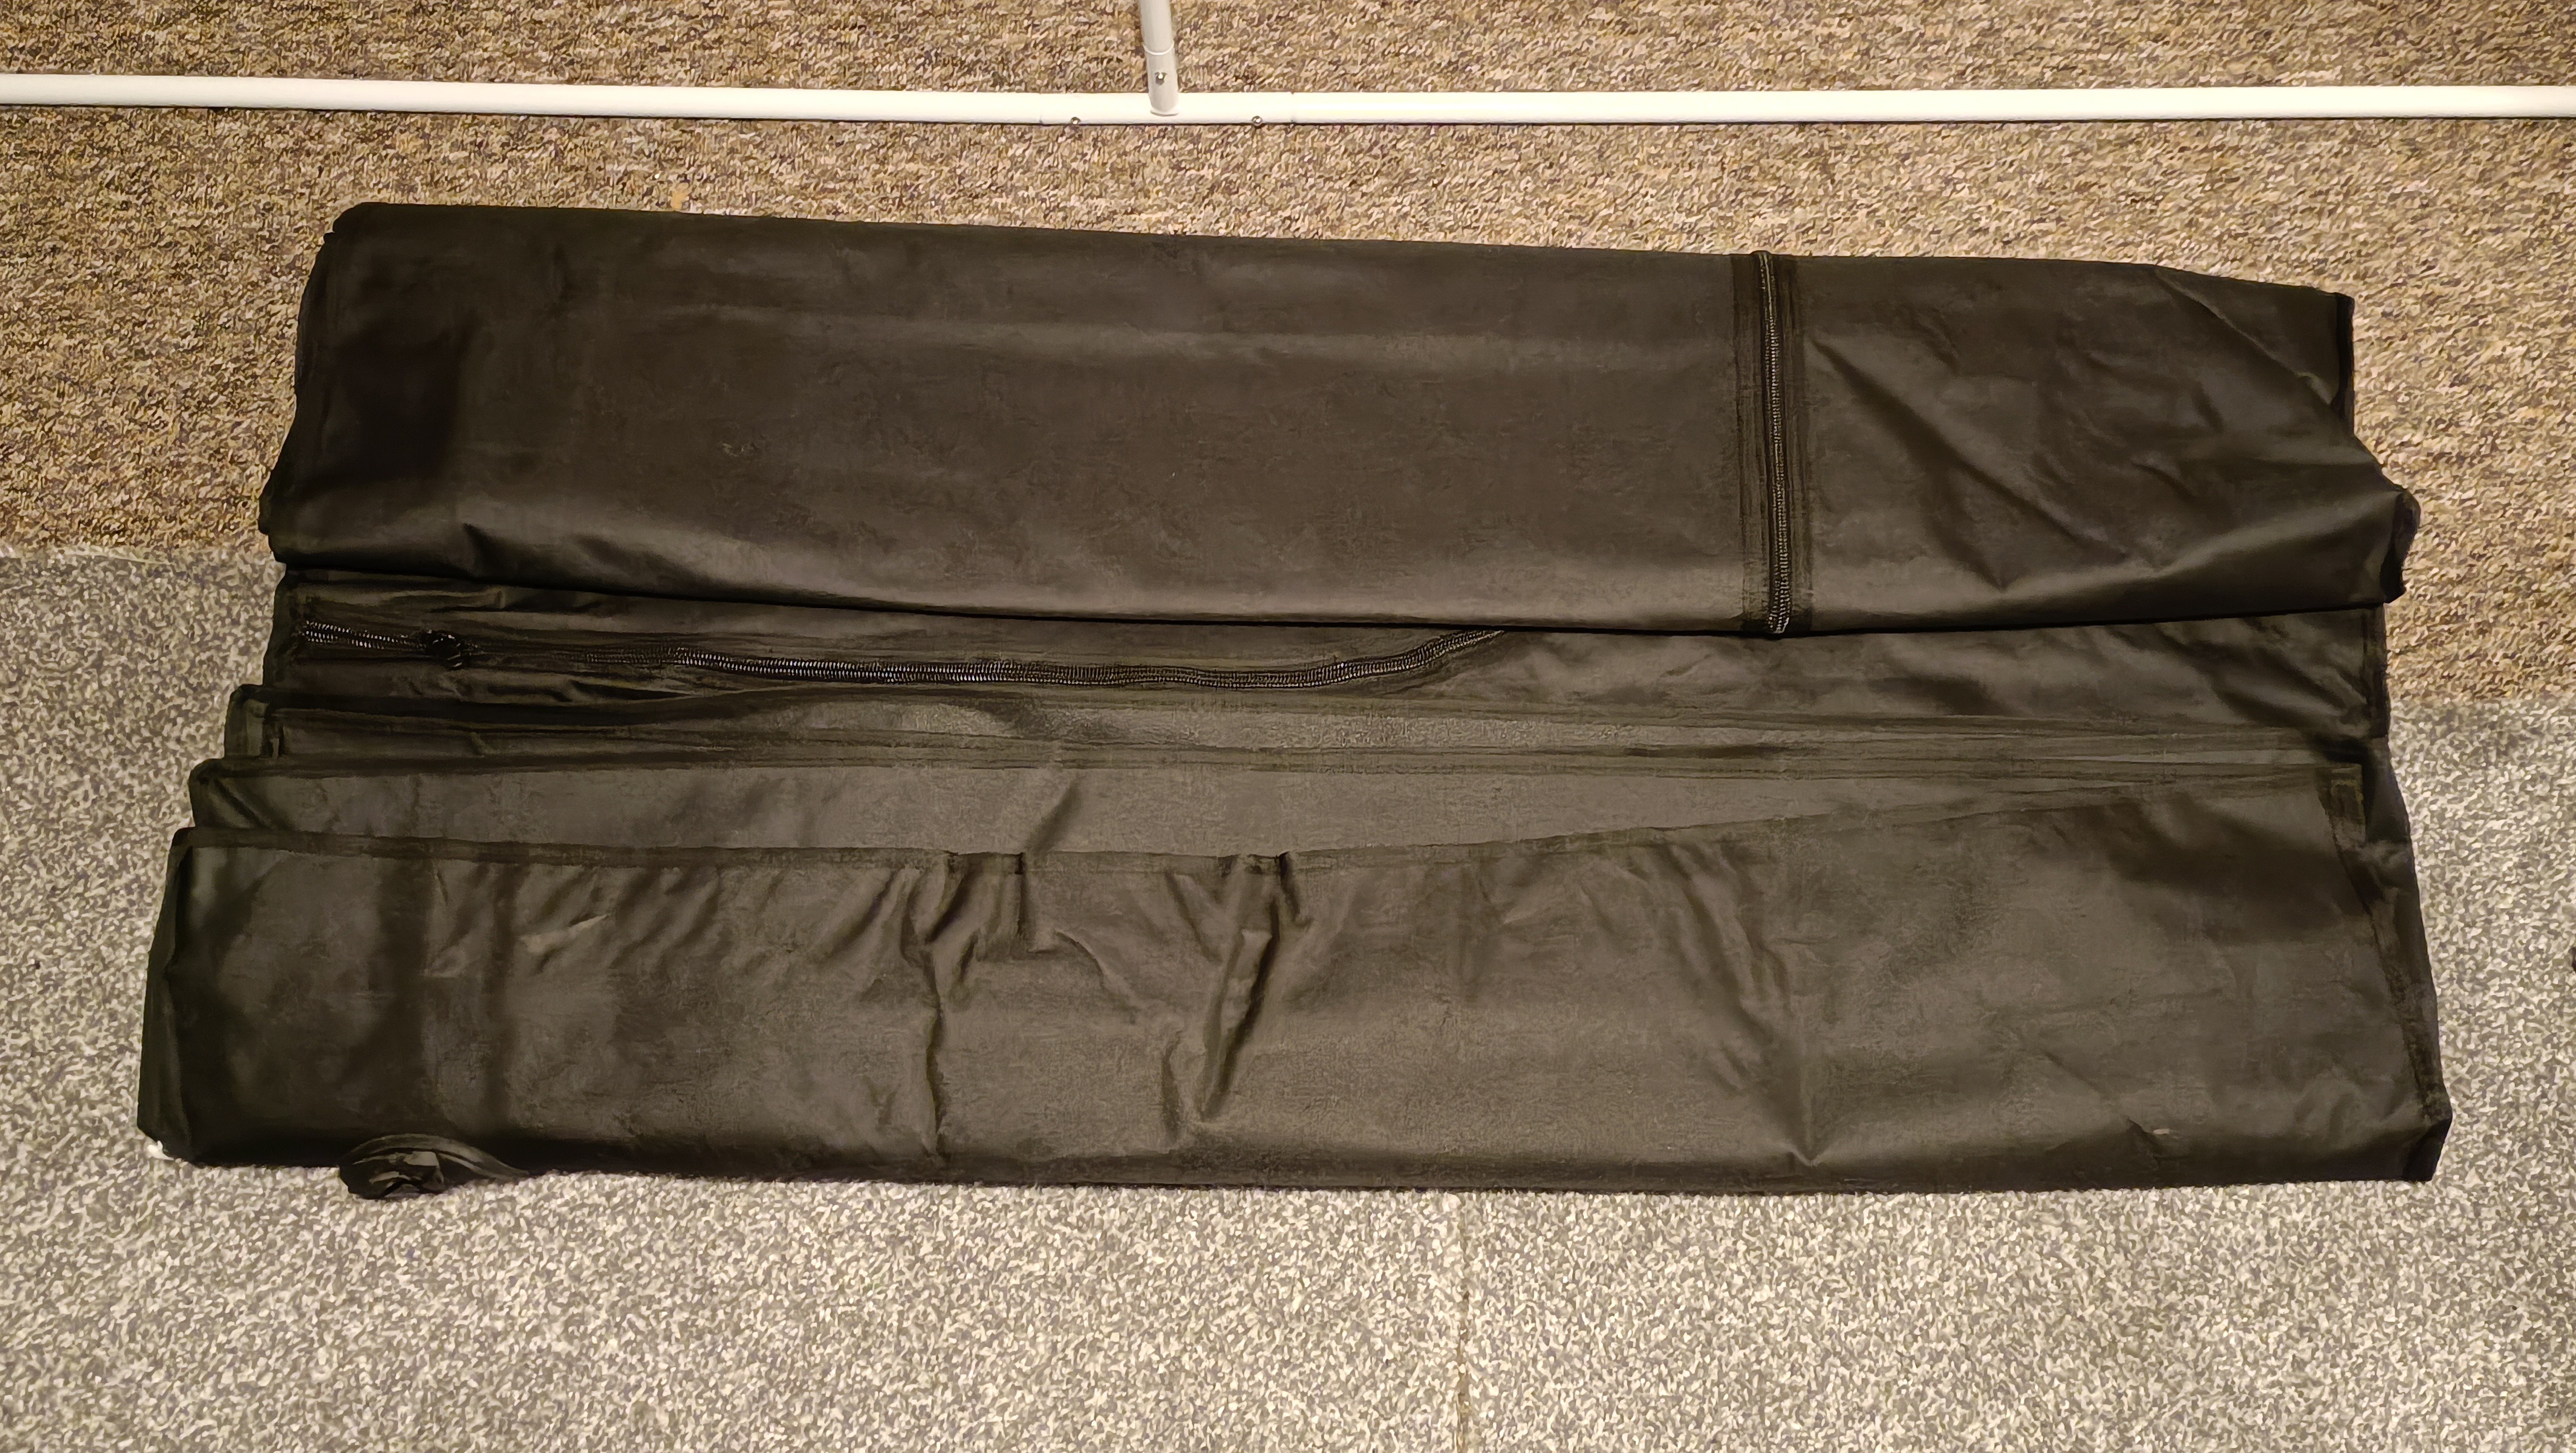
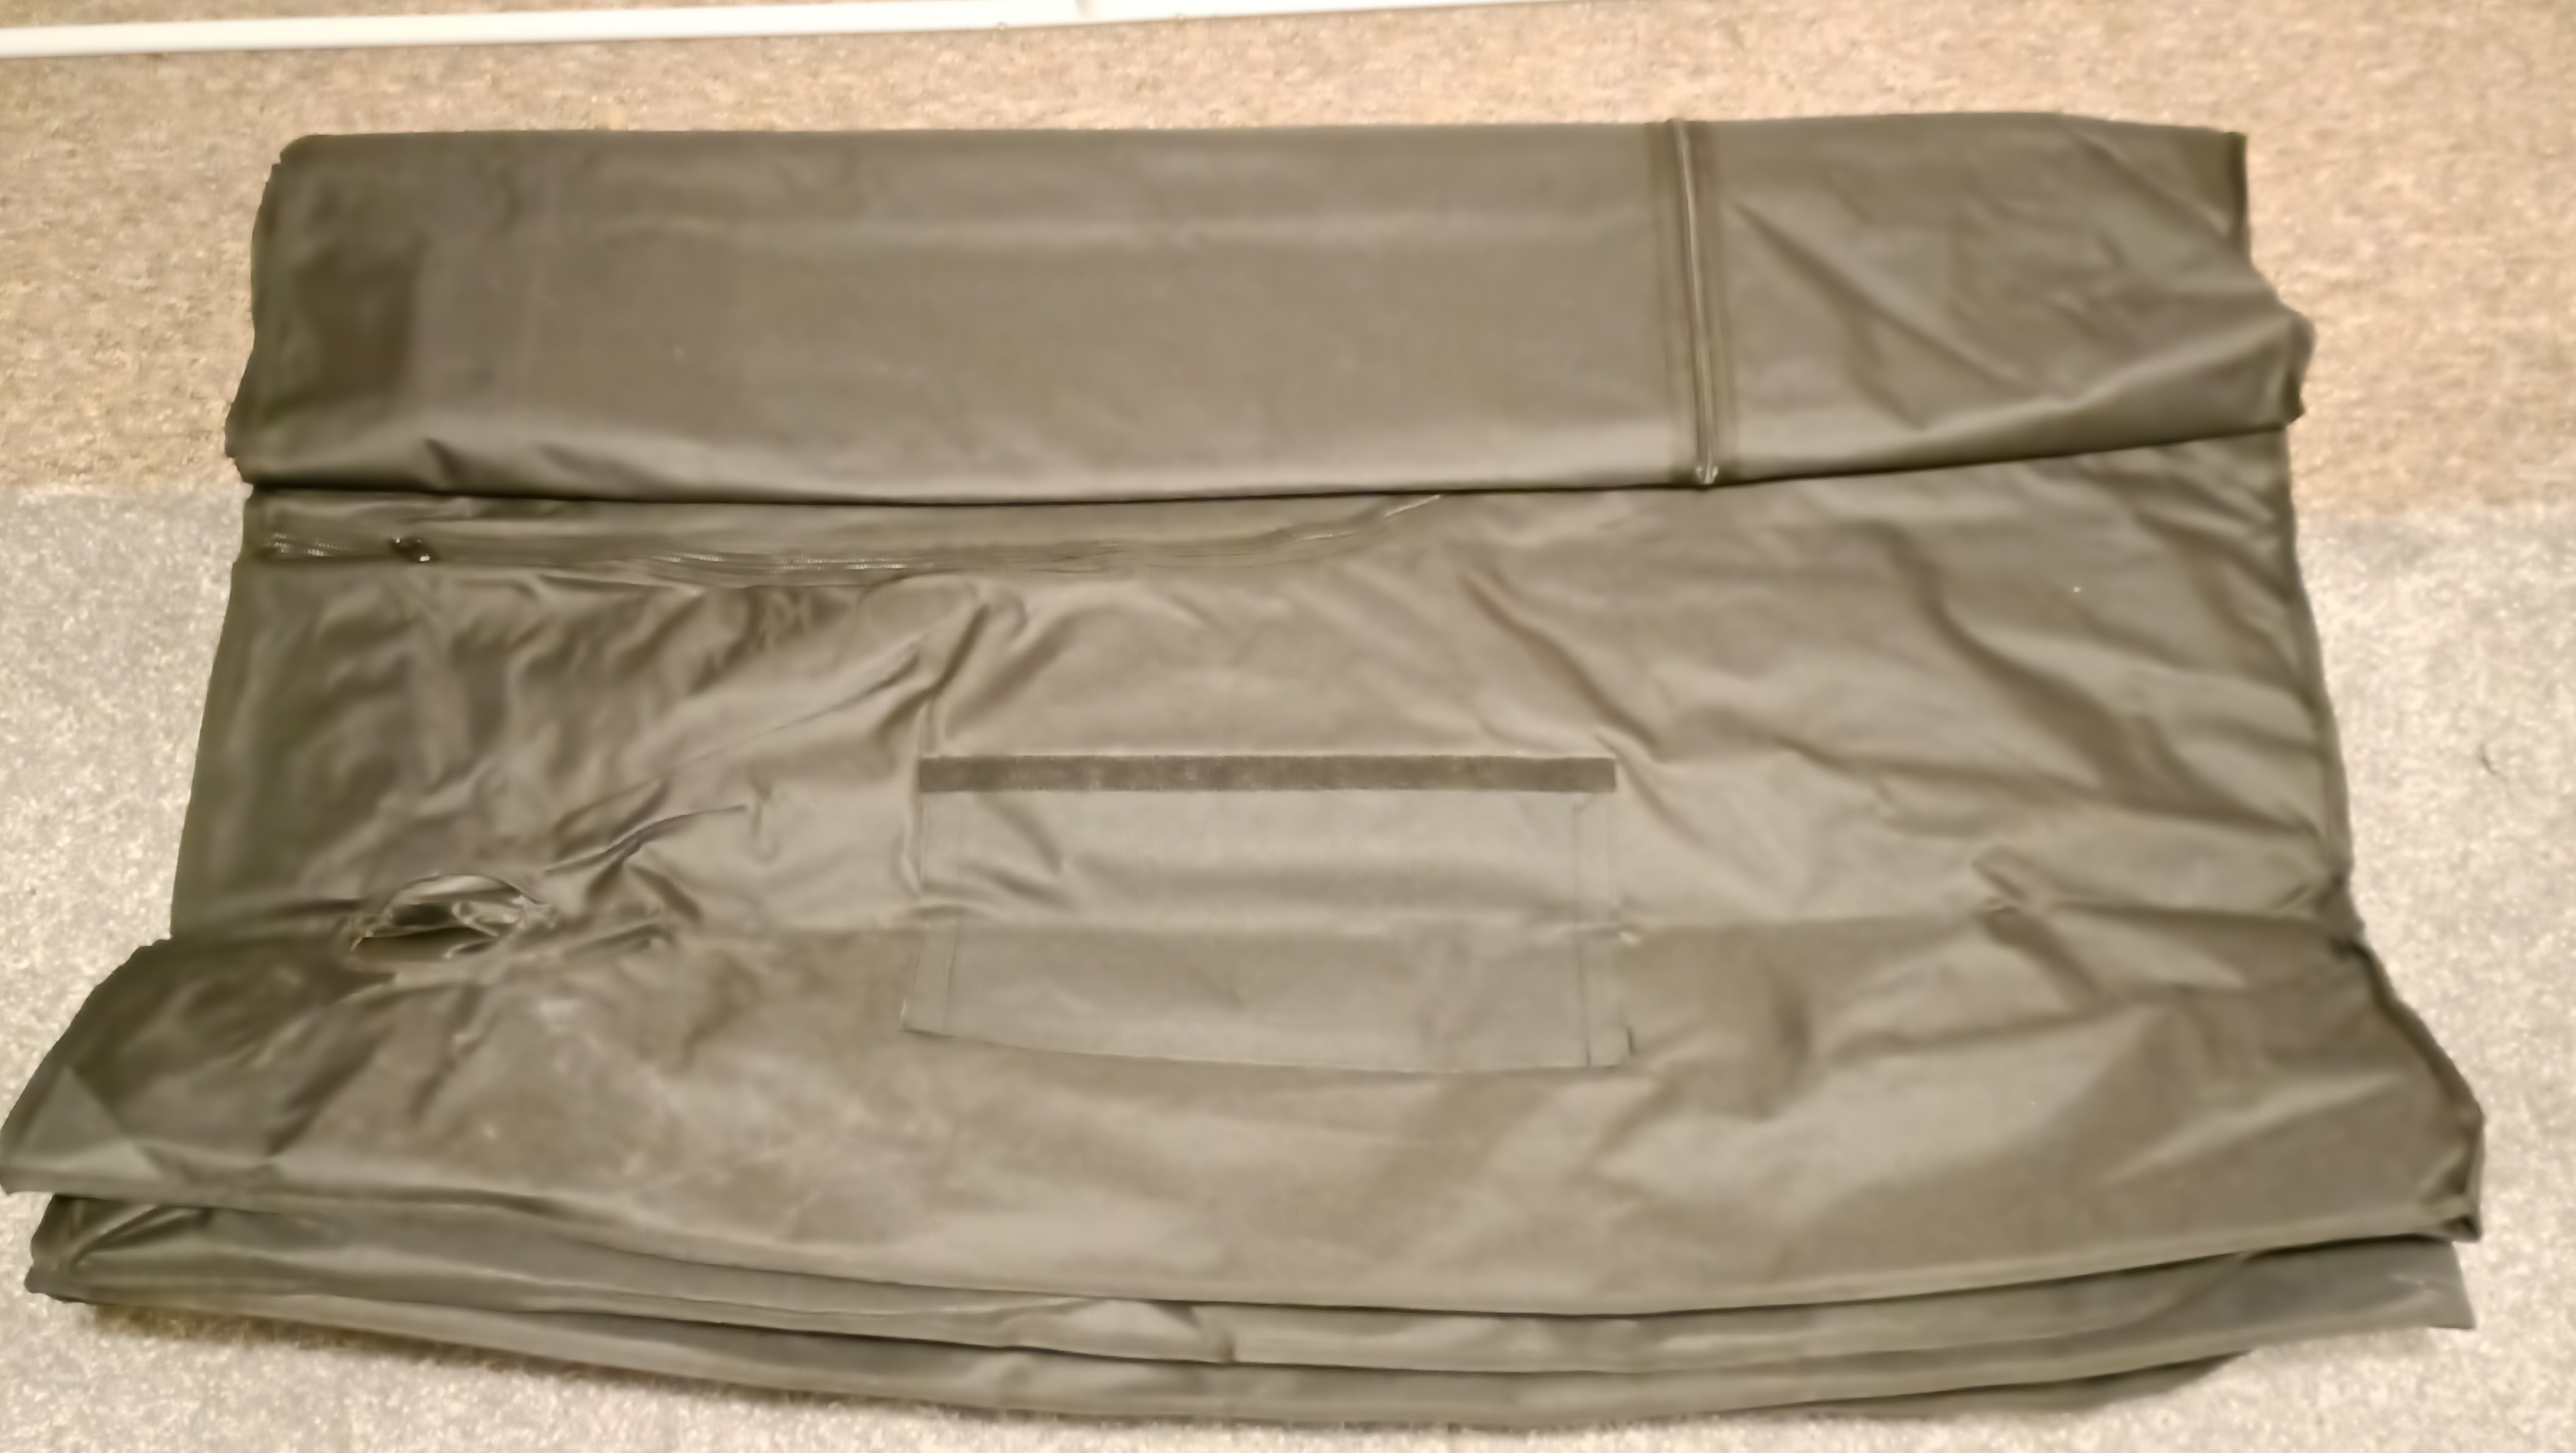
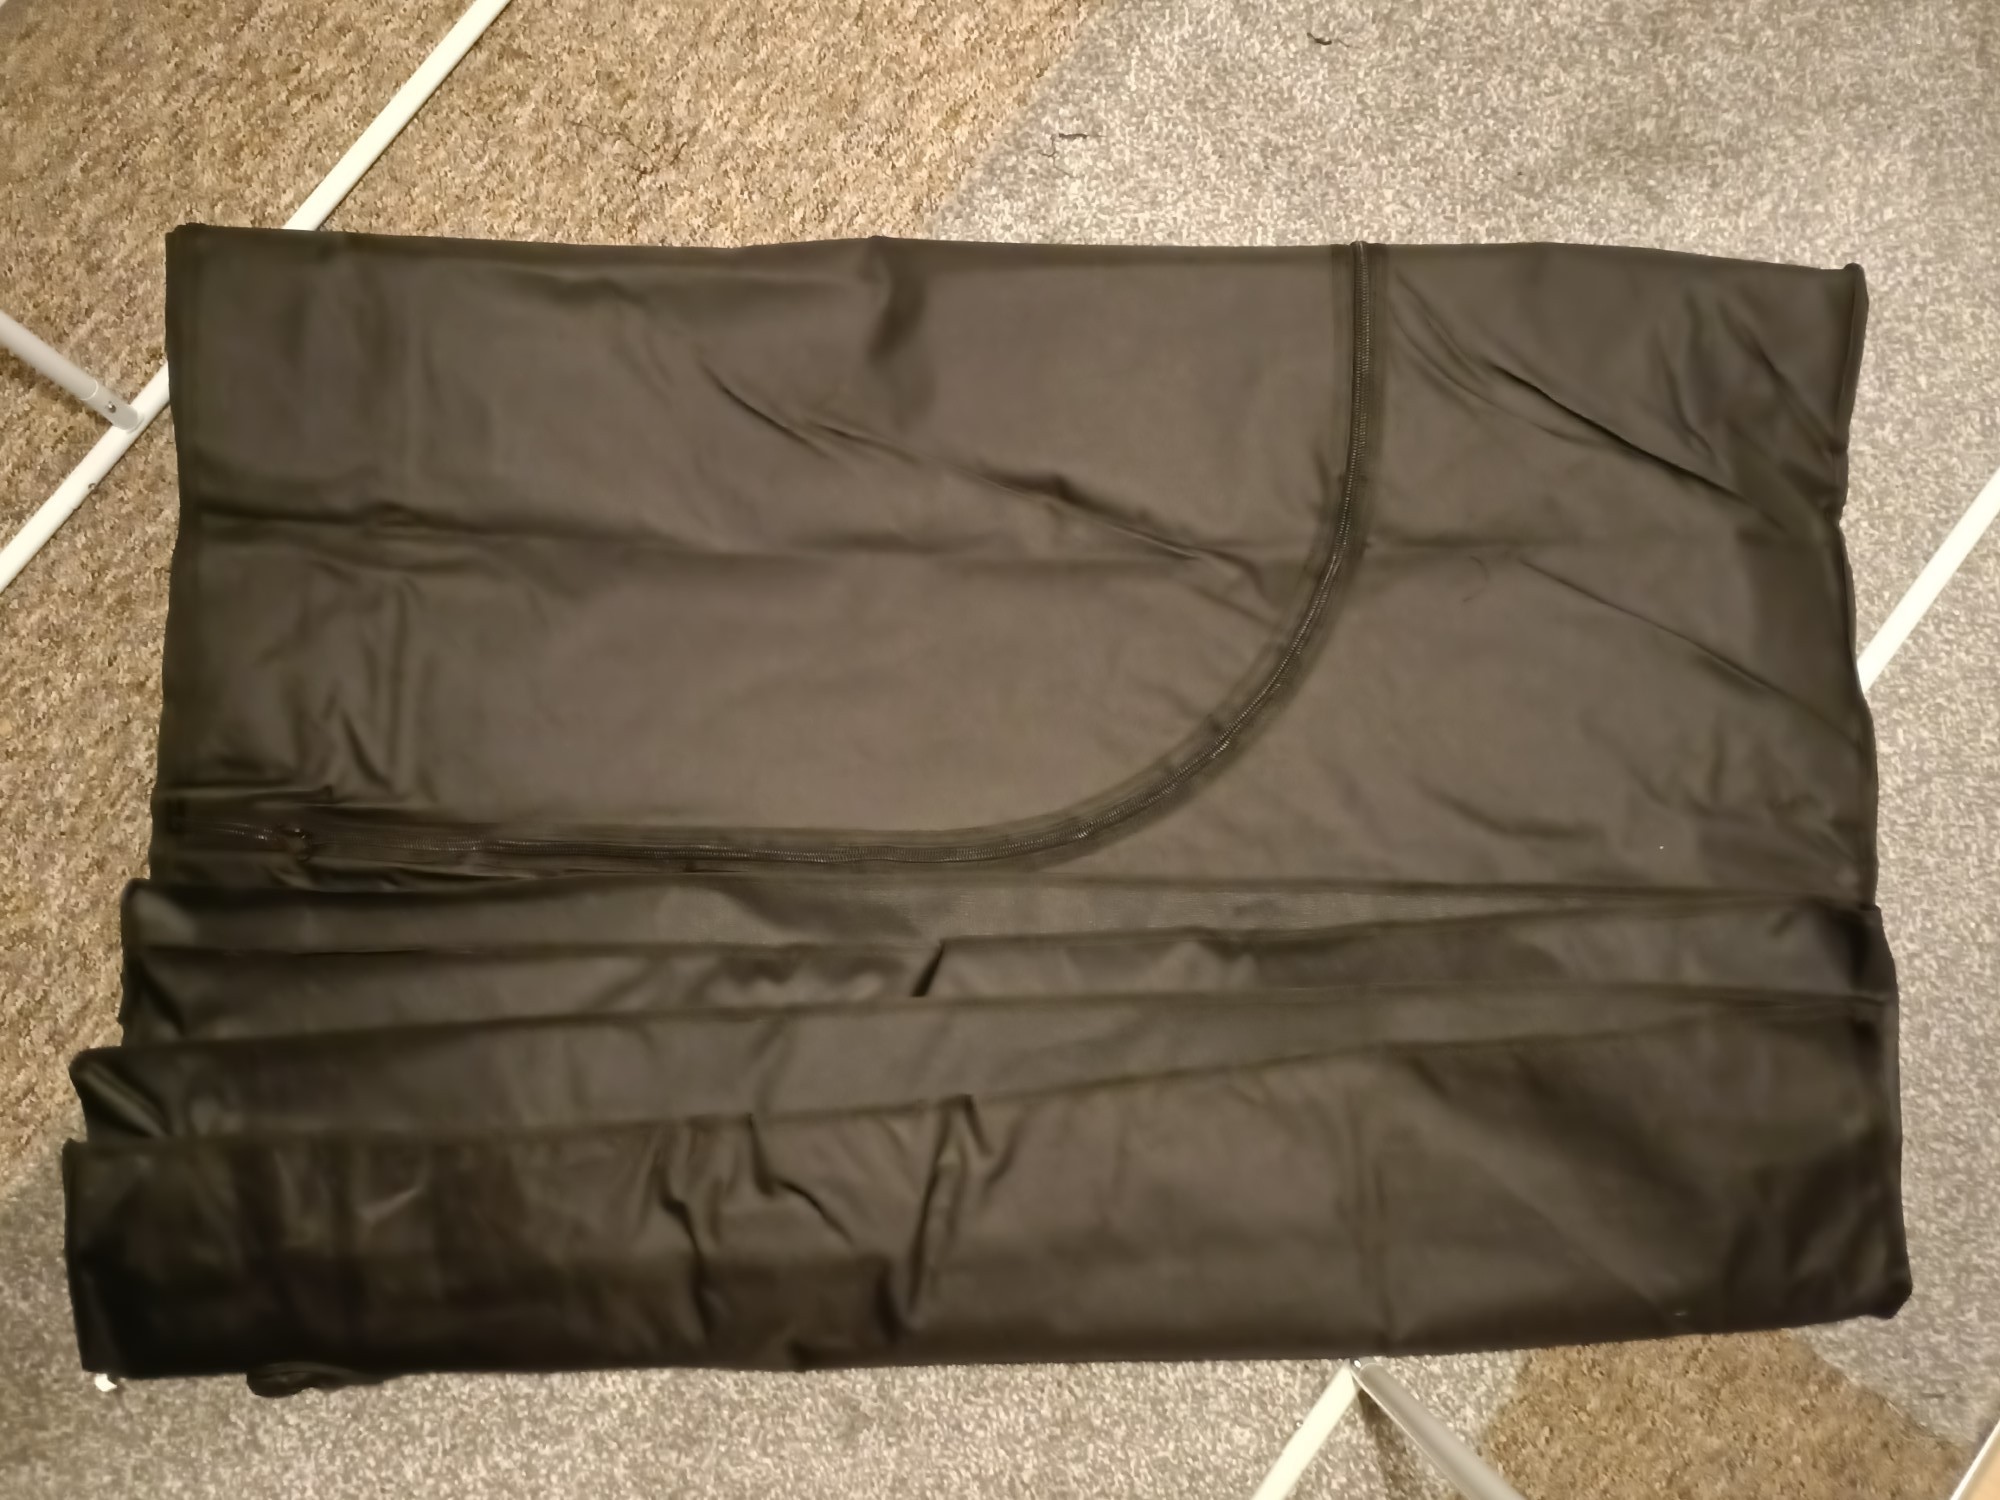
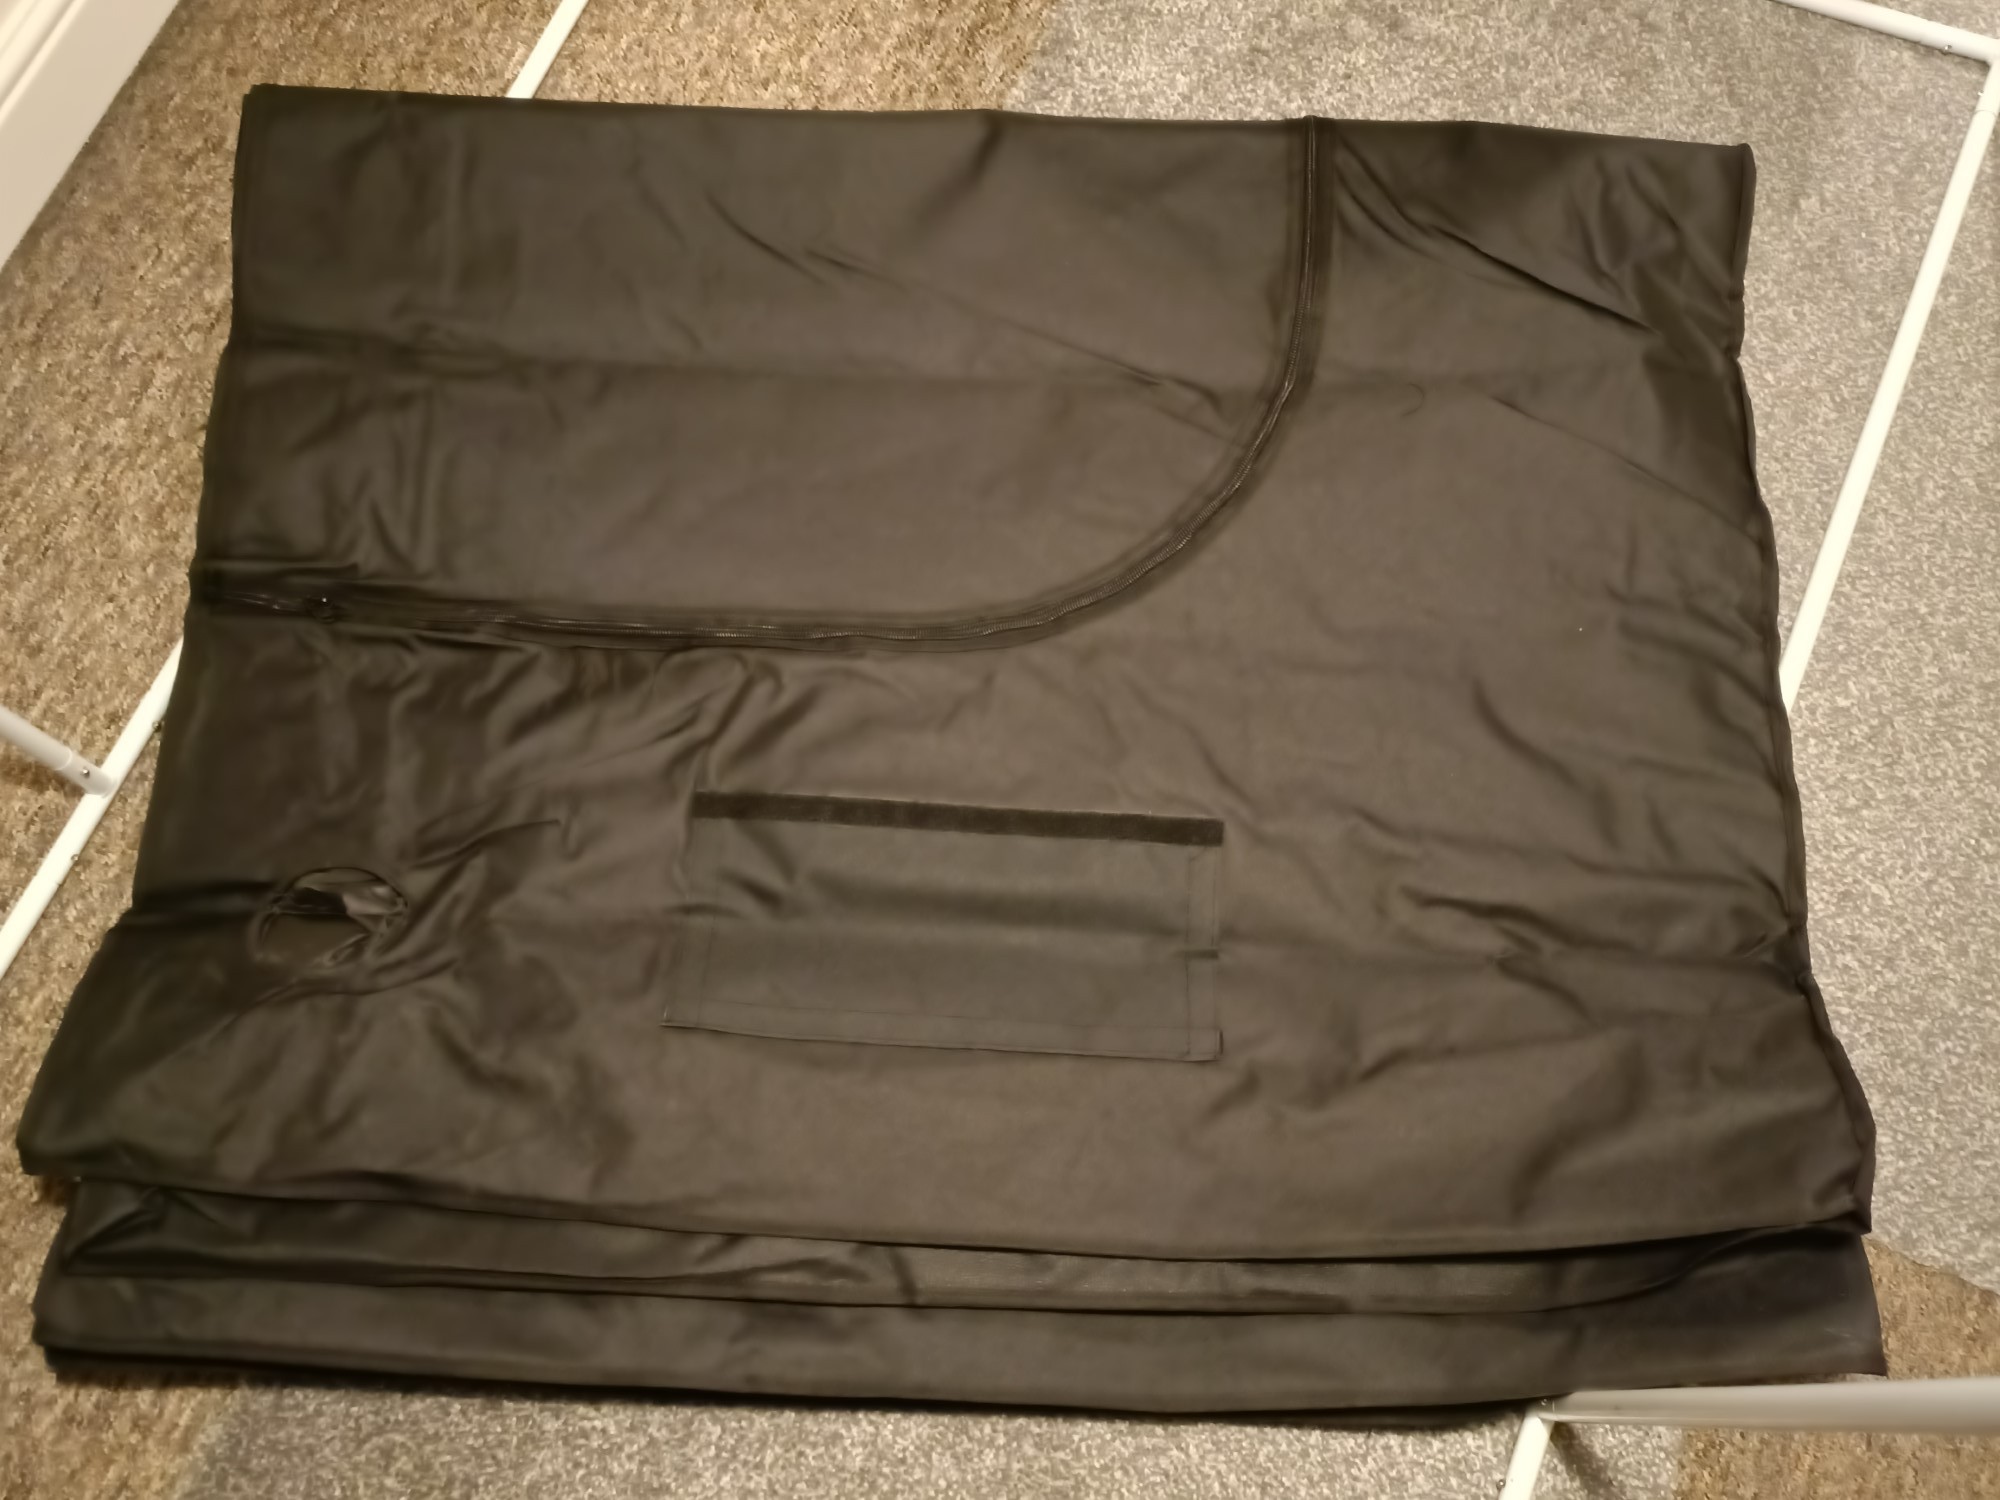
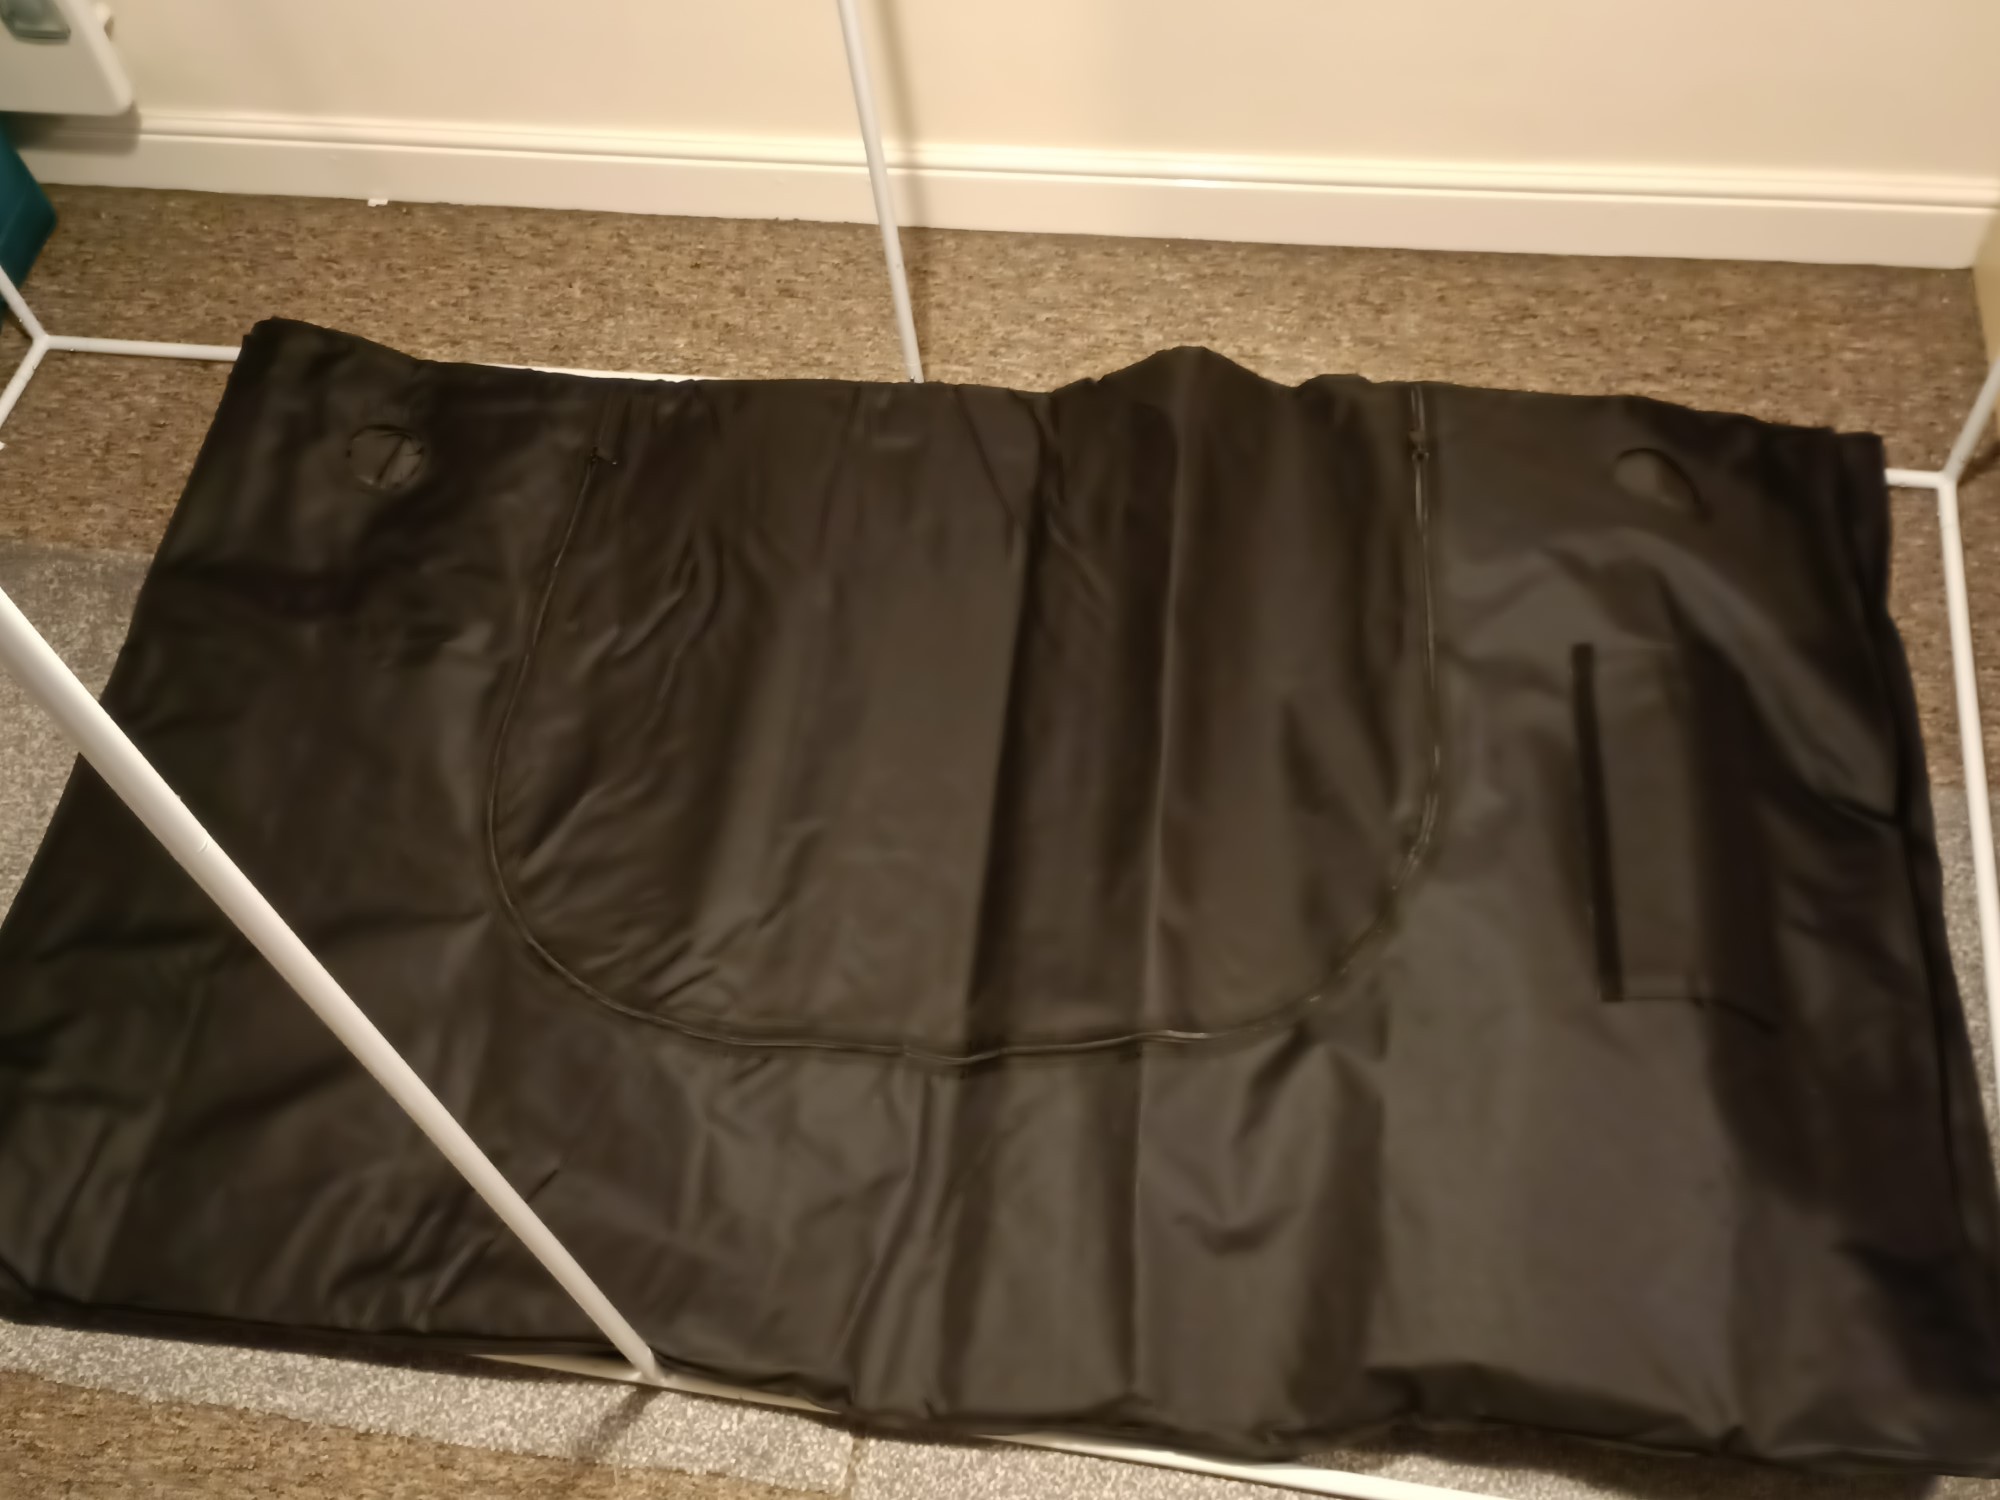
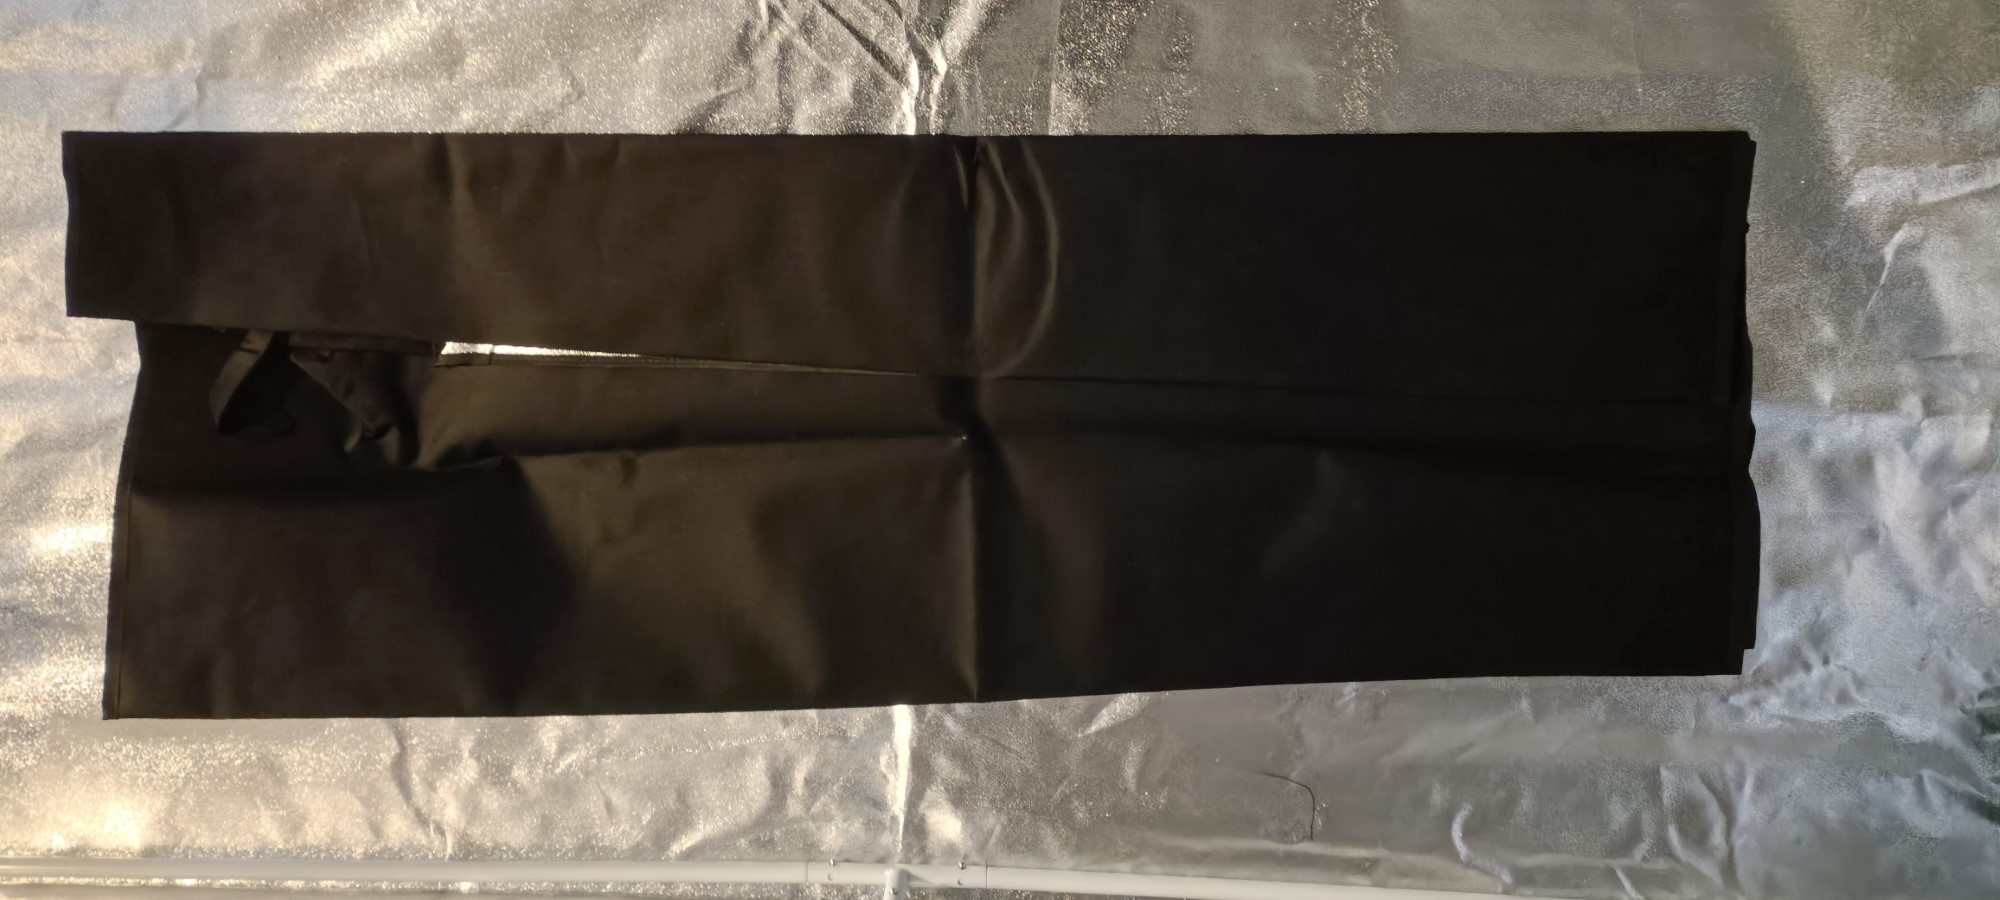
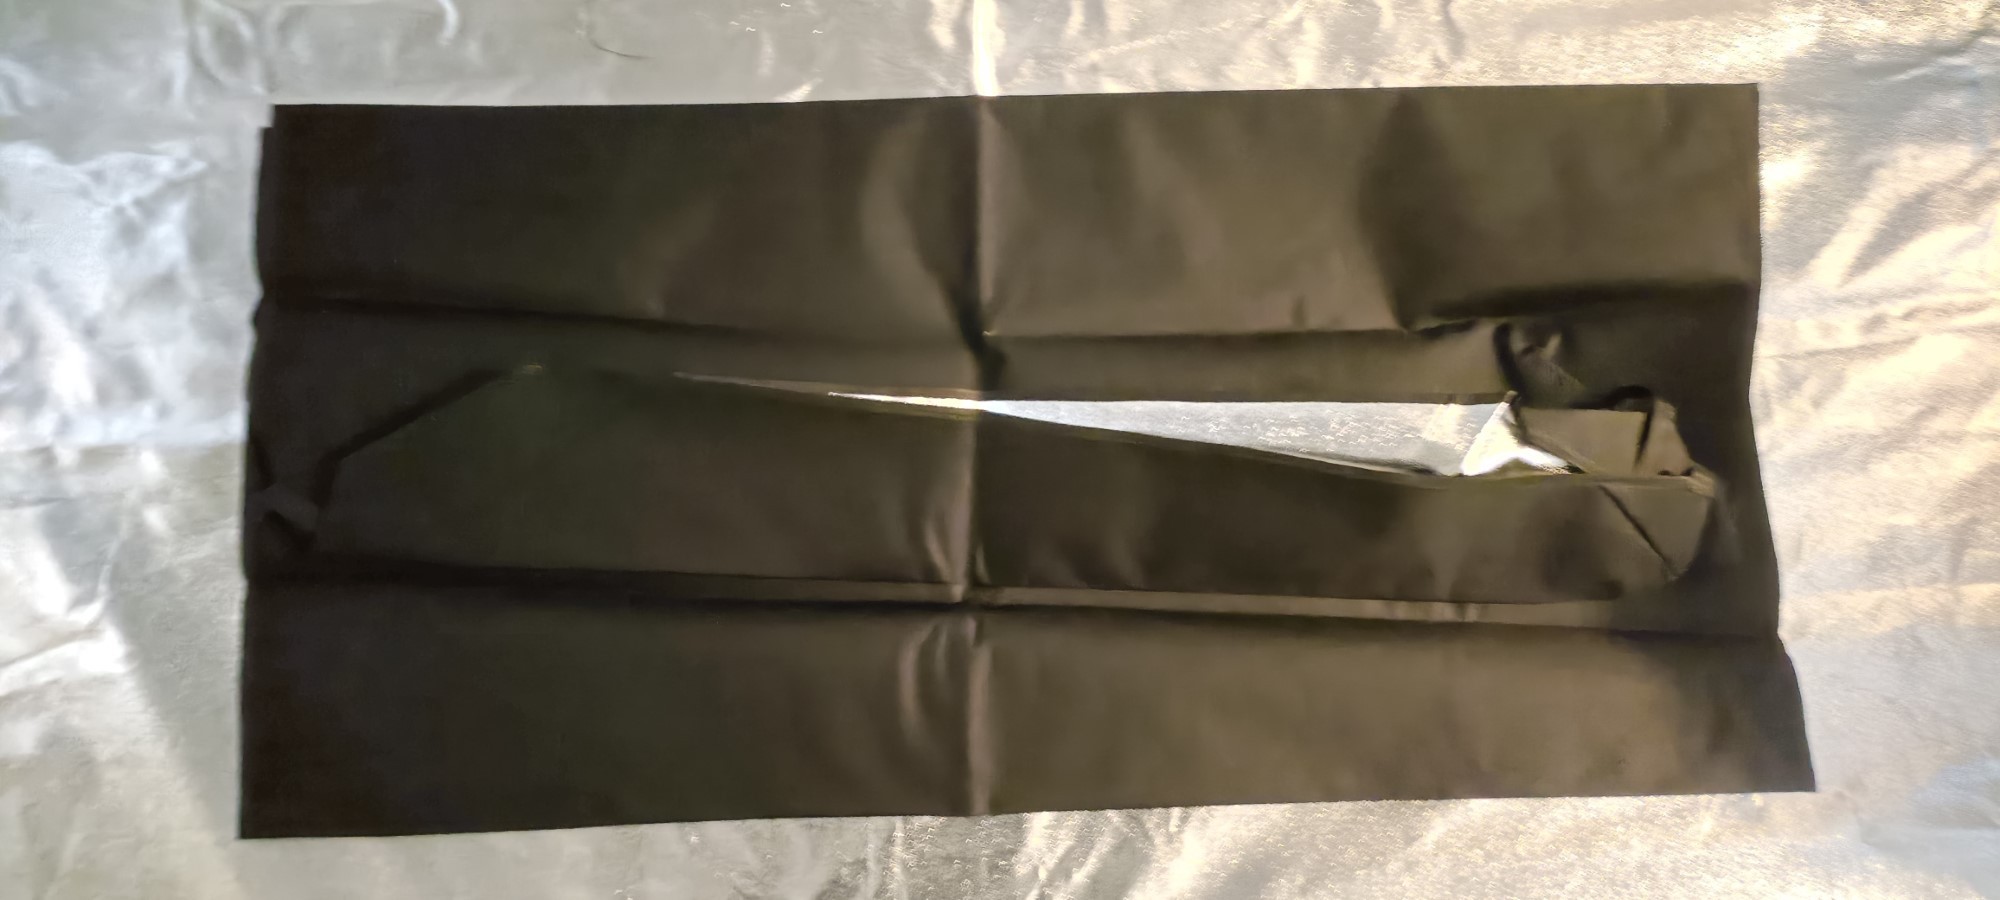
After that last image, it turned into chaos and not like the Vivosun, which just neatly folded out once more. Well, I did eventually find the top cover and slide it over the frame, but the mass and lack of crumple resistance of this 600D stuff meant that there was some resistance. Same story with the bottom, but woughe it slid on a magnitude easier than the Vivosun one. There was no mystery fold in the corners, so that could be a potential reason, but I do think hooking the top fabric first before going into the bottom made things easier. Another thing was actually moving the frame as far away from the back wall as reasonably practicable, allowing more space for the fabric to get over any creases.
The zippers aren't heavy duty and massive like the Vivosun one, but they seem to get the job done (zipping the megadoor is the last thing to do to assemble the tent).
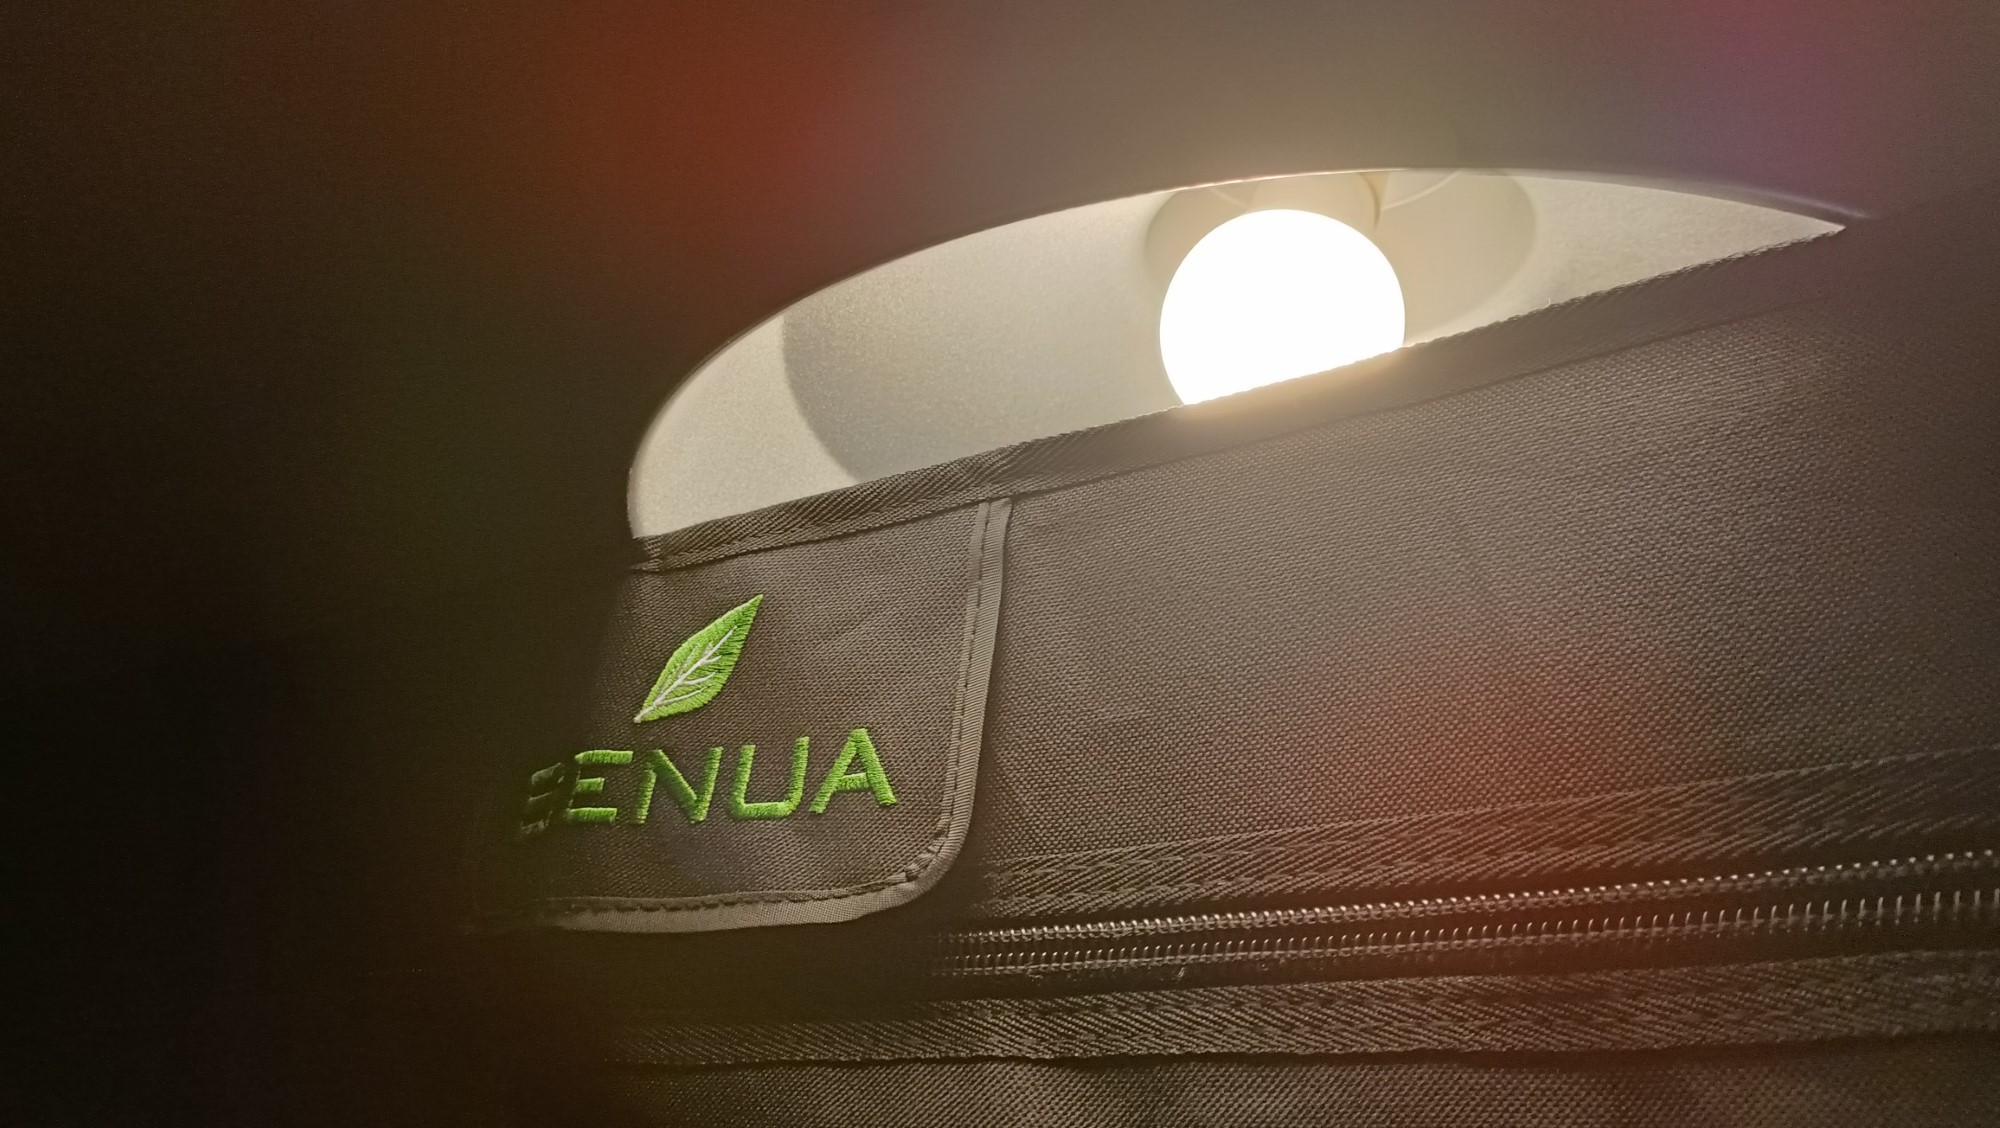
First use
Now, the thing was that I was planning to use an old but large ring LED to light up the interior temporarily until I finally got around to the artificial light subproject. Unfortunately, it seems that the 15V@4A power supply has an issue because the ring strobe flickers at perhaps 10Hz. Thus, I attempted to use the small singular LED built into a power bank.
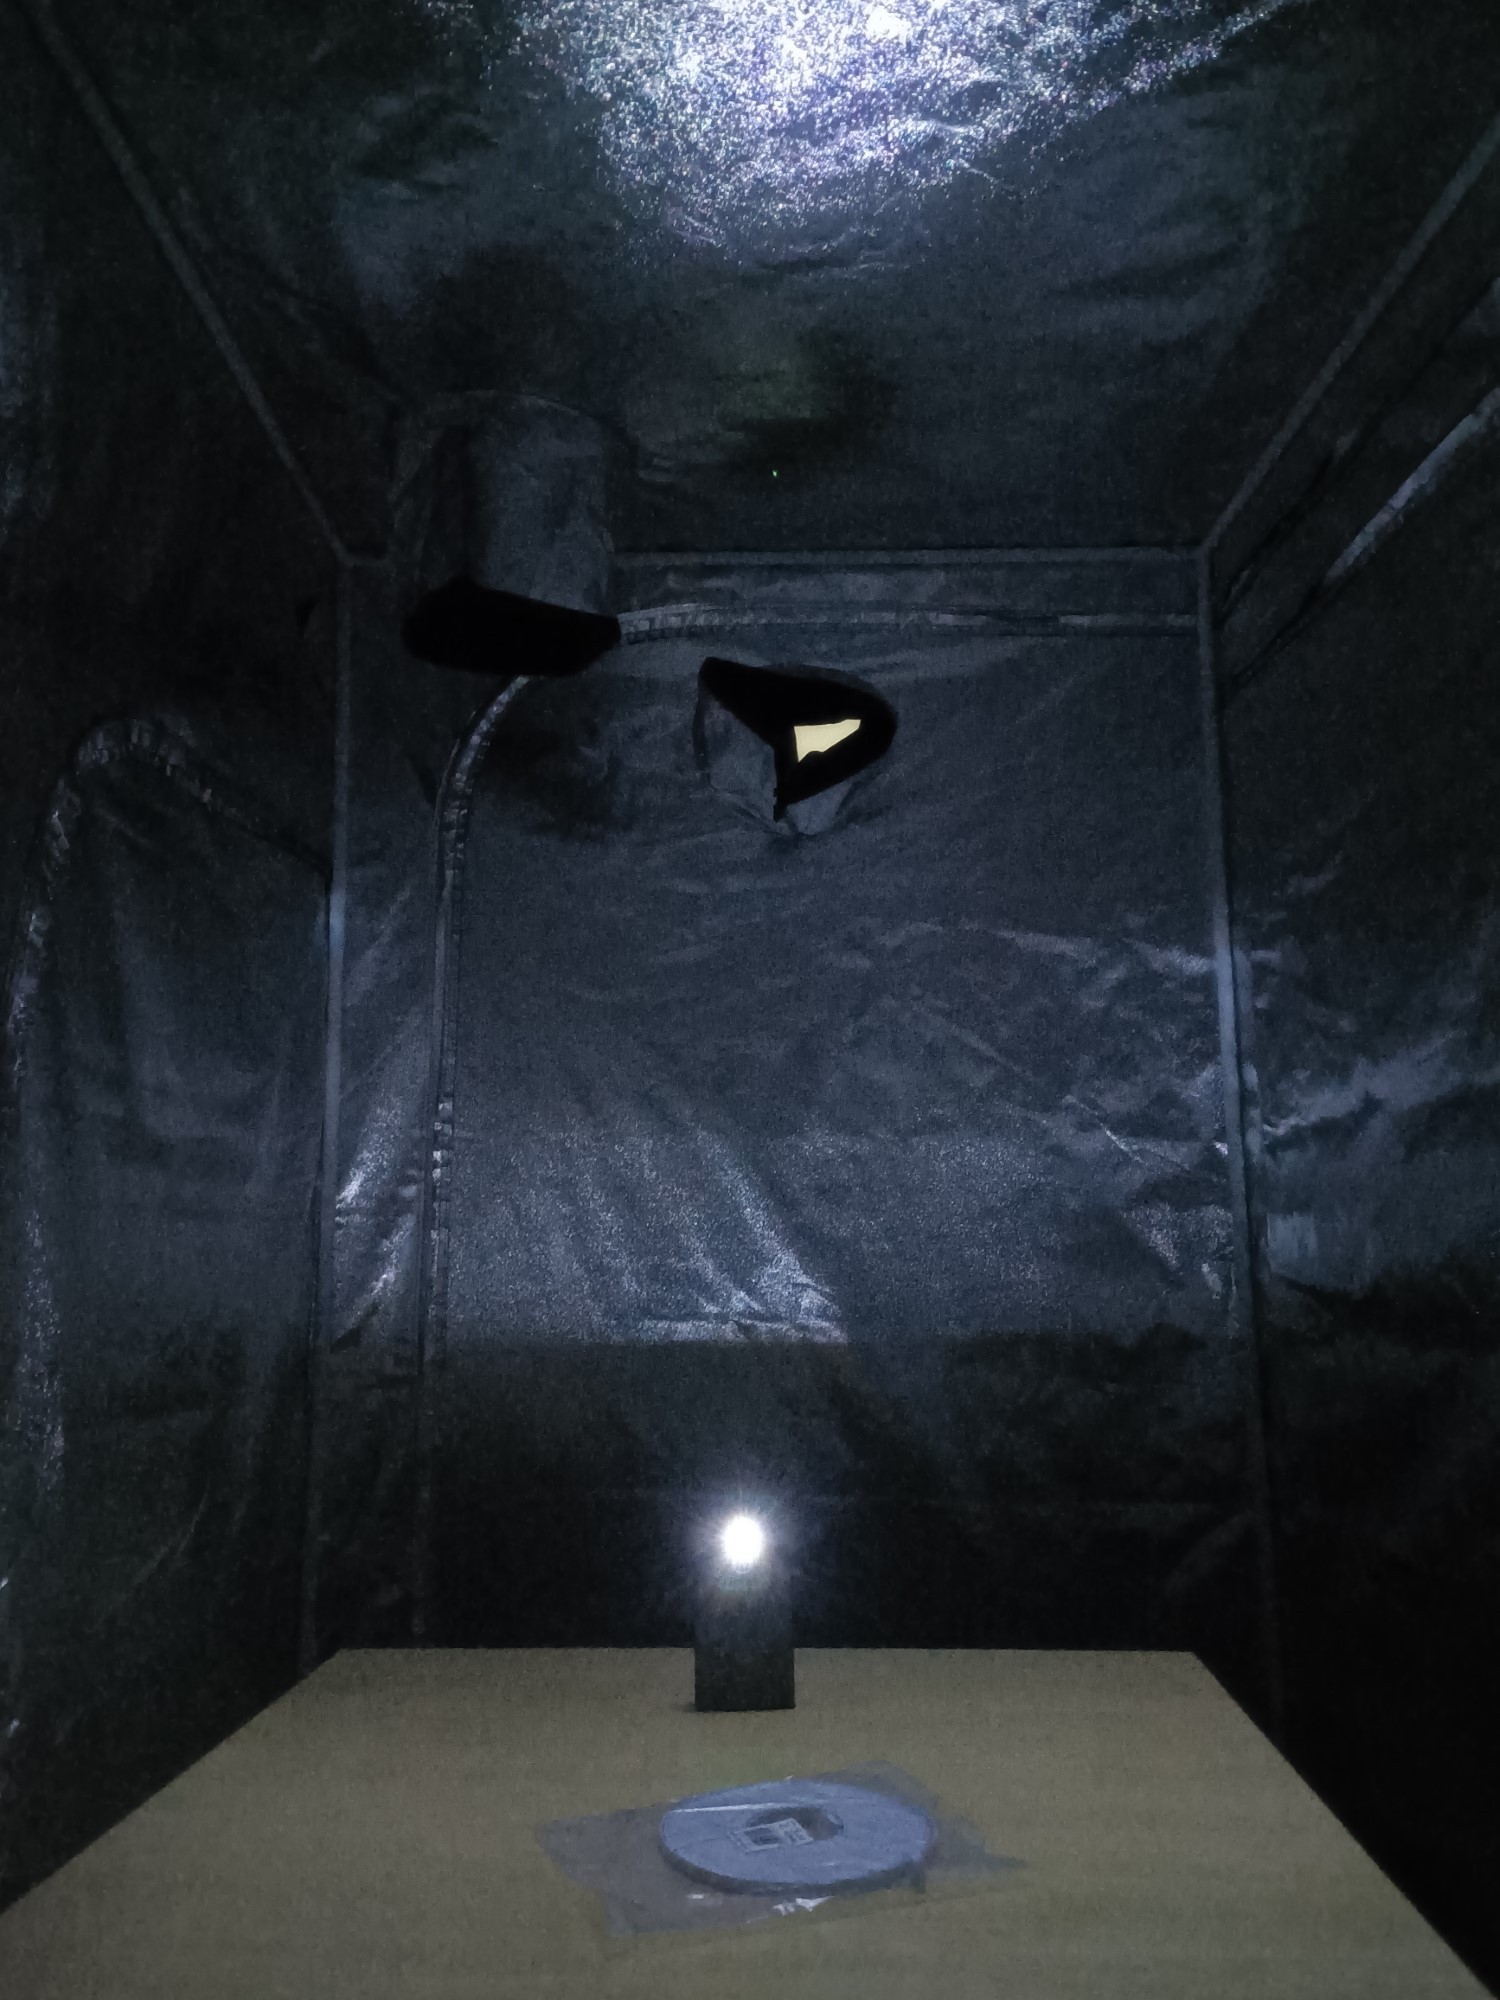
Then I moved my incomplete #Teti [gd0022] PC over, rolled out my lovely new flat ethernet cable and powered the system on.
[Tangent Start]
I put my PC to hibernate and, upon waking up, the Windows loading circle appeared fine but between that and the logon screen, the PC froze and blackness was displayed to the screen. It's an issue I've known about since the summer of 2022 and Me In The Past decided to just avoid the situation to avoid confronting the issue.
Well I Bing-ed... Bingified? for a bit, found nothing I could try, looked in Event Viewer for clues, went into the BIOS and saw a setting called "Fast Boot" set to Ultra Fast. I thought "Hmm. I was the one to that setting years ago. That sounds like something that looks like it would visibly do nothing but could actually cause issues. But it couldn't be that easy."
Well I changed it to "Enabled". It worked. It was that easy.
[Tangent End]
I still don't have a working inline fan, so I used a cheap but quiet normal fan. Unfortunately, it seems to be emitting a slgiht metallic odour. This tent fills up with whatever air is input extremely fast, so wether it's my exhaled breath or a particulate producing propellor, I'll notice. Basically, I've only got 1 of 3 ingredients required to work efficiently, which is an eyeful of sometihng that looks nice: the tent walls.
Dissasembly
Fast forward to finishing my time inside the tent. It's like 12am, I'm looking at this tent I need to dismantle, and I can't tell if my fatigue is to do with hunger or tiredness. Well, I had enough energy to dismantle the whole thing after I ate.
Coiling up the flat ethernet cable took ages. 20 minutes to be more descriptive. Finding out I could coil it while resting on the table instead of freehand really sped things up.
I decided to roll up the megadoor so that it was easier to work with. Good idea but it was still tough to execute. Then I dragged the frame forward and the fabric into the space between the frame and the back wall. I took down the frame, finding out that twisting the tube before pulling it out sped things up.
Suprisingly, I actually figured out the correct way to fold the tent to get back to the 1.2 x 2m folded stated (which I could then use the assembly images to fold back into the carrying case).
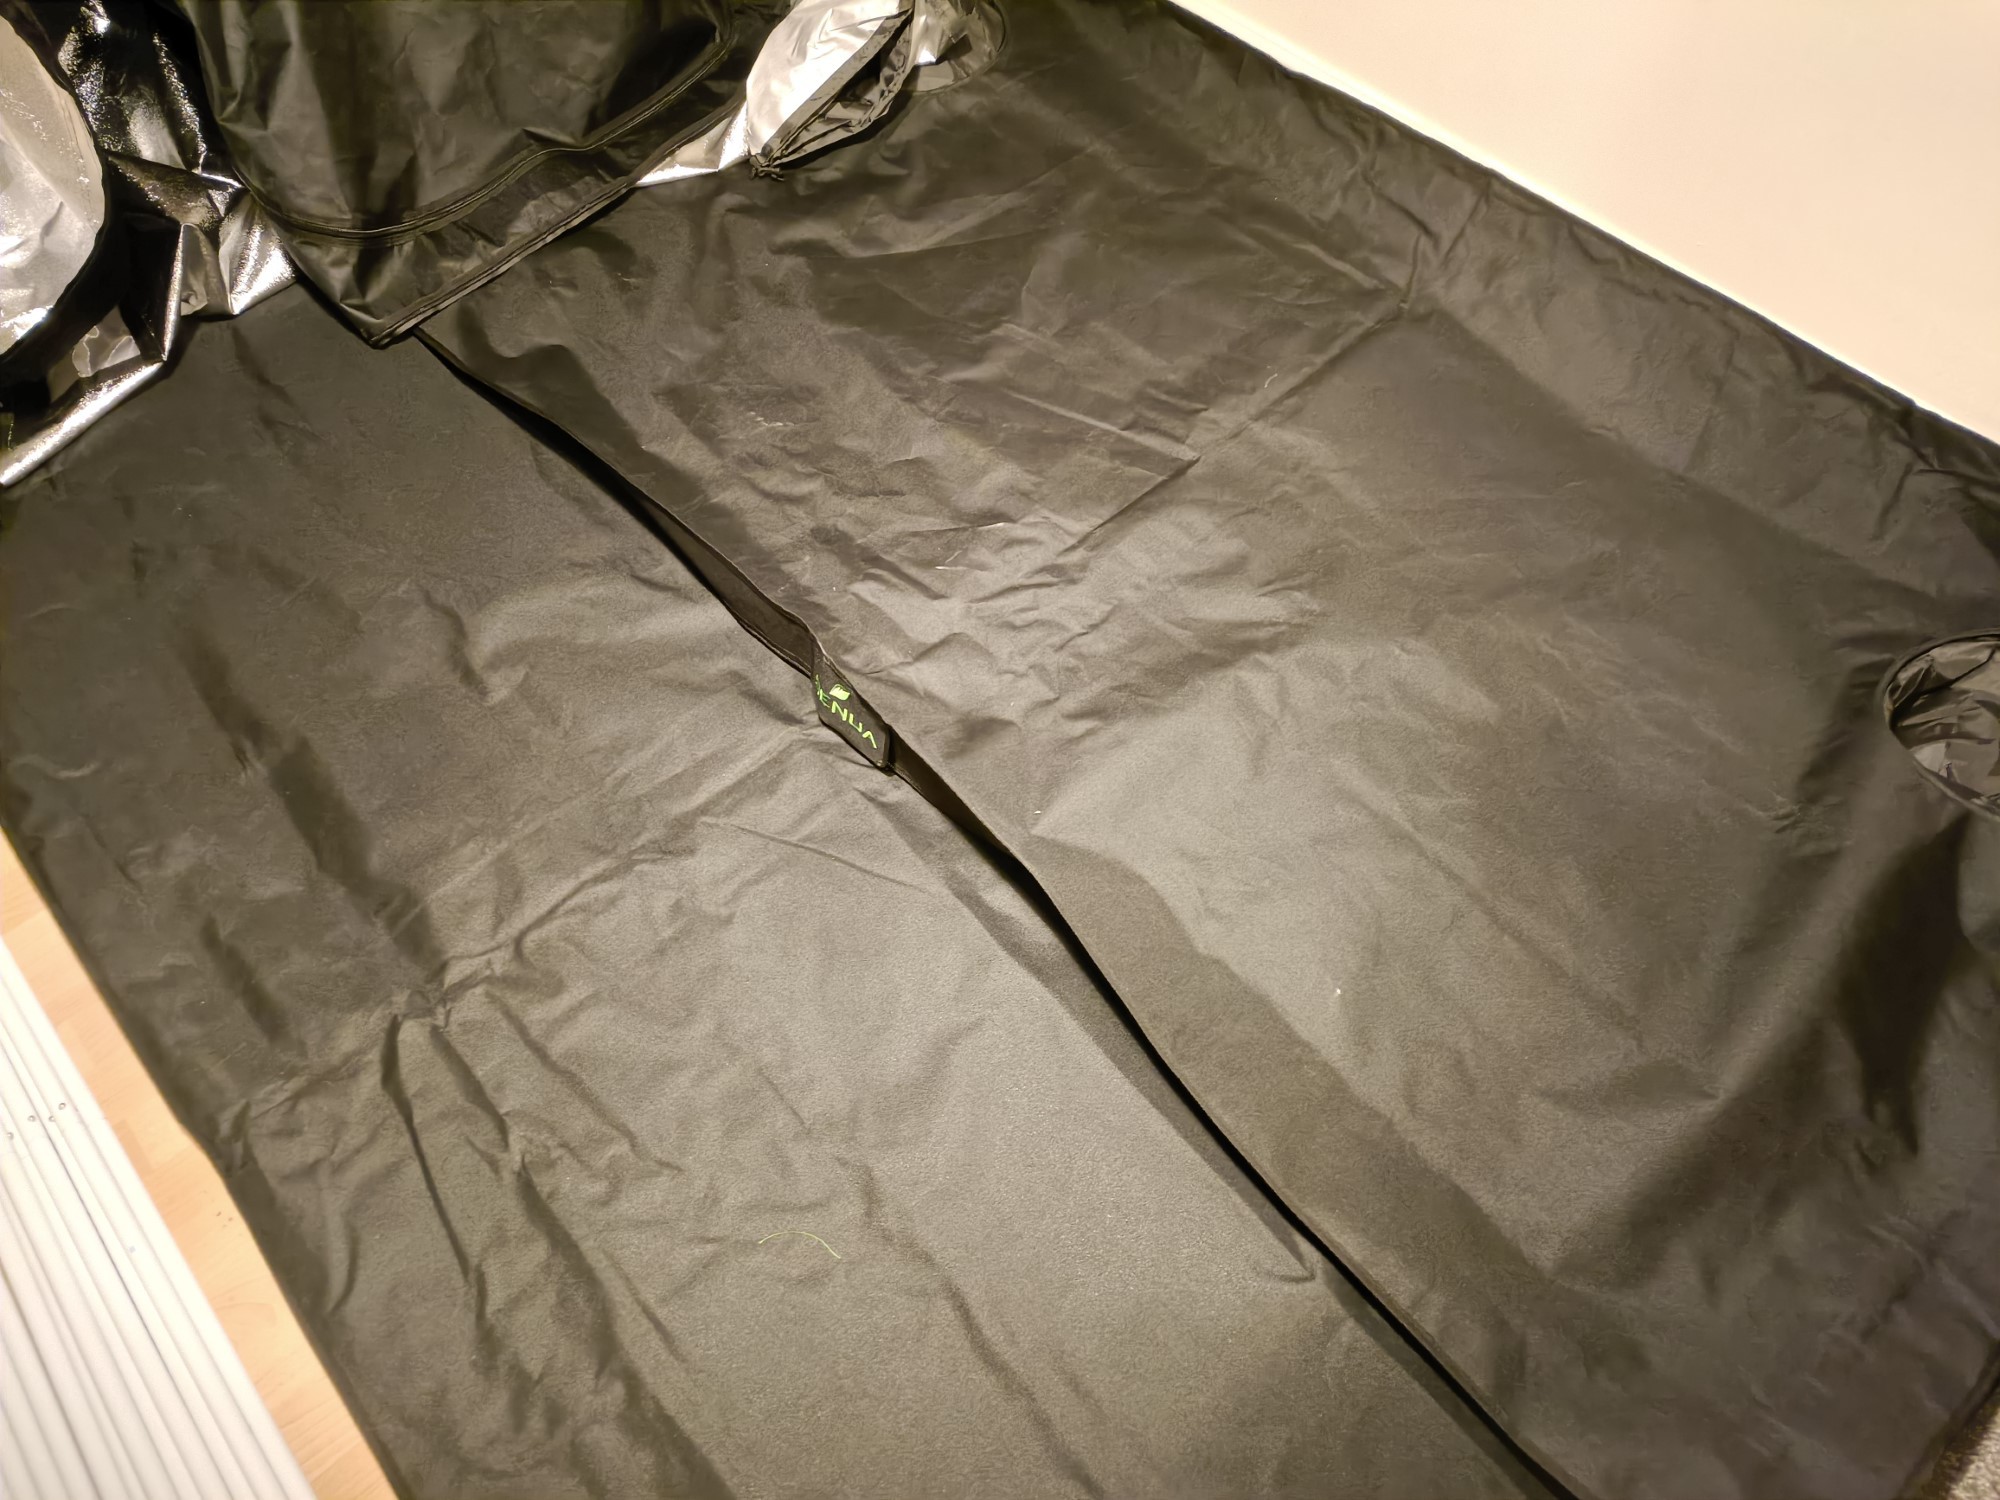
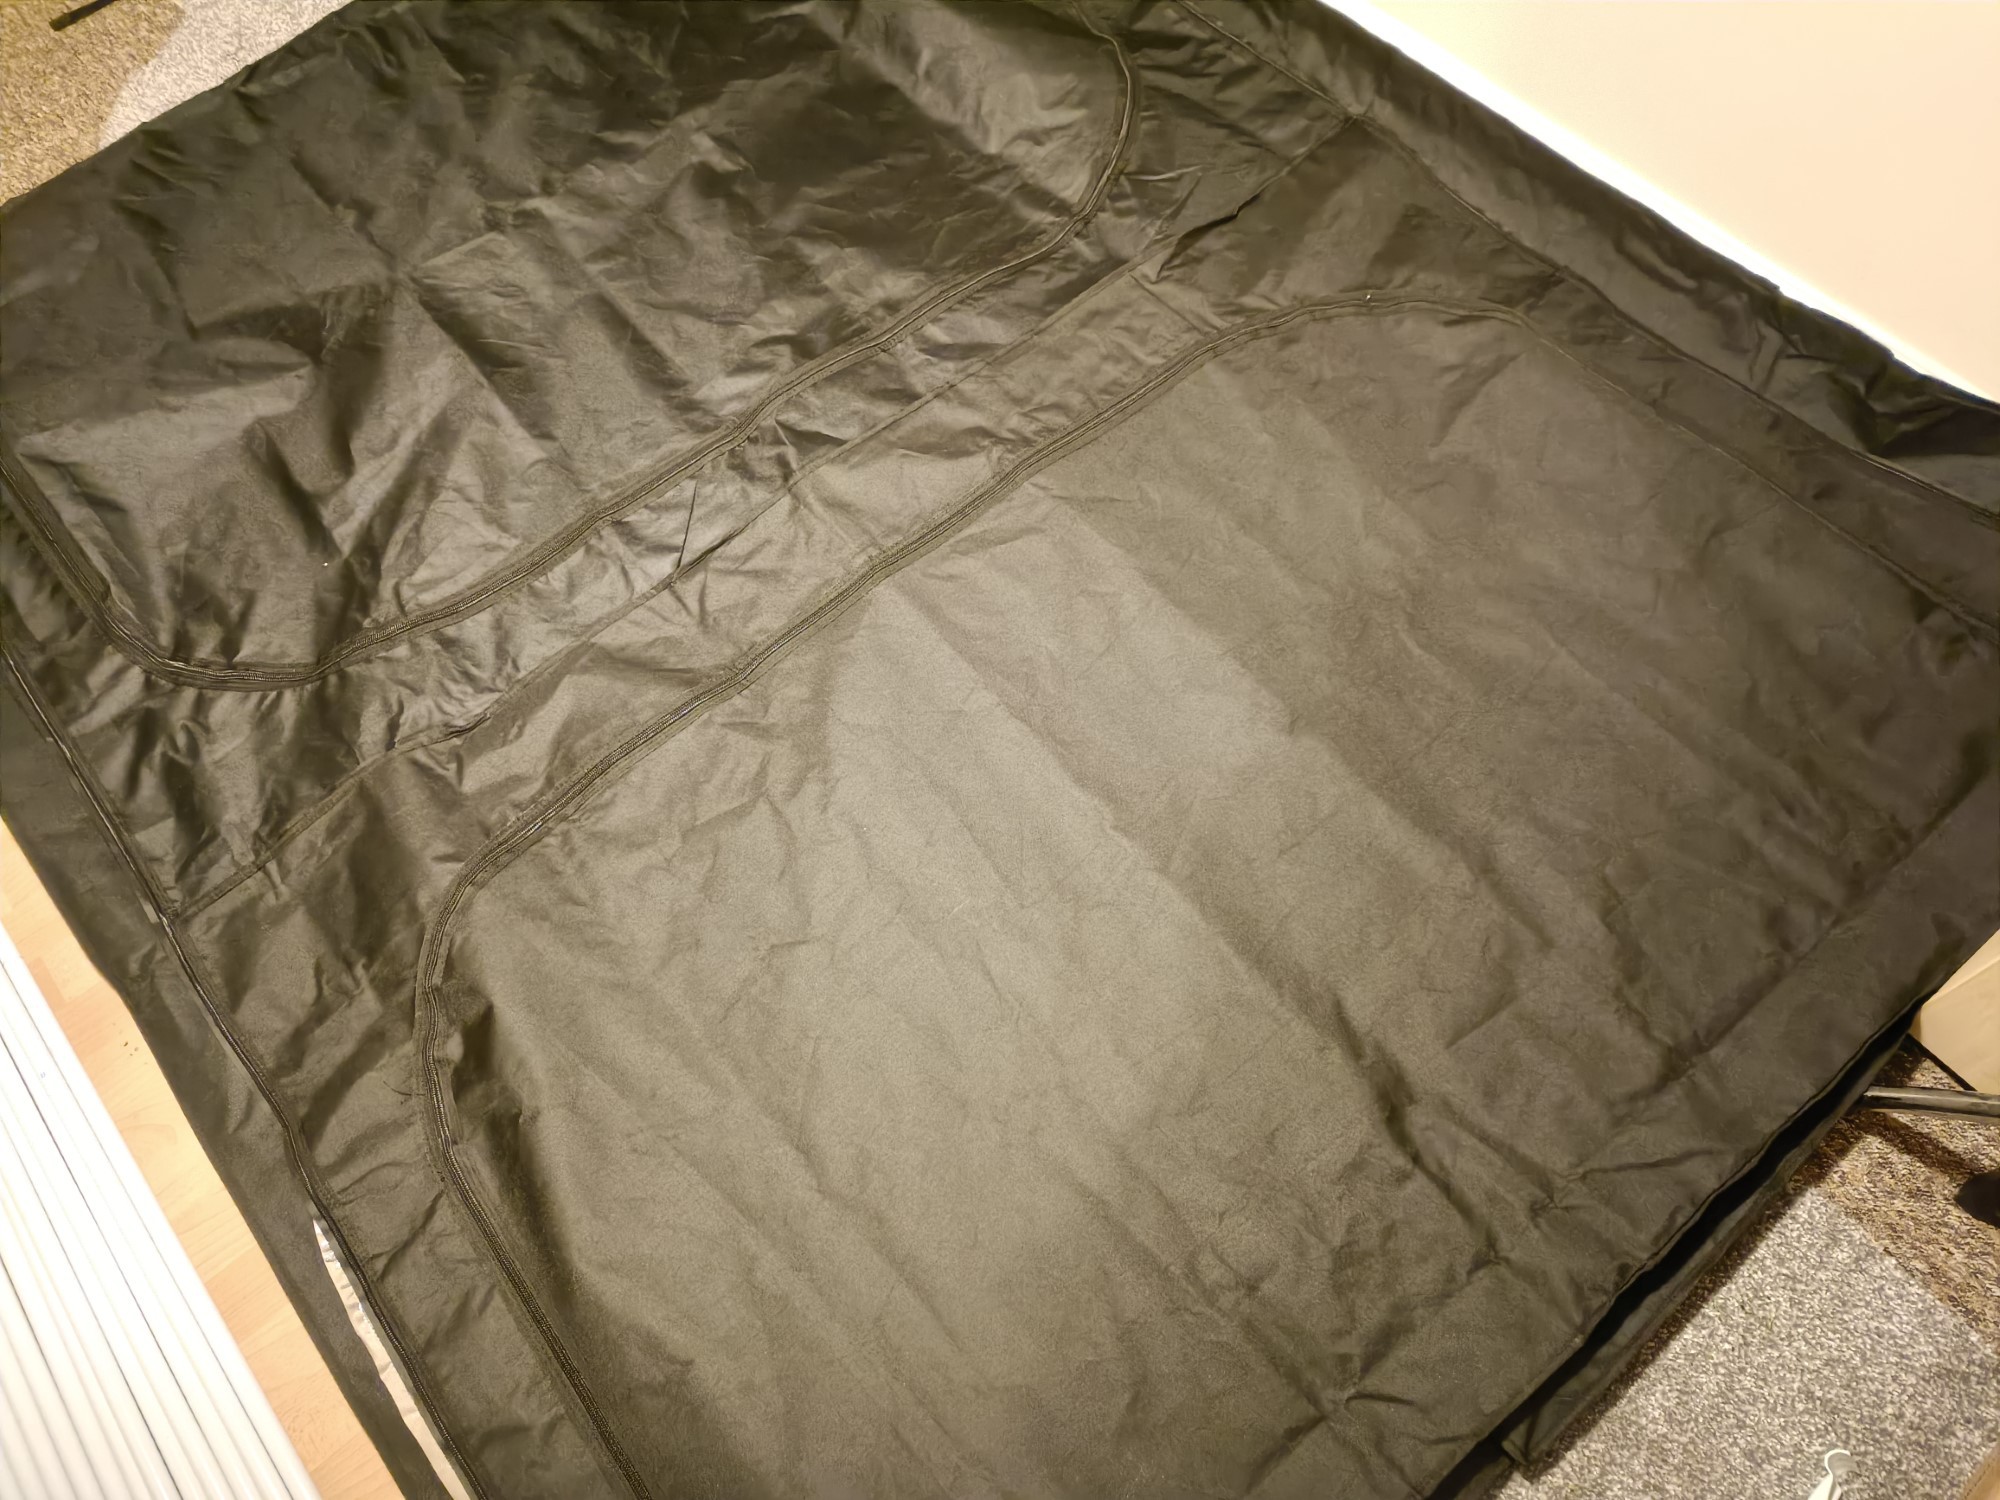
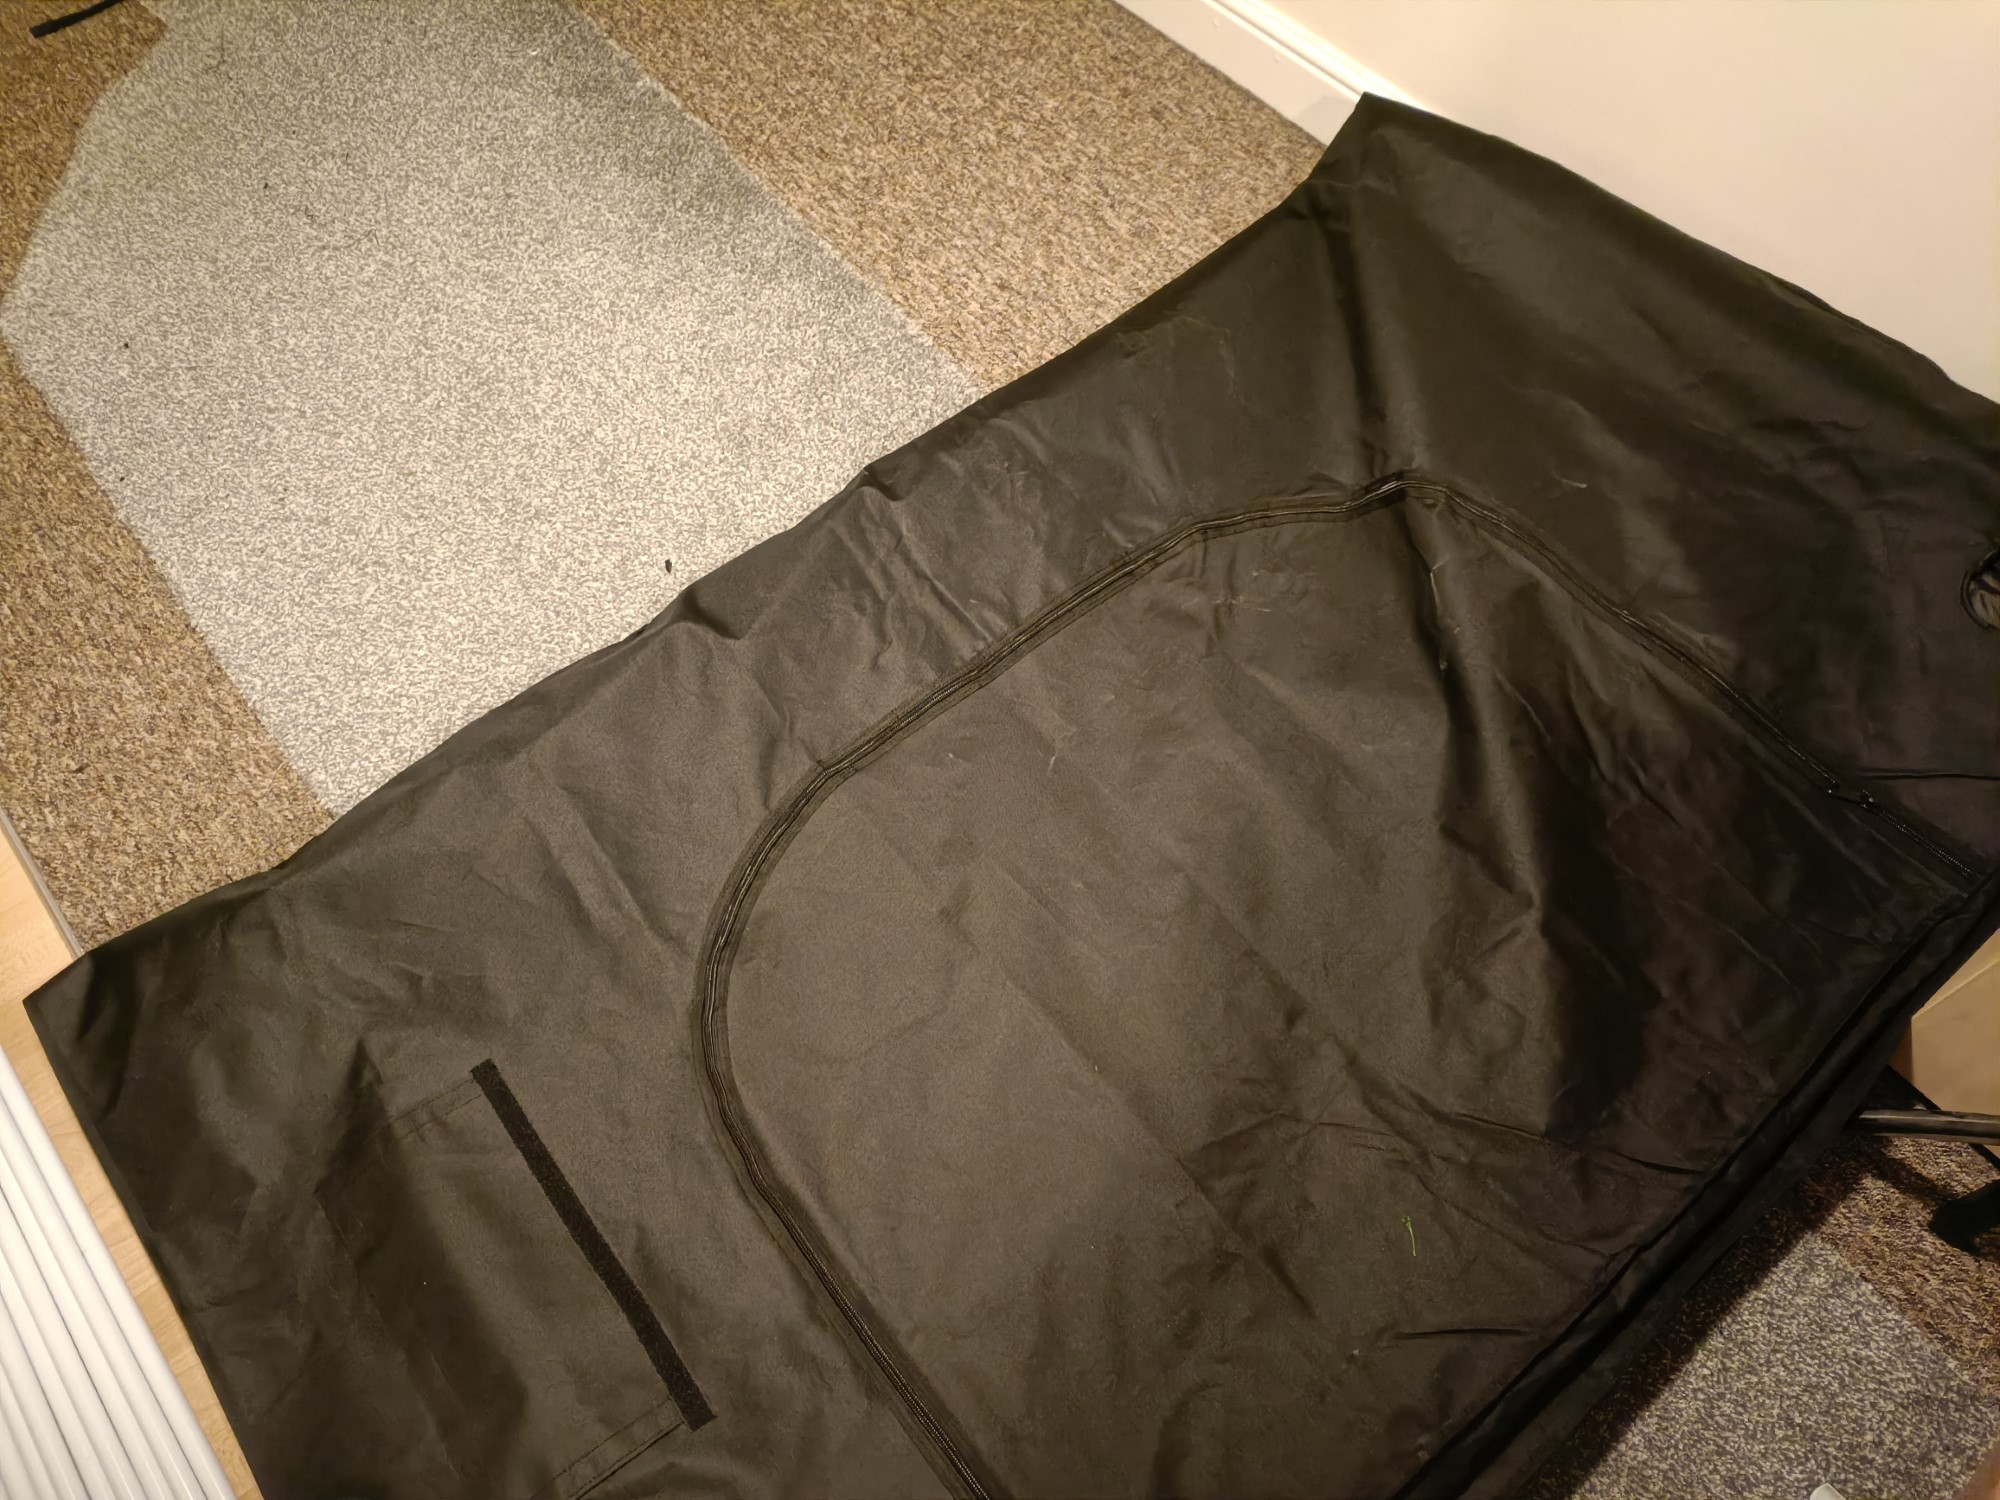
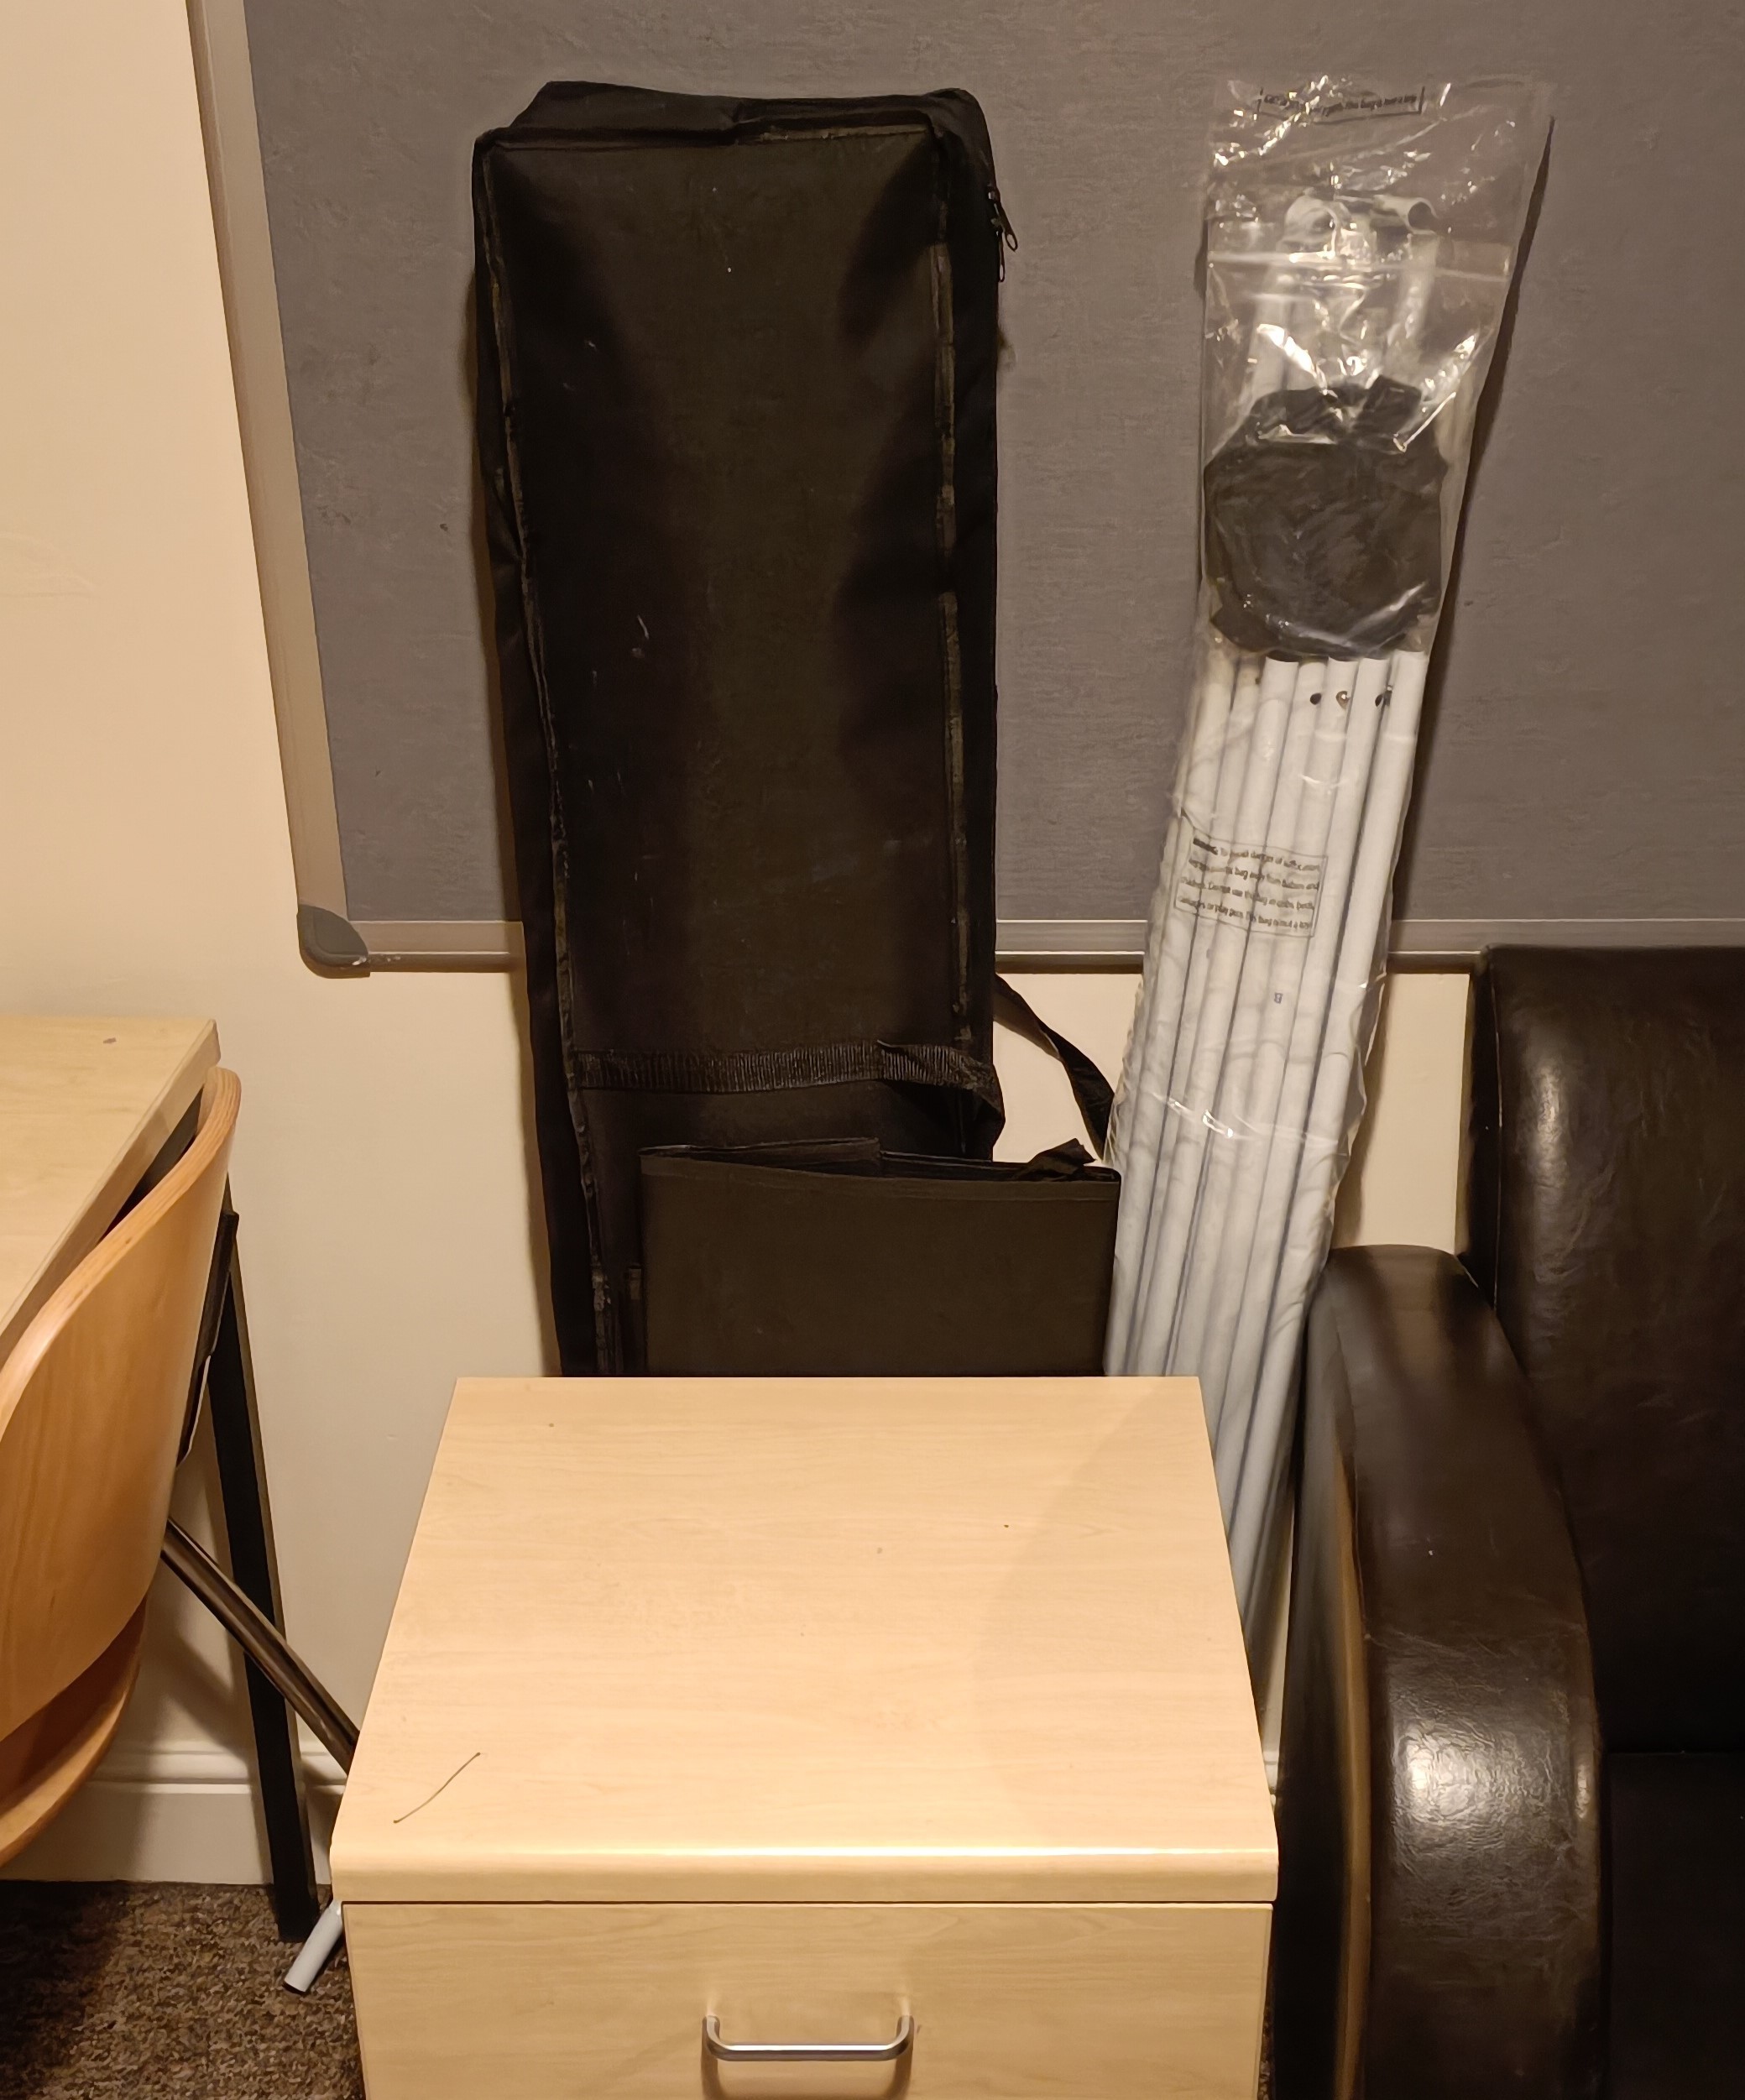
5th March
I feel like I was at least more fluid in putting the thing together, except that the fabric still turned to chaos so I'll have to remember to think of a better solution (since the fabric is where I'm likely to cut the most time for assembly). I didn't time it because I was also doing other house chores (which might not have been done if I didn't have a sizable tent I needed to build).
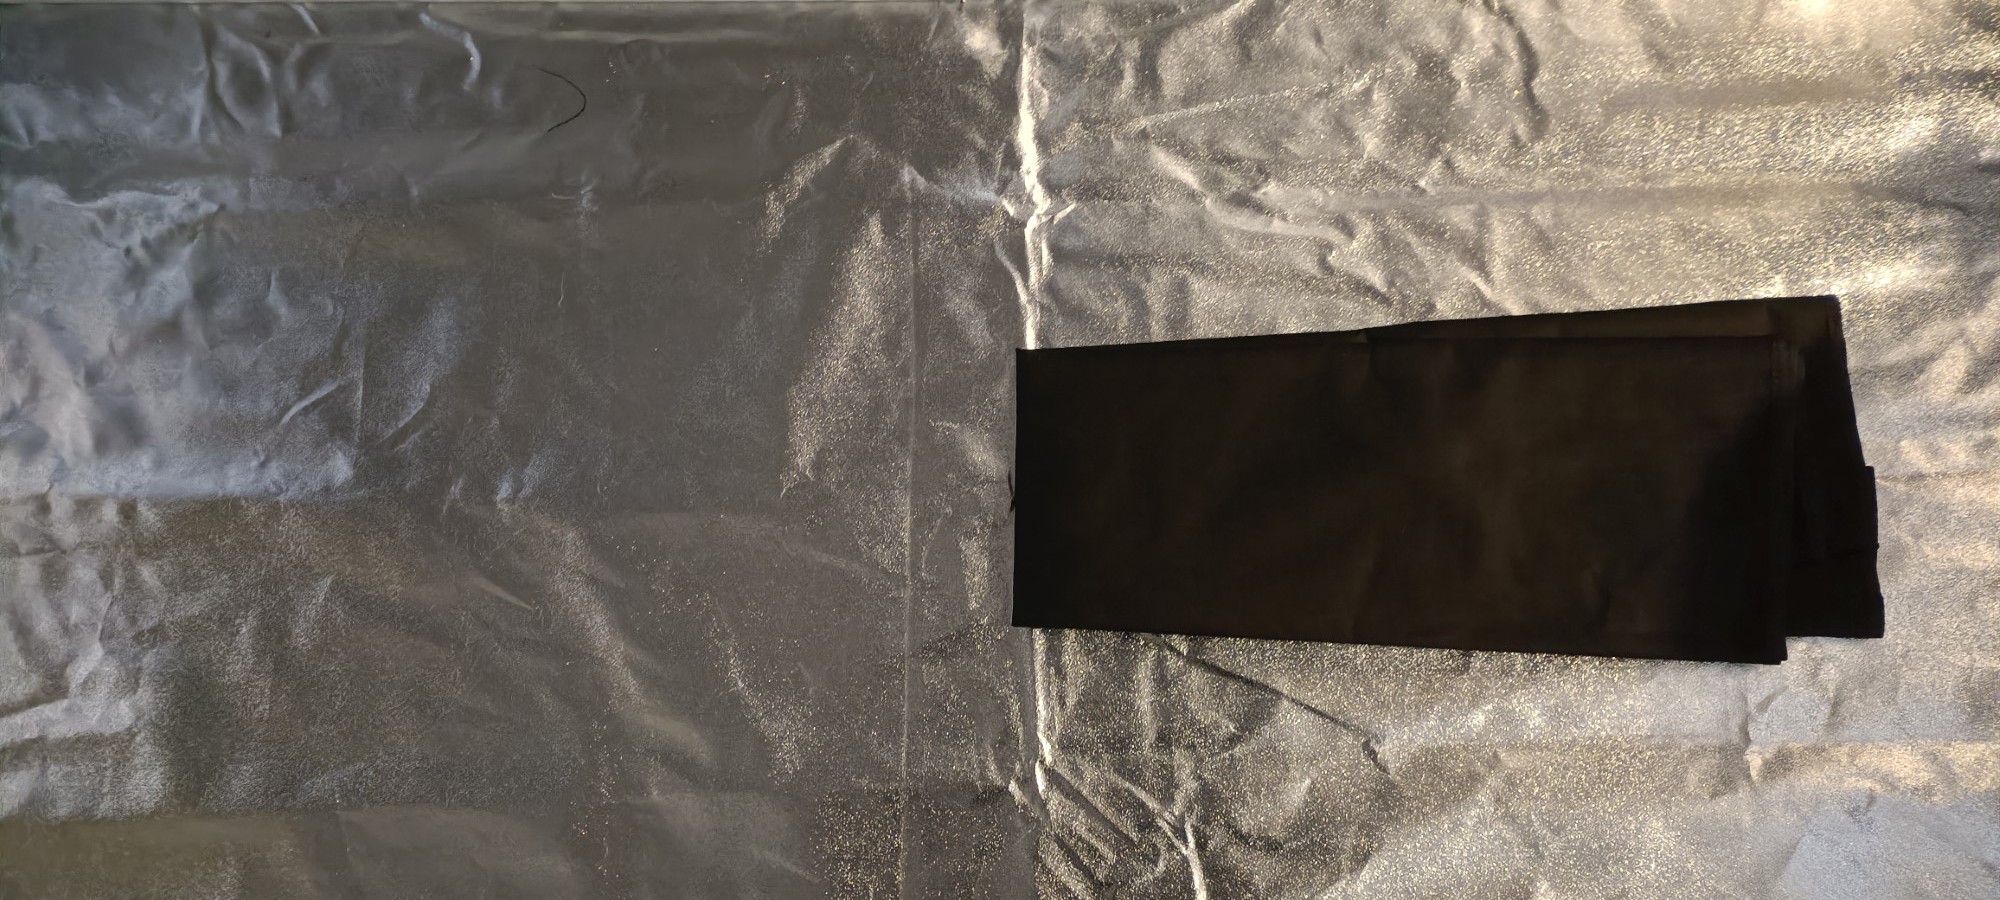
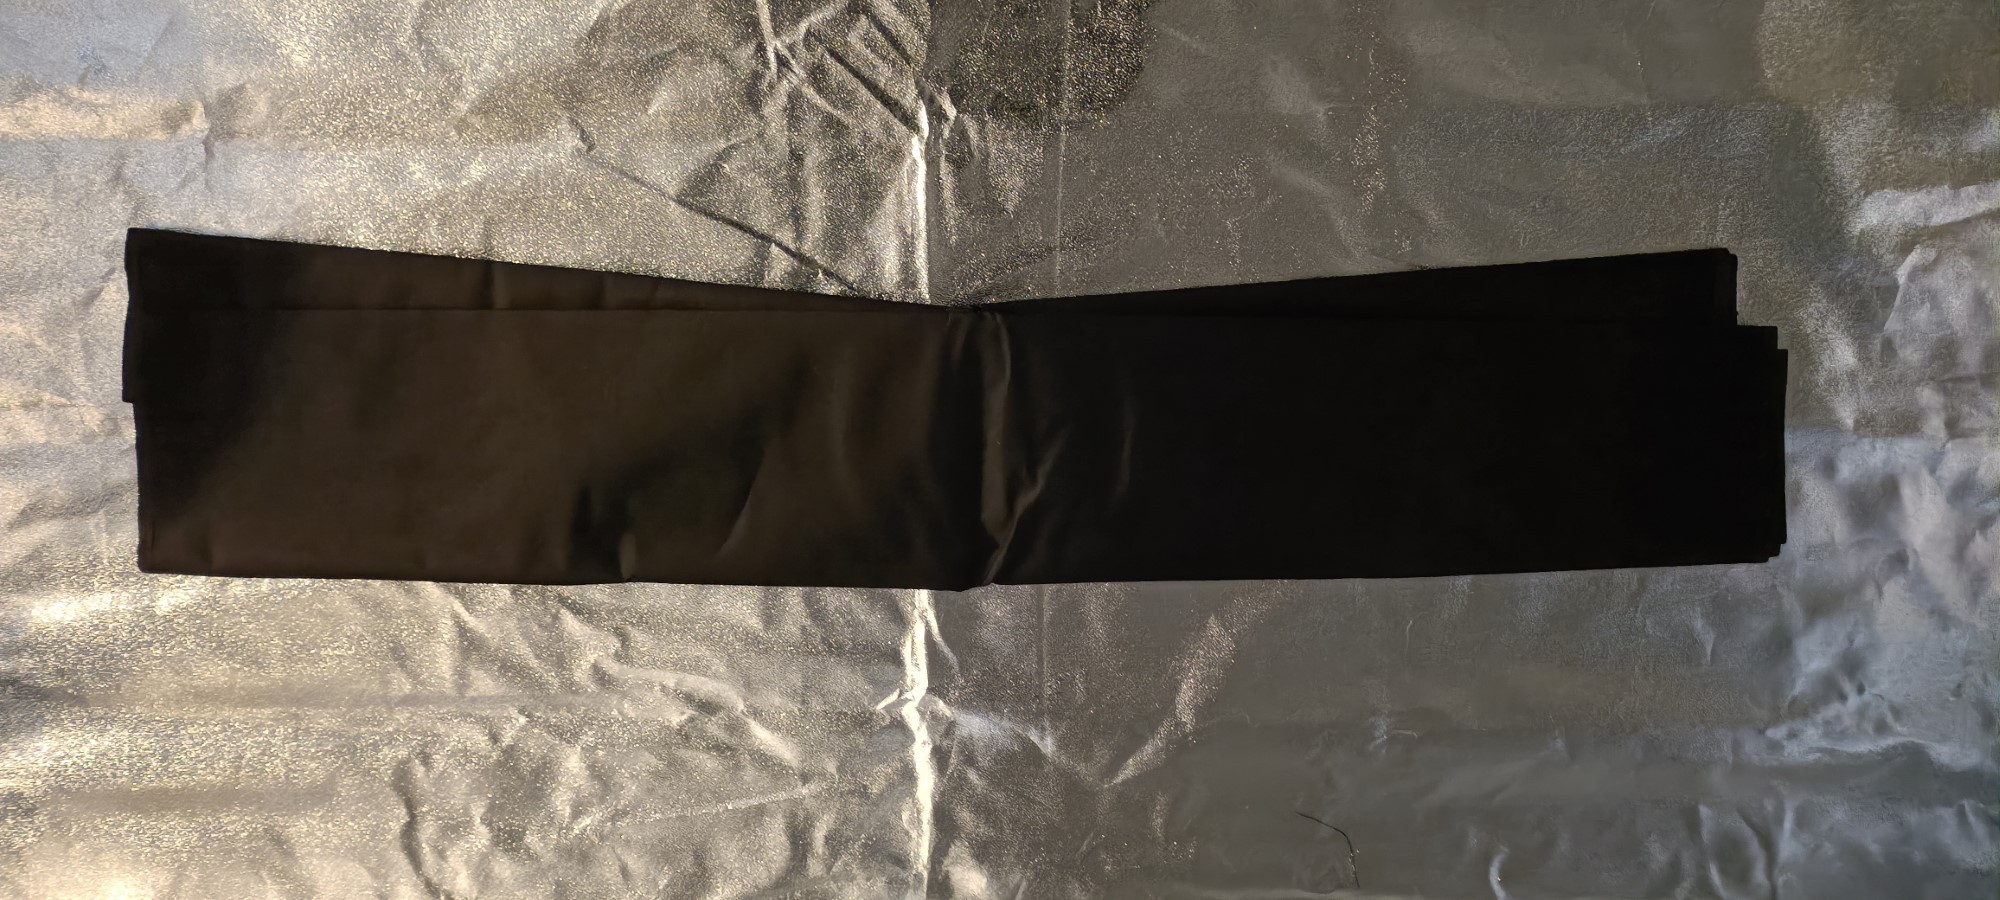
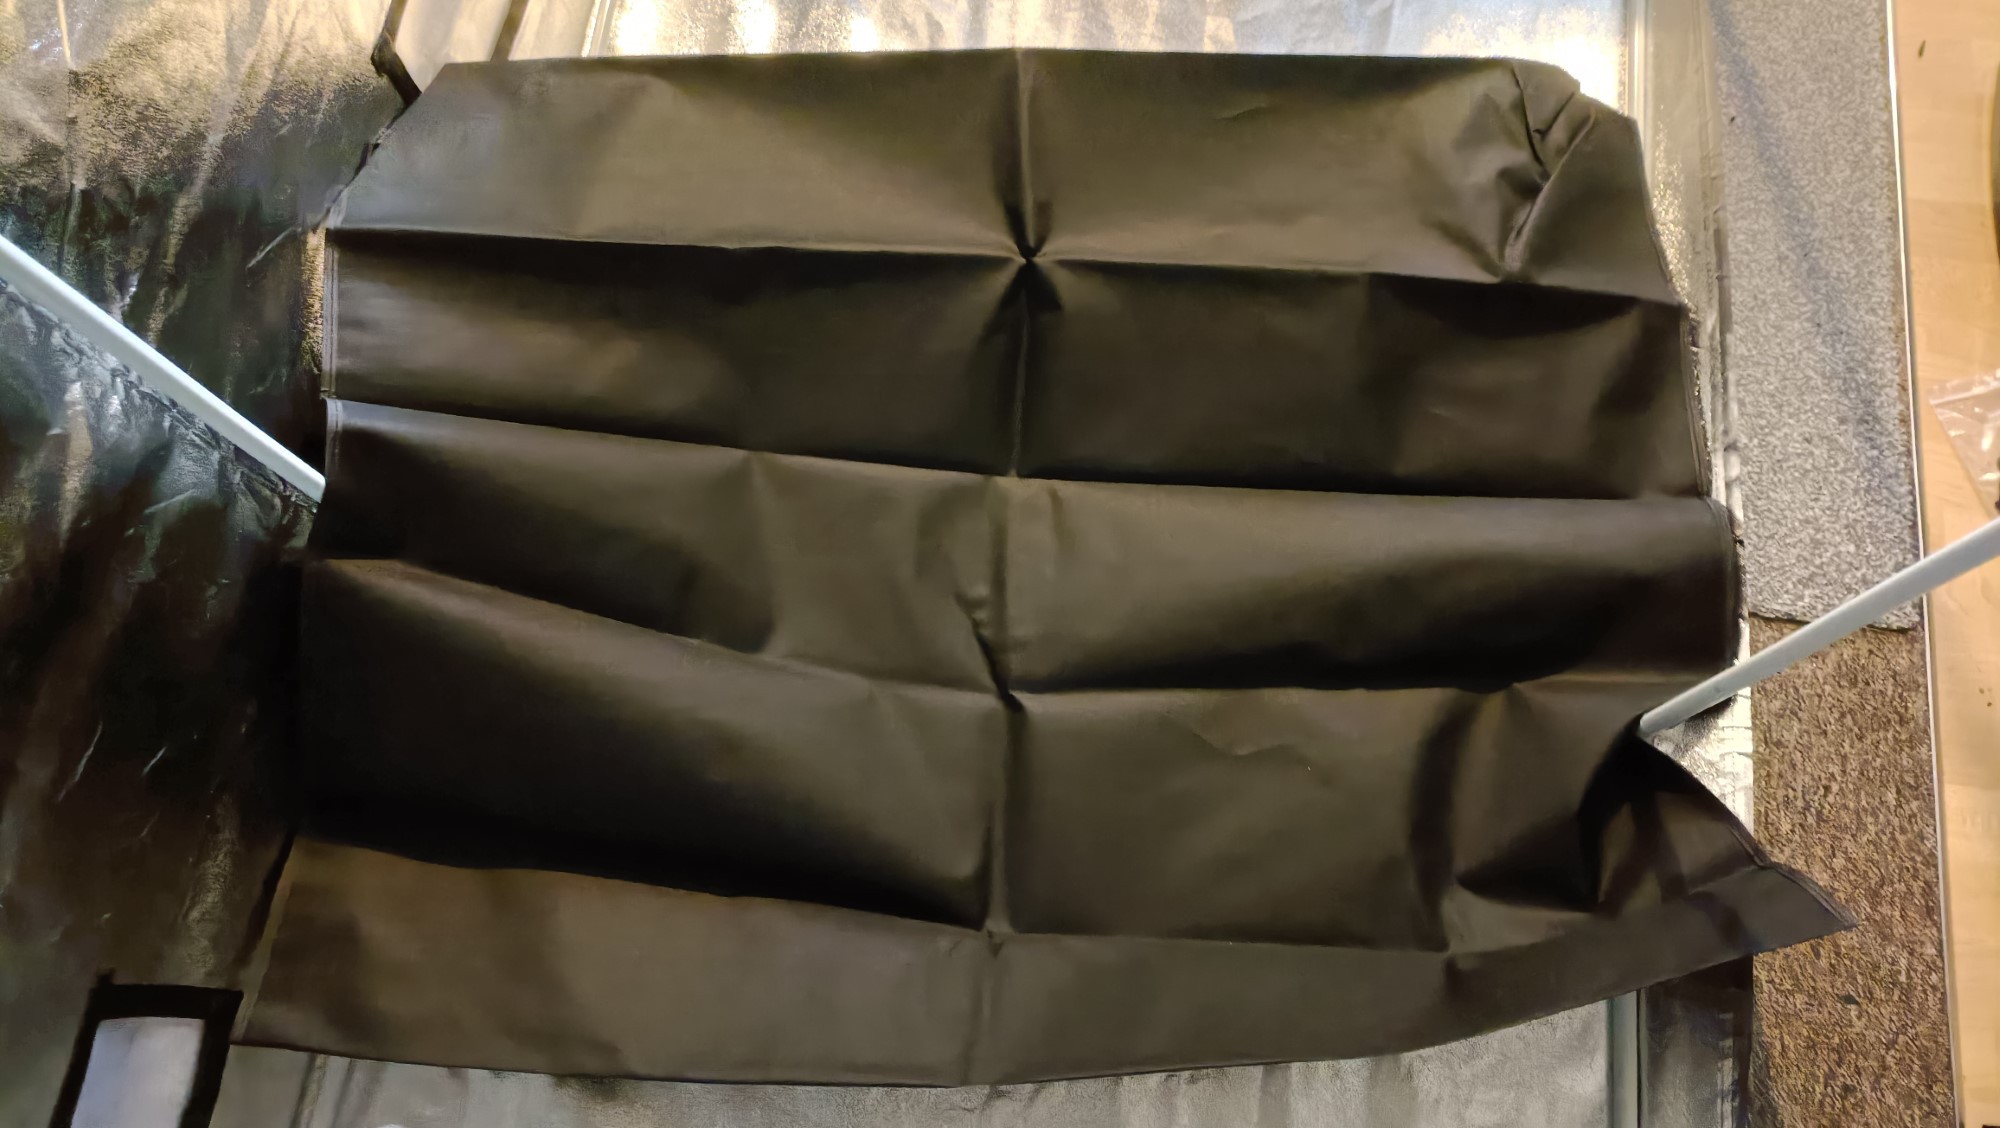
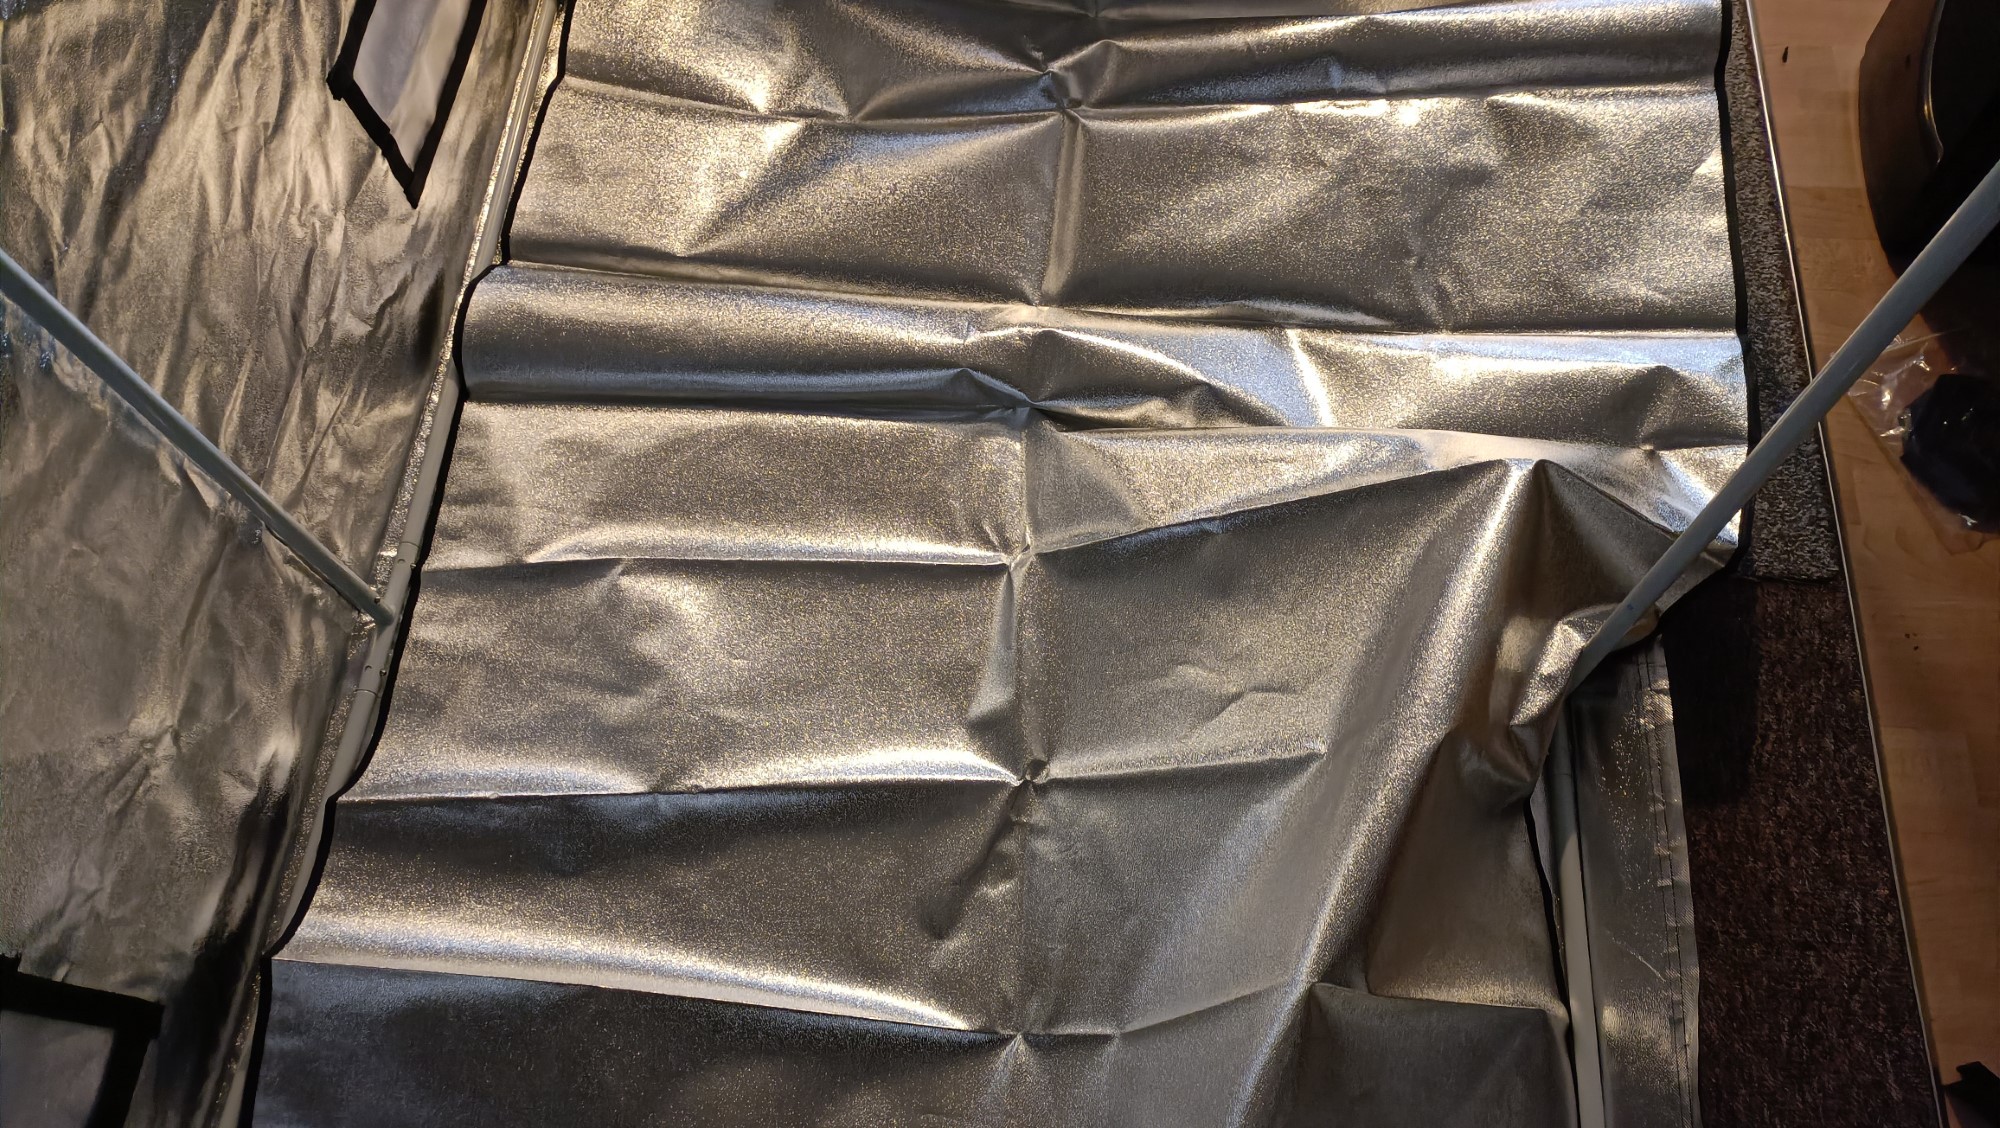
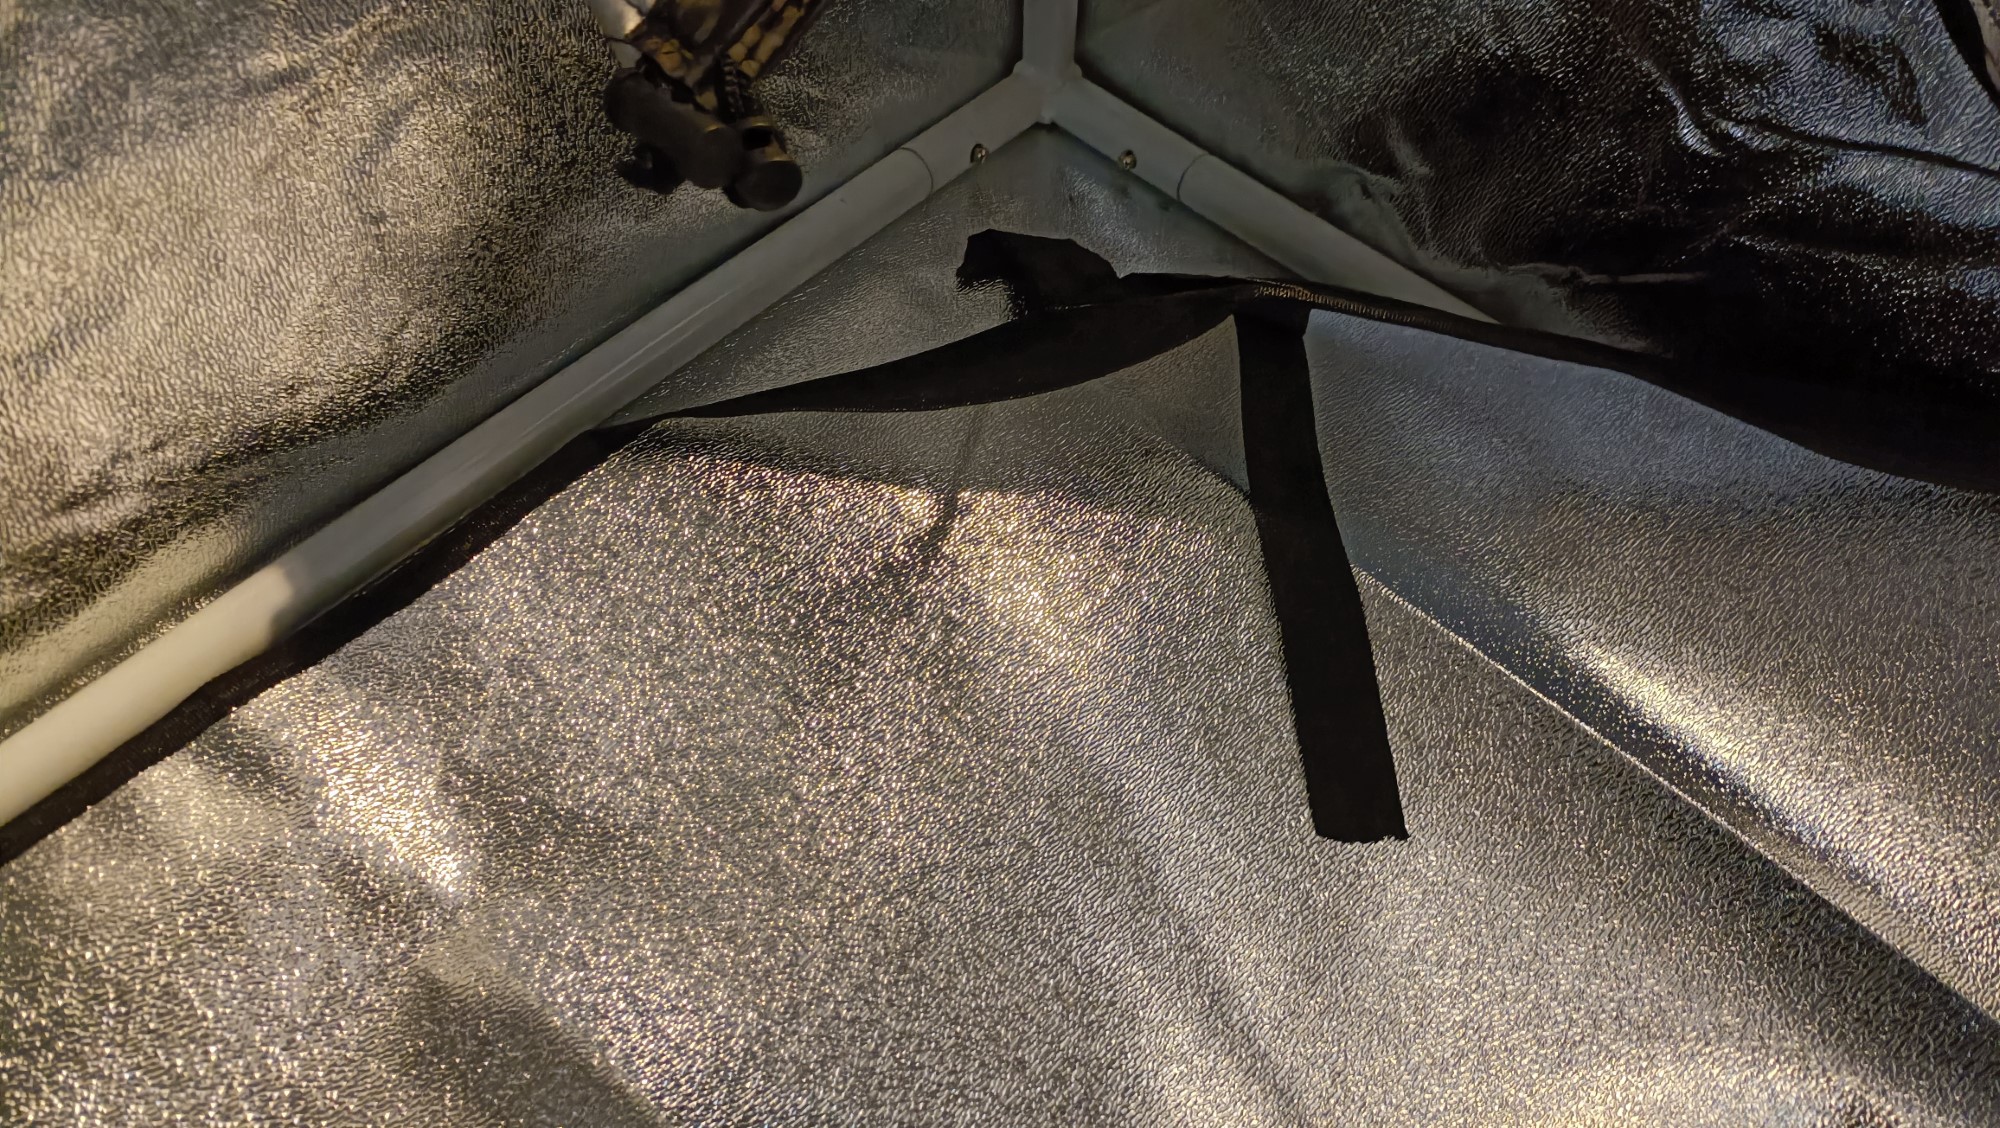
This time, I decided to also try the drip tray. It's interesting because it's like a flat sheet with origami corners.
Ethernet Spool
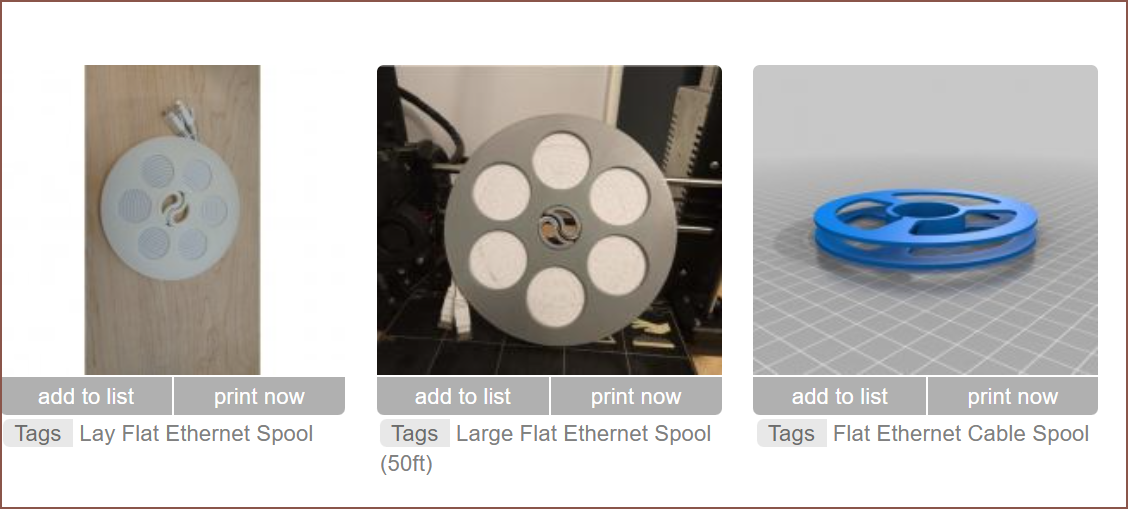
That flat cable could really use a spool, and it didn't take long at all to find some good ones. I still haven't gotten around to printing any yet because my DP2 is, once again, showing erraneous temperature readings.
LED Ring Lighting
In a Poundstretcher, I remembered seeing some ring LEDs and I went over to see them. They had a 16cm Ring LED from Content Creator (I think "Content Creator" is actually the name of the brand) which also comes with a tripod. While it wasn't this kit specifically, it looked a lot like the ring LEDs I plan to install into the Hexadecibel to finally give it (and the loaded filament spool) some ilumination. Well they had that for £6 or a larger 26cm for £10. Thus, I was standing there for probably 300 seconds wondering if I should pick none, the £6 or the £10 option. I then thought "Wait. I could get 2 for £12, and dual point lighting always looks better than single point lighting.". Additionally, the 16cm should be easier to store.
I ran home, checked Amazon for LED rings of the same size, saw that most were £12.99+, ran back to the store, bought 2, ran home, found out that the kits have suprisingly high build quality for £6, plugged them into power banks and tried 2 configurations to see how the lighting was (images below), determined that I really like both, ran back to the store for a third light and tried to power them from Teti instead of the power banks that had already lost 20% in a relatively short time window.
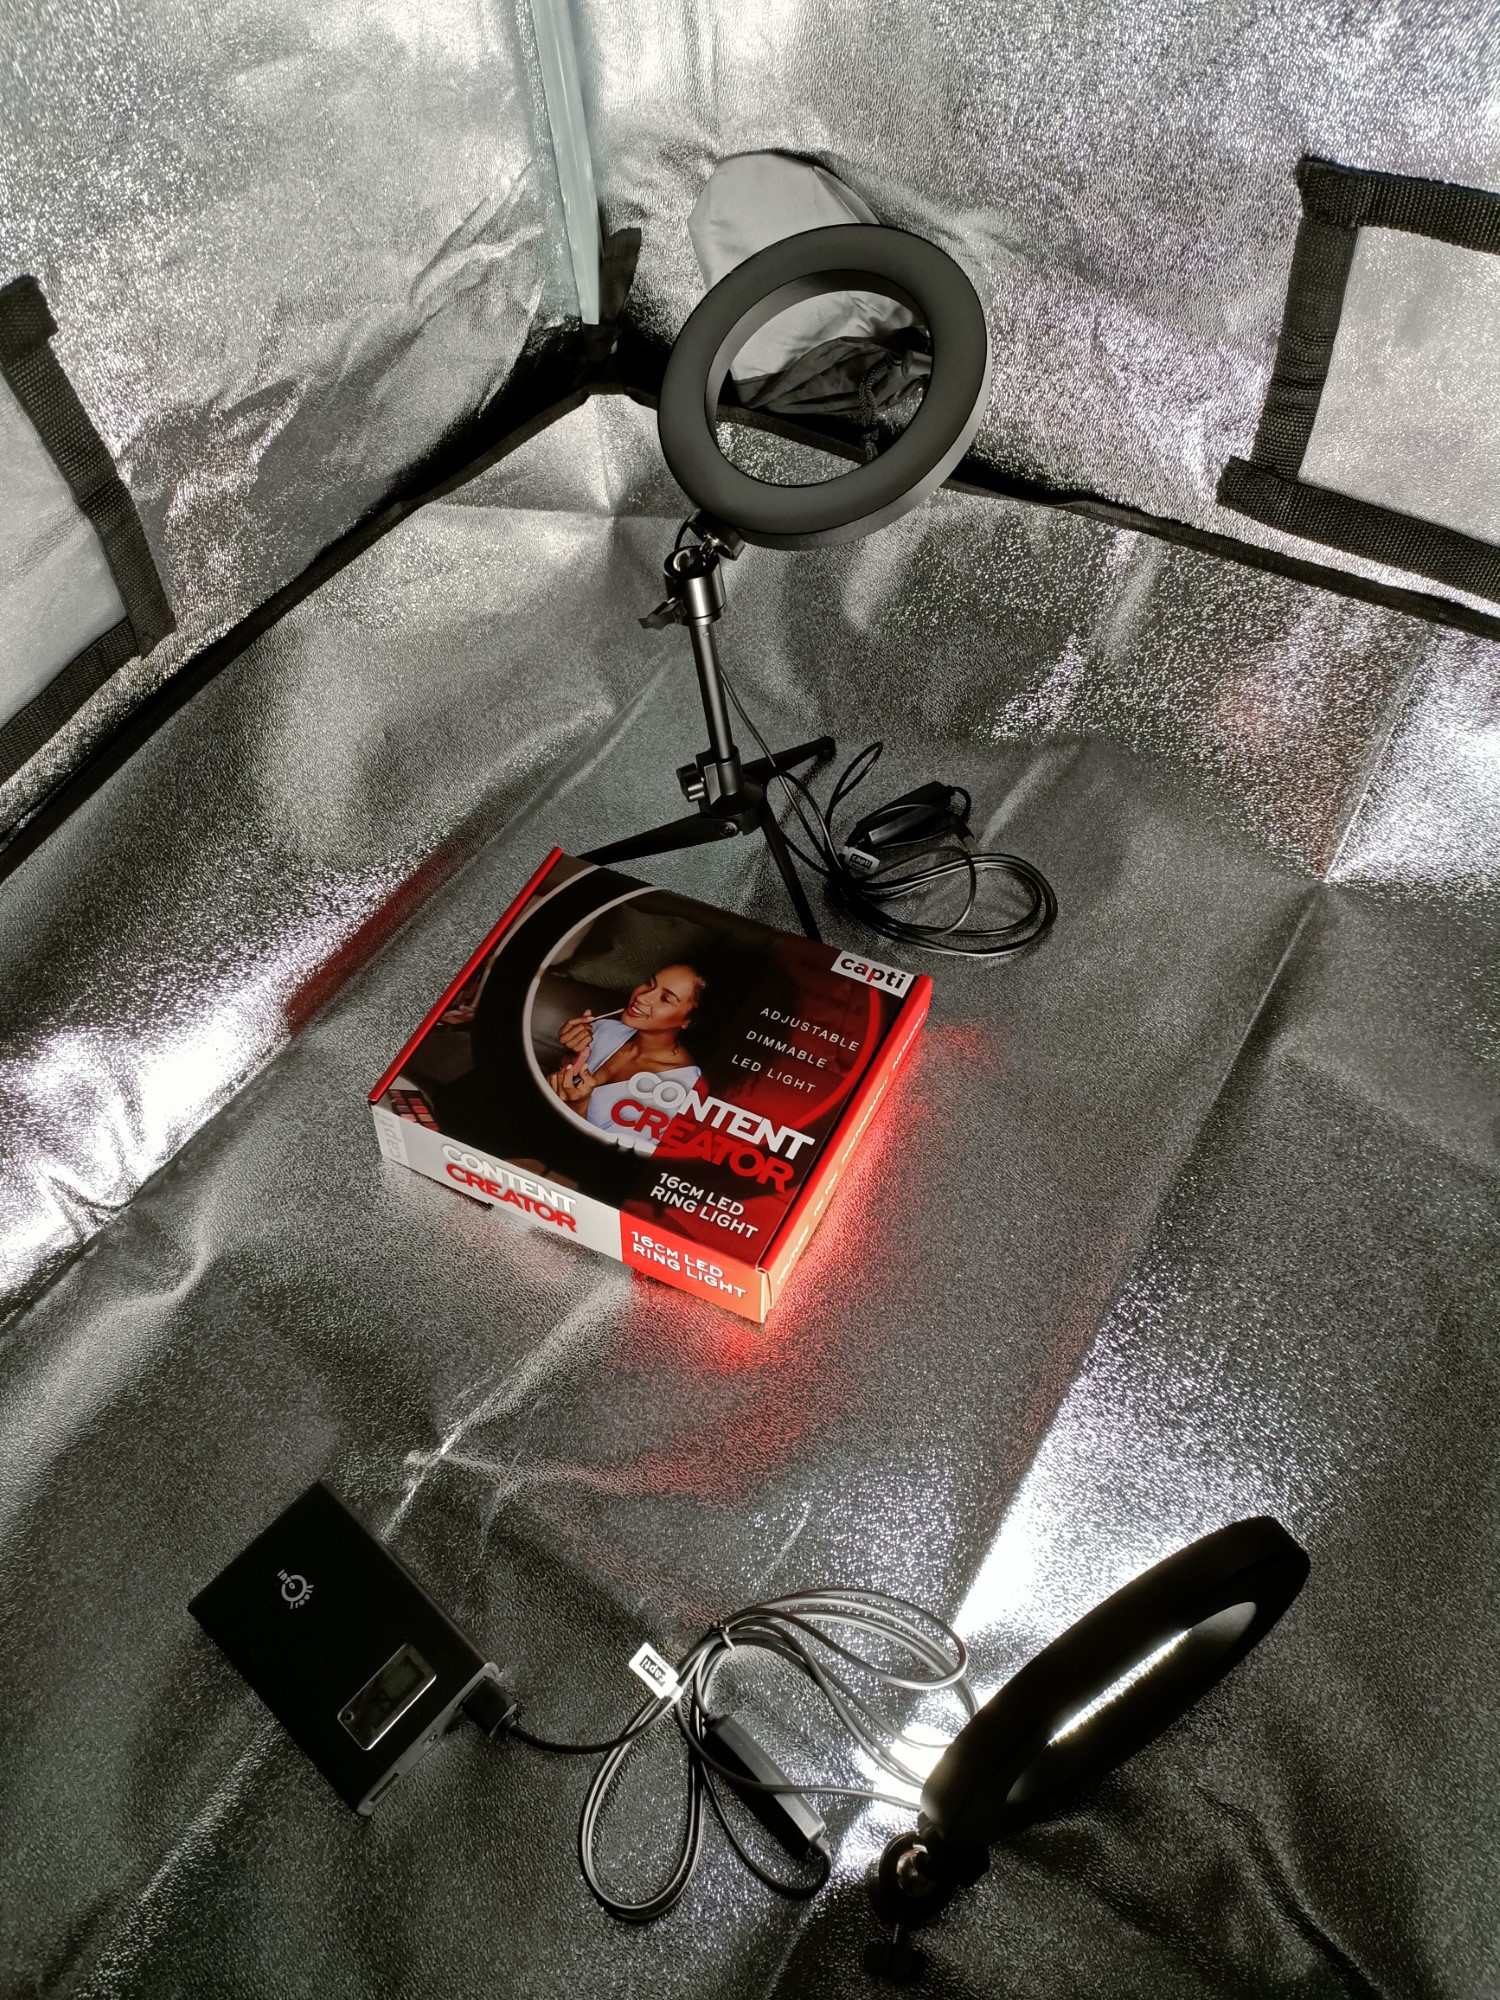
The second light failed to turn on for more than maybe 2 seconds? Well I got a power tester up and it seems that the engineers unfortunately had the bright idea of setting the default brightness to 100%, meaning that it drew 5V @ 3A. Whilst it'll save the brightness setting when pressing the on/off button, this brightness is not saved after a power cycle. Each discrete level is something like a 0.4A difference. I can't press and hold, because then it does some kind of continuous brightness adjustment, nor can I adjust the brightness when the LED is in standby.
So, after sitting in sadness for maybe 5 minutes, I got the idea:
- Turn on an LED
- Reduce it to the absolute minimum brightness and set it to a warm or cold temperature
- (which uses even less power than pure white, which seems to just power on both sets of LEDs).
- Then, when powering the second LED, spam the -brightness button.
- Lastly, get the LEDs to the preferred brightness, which is 2 levels above minimum.
Now thinking about it, I could actually get LED Ring (N) to the preferred brightness and then put it into standby. Then I can quickly adjust LED Ring (N + 1) and do the same thing. Lastly, turn on all LED rings.
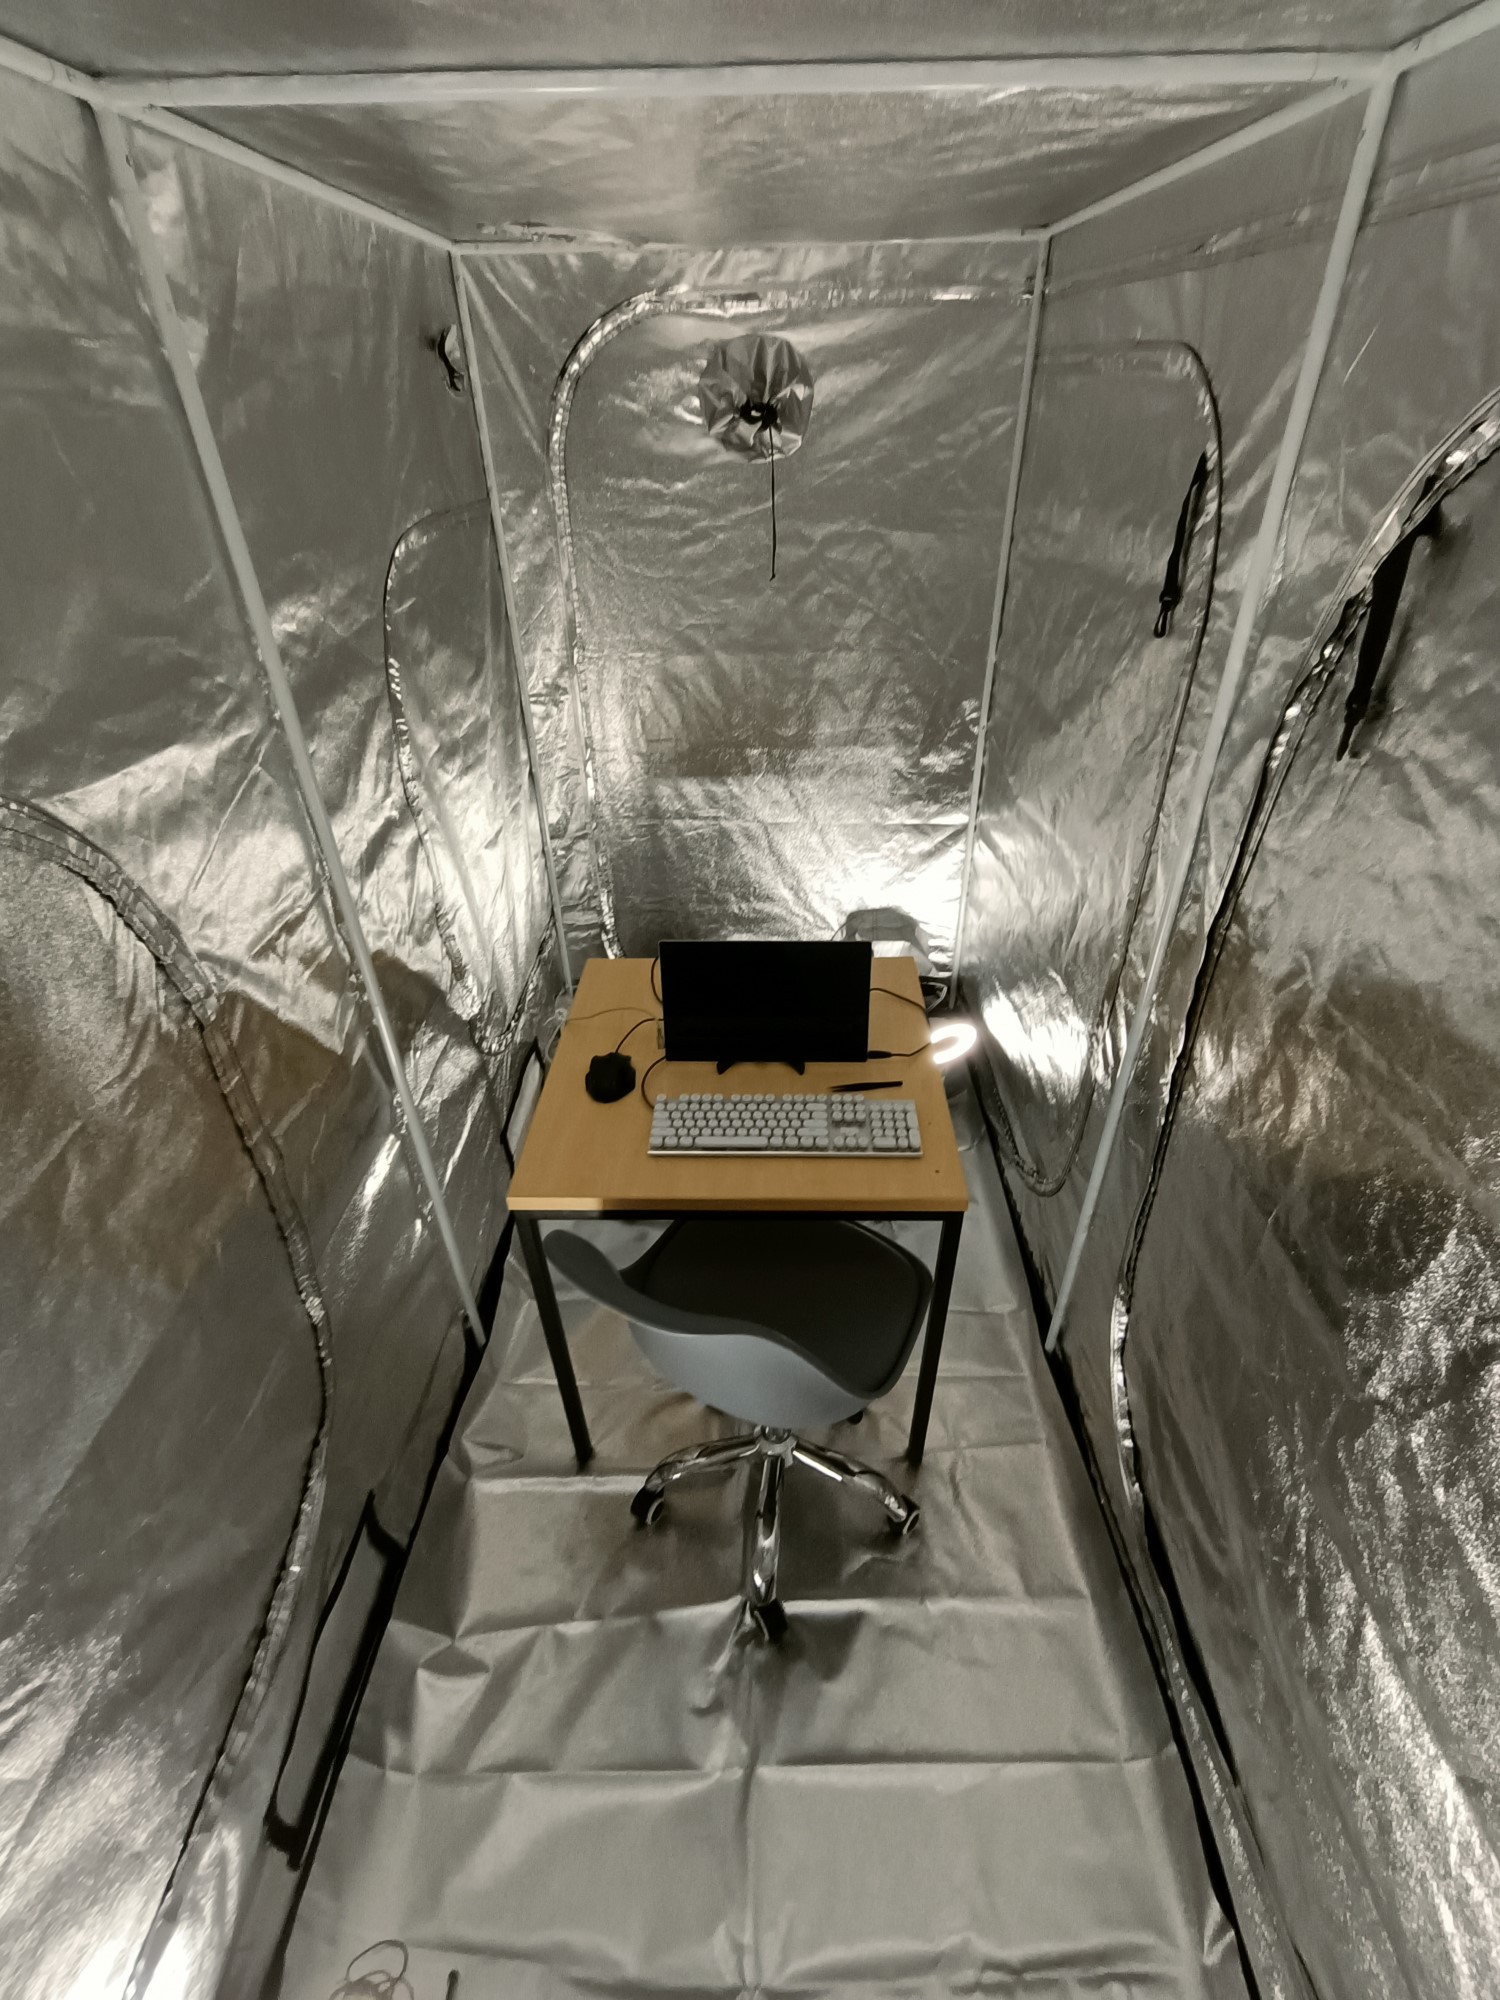
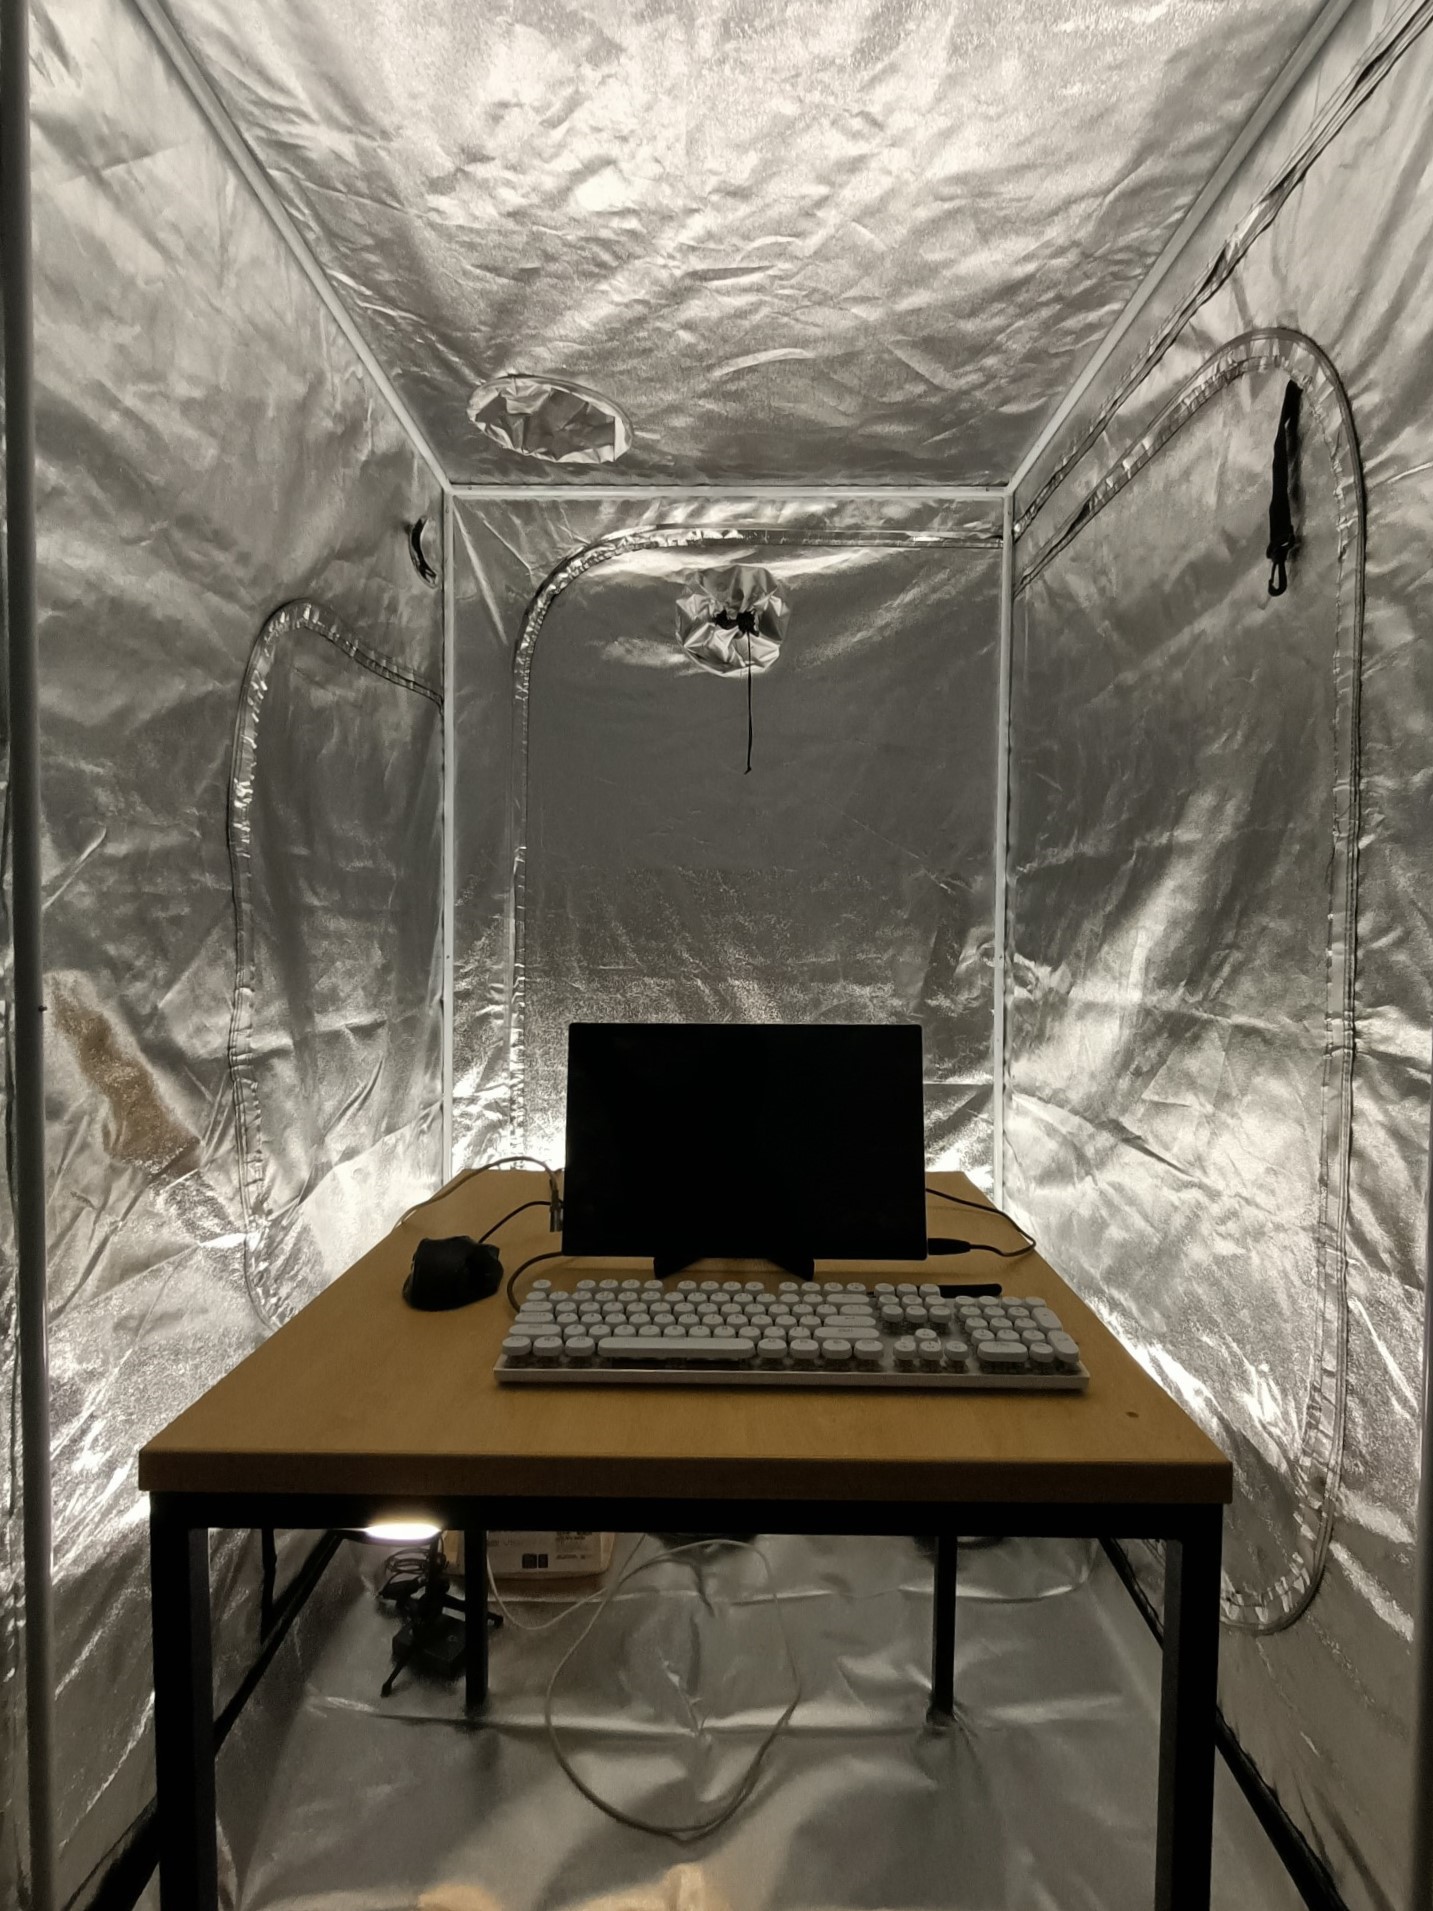
The lighting looks good:
Air intake
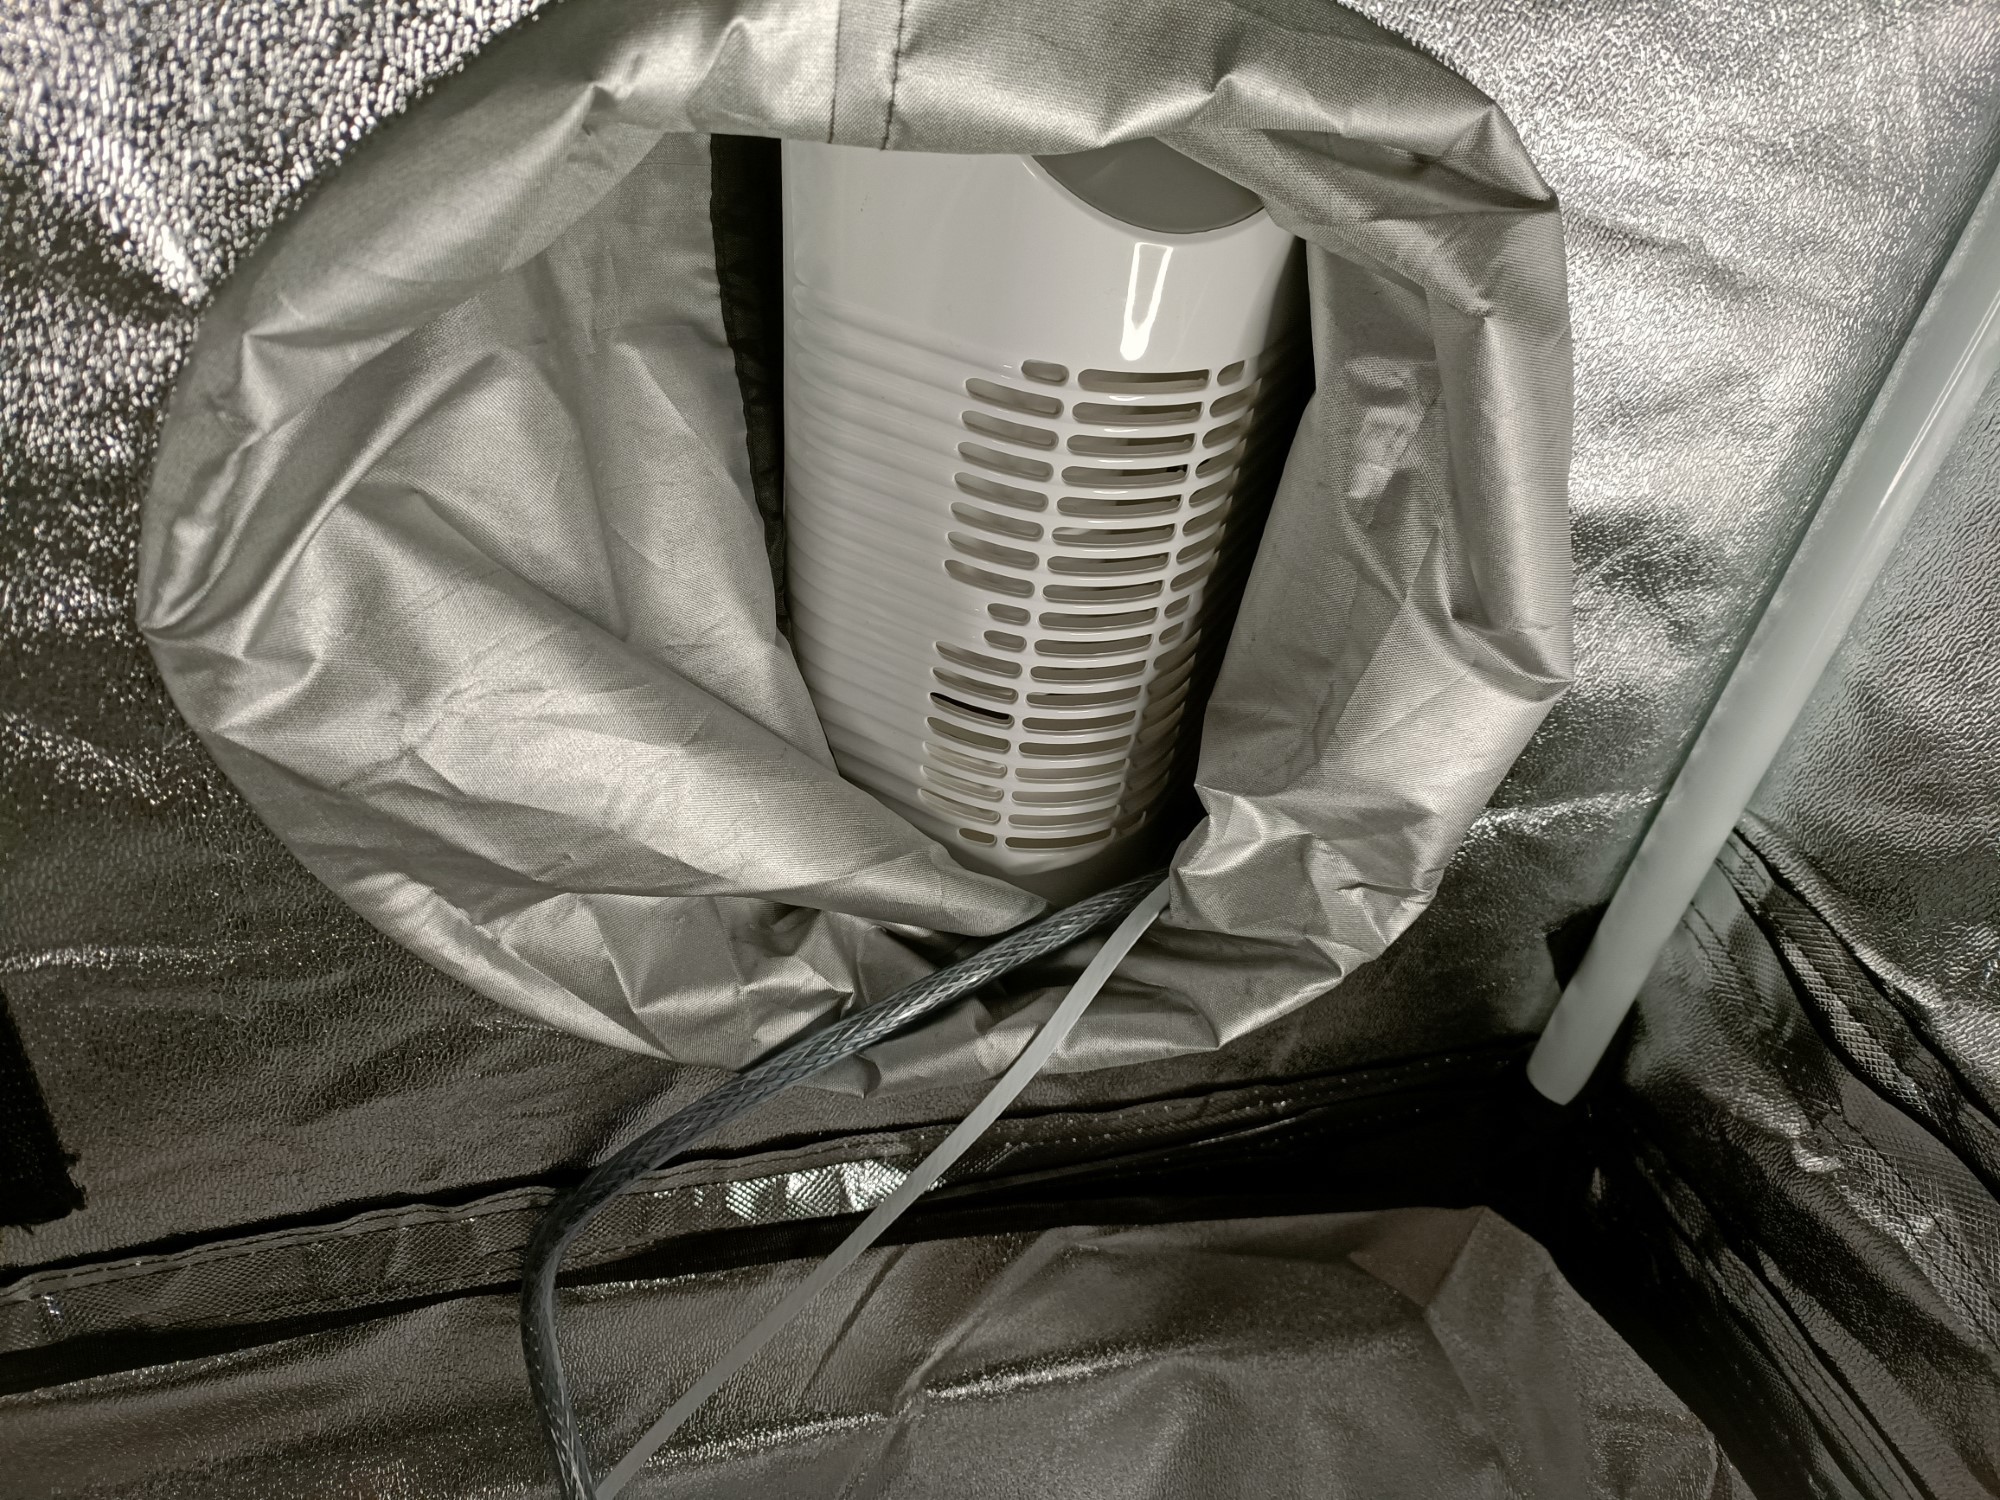
I decided to at least use my small air purifier (whereby I recently found out that replacement filters are like £15 now) to pump air into the tent. It moves less air, but it should still be better air than the fan I used yesterday. (I've now been in the completely closed tent for a few hours now and it seems that it works!)
Second use inside the tent
A Future Garage Mix stream on YouTube seems to be good background music to match with the look and feel.
Because I don't have any artificial daylight lighting in here yet, and the LEDs are on the ground and beautifully reflect off the metalic looking walls, it feels like I'm working inside a shipping container turned into a modern-futuristic lab. That wasn't the goal, but Me 10 / 5 /2 Years Ago would be proud to know that, 10 / 5 / 2 years later, I'm working in such a new-age looking location.
This tent actually can sell a "The future is made here." vibe / aesthetic (the green pipes of the Vivosun probably couldn't do that). If someone was trying to improve short distance transportation, ascend hobbyist 3D printing to new capabilities, speed up human to computer interfaces and offer a new parametric 3D modelling workflow, solo, and all at the same time, I'd like to imagine that their work environment looks like that of Sonic Boom's Eggman, Dave2D's silver studio or Unbox Therapy's infinity-looking room. This tent is like the "Lite" editon of something like that.
Dissassembly
The solution... may fail.
It took 70 minutes to take down the tent and put the room back to how it was. I wasn't even able to get the fabric to fold well enough to fit inside the bag. As with a lot of things I do these days, this needs to somehow cut 4 - 6X for this Tent Office to actually be feasable.
6th March
[18:00] The solution... may pass. The reason isn't due to the transit time of 50 minutes to build the tent (though, to ease my mind, the UK average commute time is 59 minutes [citation]). It's because I tried working on my mattress and then at a table and the work vibe just wasn't there.
Putting this tent up was my 3rd option, and after spending 3 minutes clearing the area, 14 minutes on the frame, 15 minutes on the fabric and the rest of the time setting up the PC / lighting, work mode focus came to me in less than 100 seconds; that's without even having the intended air filtration/ventilation setup.
I feel like I can shave more time off the fabric section. Another time cutting idea is to print jigs to hold the A (horizontal) and B/C (vertical) poles seperately so that it's faster to grab the pole I'm looking for, instead of sliding a semi-random one out of a long bag. I'd imagine the 2.2m tall tents are even faster, since what's likely happened is that the B poles have been replaced with A poles, resulting in just 2 different tube types.
Honestly, I feel like that's what should've been done for the 2m too, and that the C poles are just 80cm instead of a 1m B pole (that looks like an A pole) and a 1m C pole. The difference between a 0.8m and 1.2m pole is also much more obvious than a 1m vs 1.2m pole.
Still worried about the time it takes to take it all down.
I'm also considering calling this "Tetoffice" because it rolls off the tounge, unlike "Tent Office", and because of similarity to other (Teti related) project names.
[00:10, 7th March] Unfortunatly took 75 minutes to reset the room. I admit I was going a bit slower on the fabric refolding this time to learn how to fold it well enough to fit inside the bag, and I was able to get it to fit this time.
I also had the idea of getting cardboard tube (for parcels) to hold the frame tubes.
[16 March] I've been having some Hackaday.io image upload issues, so this log took a while to get published. I'm also still waiting on a new fan (the broken one was picked up yesterday) and I can't really work in the tent until I've got excellent airflow / air quality.
 kelvinA
Discussions
Become a Hackaday.io Member
Create an account to leave a comment. Already have an account? Log In.