 Sergio Ghirardelli
To develop the hardware and software part of the project, I assembled a small test bench on a wooden base.
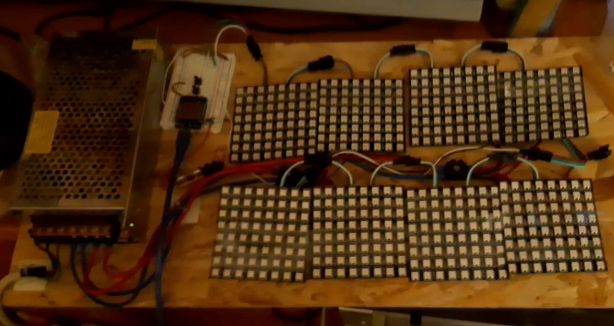
It is composed by:
• n.1 Switching power supply 5v 30A
• n.1 breadboard with ESP8266 Wemos Mini card and buttons
• n.8 8x8 WS2812B RGB led matrix
The development of the software with which I made the various animations of the map was made with the Arduino IDE tool.
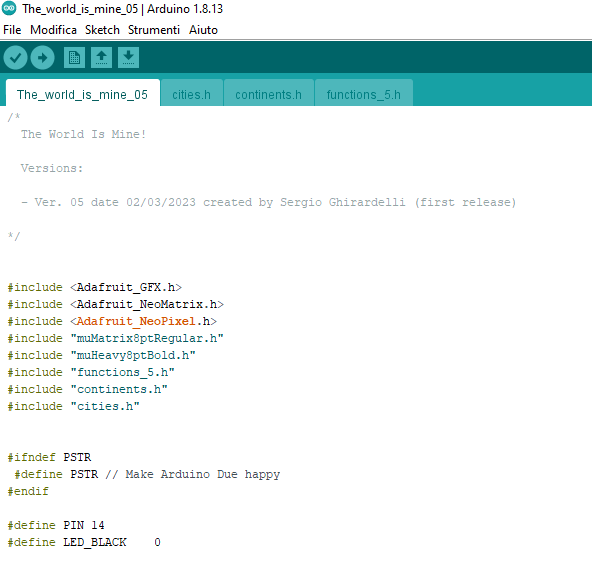
Thanks to the Adafruit libraries: GFX, NeoPixel and NeoMatrix, I was able to easily animate each single LED (corresponding to a city on the map) and the scrolling texts of the 32x8 display that I created in the lower part of the map.
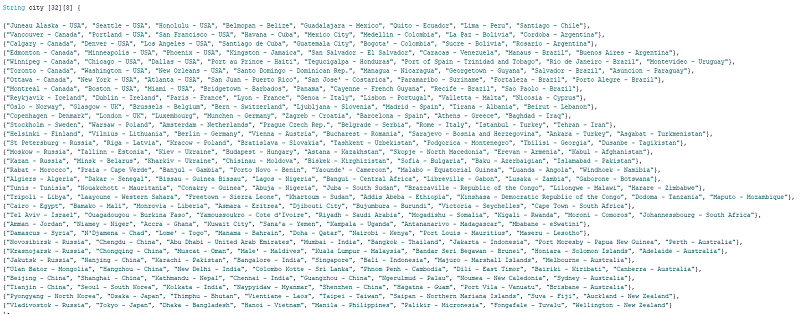
For the management, animation and visualization of all the cities on the map, I have associated them with the matrices, through the use of a bidimensional array of strings.
Switching from one animation to another is done by pressing a button.
In this video I show the first simulation tests...
Discussions
Become a Hackaday.io Member
Create an account to leave a comment. Already have an account? Log In.