 CriusDigitalStudio
-
1Youtube Video Tutorial
-
2Solder the Header Pins to the Led Rings
![]()
![]()
I'll start by soldering the angled male header pins to the Led Rings
-
3Solder the Arduino
Next I will solder the Arduino on the PCB or optionally the 24-pin DIP Socket in order to be able to replace the Arduino in the future.
![]()
![]()
-
4Solder the Potentiometers
Now I will solder the 8 potentiometers on the PCB board.
![]()
-
5Solder the Led Rings
![]()
![]()
I will solder the WS2812B RGB Led Rings to the PCB board.
I will use some tape to stabilize the Led Rings so that I can turn the PCB upside down and solder the pins on the back.
-
6Place the Arduino
Place the Arduino Pro Micro on the socket as shown above if you didn't solder it directly on the PC at Step 2.
![]()
-
7Upload the Code to the Arduino
- To upload the code to Arduino we need to download the Arduino IDE from the Arduino site: https://www.arduino.cc/en/software
- After you install the Arduino IDE, open the Crius_Vertical_Infinity_Control_v1.0.ino file so we can Upload the code to the Arduino
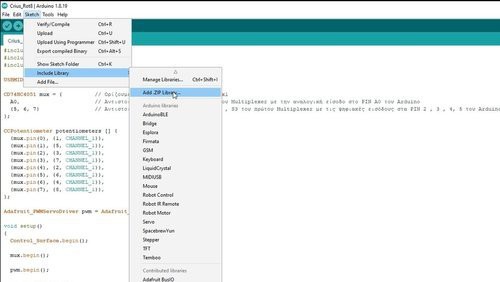
- We need to download the Control Surface library from Github
![]()
and install it to the Arduino IDE from the menu Sketch -> Include Library -> Add .Zip Library
![]()
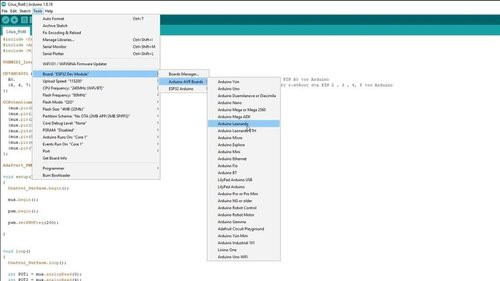
4. Then we have to select Board from the menu Tools -> Board -> Arduino Leonardo
![]()
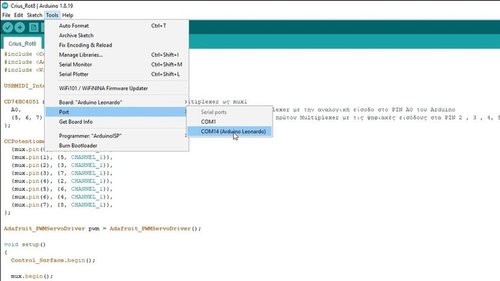
5. and finally the Port from the menu Tools -> Port -> the port we have connected the Arduino
![]()
Now we can click Upload and upload the code.
-
8Order the PCB
![]()
![]()
![]()
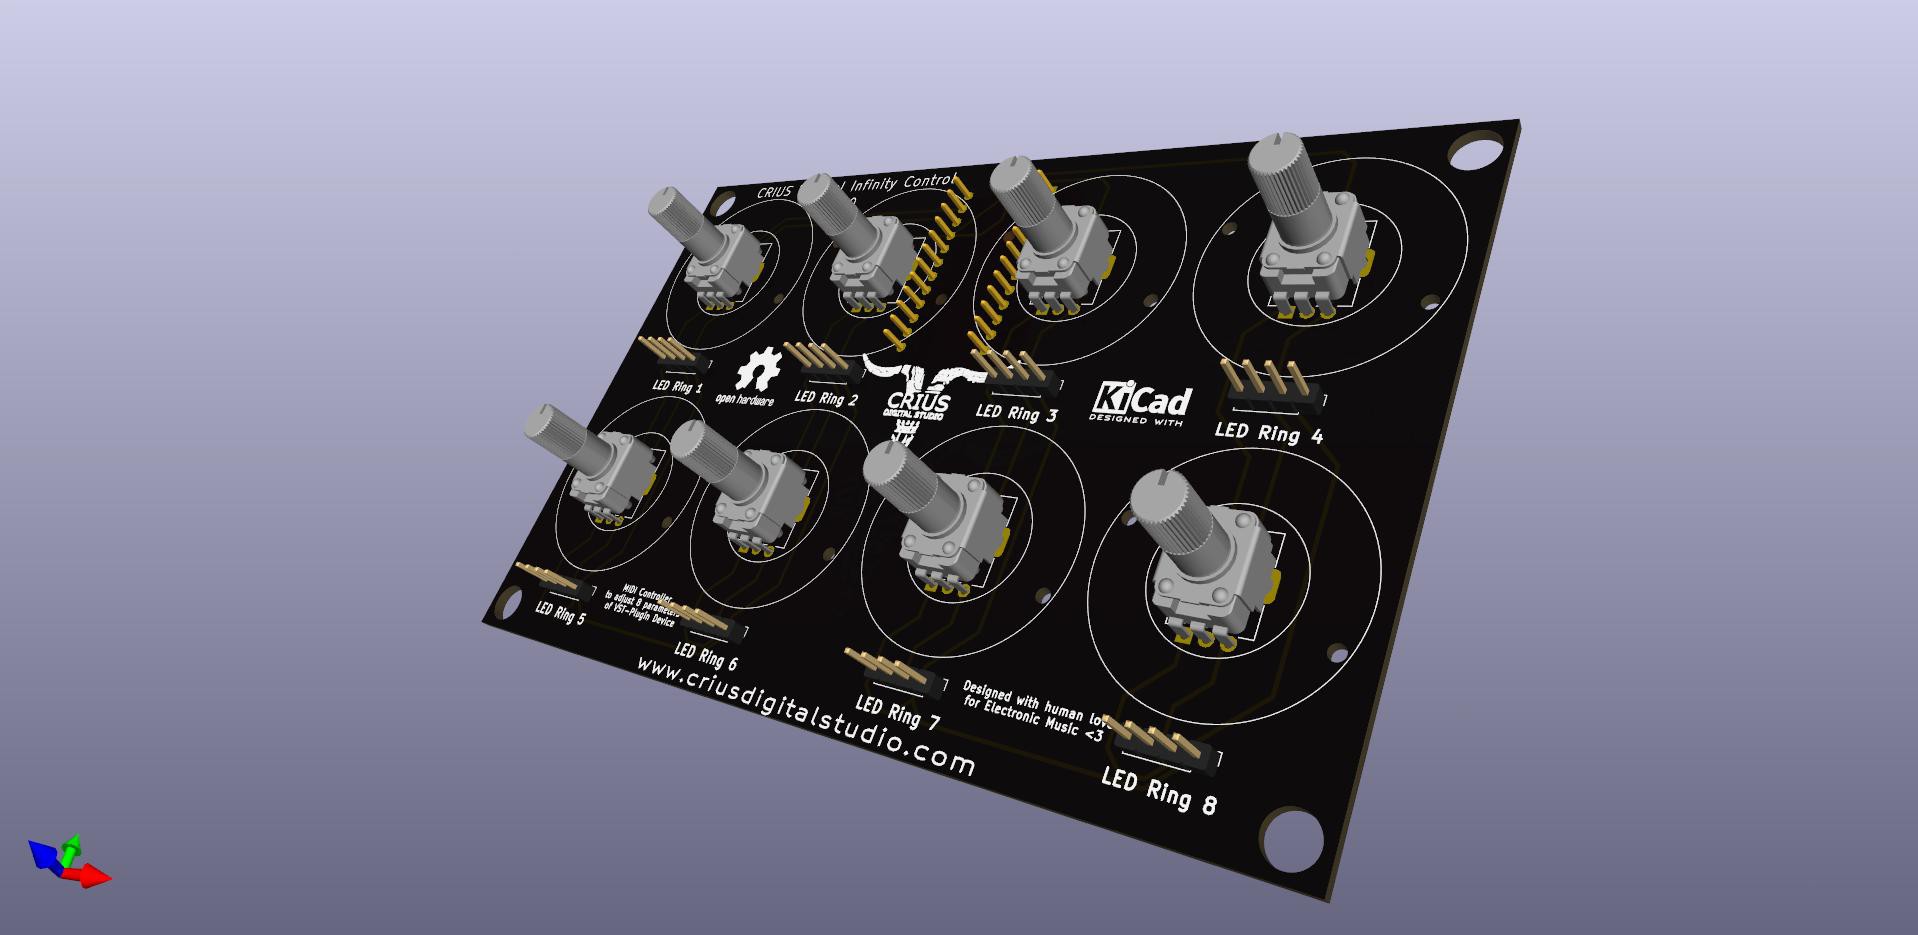
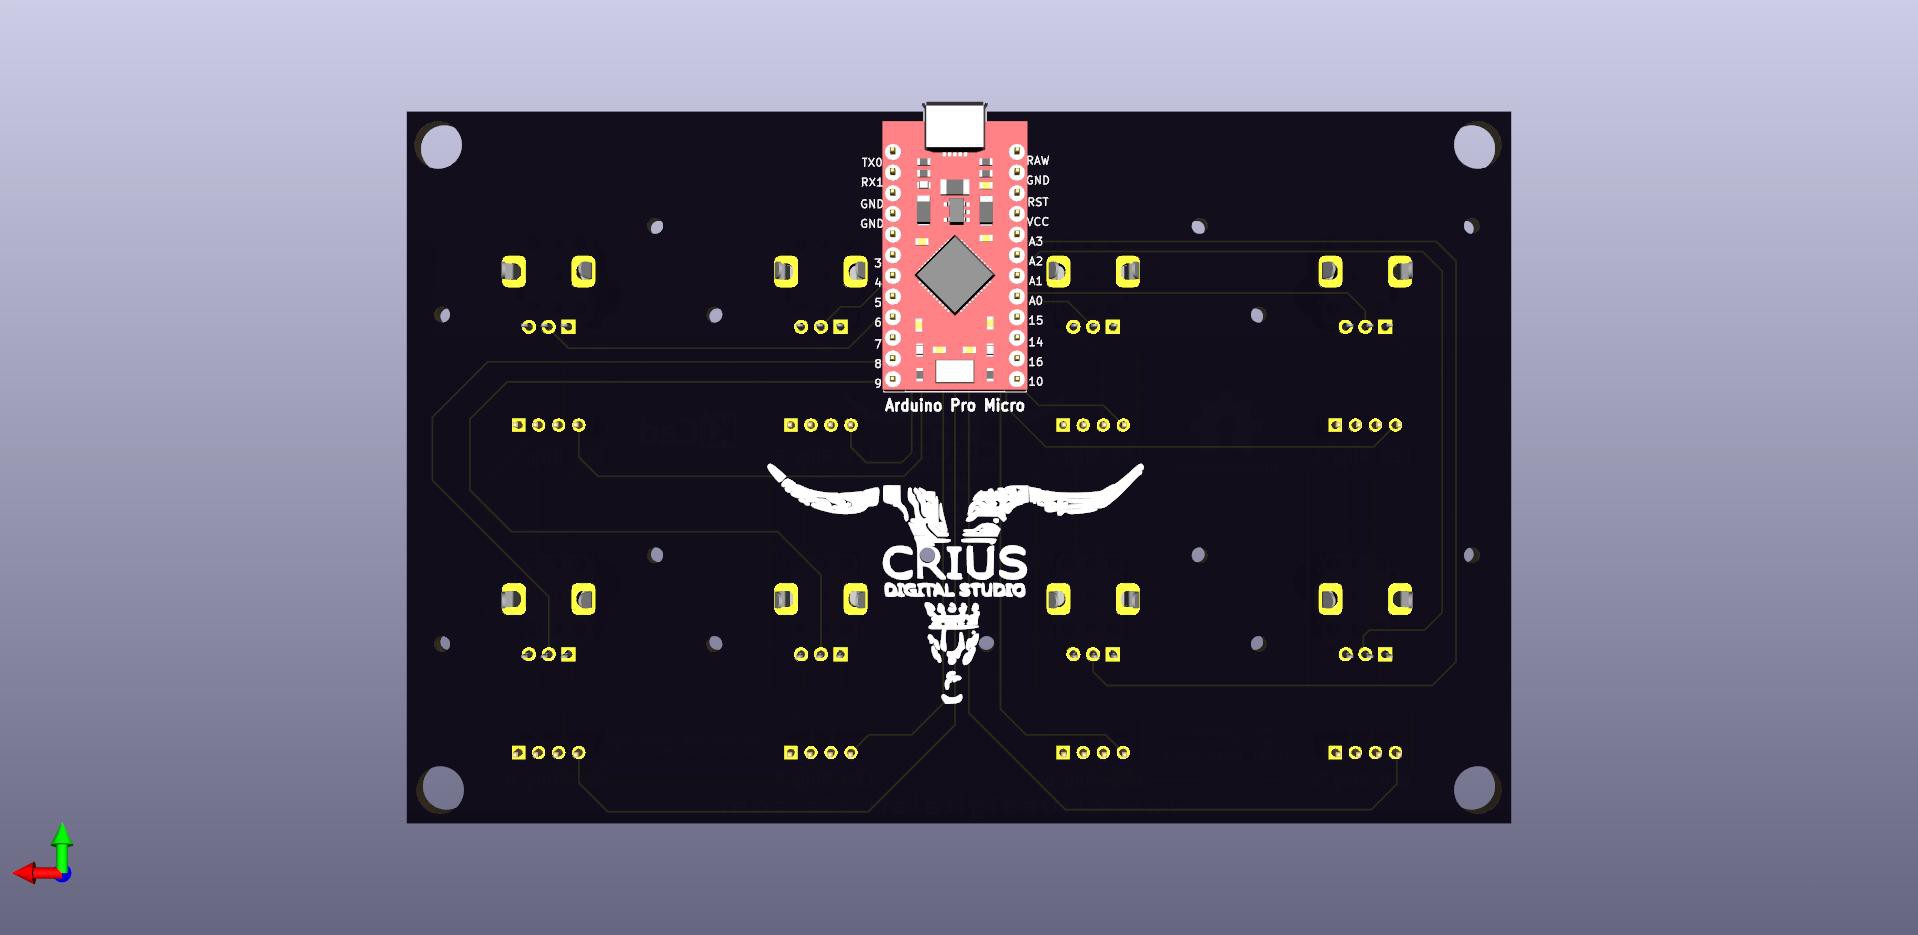
Here you see the PCB design from Kicad
For the PCB board pcb manufacturing process I chose PCBWay which is sure to find quality and economical boards with the features and color I want.
You can order the Crius Vertical Infinity v1.0 PCB at the following link:
To order the PCB from PCBWay you will need the Gerber files
-
93D Print the Case
![]()
![]()
![]()
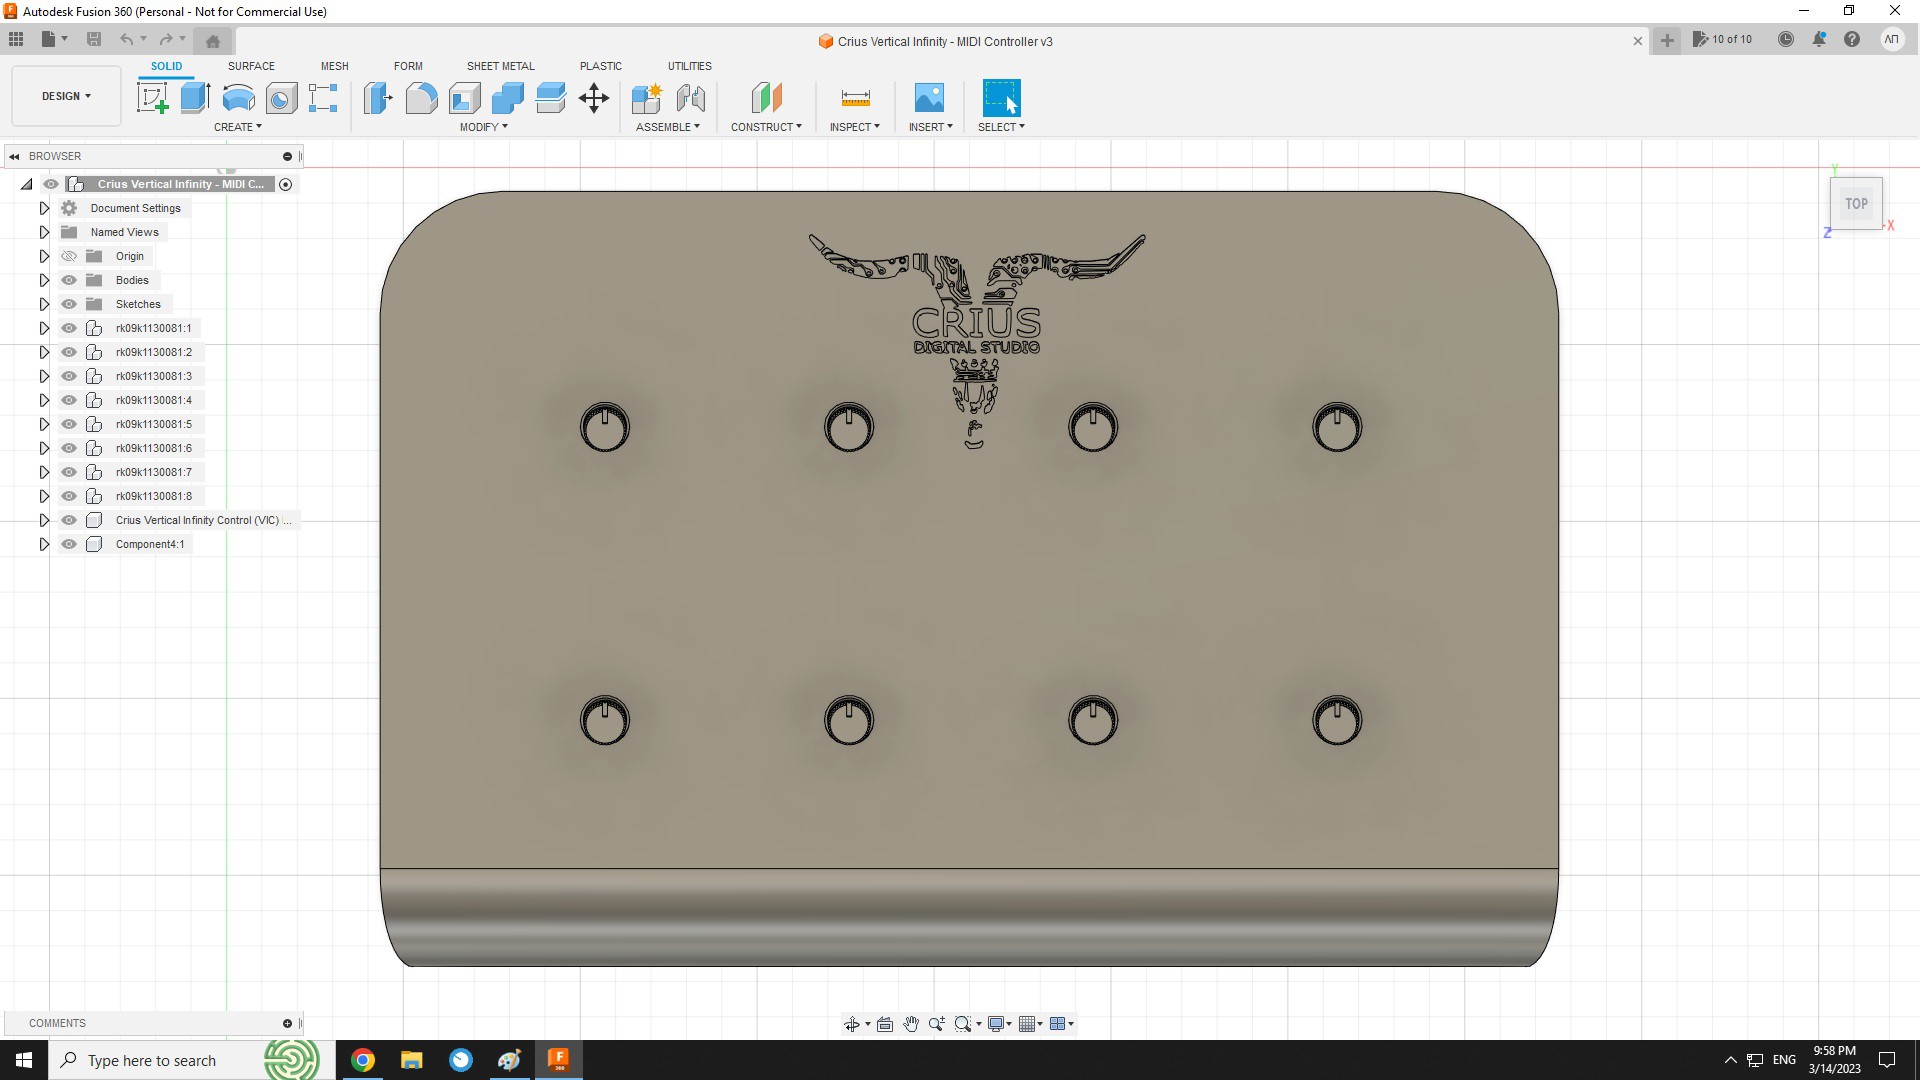
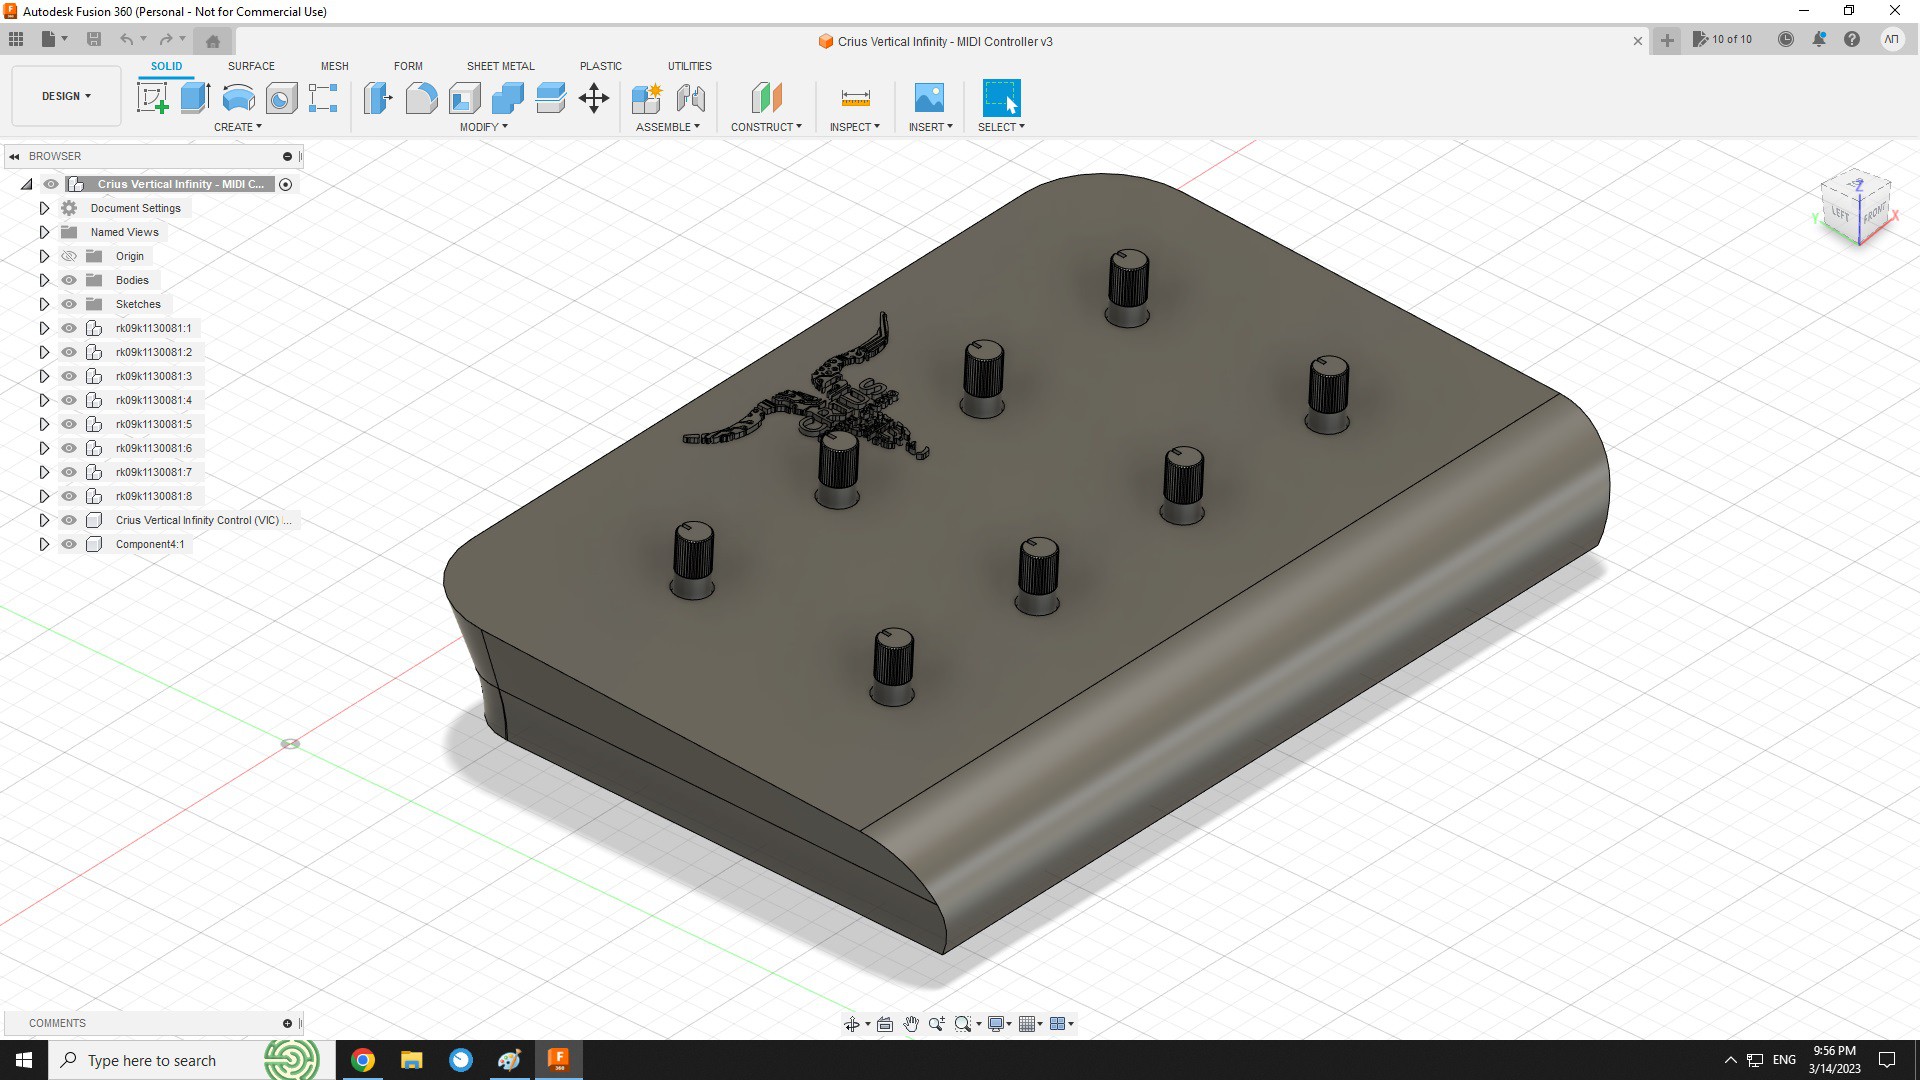
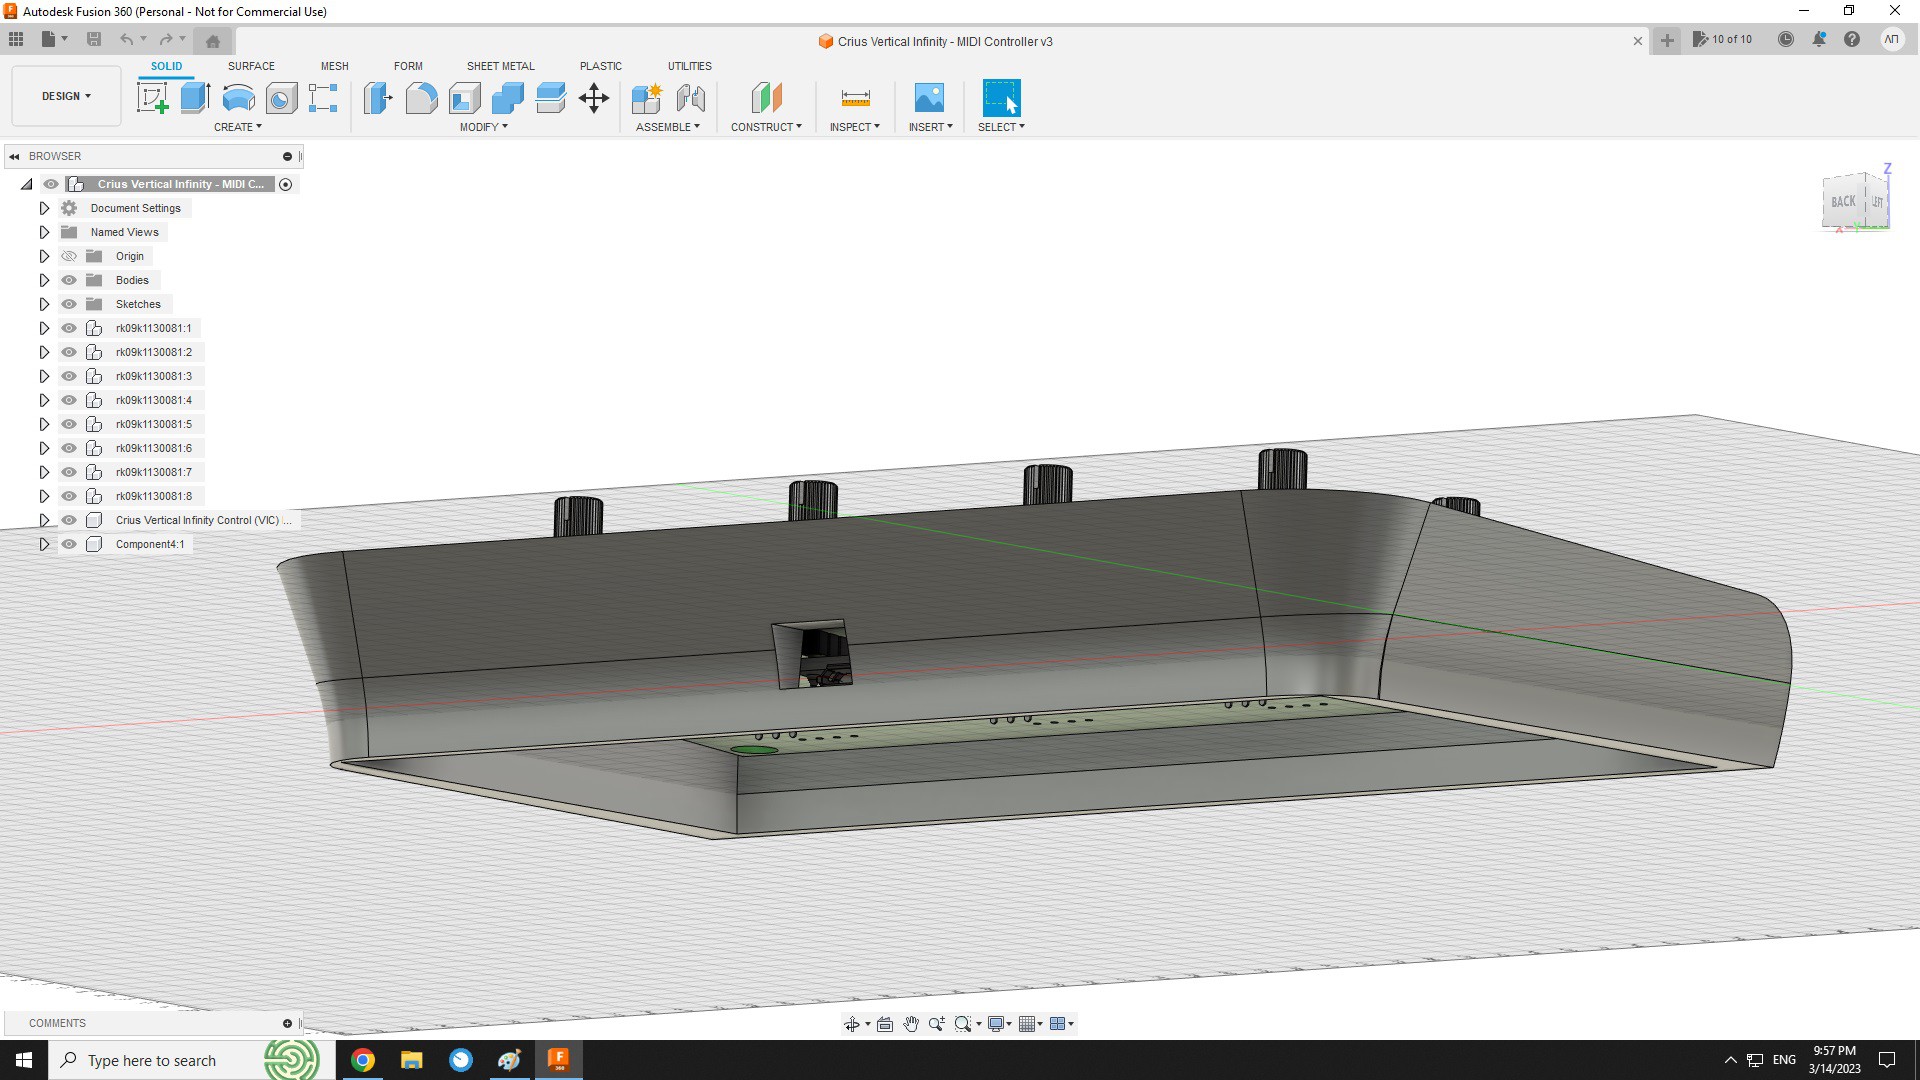
I used Autodesk Fusion 360 to design the case because its free for personal use , easy to use and incudes some awsome features like to import a 3D PCB Design from KiCad in our case , so I can build the case around the PCB which make the whole construction feel more durable and professional.
Here you will find the design of the 3D Printed case
-
10ABLETON Setup
![]()
![]()
Here the only thing we need to do is to connect the Crius Vertical Infinity Control with our computer , open the Preferences menu and select from the MIDI tab :
- Conrol Surface - Fantom
- Input - Arduino Leonardo
- Output - Arduino Leonardo
We are READY to go!
Crius Vertical Infinity Control-Arduino USB MIDI
Arduino USB MIDI Controller with 8 Illuminated RGB Potentiometers which control the VST Plugin of the DAW we play music with!


Discussions
Become a Hackaday.io Member
Create an account to leave a comment. Already have an account? Log In.