 Vas
Vas-
1Front panel
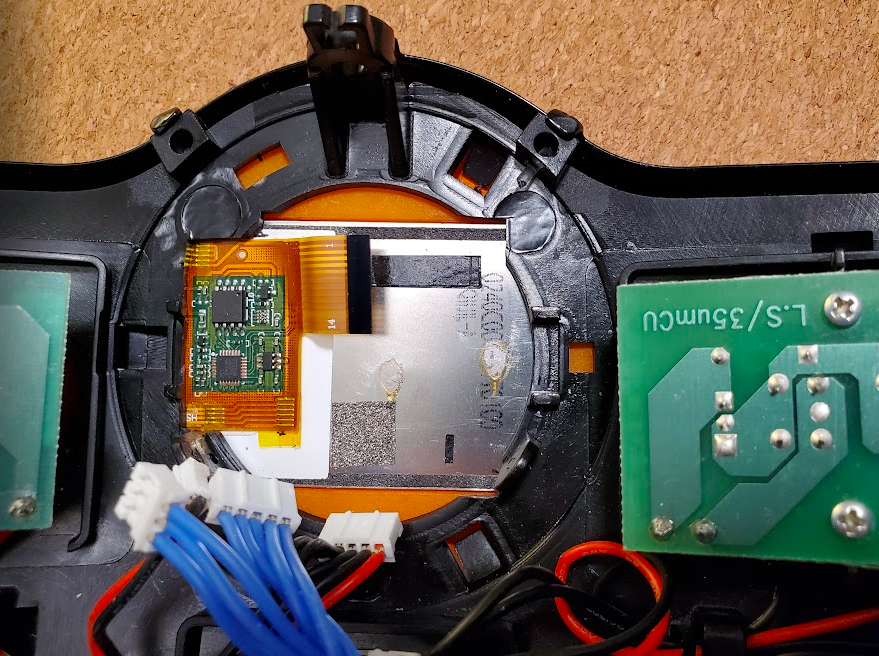
Nextion display was separated from its PCB and mounted with a 3D printed adapter on the front panel.
![]()
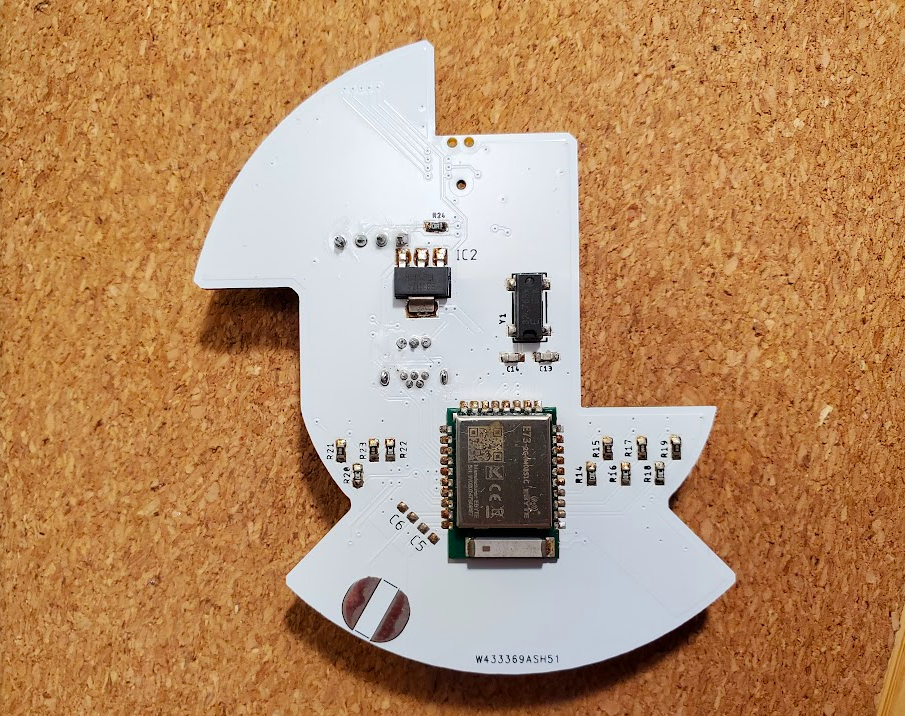
A custom PCB was made to accommodate the front panel controls. It's based on nRF52840 module.
![]()
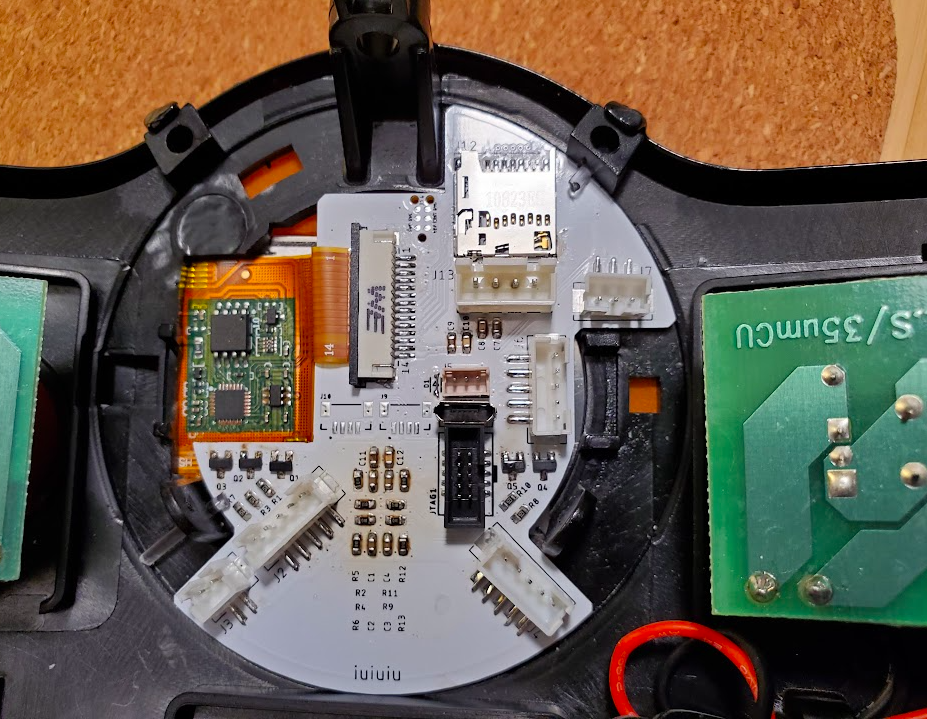
Mounted on the back side of the panel.
![]()
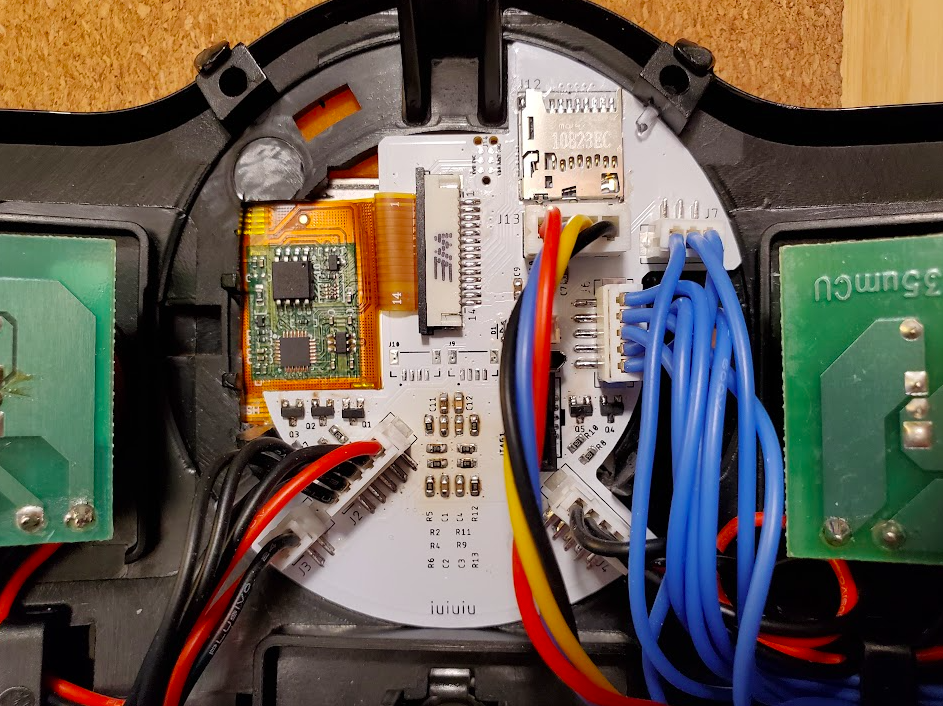
Everything is connected.
![]()
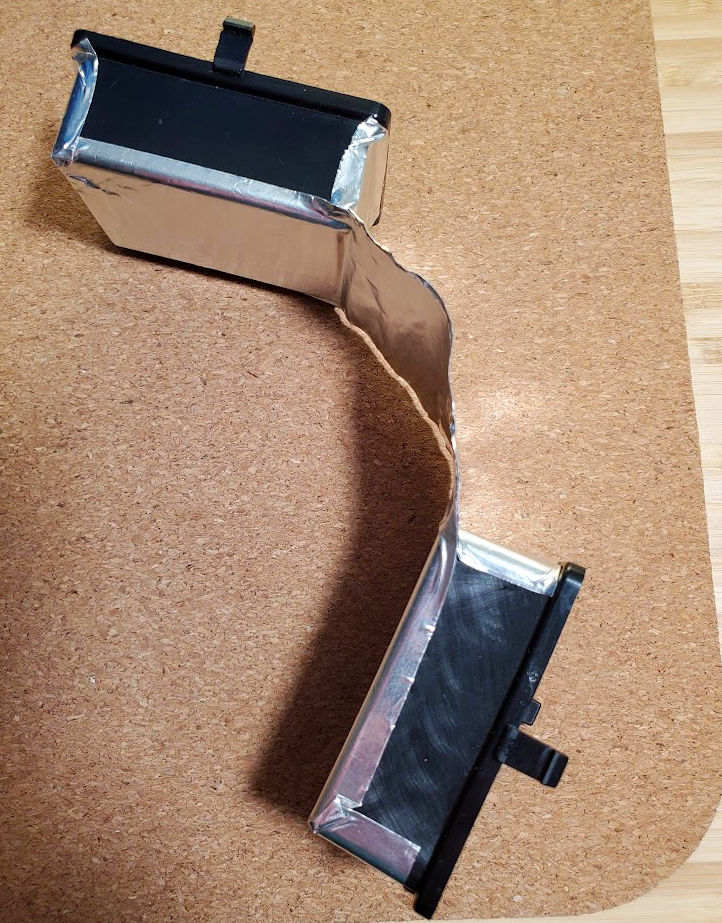
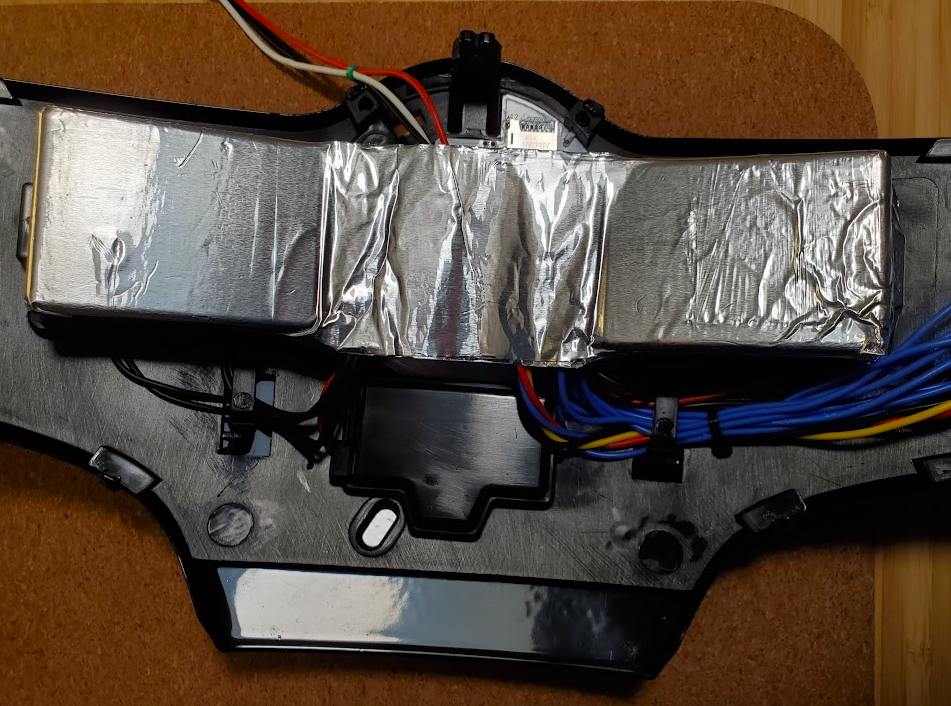
Button and LED PCB covers are covered with adhesive aluminum tape to dissipate heat from the boiler.
![]()
Final result.
![]()
-
2Boiler replacement
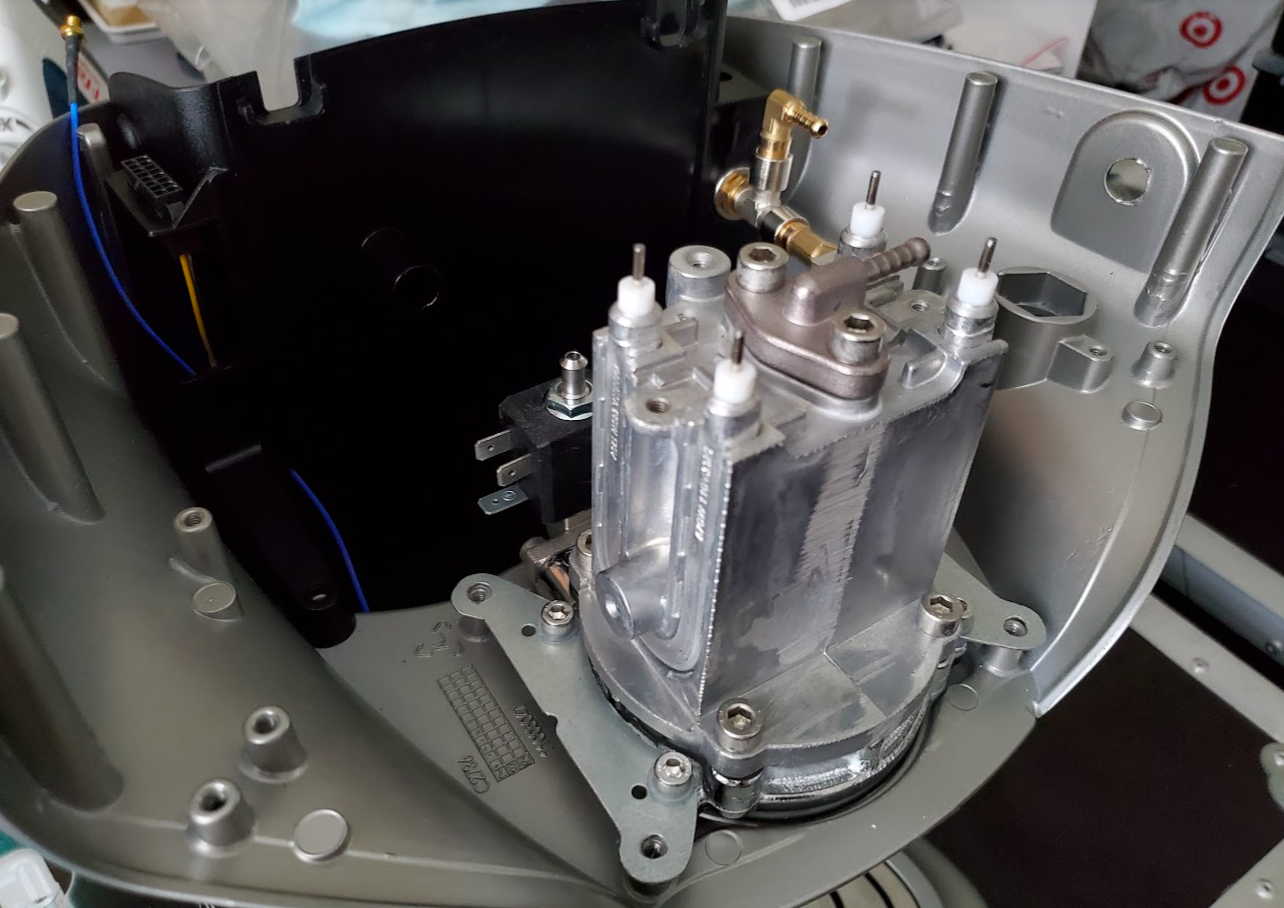
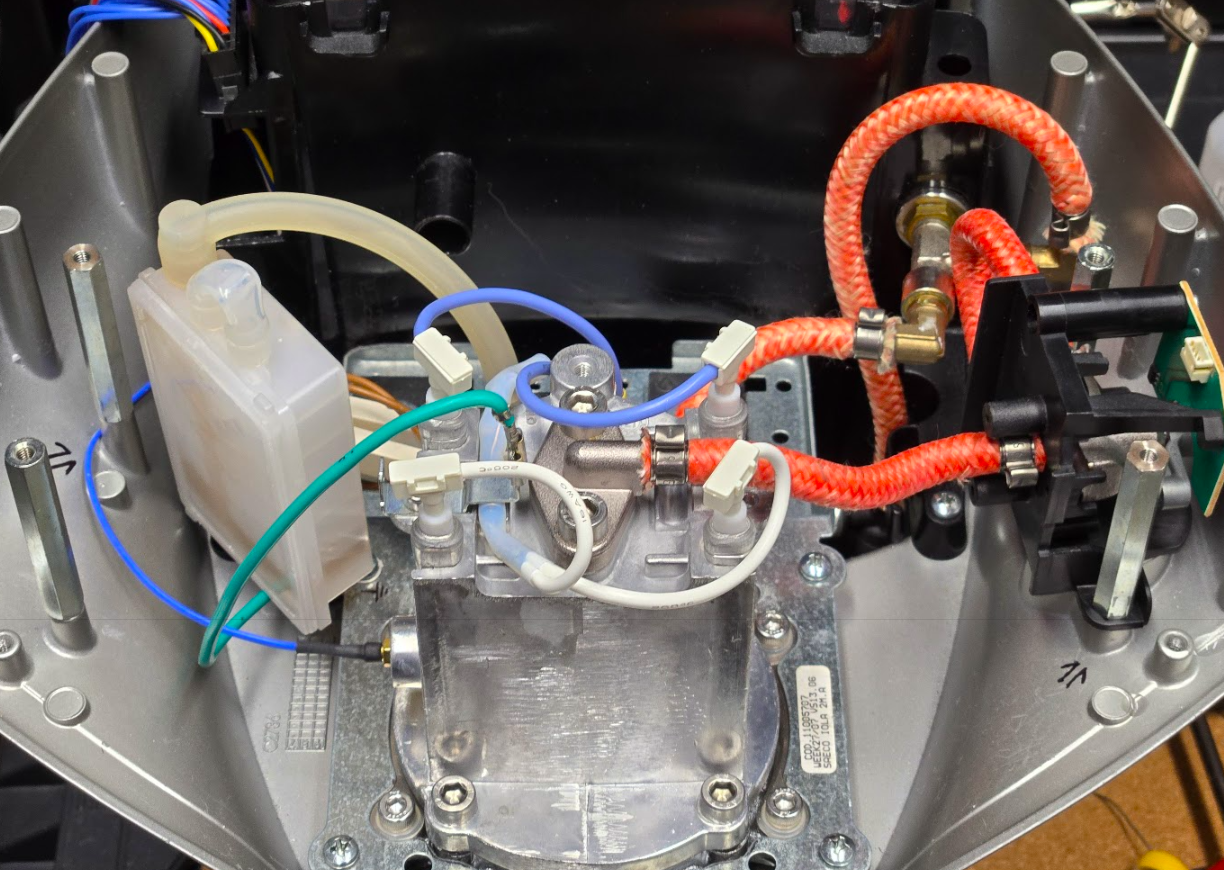
Sirena is getting a standard Gaggia Classic aluminum boiler.
However, two adapters need to be made to mount it in place of the old one.
![]()
The top cover needs two cutouts to accommodate boiler terminals that otherwise won't fit.
![]()
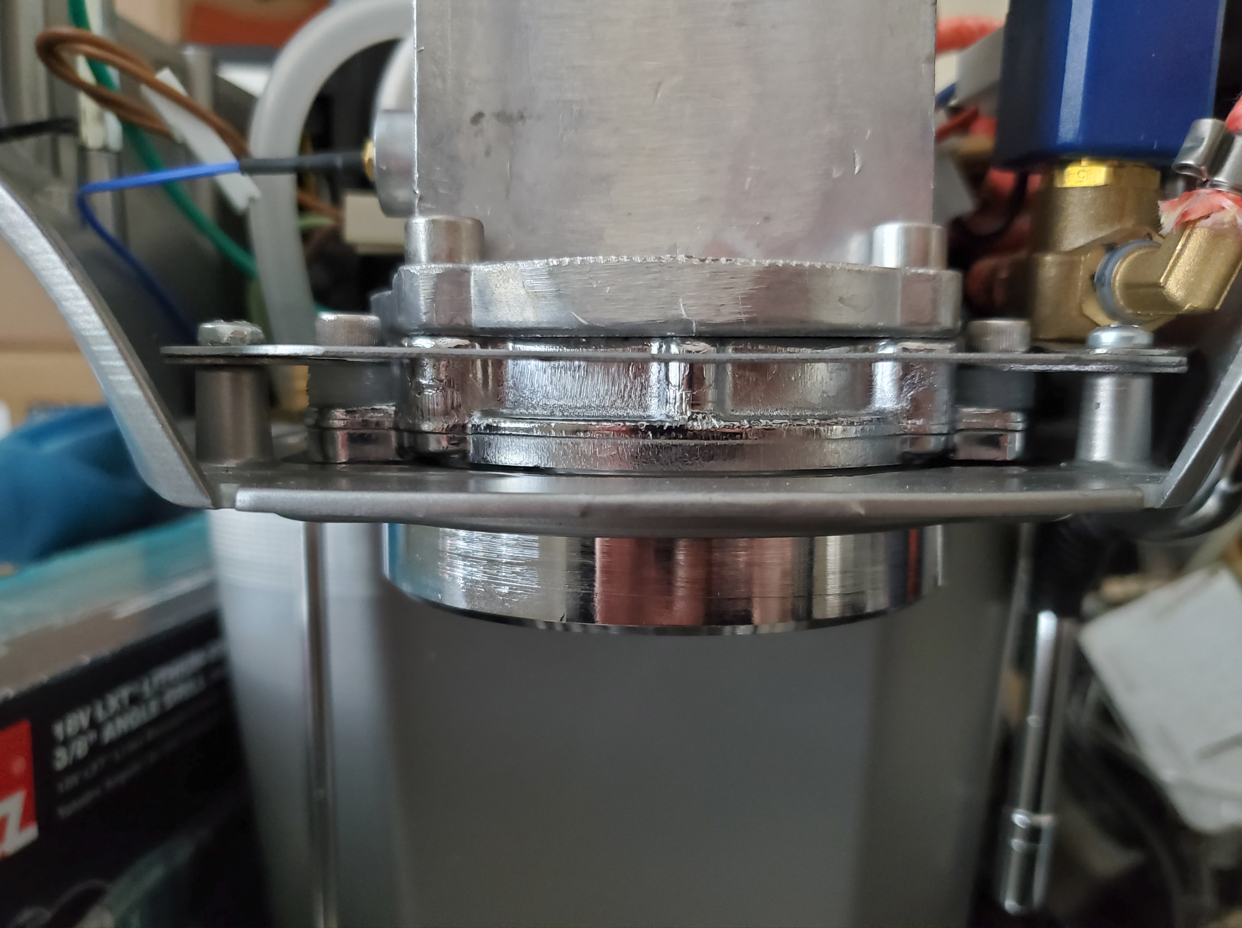
The boiler is placed as low as possible but not touching the body.
![]()
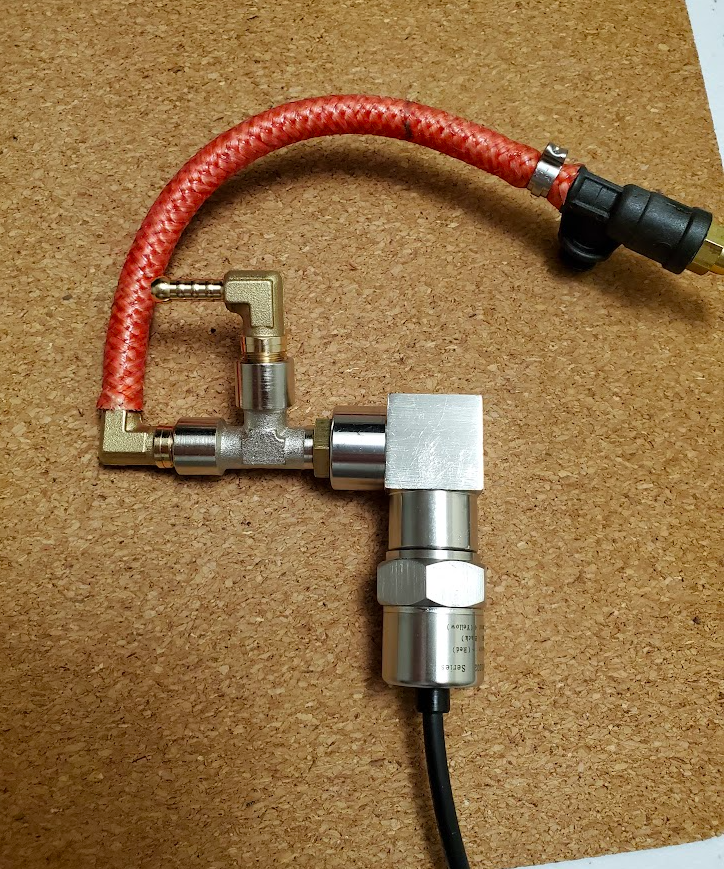
Gaggiuino uses a transducer for pressure measurements, so it must also be accommodated.
![]()
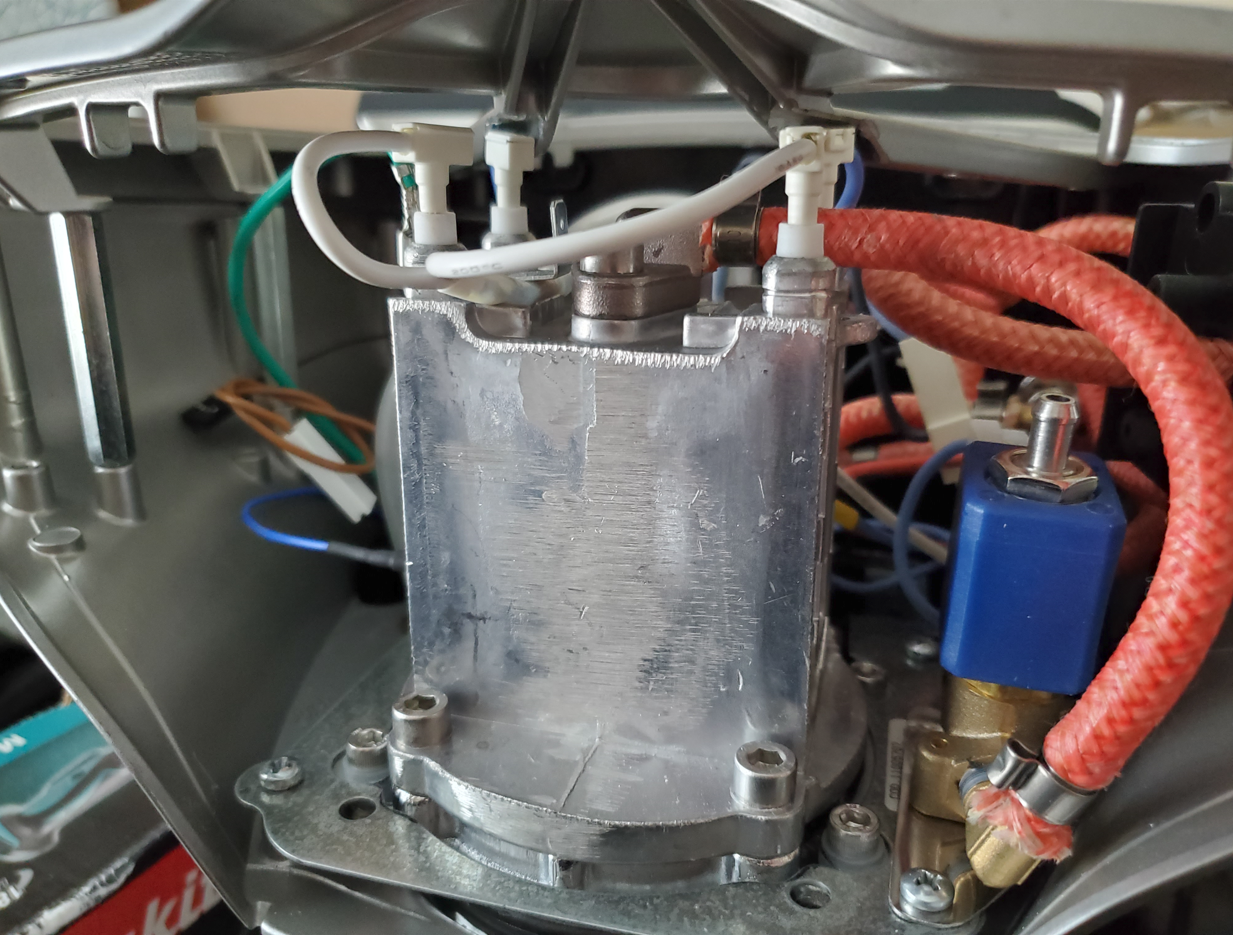
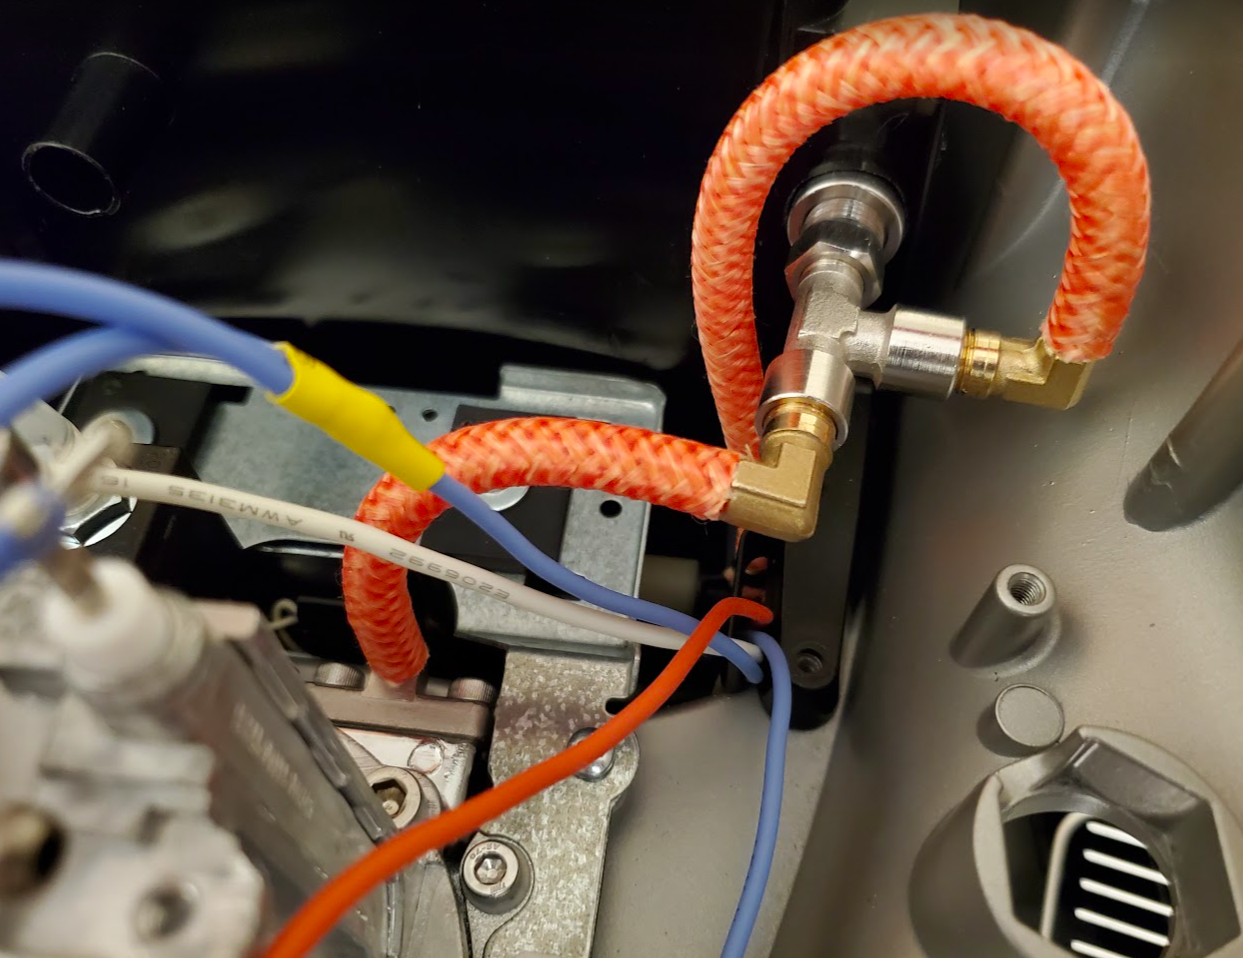
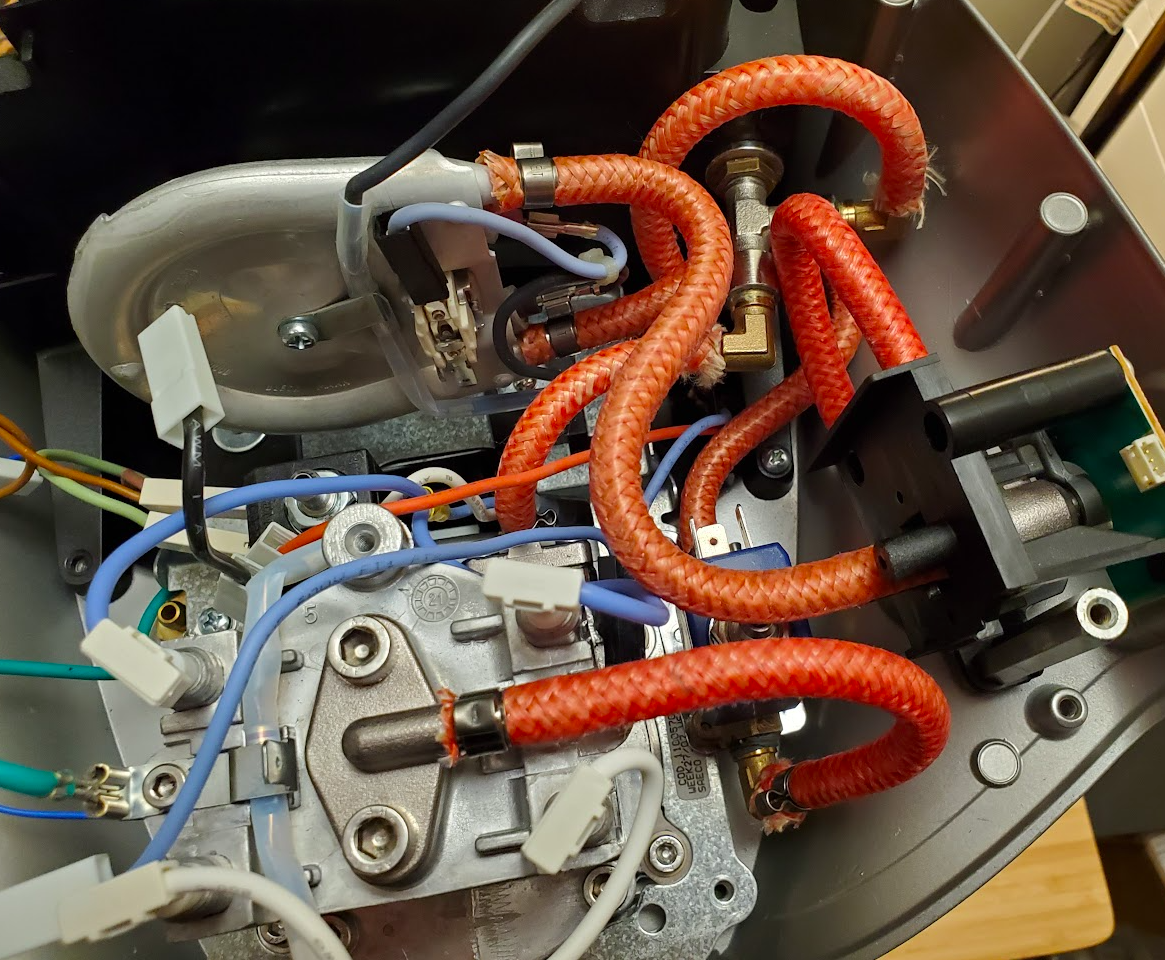
All connections are made with overwrapped silicone tube with Oetiker clamps, standard for Saeco machines.
![]()
Since the tray is shallow, the 3-way valve exhaust was silenced with a Breville exhaust box.
![]()
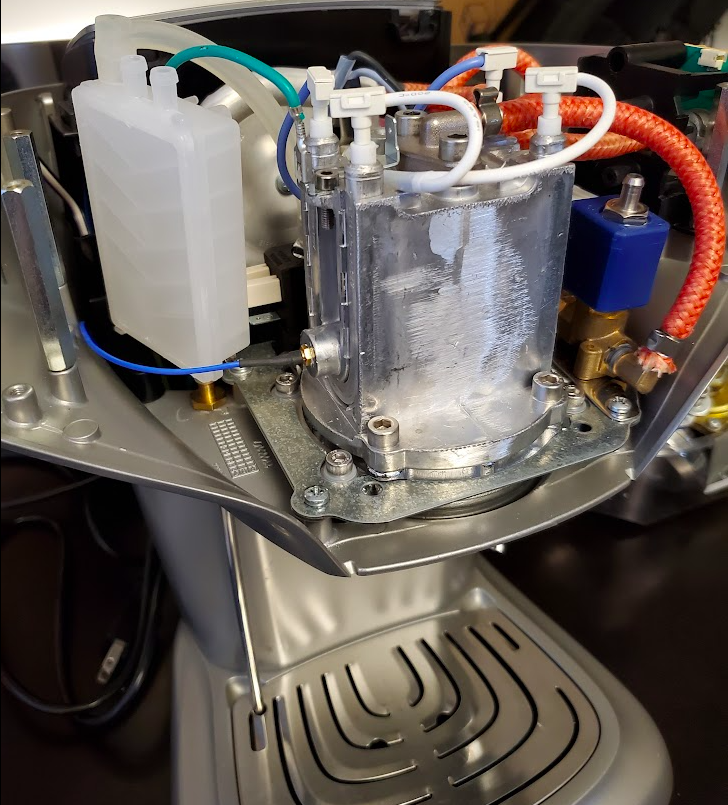
Steam coil is connected in series with a second 3-way valve between the coil and the main boiler. The second valve exhaust is going into the exhaust box.
![]()
-
3Gaggiuino
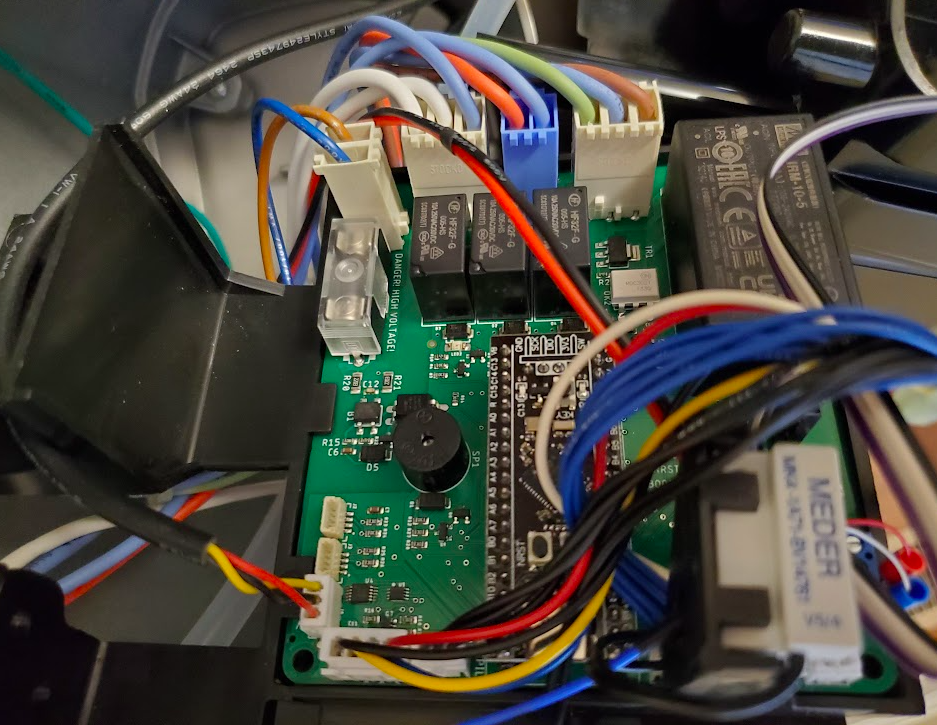
PCB v2 was used for the project.
![]()
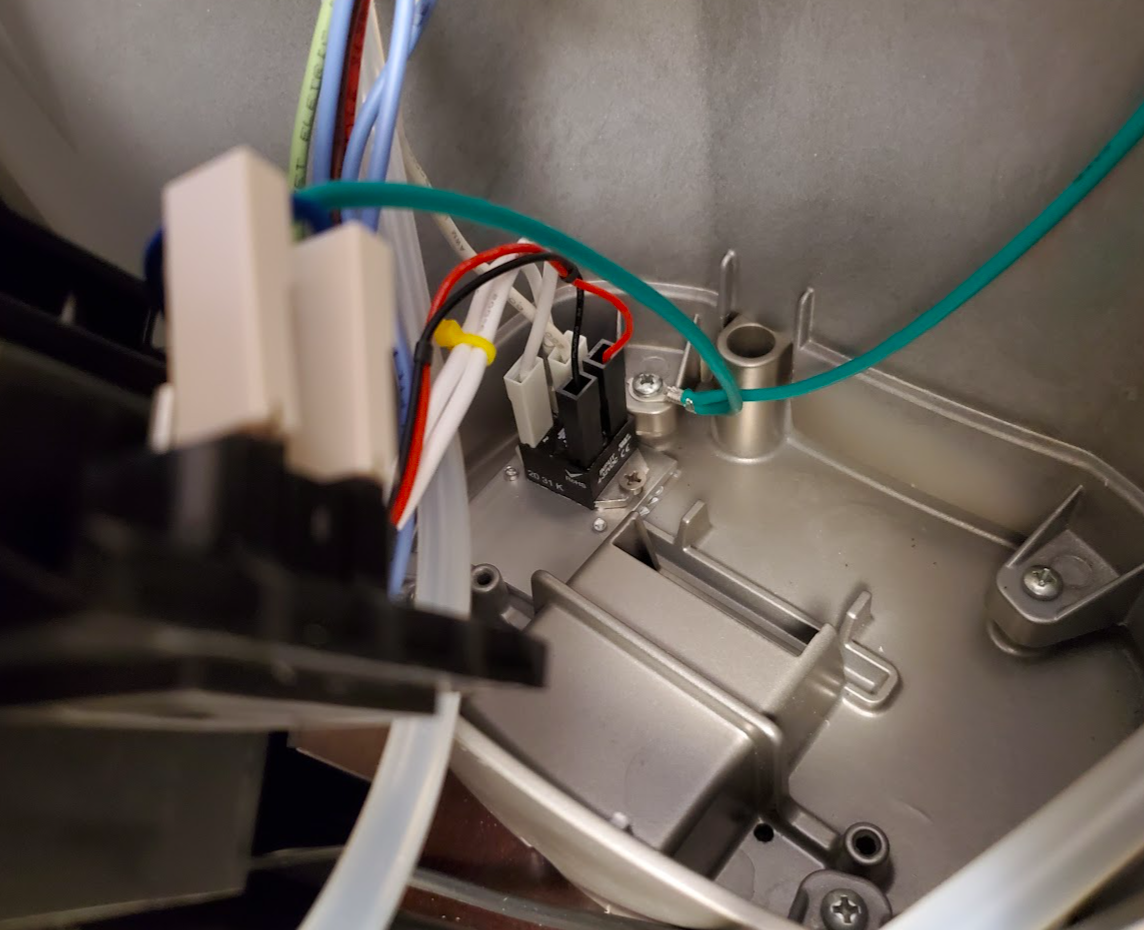
SSR for the main boiler was placed on the bottom plate.
![]()
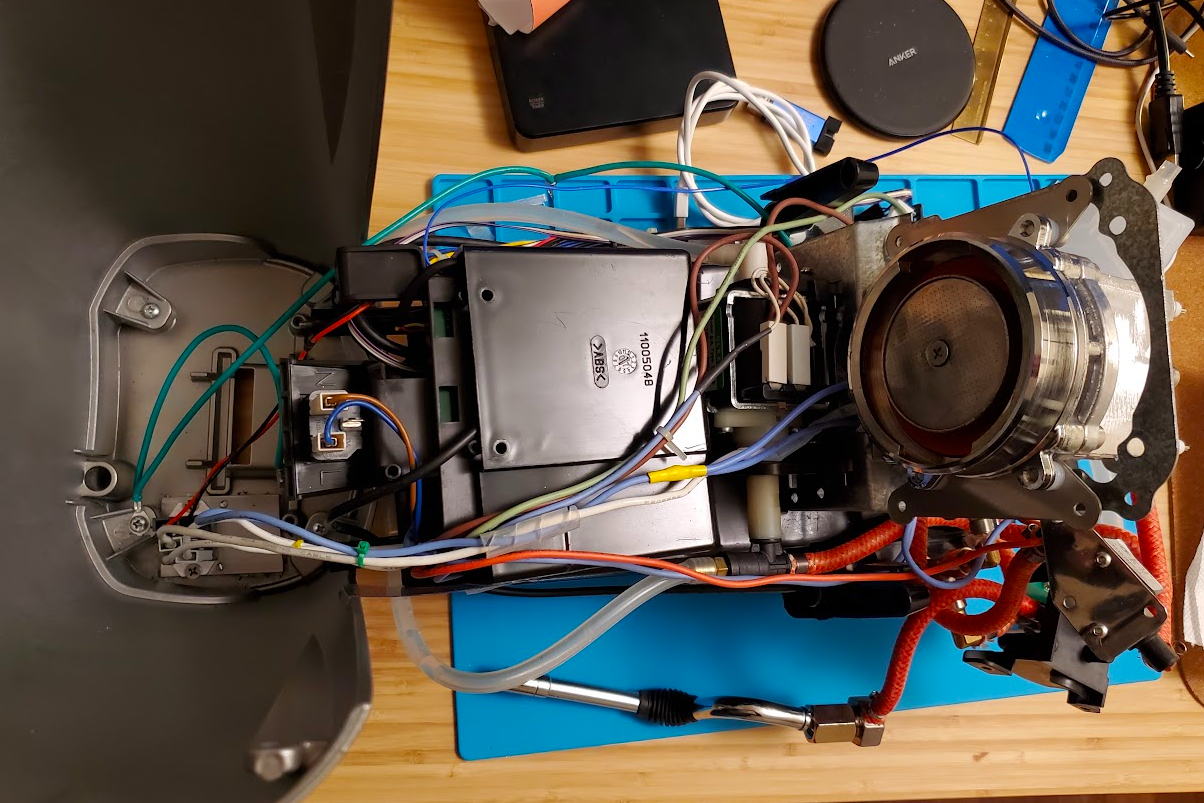
Most of the wiring was reused from the original one.
![]()
-
4Removing steam coil
Remove the coil and connect top of the boiler directly to the steam valve.
![]()
Also if the specific fitting for the boiler top outlet is unavailable, the regular GC steam valve might fit with some fiddling. I'd use a cardan joint (it's half BMW here after all) to get the knob connected.
Discussions
Become a Hackaday.io Member
Create an account to leave a comment. Already have an account? Log In.