-
1Prepare the bottle
Get rid of the faucet was hard but with a long big clamp and some force, job done.
Important step! Fill the bottle completely with water before opening it! The water drives out the gaseous residues and thus avoids an unpleasant accident! I do not recommend this manipulation, at your own risk.
![]()
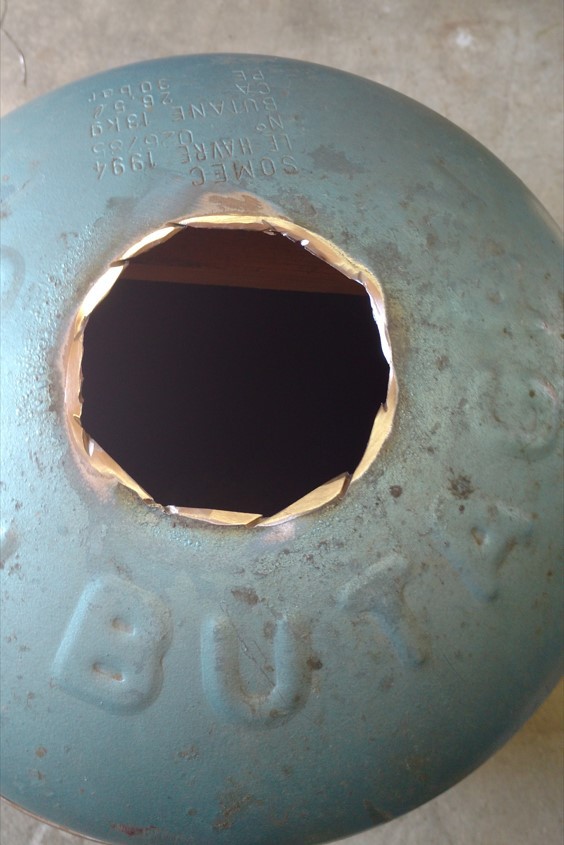
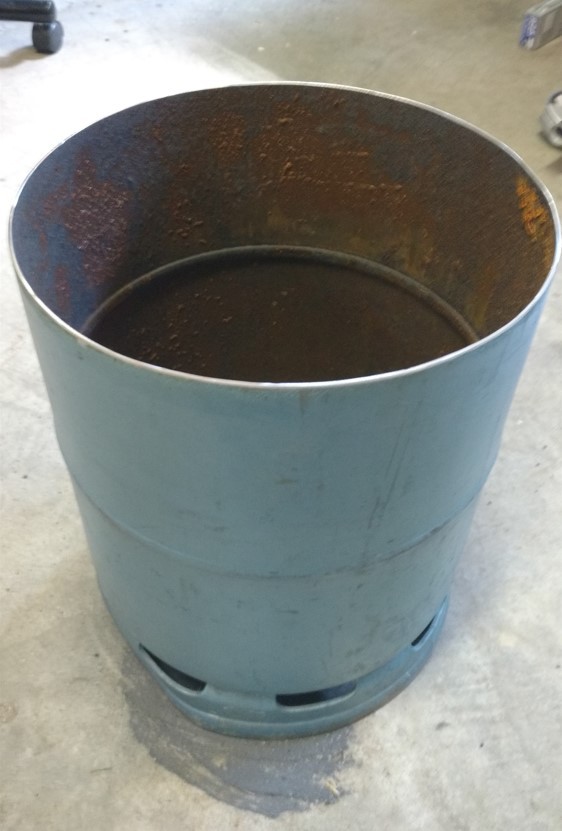
Removing the cap and rounding the edge.
![]()
![]()
-
2Soldering and cutting
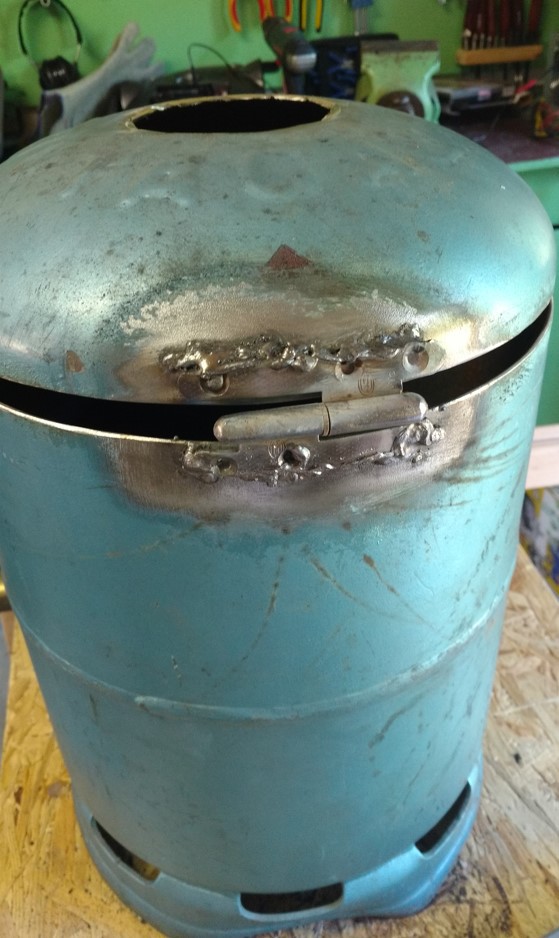
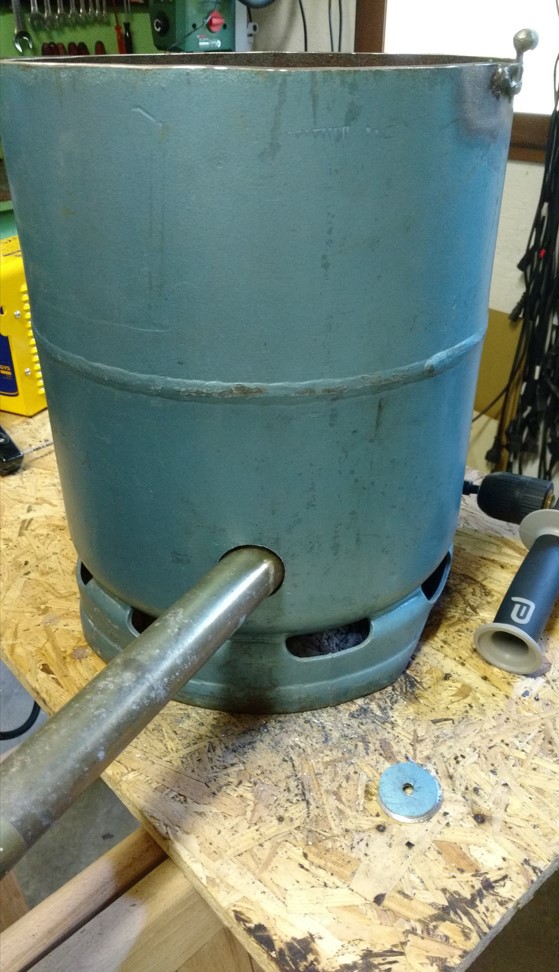
This was my really first soldering attempt... please don't judge ;) I have been training since.
![]()
Cutting hole for blowing air.
![]()
-
3Cast plaster
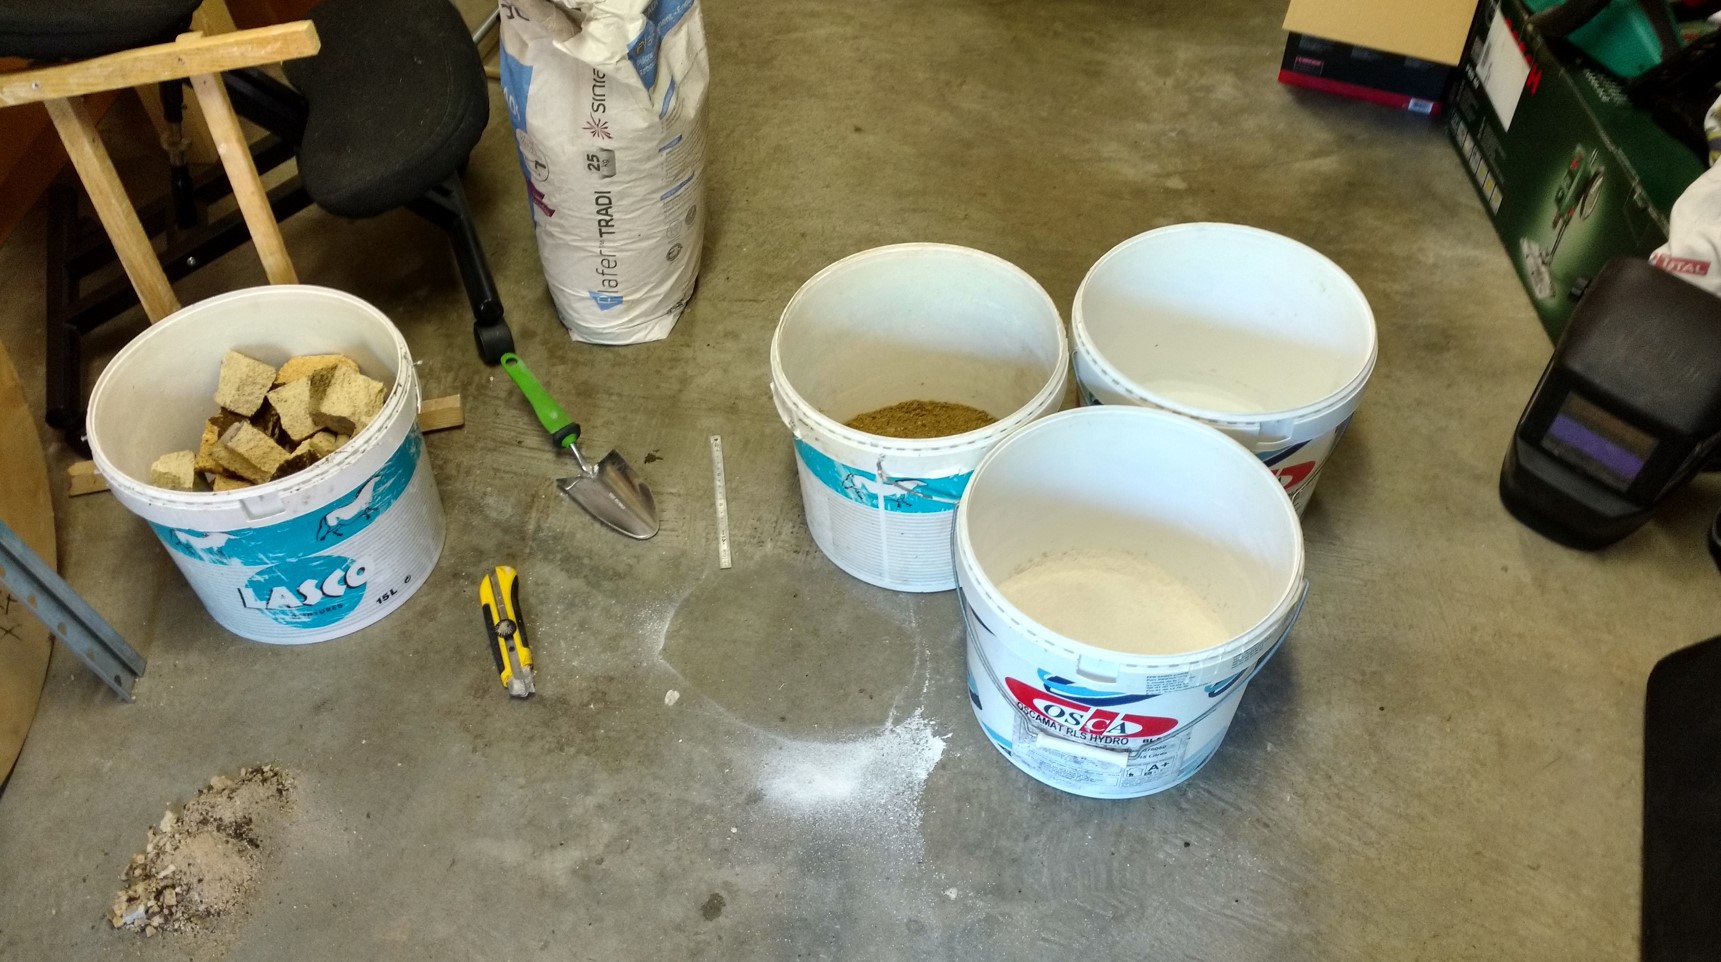
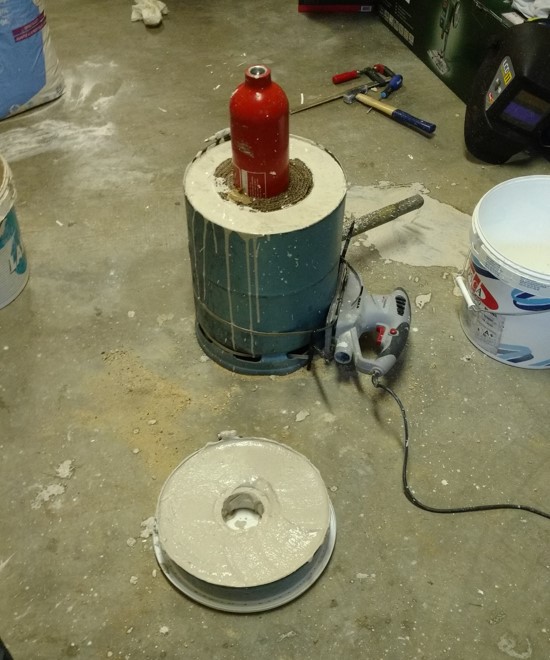
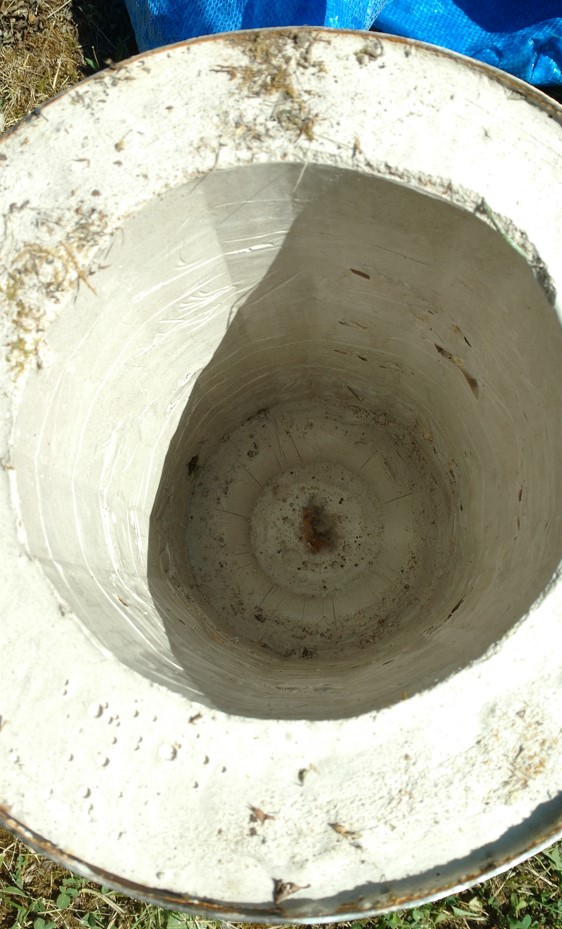
Messy task but it works well. Found an empty old extinguisher to make the template with some cardboard.
![]()
My old sander was used to vibrate plaster, it works not like expected but some air bubbles escape. Let it dry.
![]()
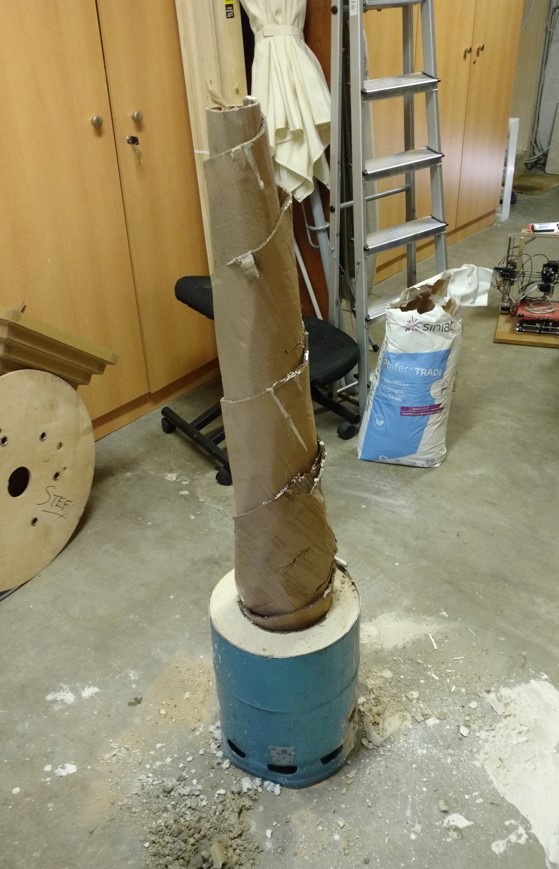
Pilling off the cardboard.
![]()
Not bad.
![]()
-
4Doing crucible
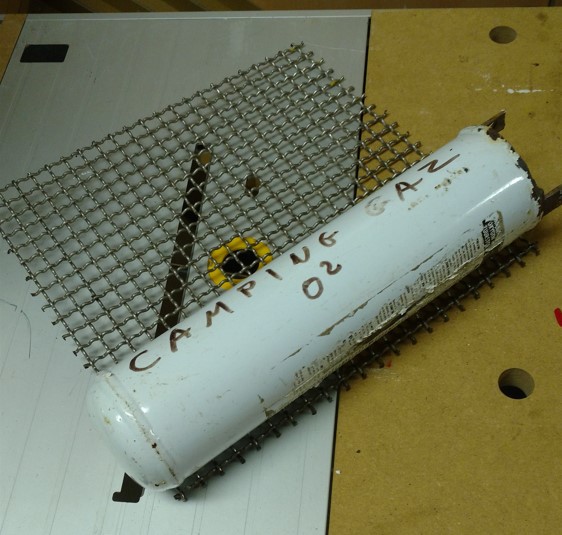
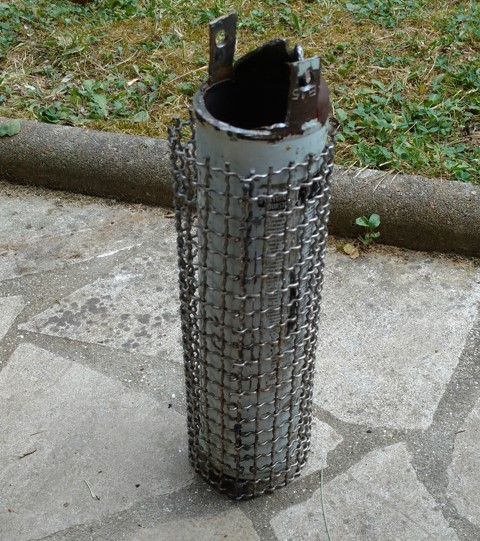
Crucible is made of a scarp oxygen bottle. Iron made and 3mm thick it will resist at least 600-700°C needed for melting aluminium.
![]()
Thick mesh is supposed to retain the coal.
![]()
-
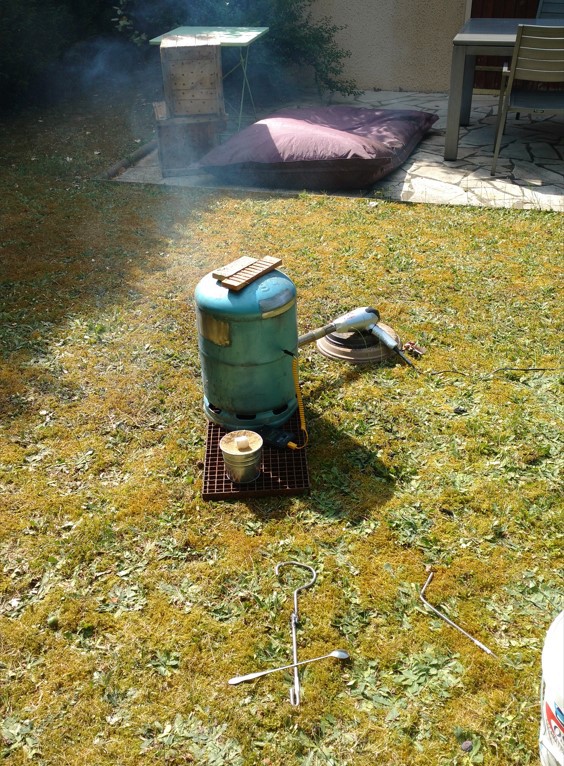
5Ready to fire this thing !
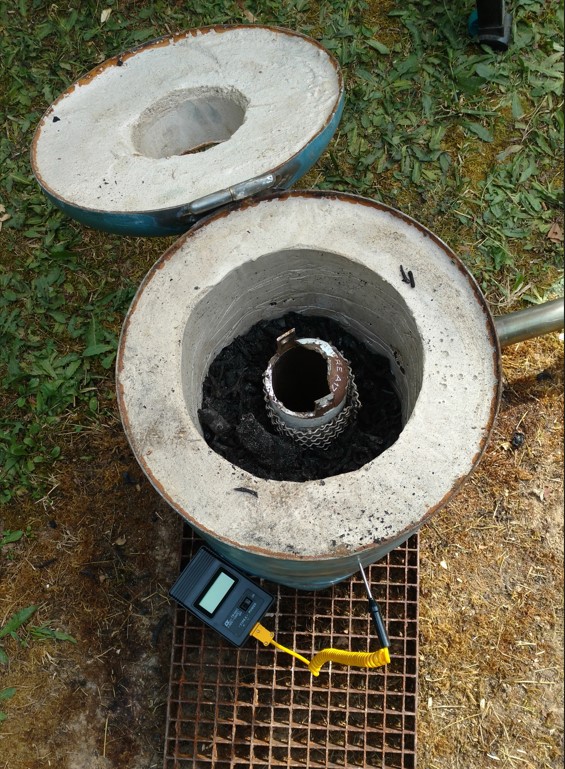
Temp probe is inserted in a tiny hole in the middle. Safety clothes and we are ready to go.
![]()
![]()
Temperature is hard to control :)
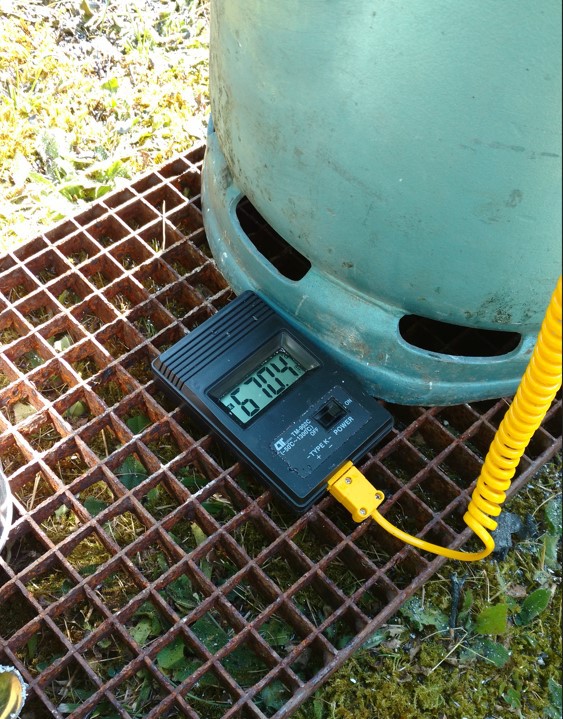
![]()
670°C is quite good for aluminium but I wanted to push this thing higher.
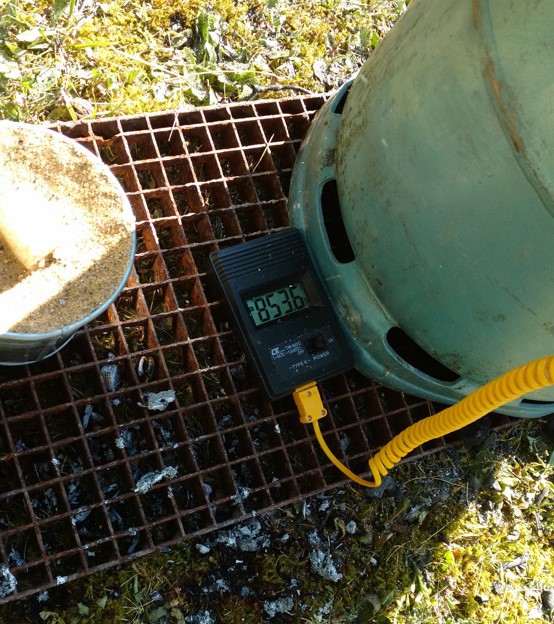
![]()
MMmmmh 853°C is too high and it smells different. We stopped the test.
-
6Results
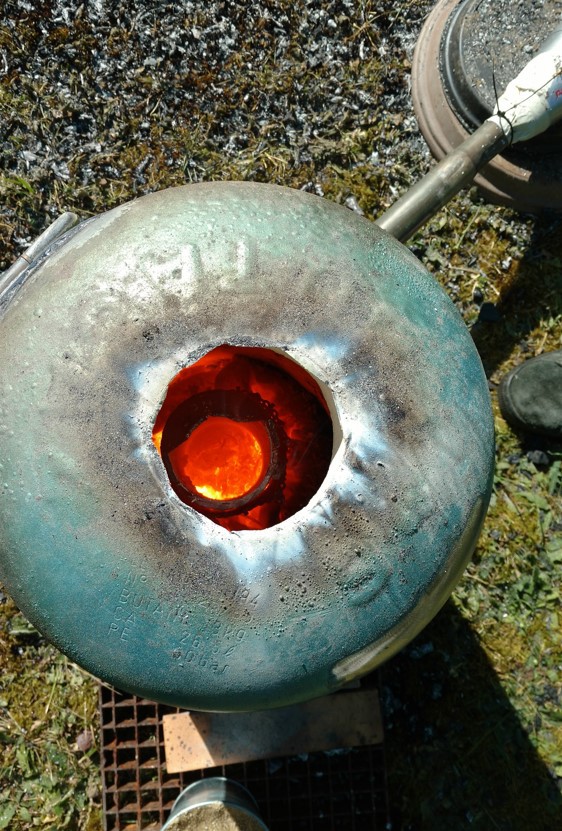
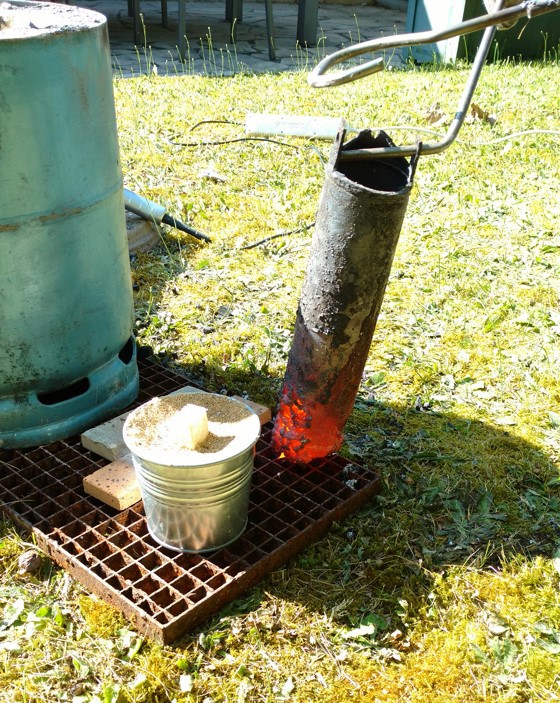
Look at this red mordor color :)
![]()
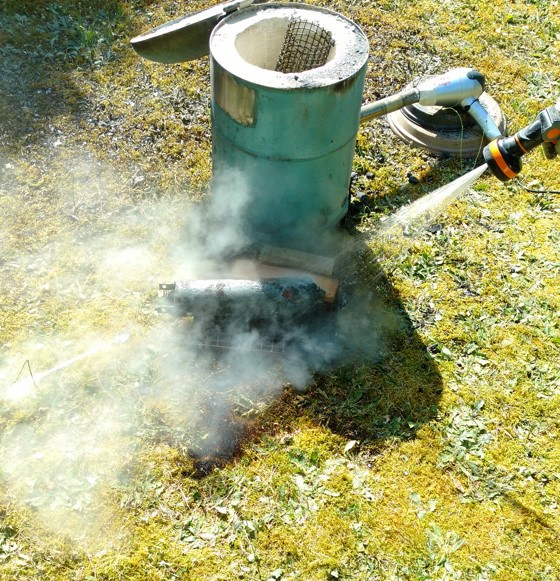
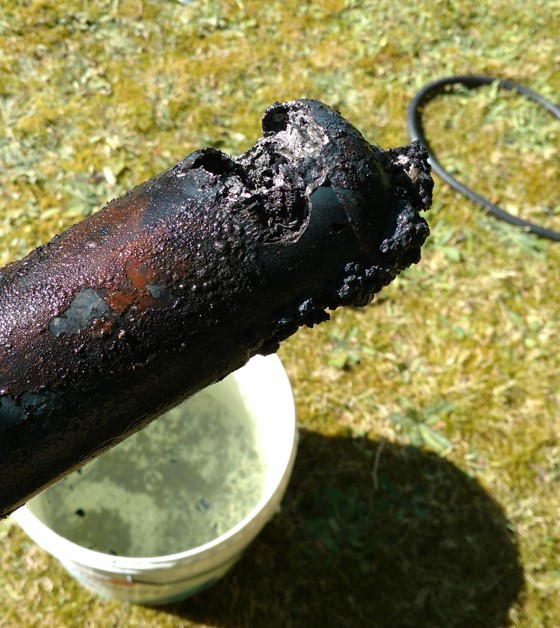
Did I tell you that the crucible was made of iron ? and that the probe was in a bad location that mean not probing at the highest point ?
![]()
![]()
The temperature must have risen much higher than 1200°C (cast iron melting point) but less than 1500°C (iron melting point).
![]()
This was really fun to do and to experiment.
I will use a graphite crucible for my next project which need aluminium parts.
 f4drj
f4drj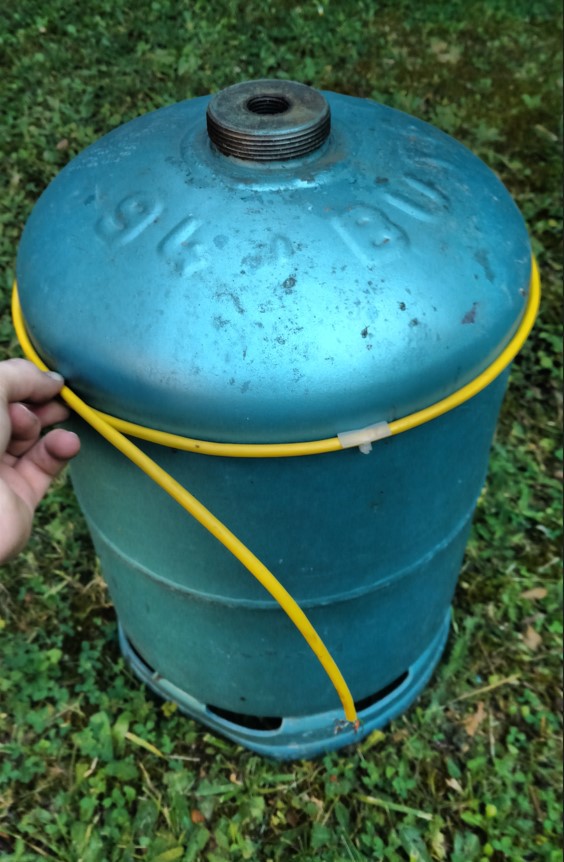
Discussions
Become a Hackaday.io Member
Create an account to leave a comment. Already have an account? Log In.