 gedm-dev
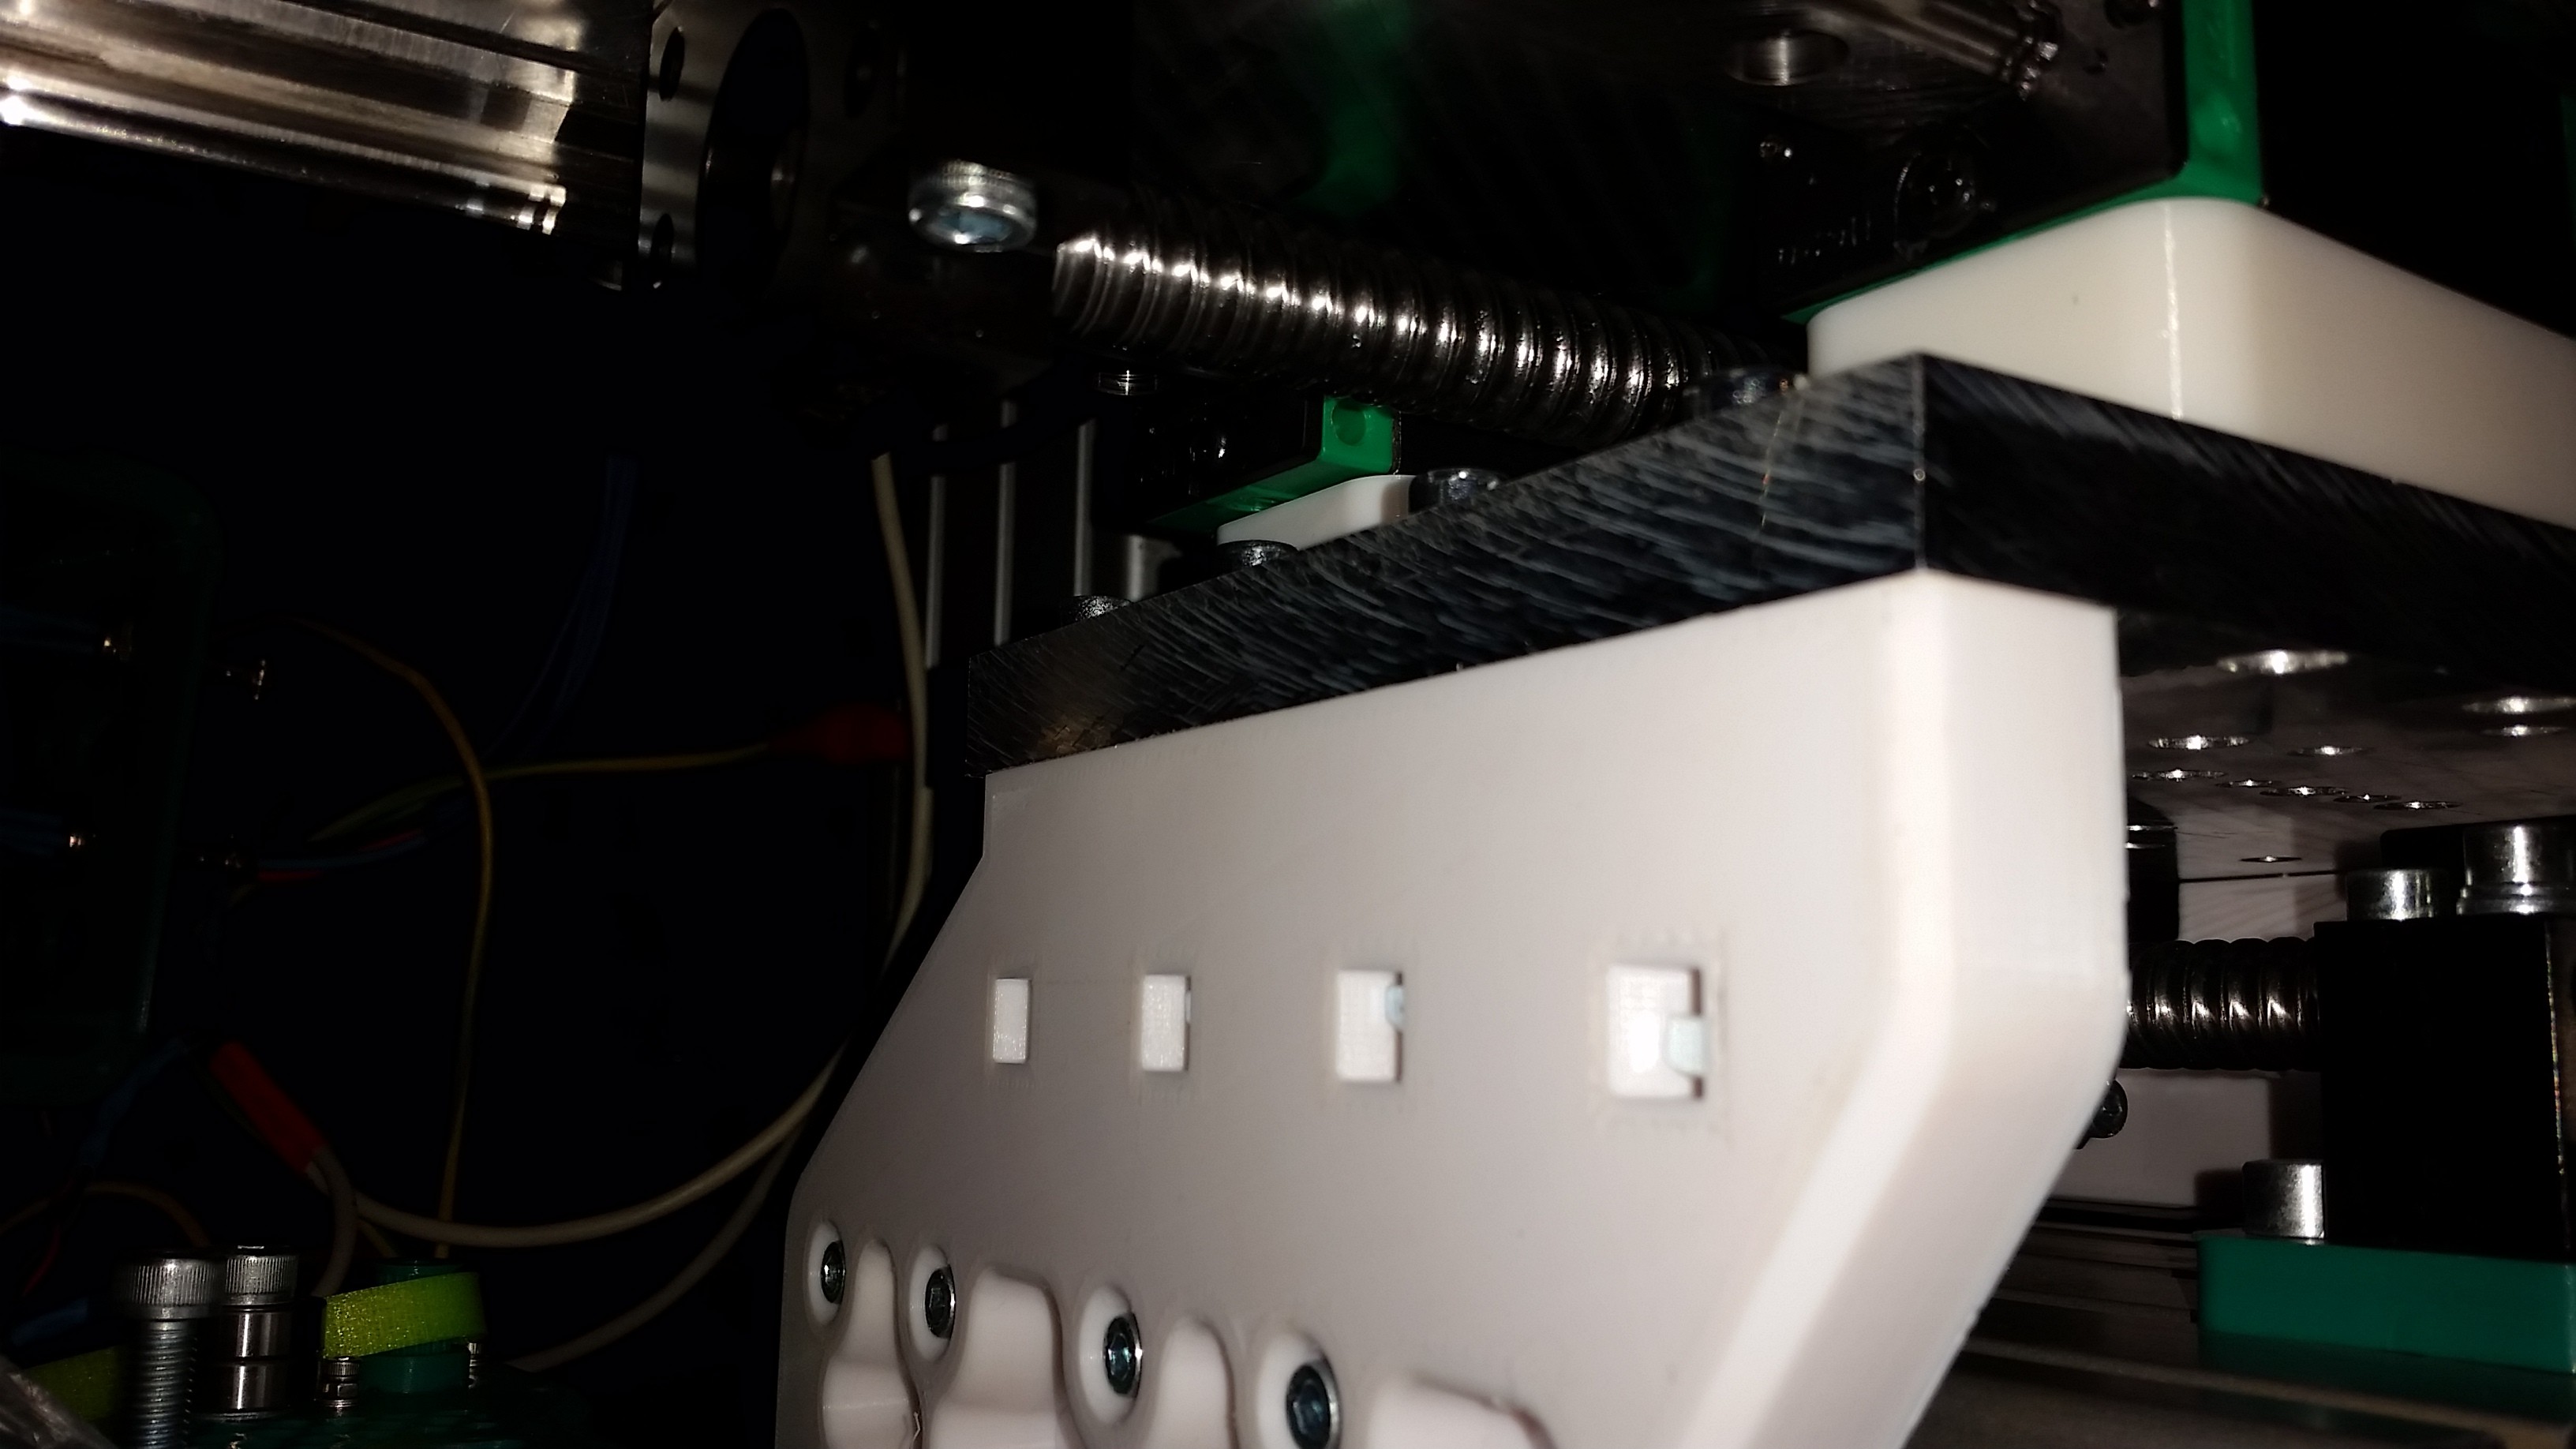
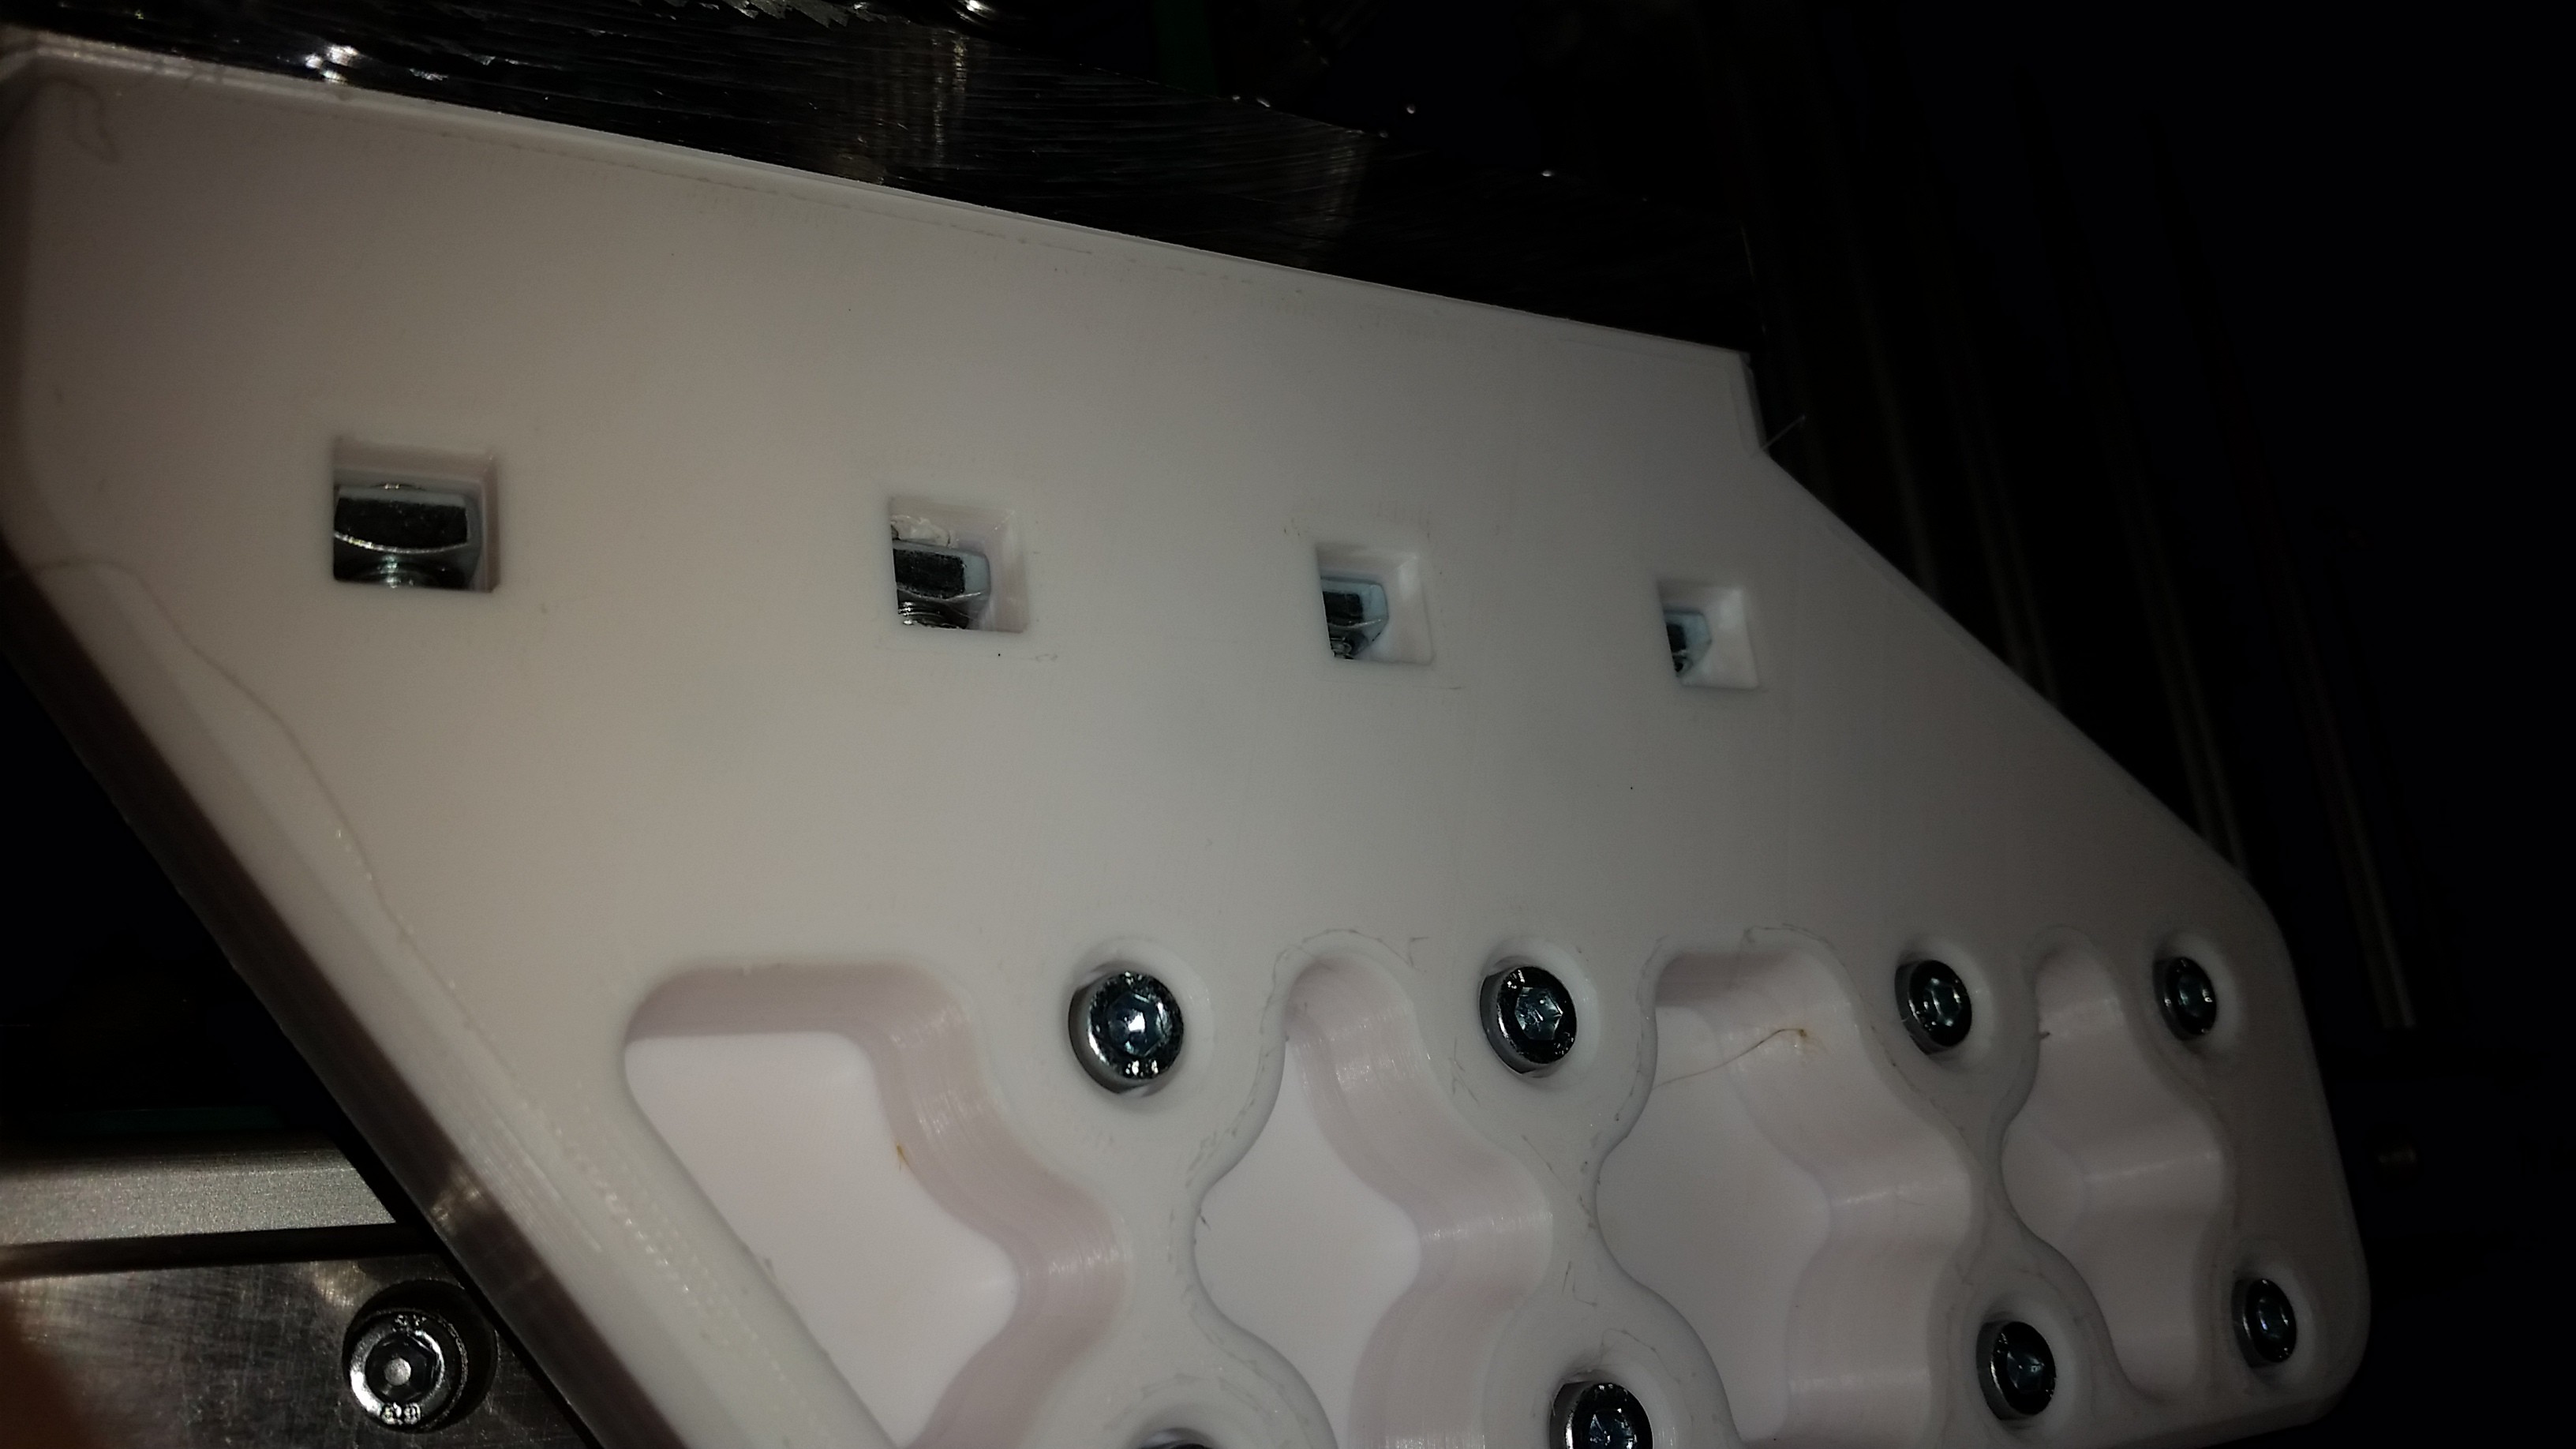
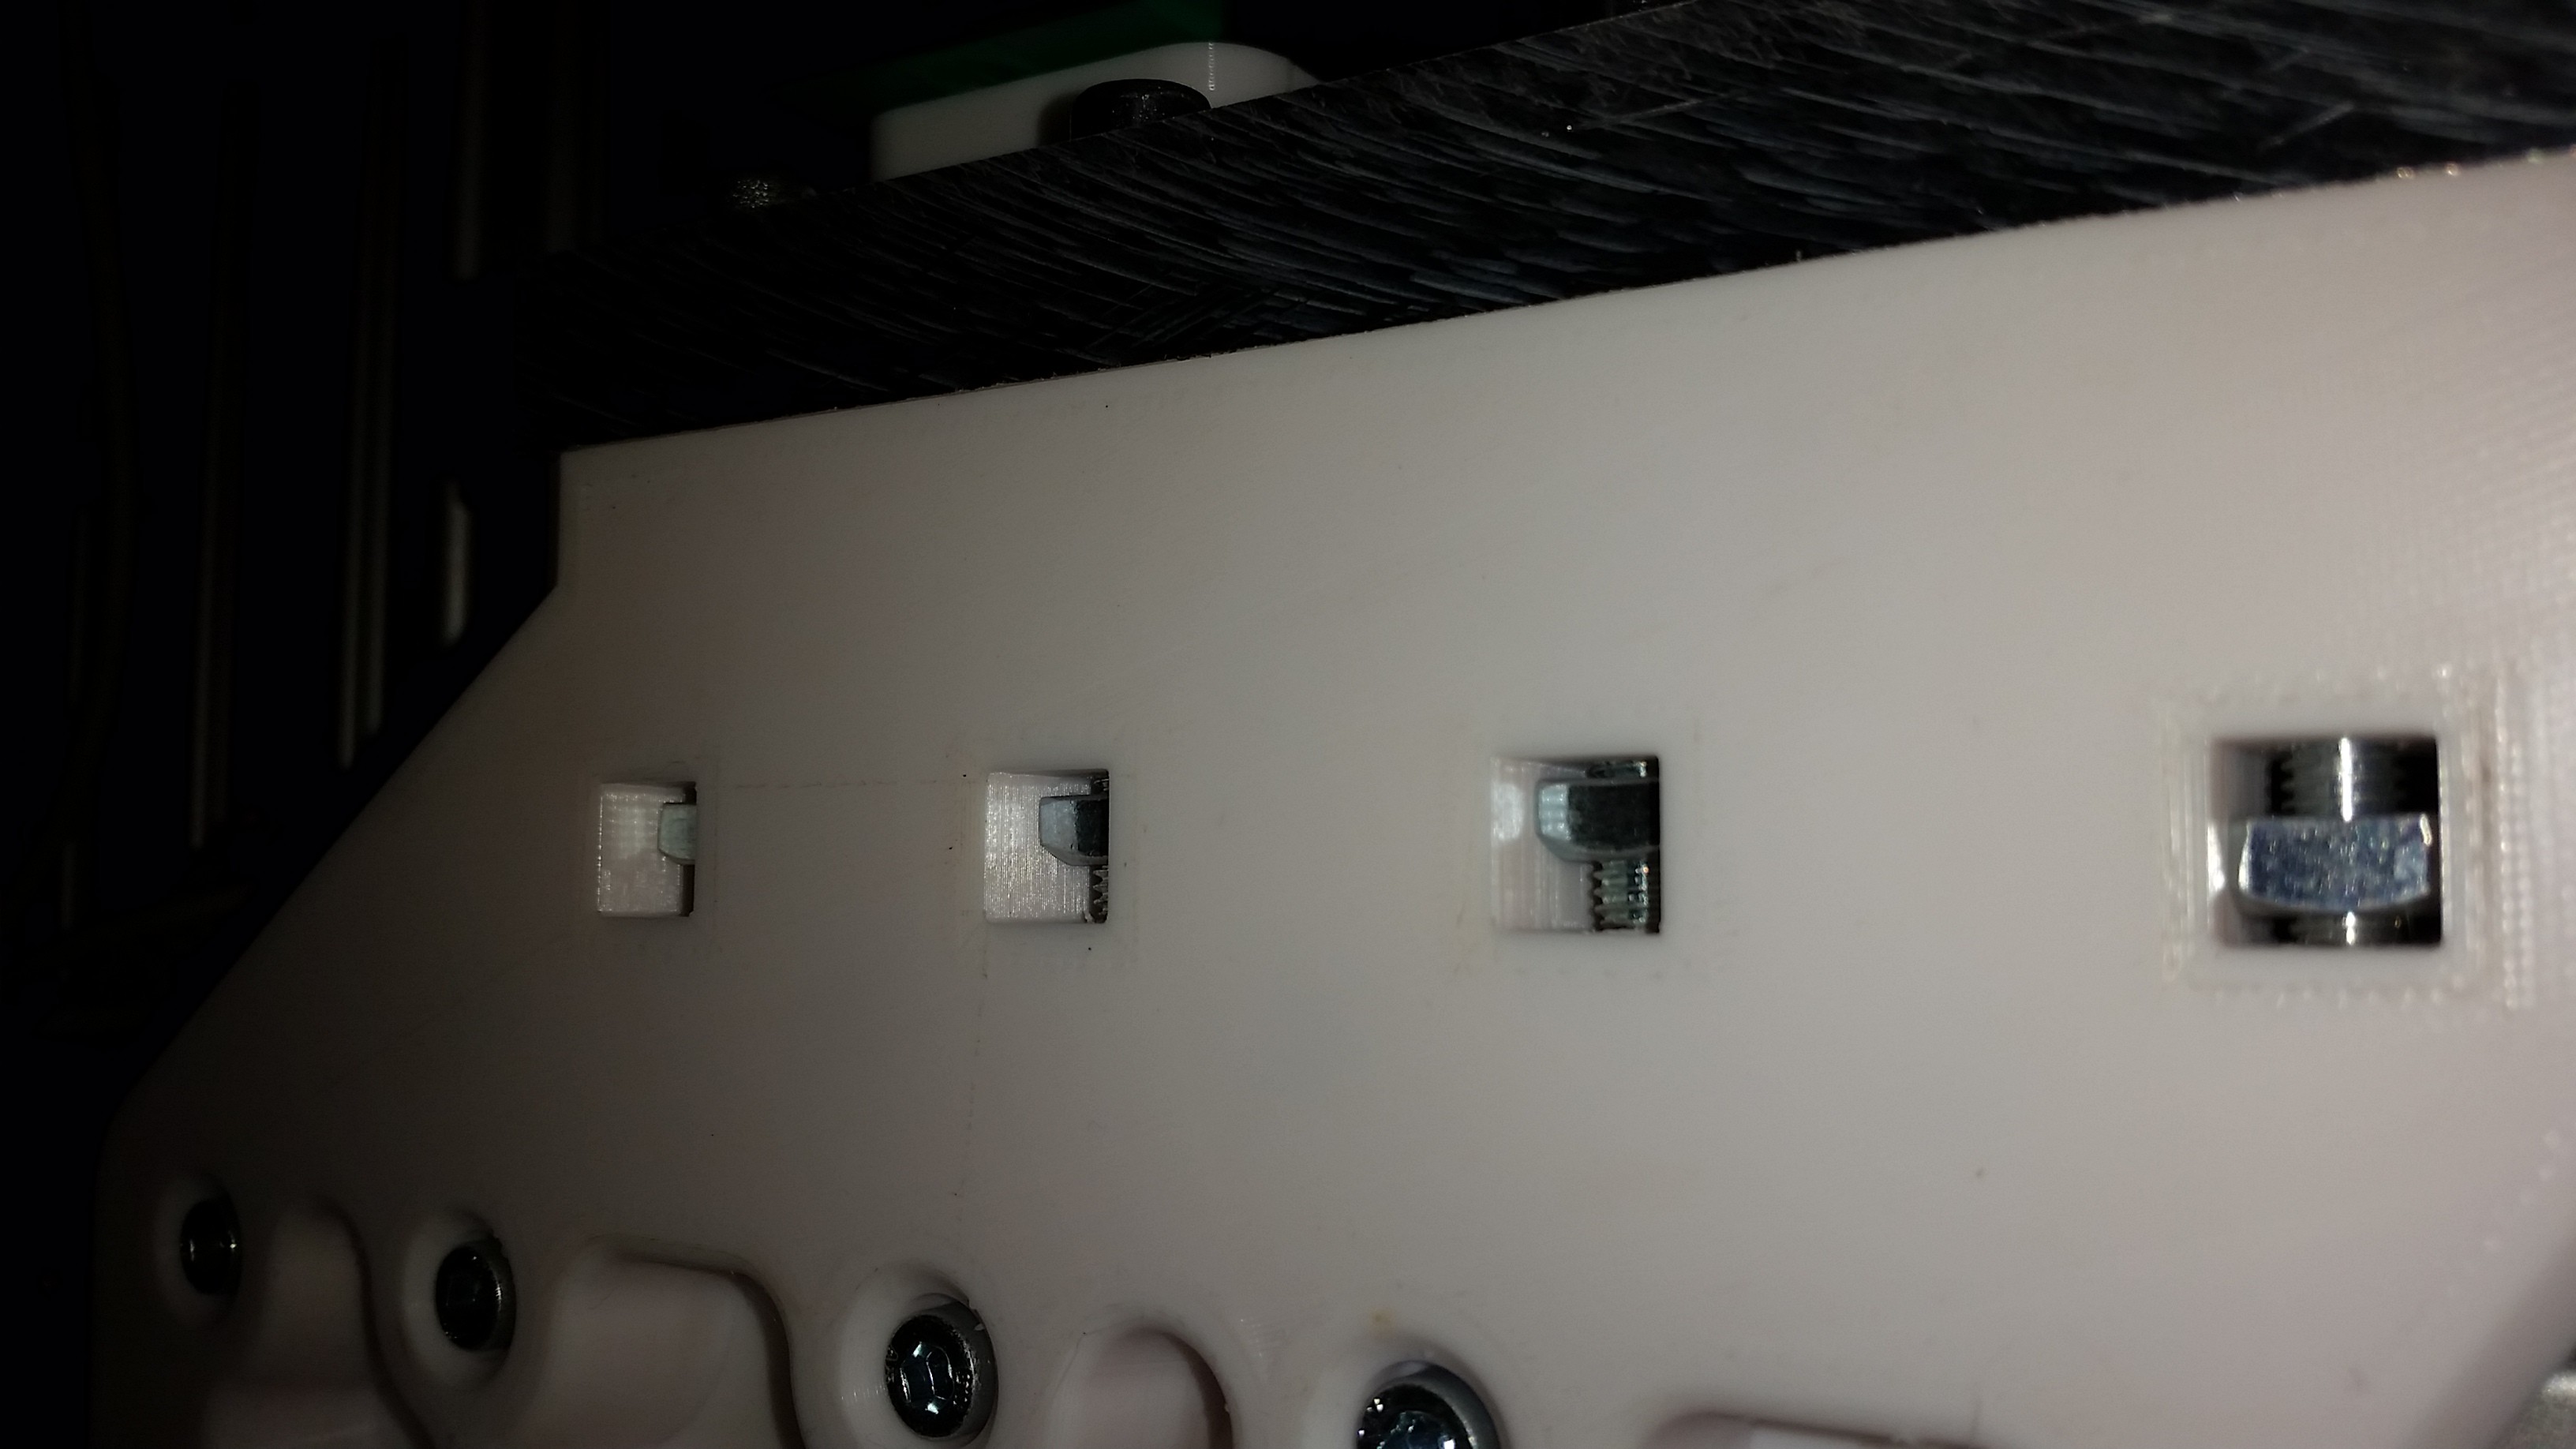
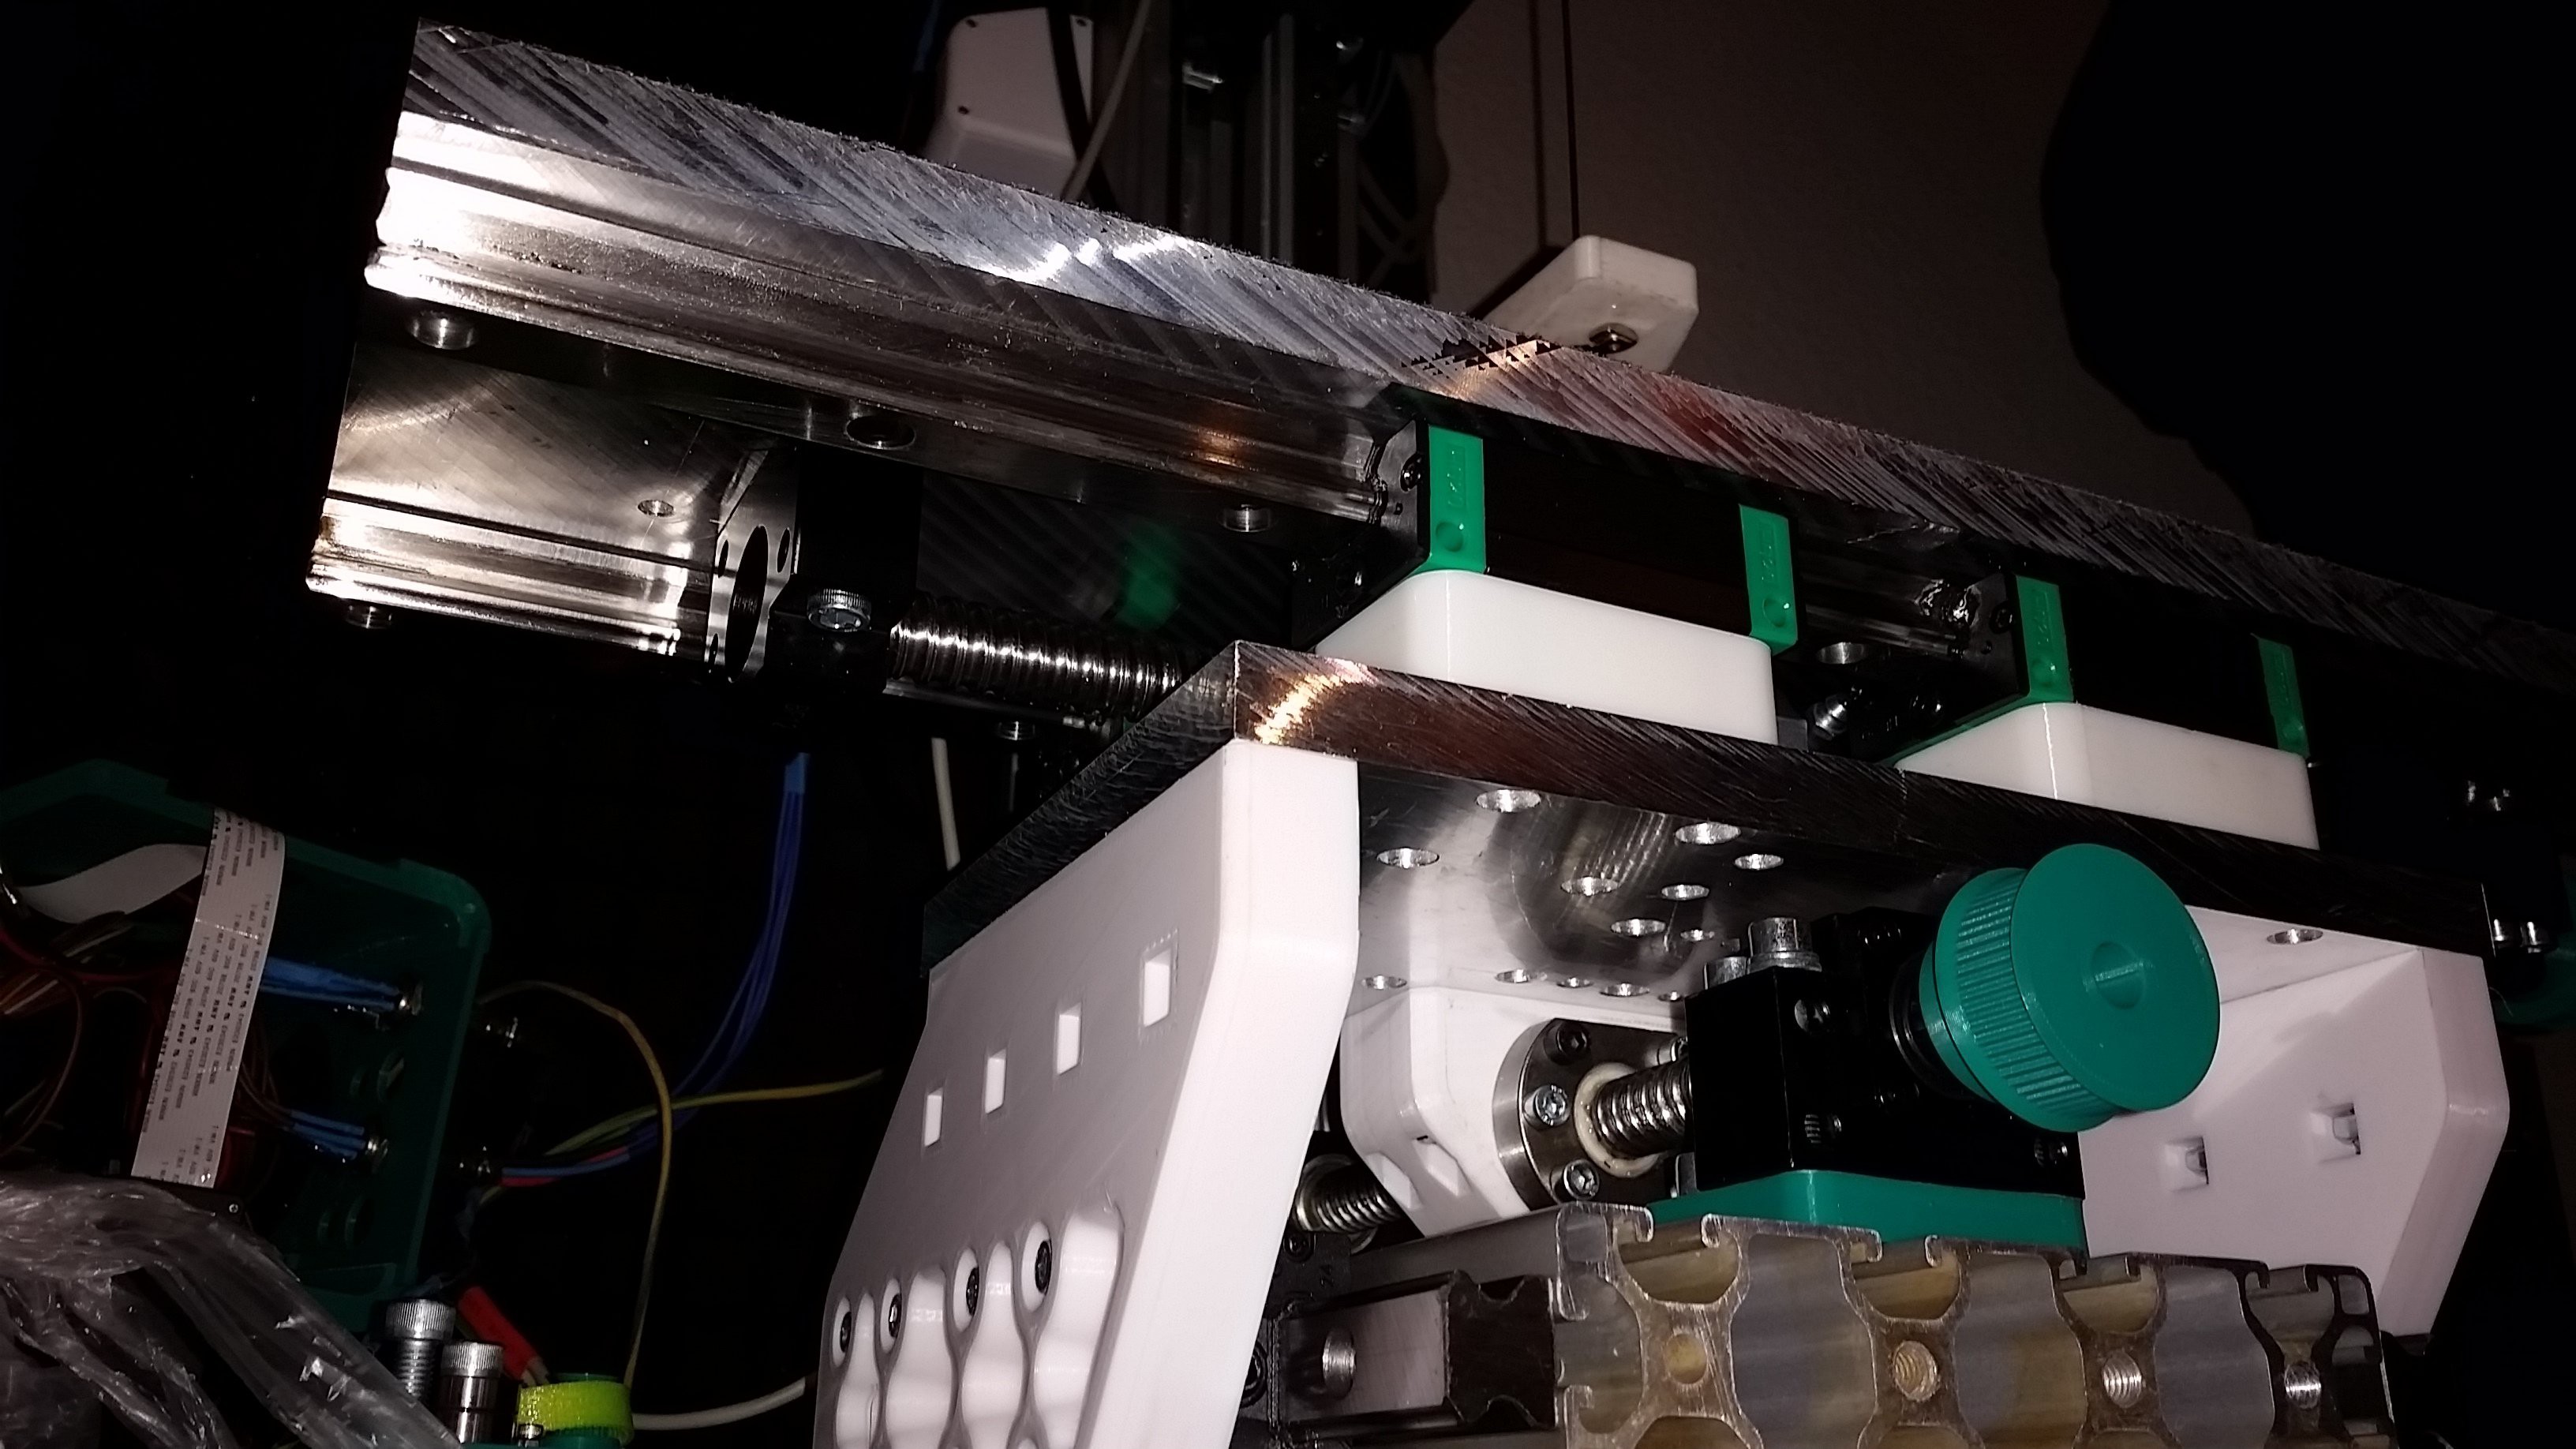
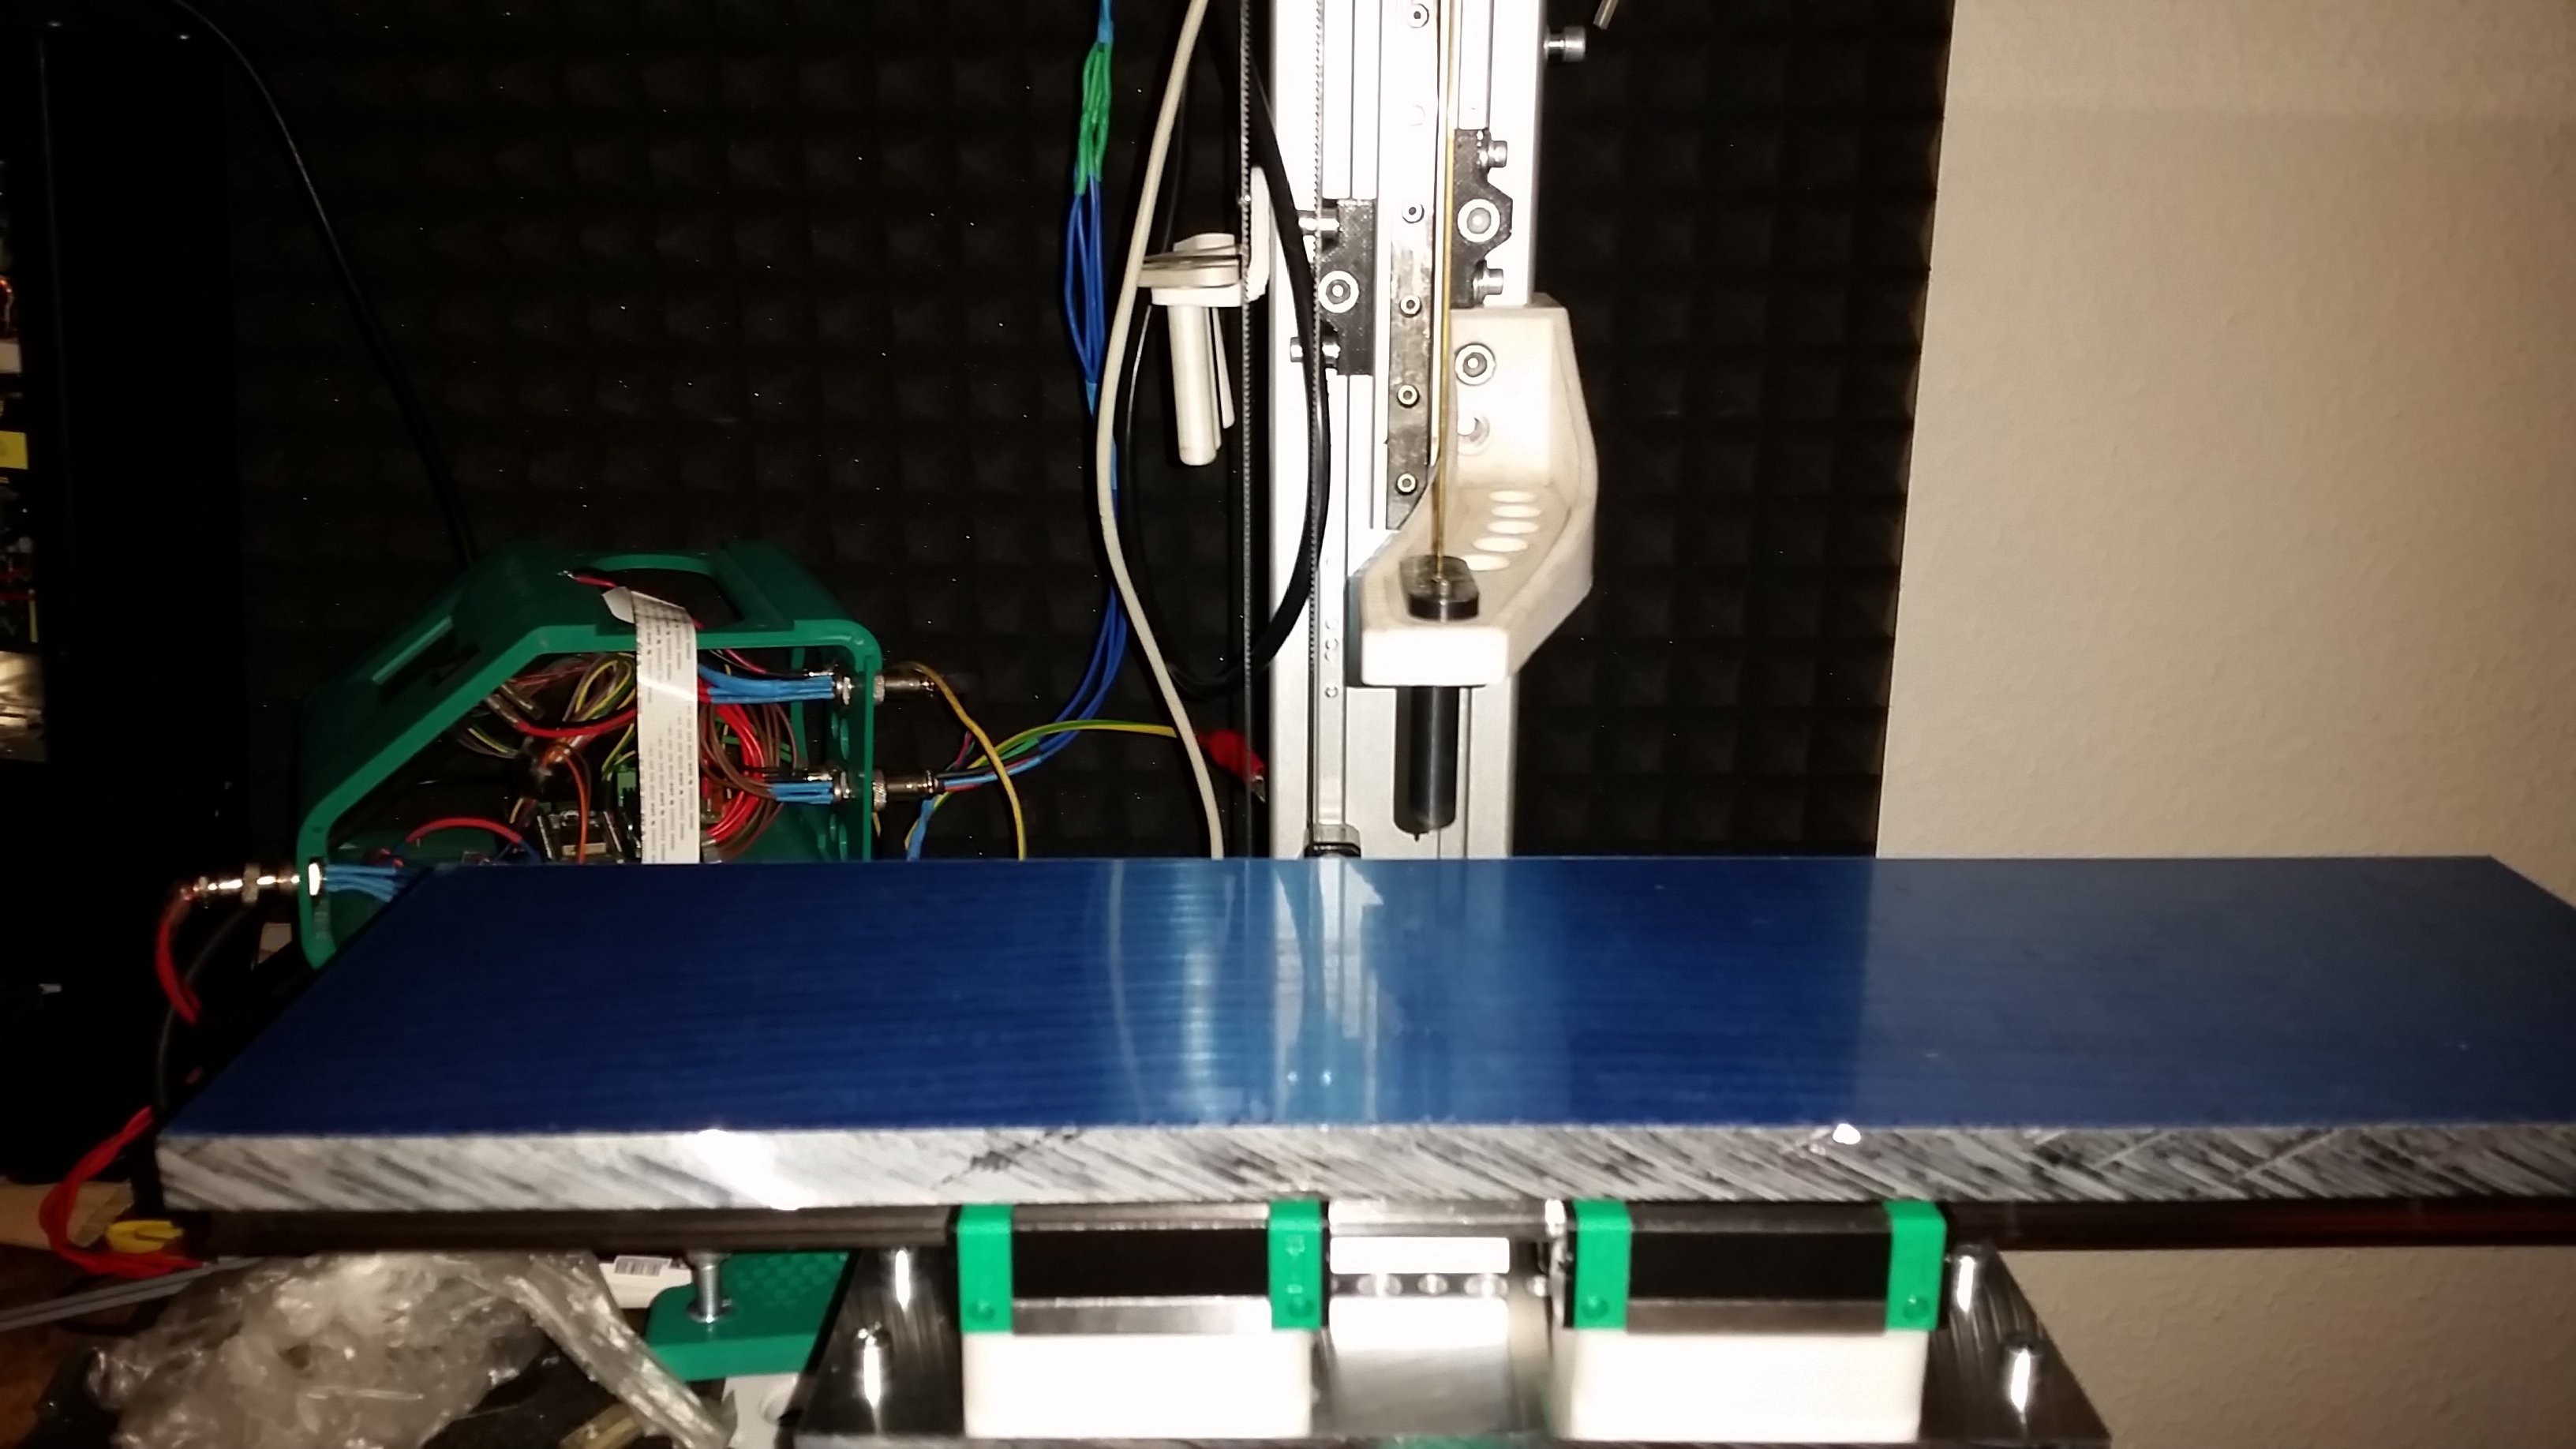
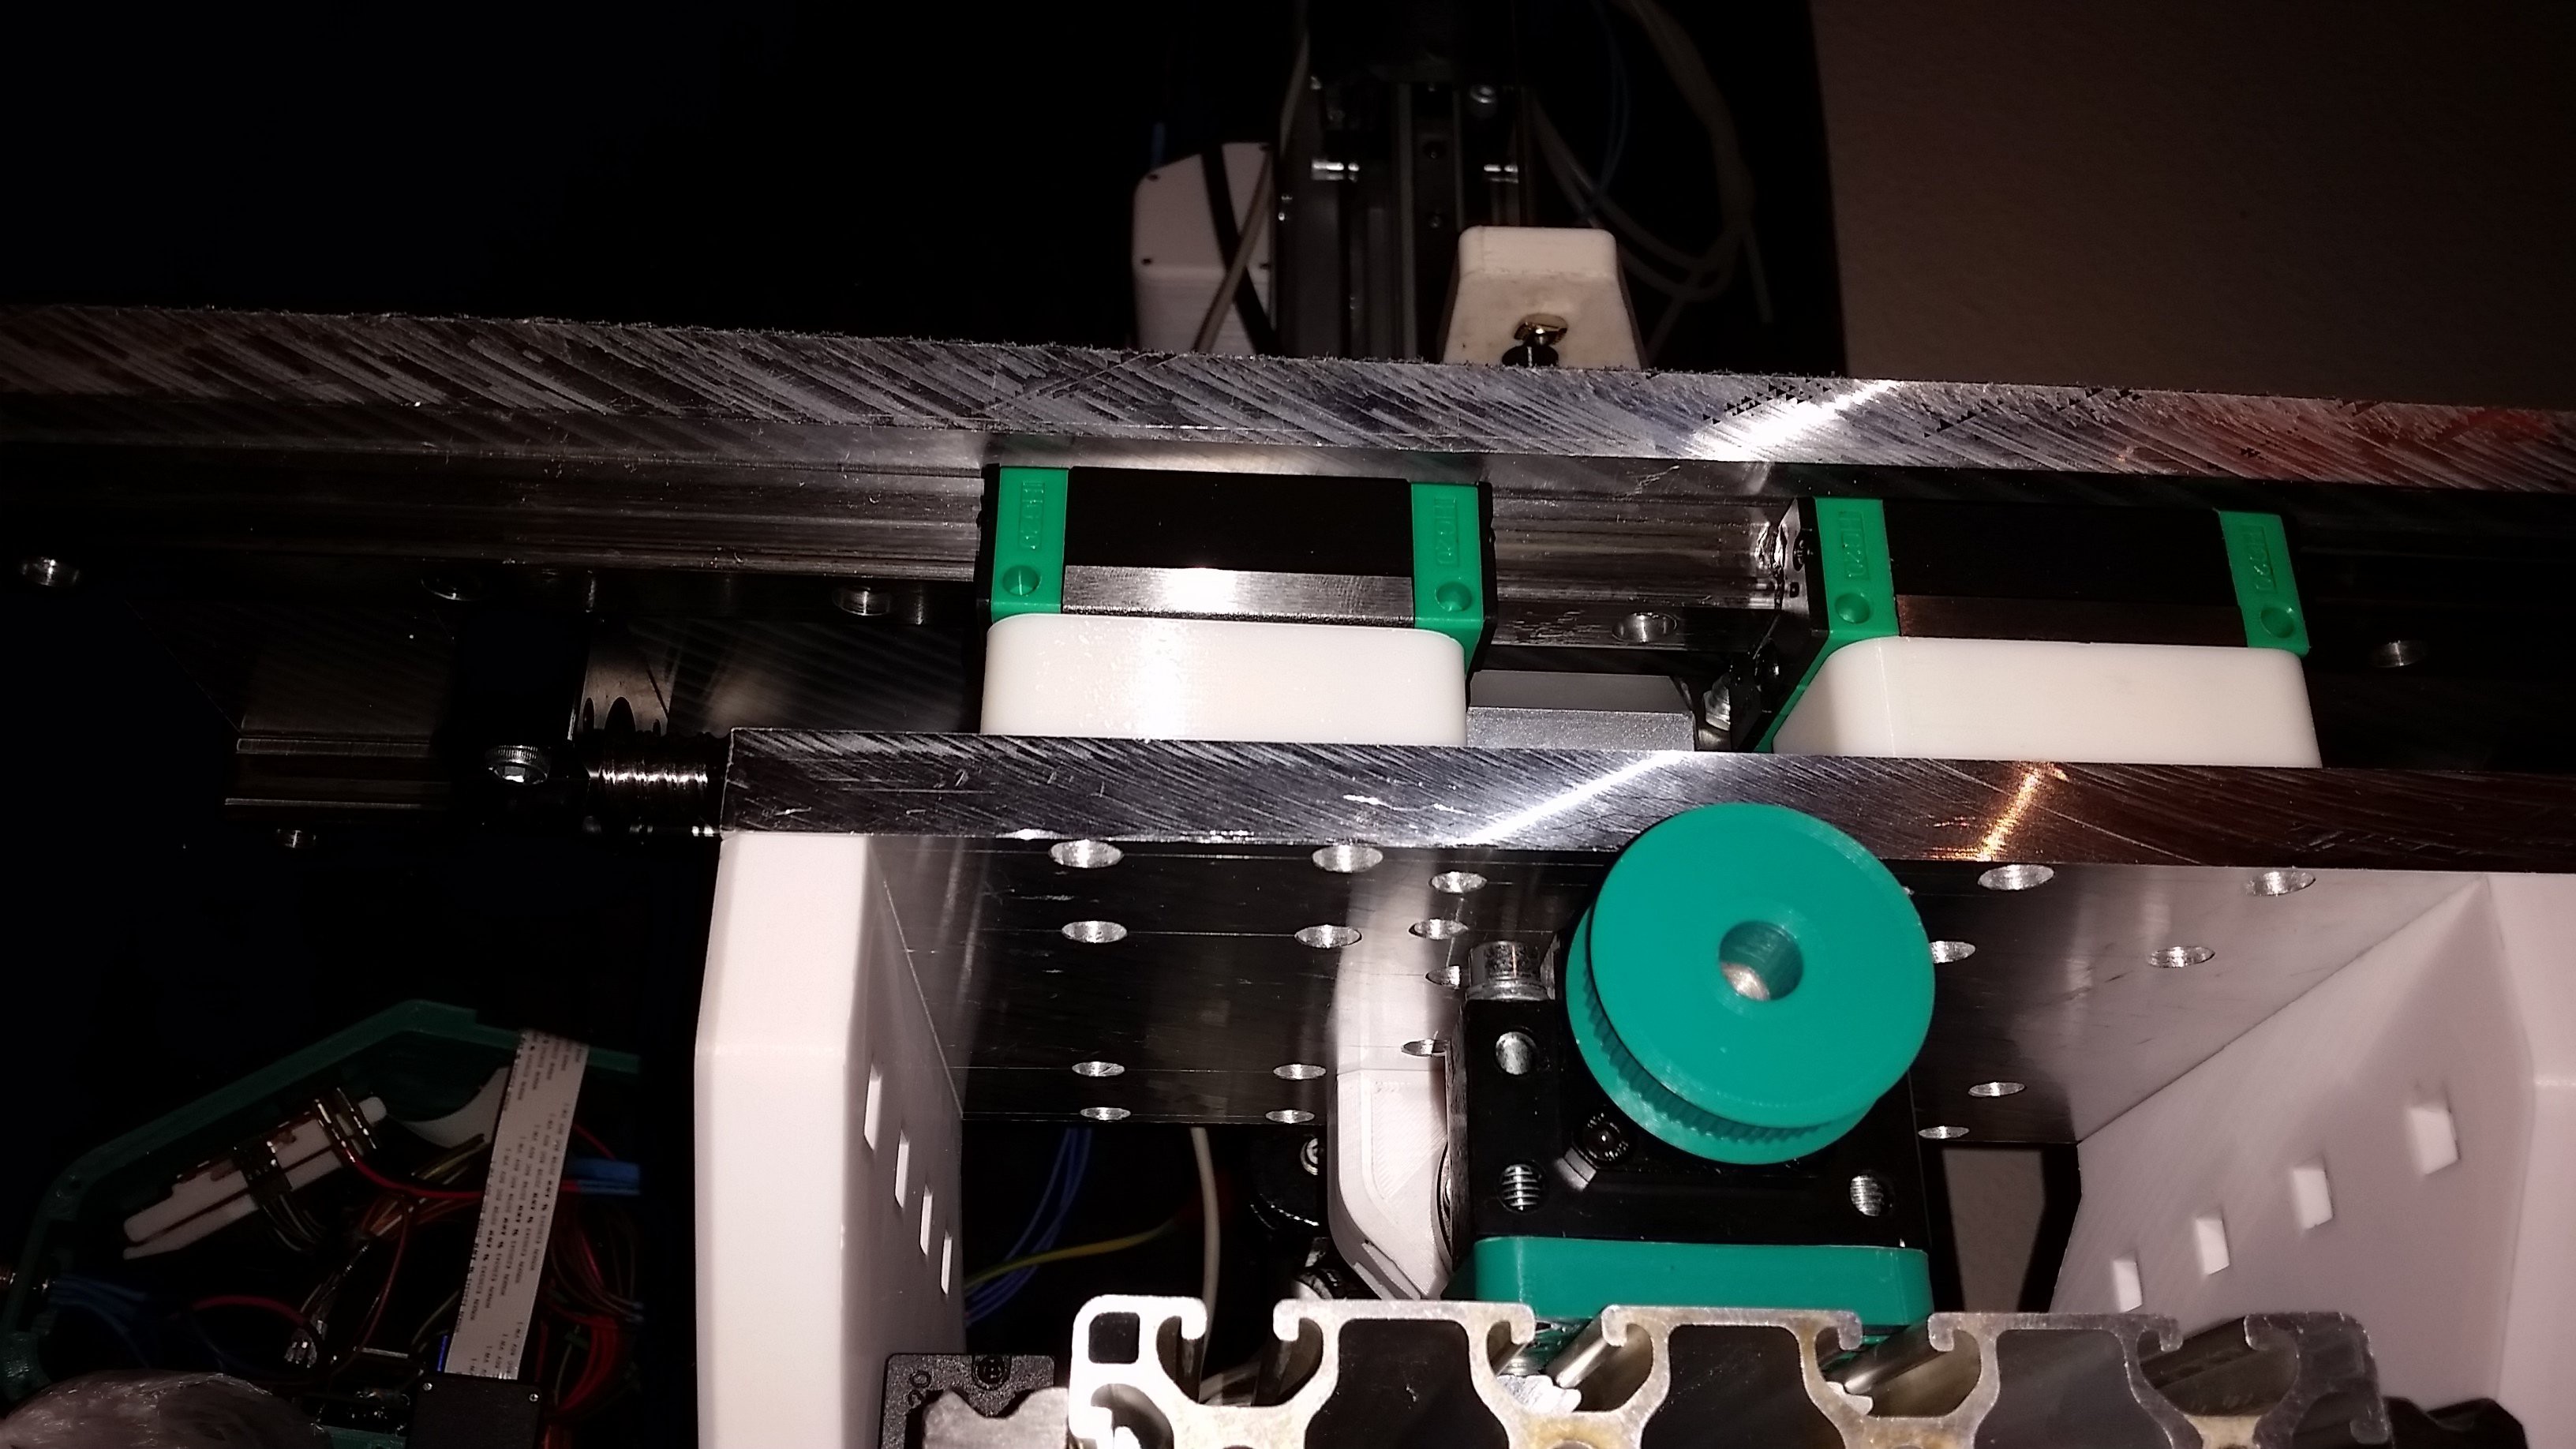
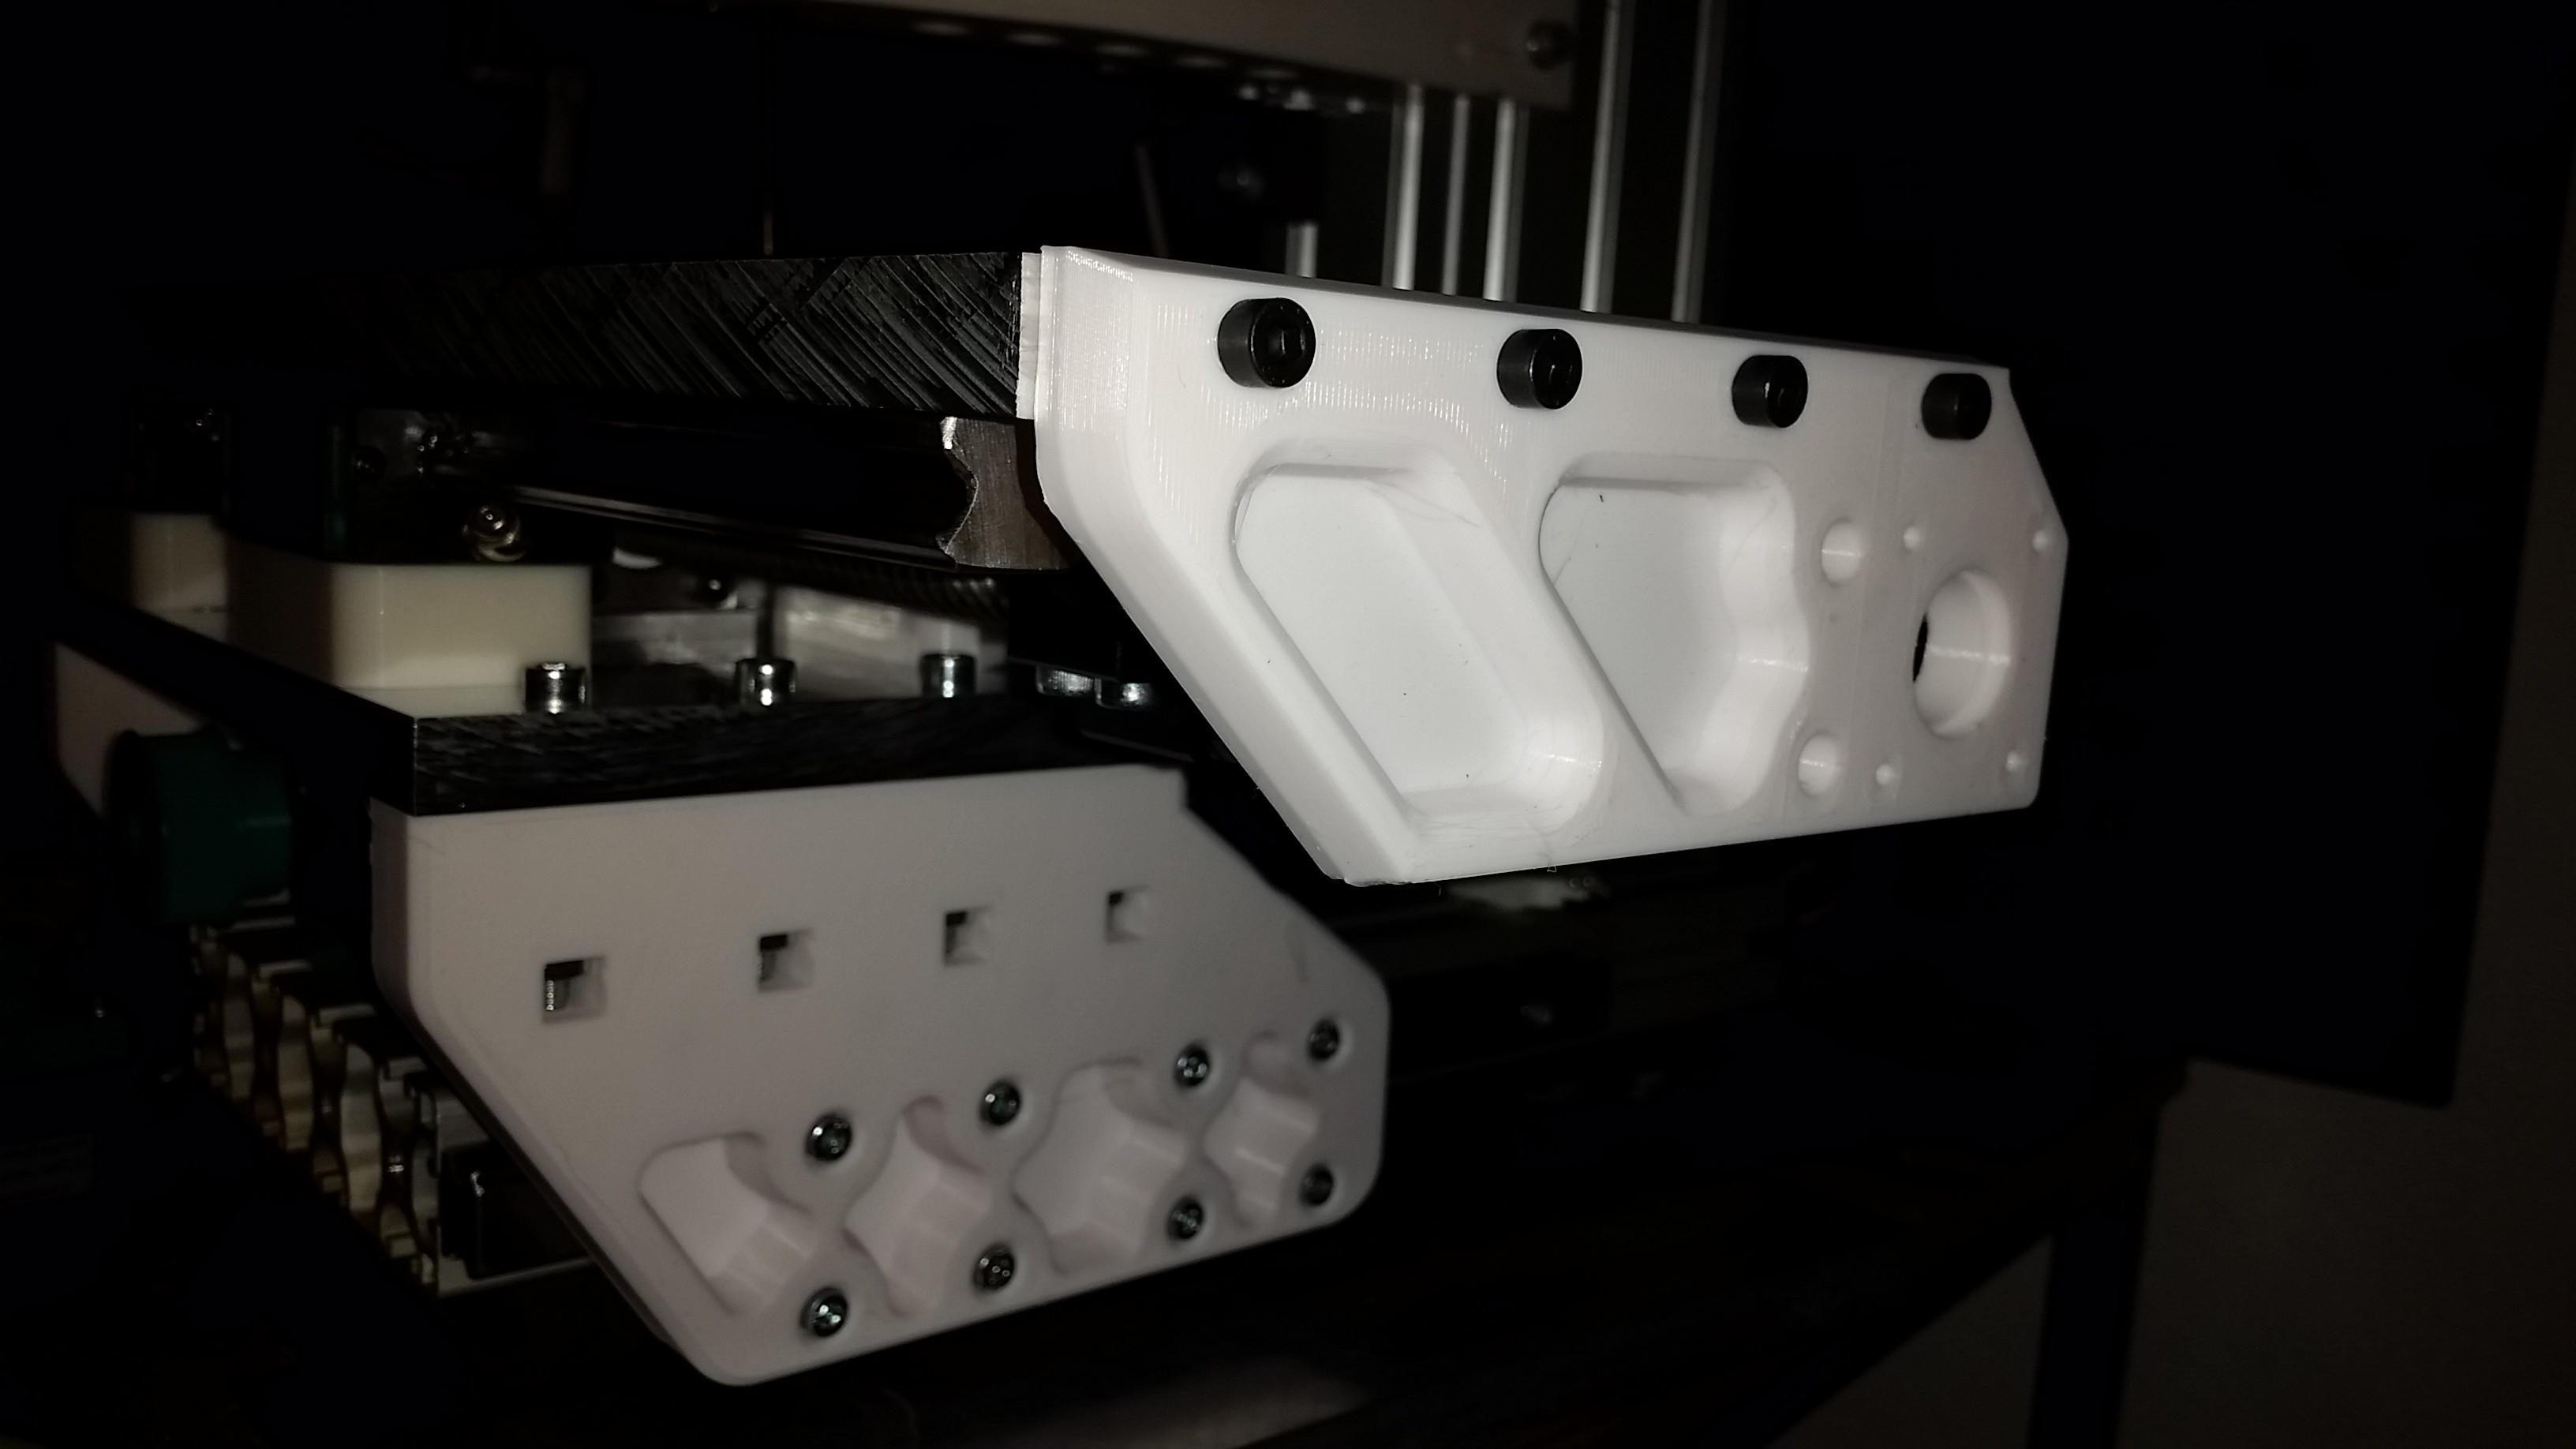
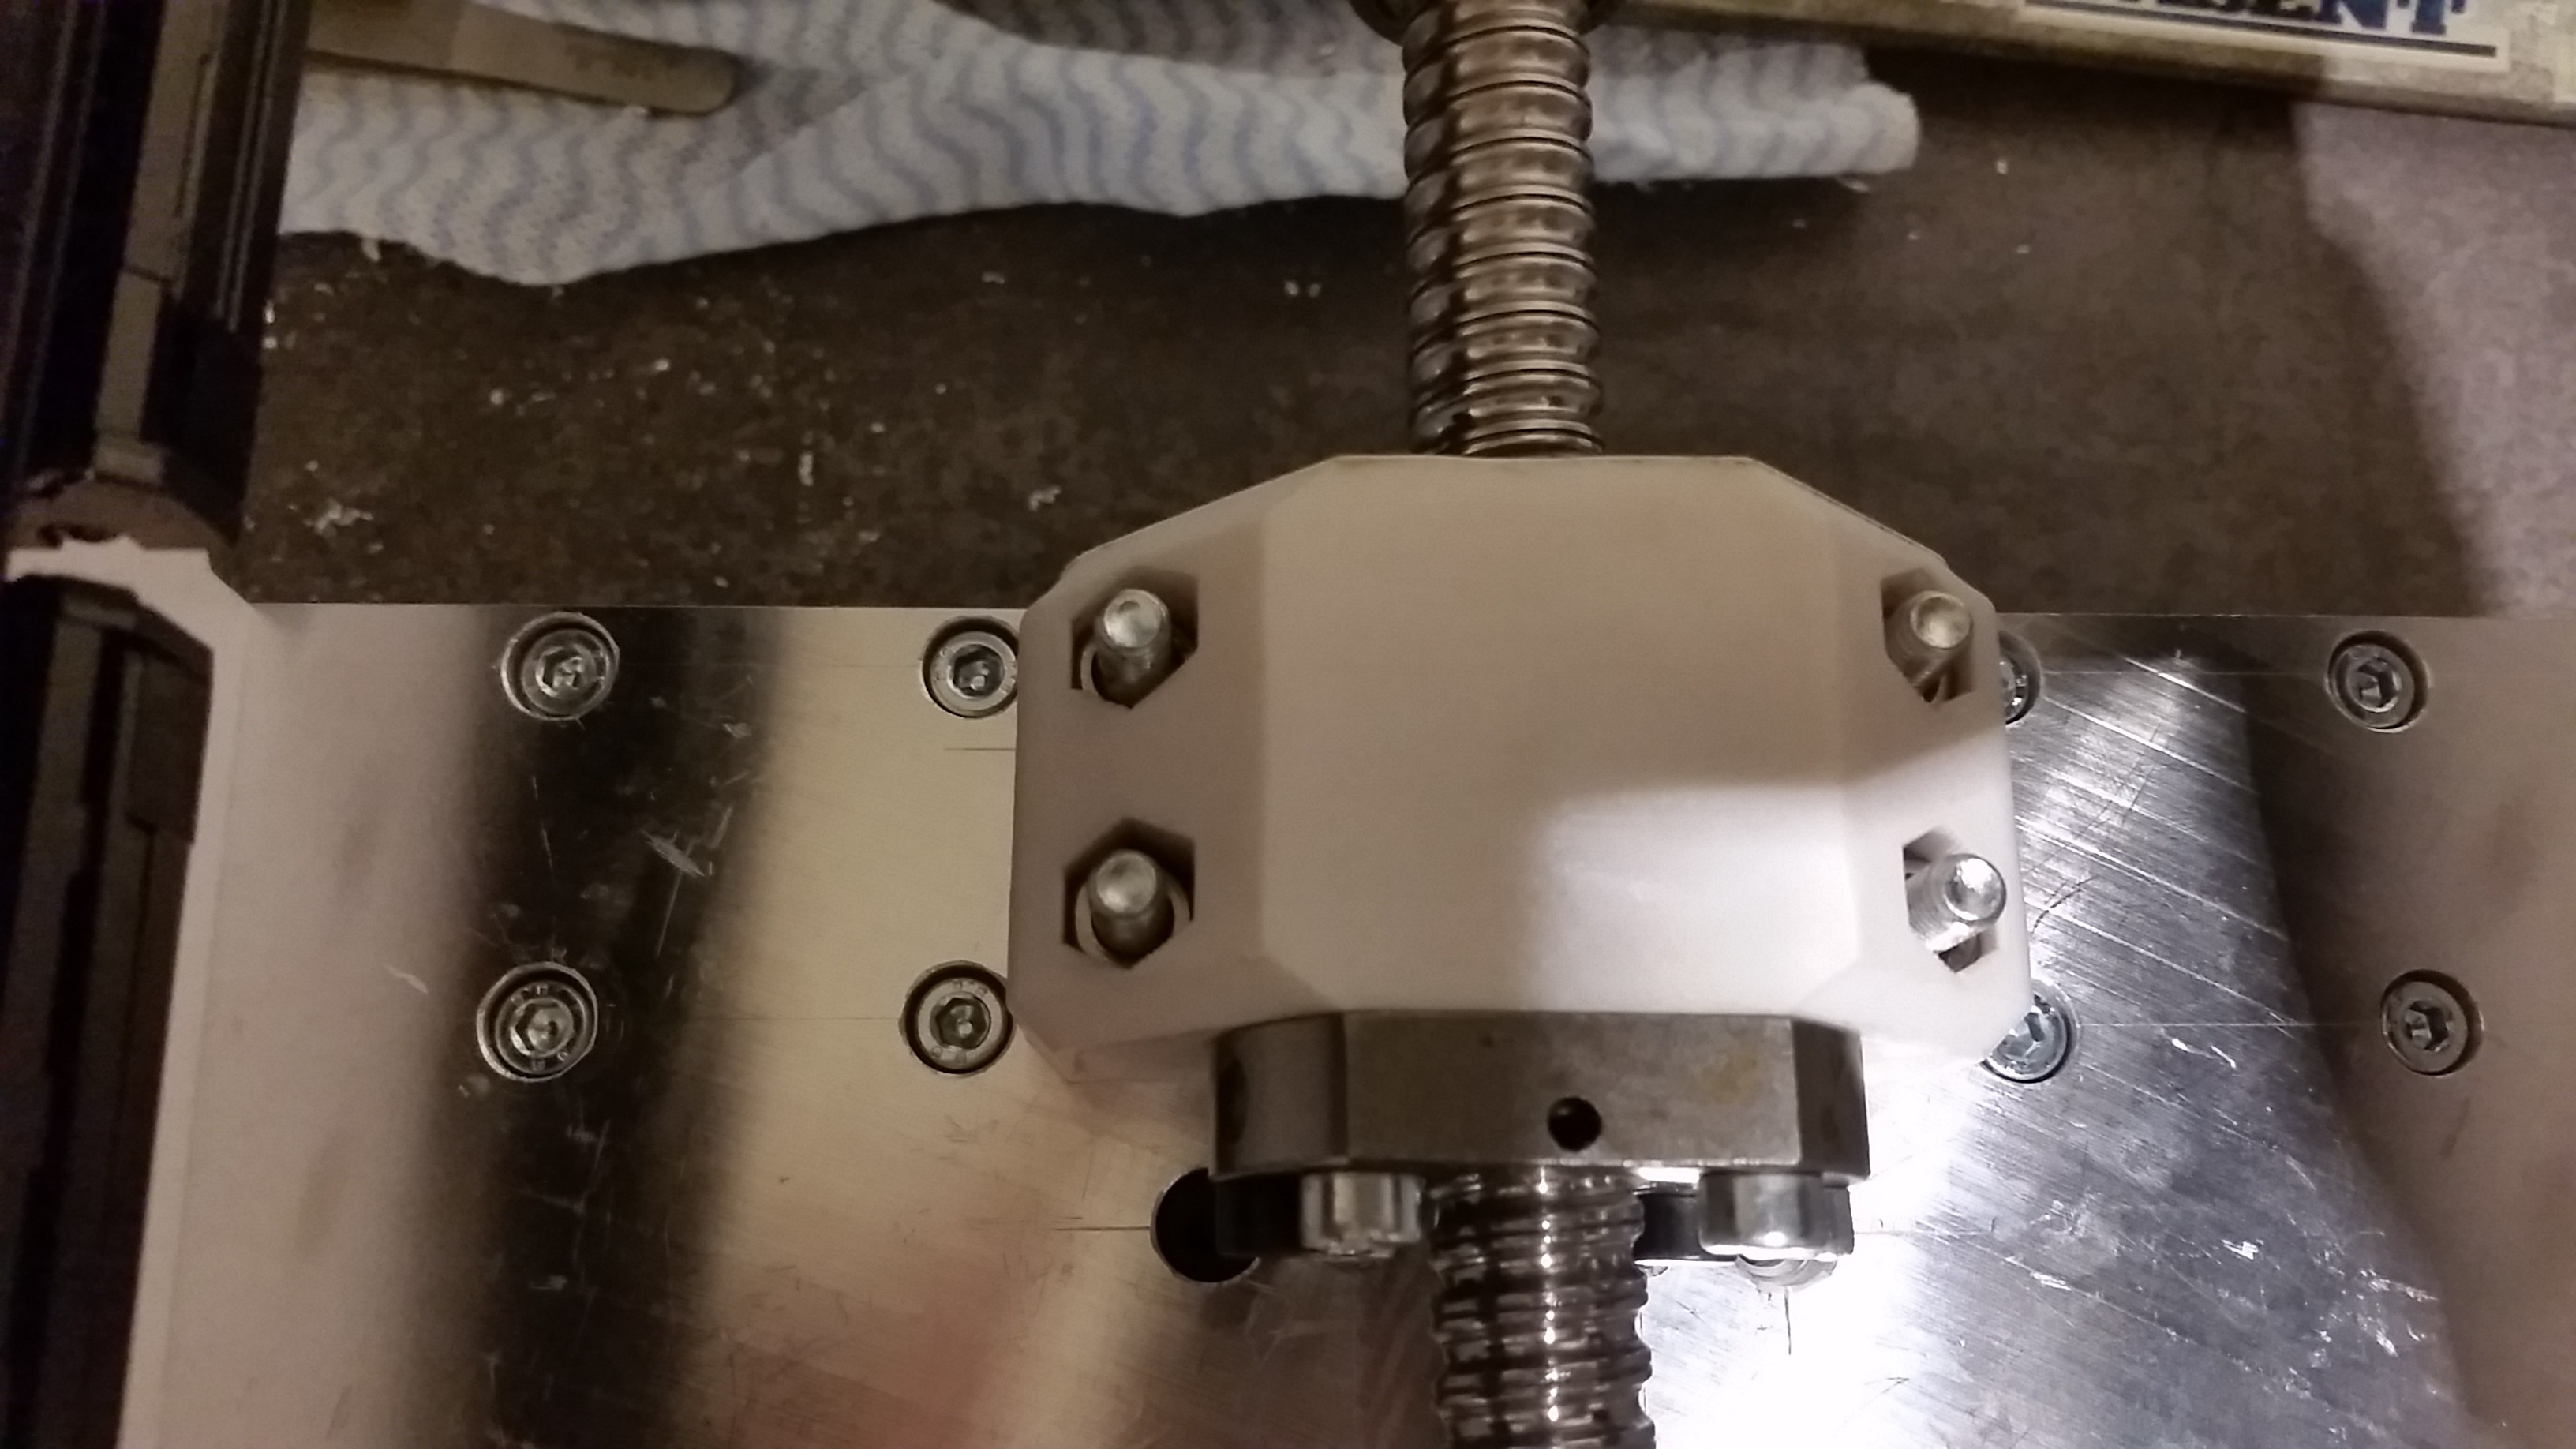
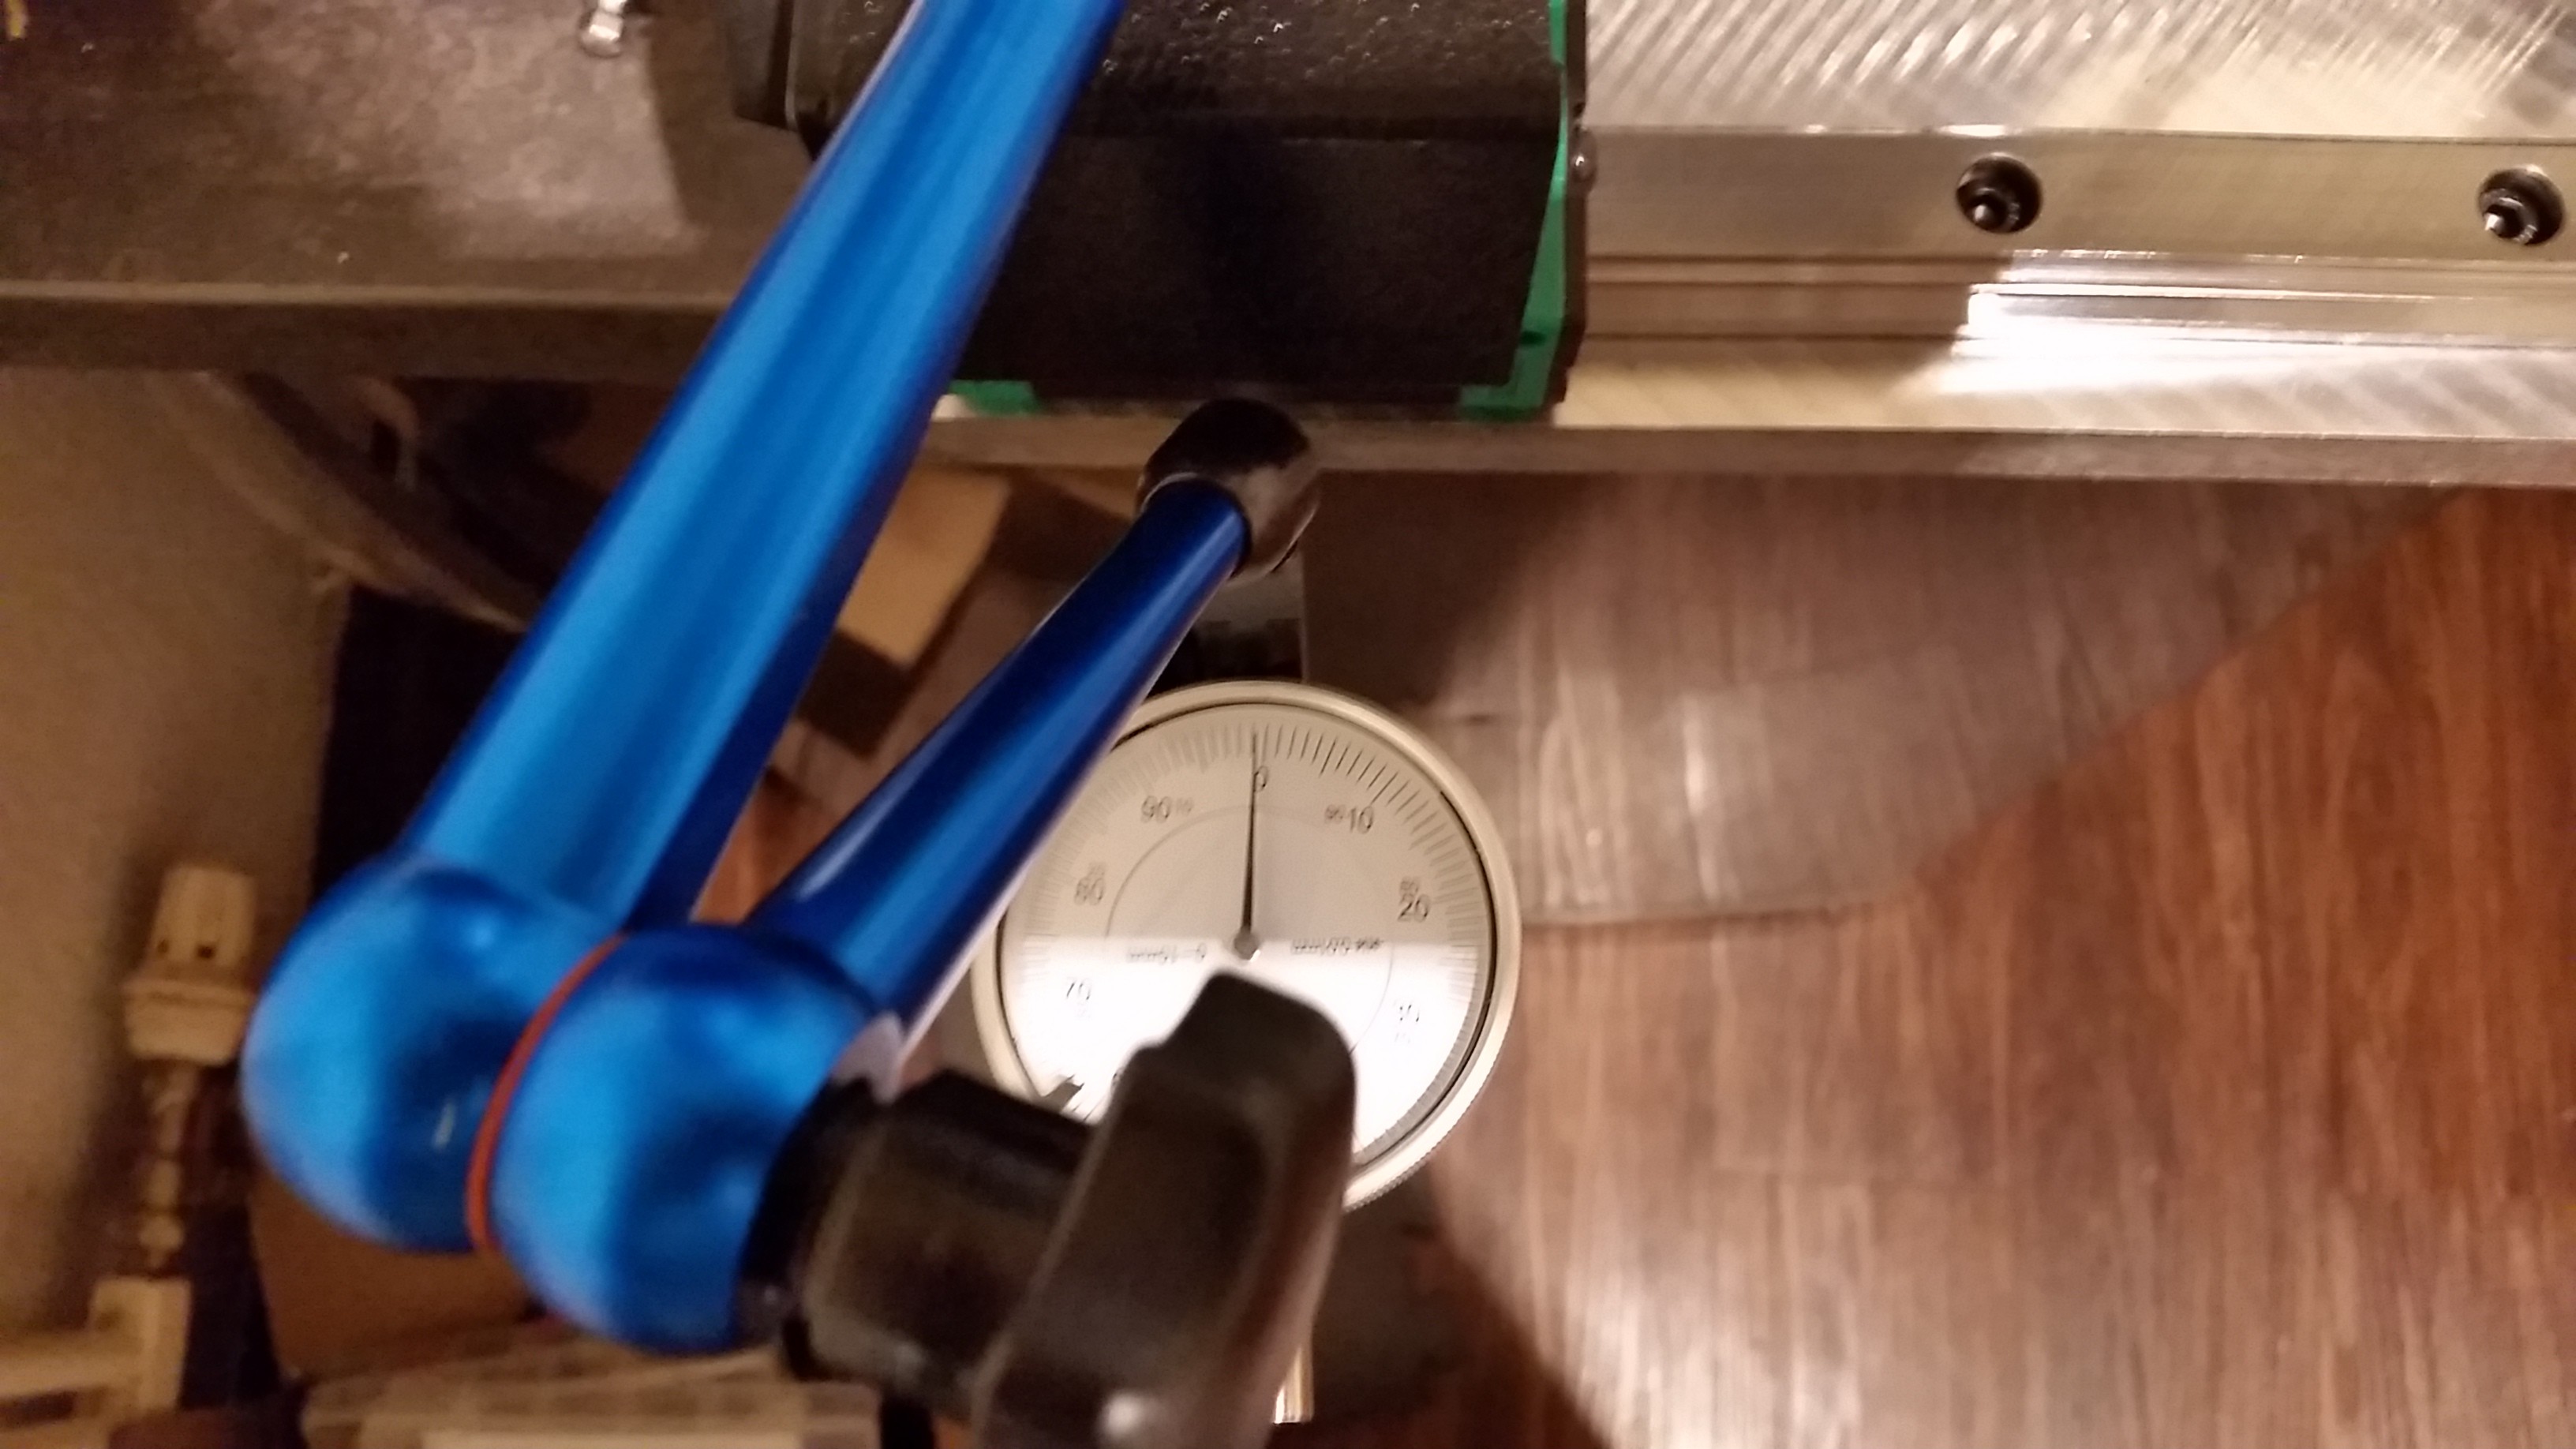
Almost done with the X and Y axis. All holes drilled and tapped.
The only thing left is aligning the linear rails and then it is time to dive back into the software and get the final tweaks done.


A project log for G-EDM
The G-EDM is an electrical discharge machine that supports sinker EDM, EDM engraving, EDM drilling and Wire EDM operations. #Drahterodieren
Almost done with the X and Y axis. All holes drilled and tapped.
The only thing left is aligning the linear rails and then it is time to dive back into the software and get the final tweaks done.
Discussions
Become a Hackaday.io Member
Create an account to leave a comment. Already have an account? Log In.