 Mike Rigsby
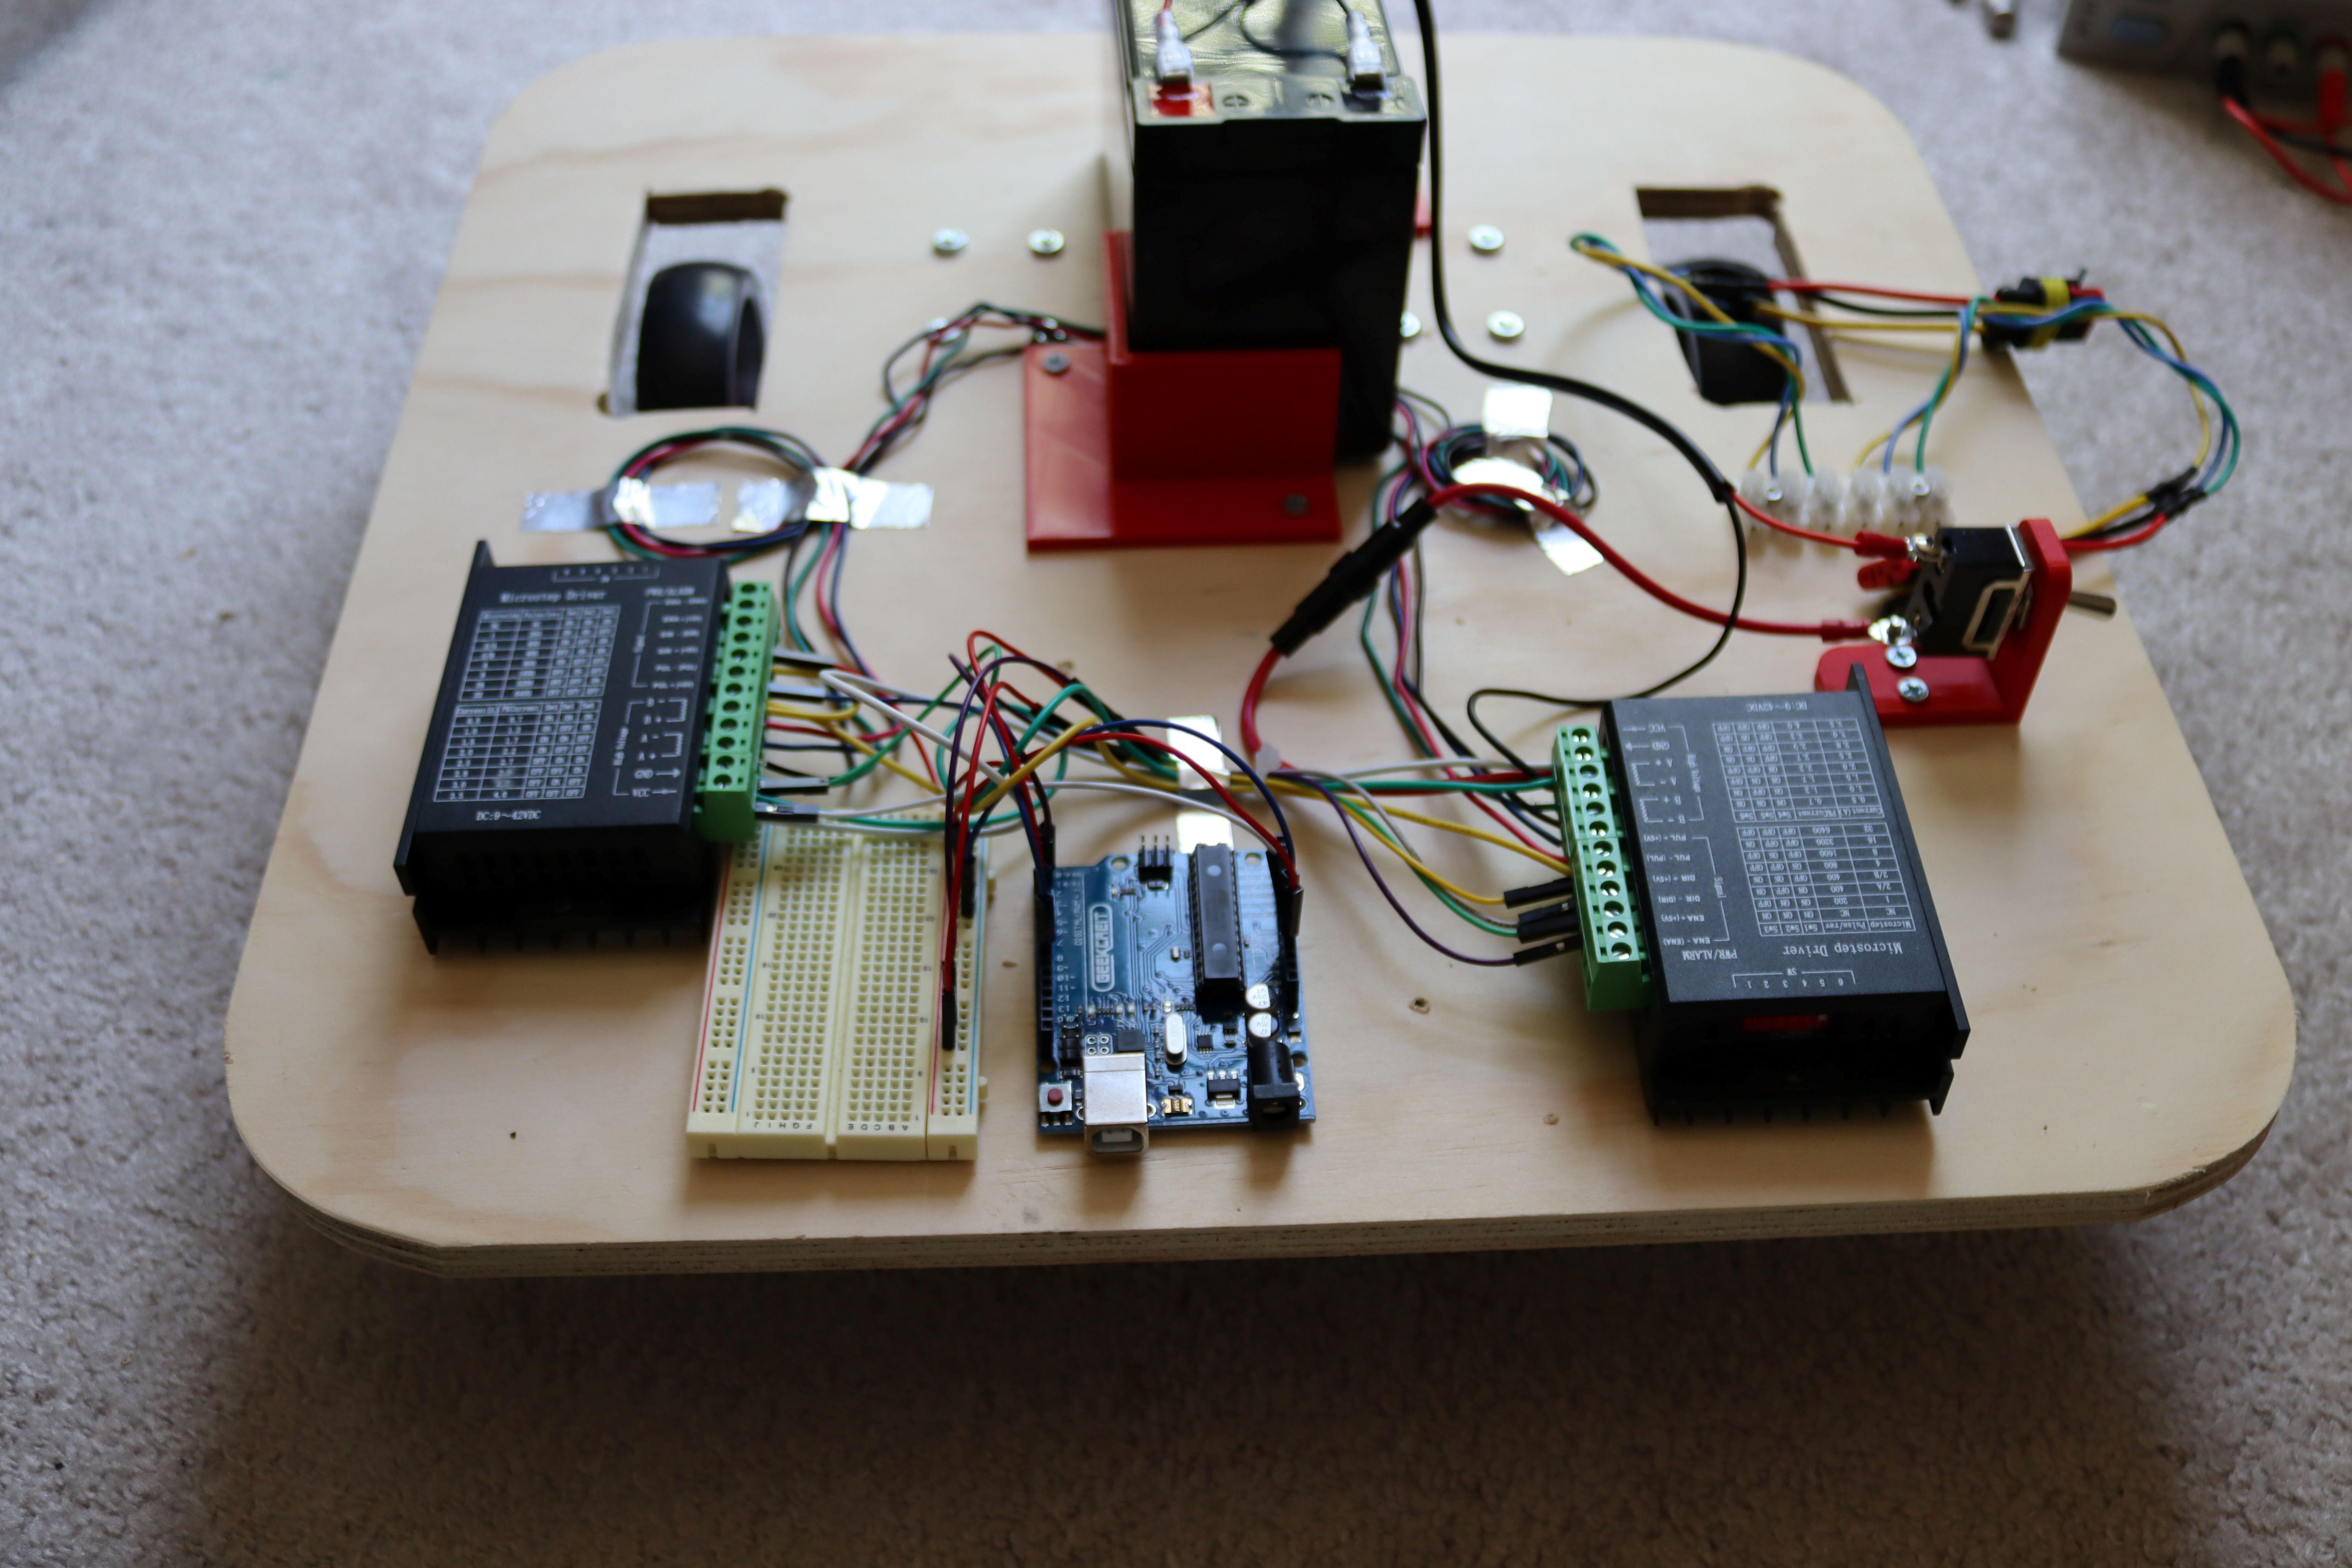
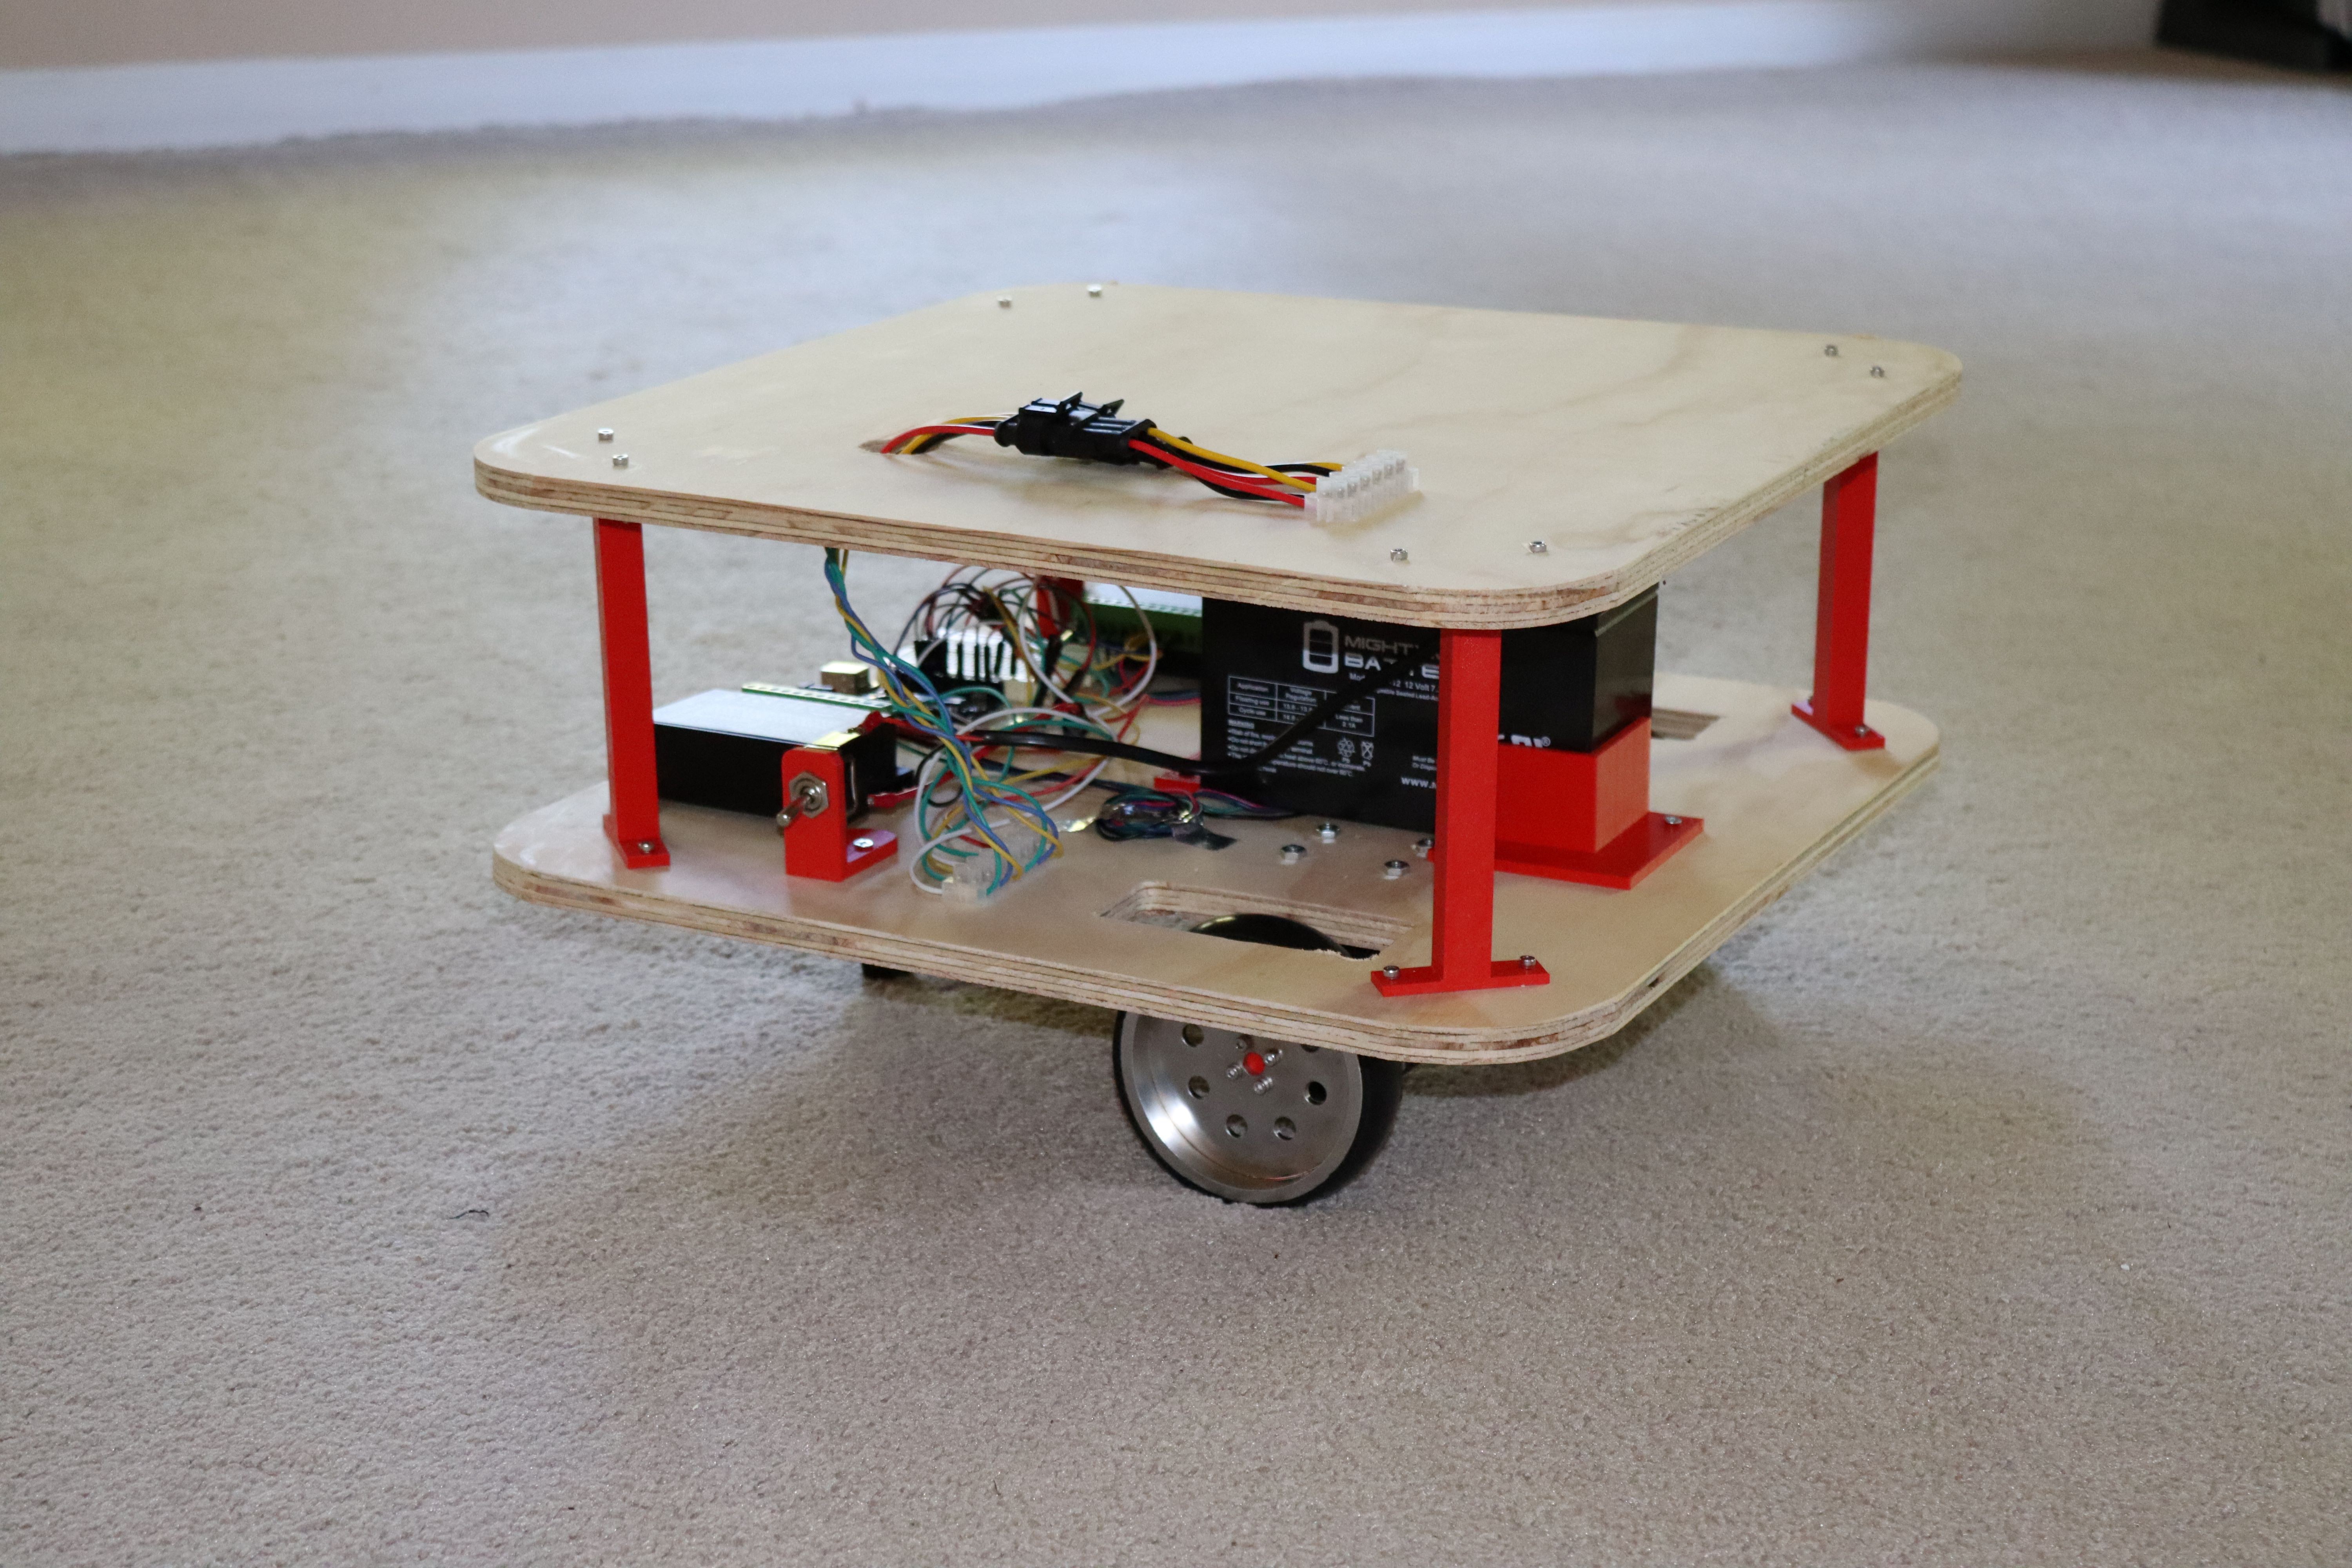
The lower board is for power, motors and motor control. I am building a second level to manage sensors and worldly interface.
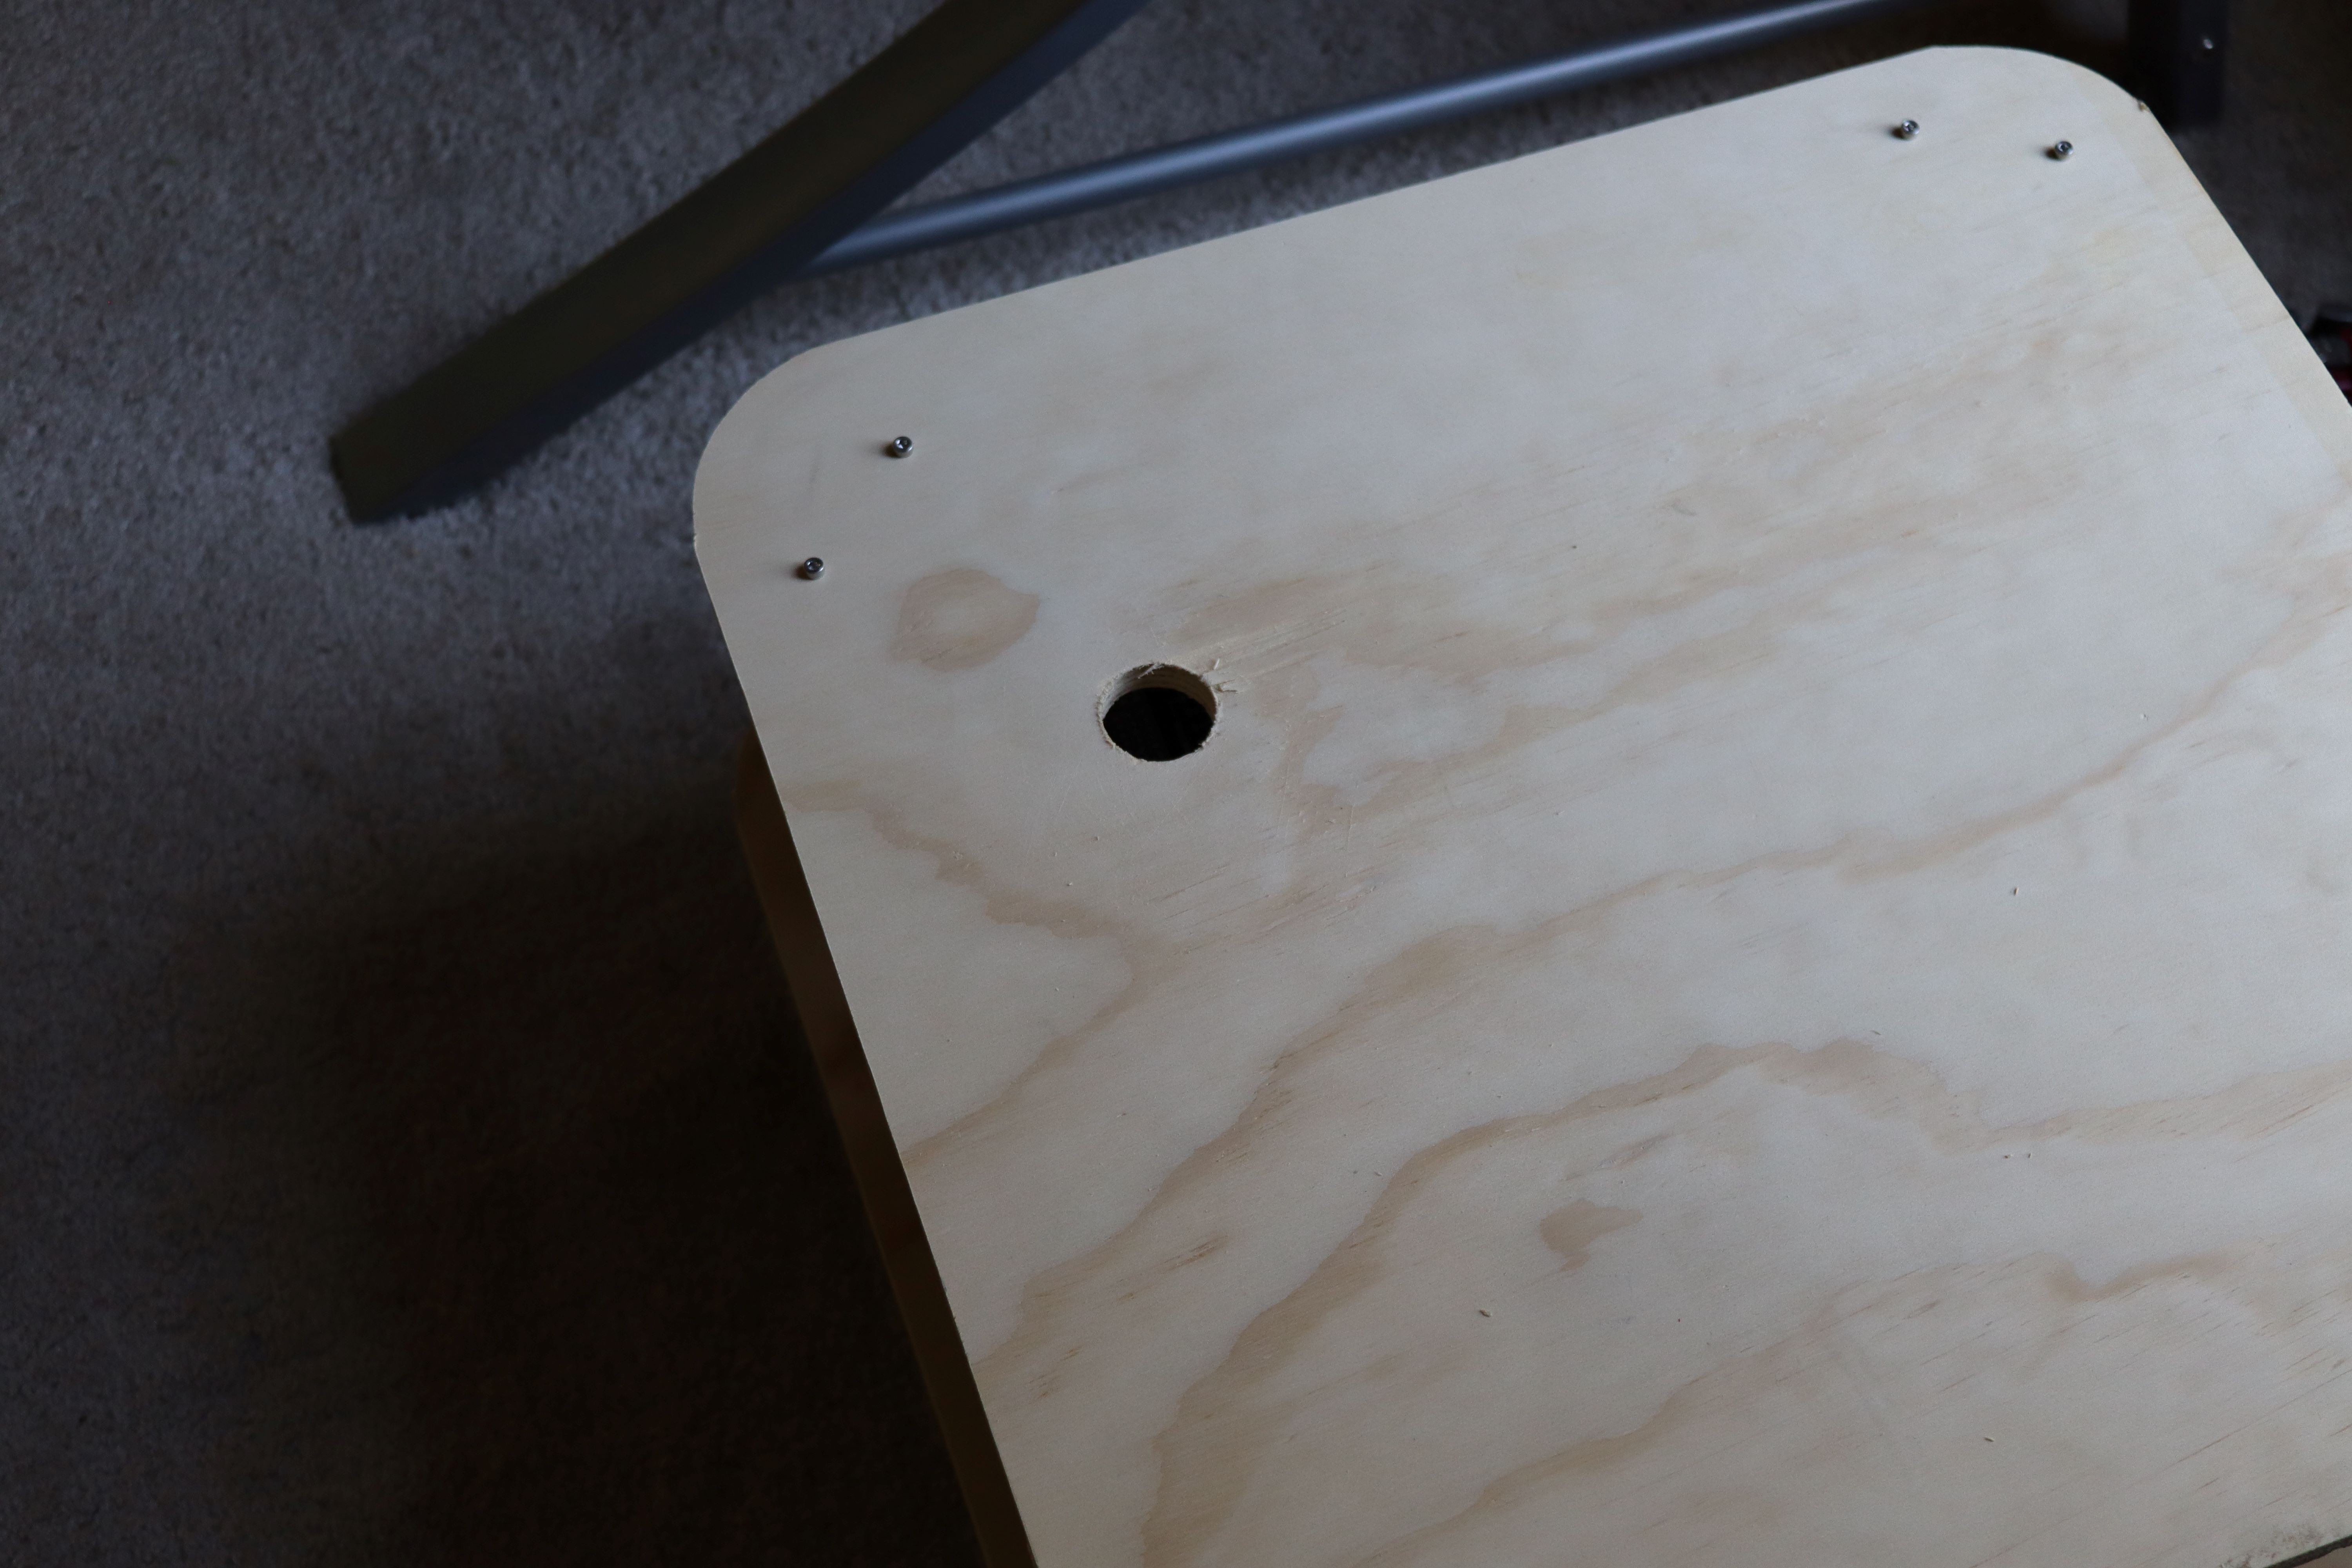
I'm starting with another piece of 1/2" plywood with four 3d printed supports.

This will sit on the base unit and look something like this.

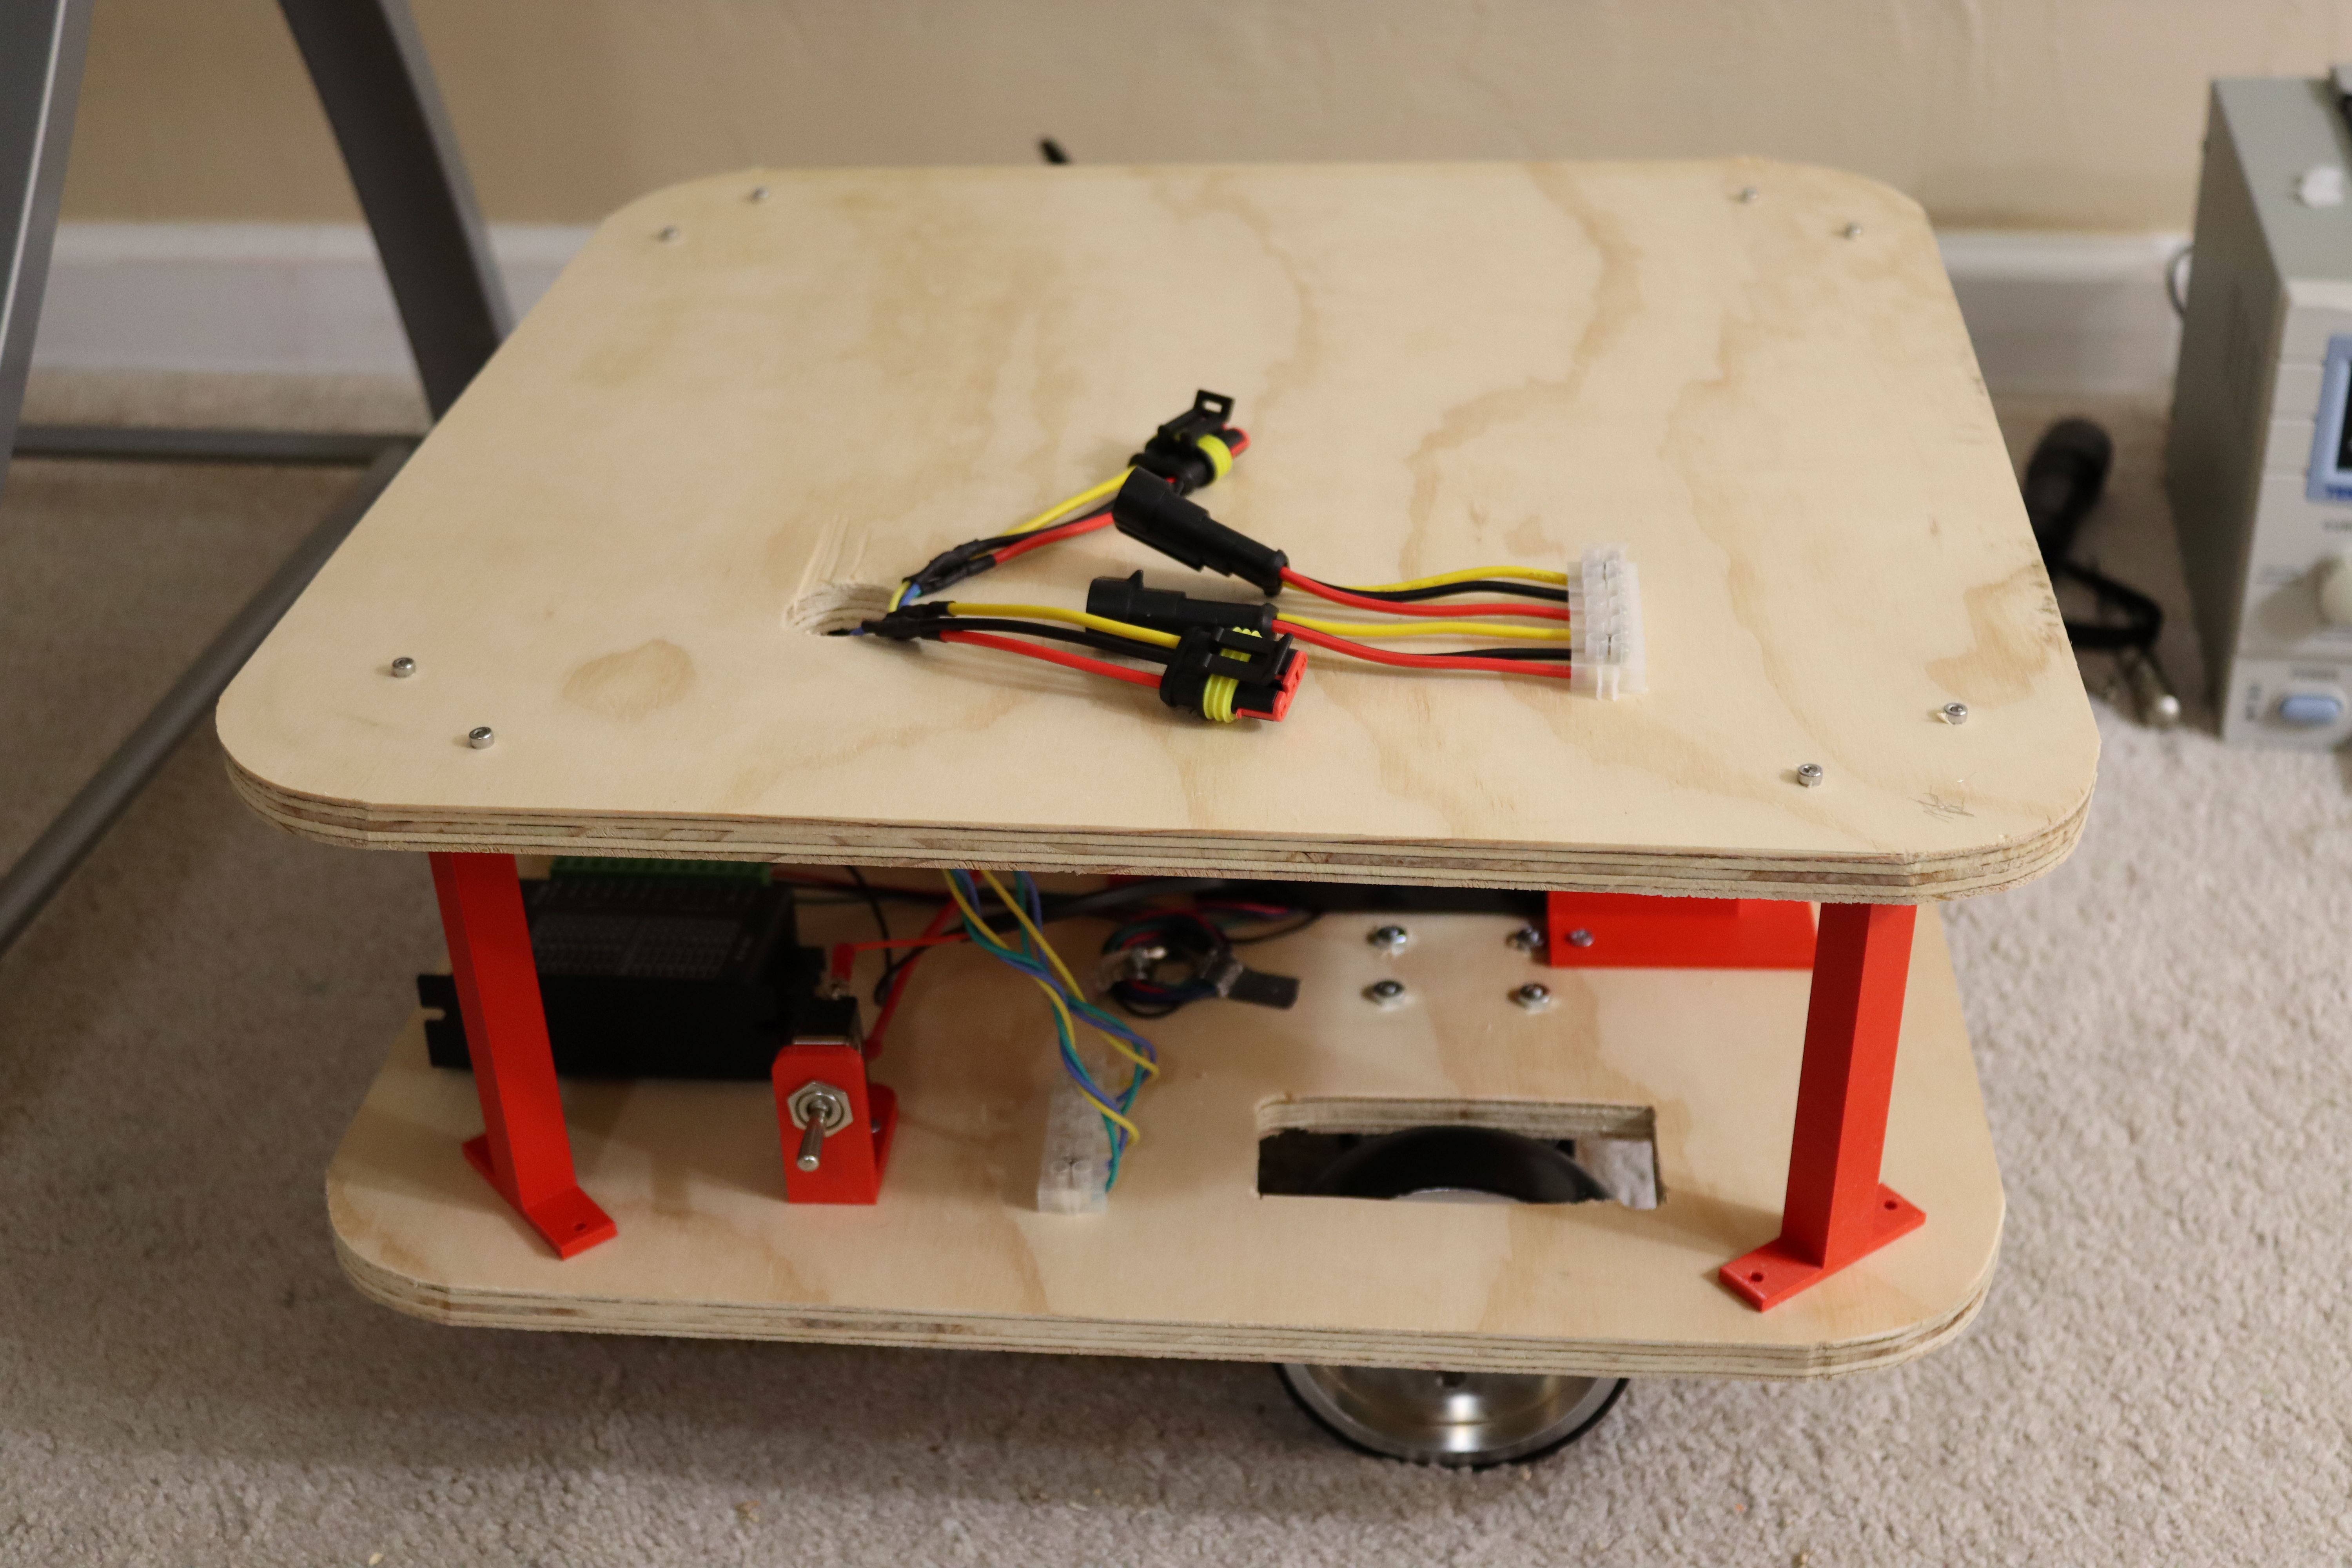
I drilled a 1 1/4" diameter hole in the upper platform to allow my one inch cable connectors to pass through.
Looking at my base, I noticed that the Arduino's usb port is in a bad position if I ever want to change the motor software. I don't want to disassemble the entire bot every time I decide to make a change (that will surely occur more often than I naively plan).
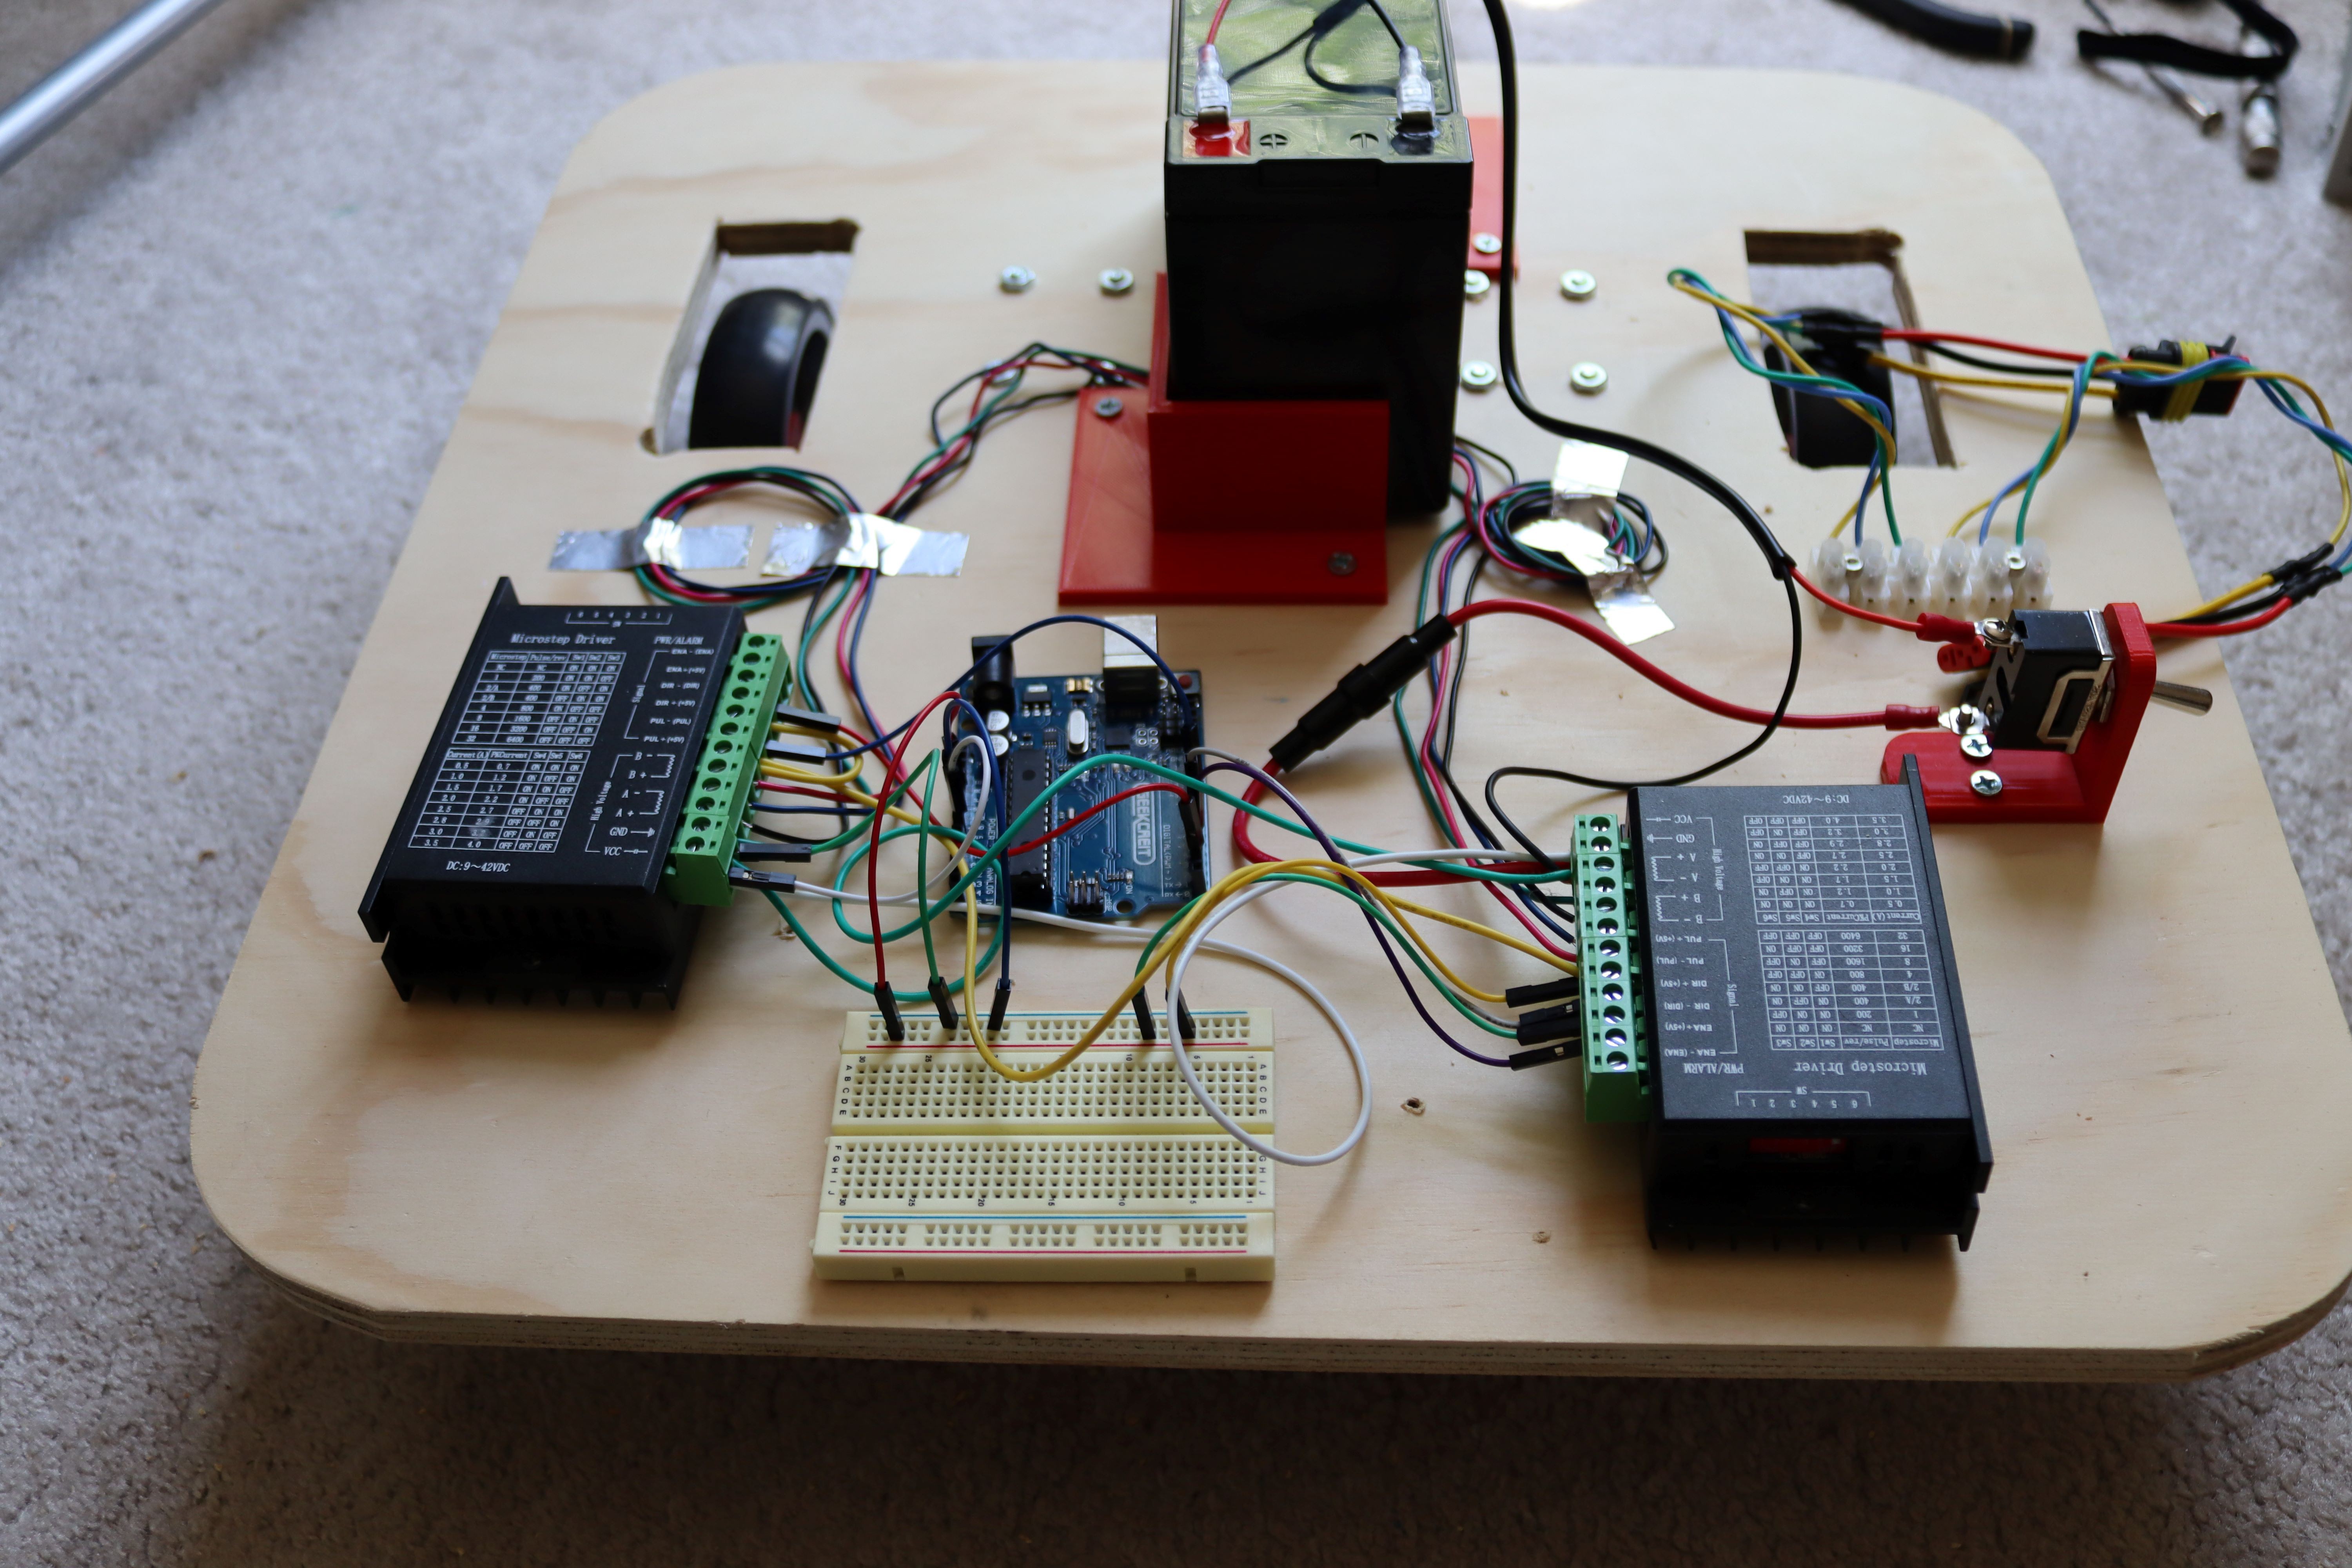
I moved the Arduino and the breadboard so that I could reach them without taking the entire robot apart.
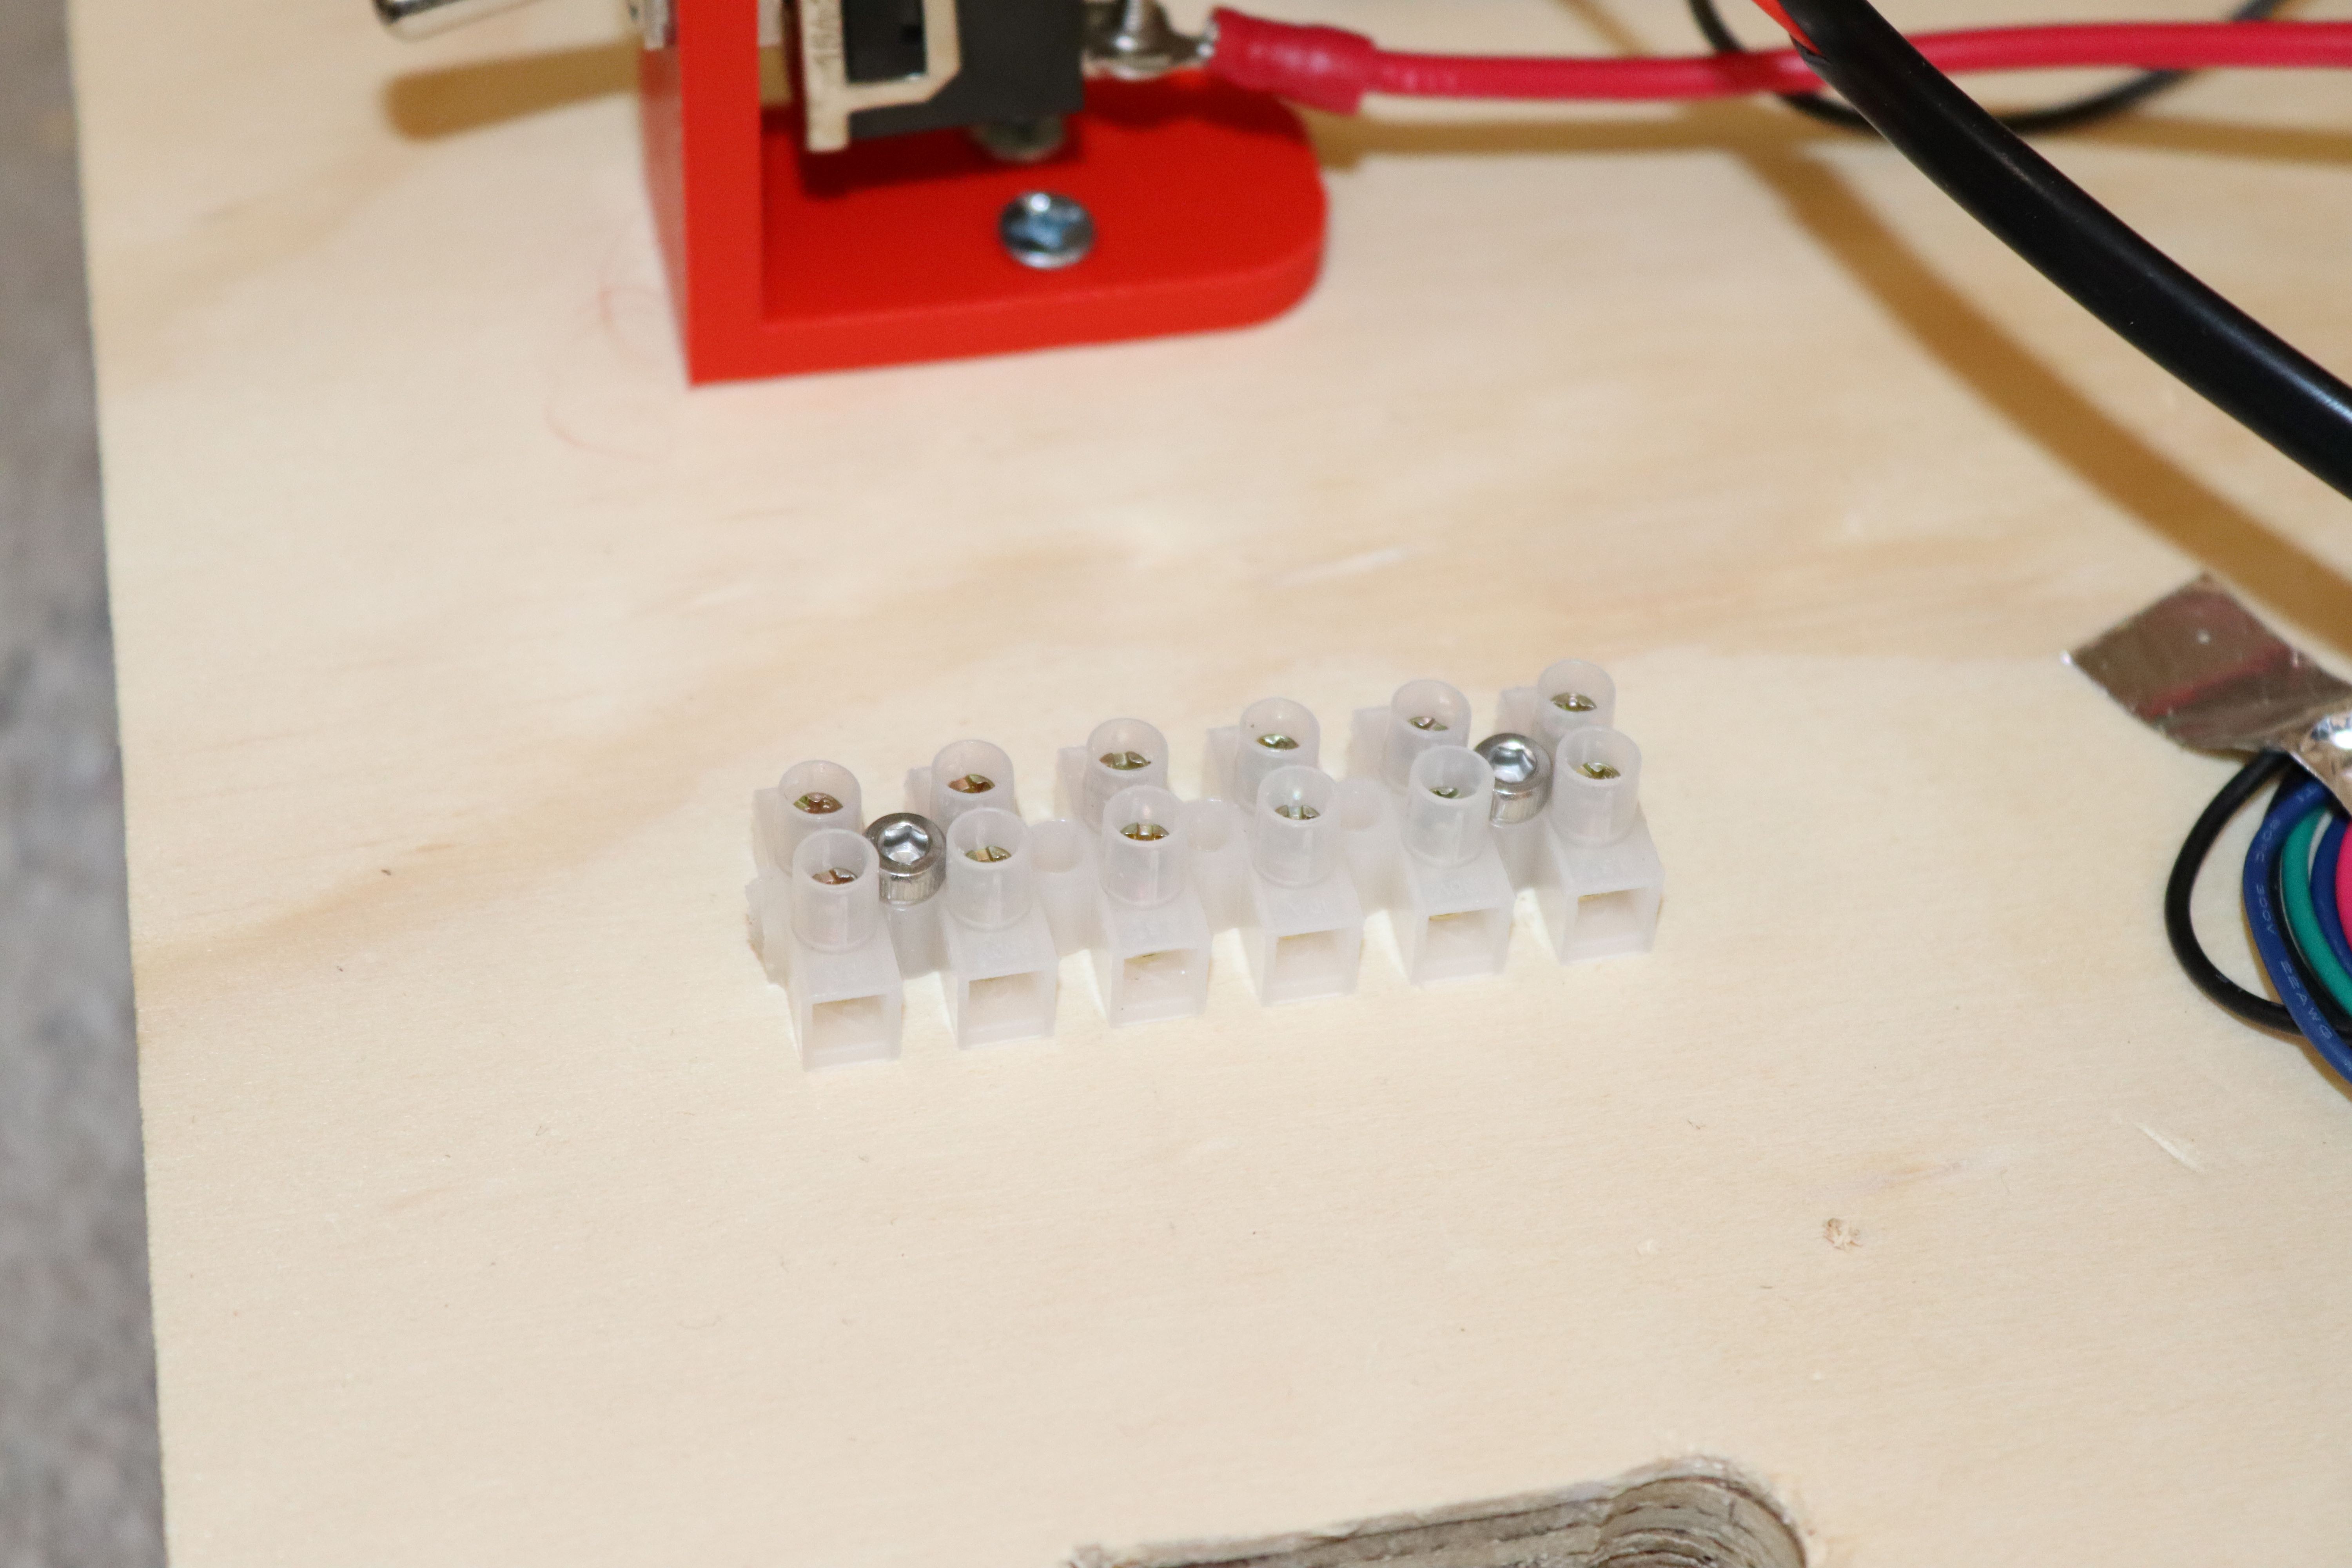
I added terminal connectors and (2) 3 pin connectors.
Securing top layer to the base with 3mm screws (20 mm length), I am now ready to start work on sensors and the first bit of control.
Discussions
Become a Hackaday.io Member
Create an account to leave a comment. Already have an account? Log In.