Using the trackpad holes as a guide, use painter's tape to mark your cutting line.
Cut straight up and down along the edge closest to the center hole.
2
Main Block Cutting
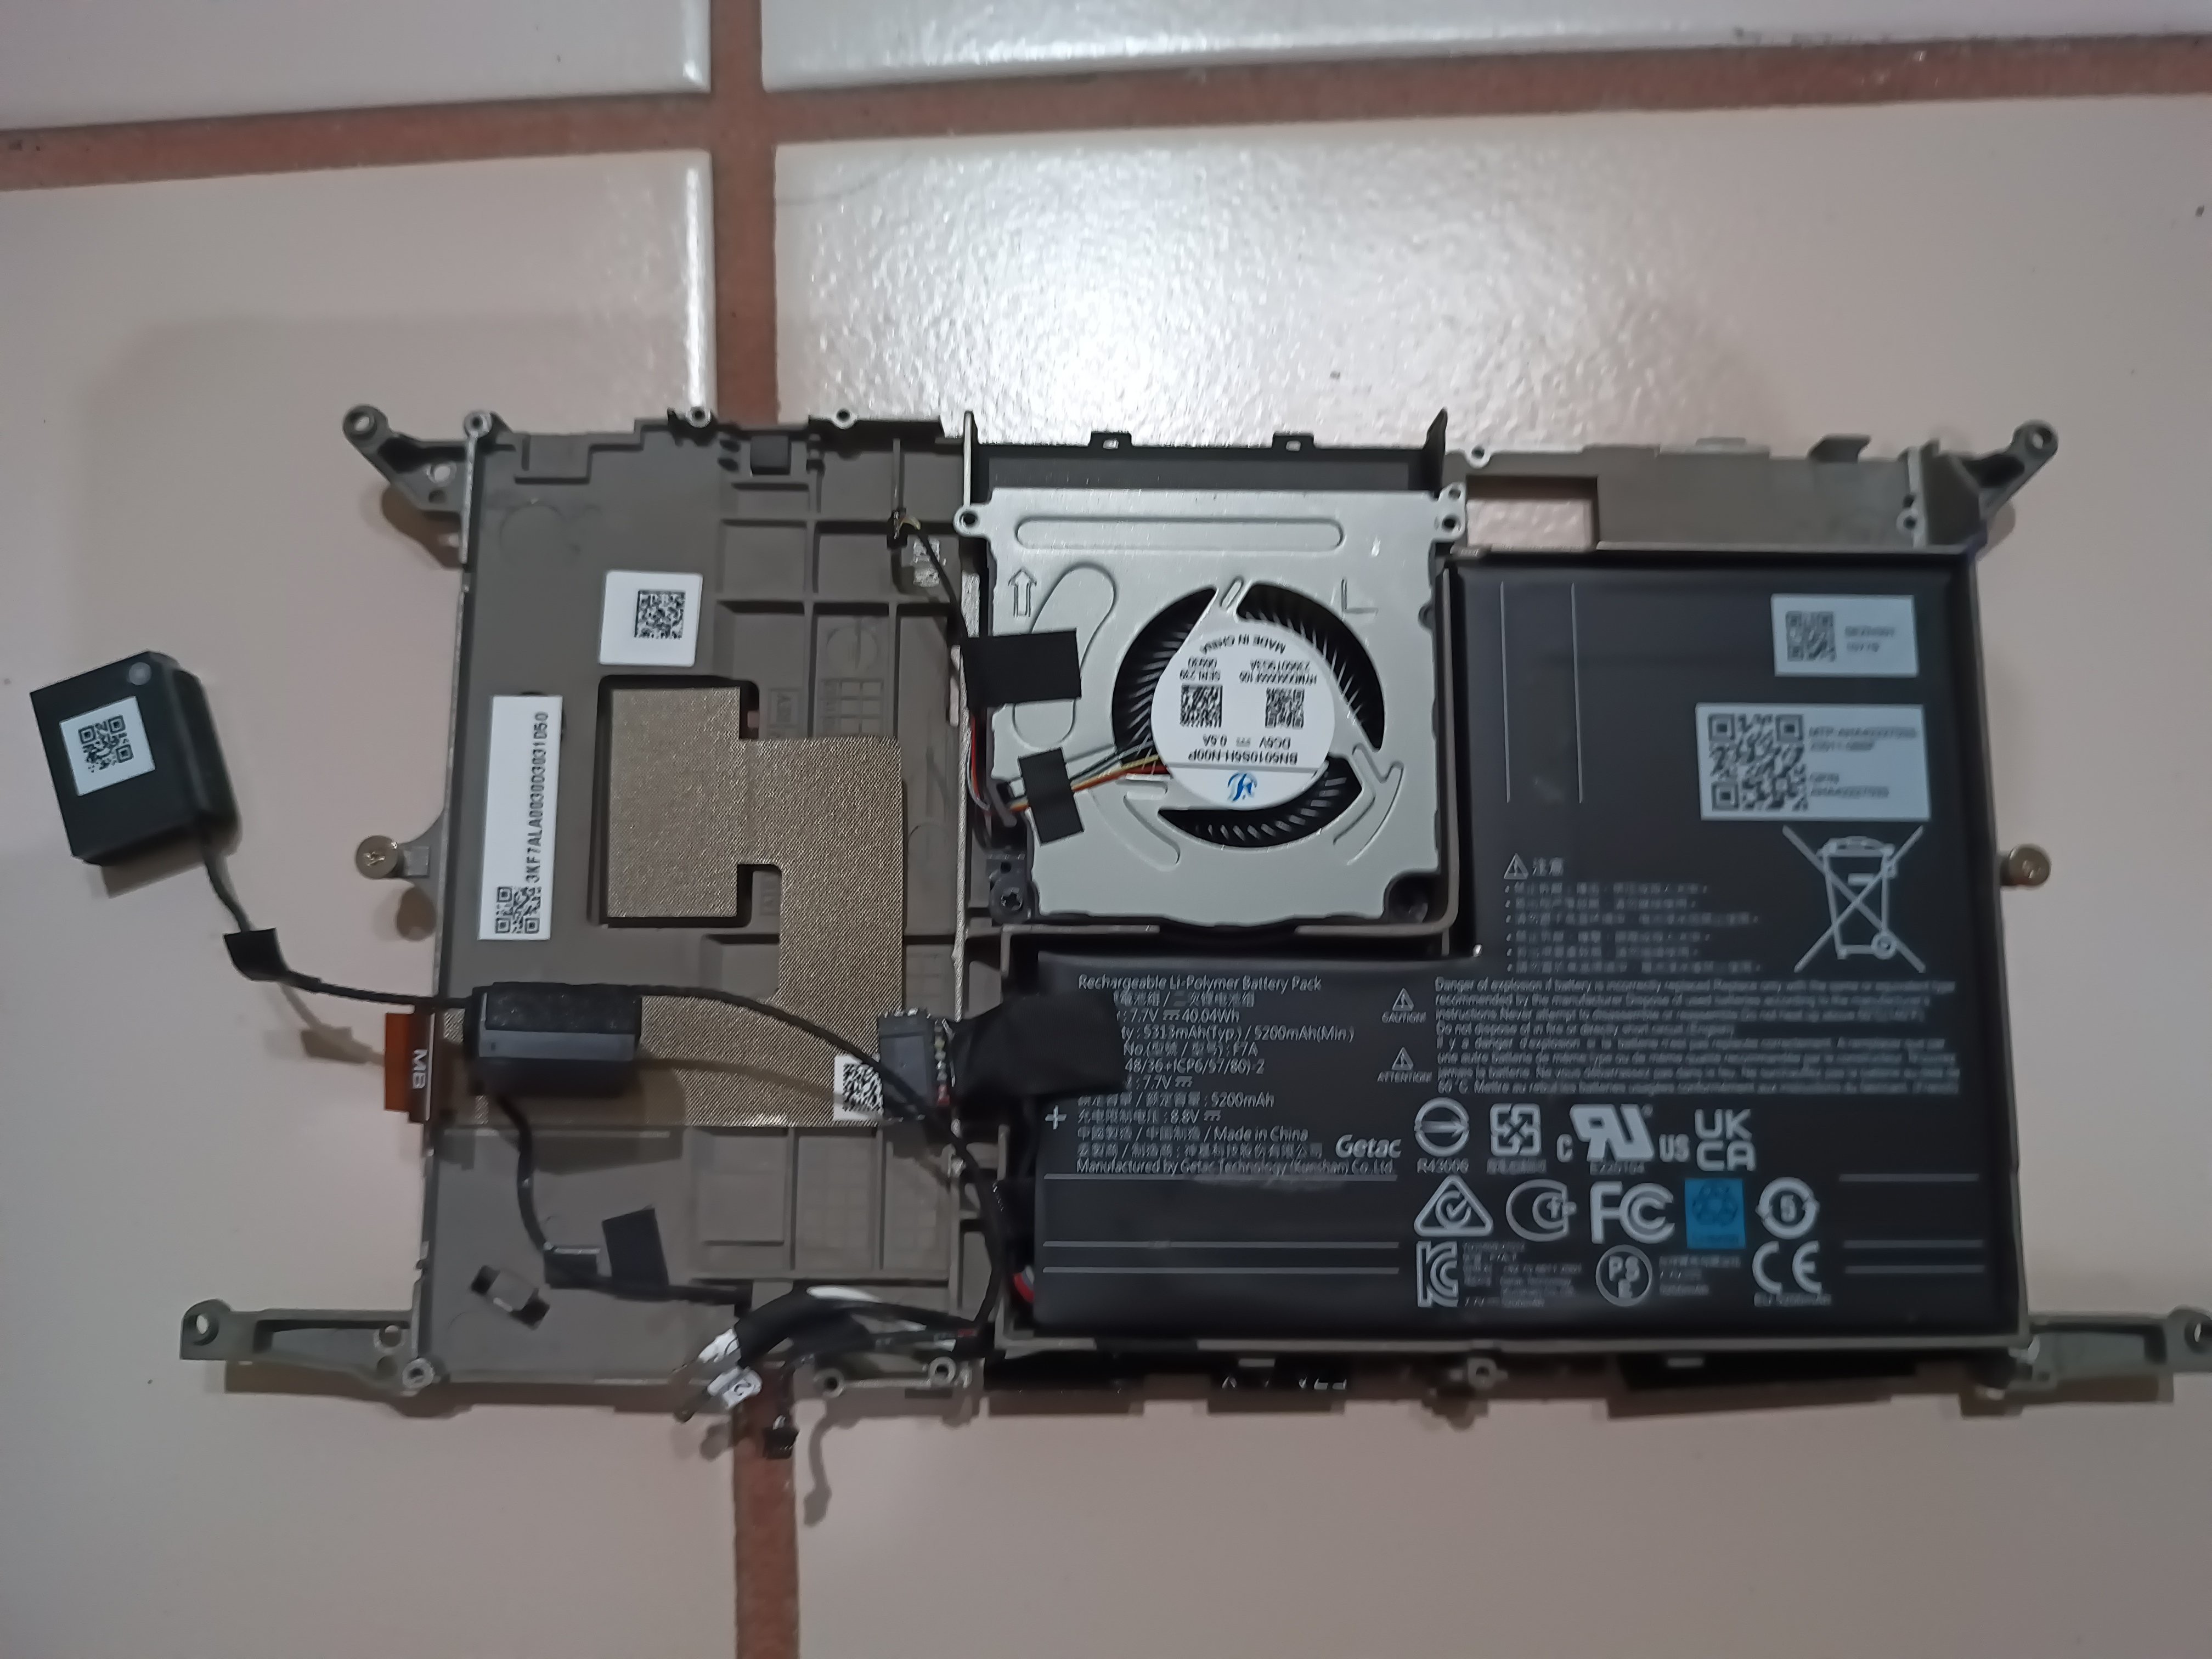
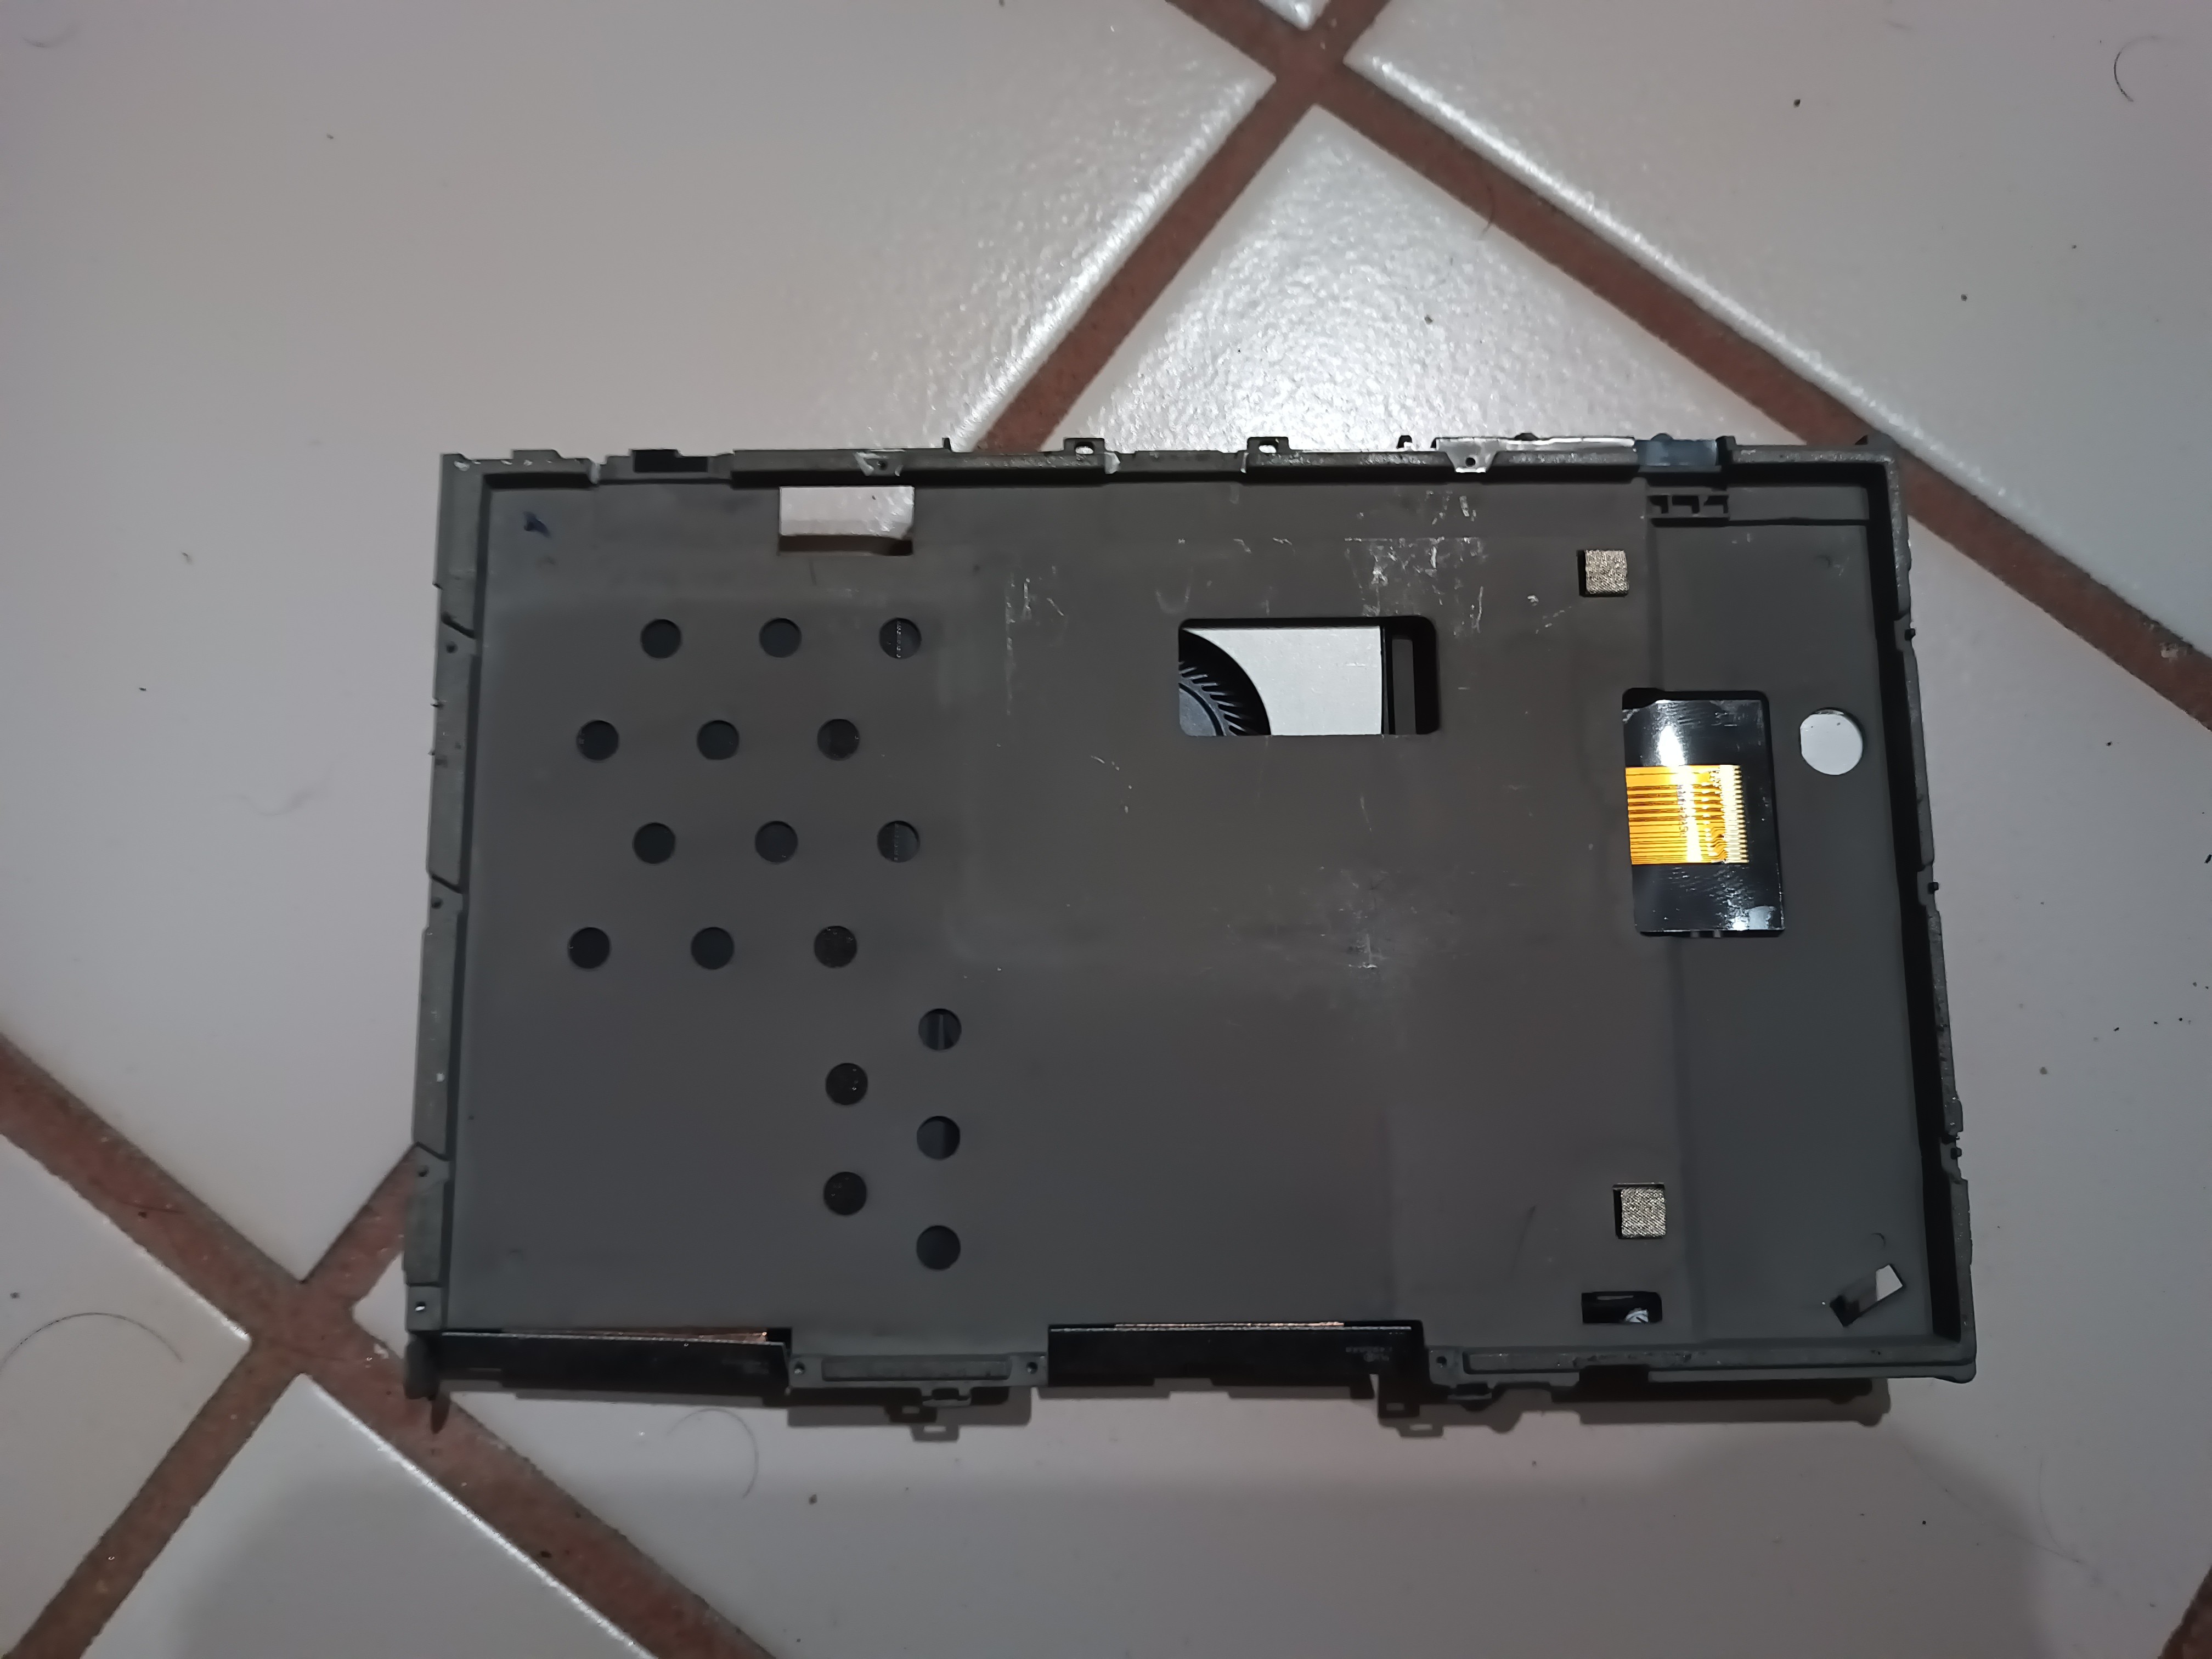
Cut the pieces of the metal block that stick out until you have something closely resembling a rectangle.
An angle grinder makes this quick, but use short bursts of grinding and cover the components if you want to leave the board and battery in place.
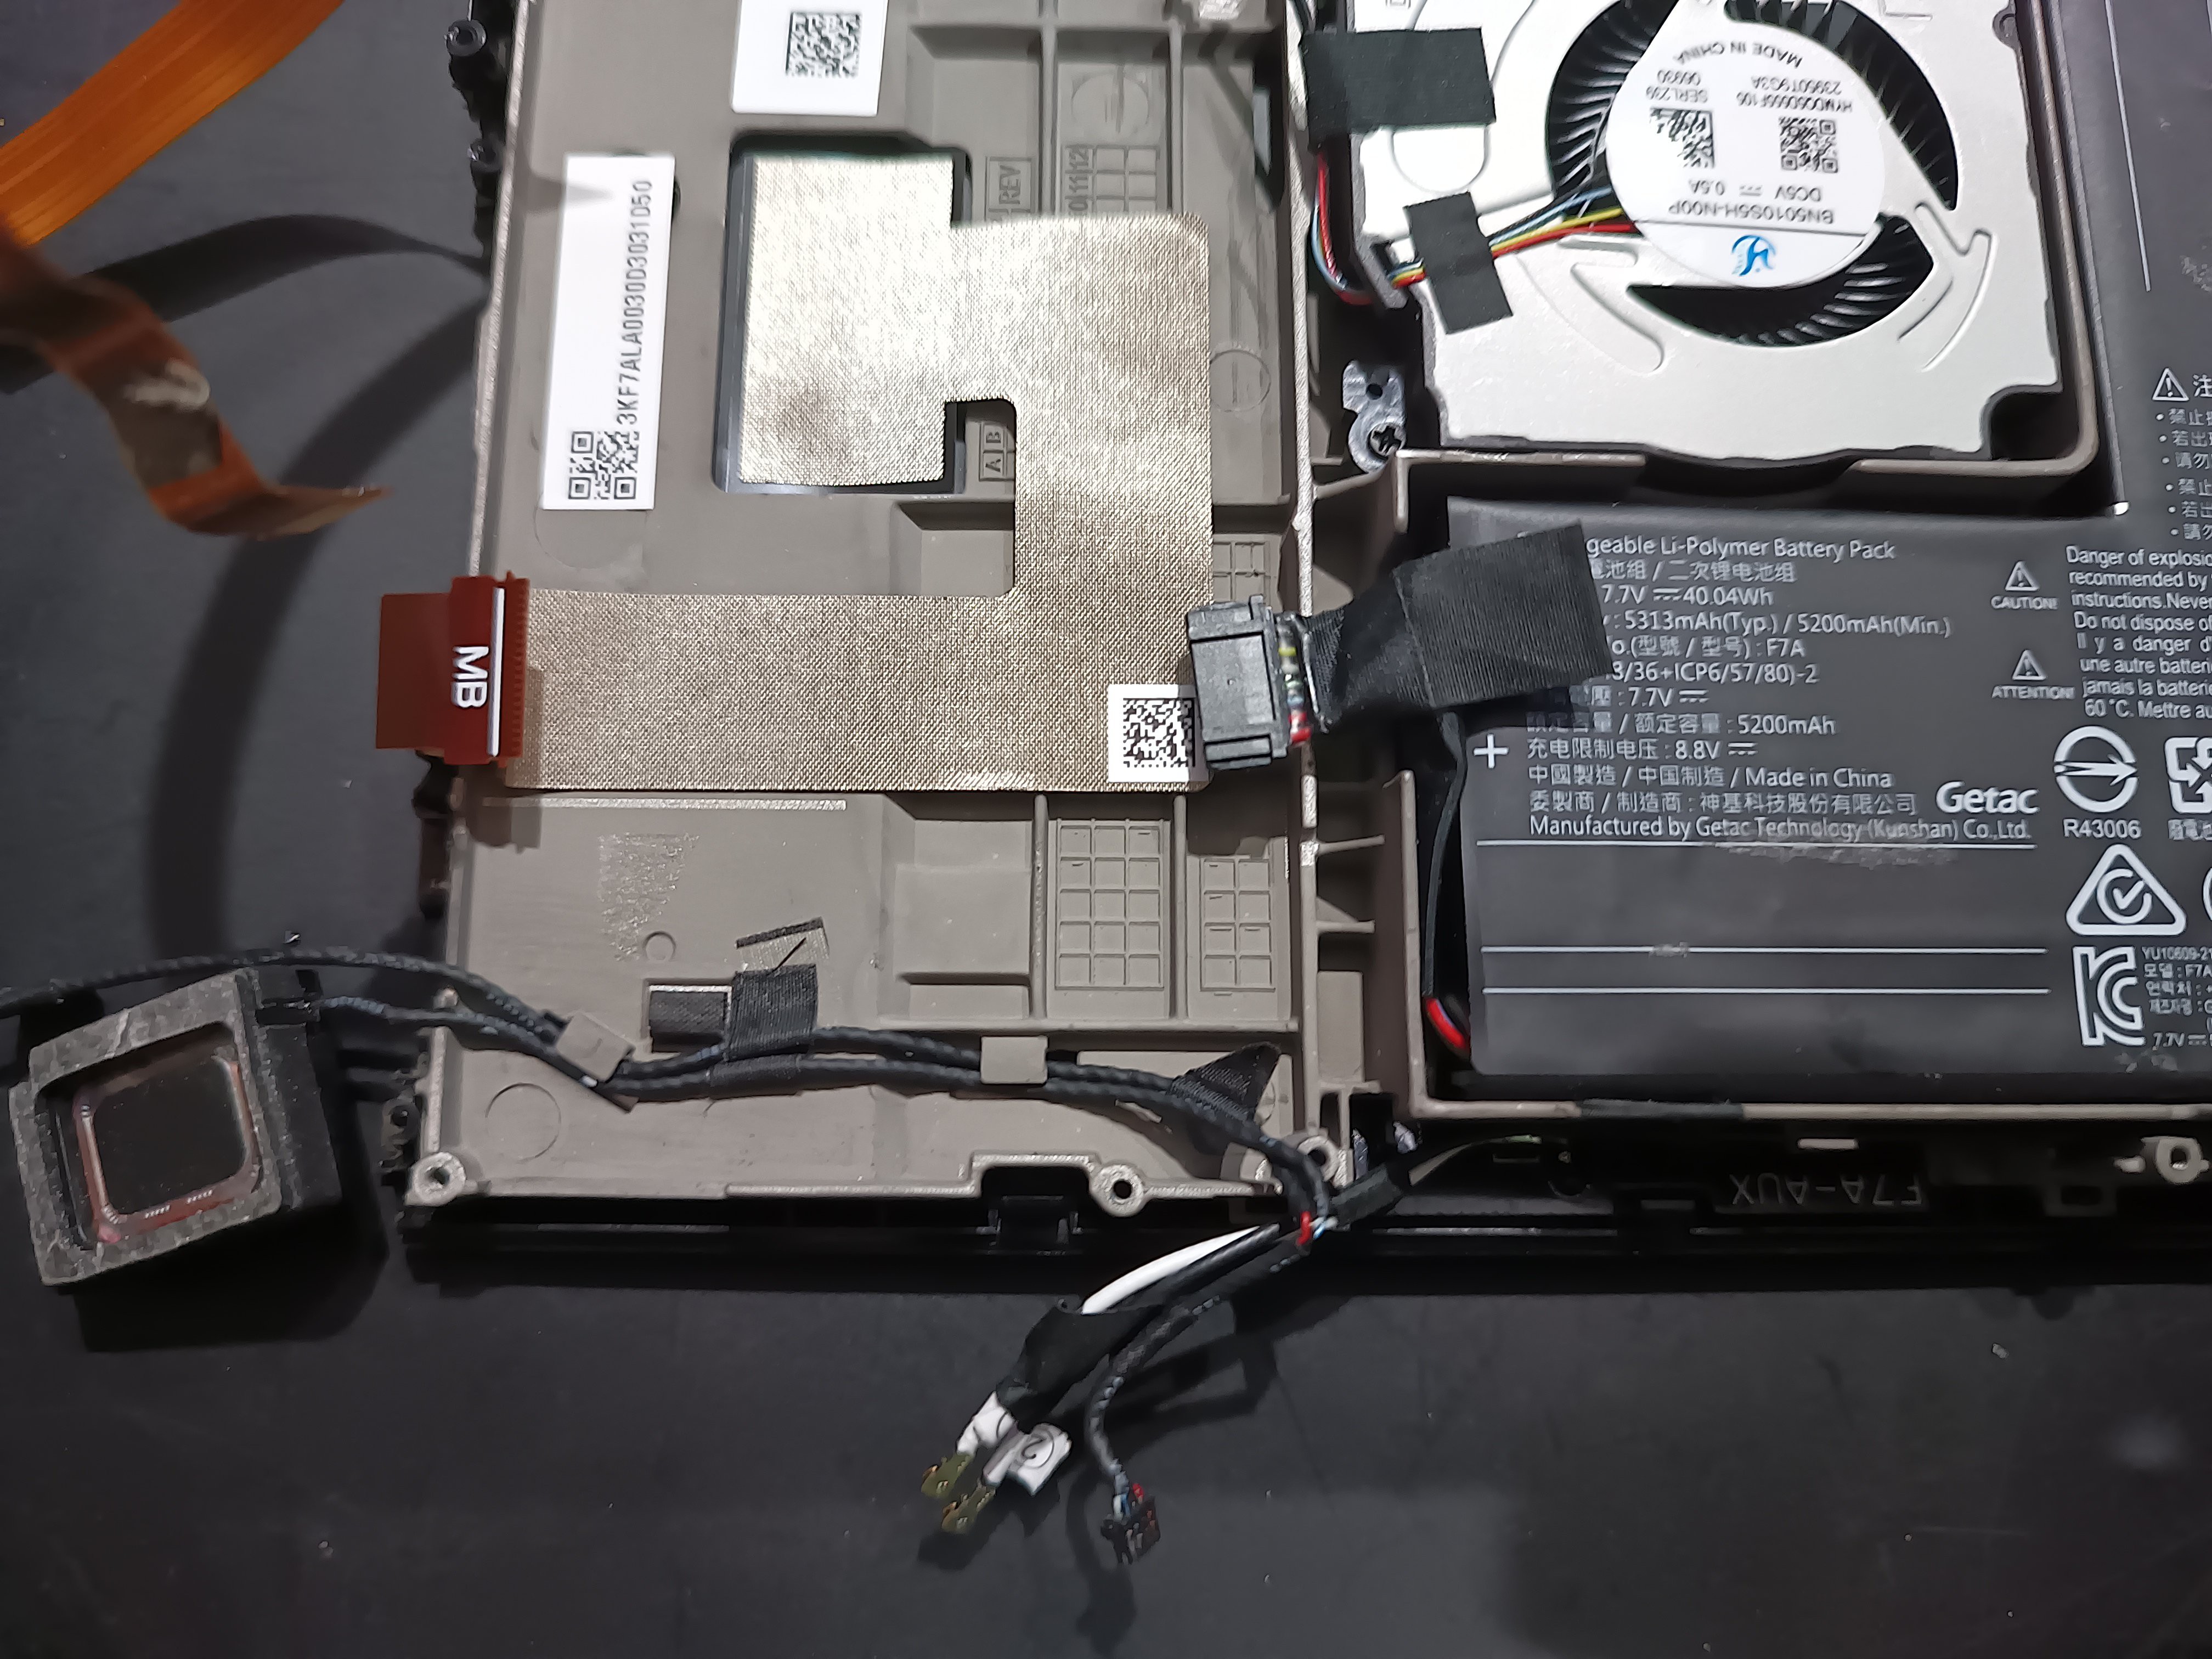
Now is also a good time to reroute the speakers as shown.
3
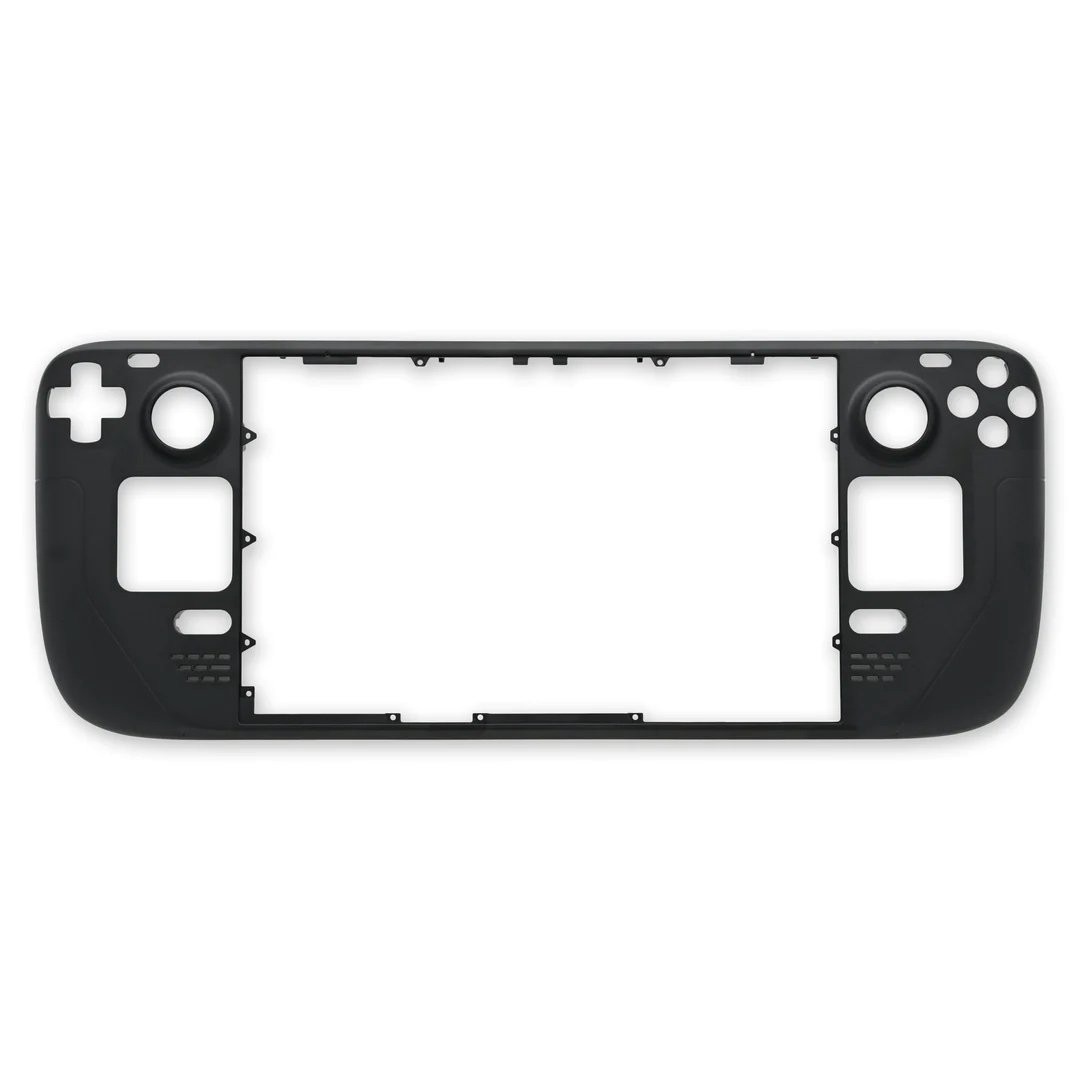
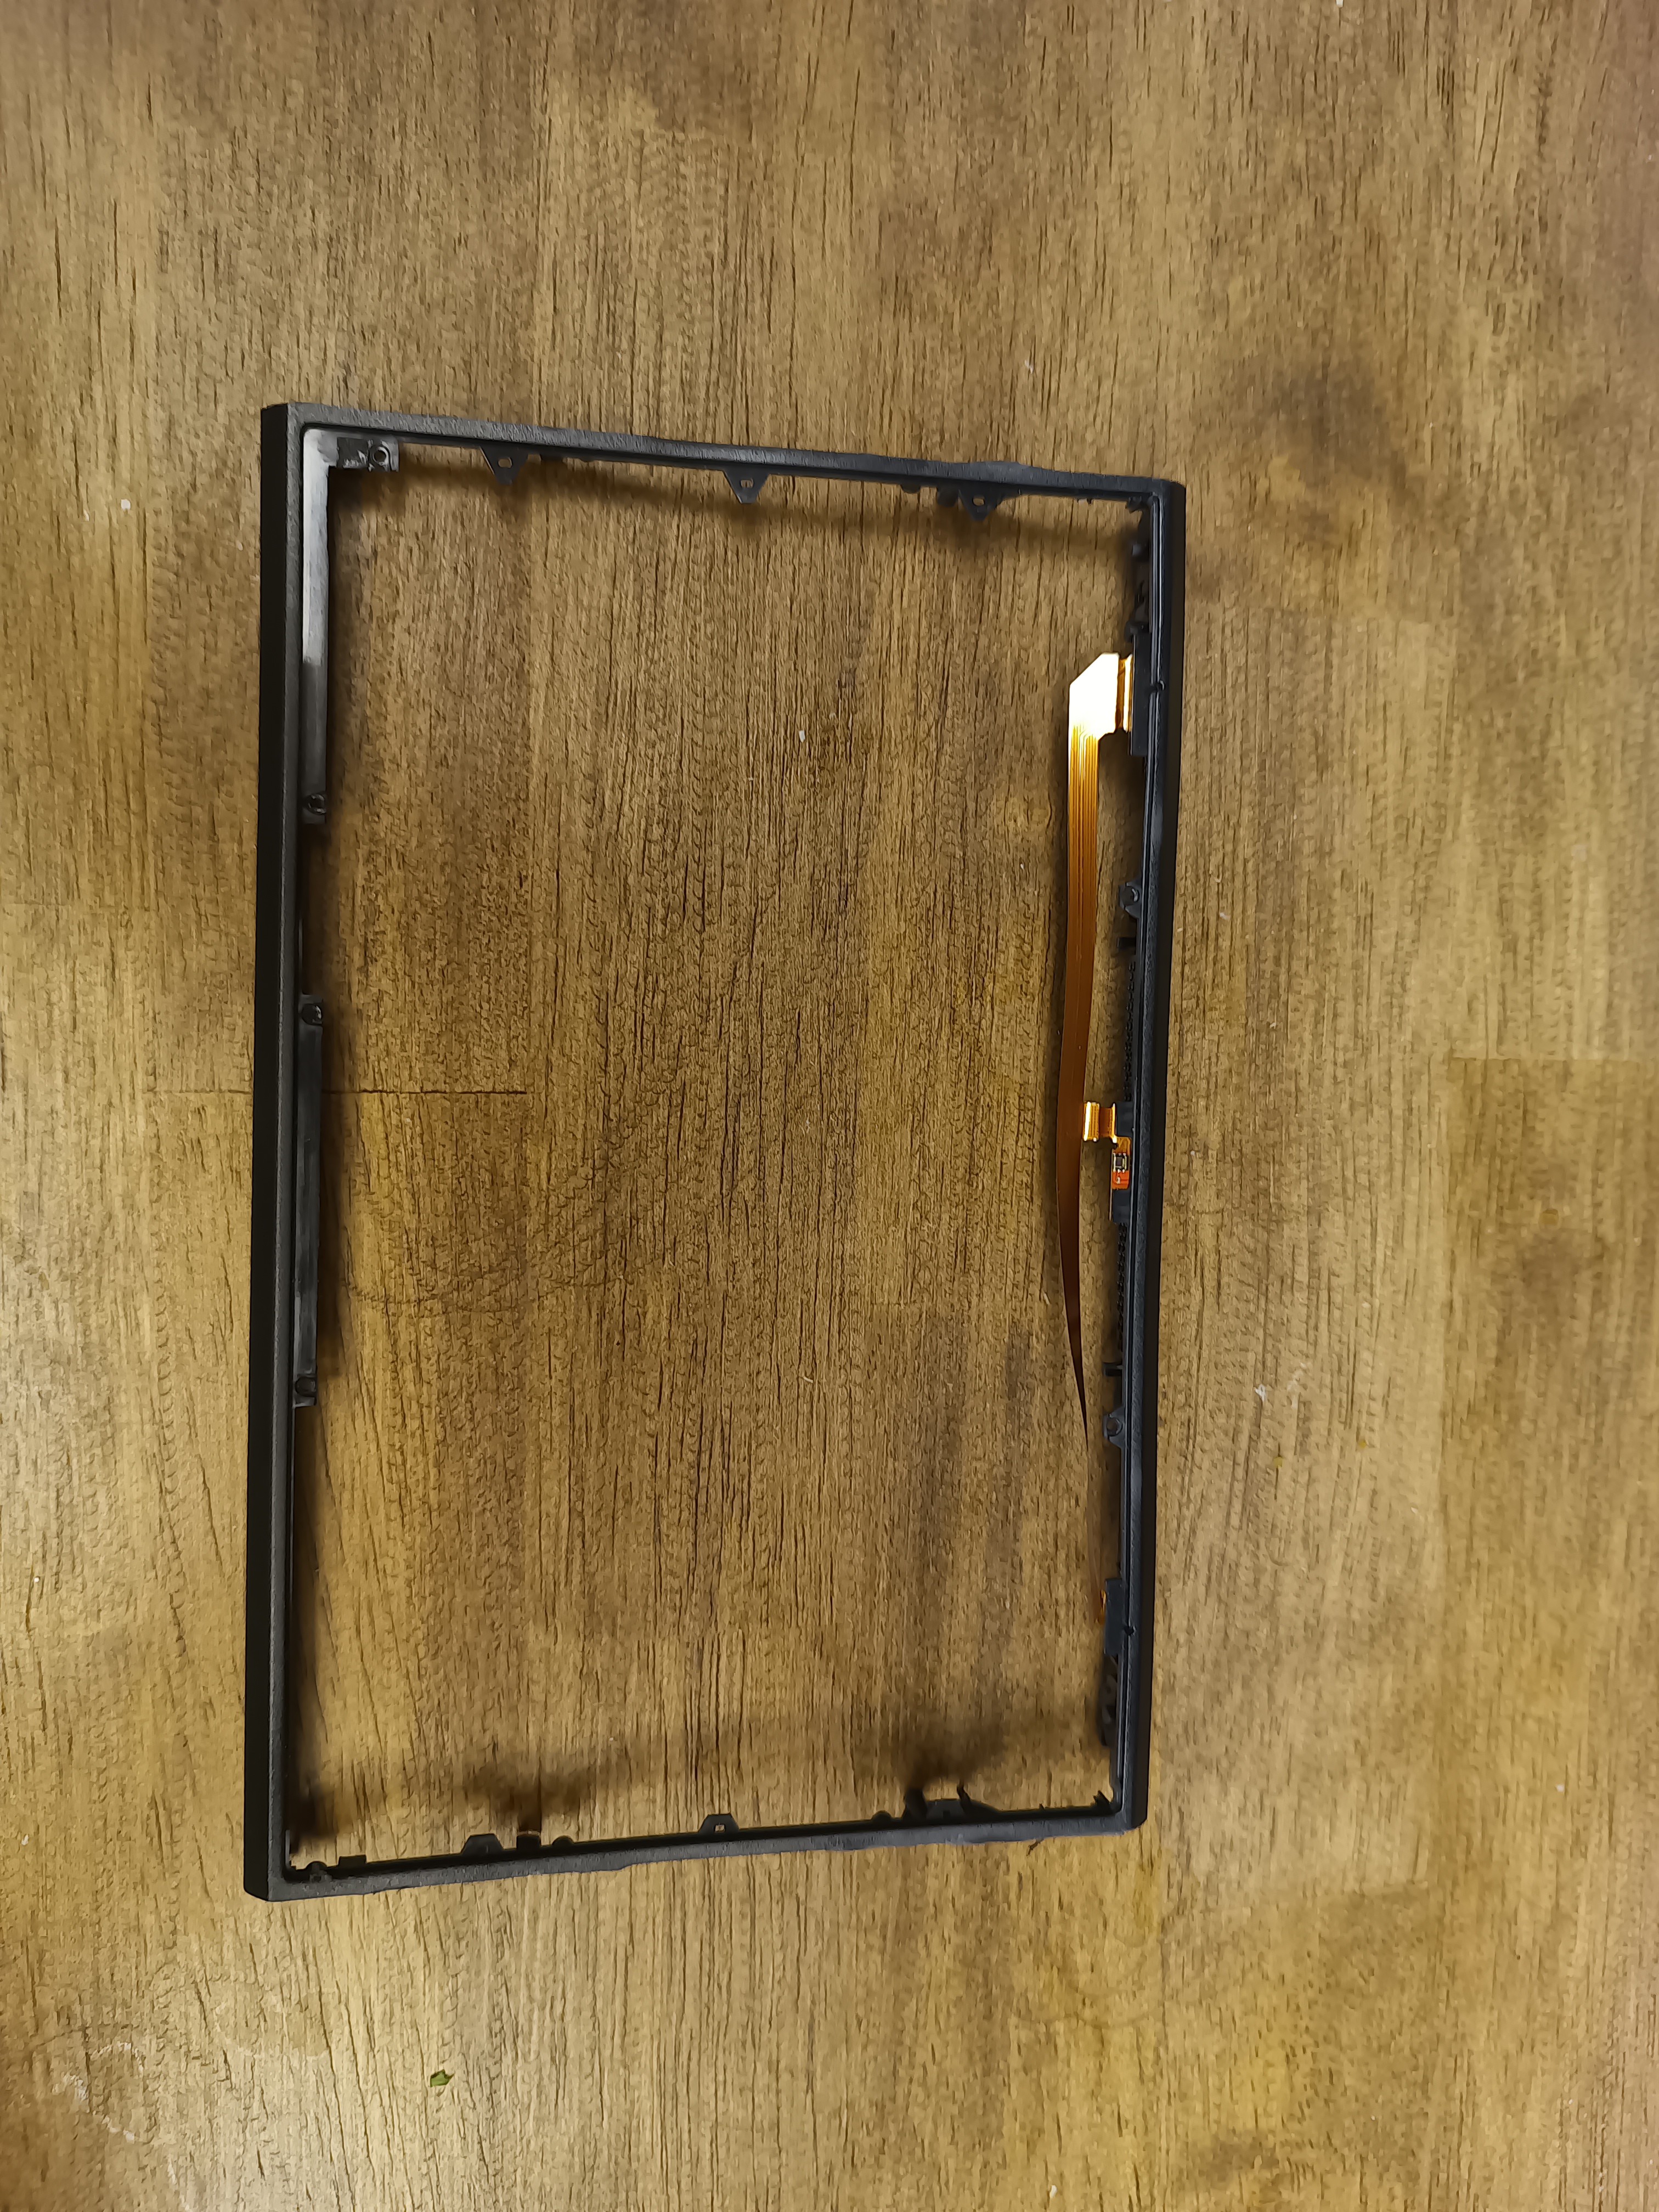
Backplate cutting
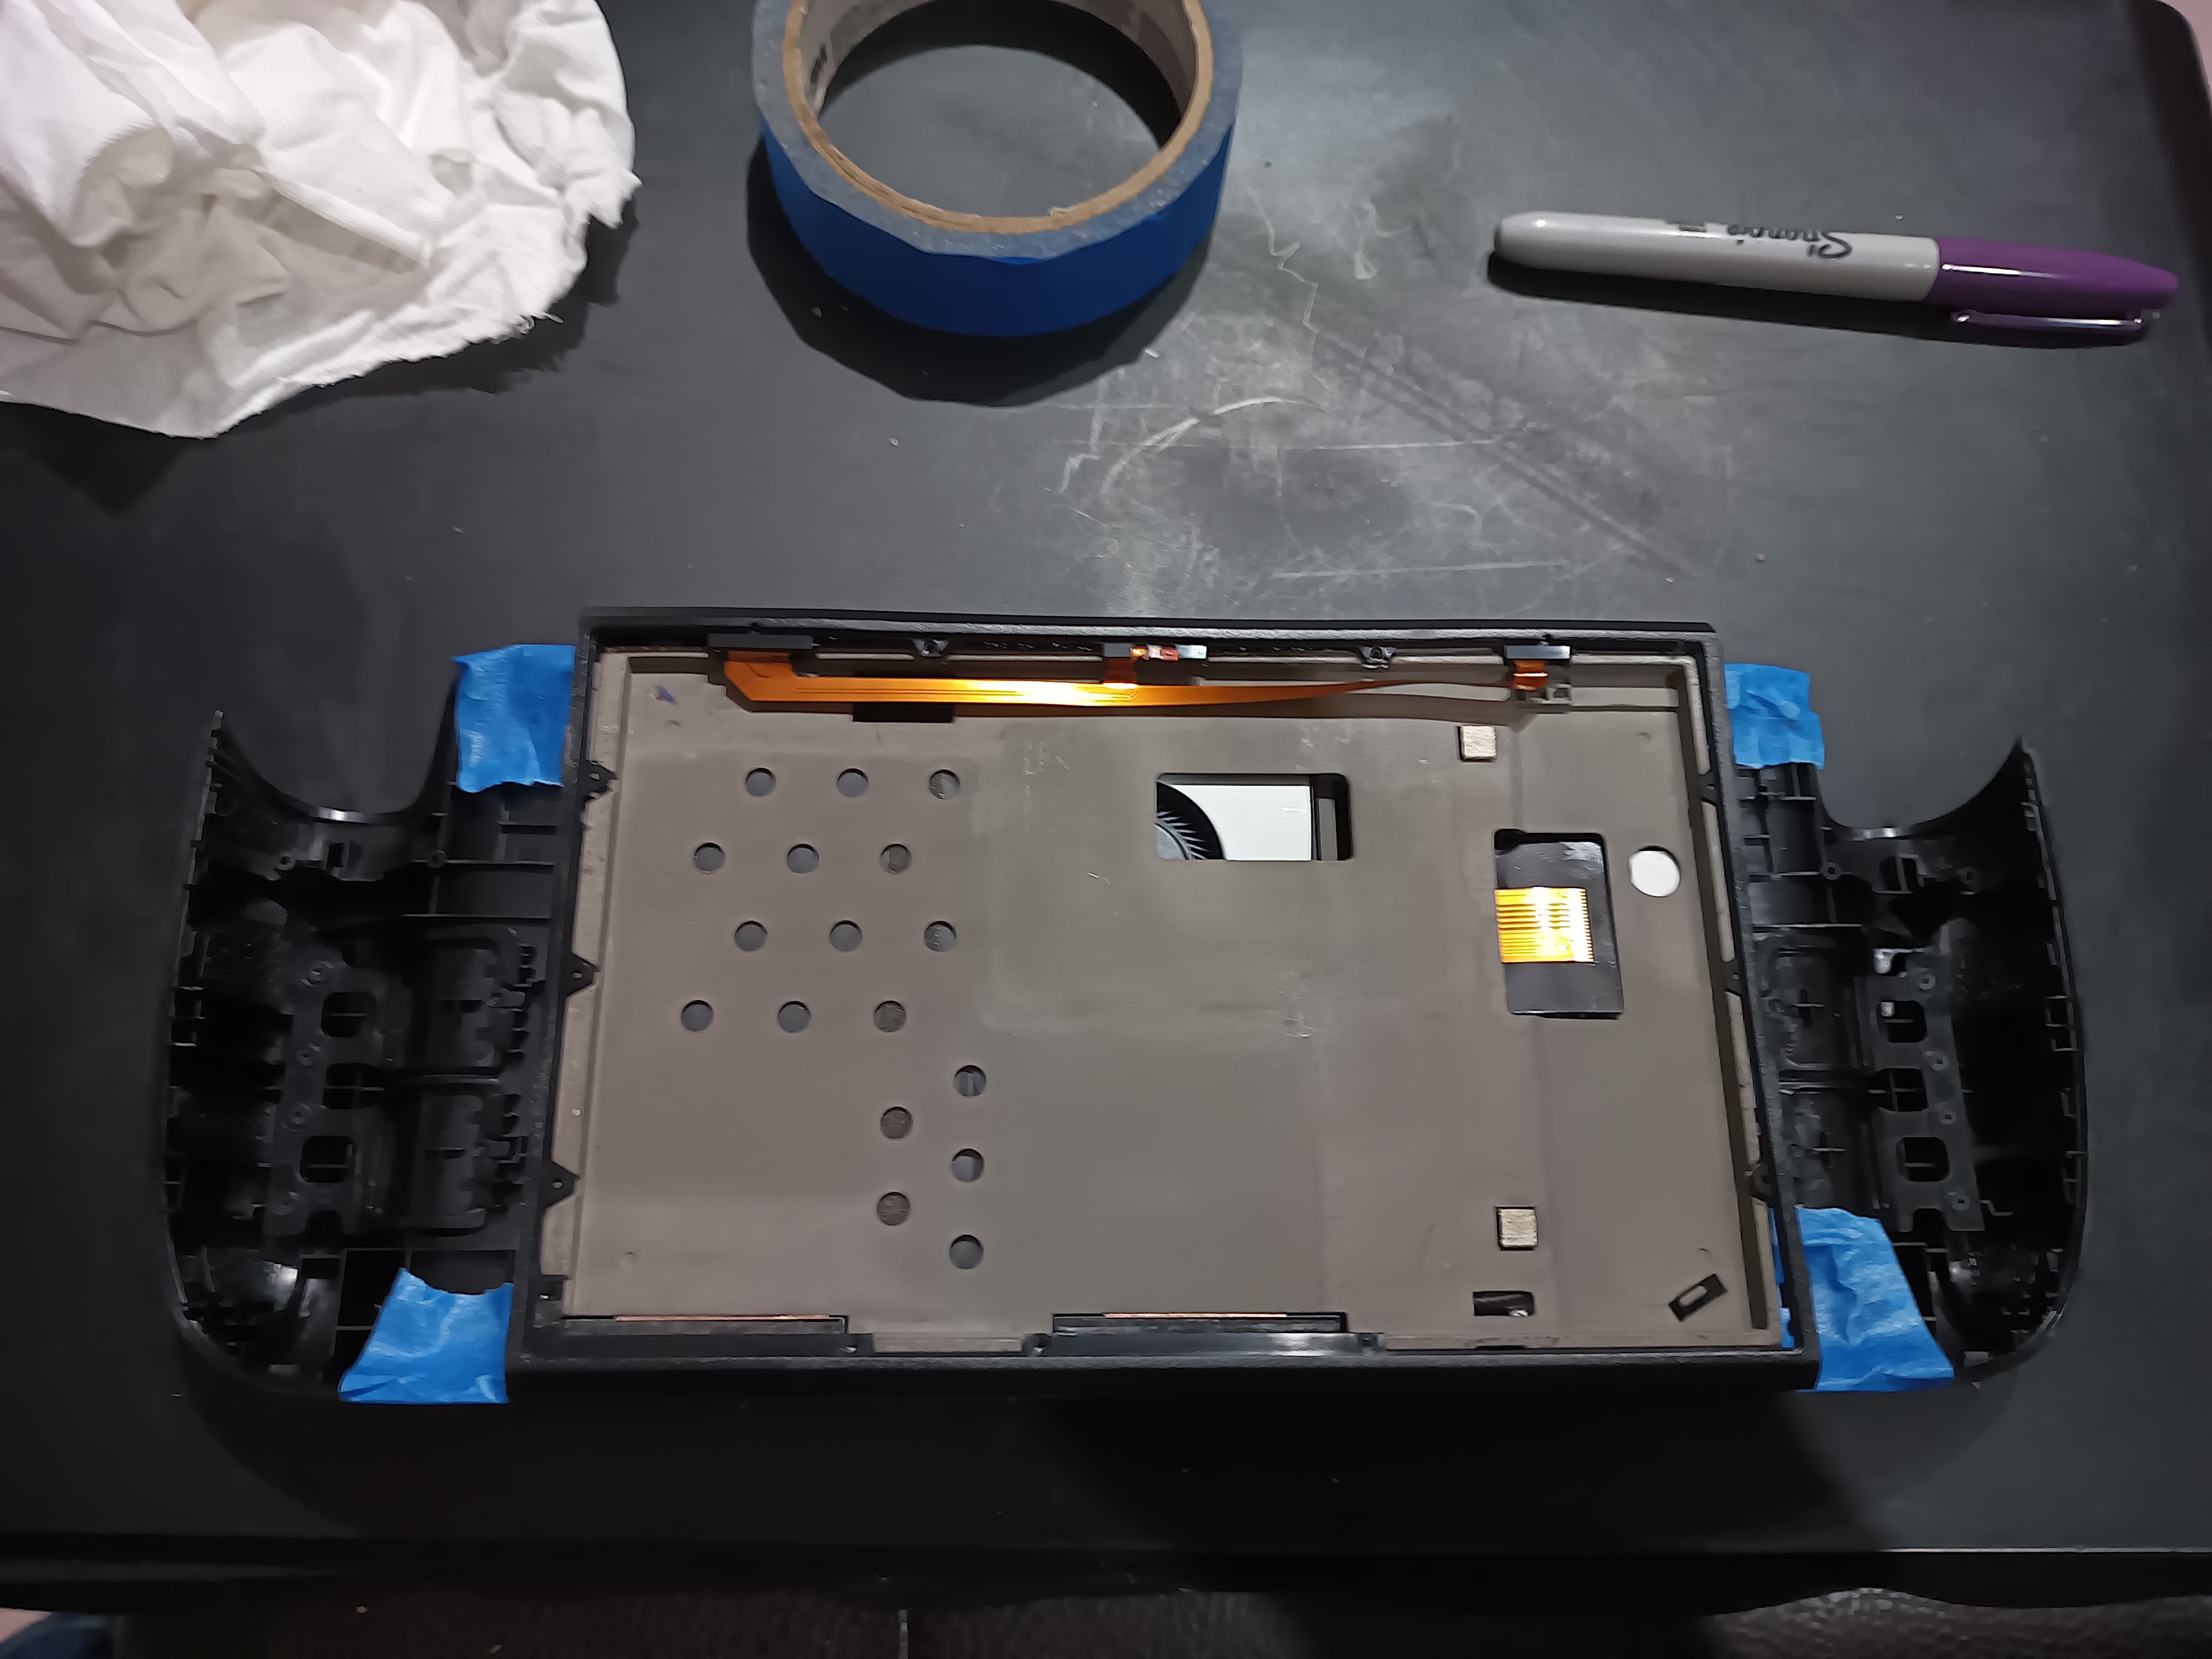
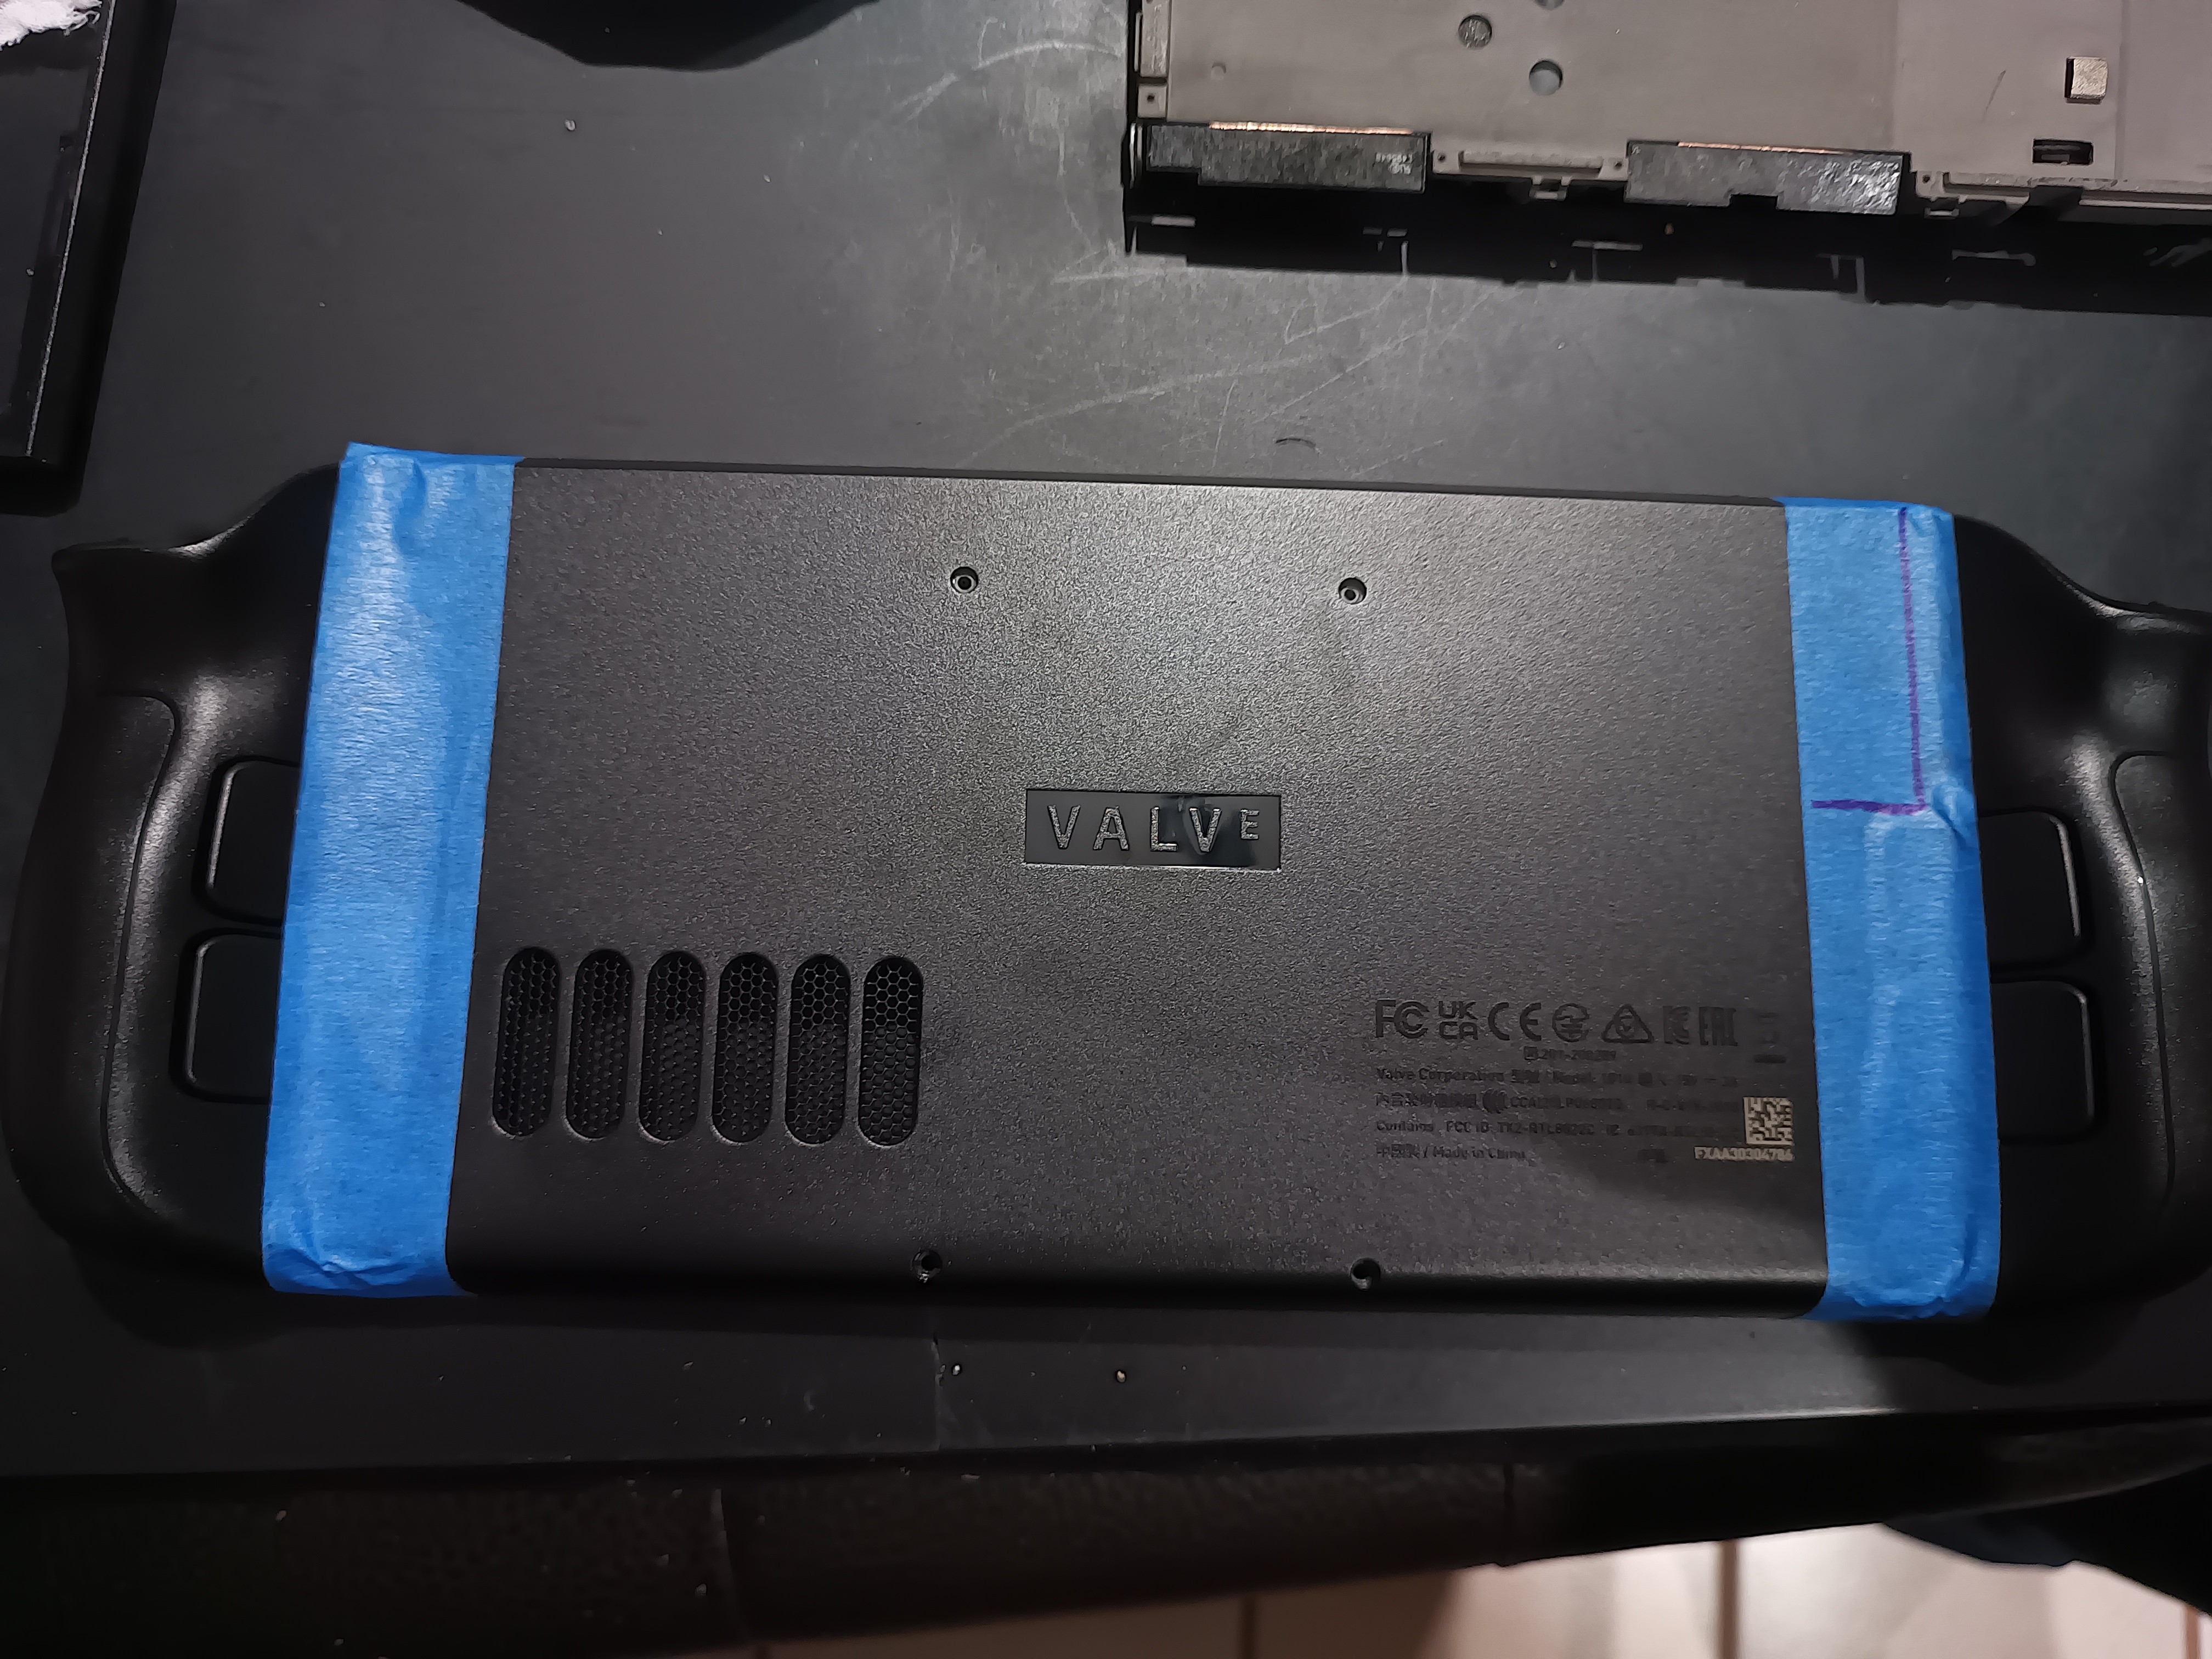
Put the metal block, faceplate, and backplate together, and use painter's tape to mark cutting lines. Disassemble, then cut the backplate.
I chose to leave an extra piece of plastic on the speaker side to act as support.
4
Speaker Mounting
A bit of double sided tape with a foam core helps with keeping the speakers in place.
5
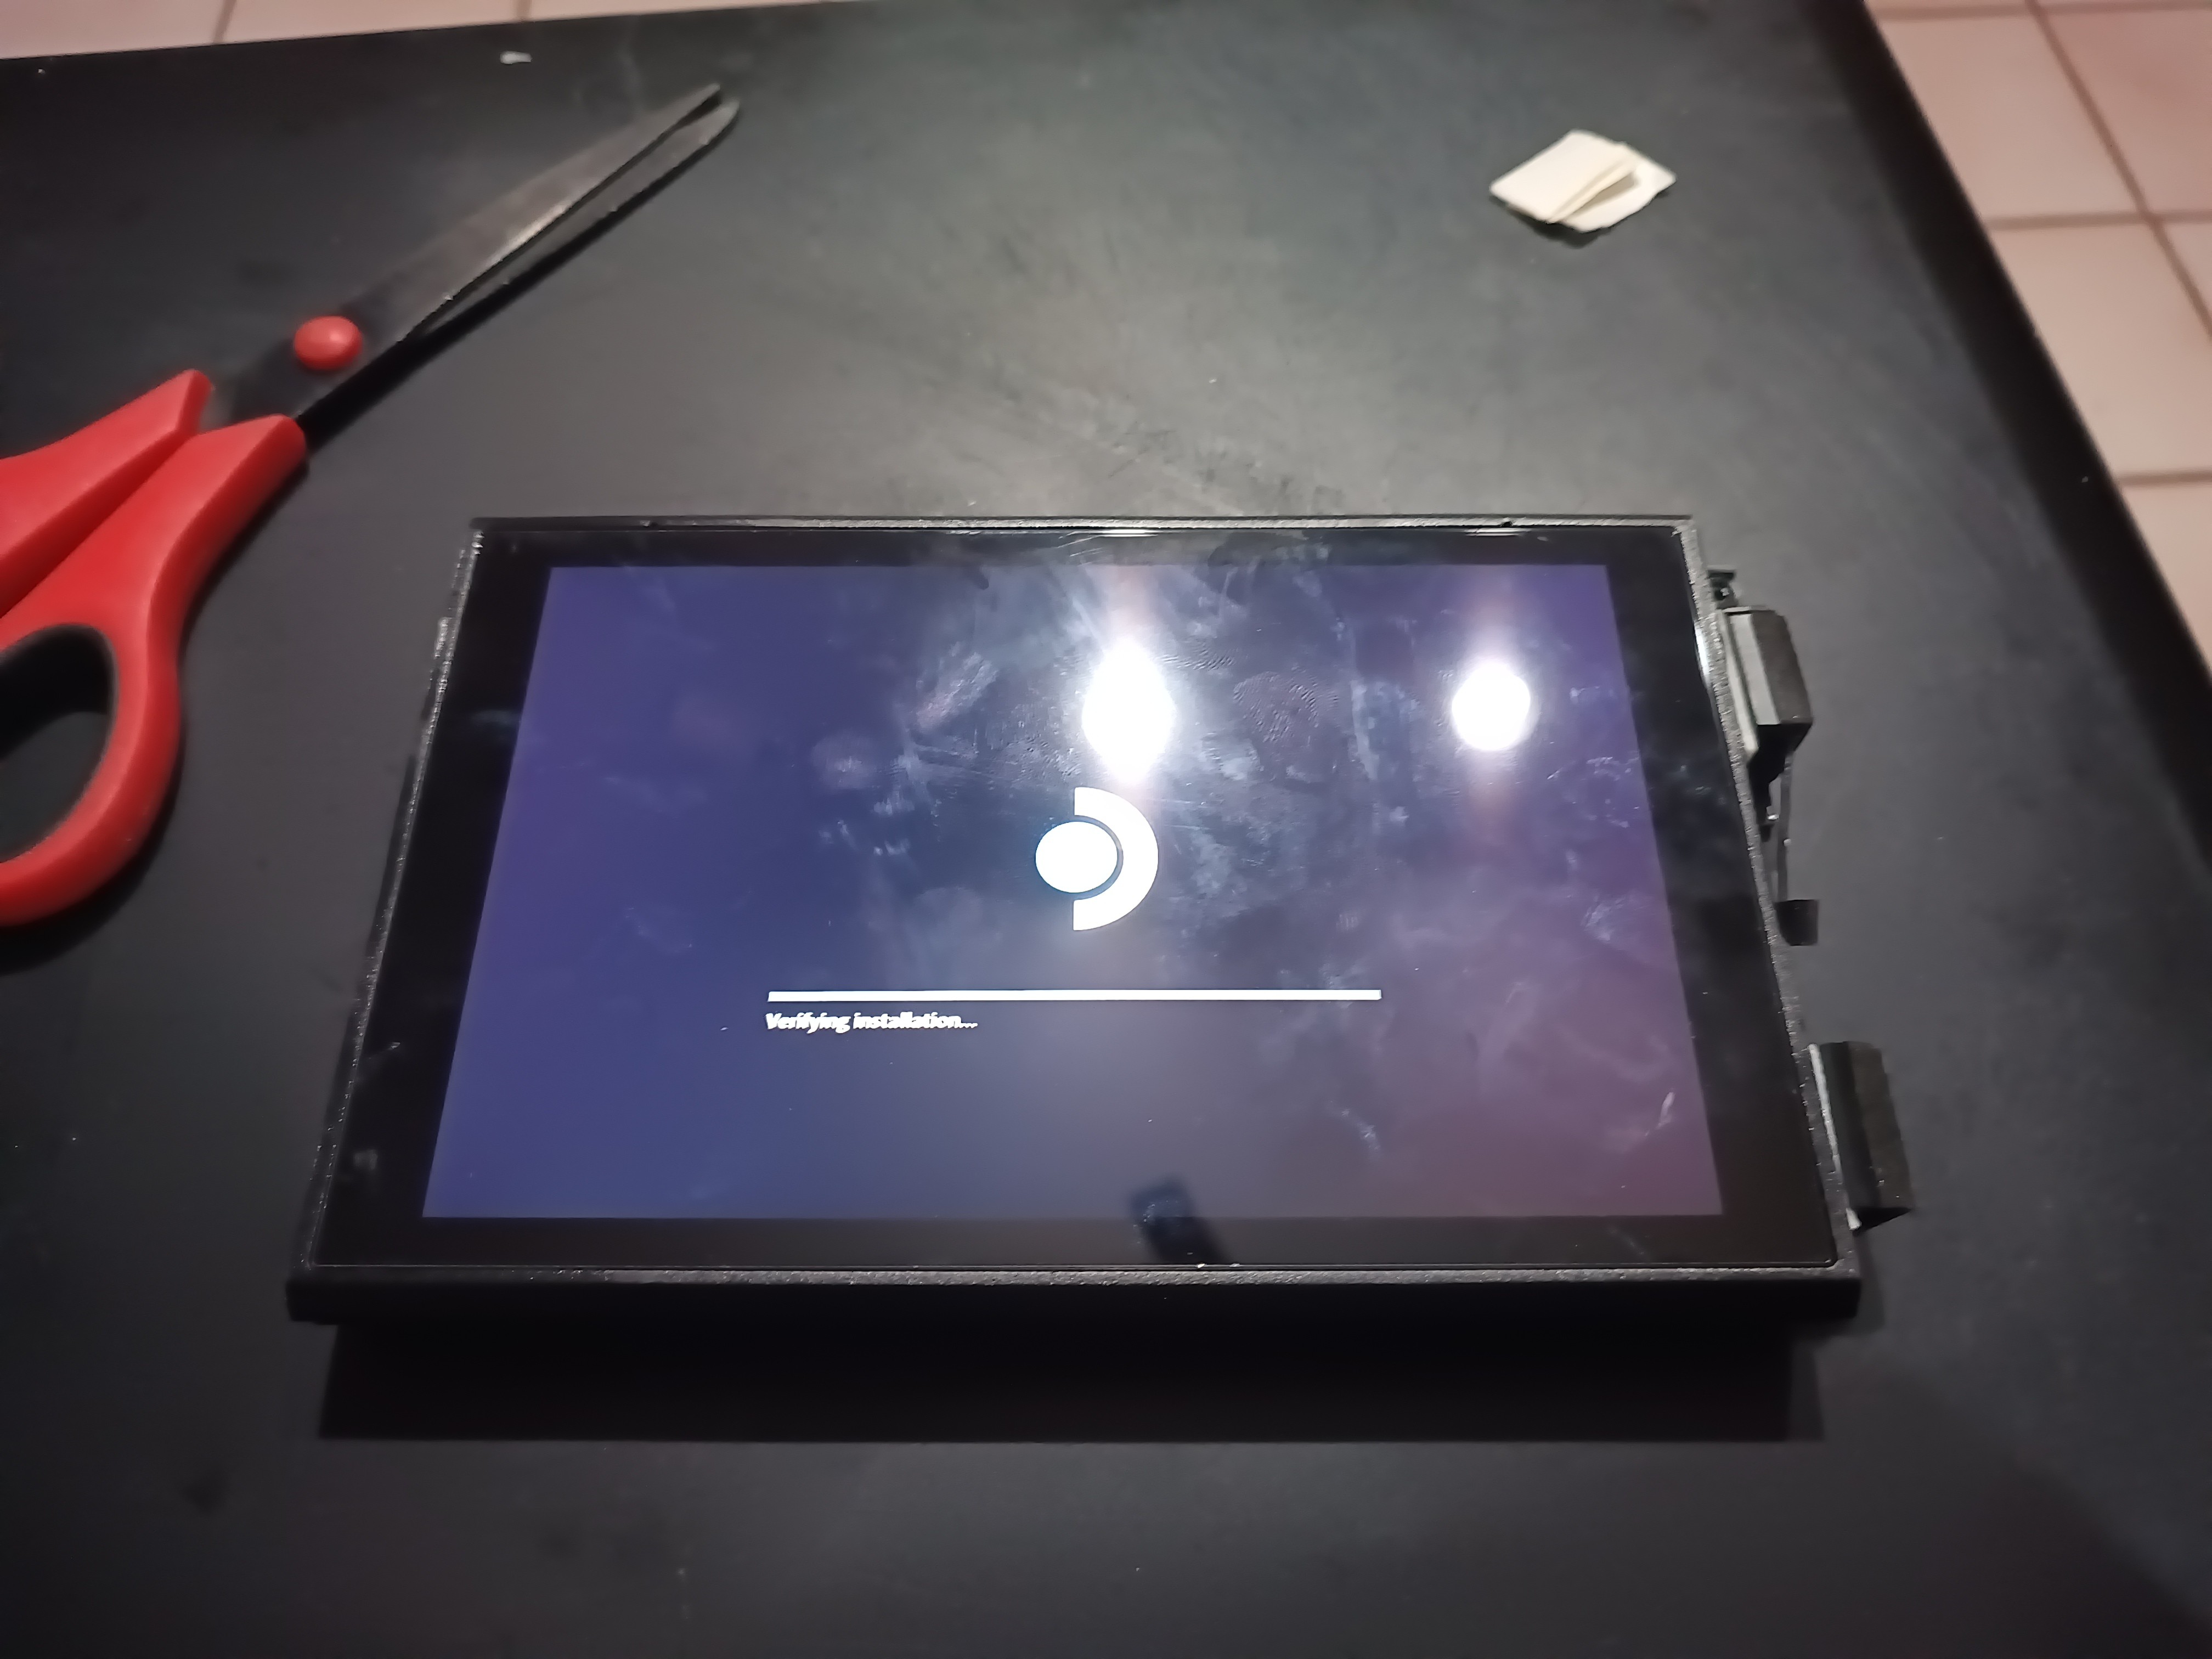
Printing a Case
This is when you print a case... My design skills aren't that good, and I welcome any modifications and improvements to the design.
The current model borrows from this clip on stand. The result is a two-part design that slides over each end. The files are included on the main project page.
Discussions
Become a Hackaday.io Member
Create an account to leave a comment. Already have an account? Log In.