 Neil Lambeth
-
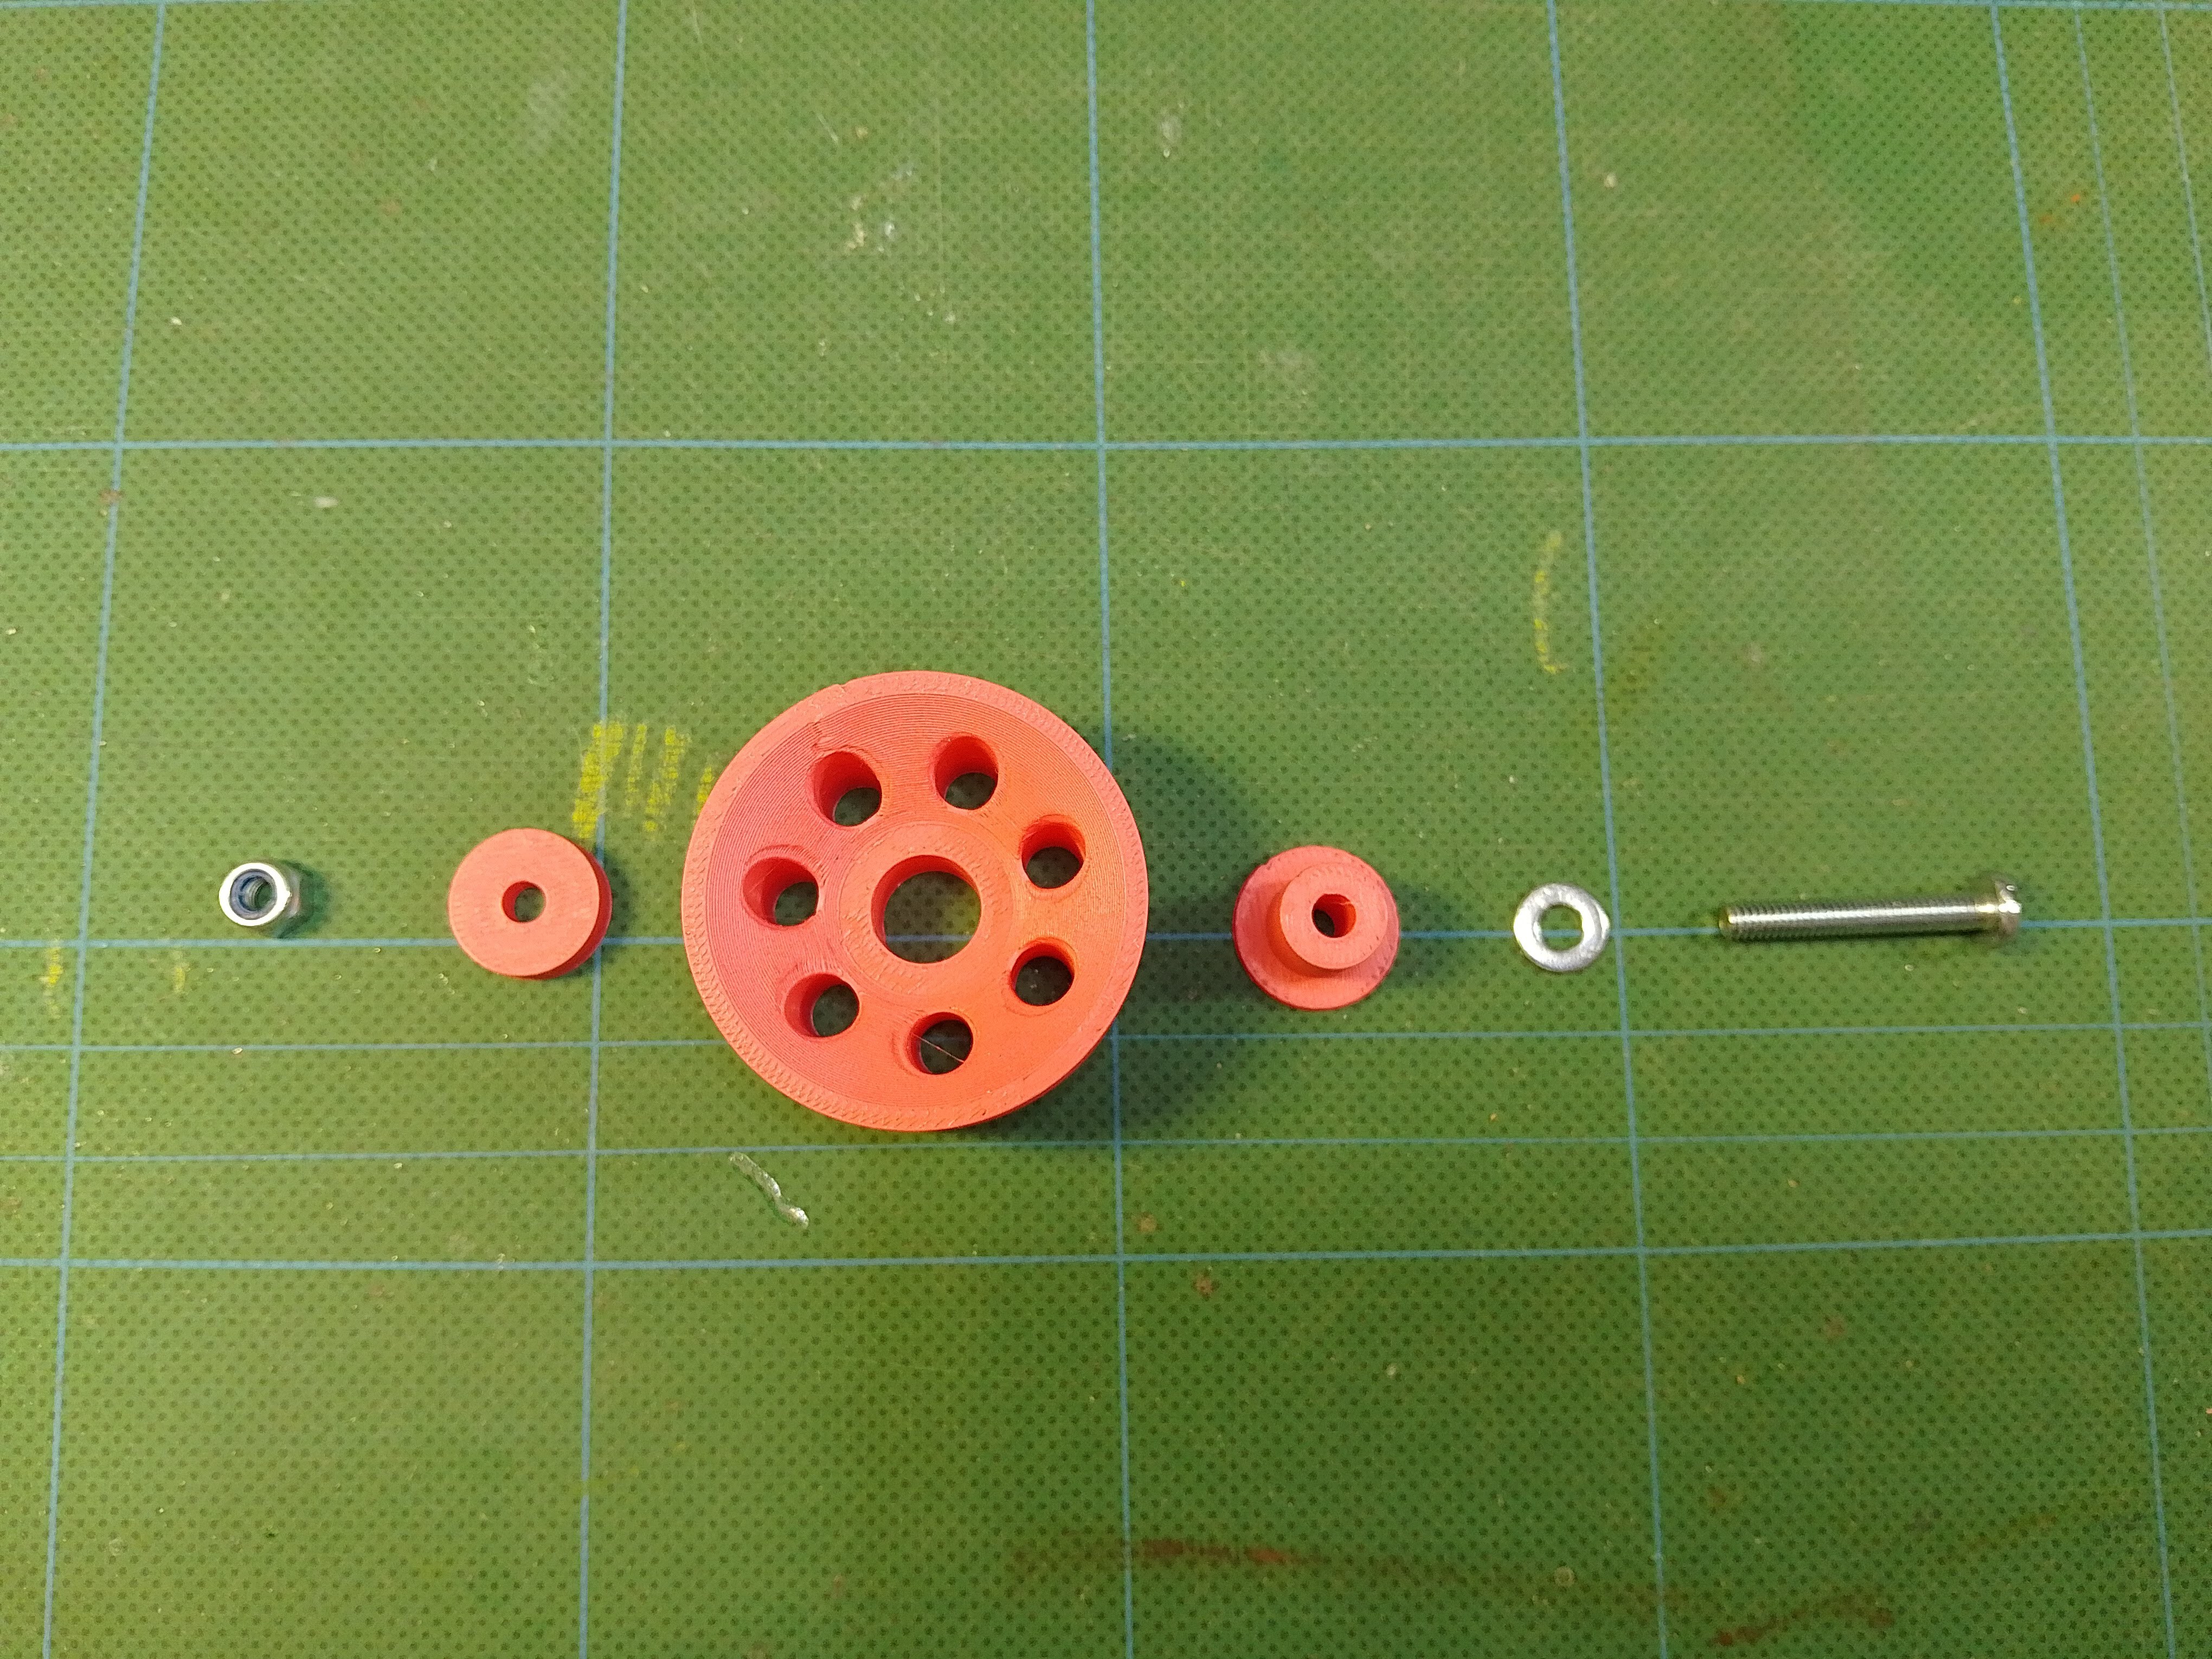
11Attach the front wheels.
The front wheels are made up of 3 parts, the main wheel, a shaft which the wheel rotates on and a spacer which goes between the wheel and chassis.
![]()
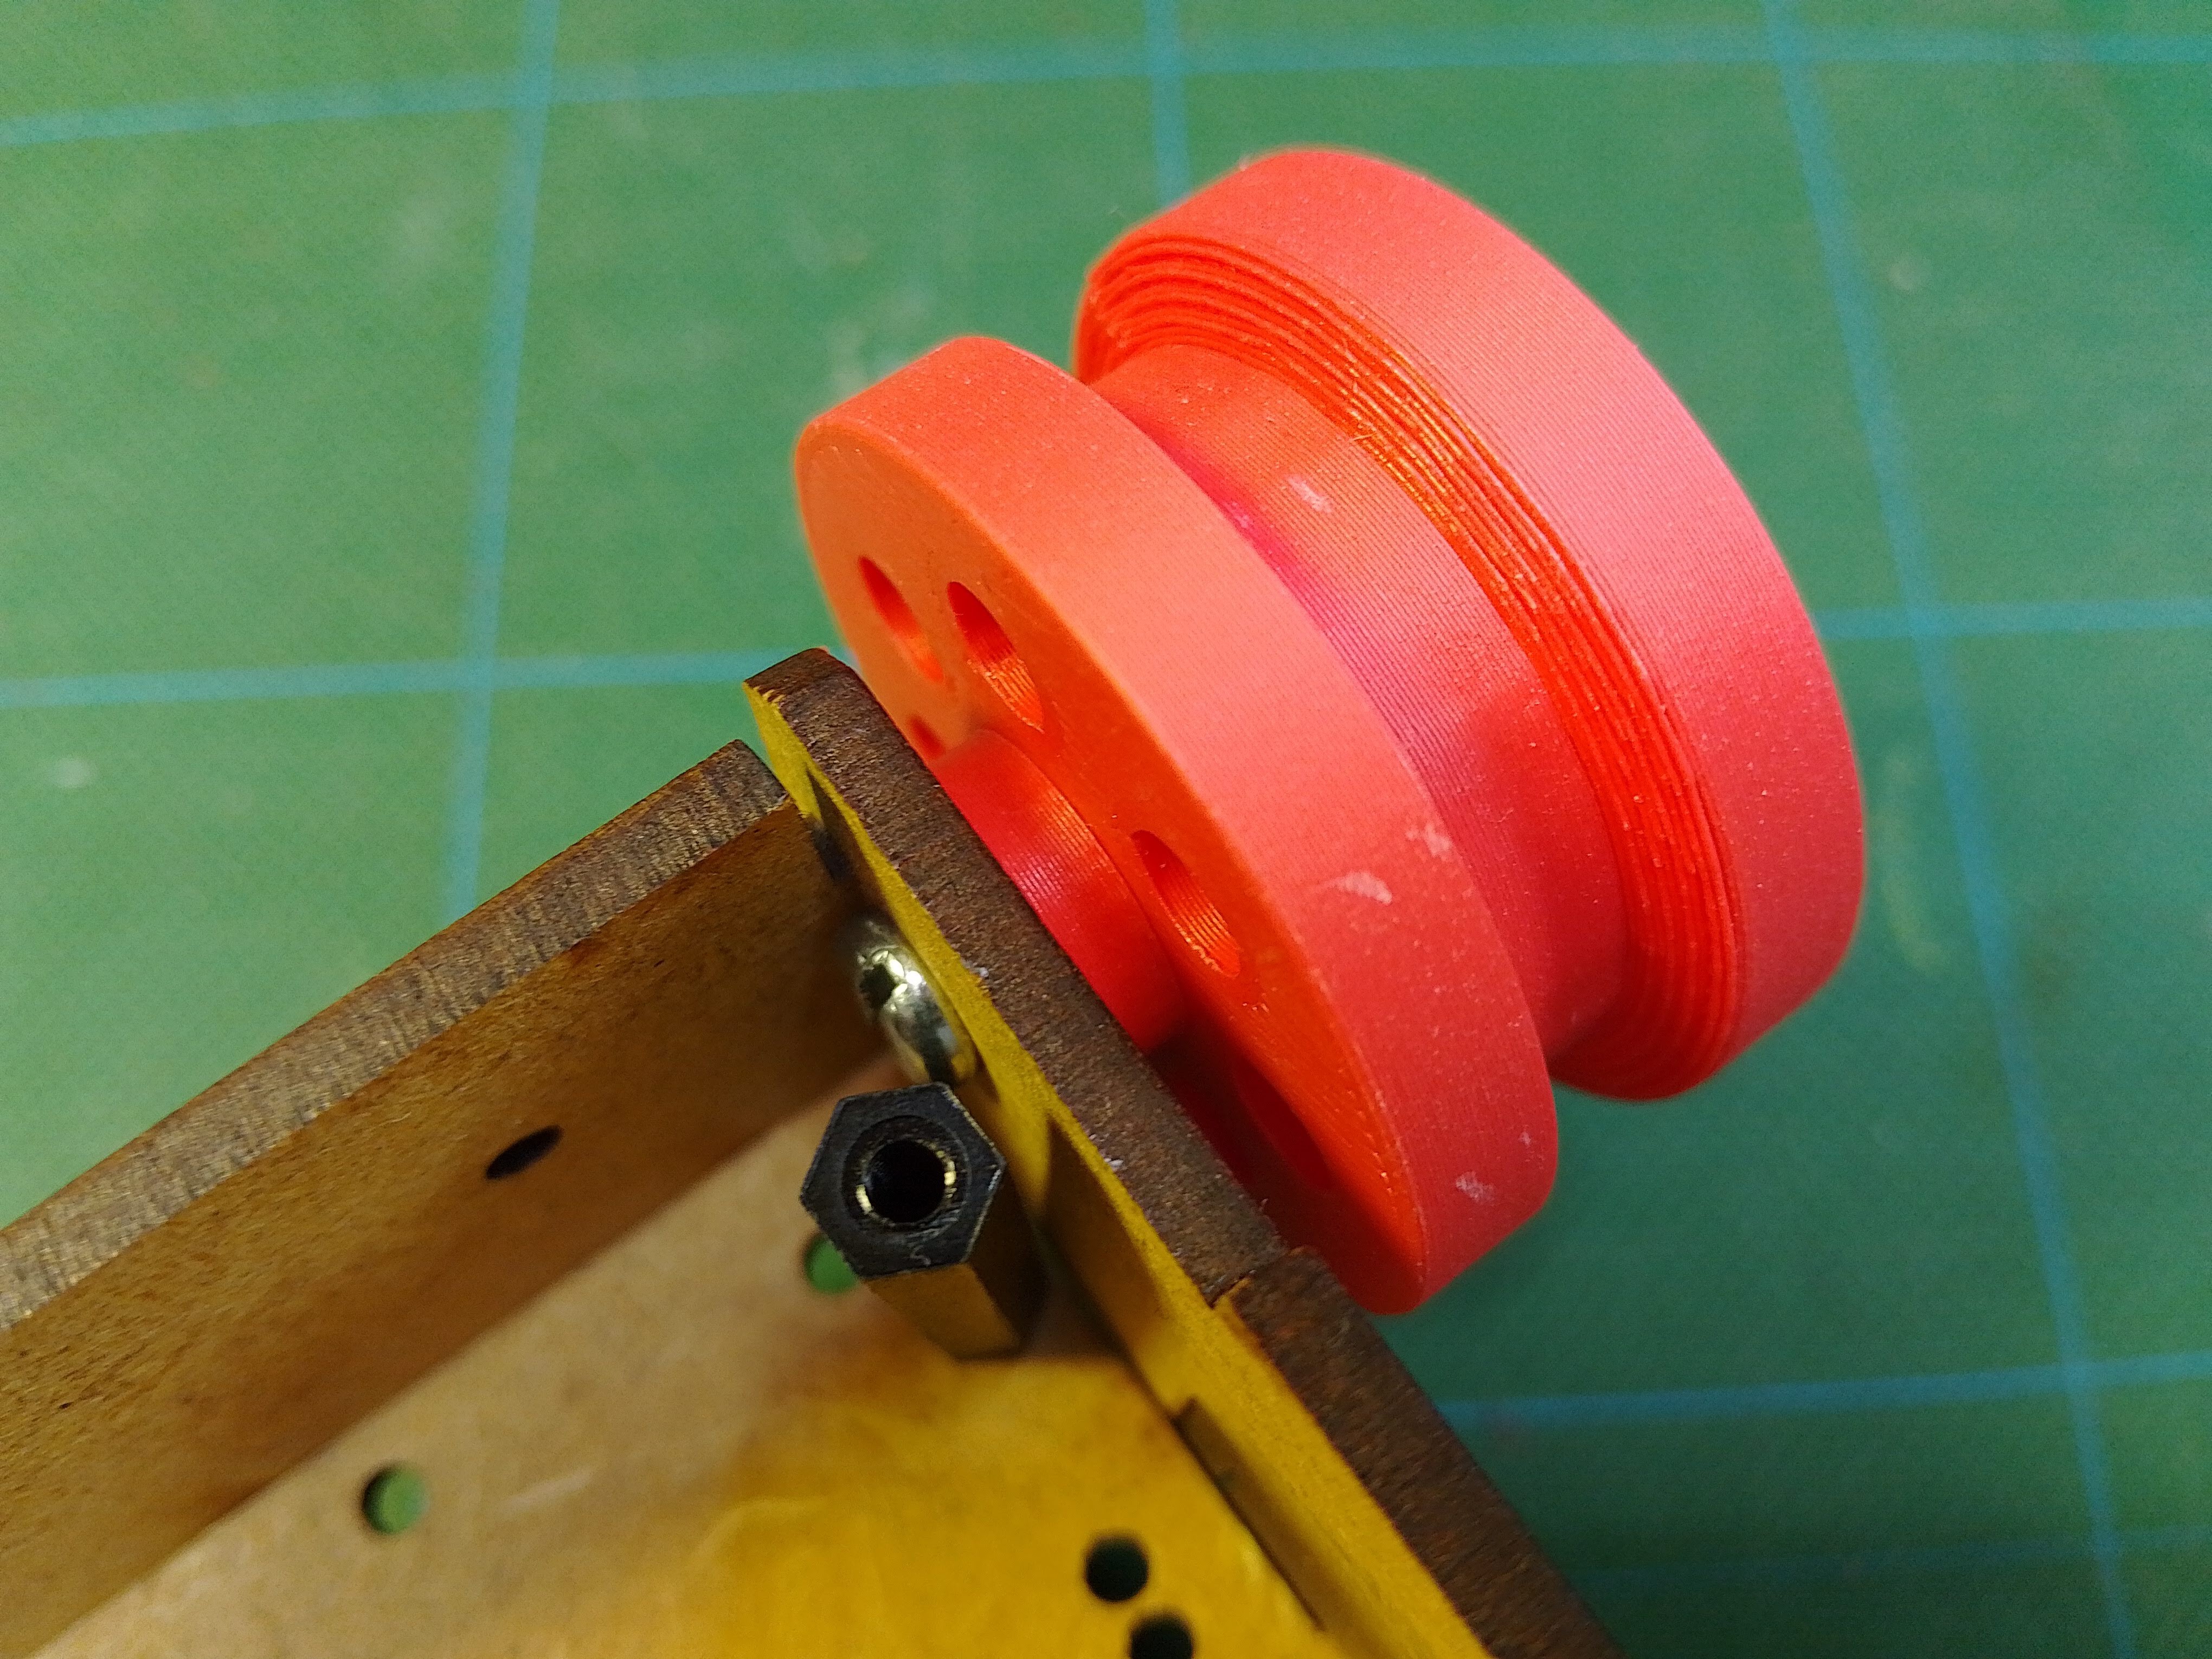
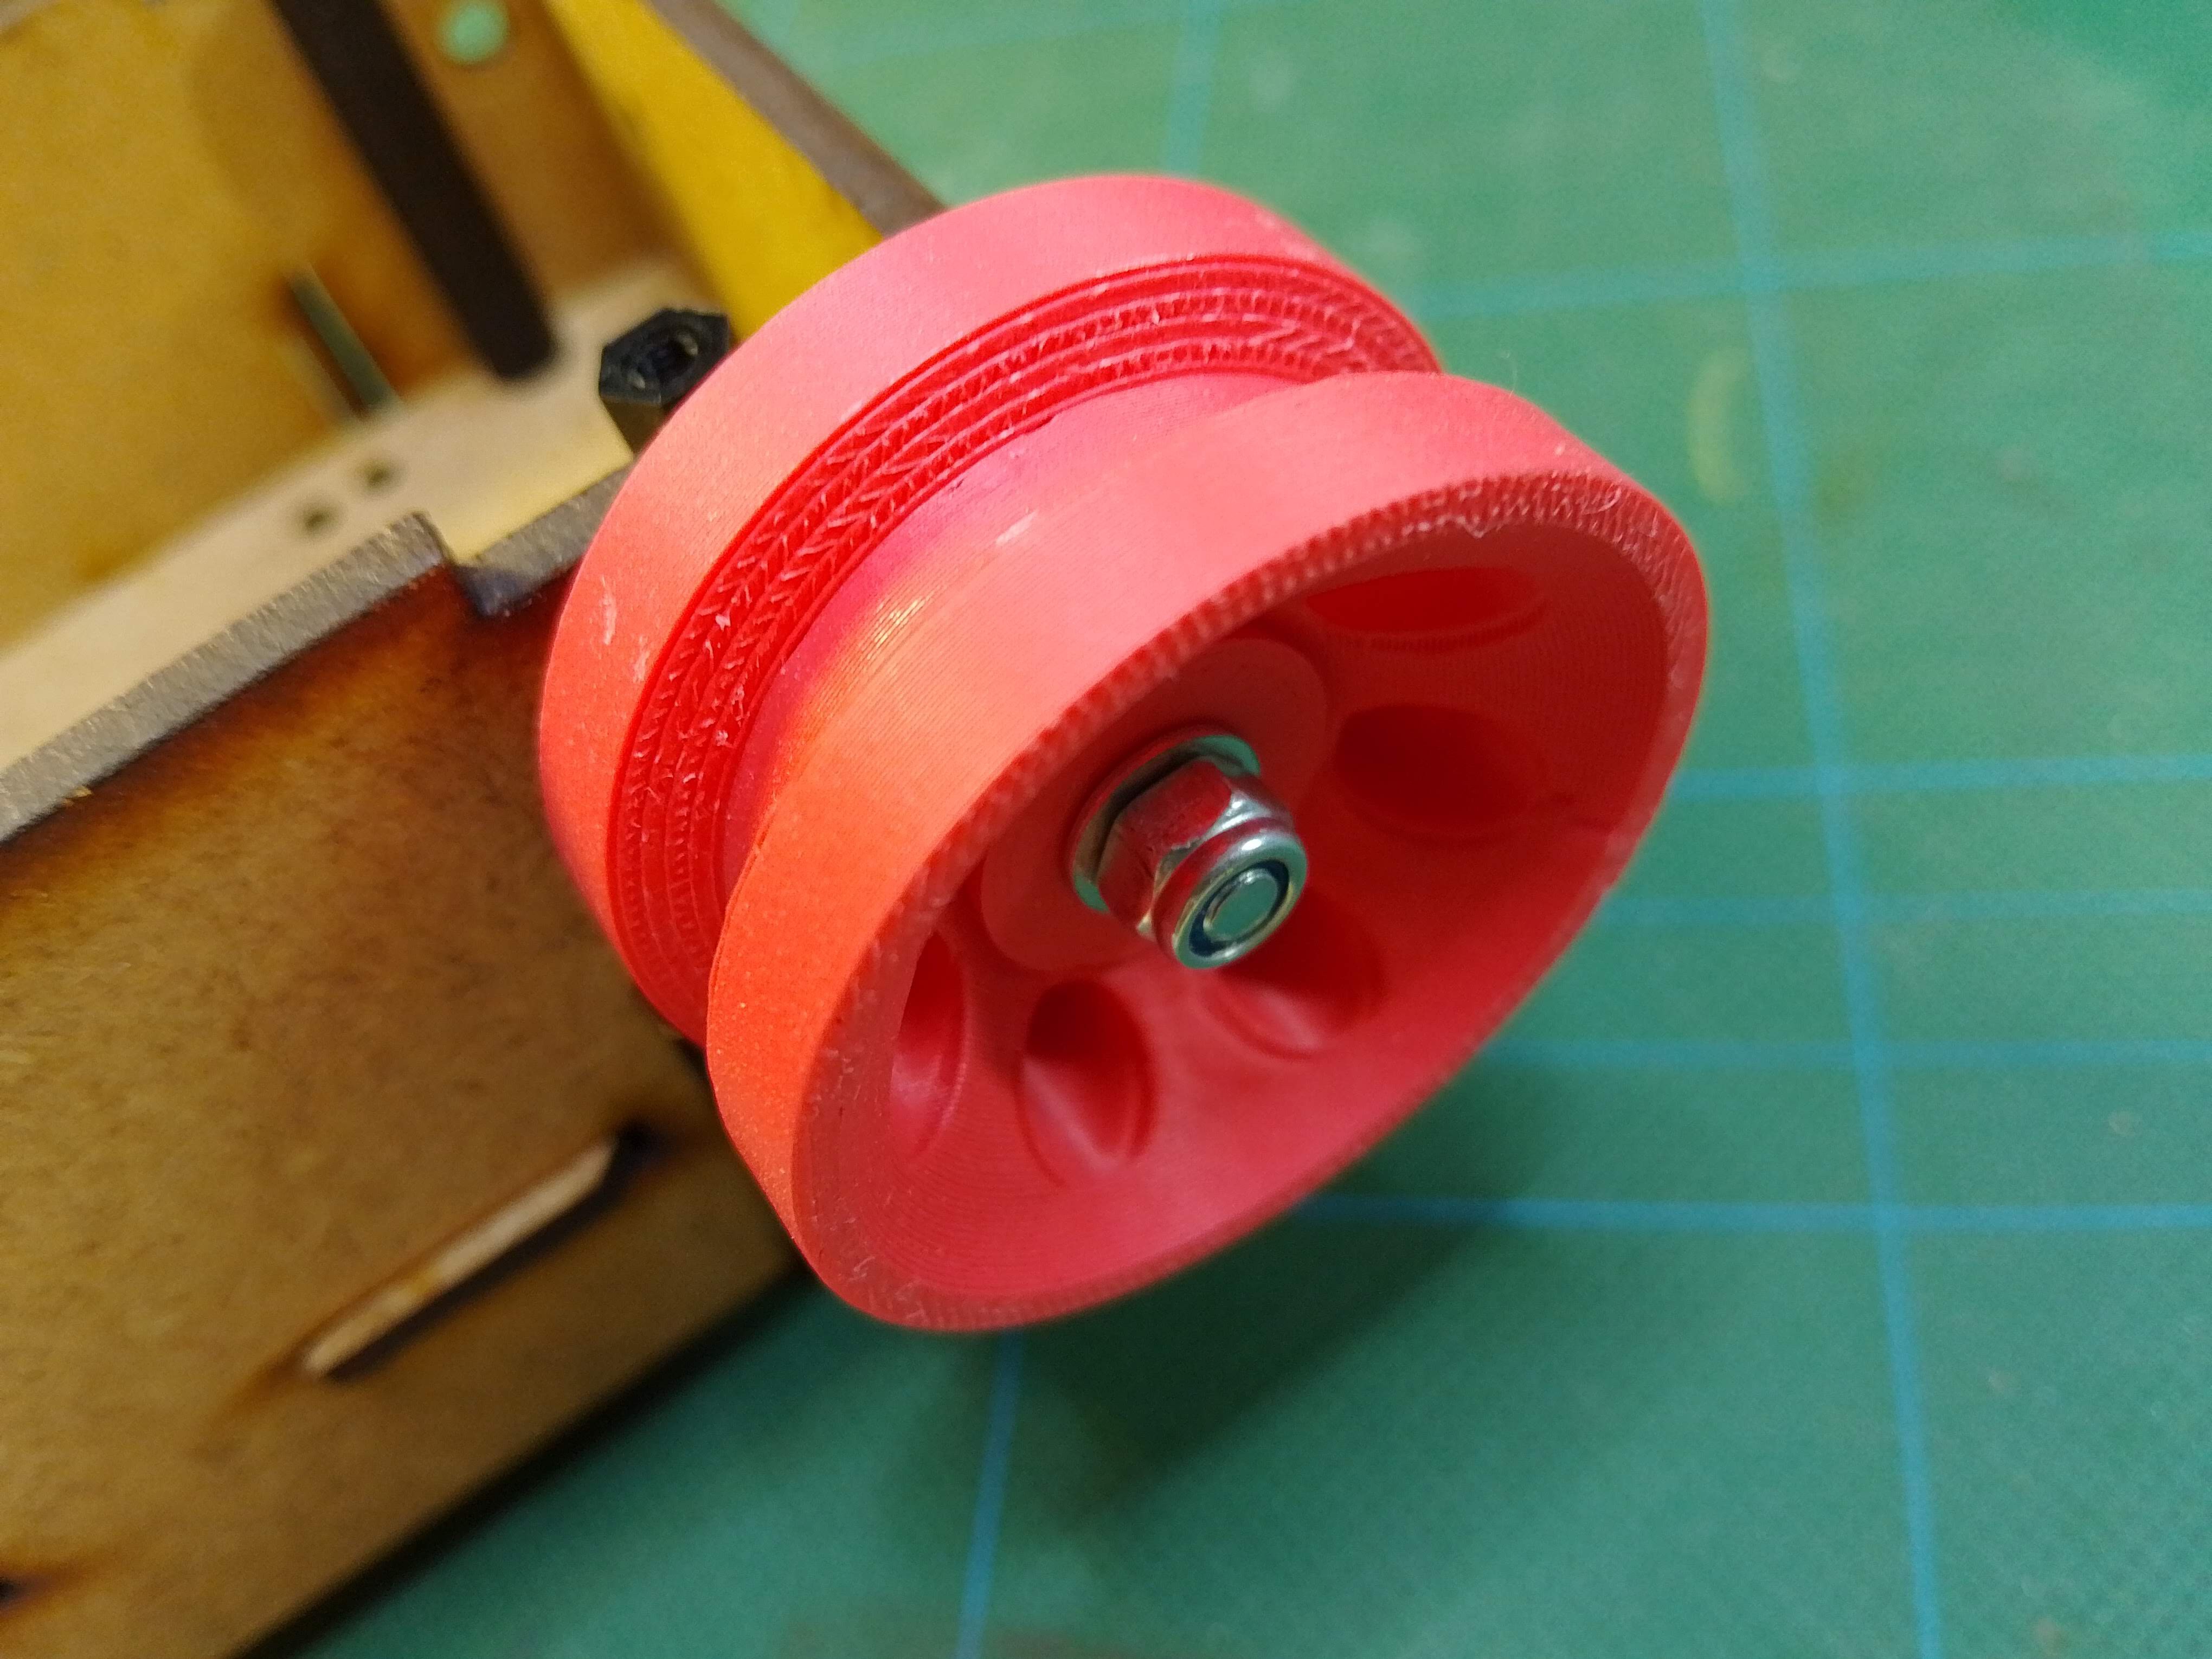
Put the screw in first, from inside the chassis, then put the on spacer, then the wheel and shaft. The washer come next then the lock nut.
![]()
![]()
Grip the lock nut with some pliers and use a screw driver or Allen key to tighten it up. It should be loose enough to turn but not wobbly.
-
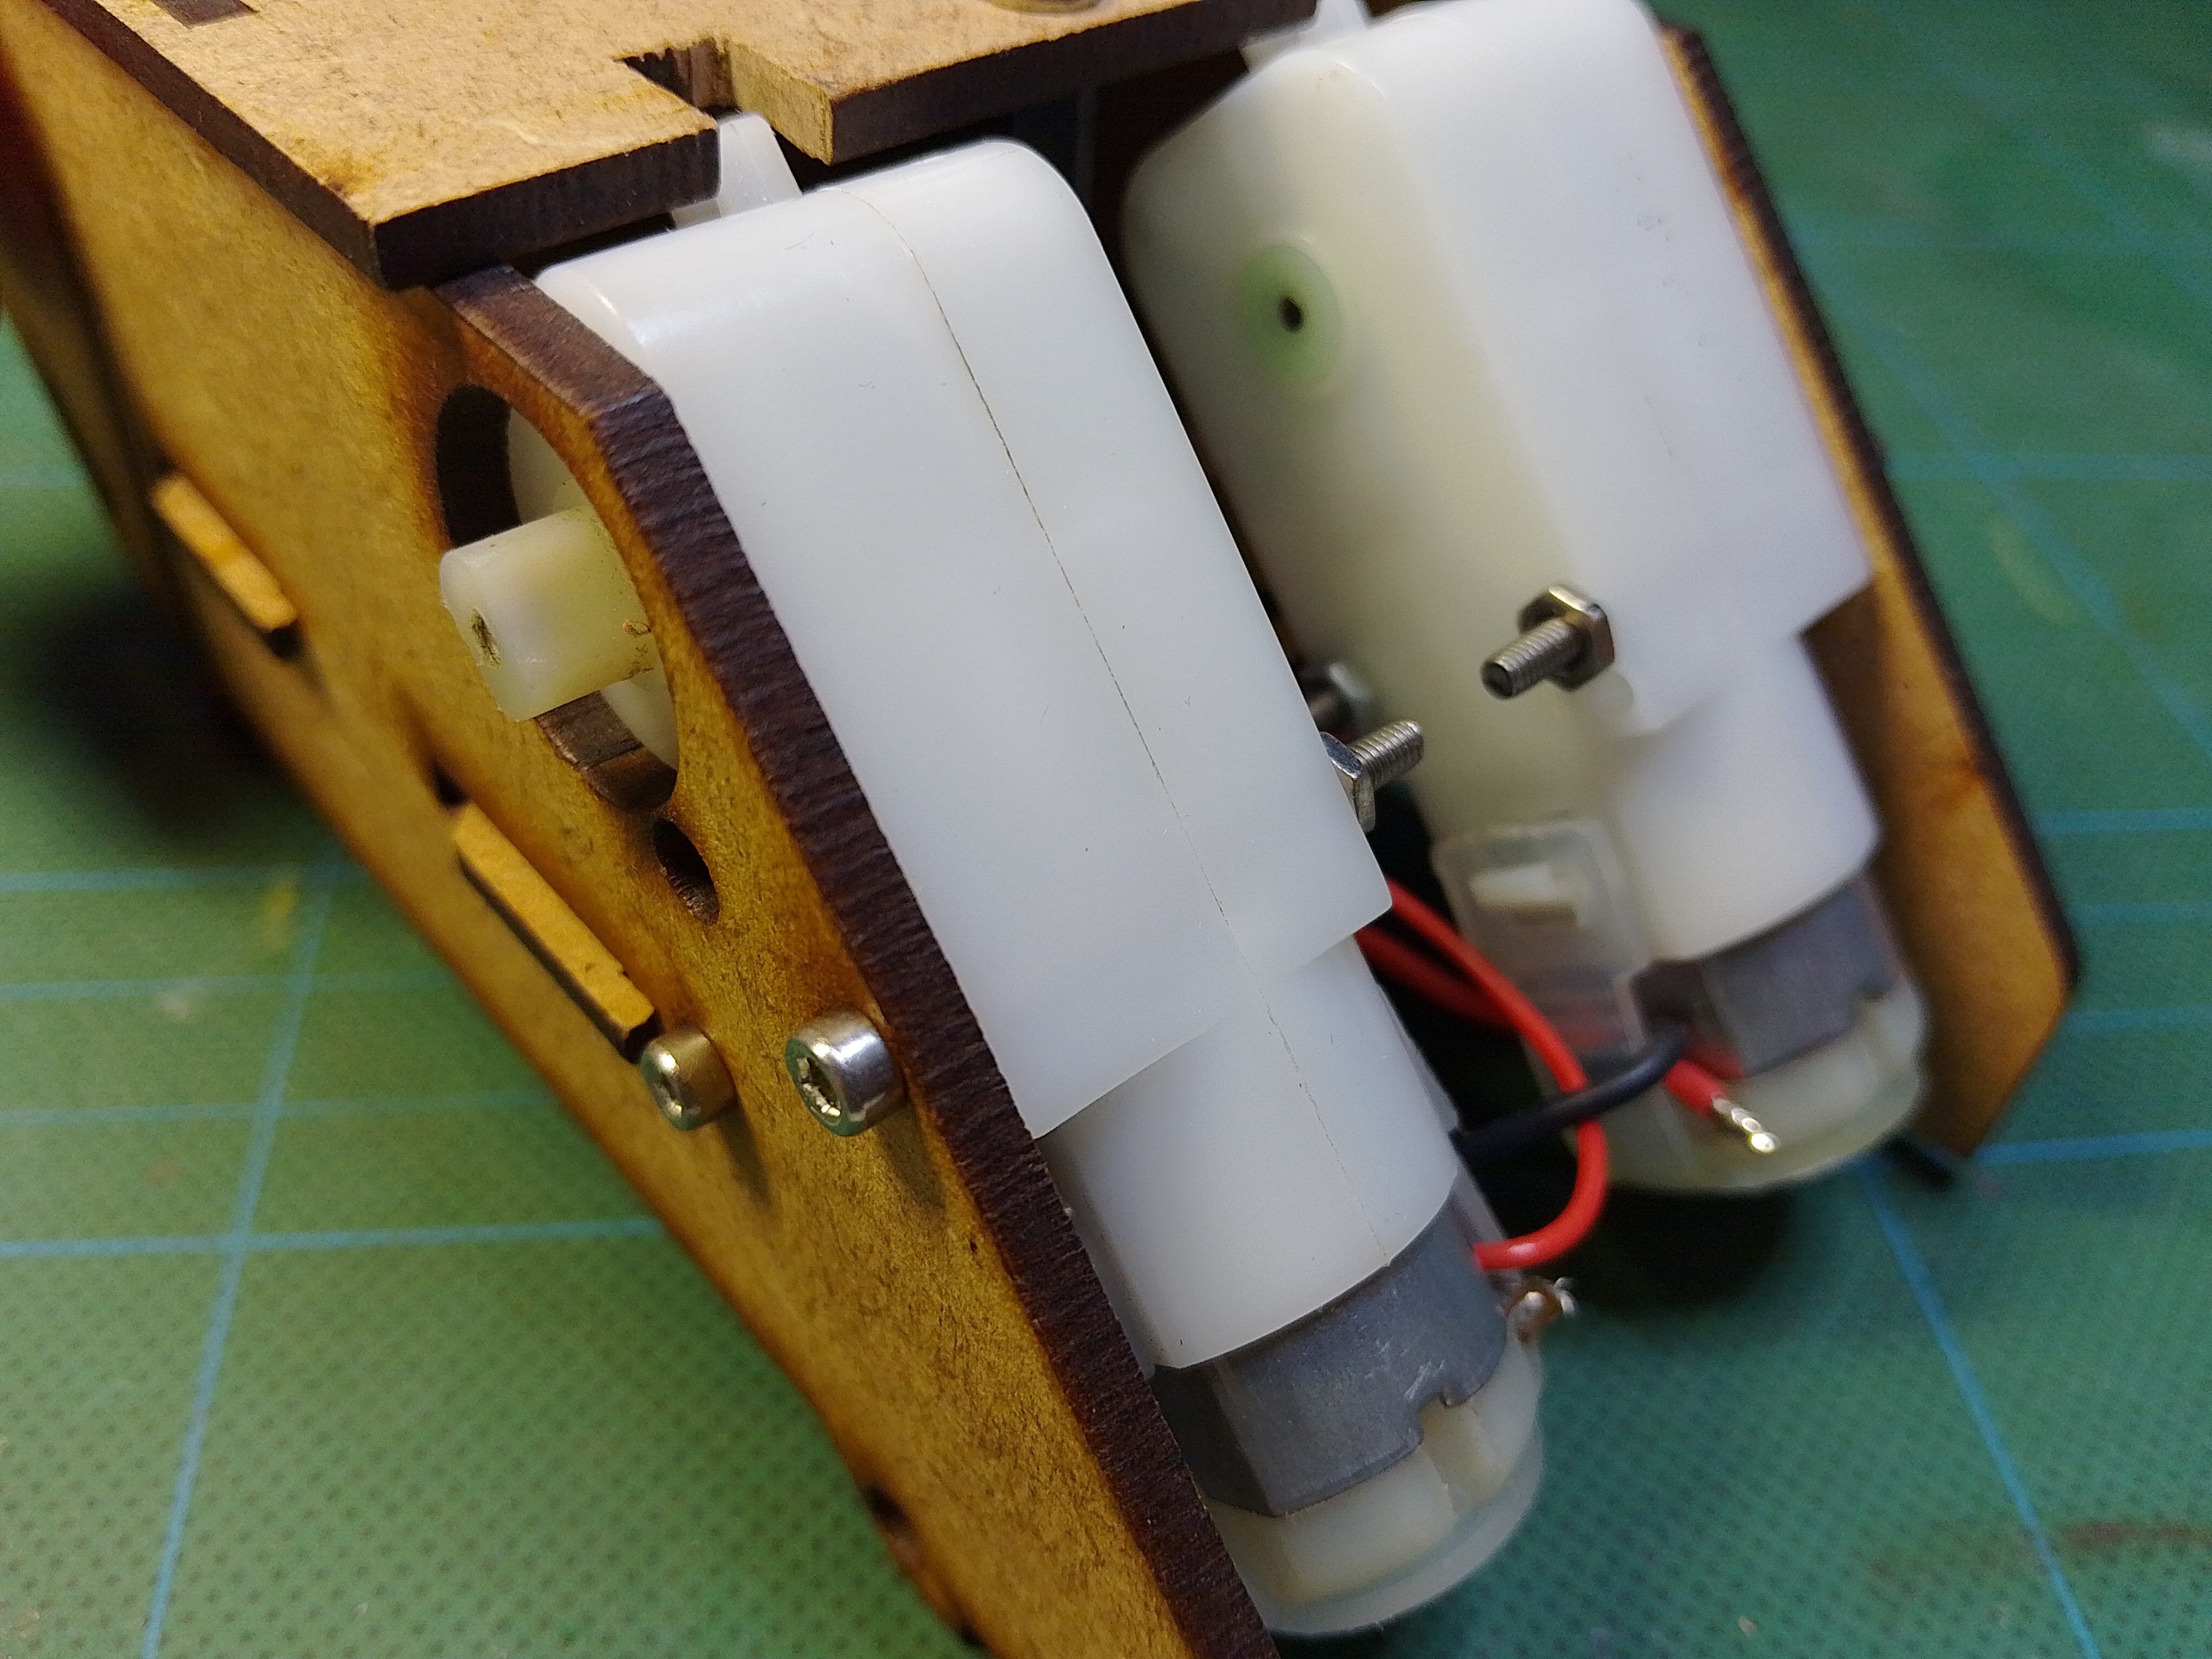
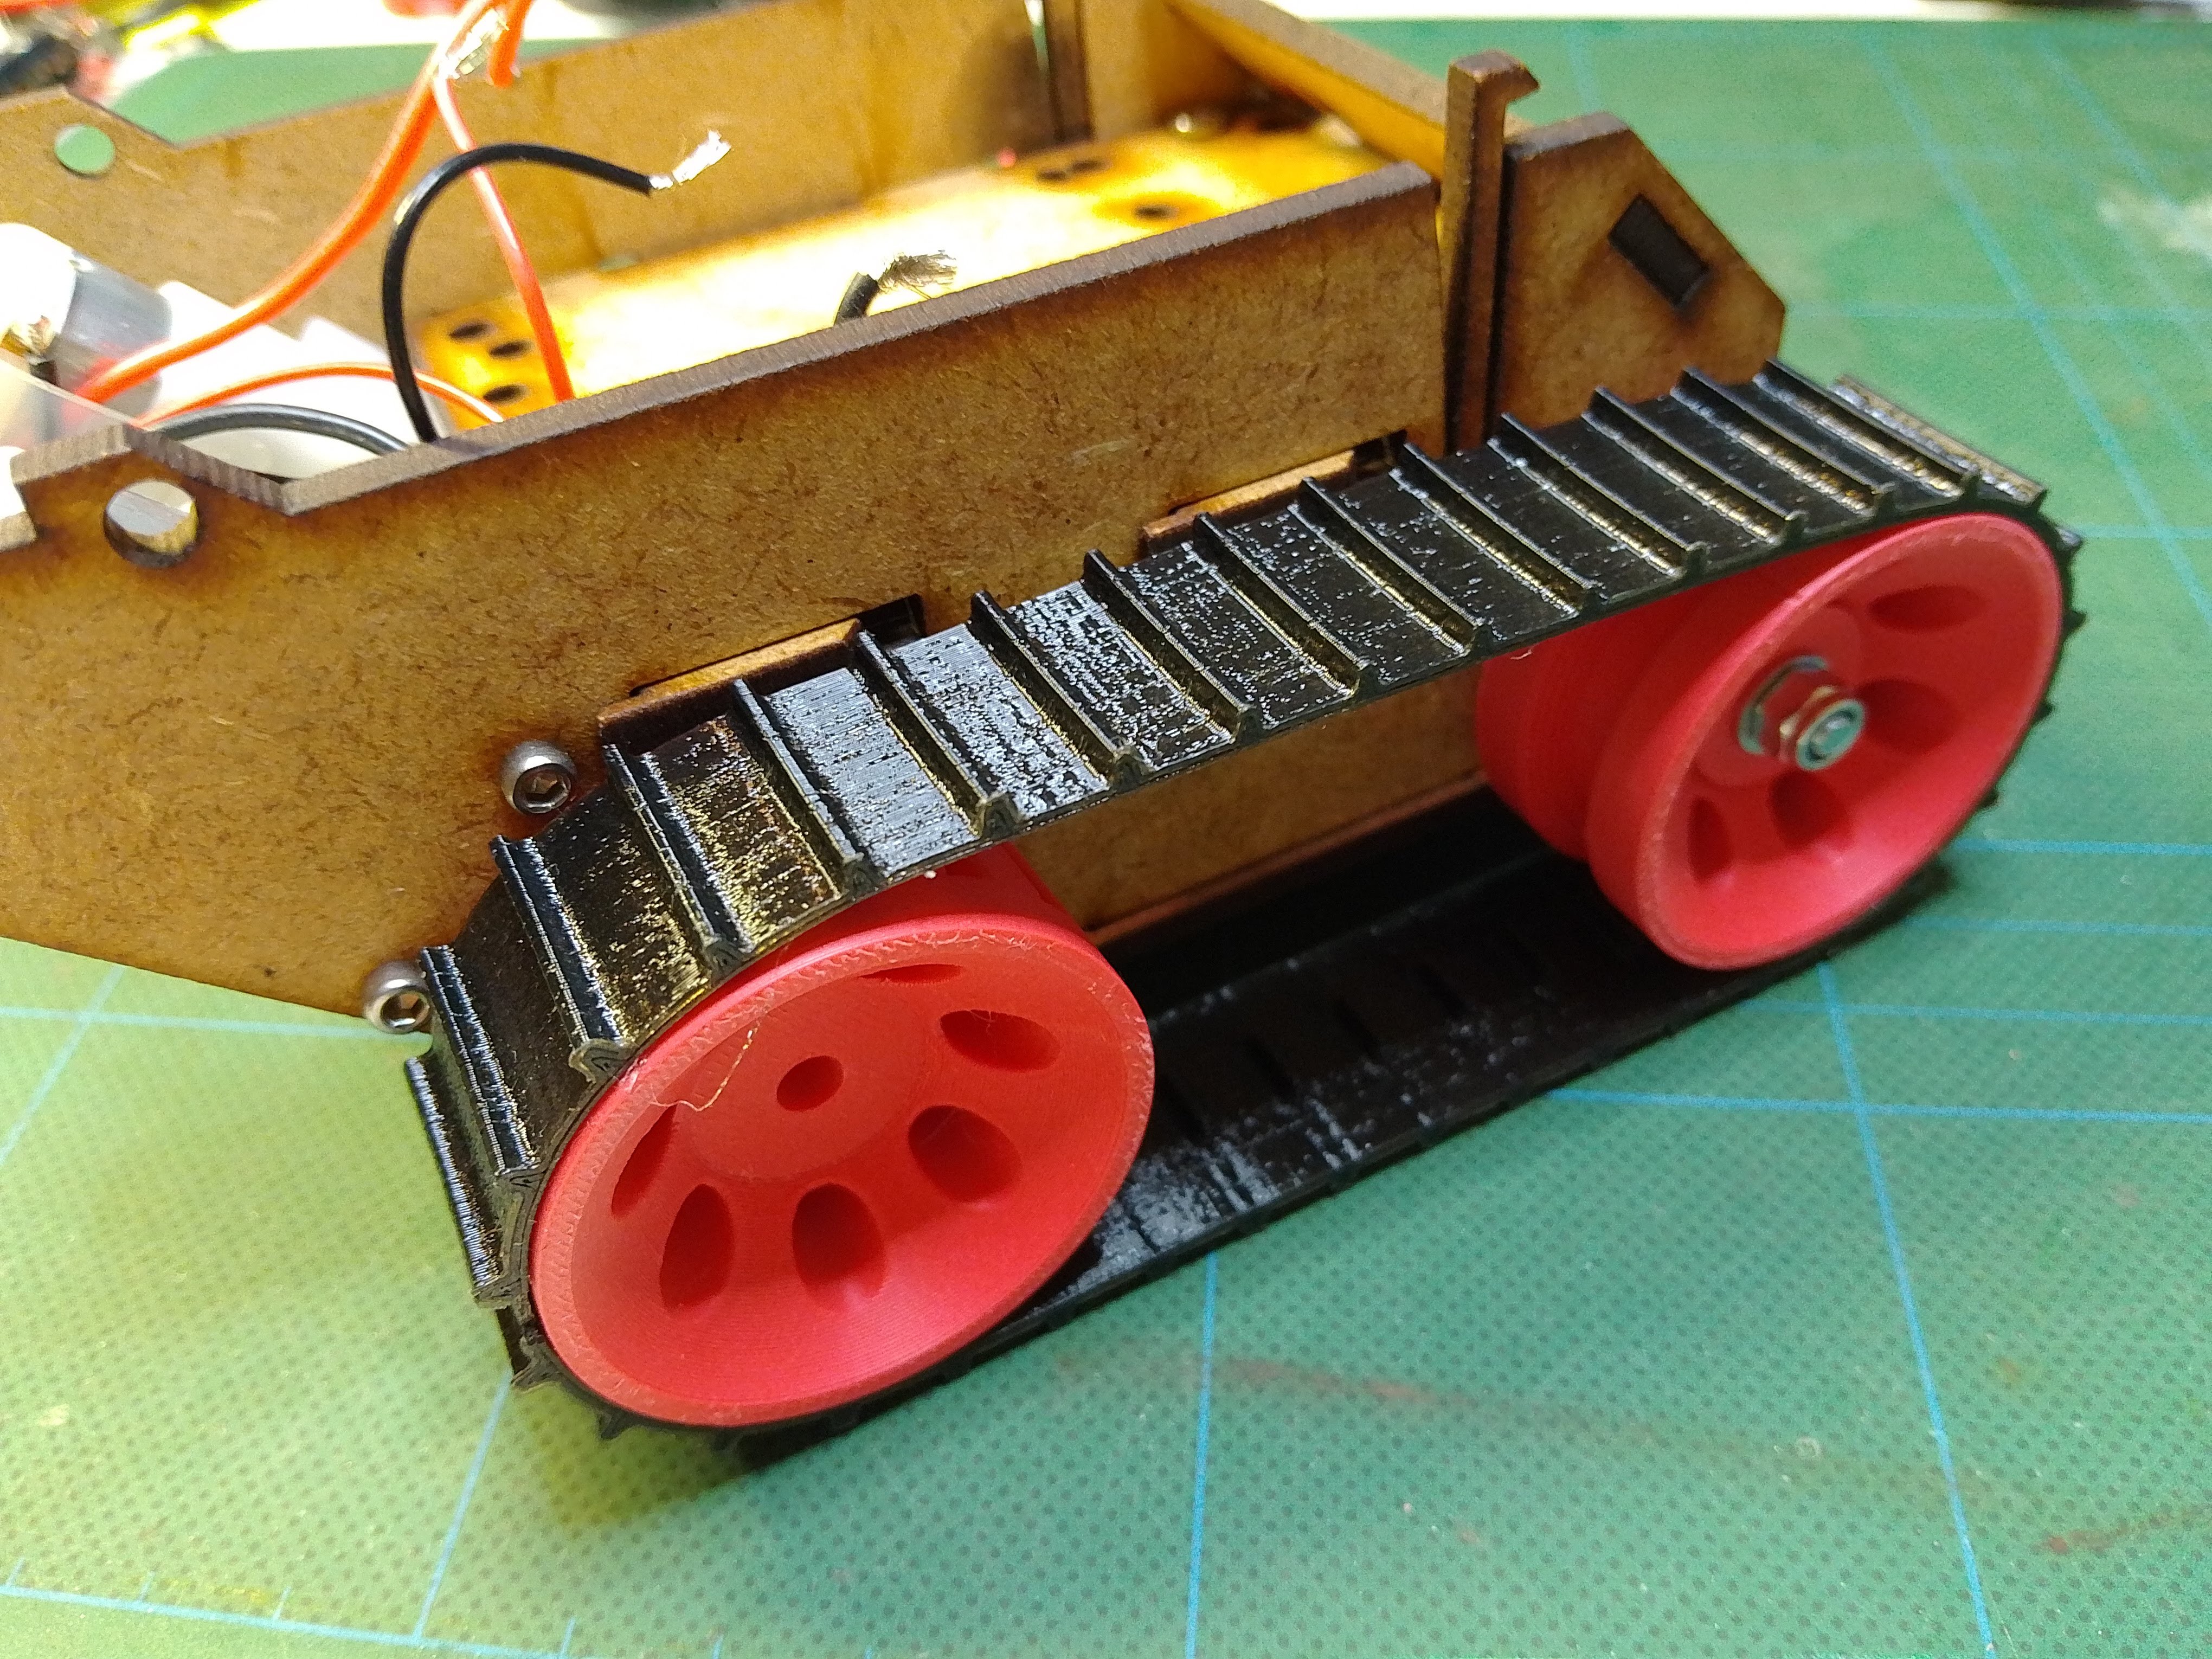
12Attach the motors and rear wheels.
Use the M2.5 x 25mm screws to attach the motors to the chassis.
![]()
Then attach the rear wheels, and fix them in place with a small self tapping screw.
![]()
Now stretch the tanks tracks over the wheels.
![]()
-
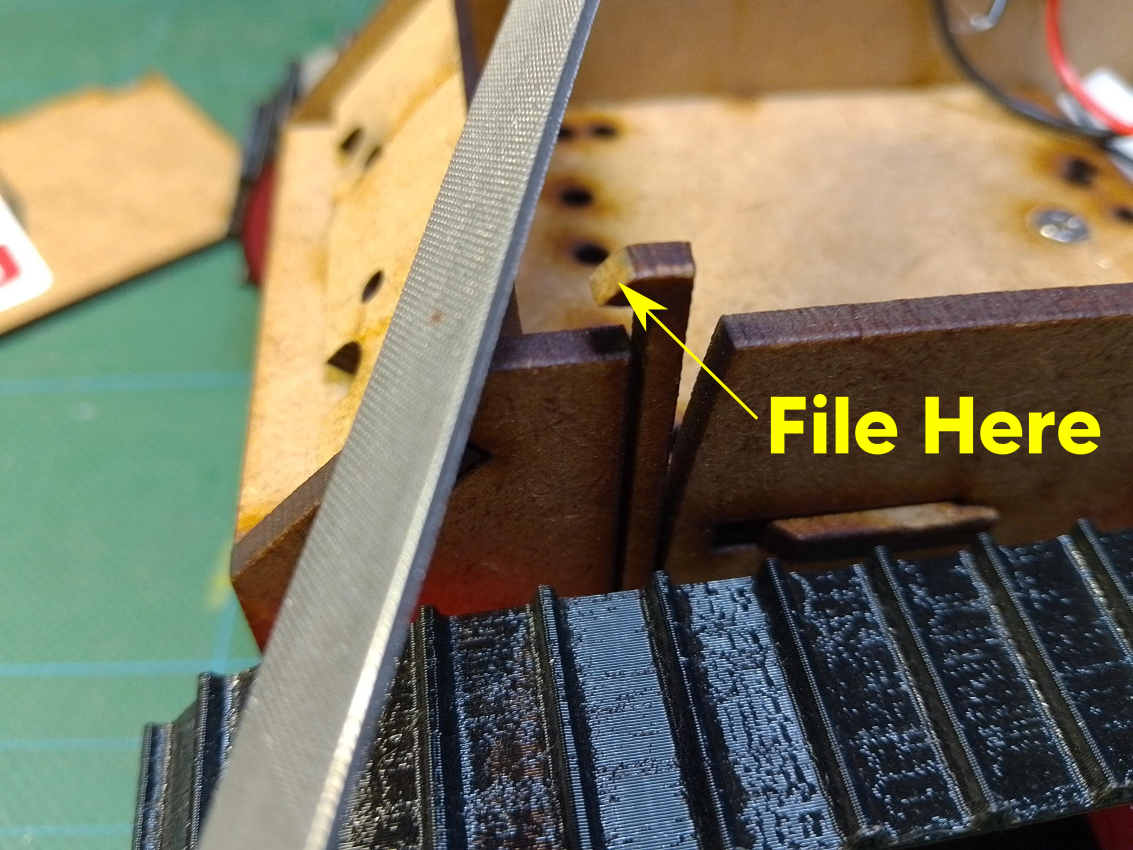
13Attach the top lid.
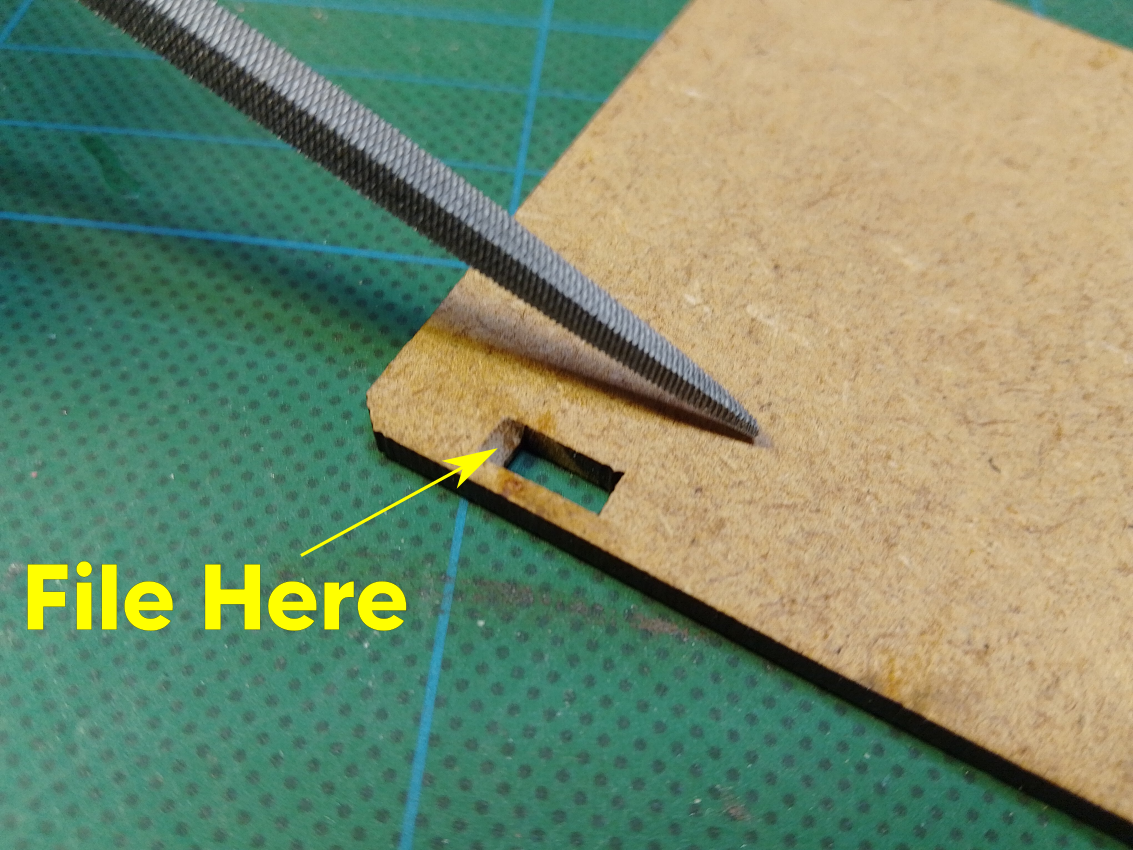
The top lid has a quick release catch, but it helps if you can smooth the parts with a small file.
![]()
![]()
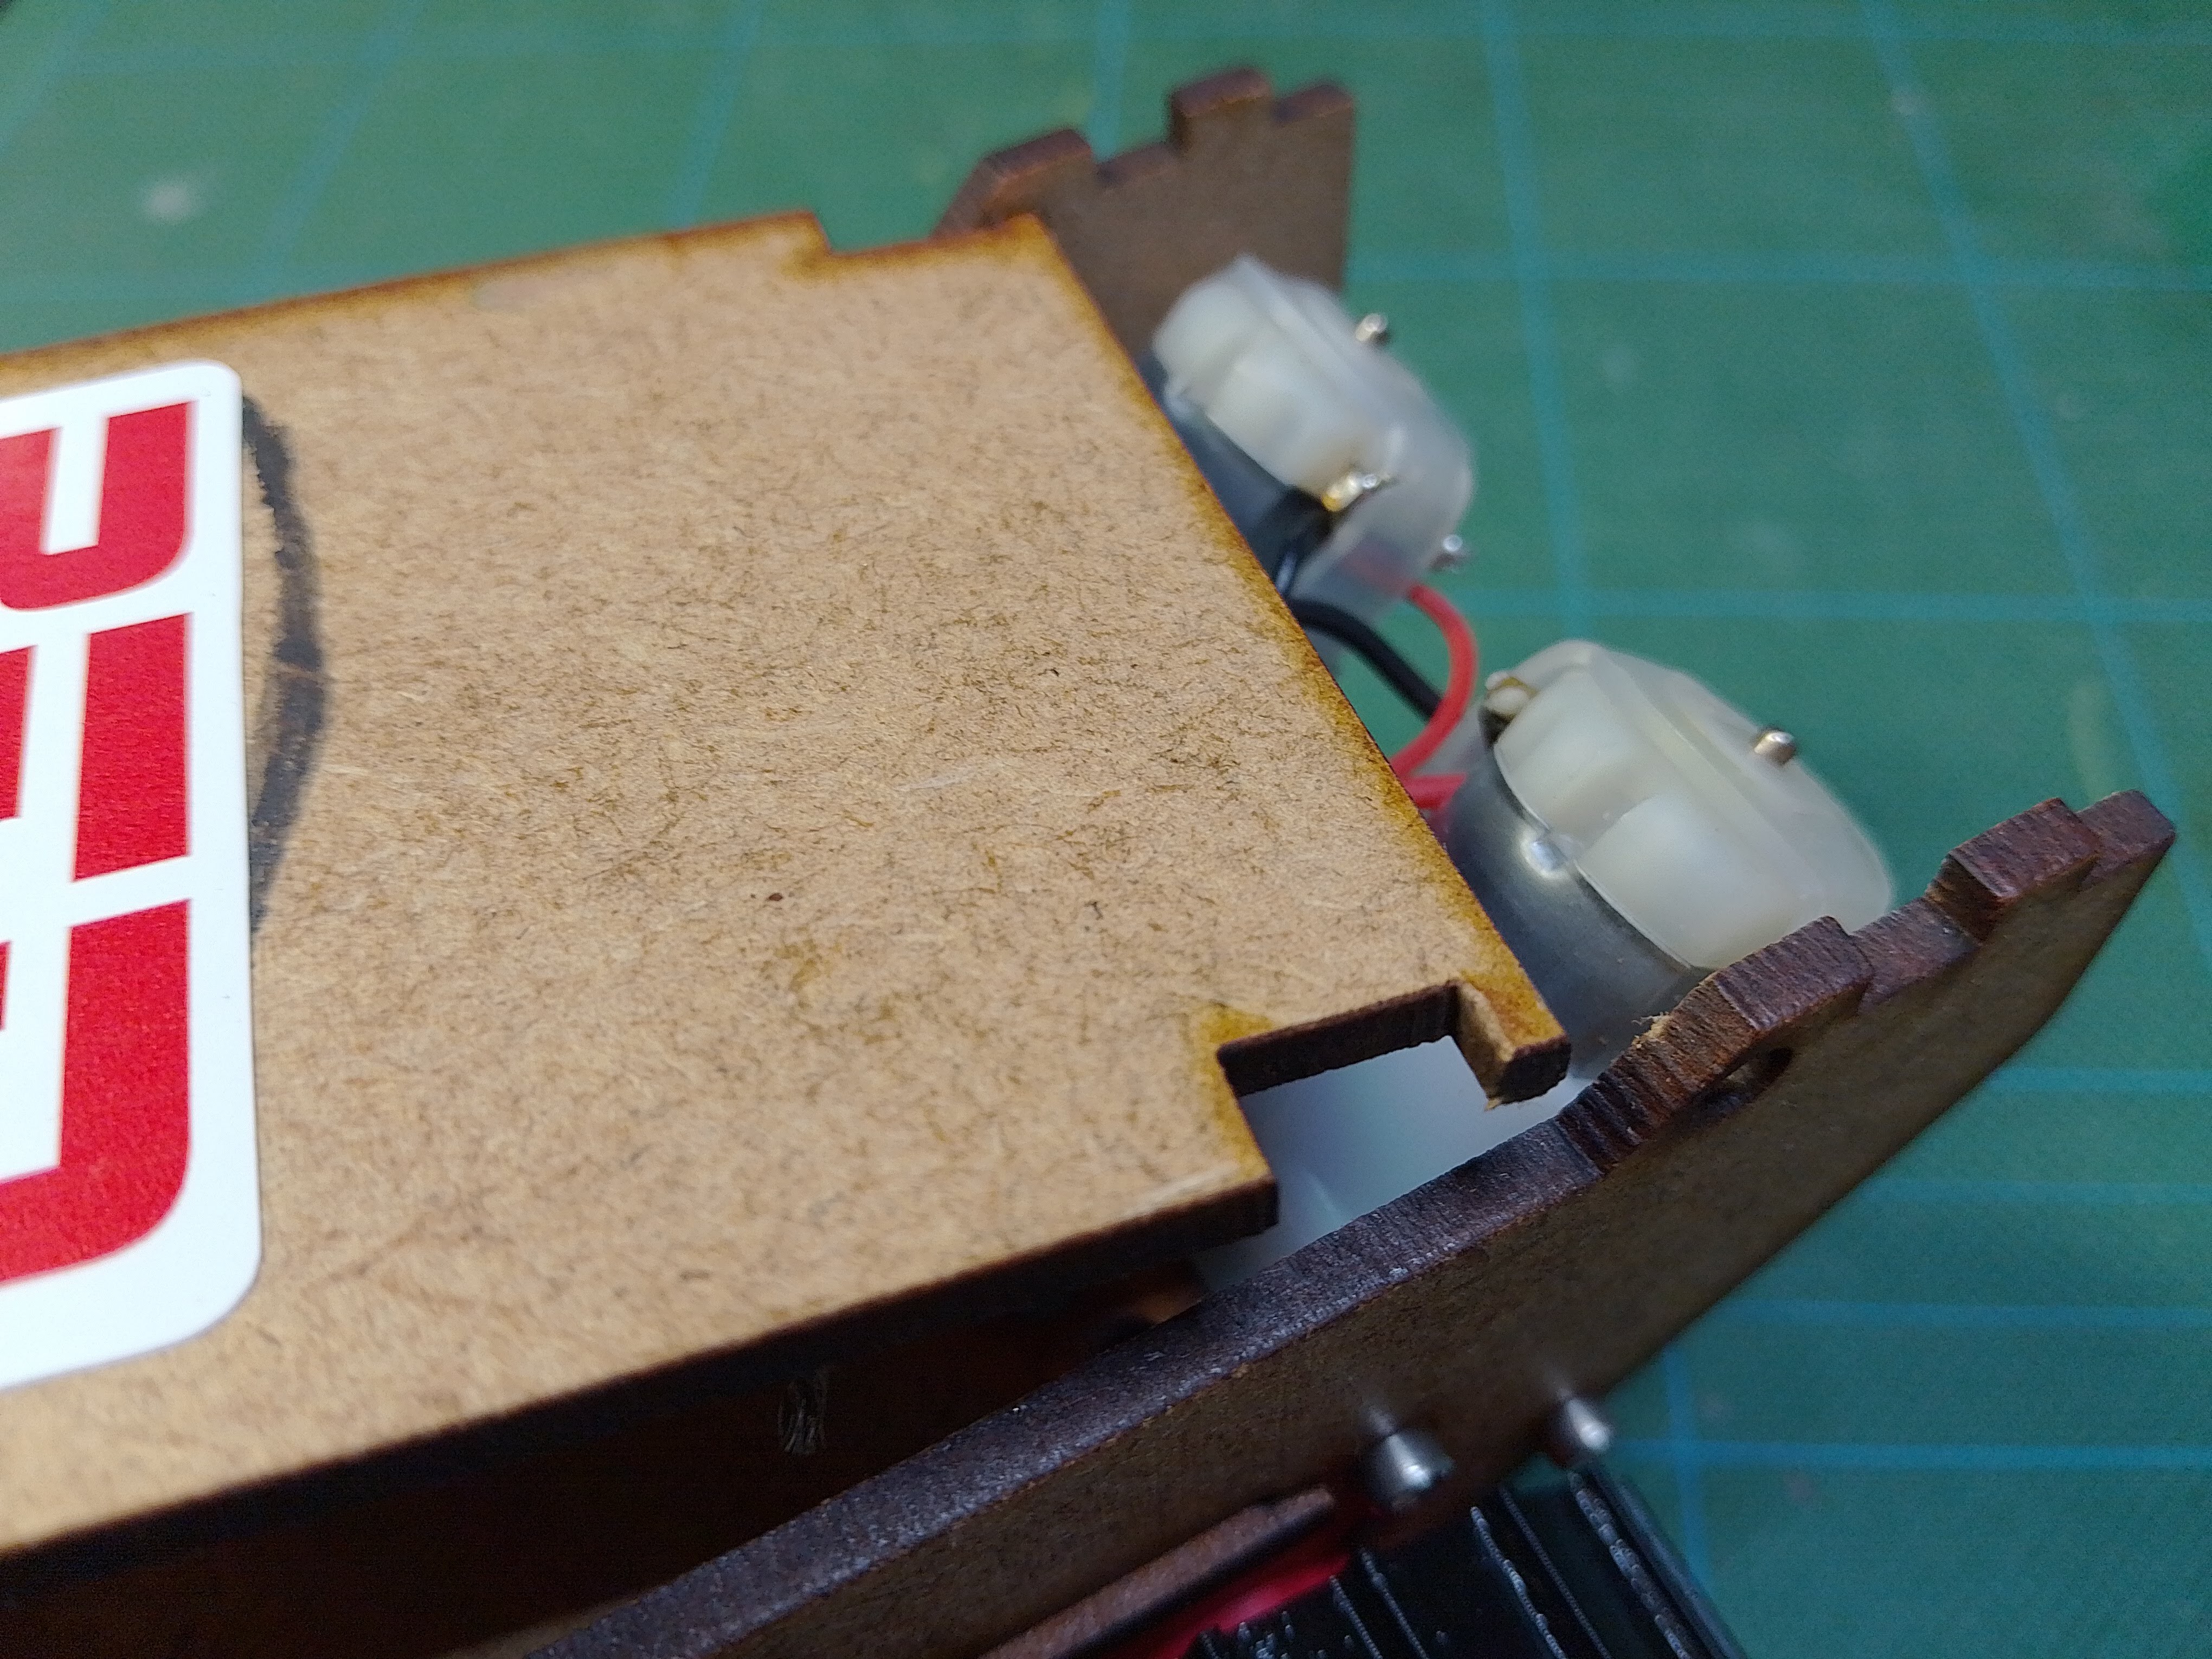
Now attach the lid by squeezing it into the holes at the rear of the chassis.
![]()
Next attach the spoiler.
Pictures coming soon!
$10 Robot!
A super cheap educational robotics platform. Everything you need to build and program a simple robot.

Discussions
Become a Hackaday.io Member
Create an account to leave a comment. Already have an account? Log In.
No problem, I'll add it to the Files section to make it easier to find as well.
Are you sure? yes | no
I am sorry. The firmware is in the LOGS section. I missed it.
Are you sure? yes | no
Would you supply the firmware for the ESP32? It would be hard for the student to start from scratch to program the robot.
Are you sure? yes | no