 Alpenglow Industries
-
1Unpack your Kit
![]()
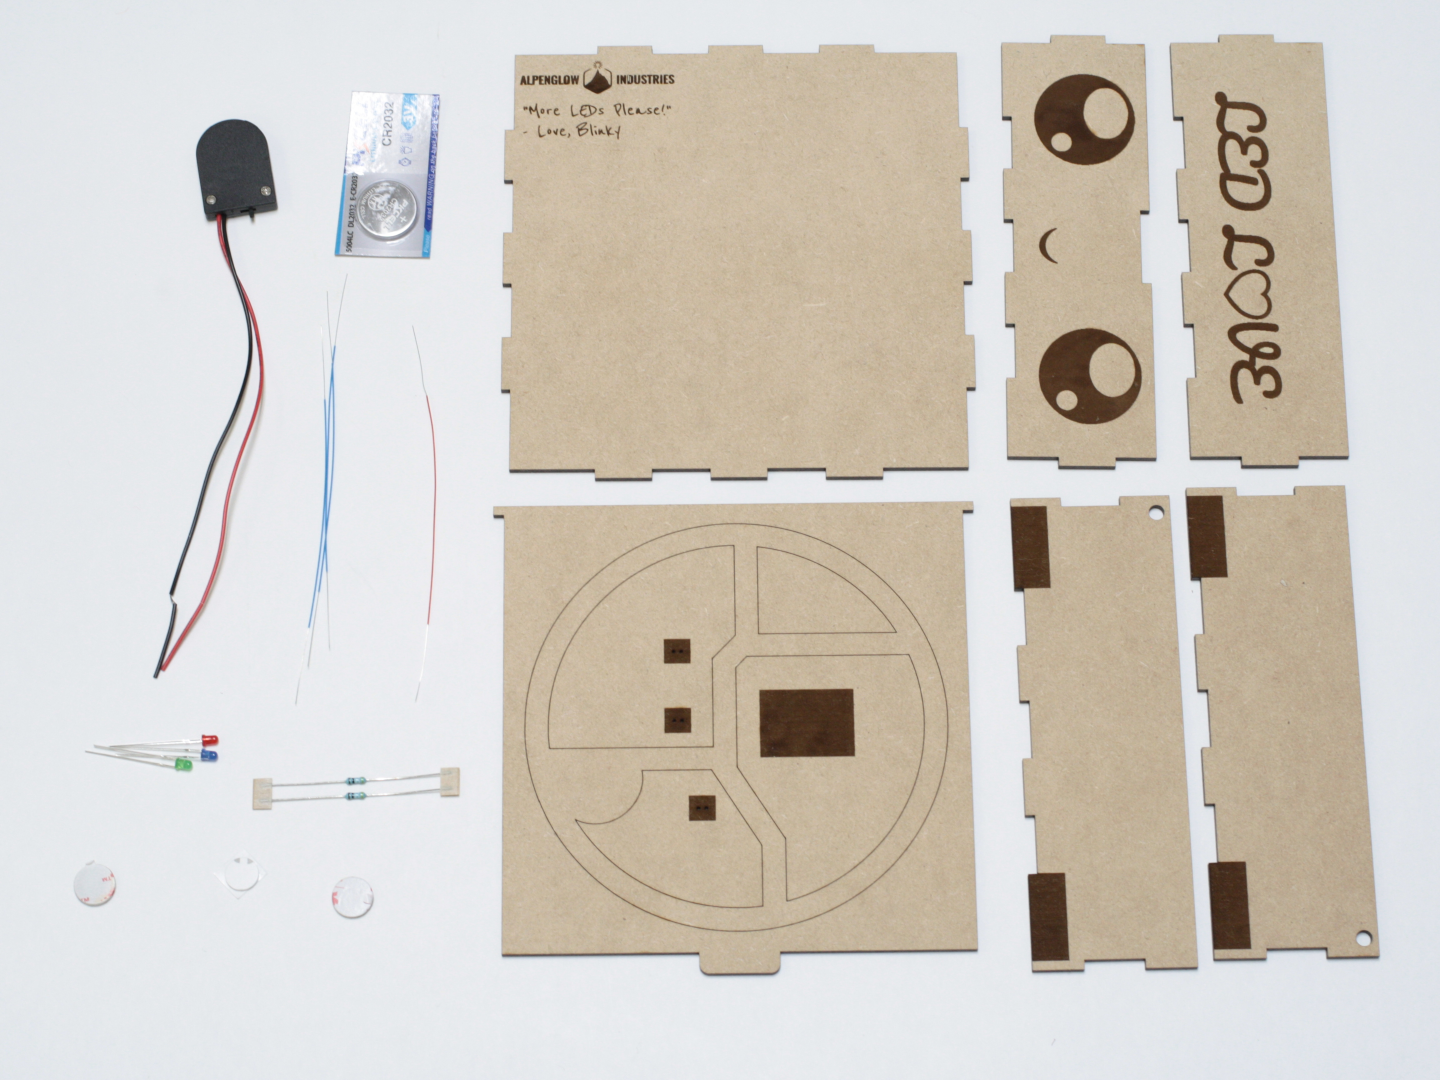
Your kit should include:
1 - Unassembled box
1 - Pre-stripped red wire
3 - Pre-stripped blue wires
1 - Battery holder
1 - CR2032 battery
2 - 499 ohm resistors
2 - Self adhesive magnets
1 - Adhesive dot
1 - Red 3mm self blinking LED
1 - Green 3mm self blinking LED
1 - Blue 3mm self blinking LED
-
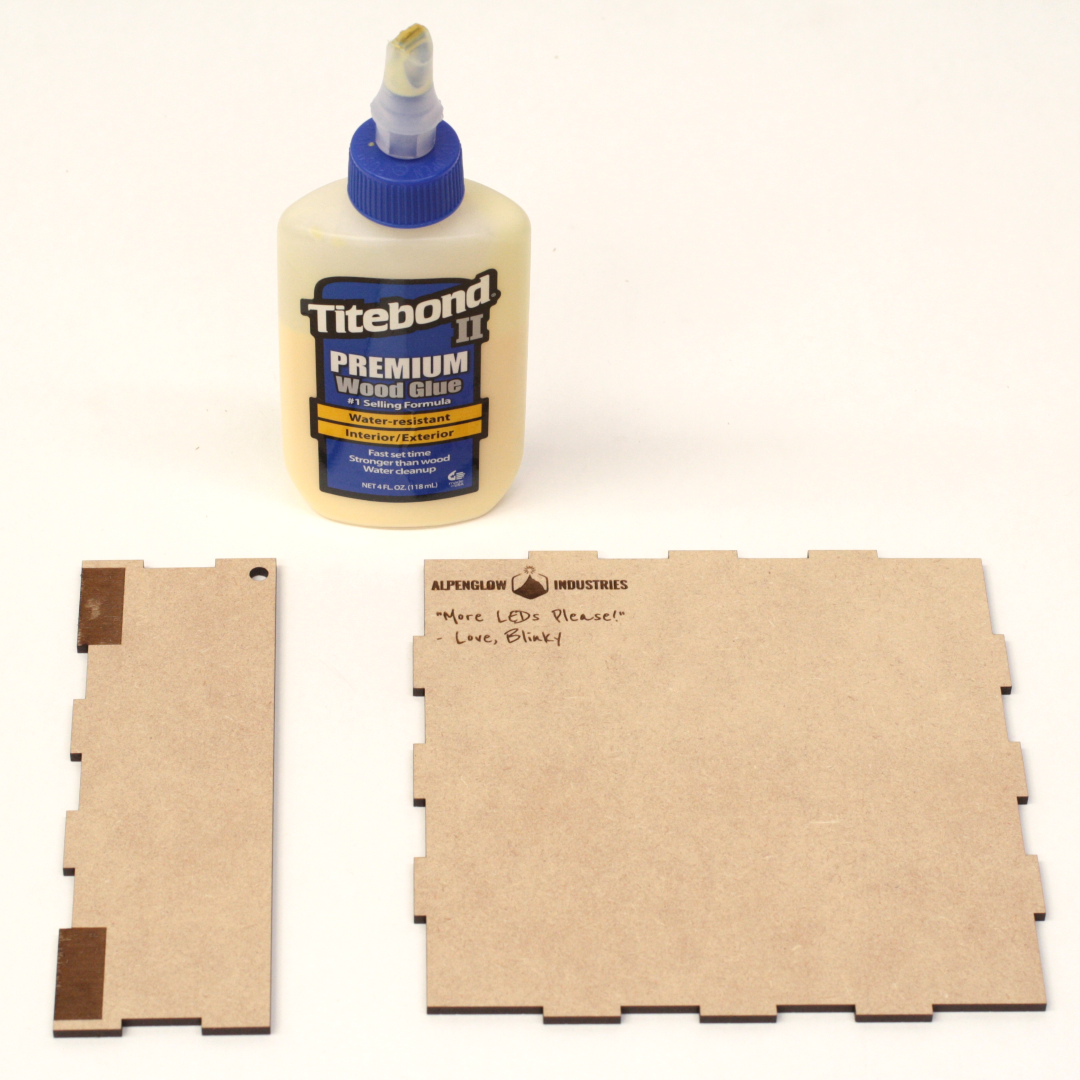
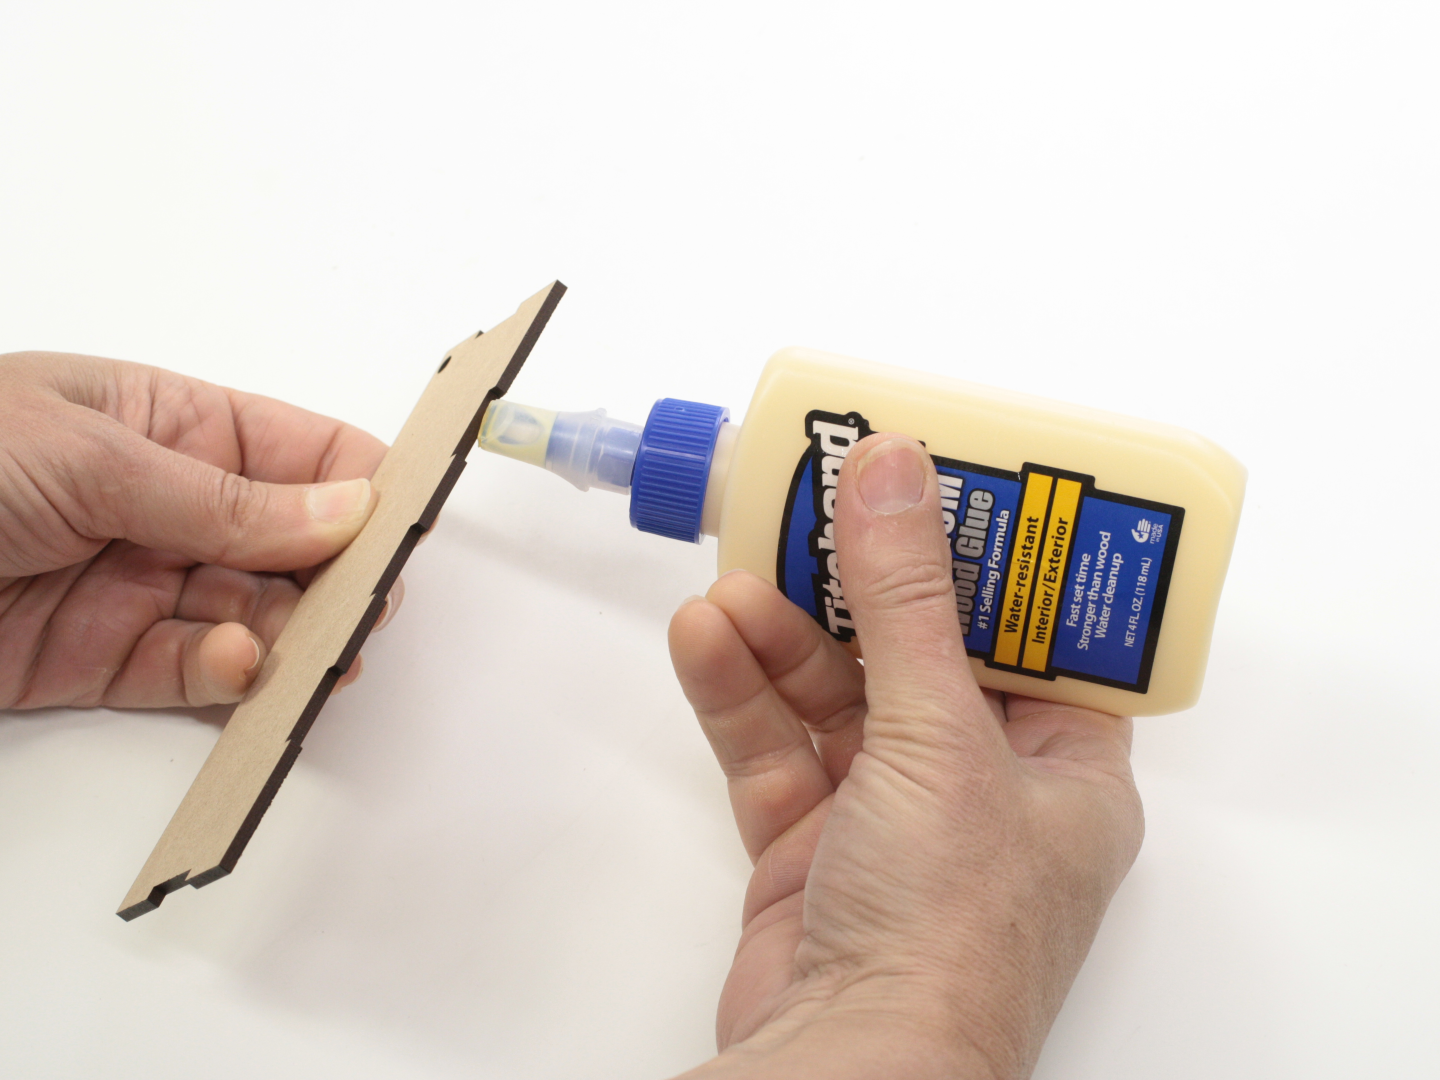
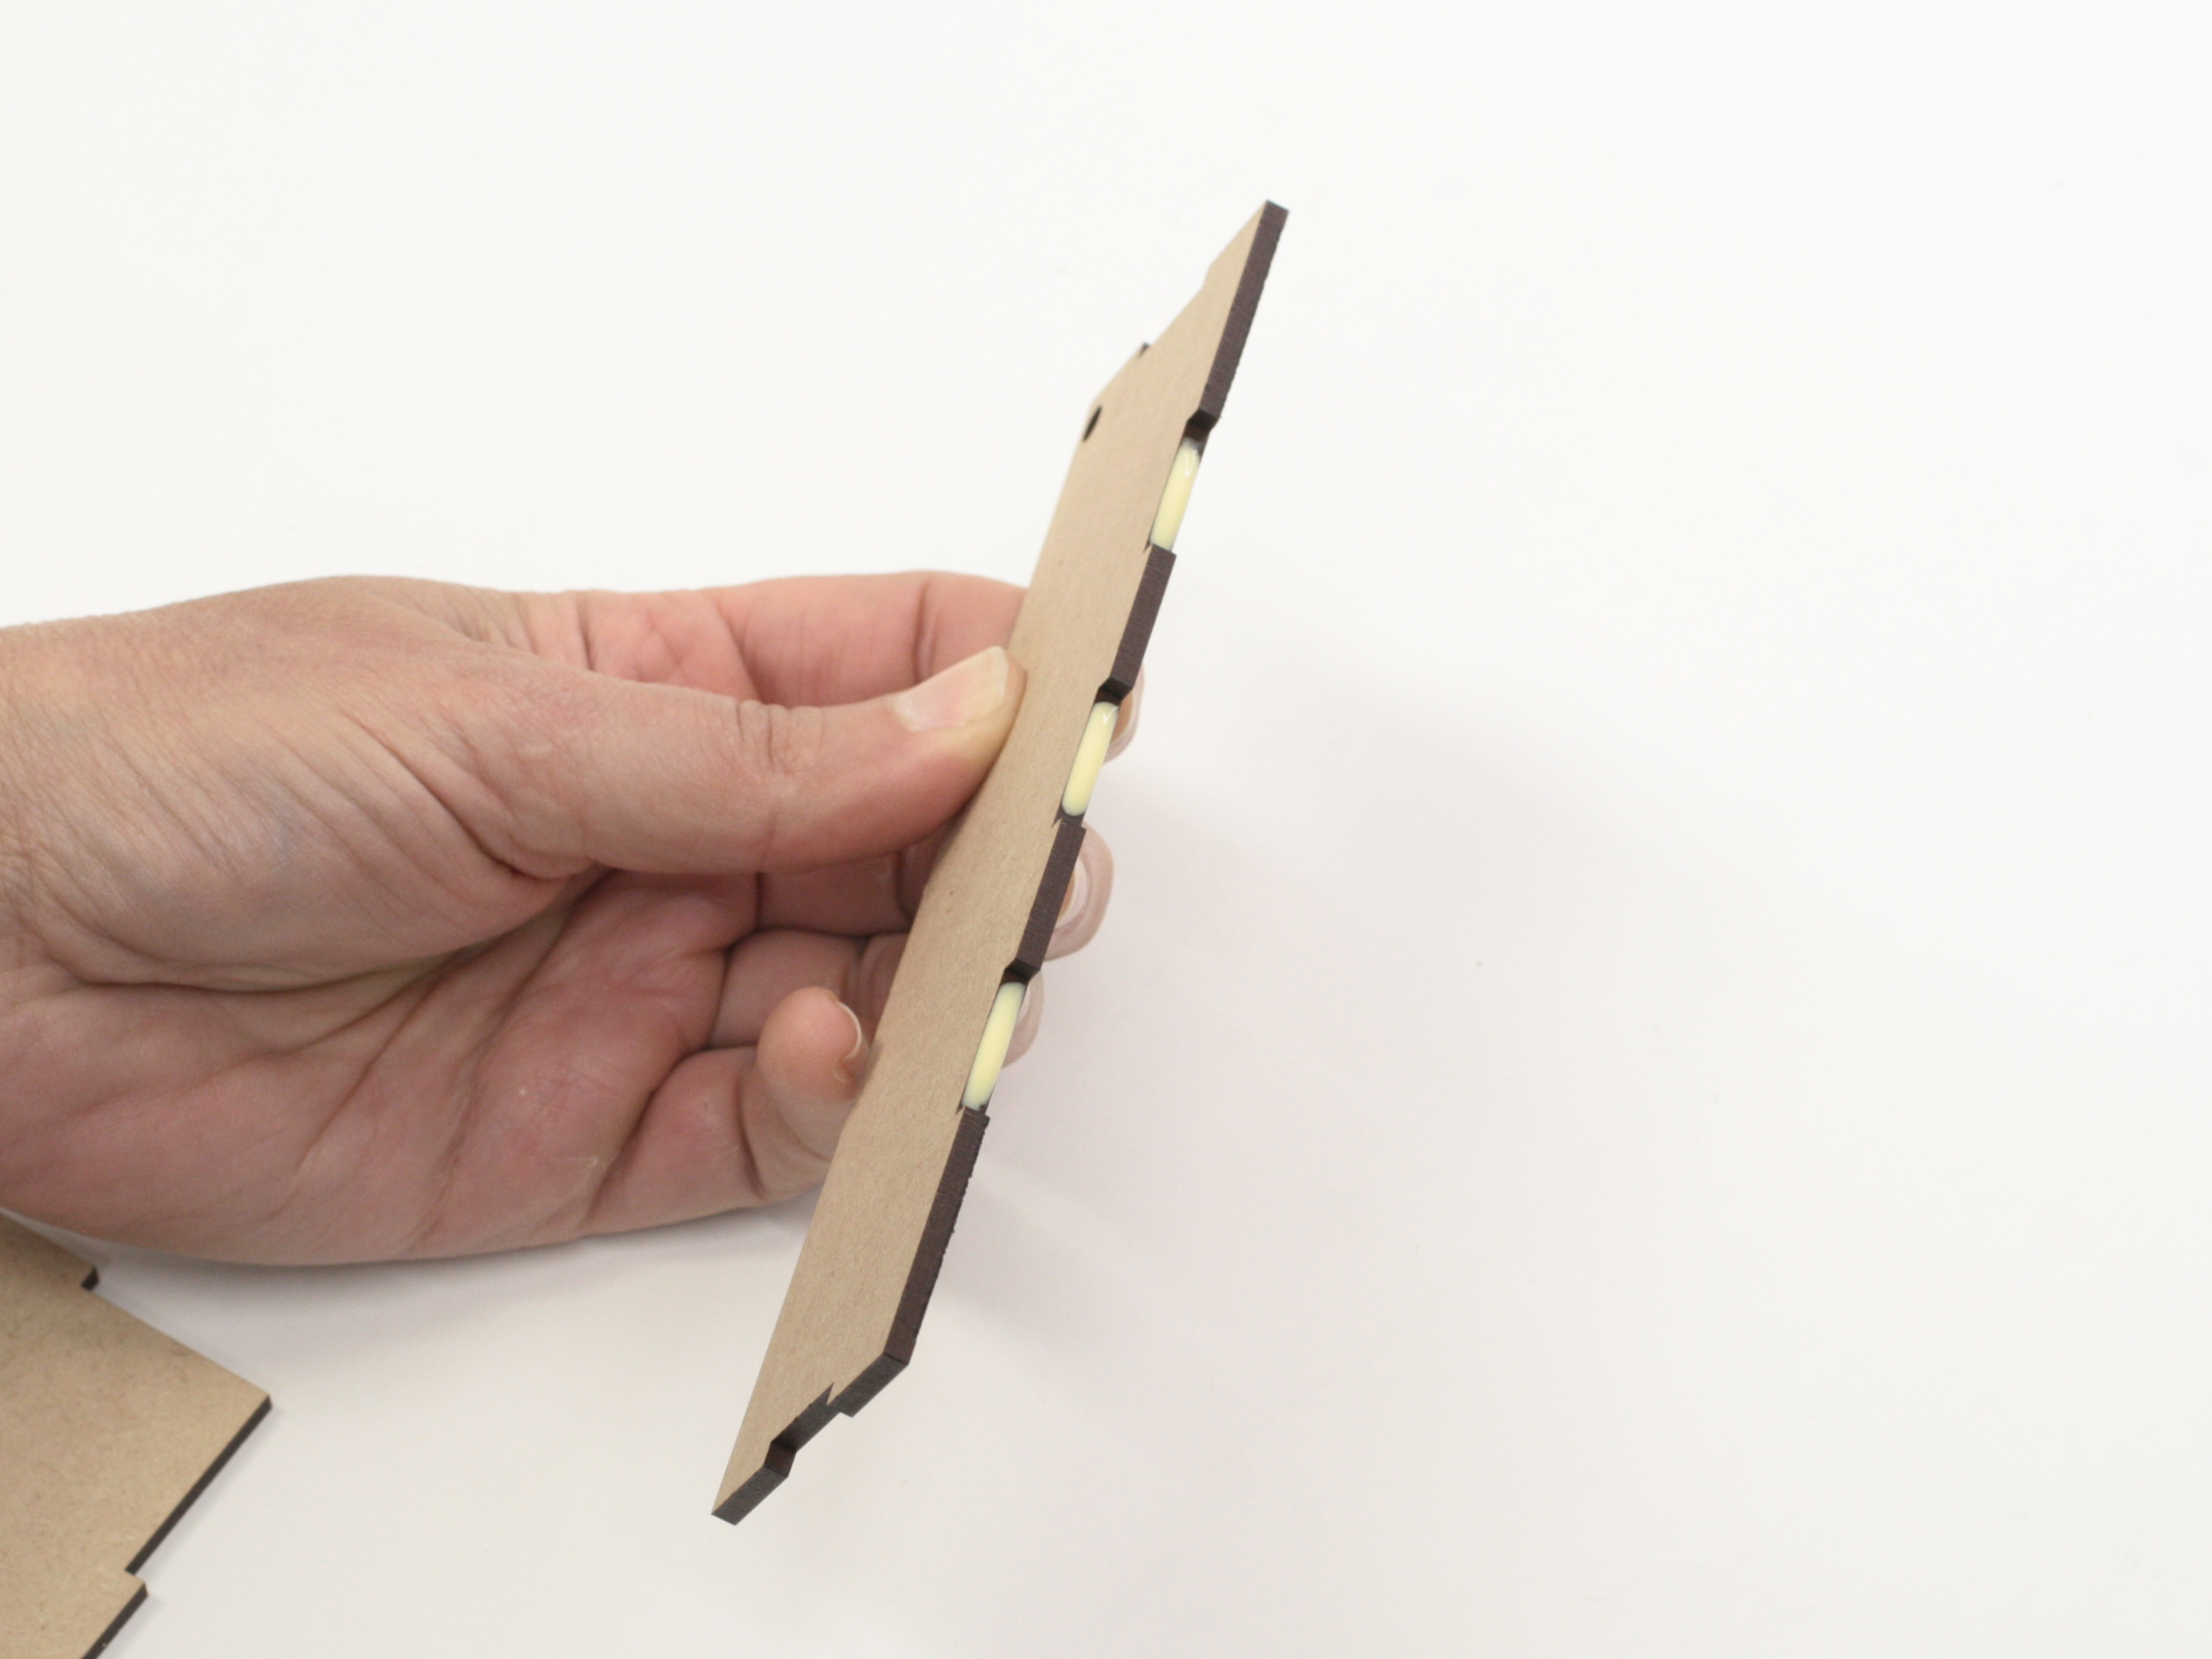
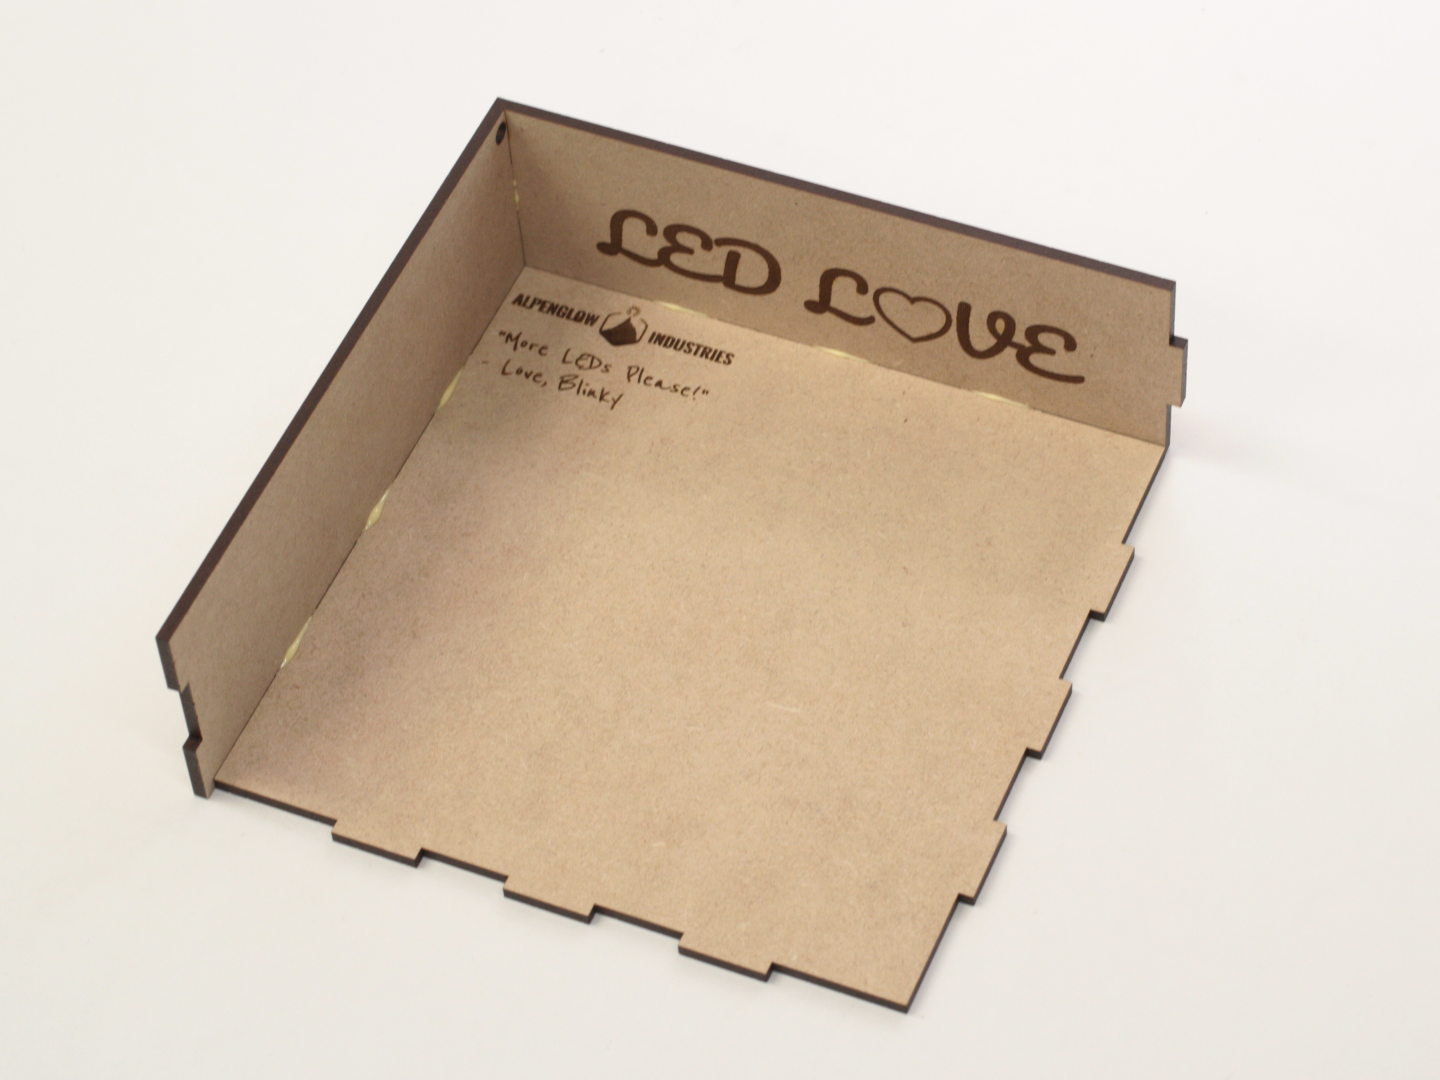
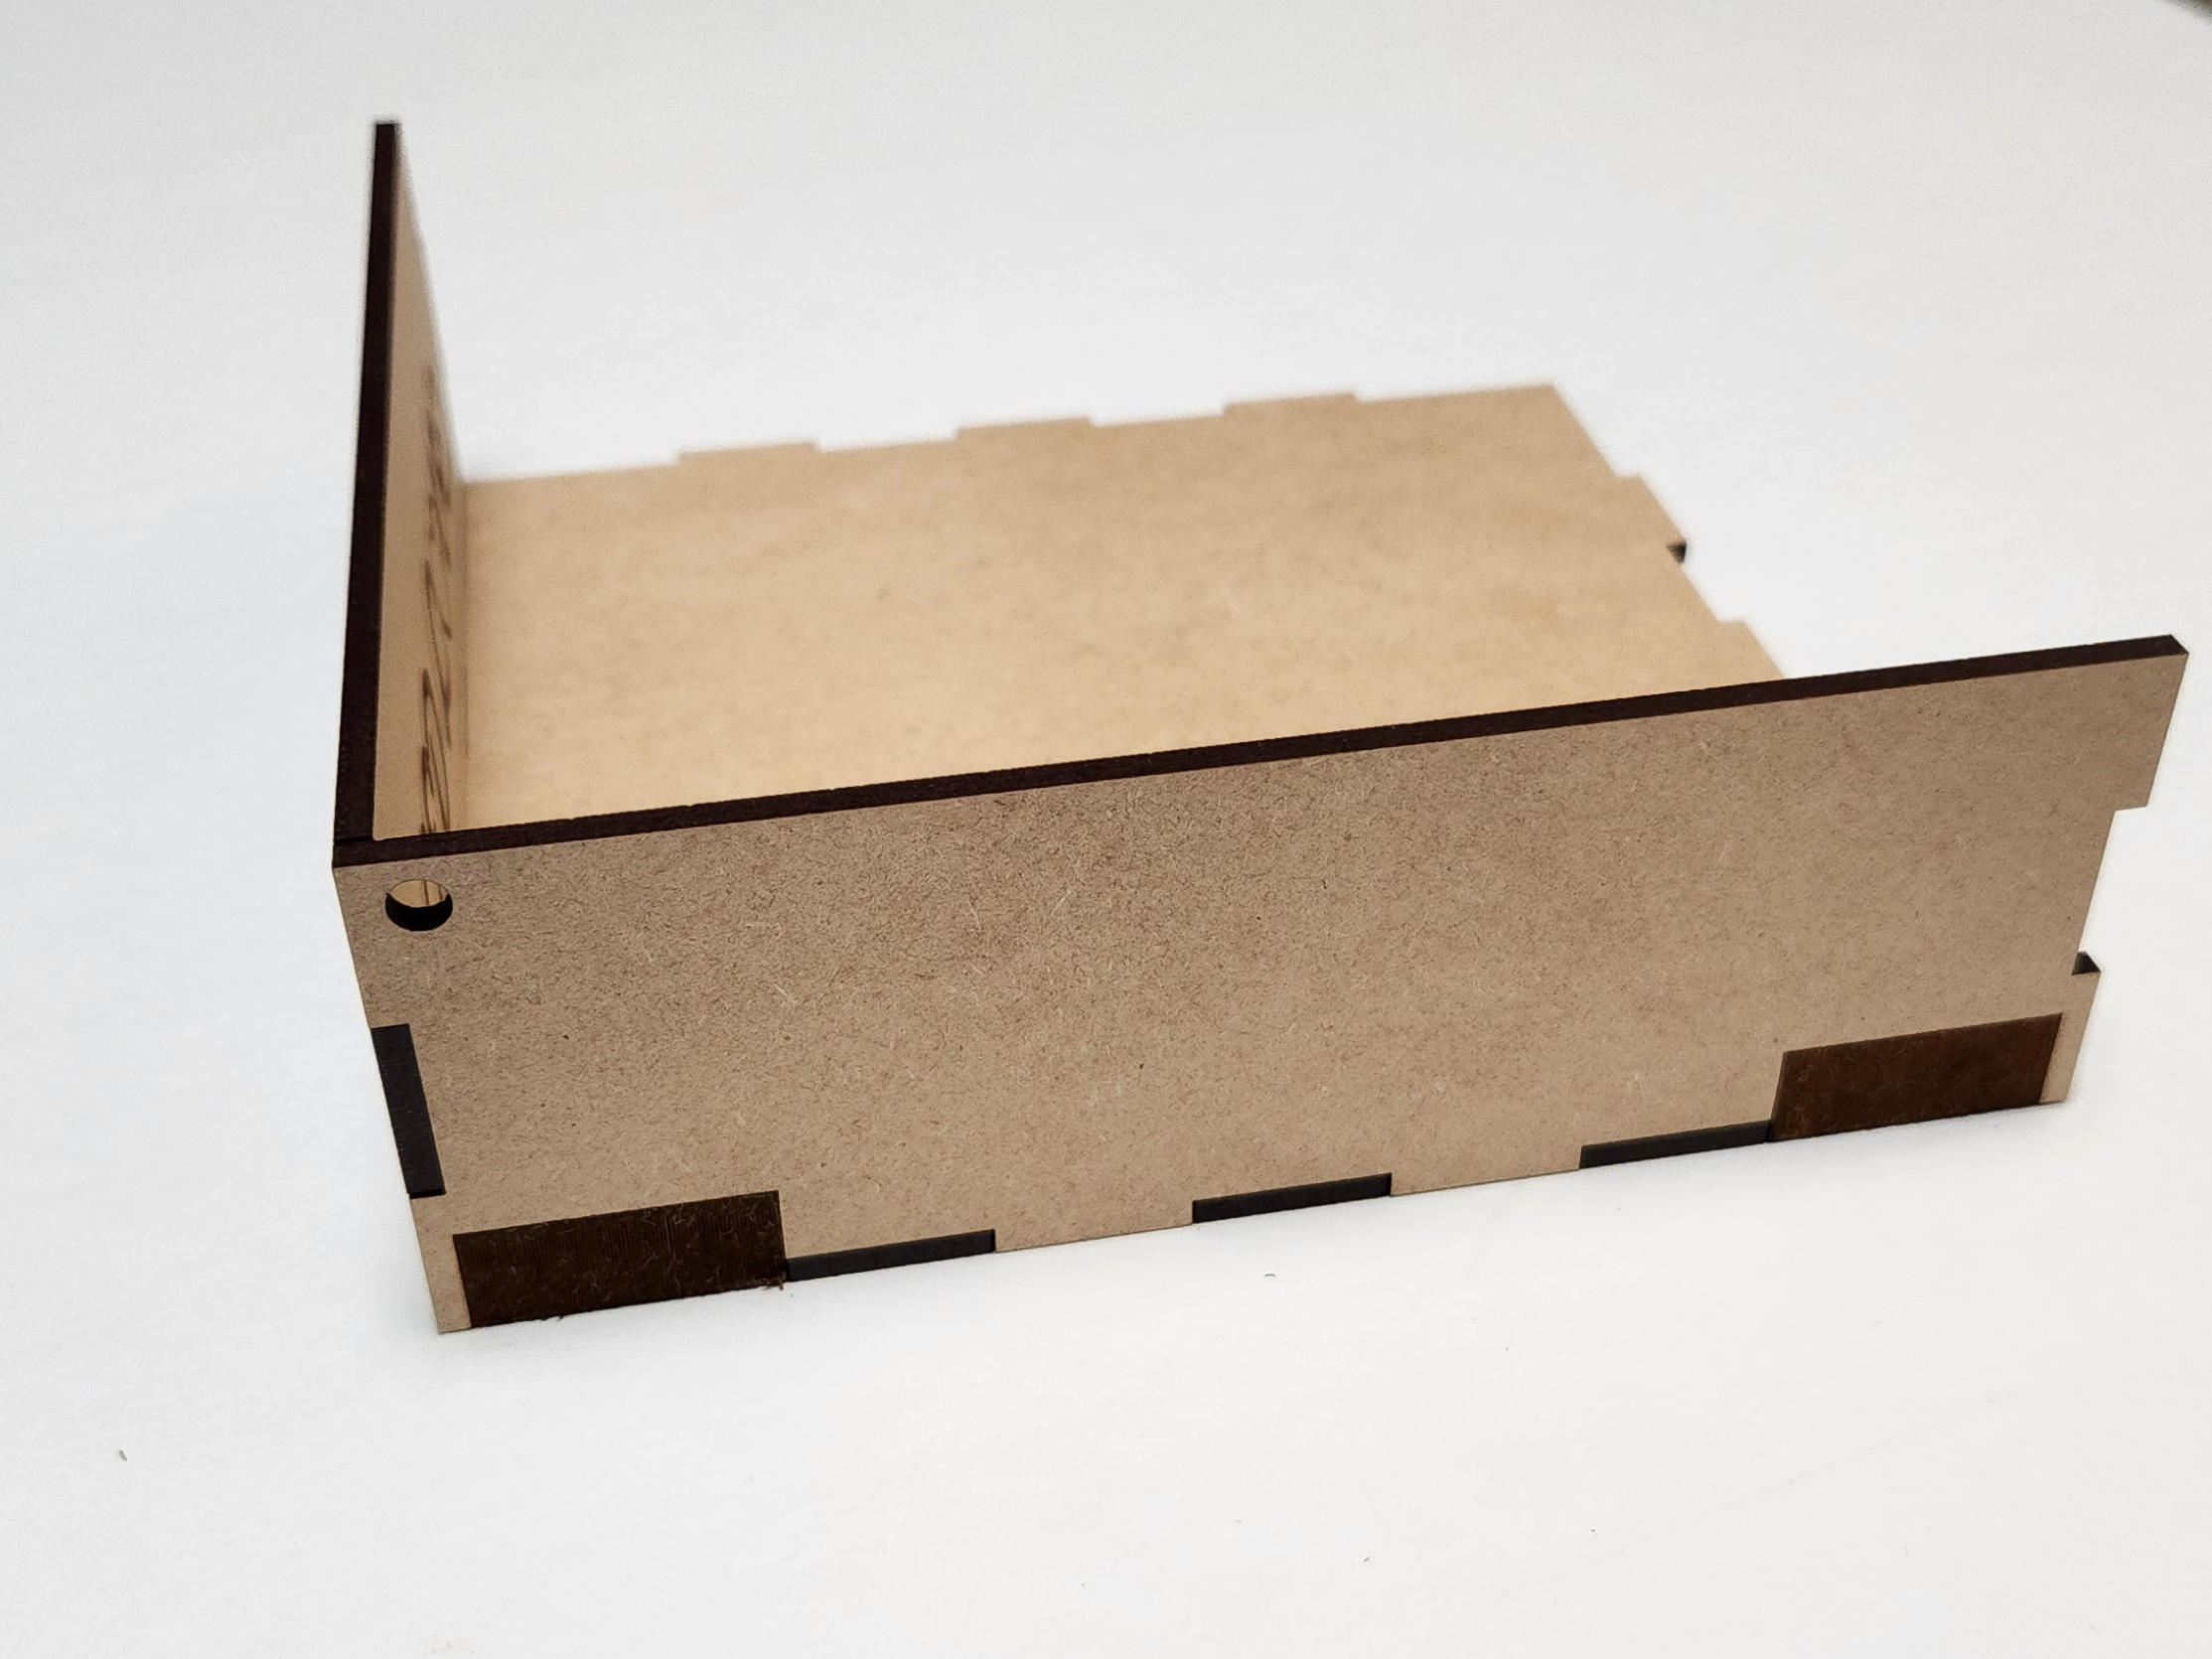
2Glue left & back panels to base
Place your box base on a flat surface. The base can go in any orientation you prefer. Take the left panel making sure that the engraved side is facing out and the hole is towards the back. Place glue along the indented side of the base and the left panel. Line up and hold until secured. Place glue along the indented sides of the back panel. Place panel with engraving side facing inward.
![]()
![]()
![]()
![]()
![]()
![]()
-
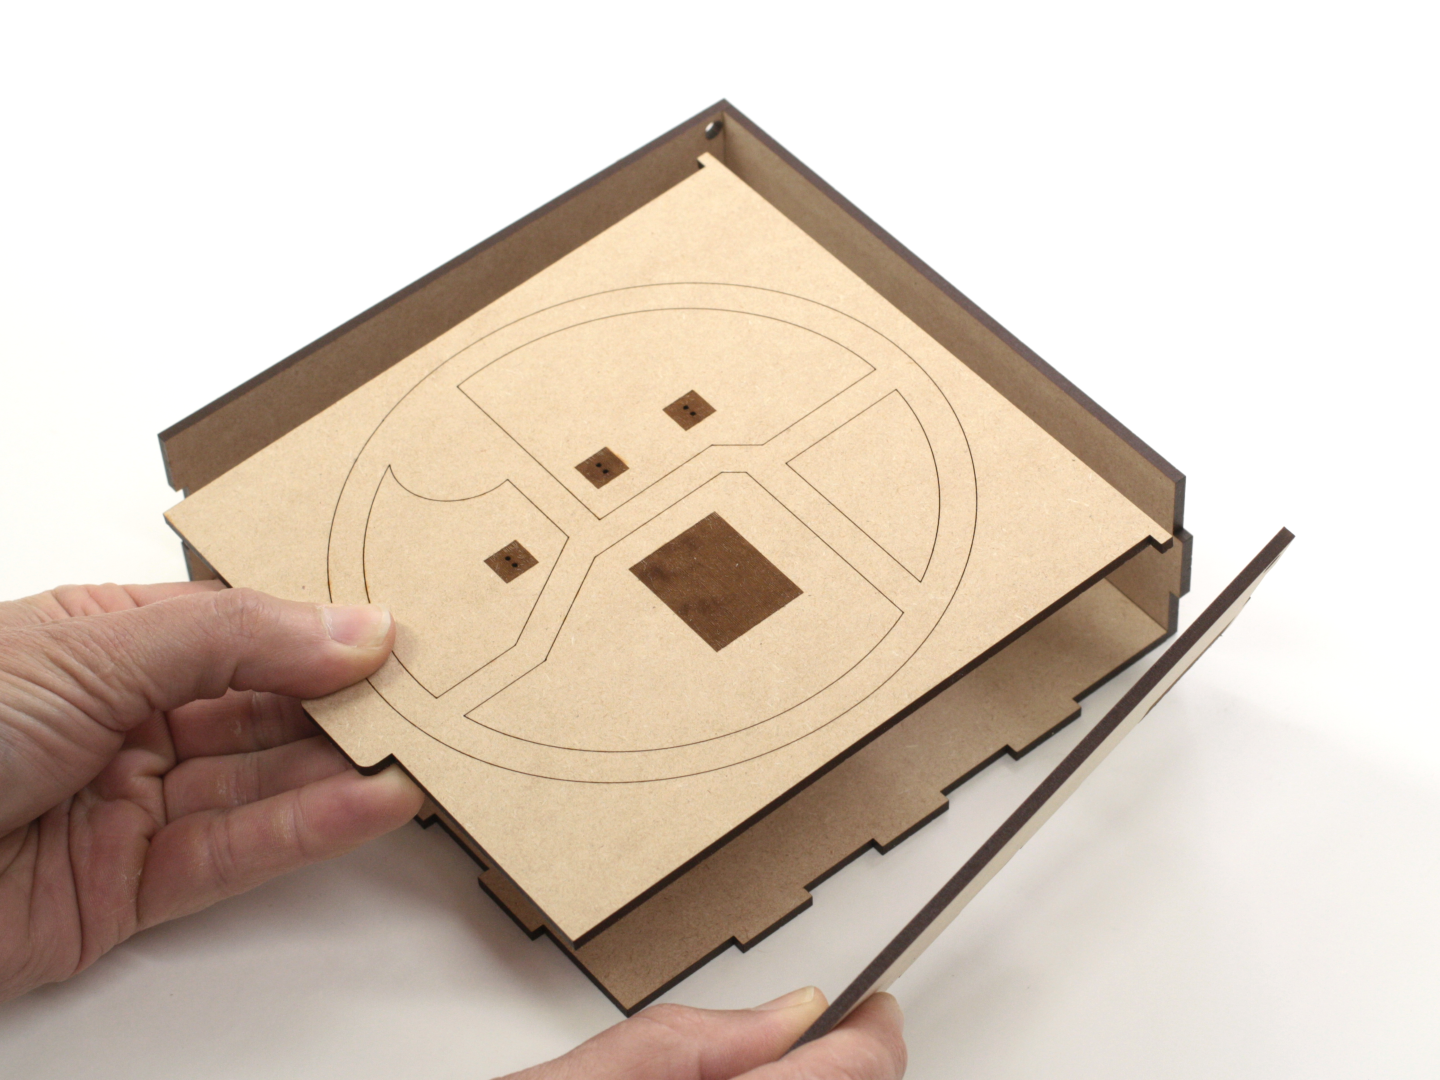
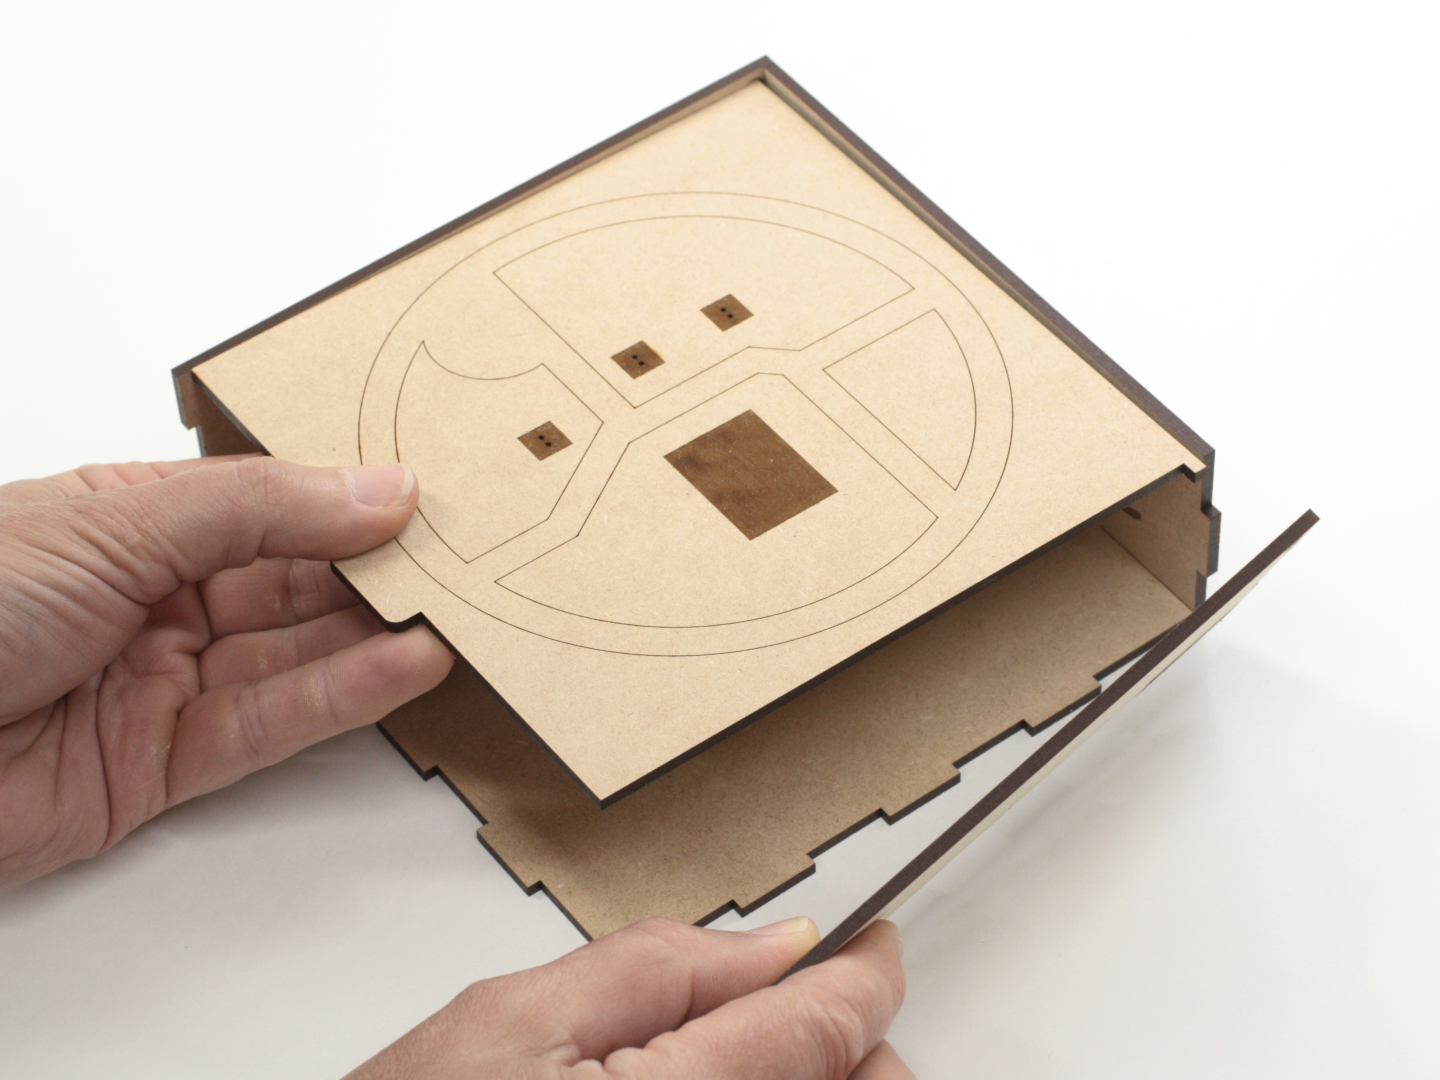
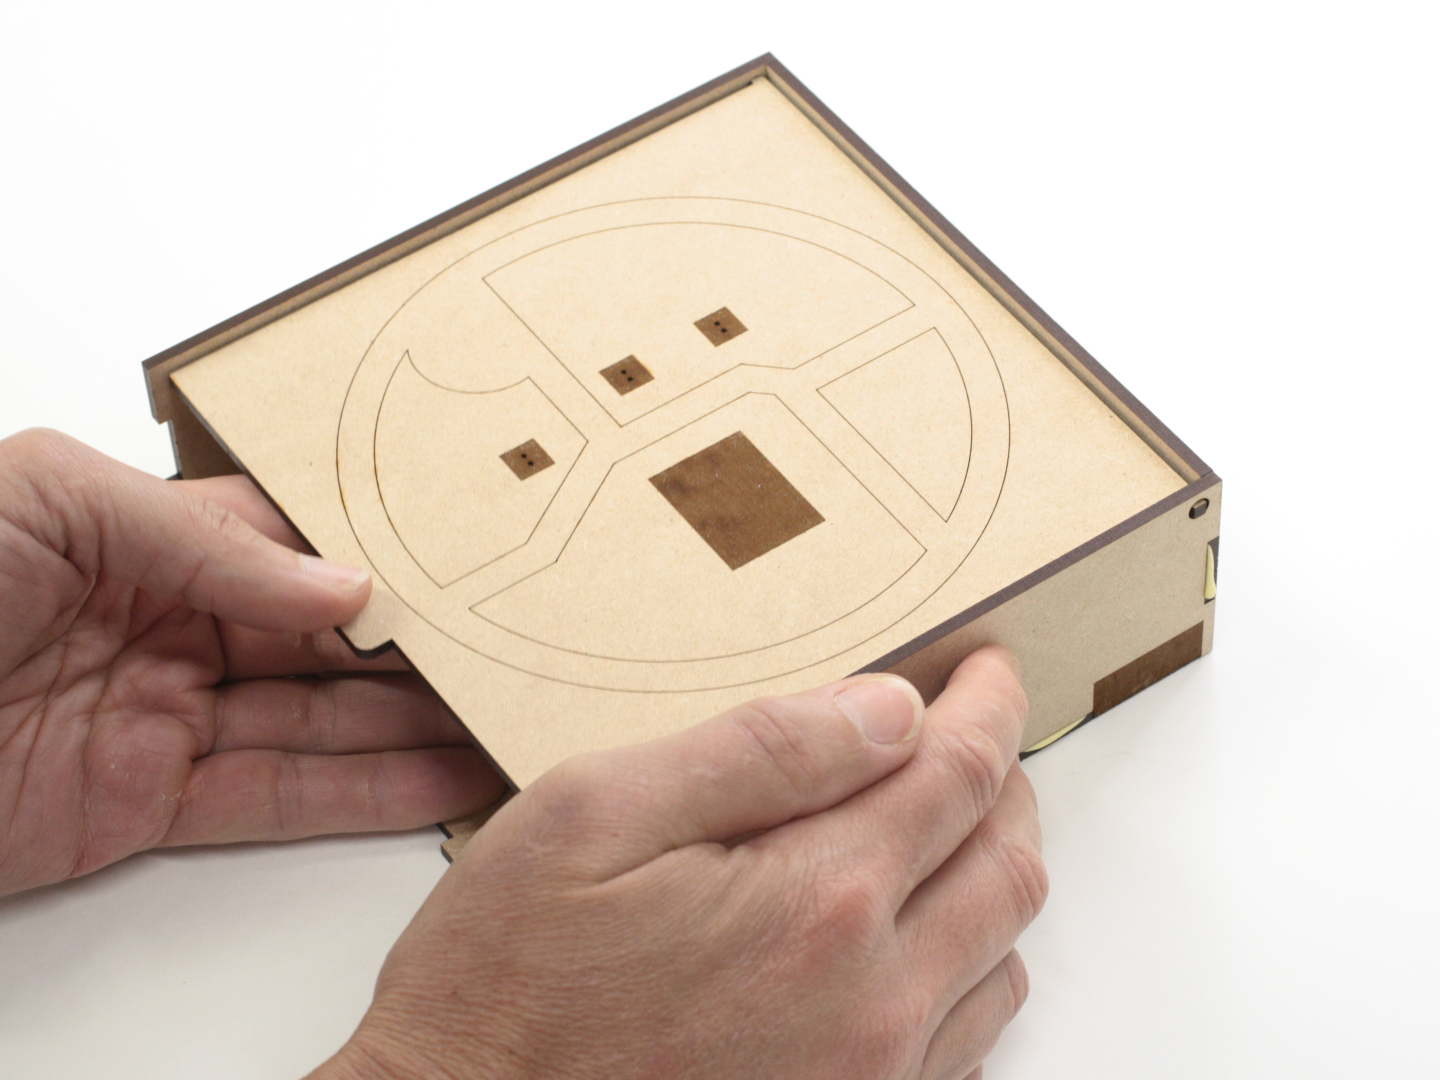
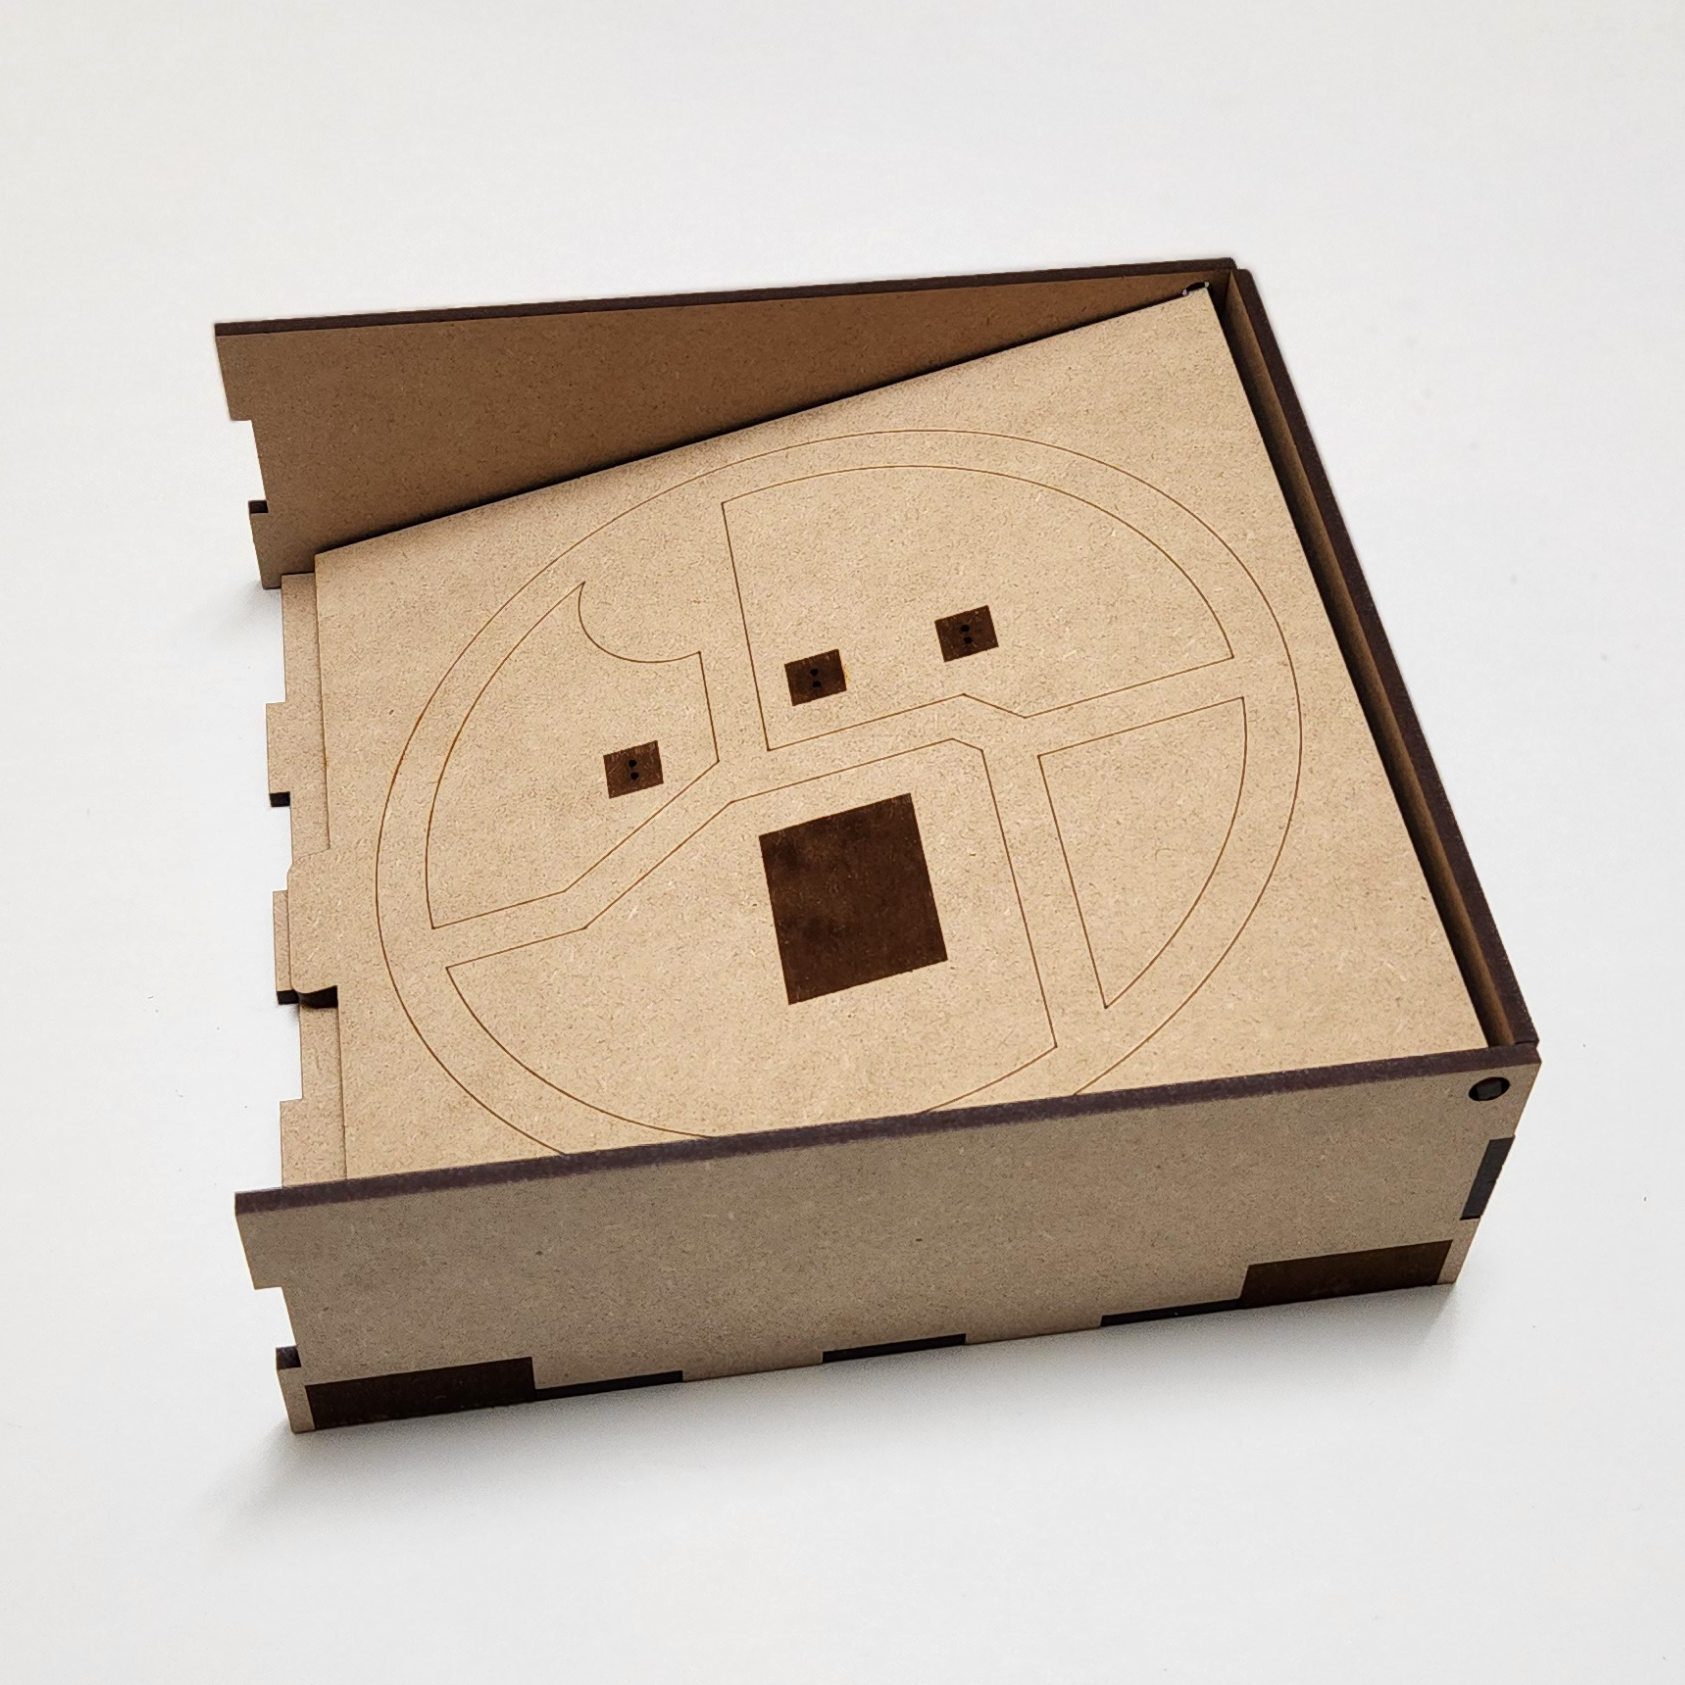
3Place lid in holes & glue right panel
Place the tab on the lid through the hole on the left panel. Apply glue to right panel and line up, making sure the engraving is facing outward and the hole is towards the back. Place the other tab on the lid through the right panel. Let the lid rest on the base while the right panel dries.
![]()
![]()
![]()
![]()
-
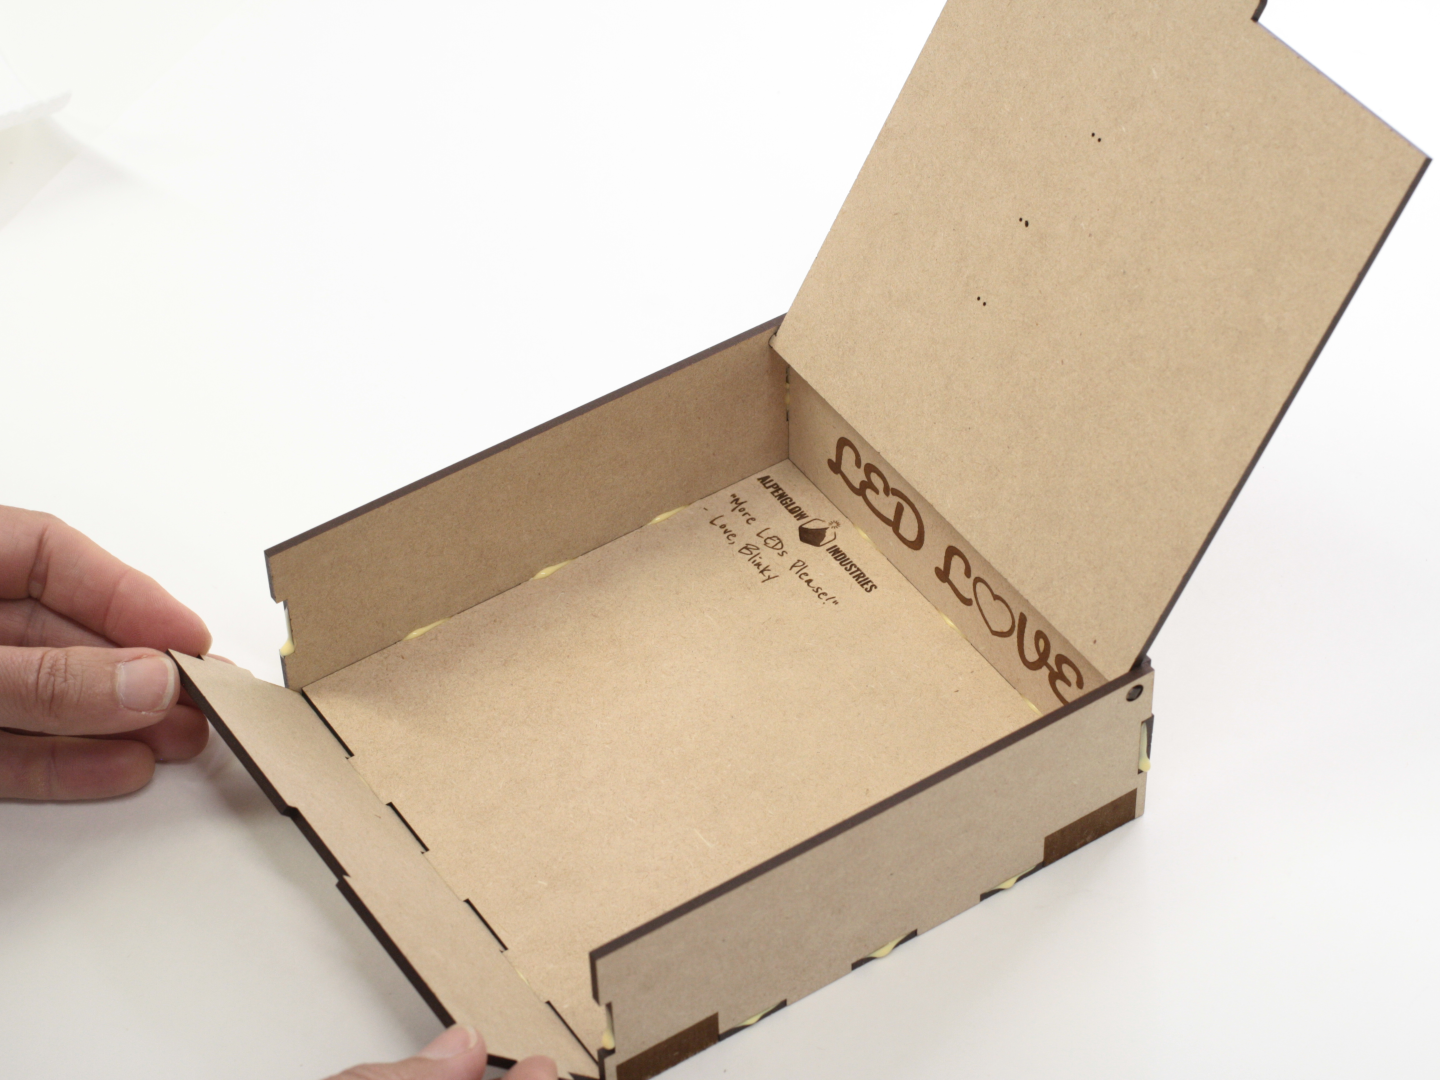
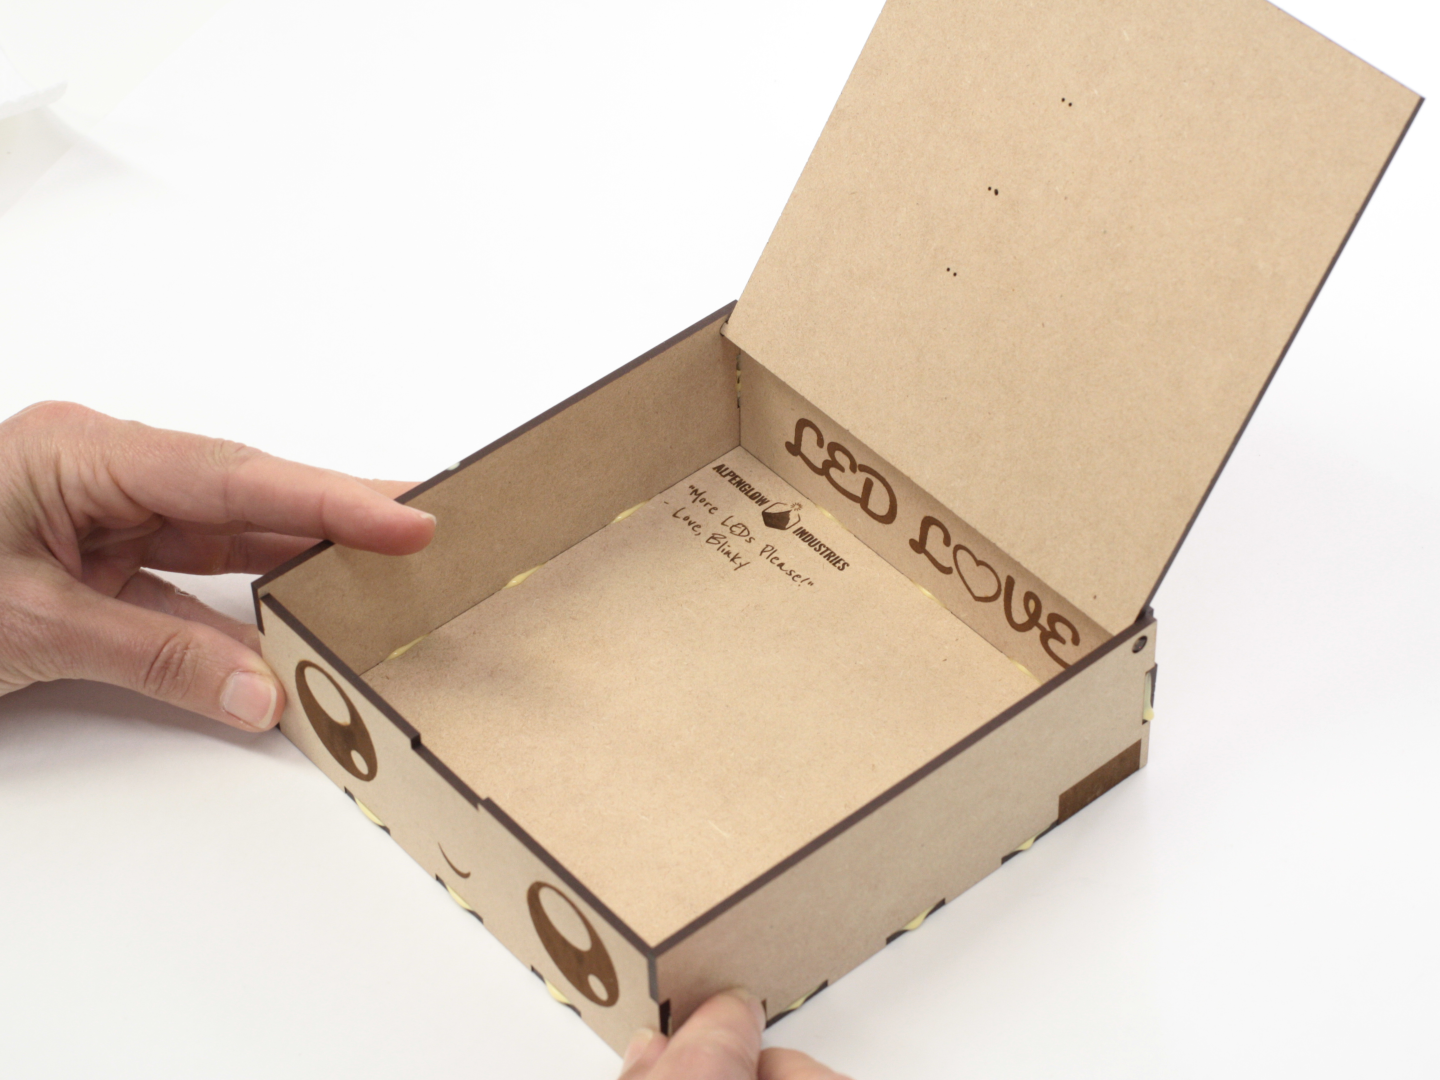
4Glue front panel
Apply glue to the front panel. Lift up the lid and place front panel making sure that the engraving is facing outward. Once front panel is in place, let the lid rest in the notch on the top of the front panel.
![]()
![]()
![]()
-
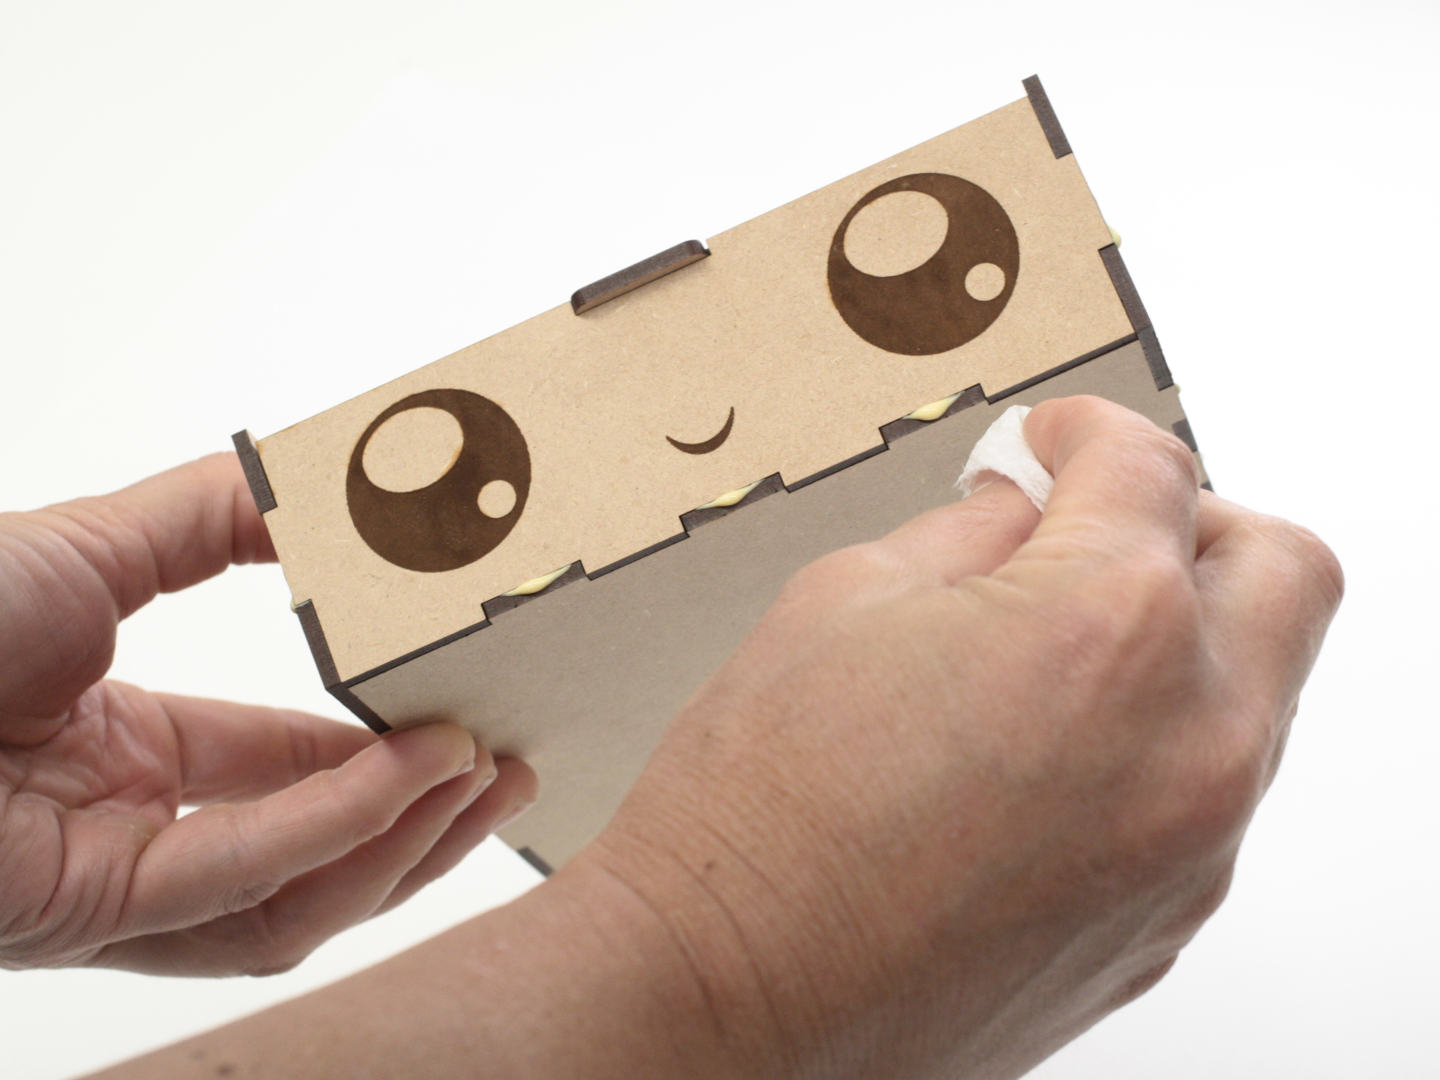
5Clean off excess glue
Wipe off excess glue and let dry.
![]()
-
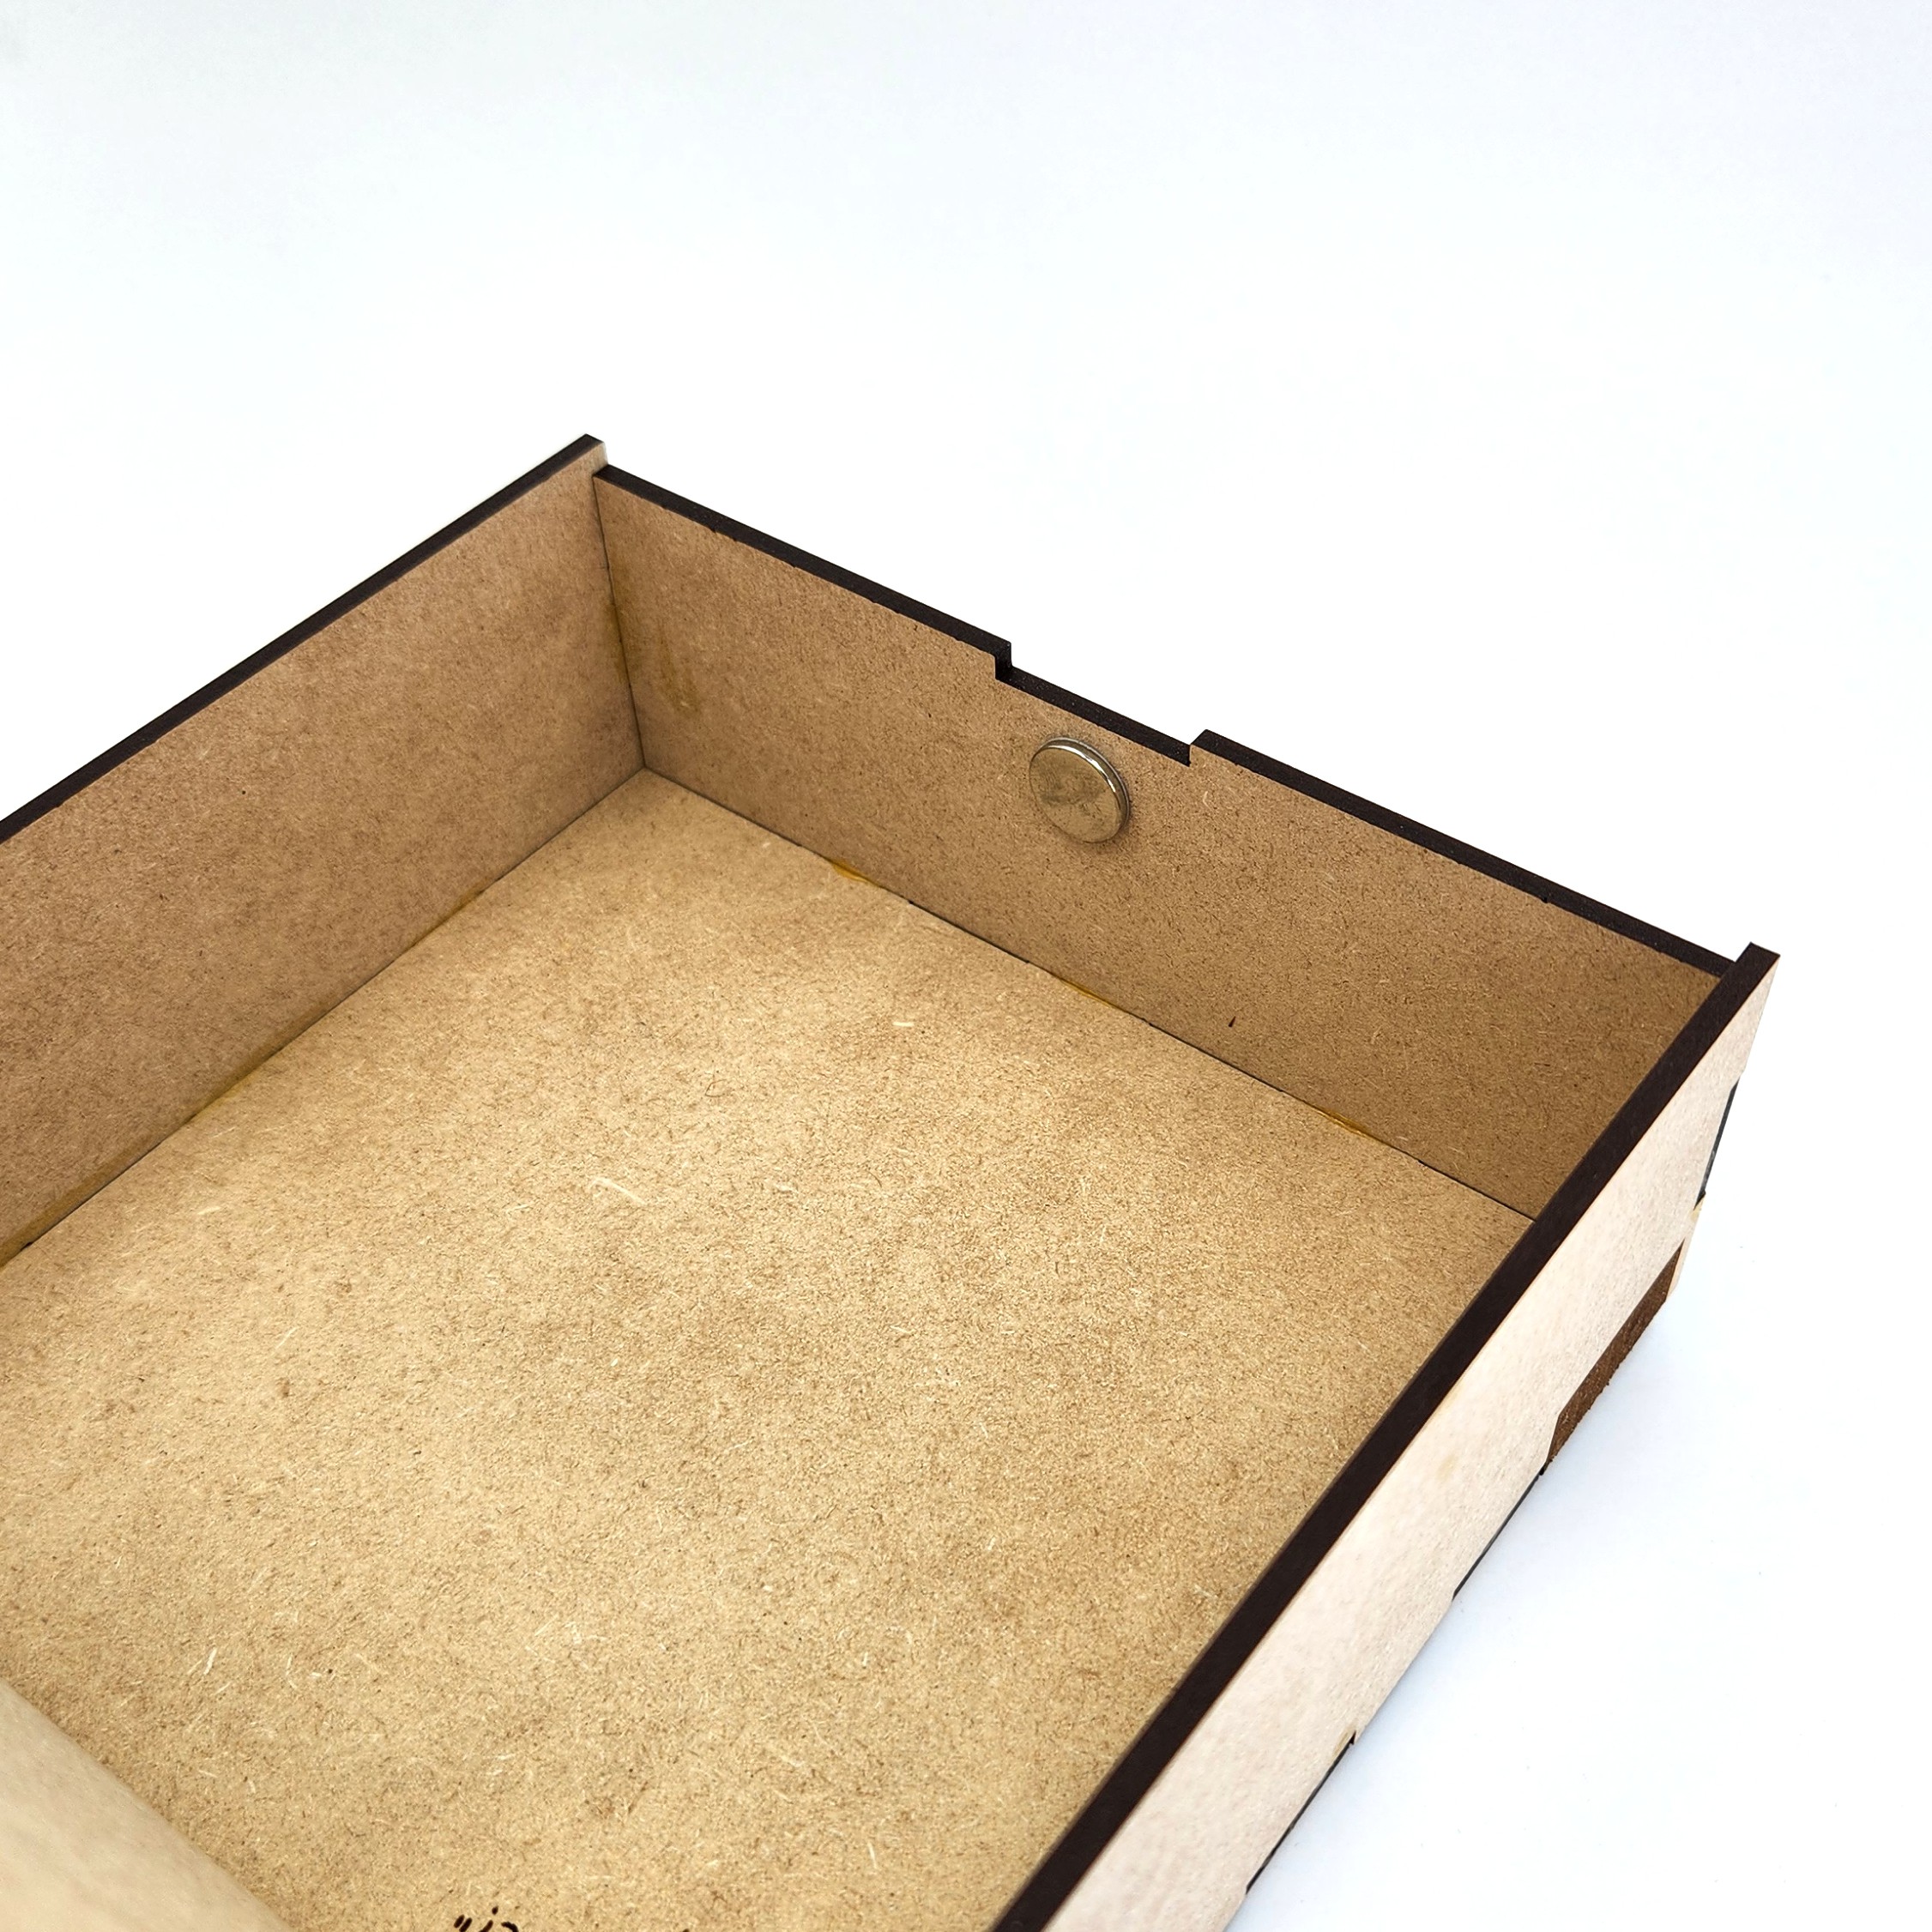
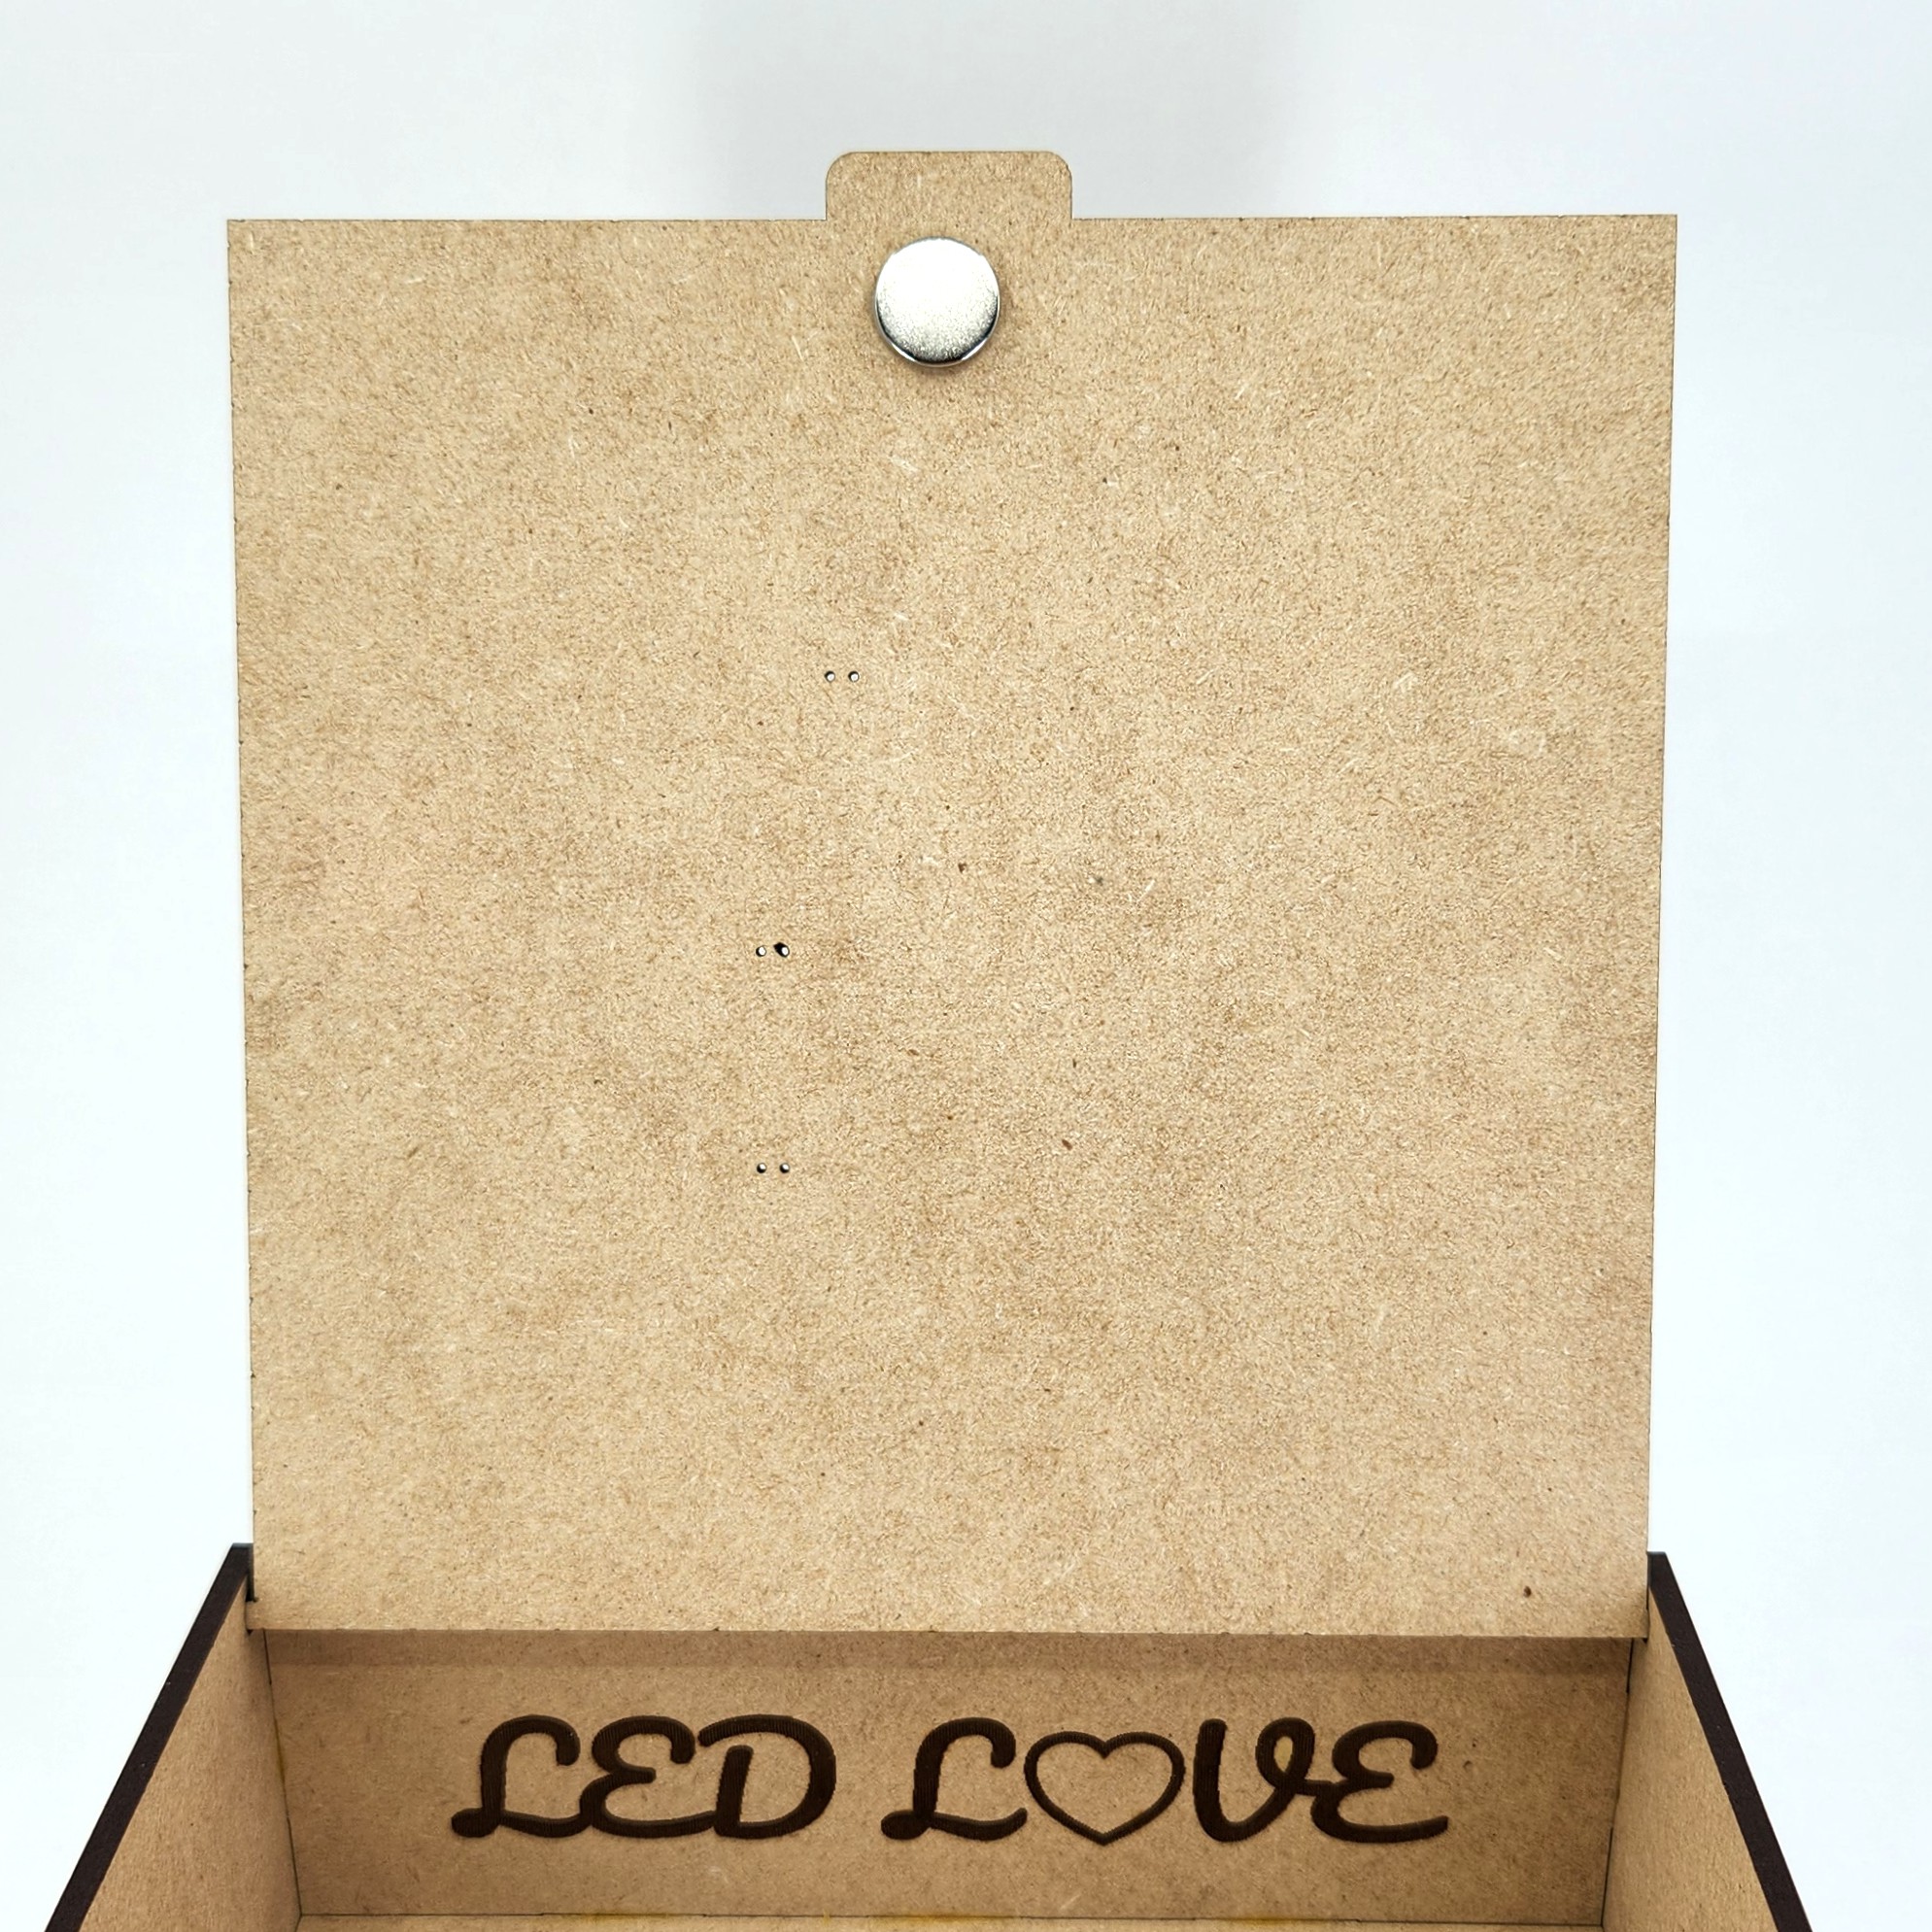
6Attach magnets
Remove the paper covering the adhesive on the magnets. Place one magnet centered below the notch on the front panel. Place the other magnet on the lid lining up with the magnet on the front.
![]()
![]()
-
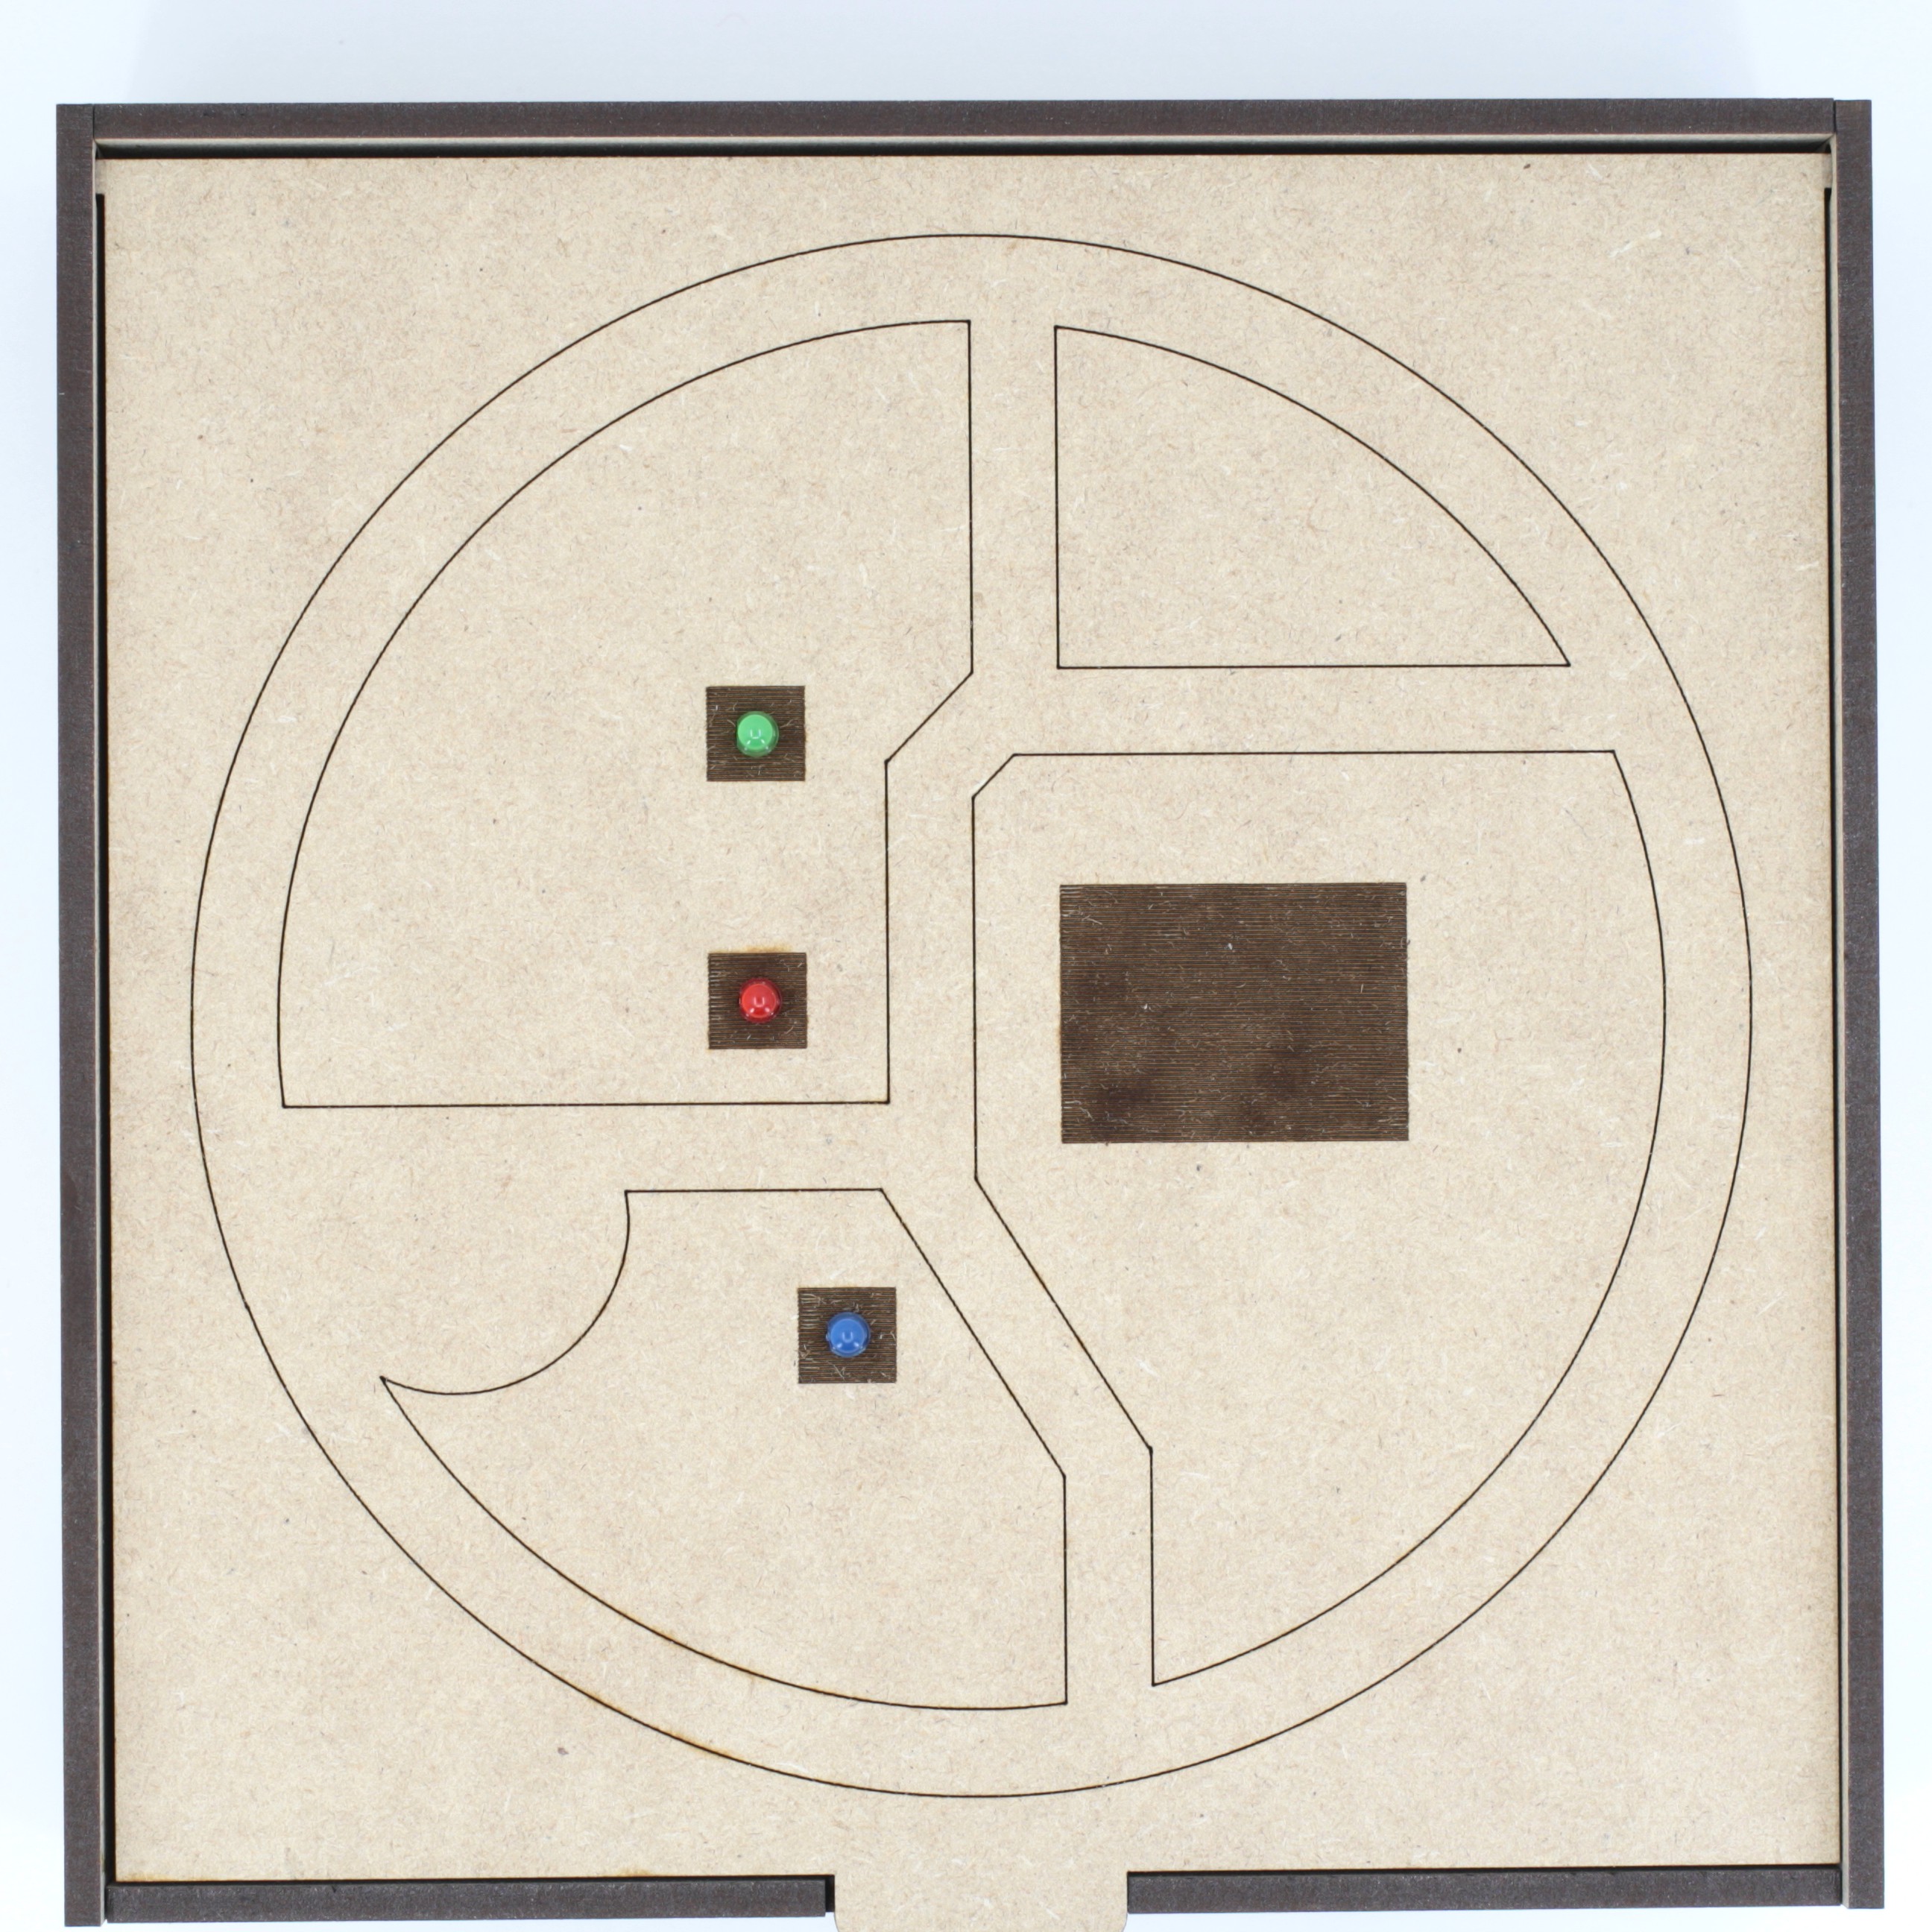
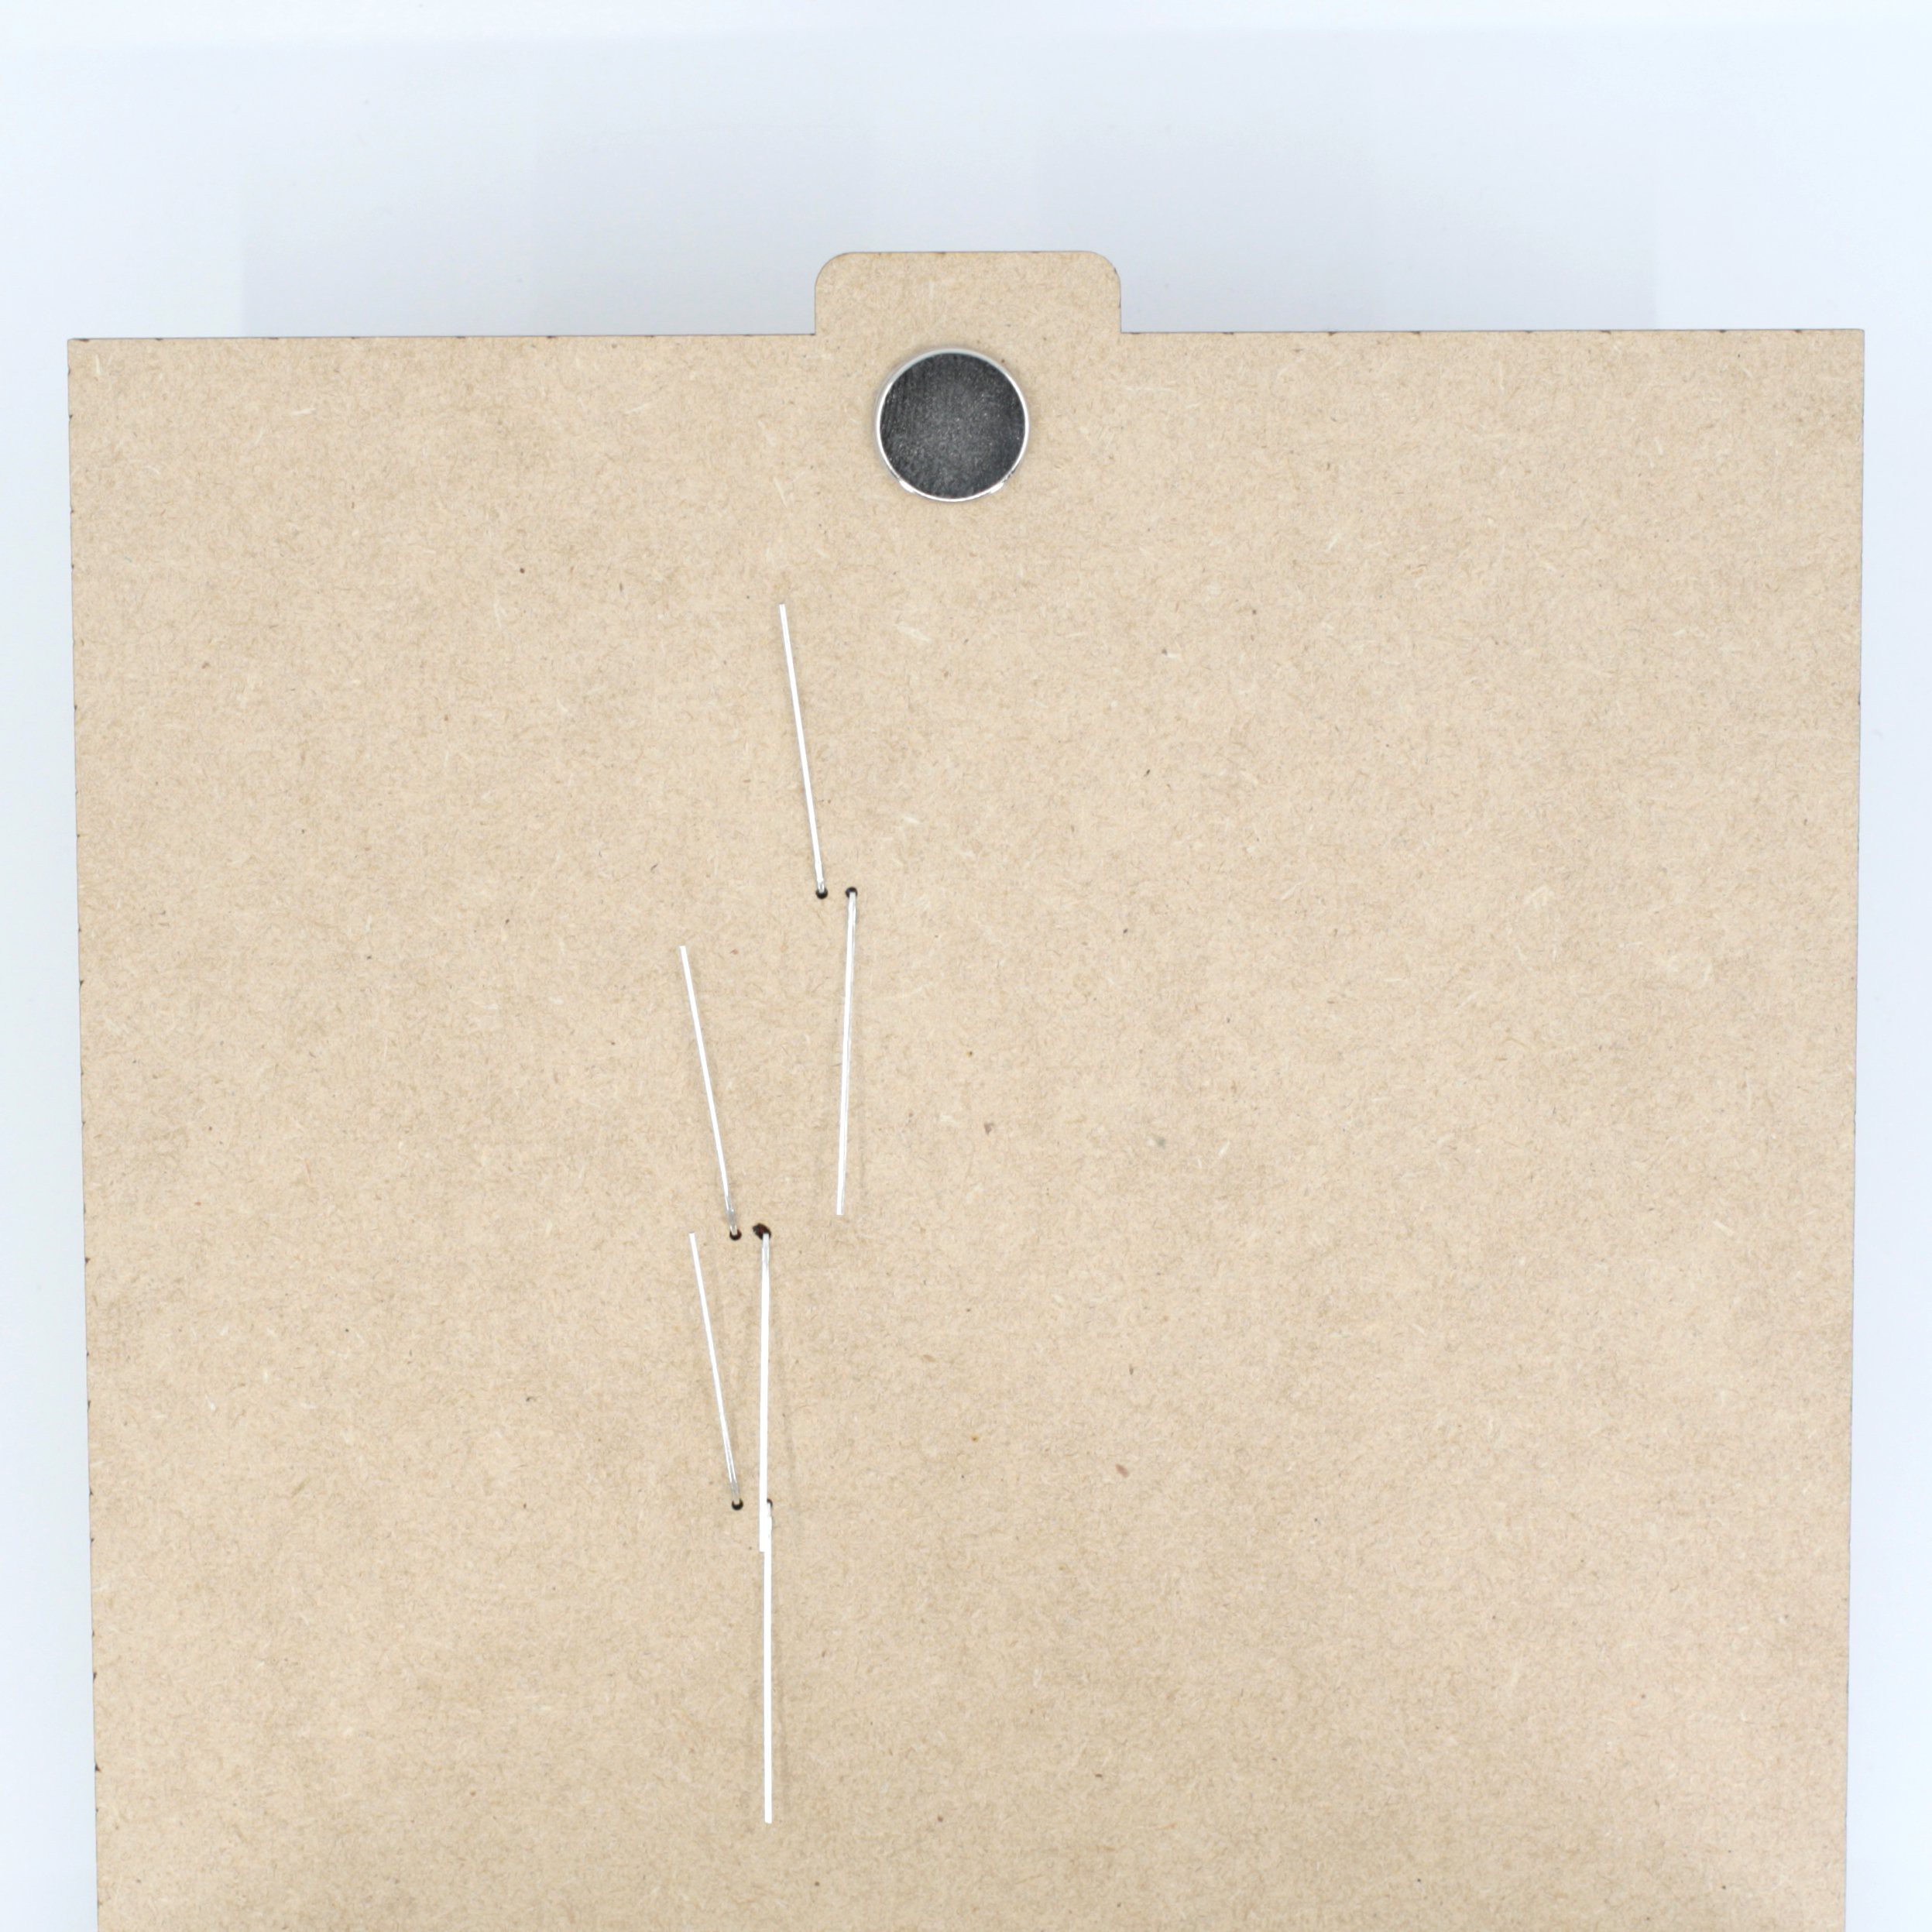
7Place LEDs
Place the red, green, and blue LEDs in the order shown. Make sure the long leg goes through the right hole and the short leg goes through the left hole for each LED. Bend the LED legs to secure.
![]()
![]()
-
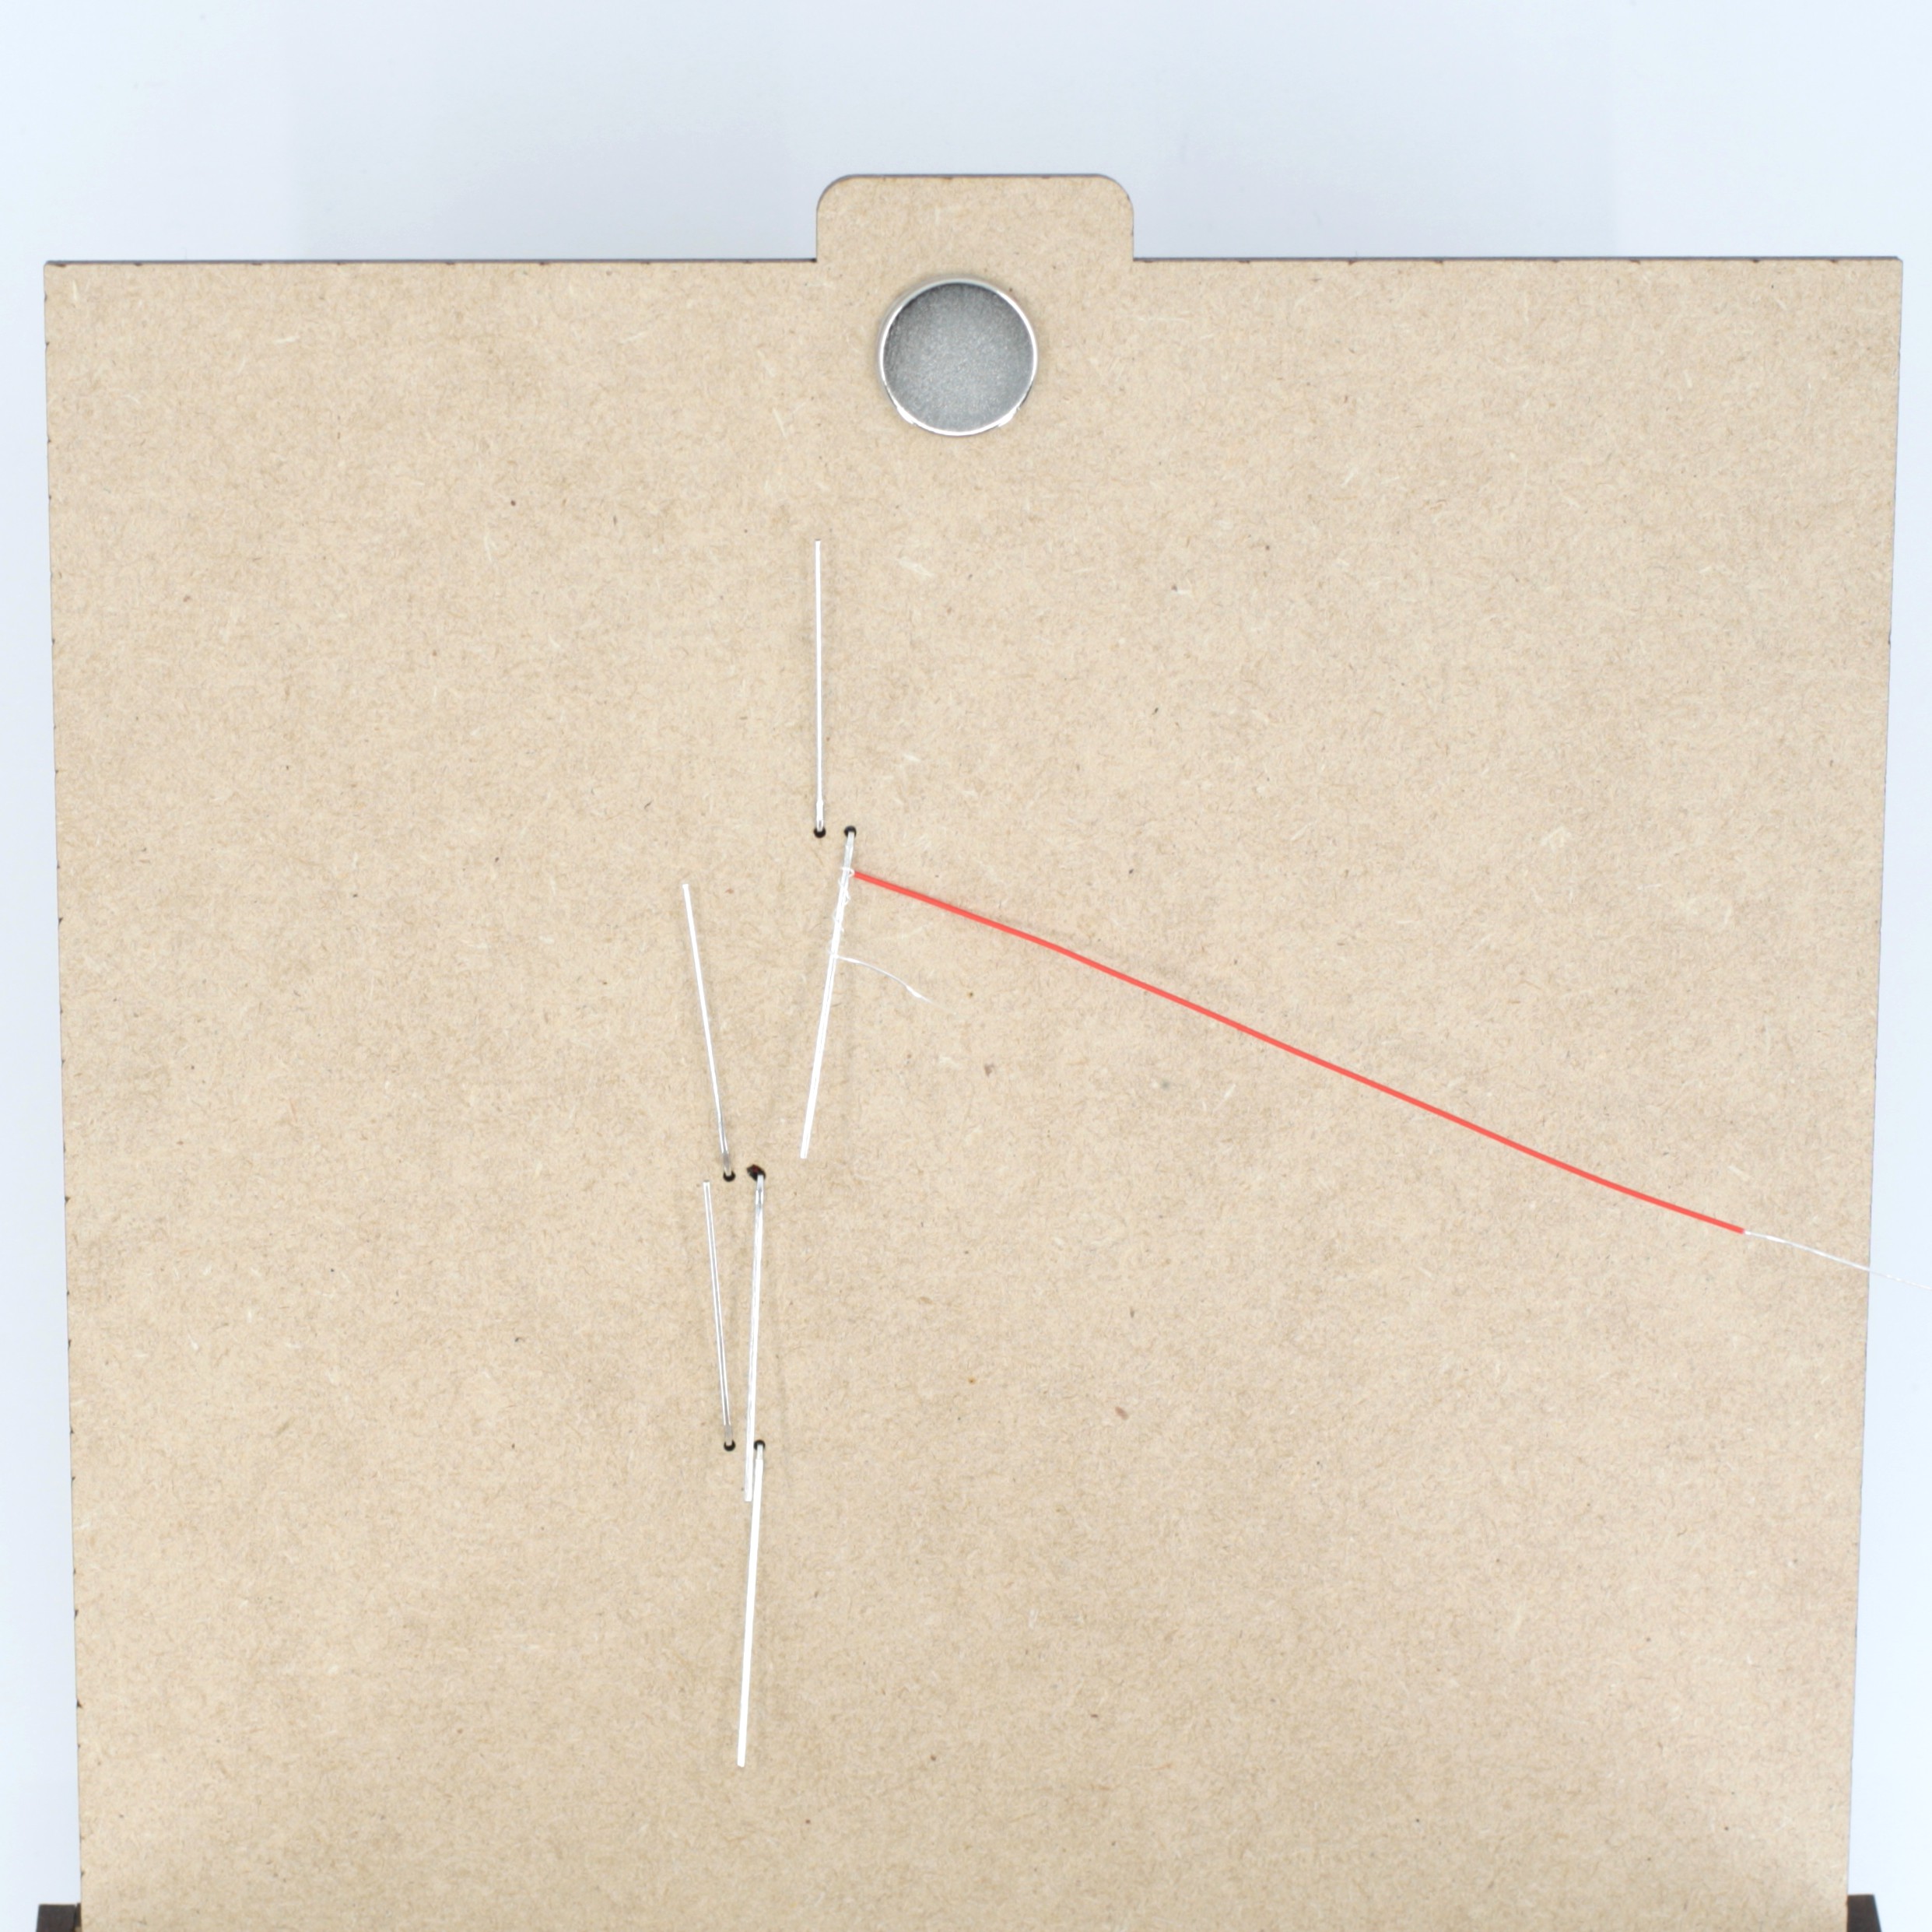
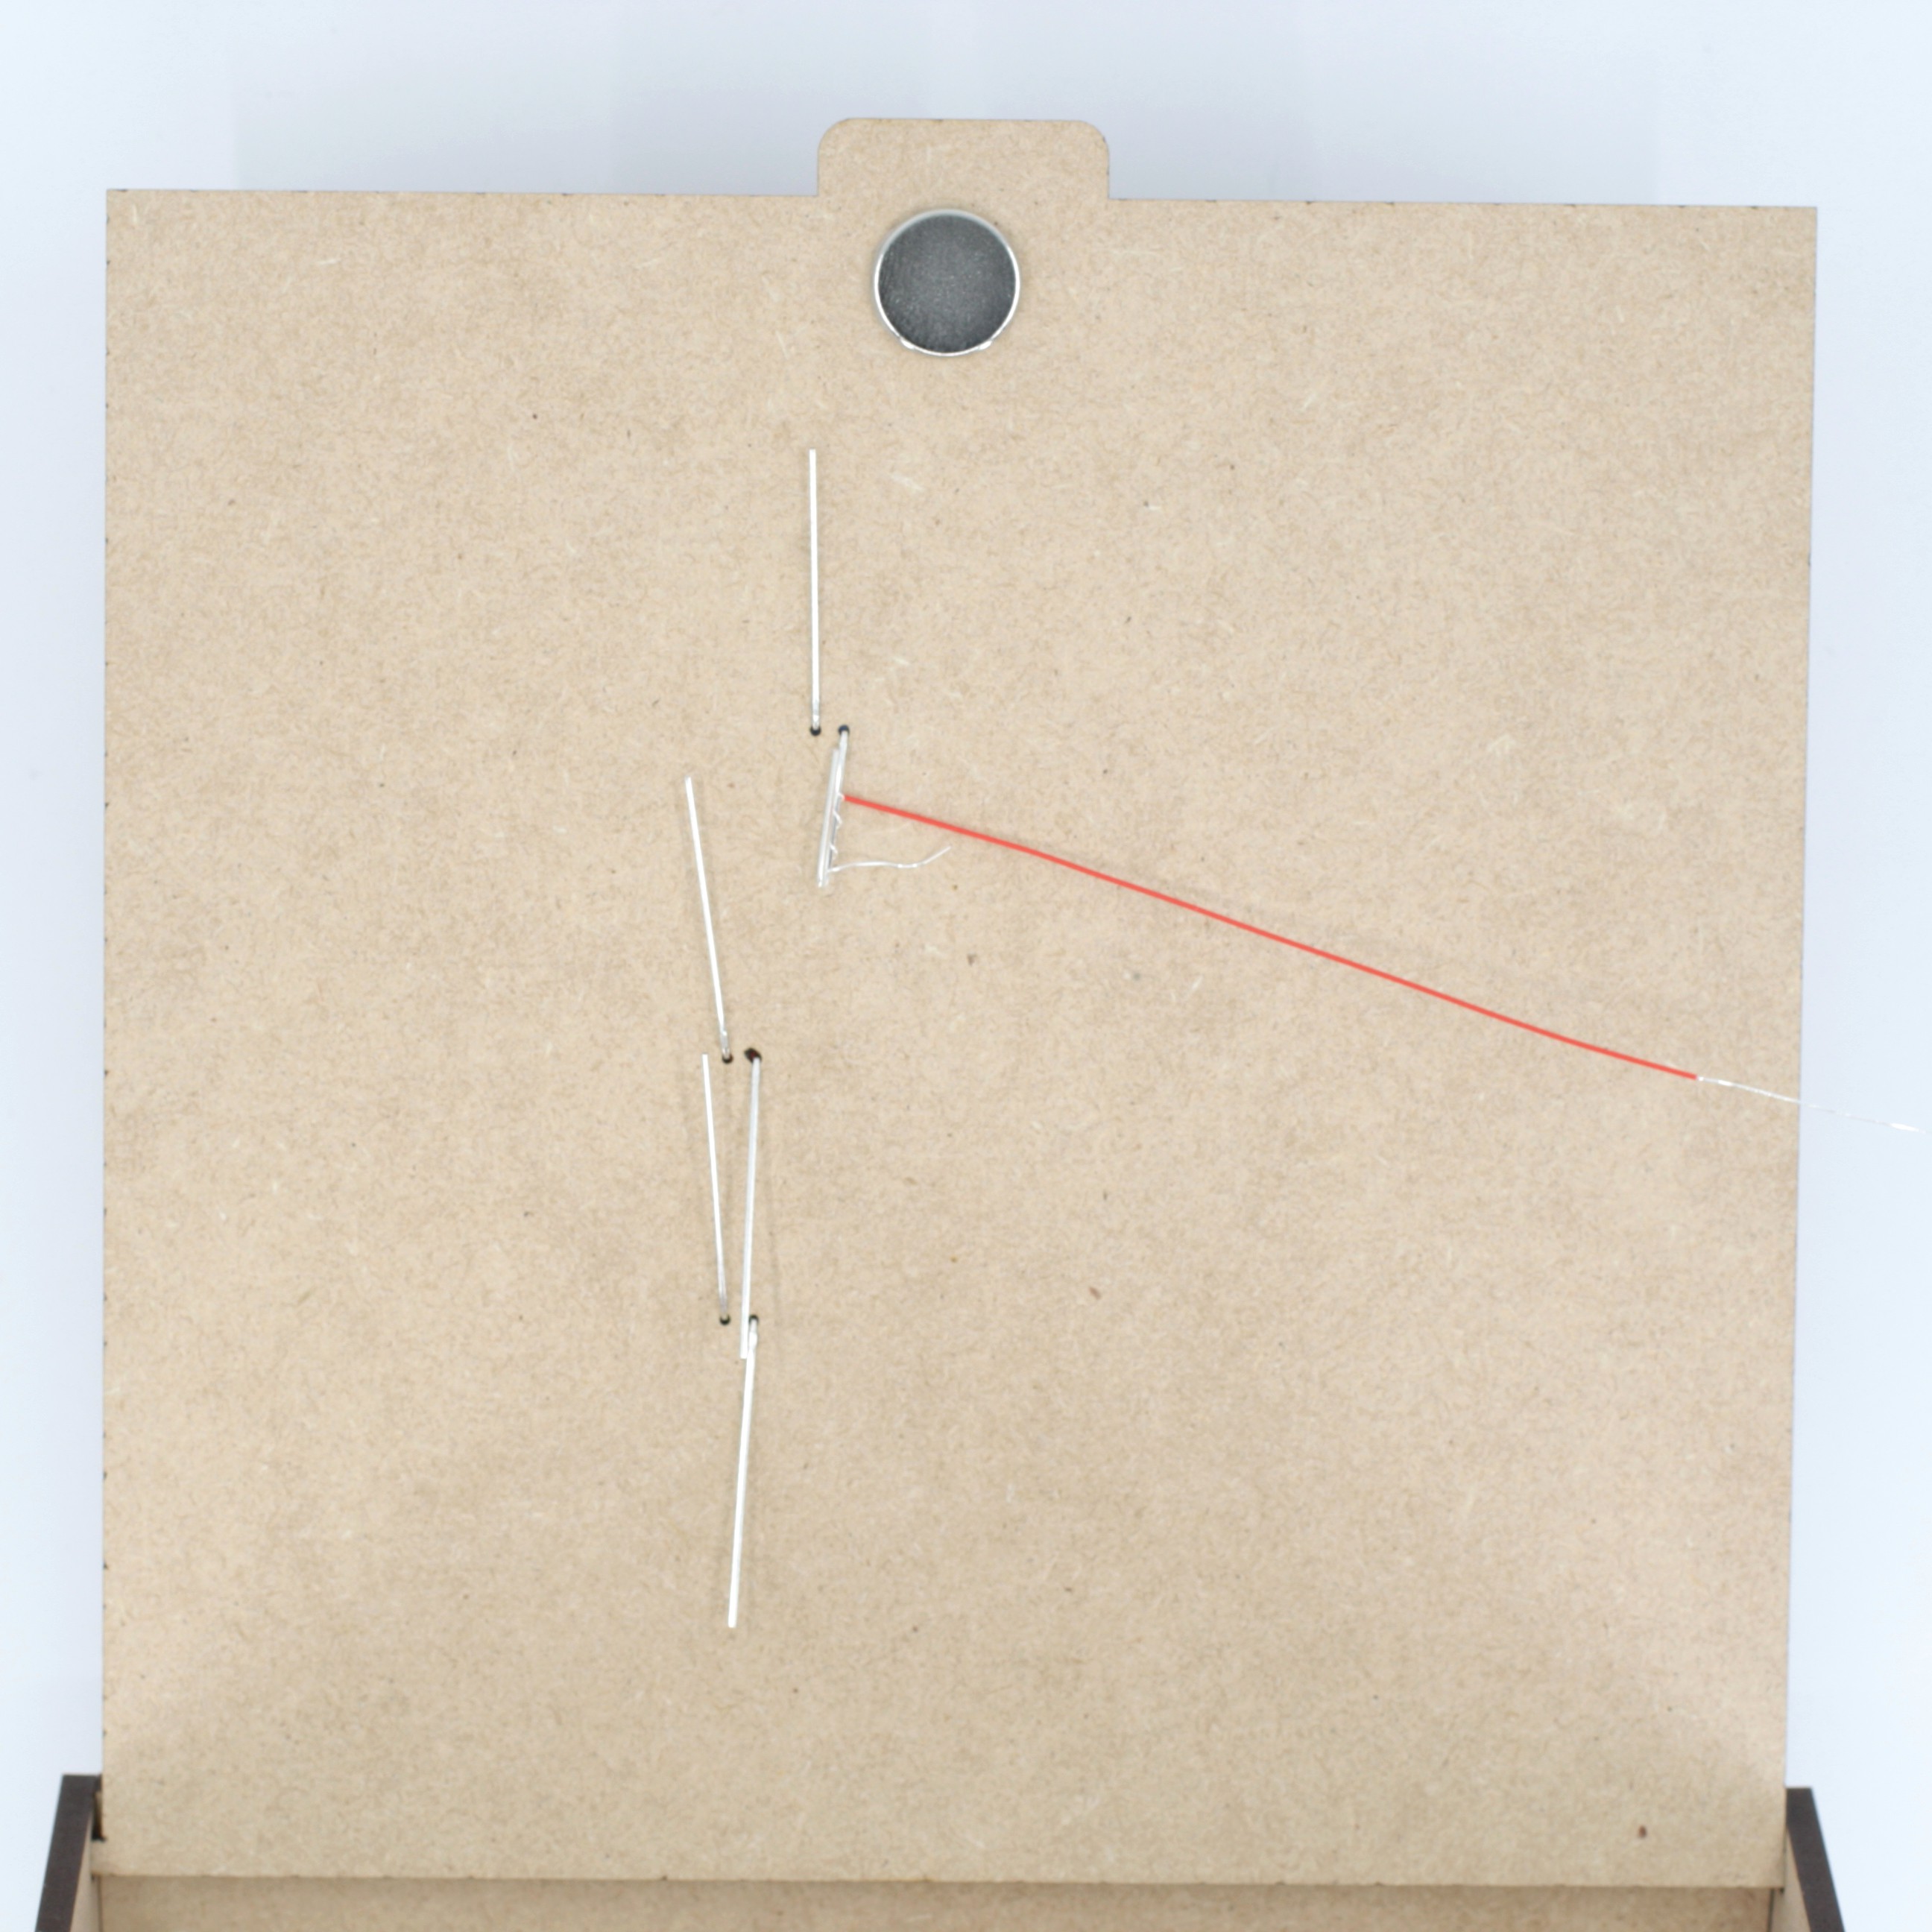
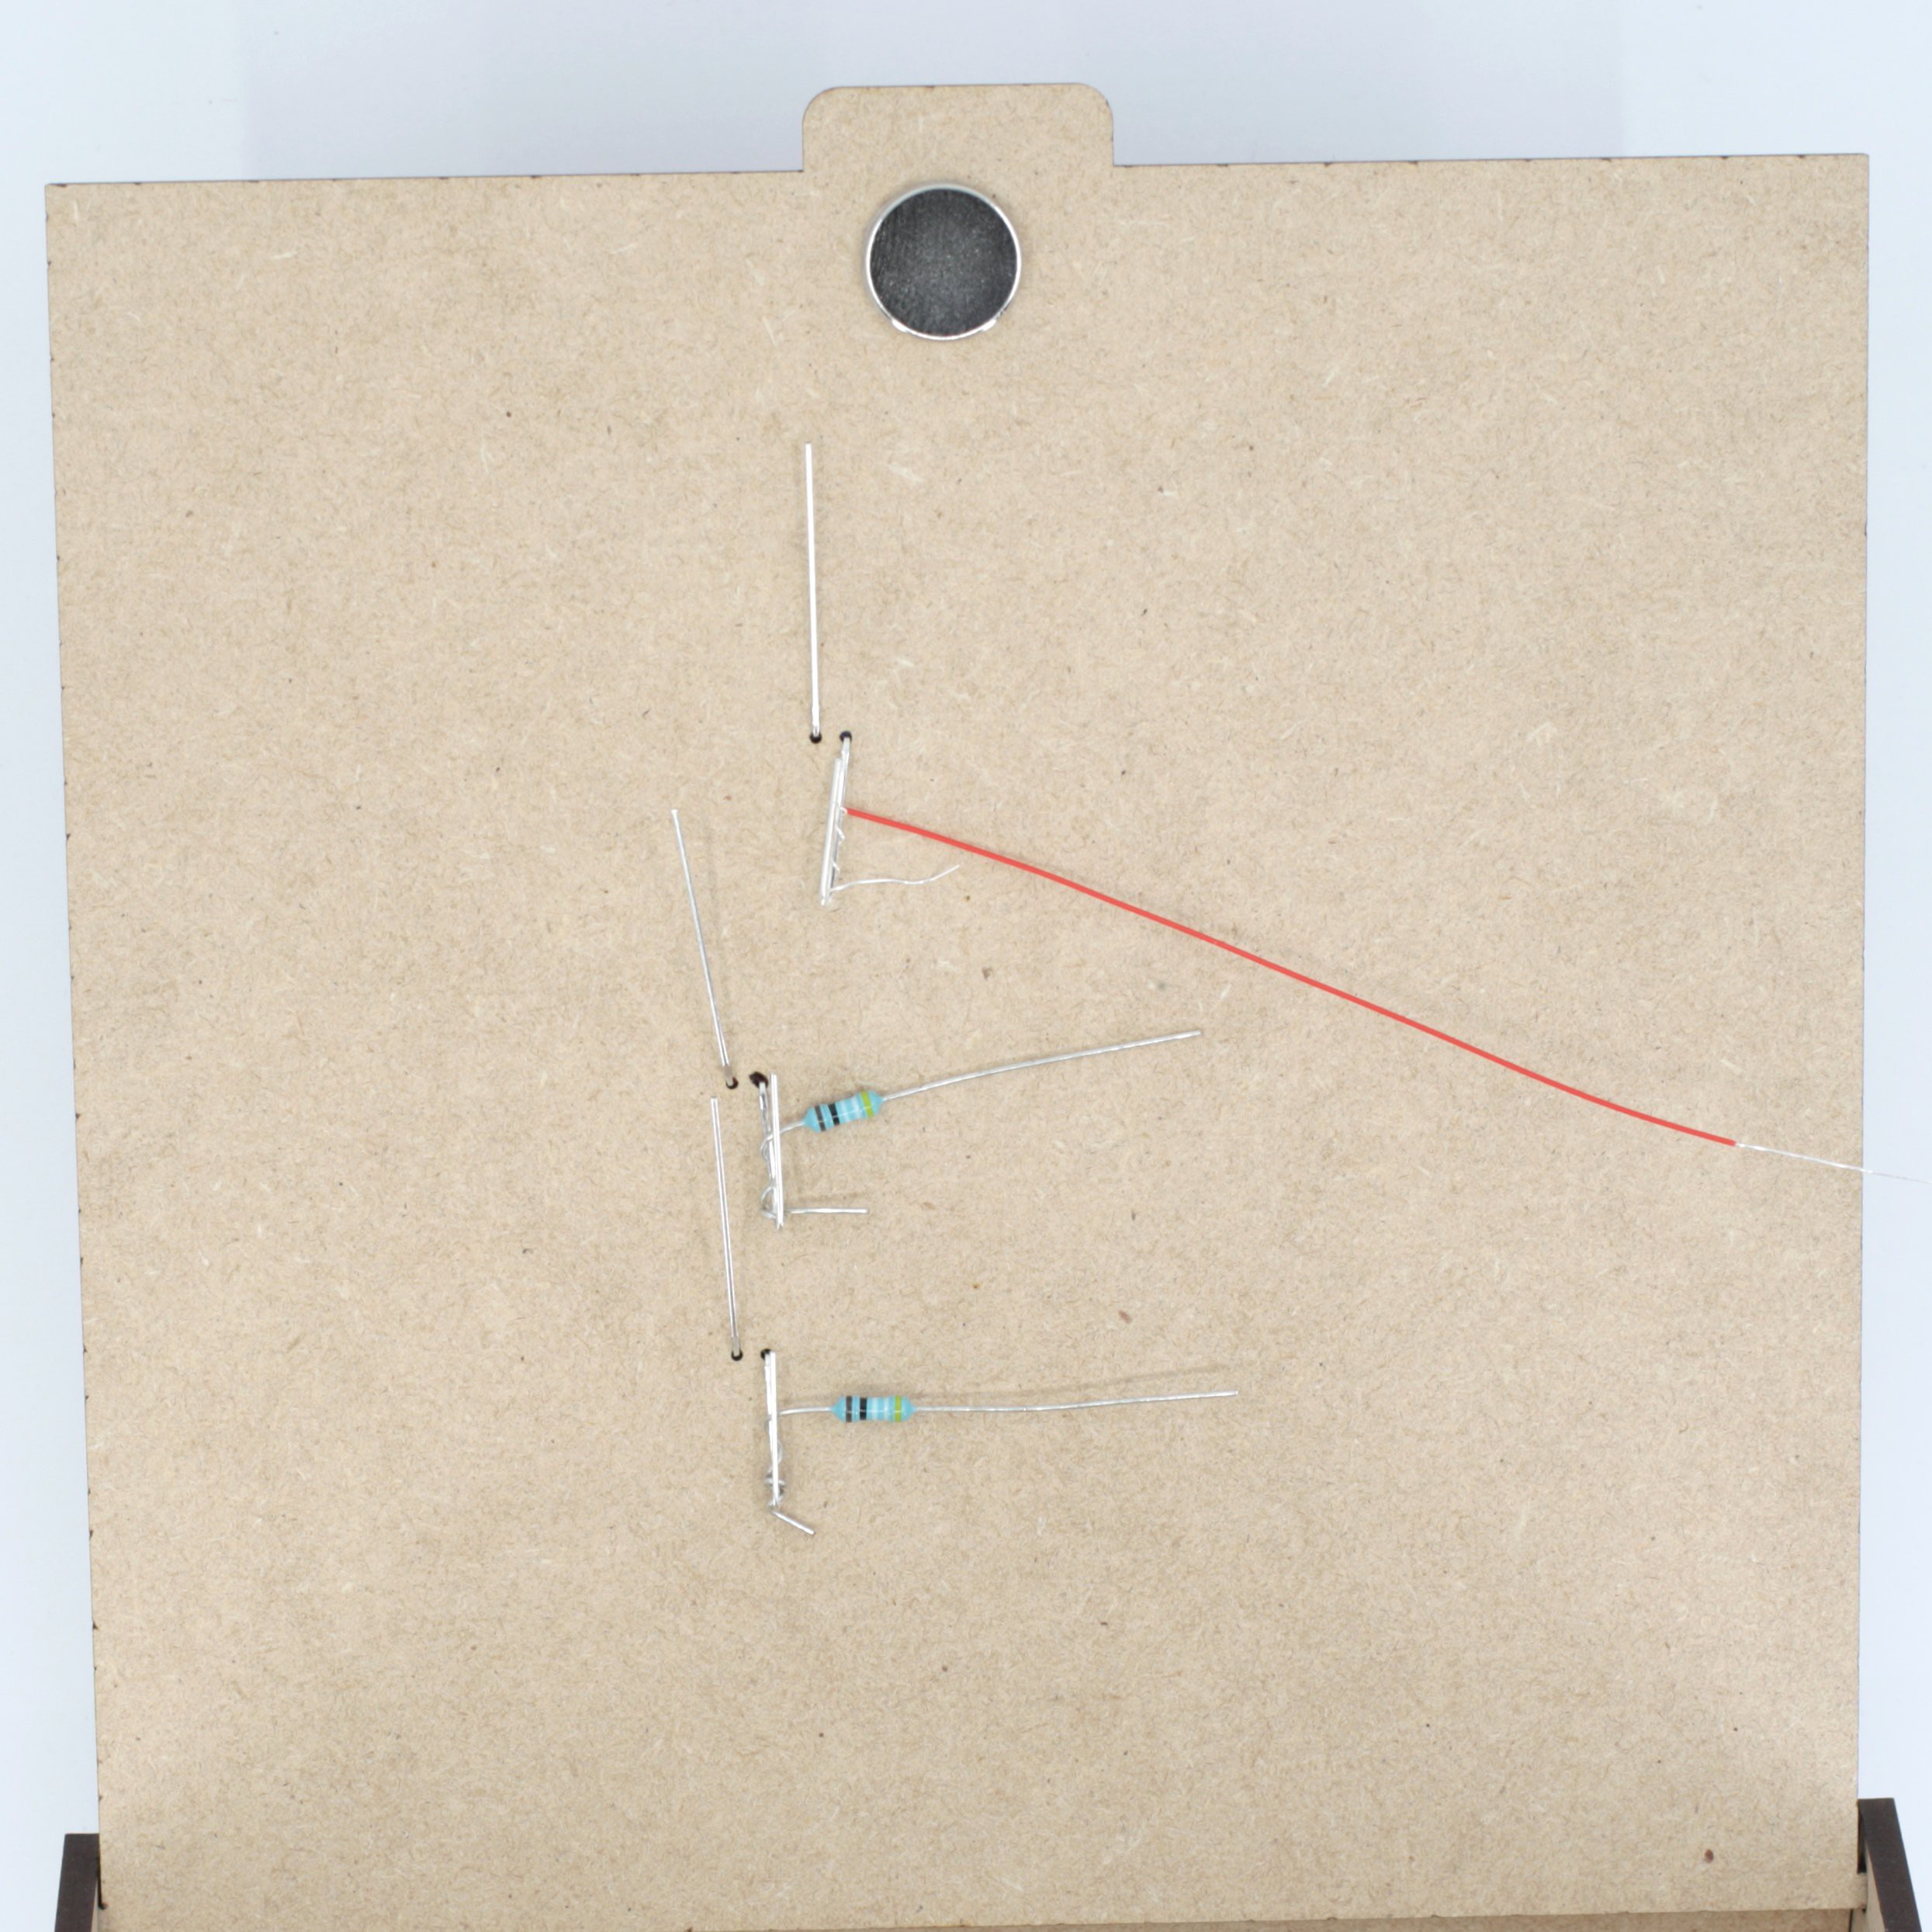
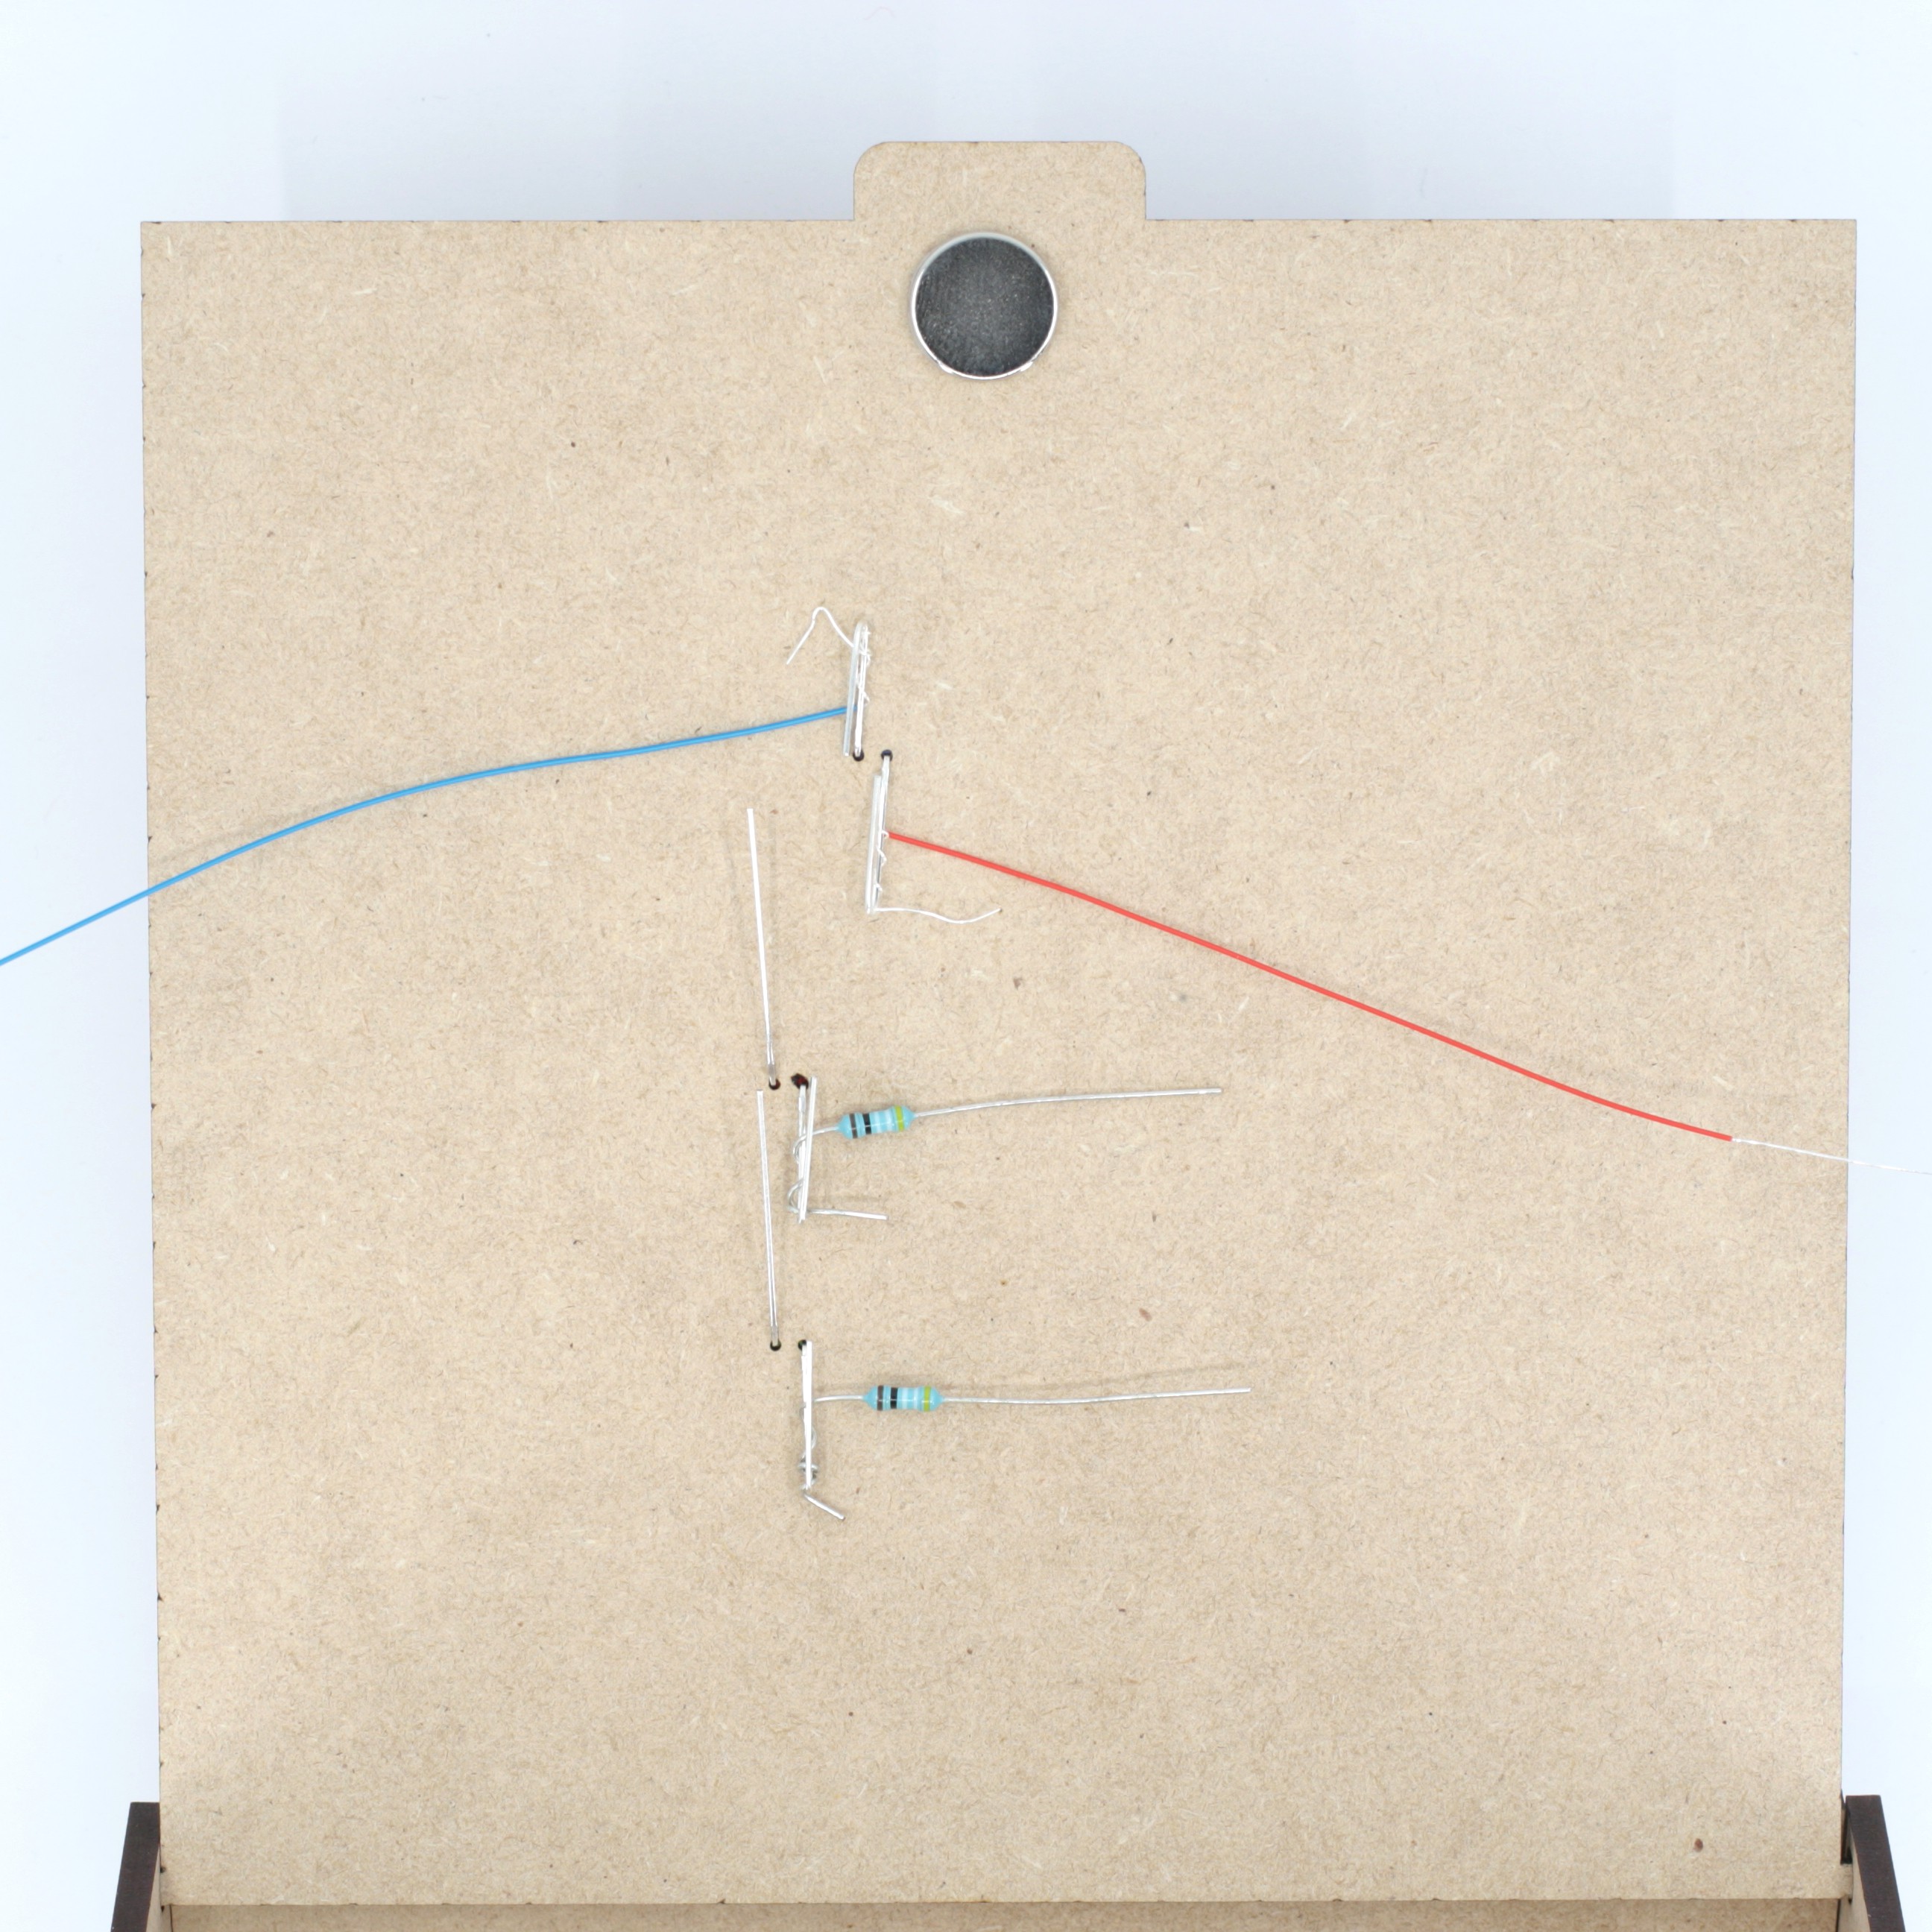
8Wrap red wire and resistors
The red wire goes around the long leg of the blue LED. Wrap around the leg 3-4 times, then bend the leg in half to secure. Next, wrap the resistors around the long legs of the red and green LEDs. Wrap 3-4 times then bend the leg in half to secure.
![]()
![]()
![]()
-
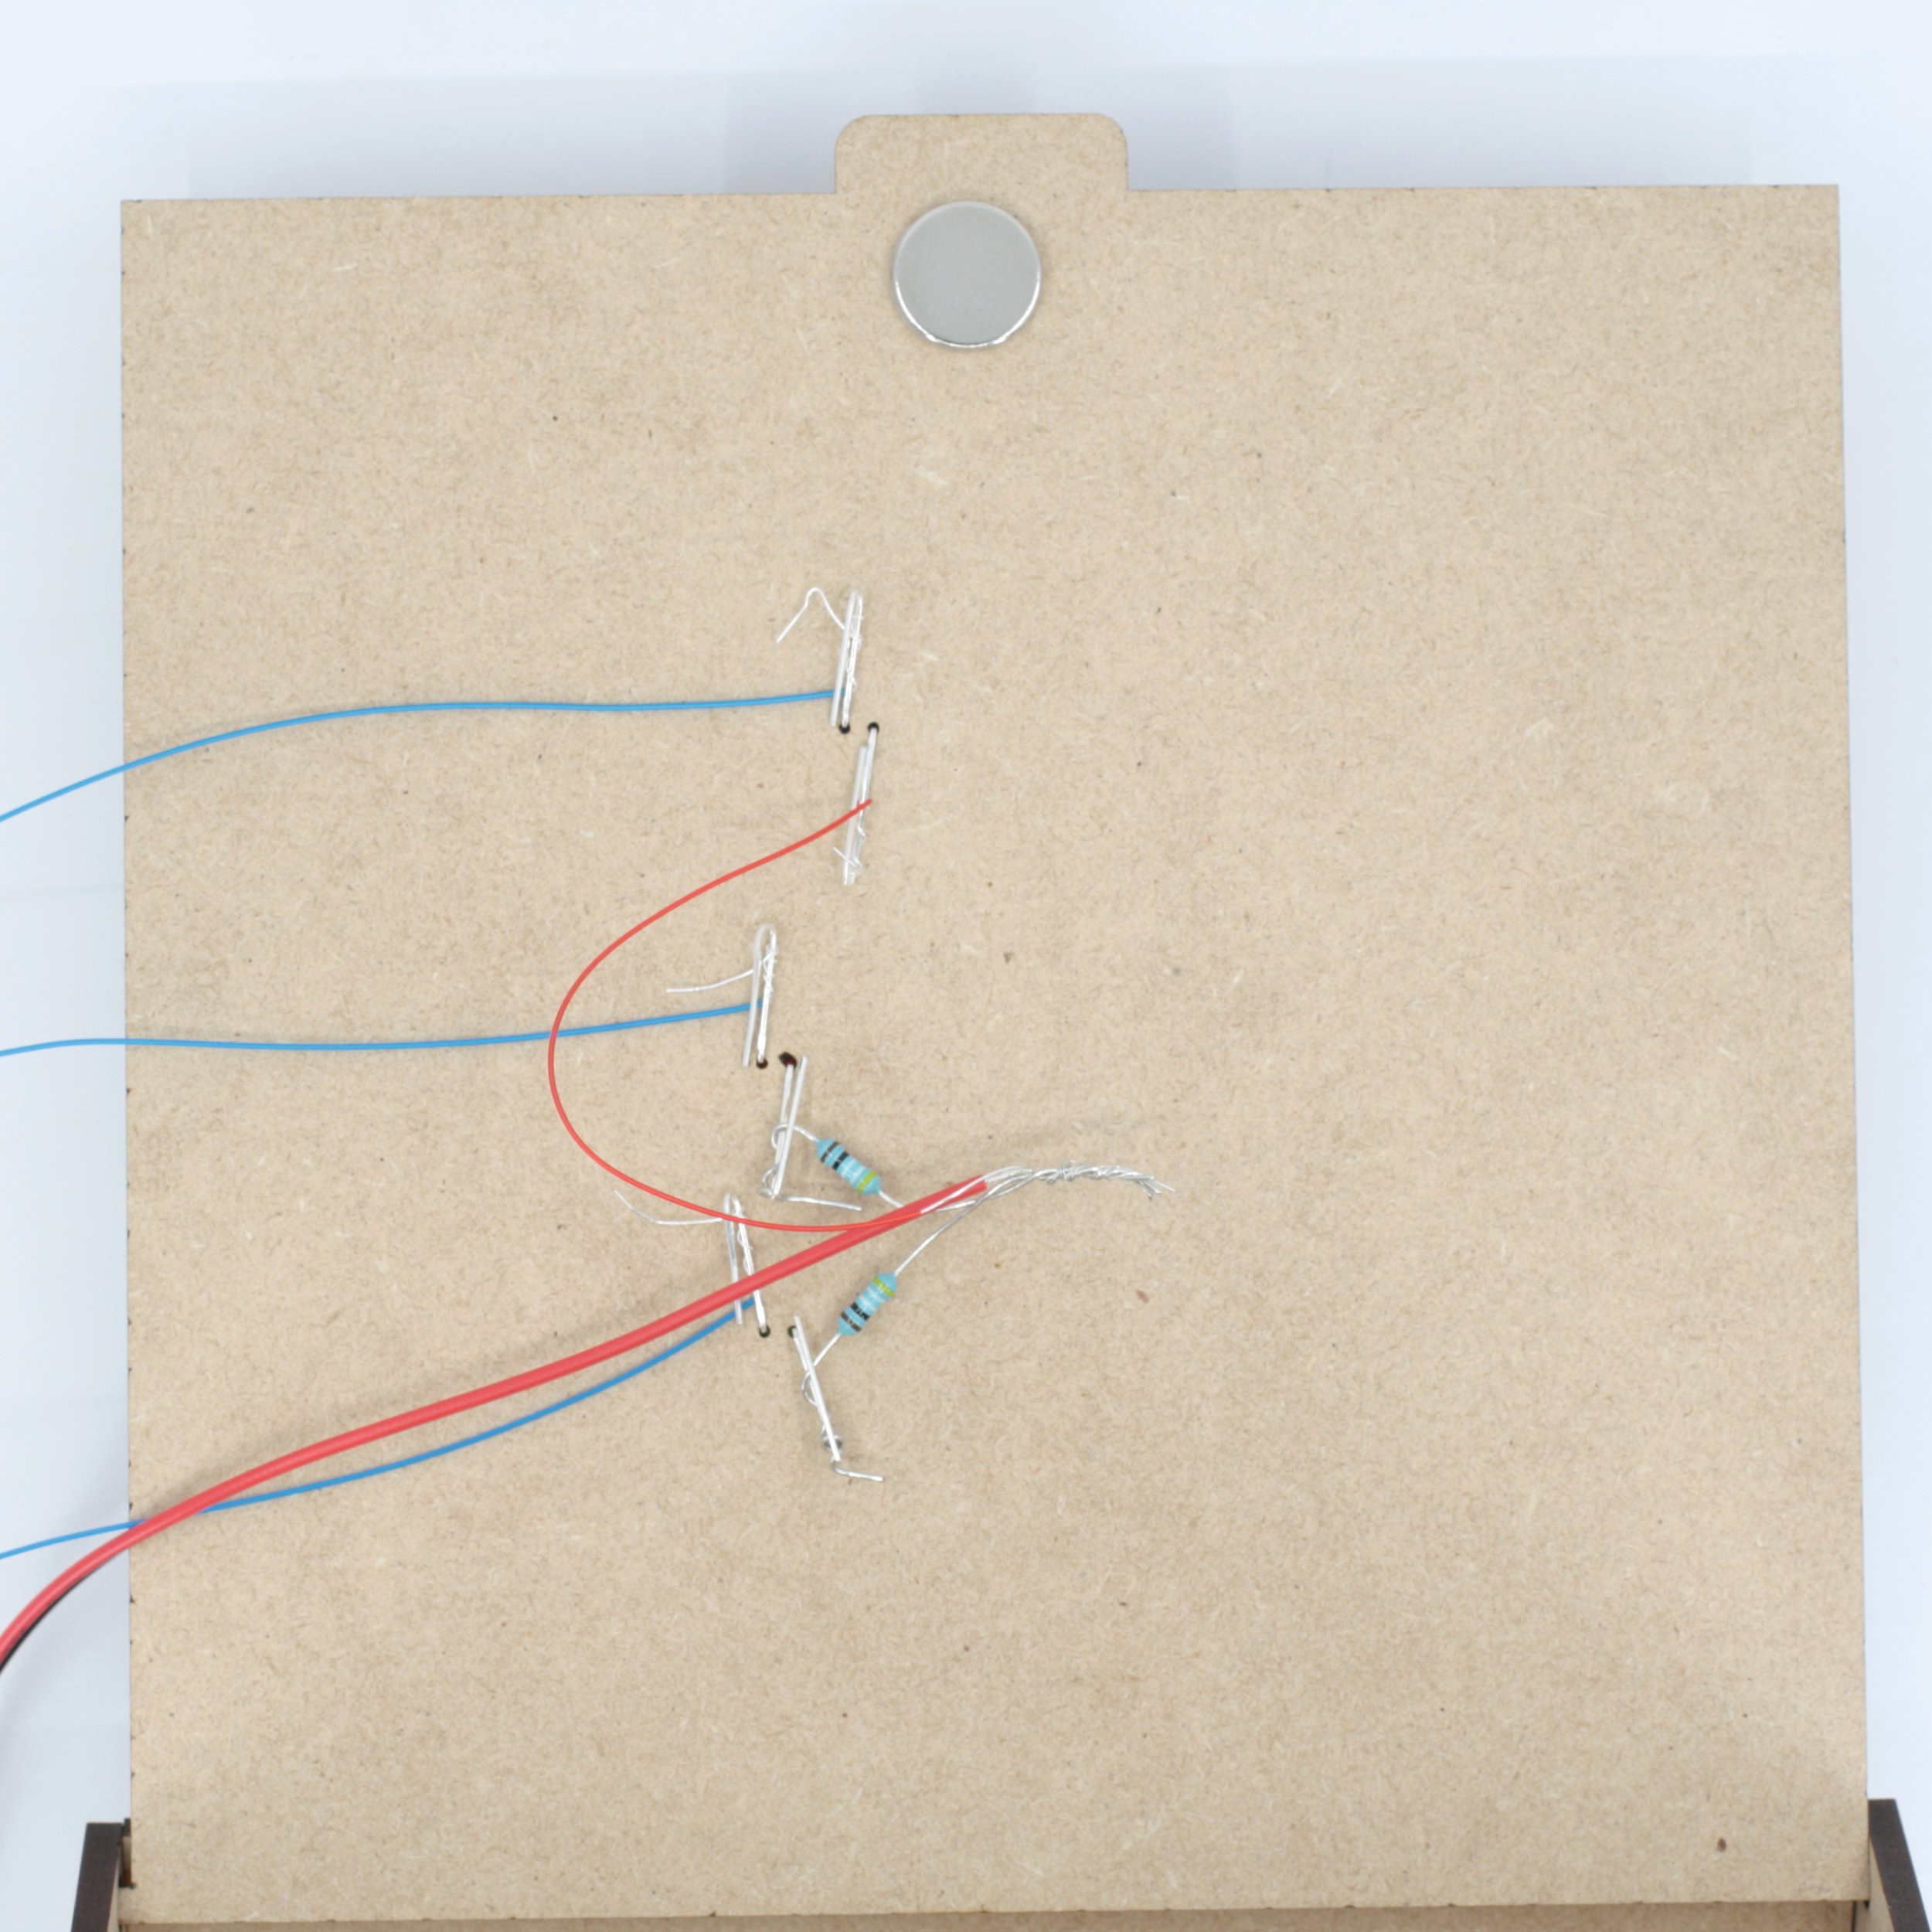
9Wrap the blue wires
Wrap the blue wires around the short legs of the red, green, and blue LEDs. Wrap 3-4 times then bend the LED leg in half to secure.
![]()
![]()
-
10Attach the positive side of the batter holder
Take the resistors and the red wire on the LEDs along with the red wire from the battery holder. Twist together then bend in half to secure.
![]()
Blinky LED Box Kit
Assembly instructions for WS2812 box and light up circuit


Discussions
Become a Hackaday.io Member
Create an account to leave a comment. Already have an account? Log In.