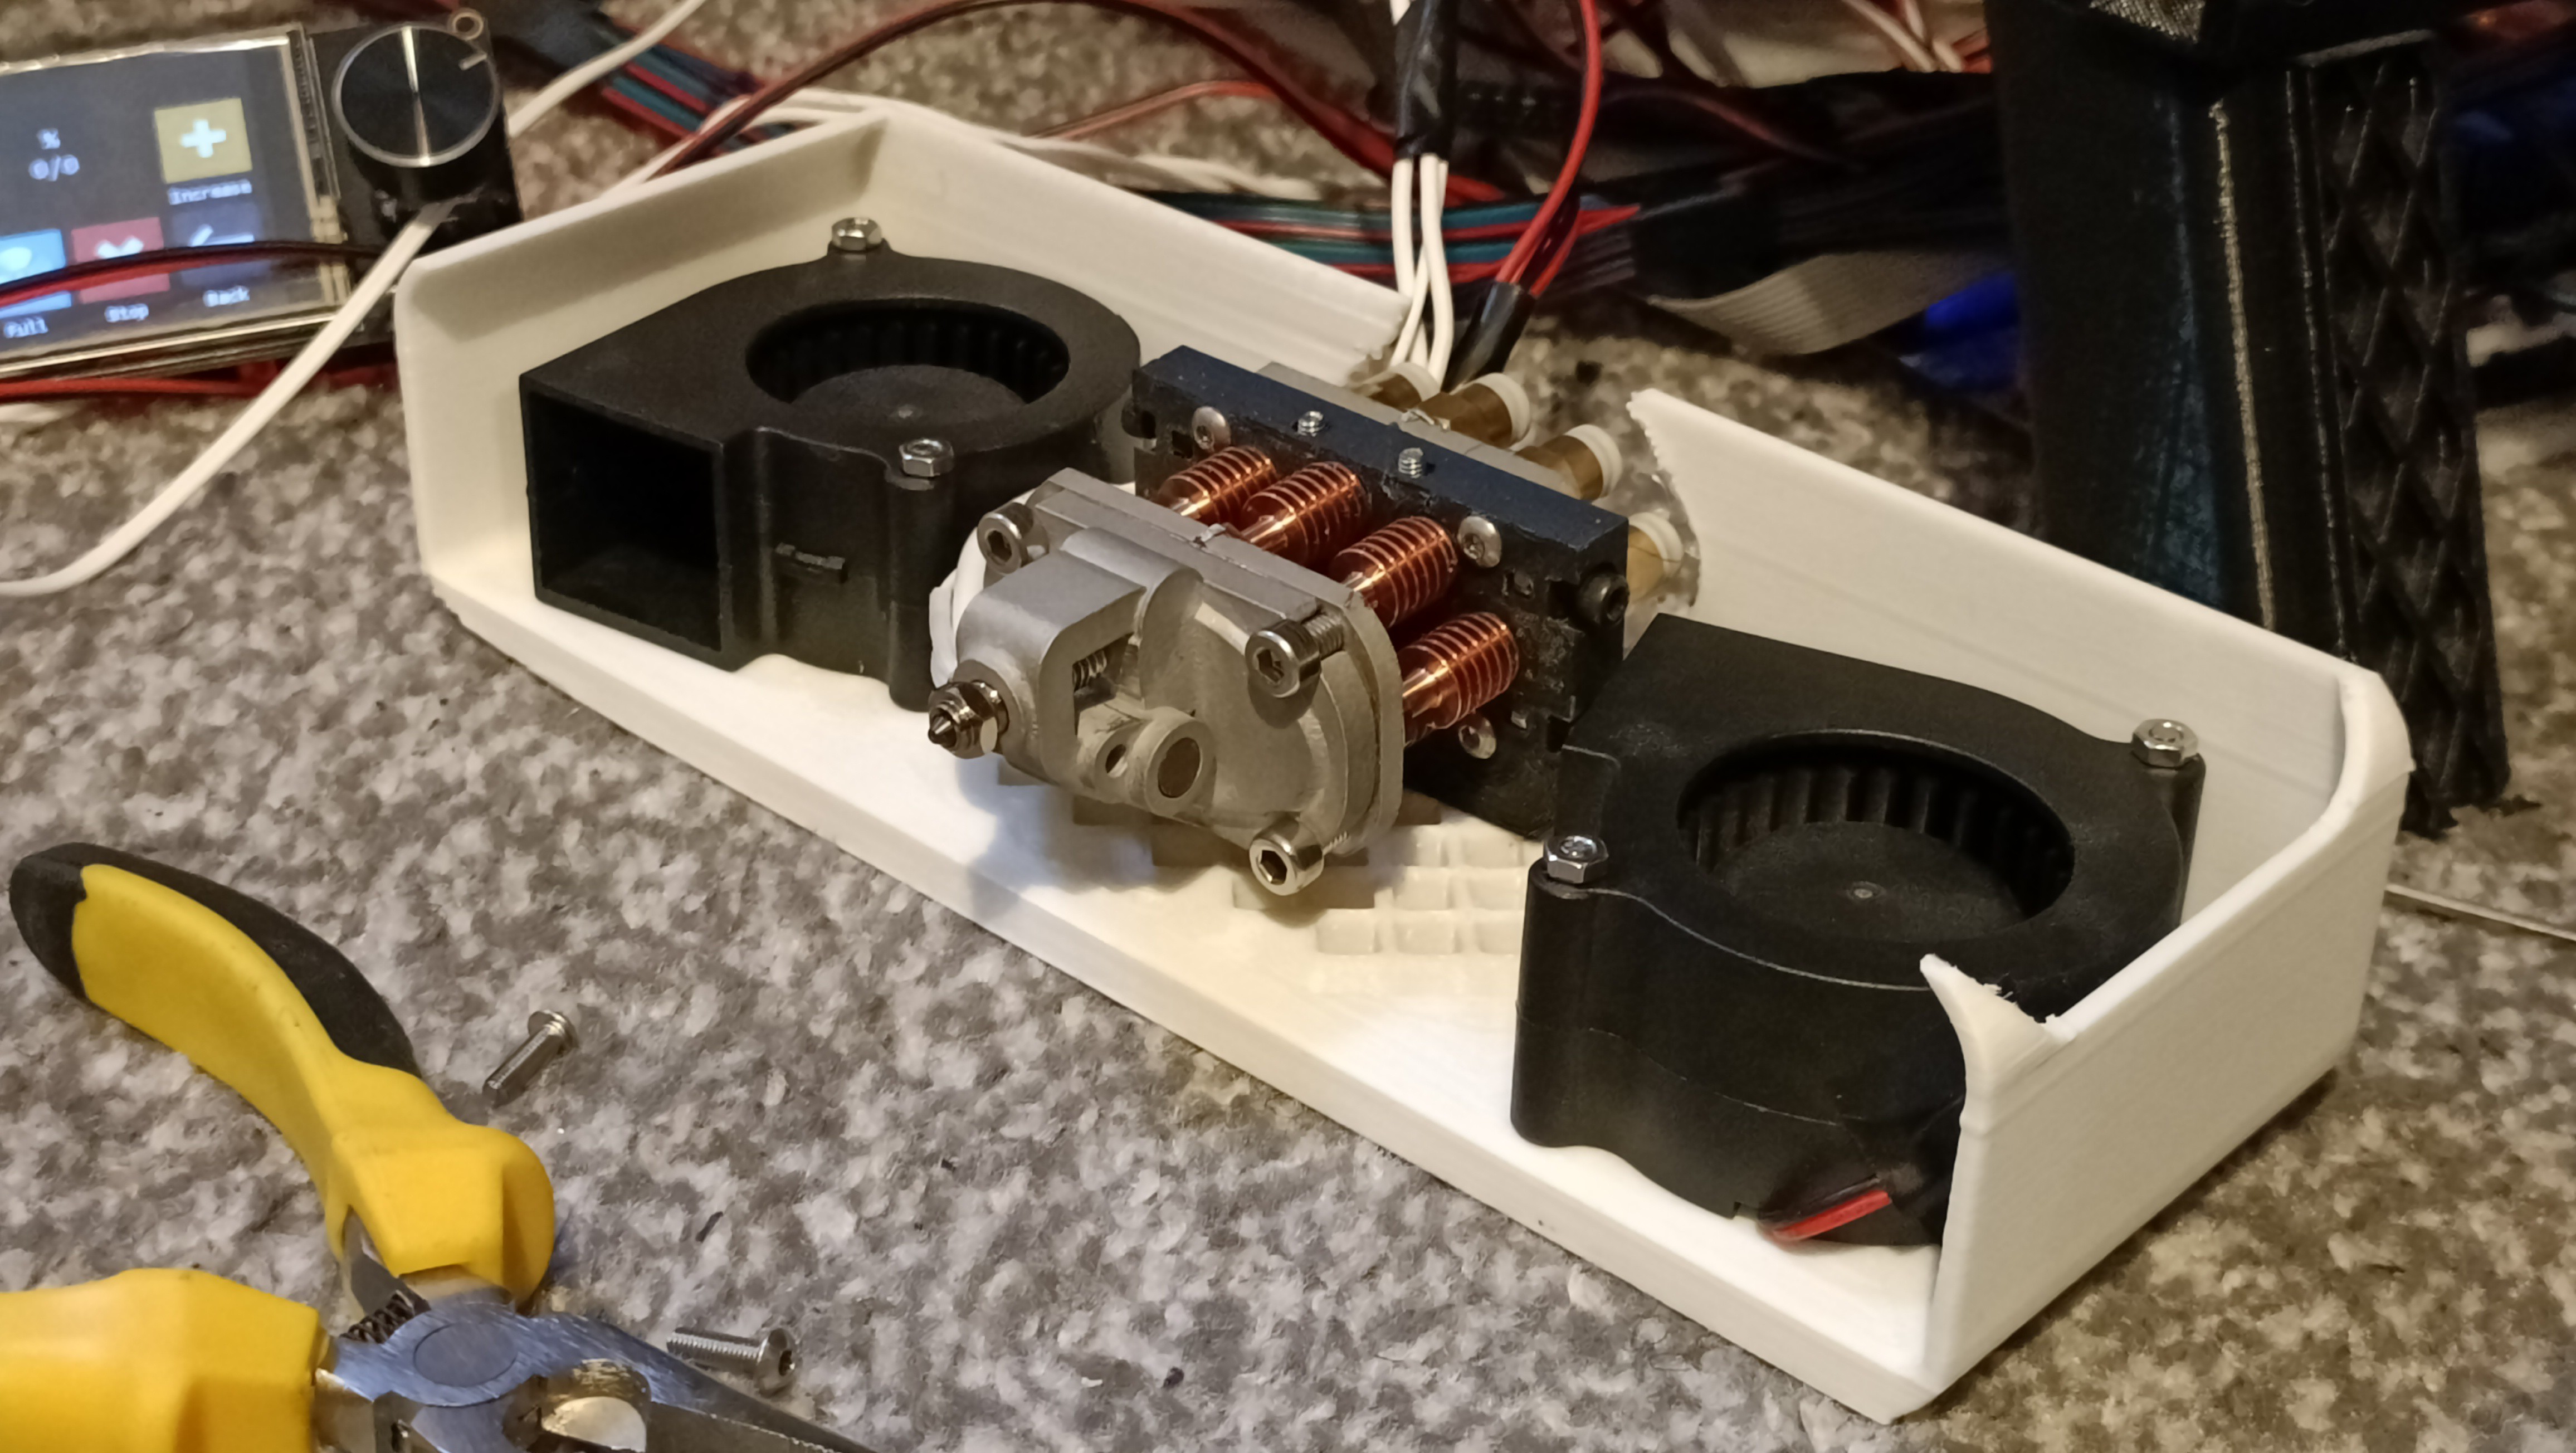
 As you can see, I've been able to assemble the Coaxial Hotend once again after 5 entire months.
The print
It only took PCBWay like 5 days to process this revision and it looks very close to expectations too. The overhanging thread is a bit noisy (see below) but the rest of the thread came out much better than previous versions.
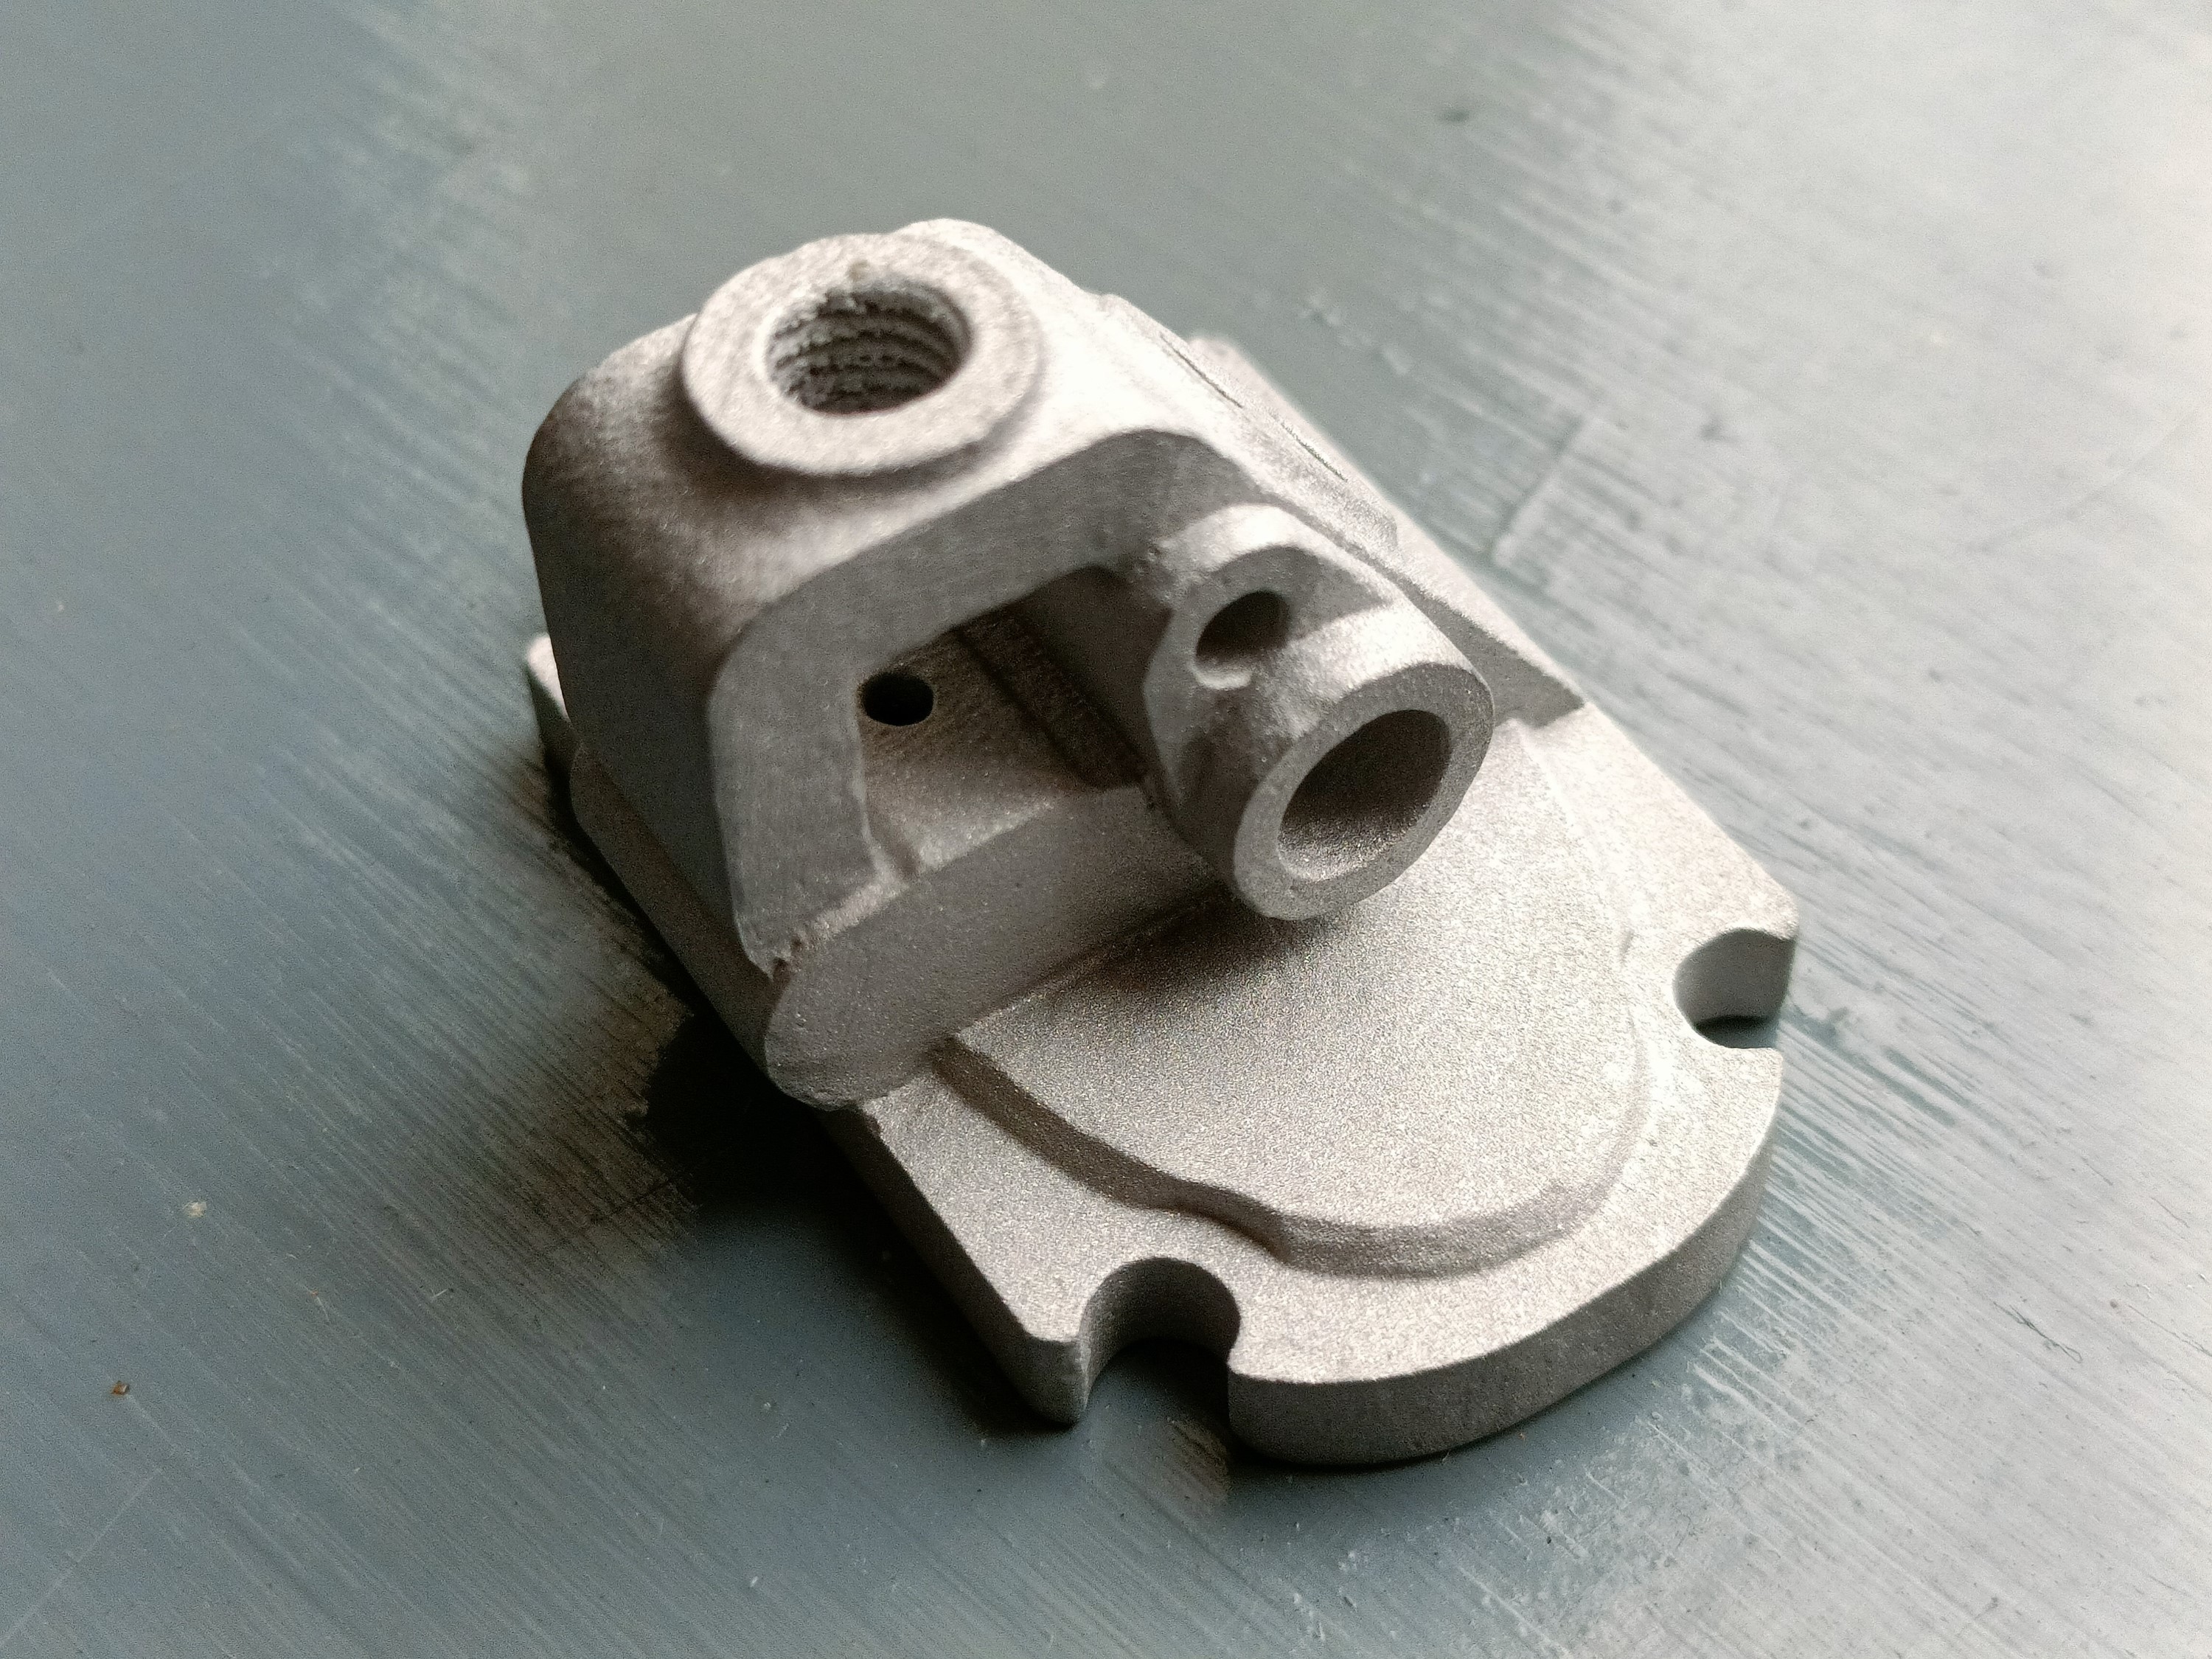
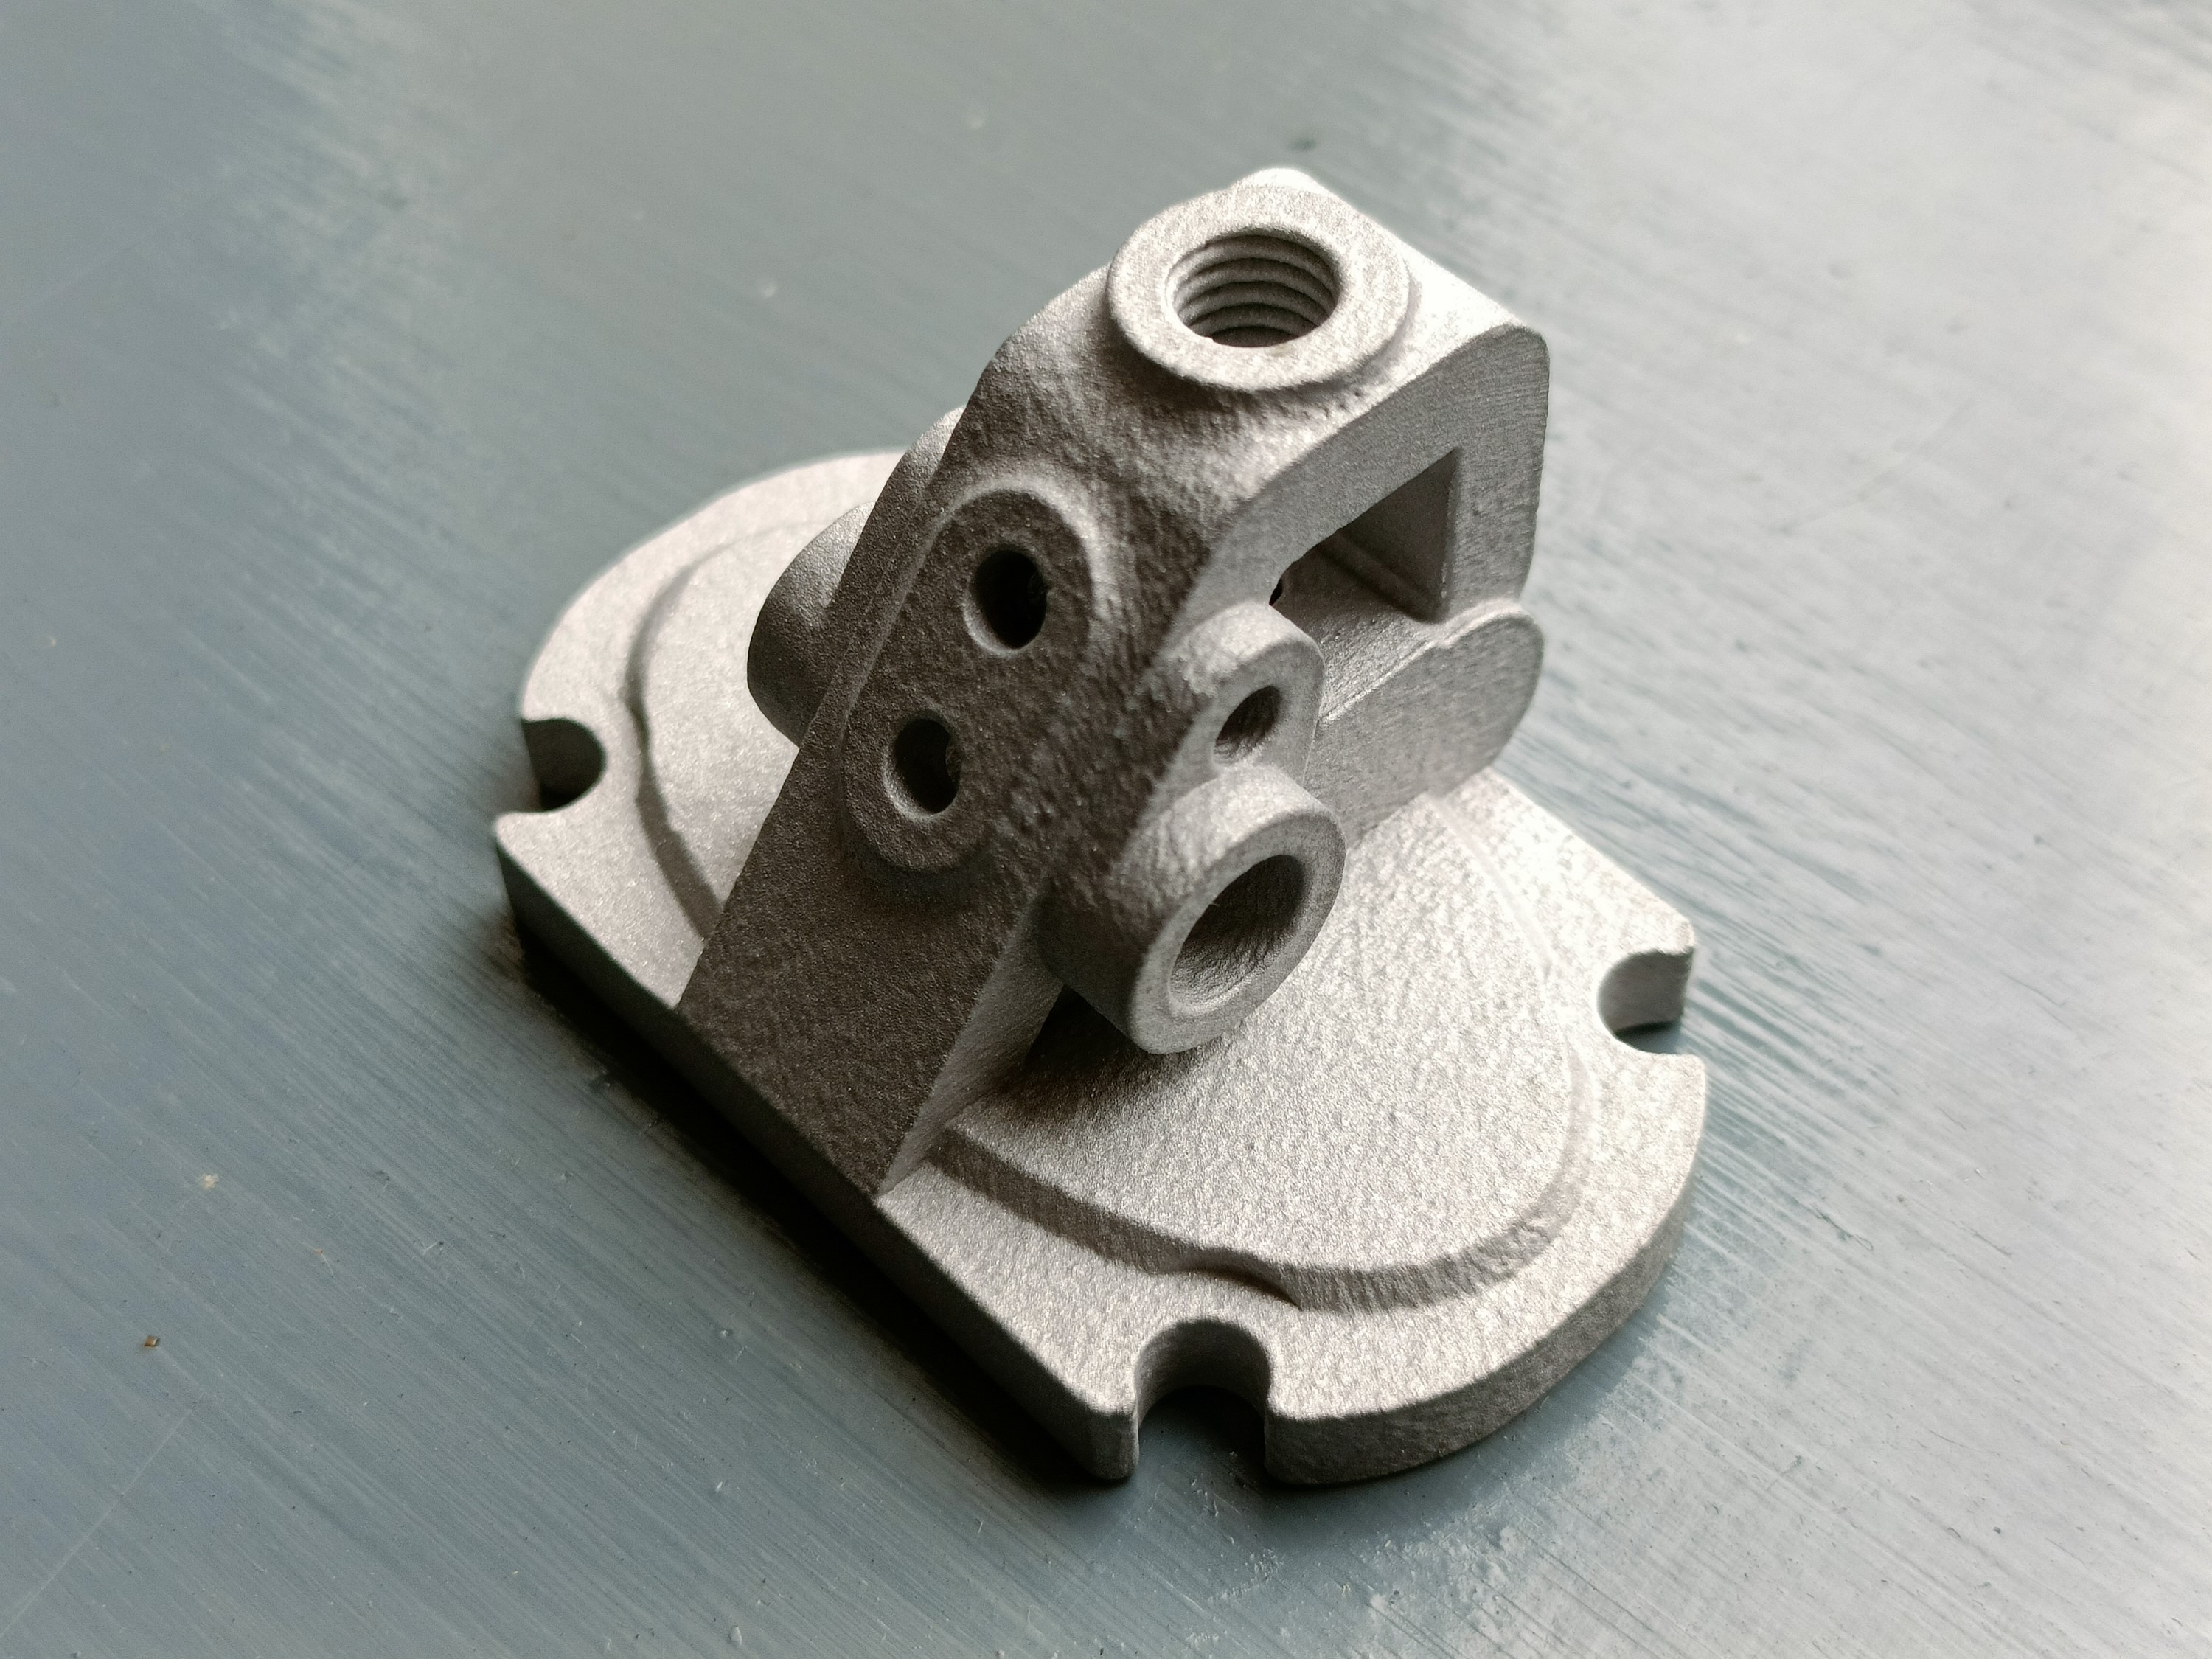
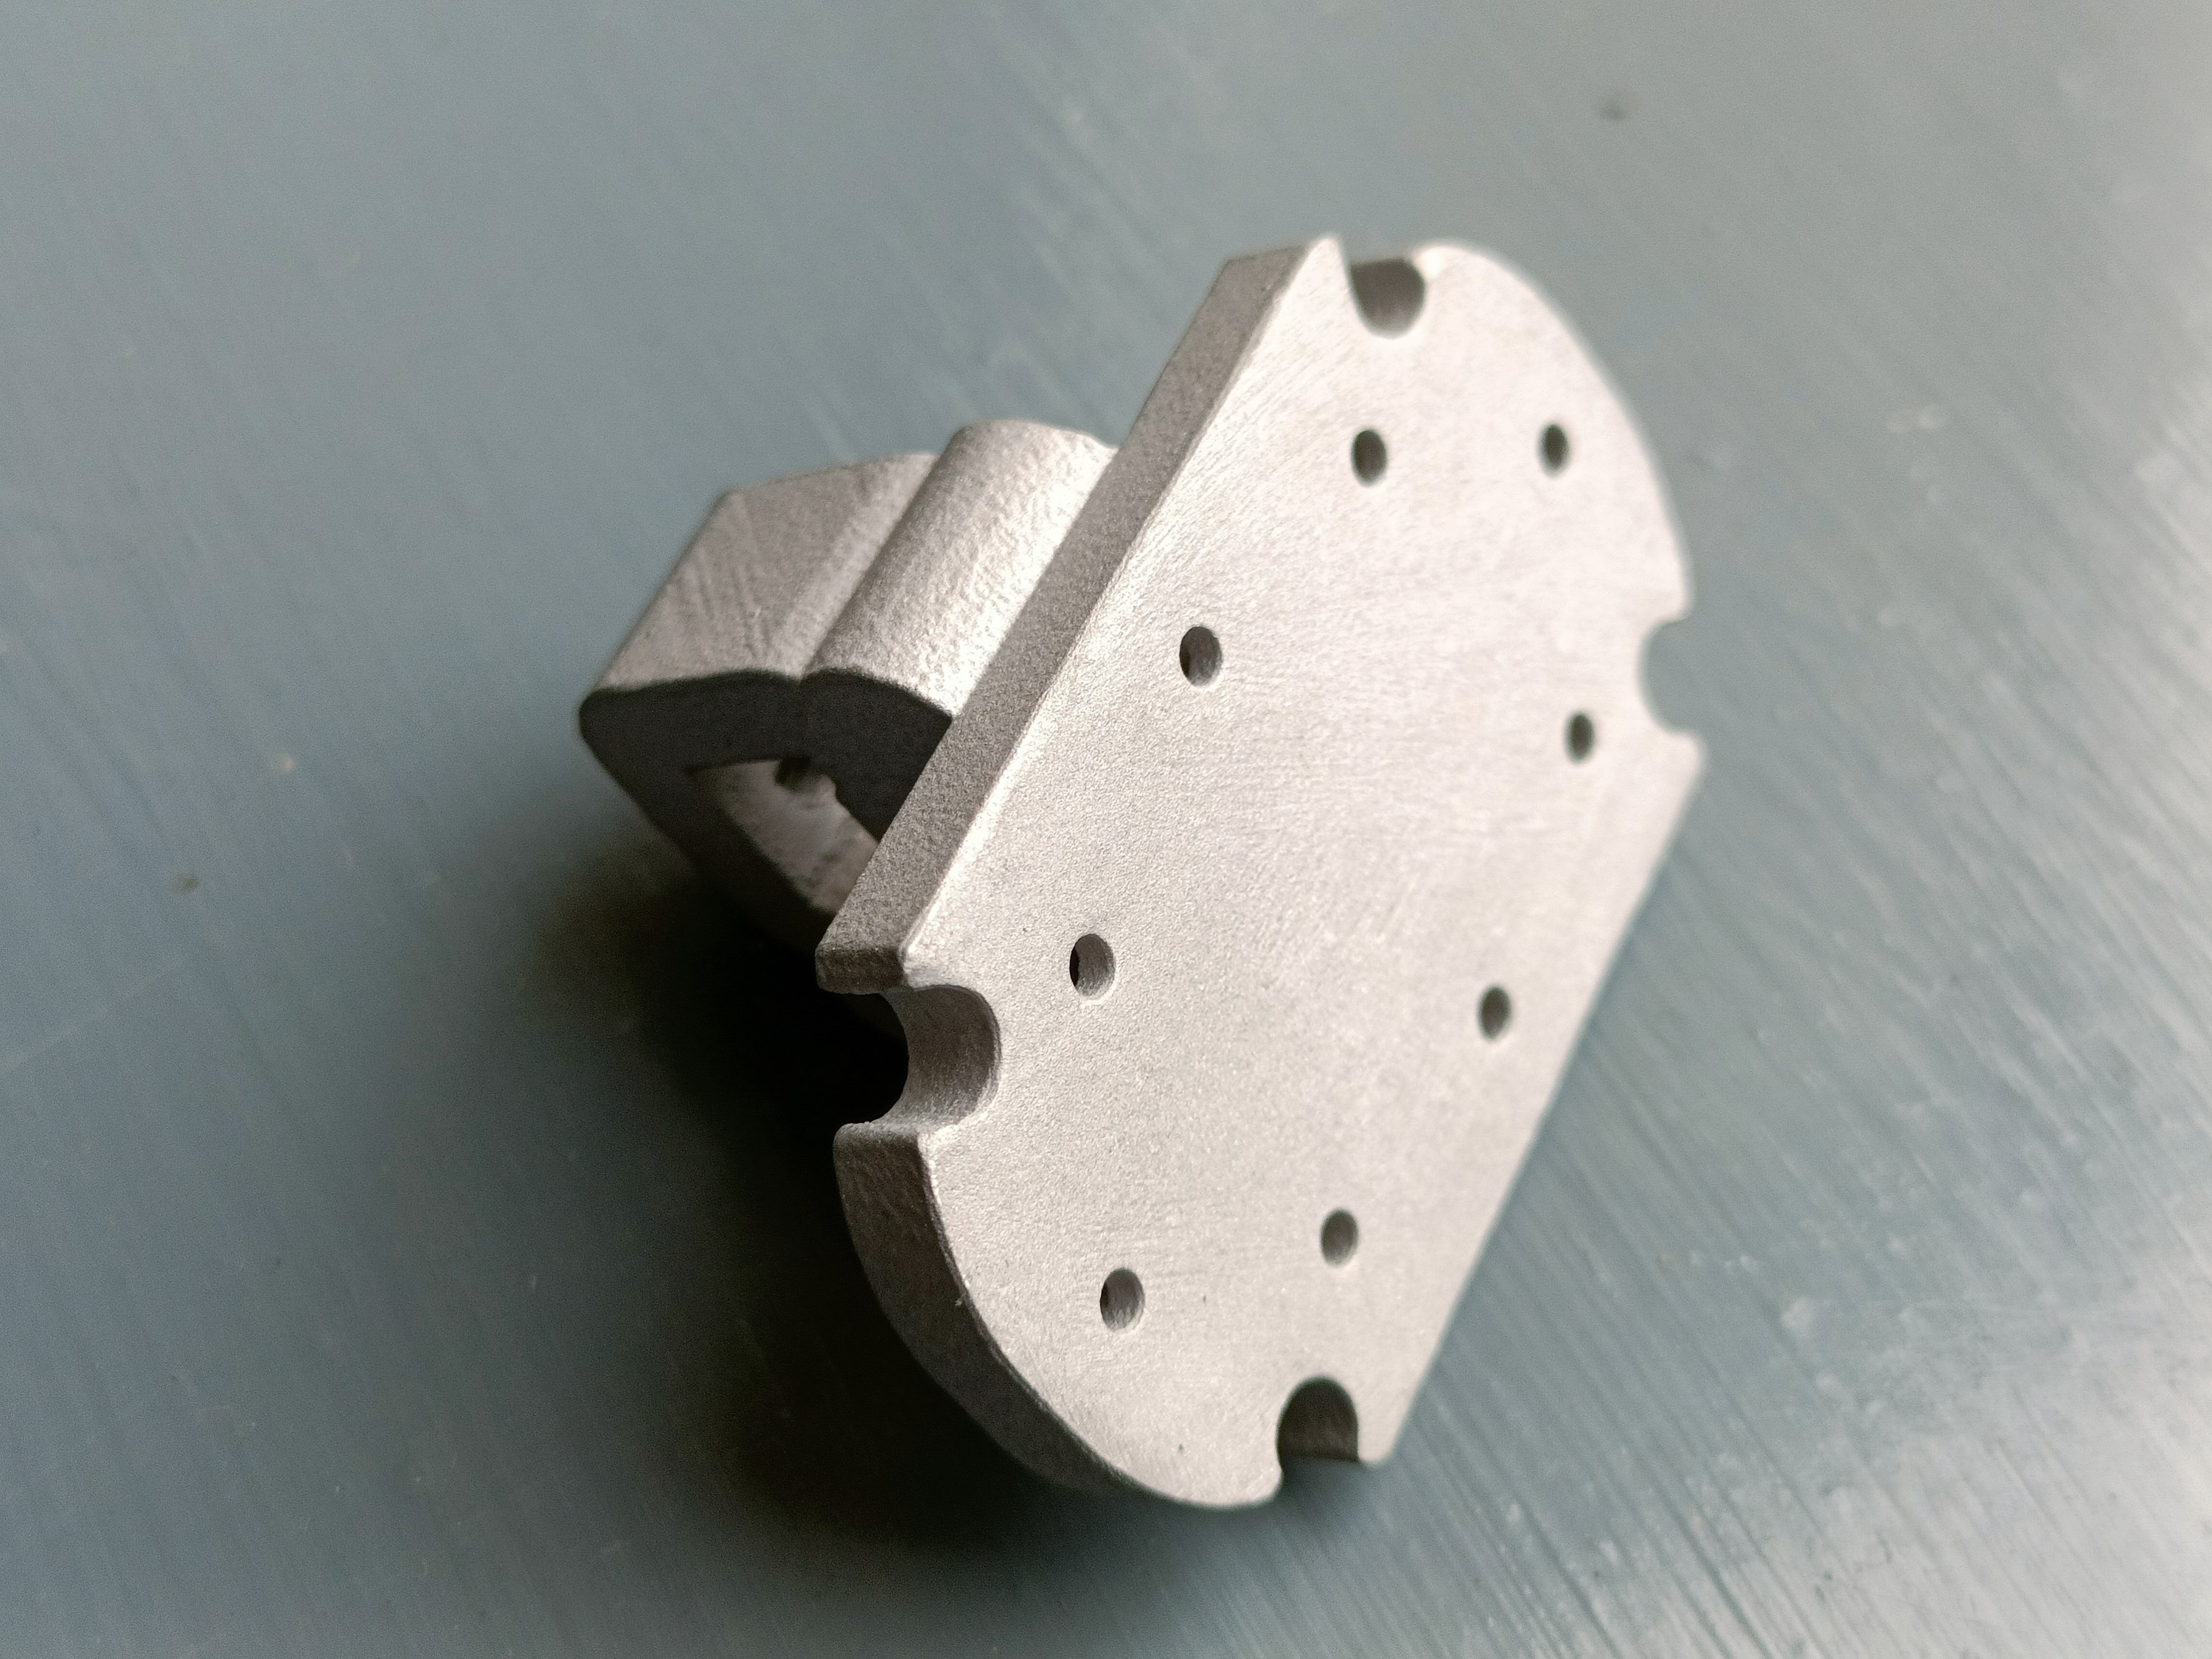
The CAD is 27.9g, so ideally it should be at or less than this weight. Thankfully, it was 27.5g, suggesting that there isn't any trapped powder inside.
Tapping, filing and machining
First I did the tapping and filing. The tapping was business as usual from R1:
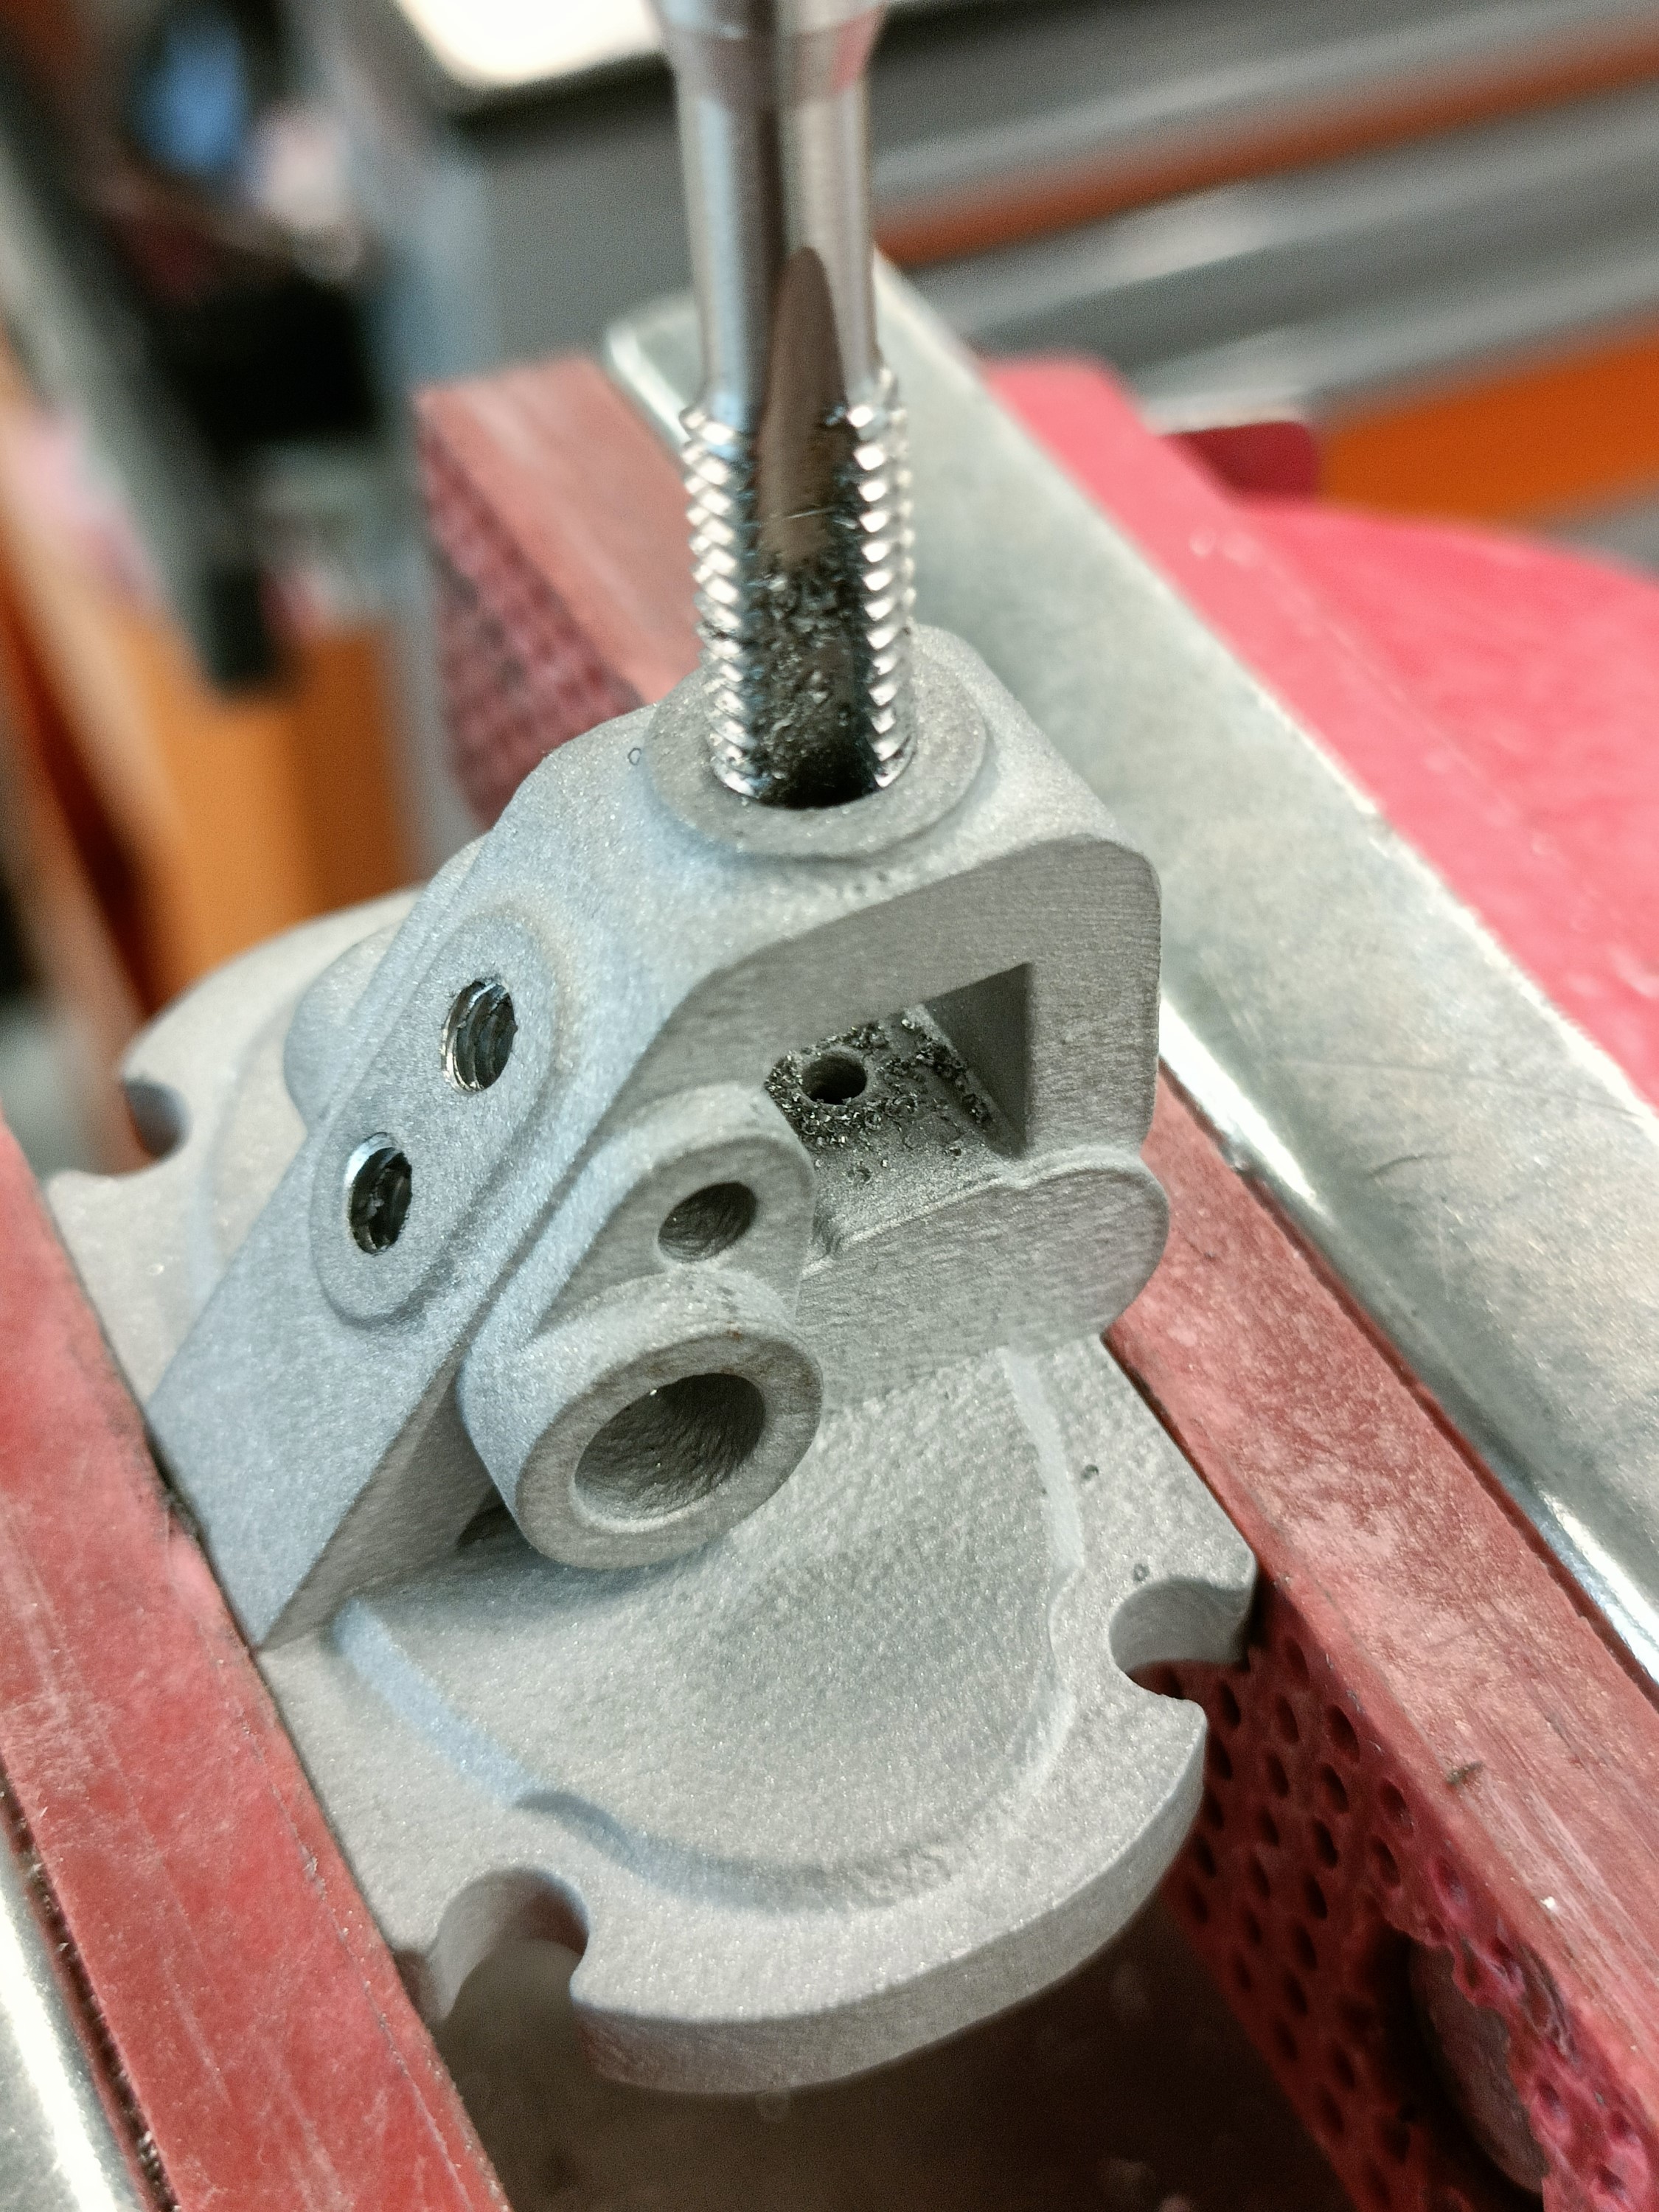
It seems that the M6 needs about 6mm of space to tap fully, so it's good that I modelled 8mm of space. The only thread that gave me some trouble was the thermistor M4, but I was able to get it so that a bolt would screw inside the hole to make it look like a D shape. I assumed that would be good enough.
I forgot to measure the width, but I found this 1.4mm thick file that seemed to do a good job at smoothing the nozzle mating face.
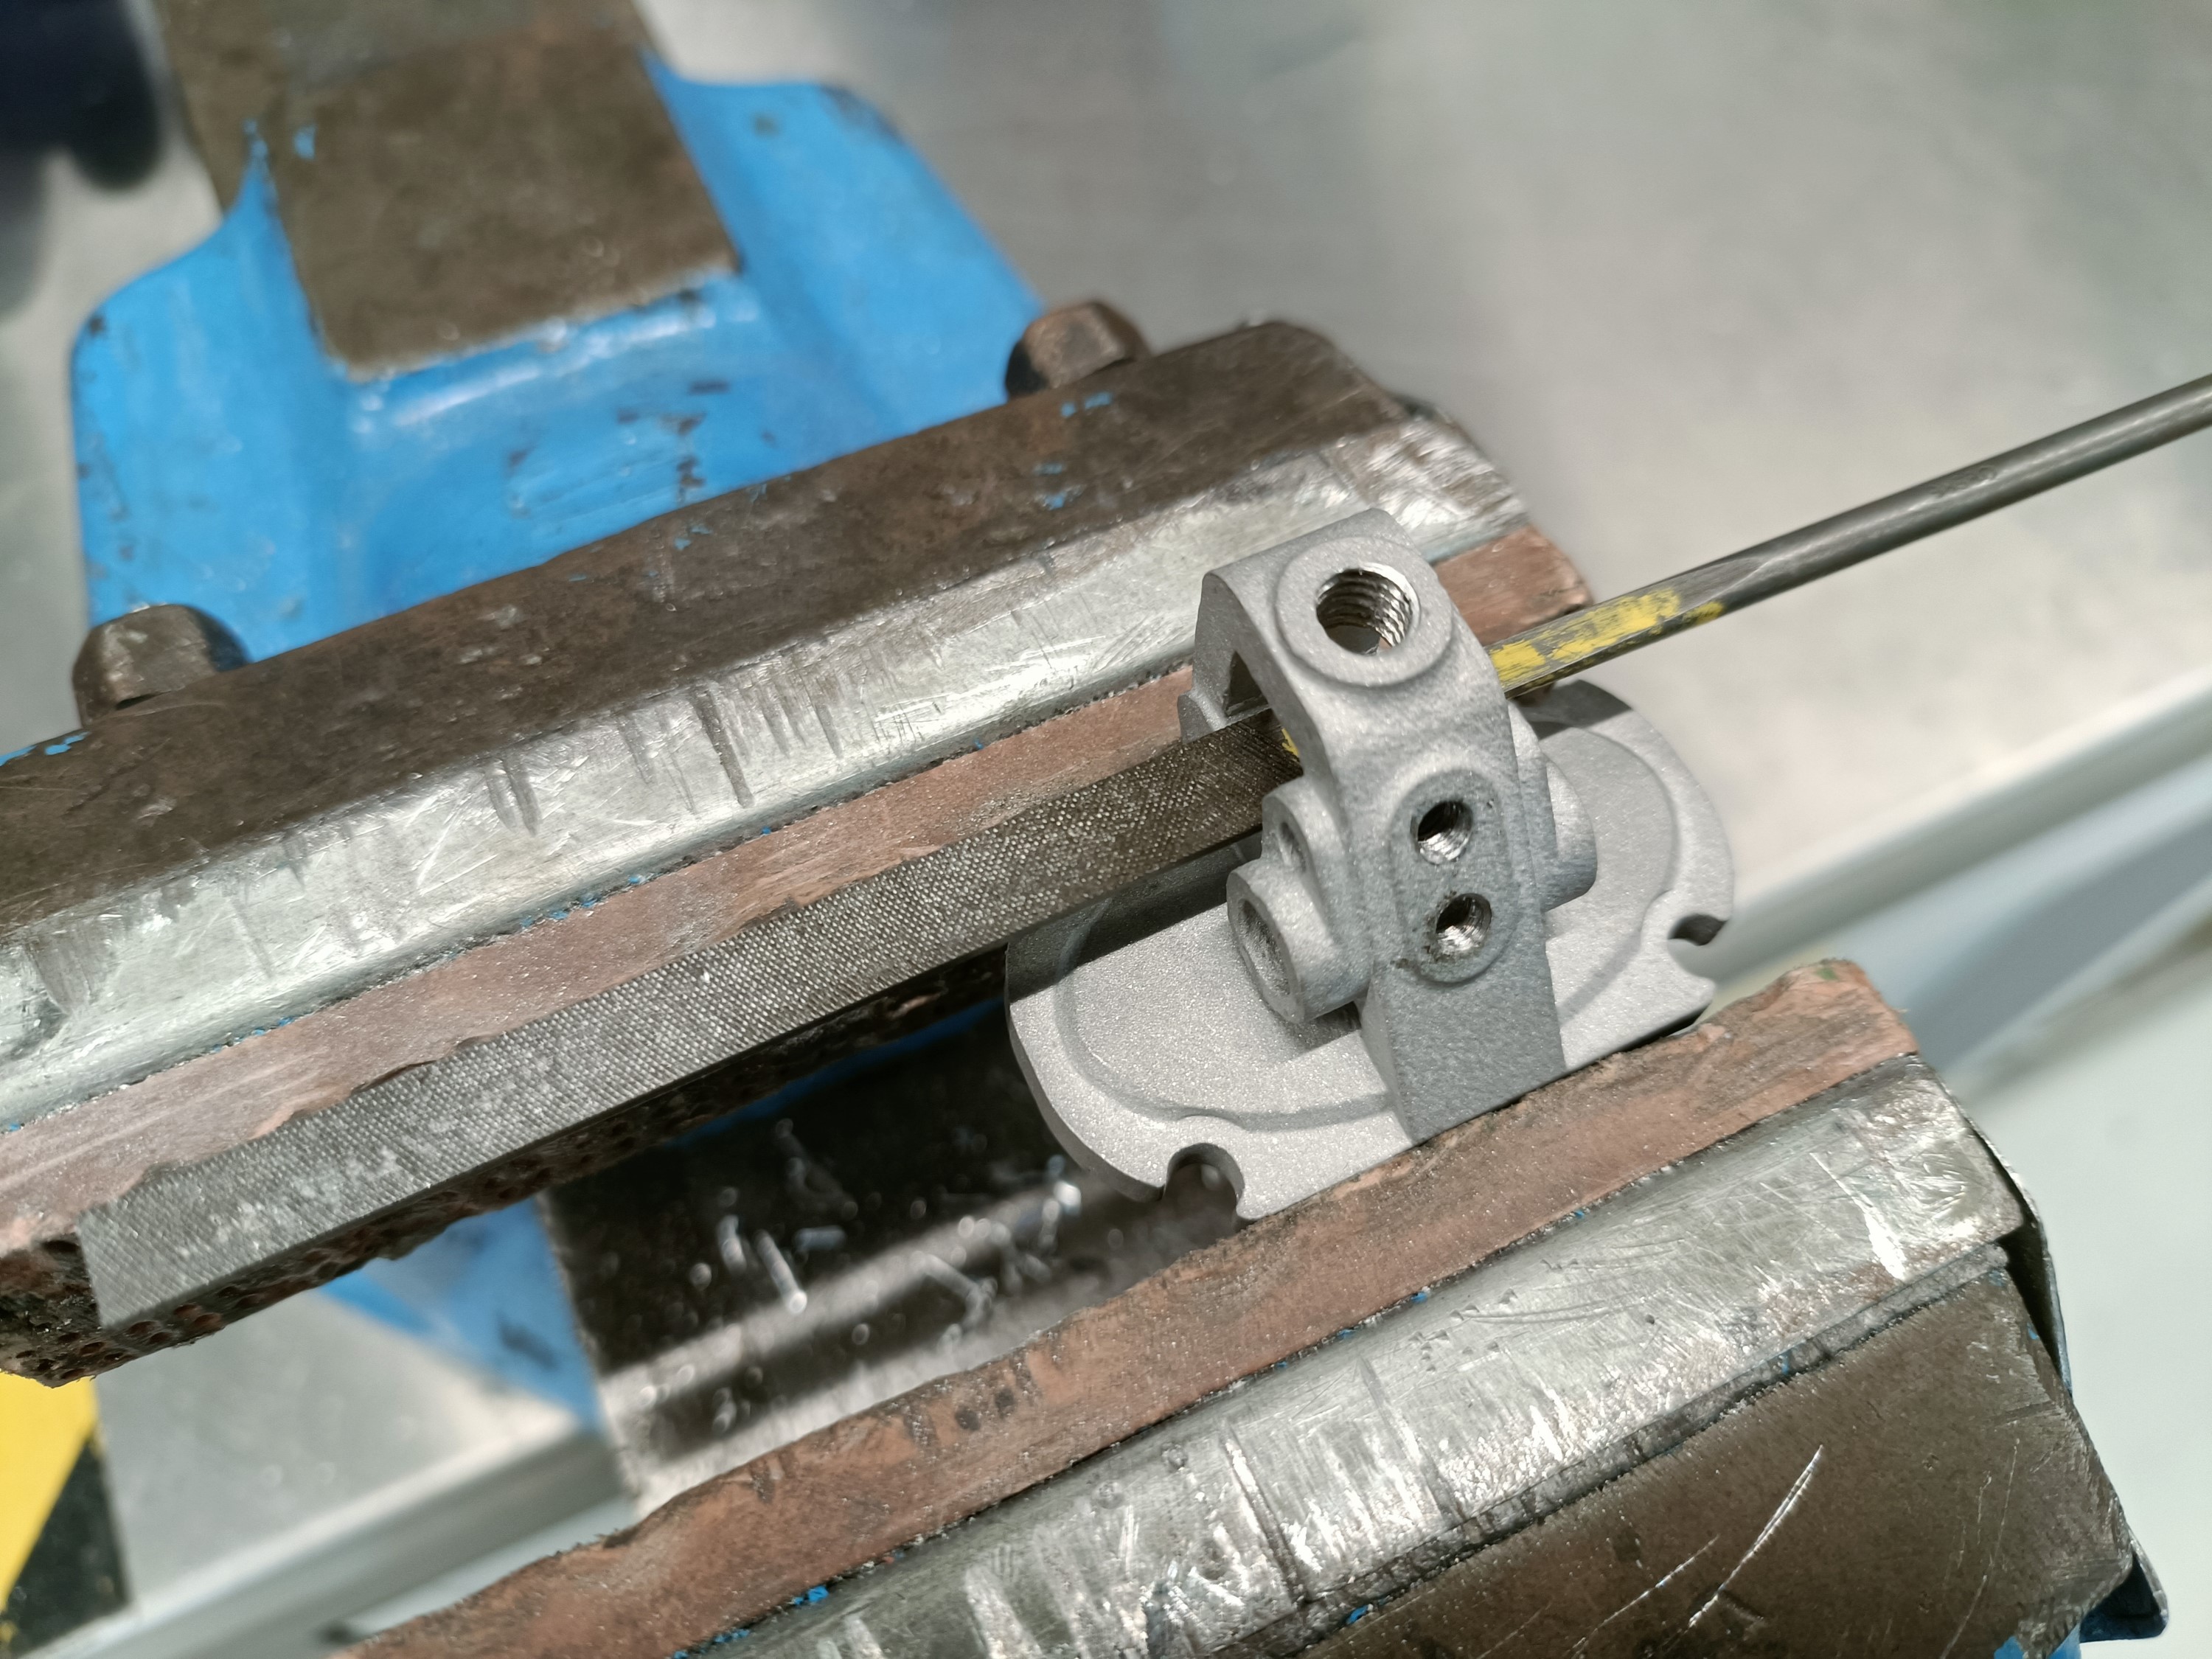
The file removed material slow enough, and there was enough area to press onto, that I felt confident that I could file it without fear that I'd end up with a tilted face. It took like 8 minutes to give it a shiny, brushed look:
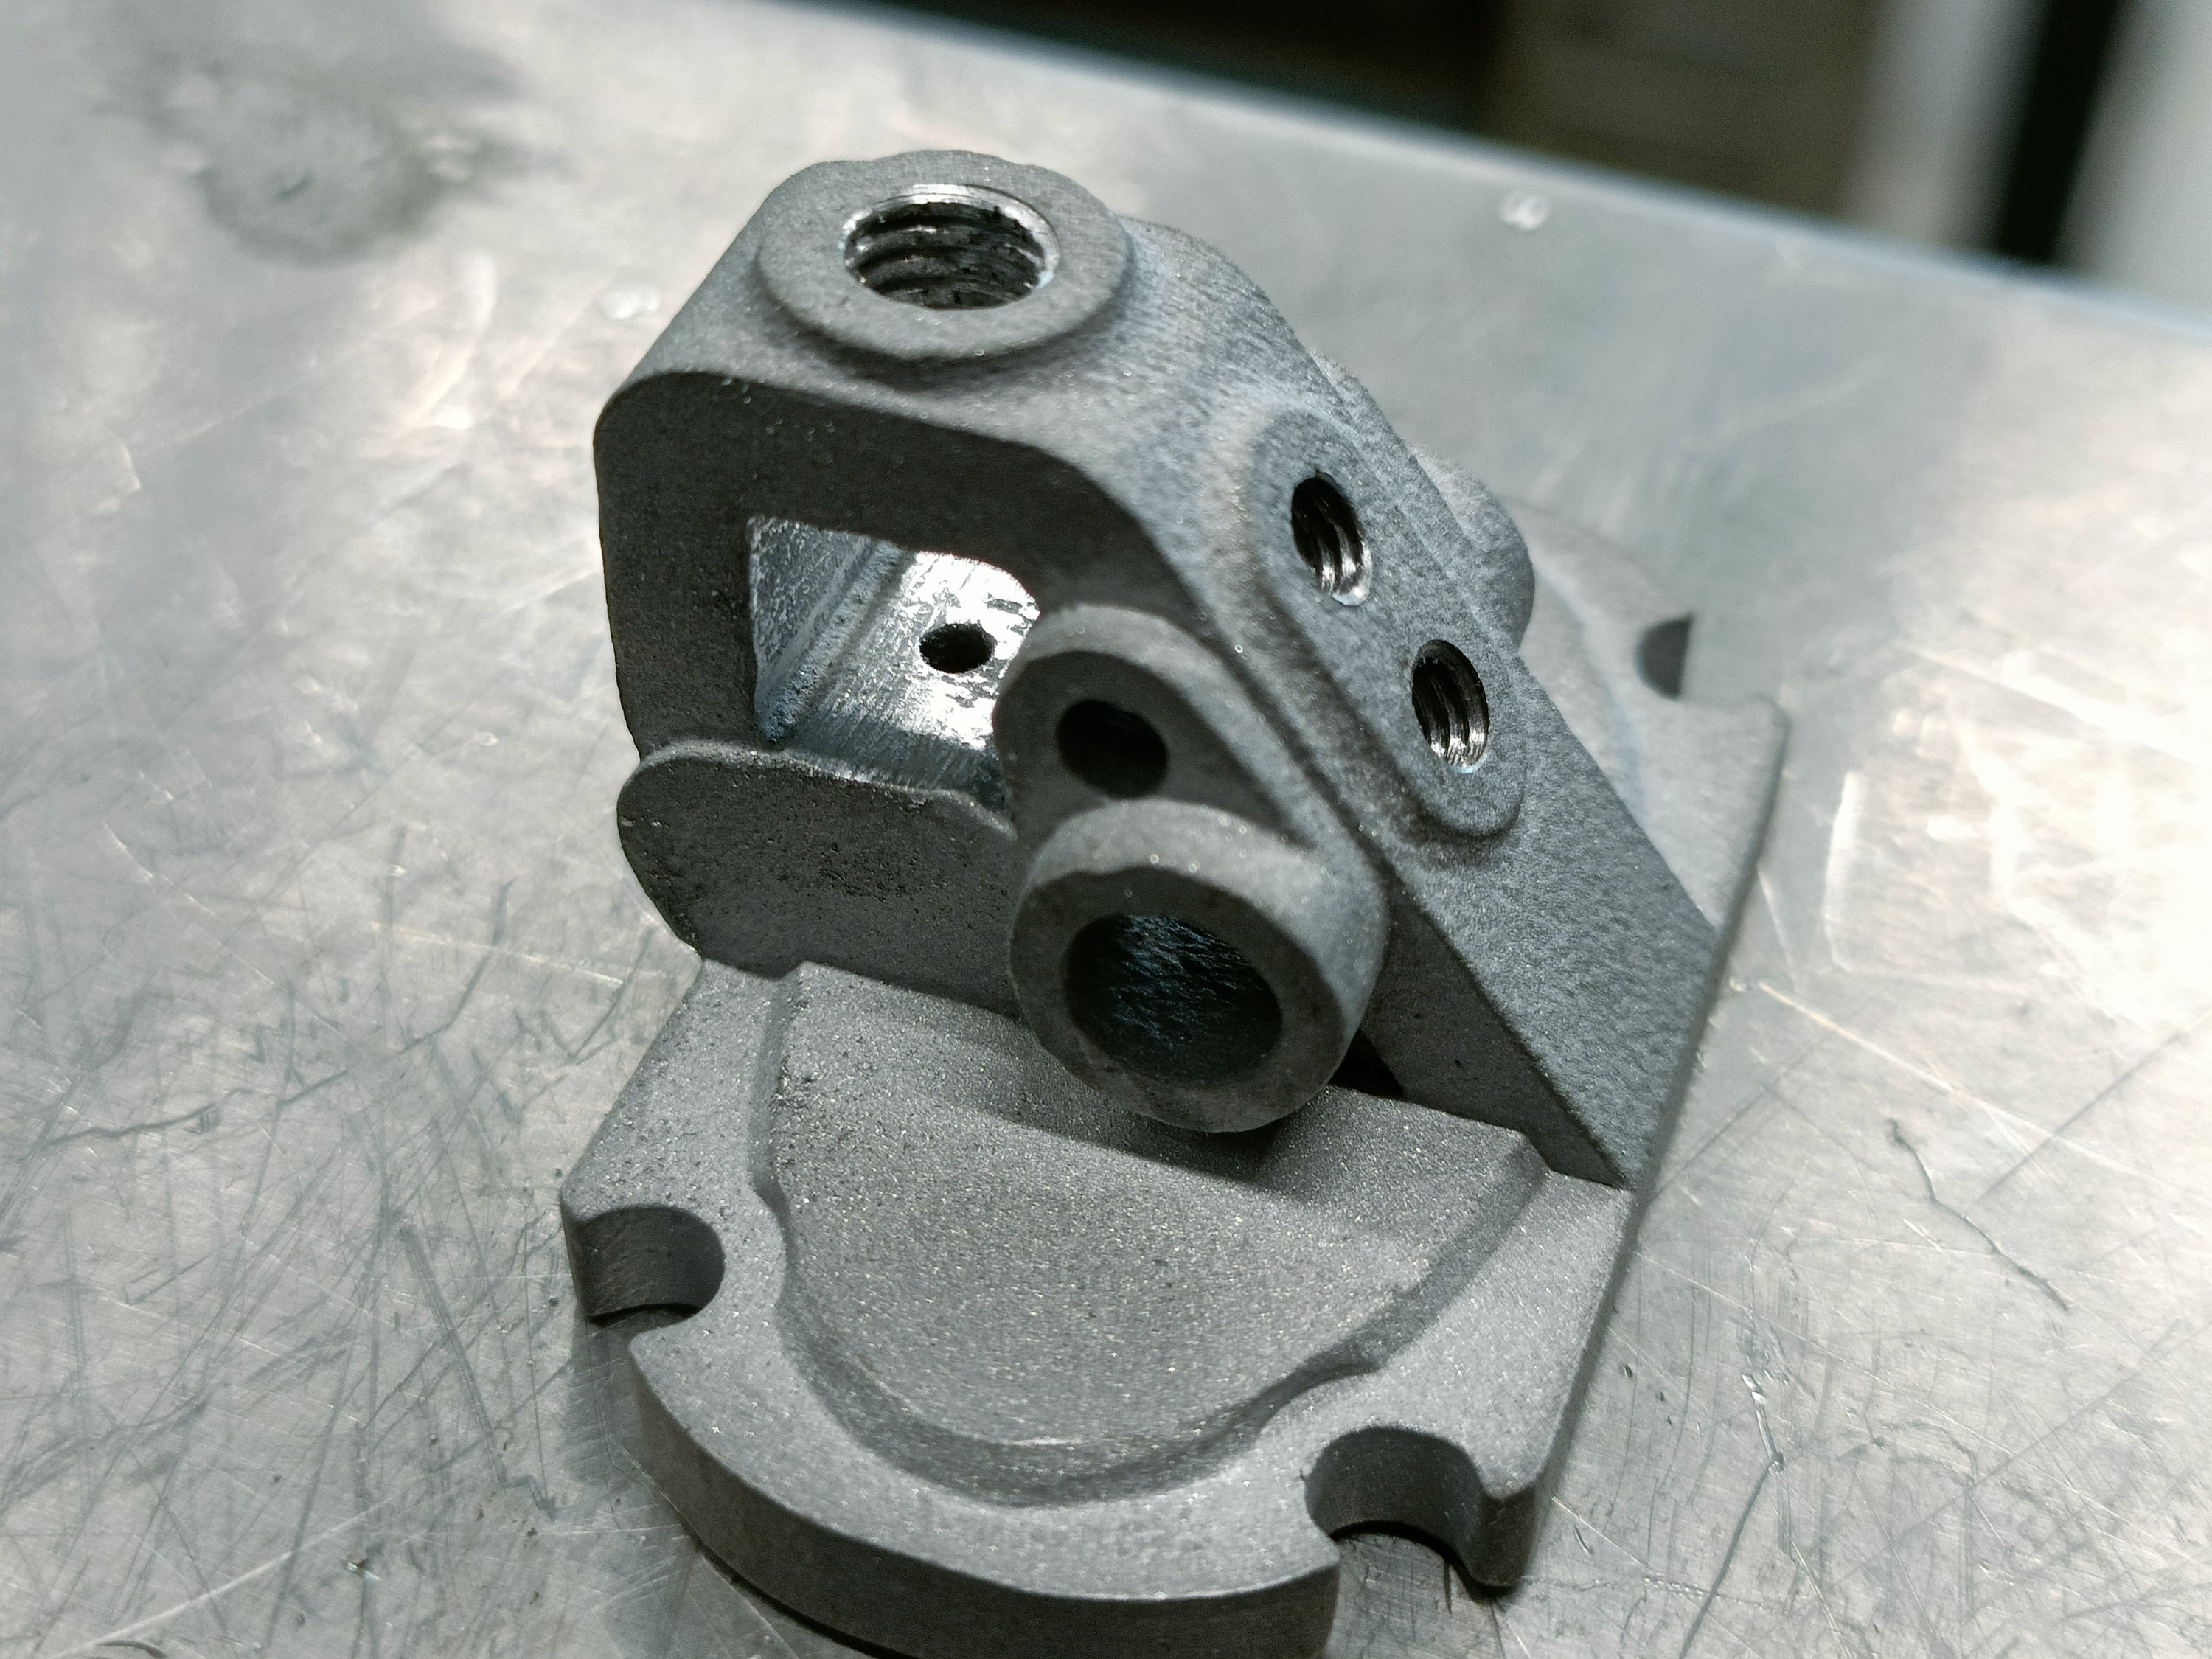
I was able to see and ask about how the face is flattened this time. The technician used a "face mill" and the only questionable part was clamping it against the heater cartridge tube; the vice is hydraulic and could potentially crush the print.
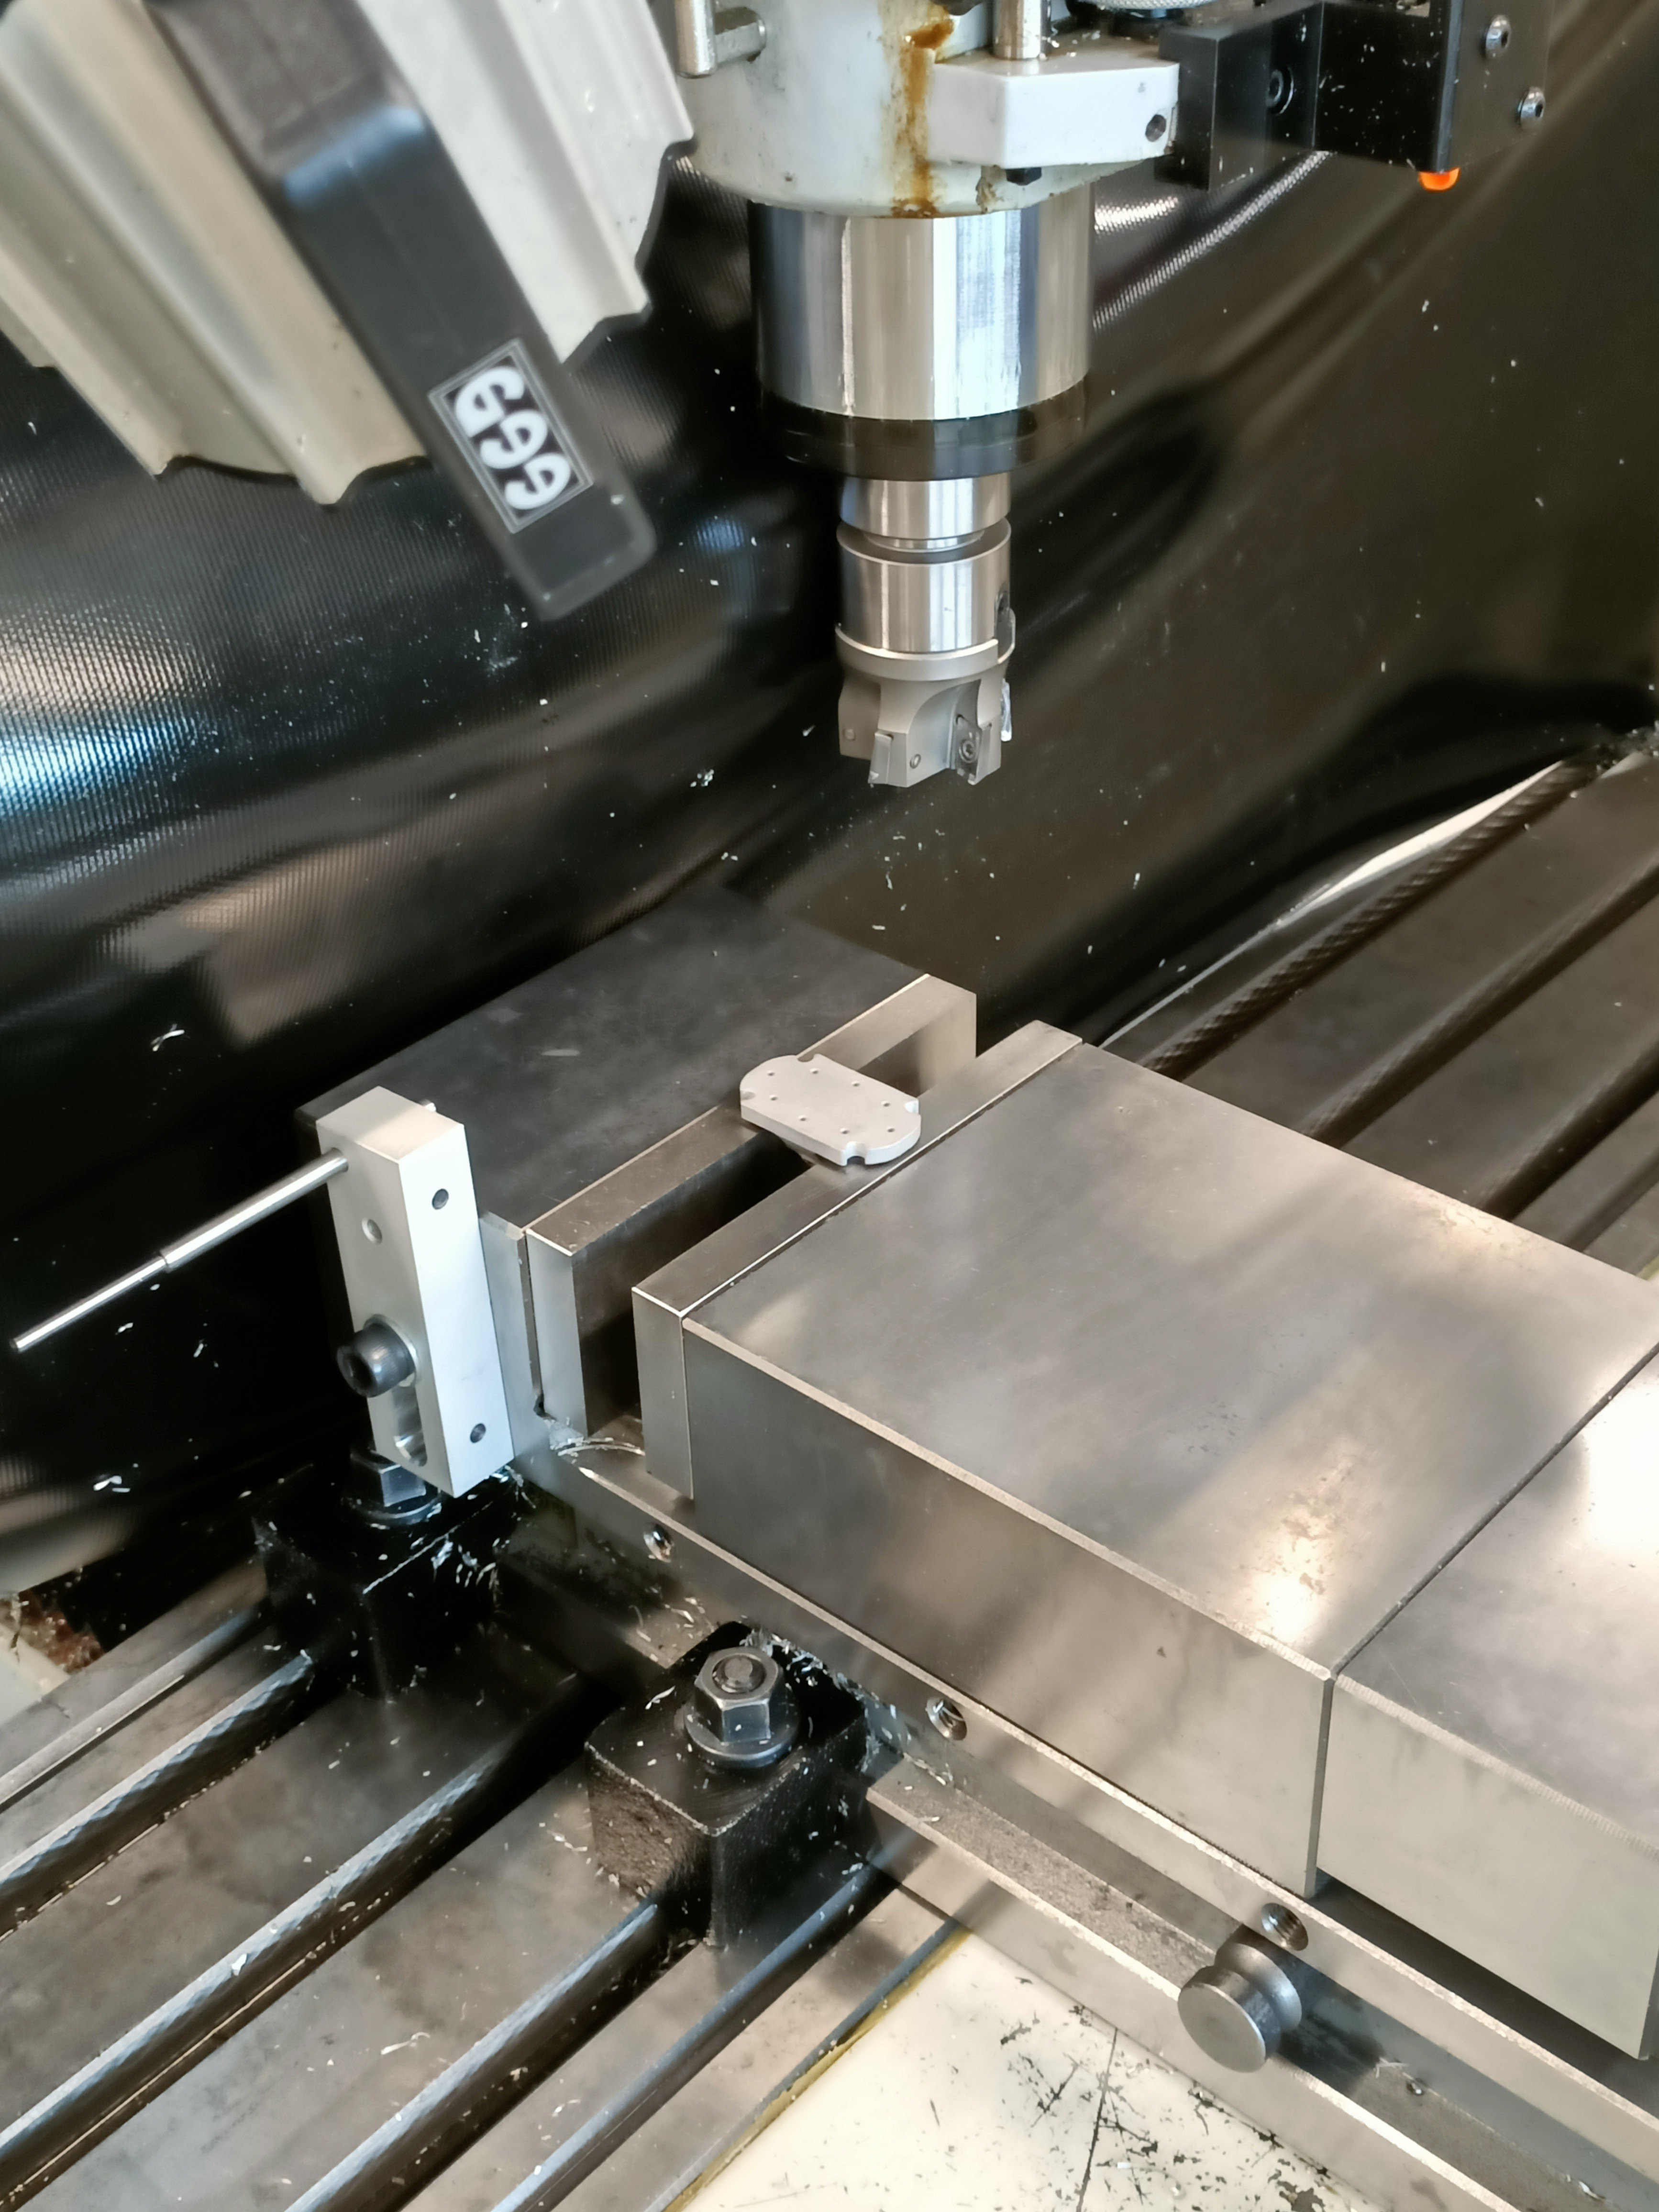 It took 4-5 minutes to prepare the machine (clamp the part, home the tool, lower by 0.15mm) and less than 30 seconds for the face to be flattened entirely in one single pass. Then the technician scrubbed the face in circles on some emery cloth.
Installation
I screwed in the other components, like the fancy Mellow nozzle that makes this hotend look extra nice:
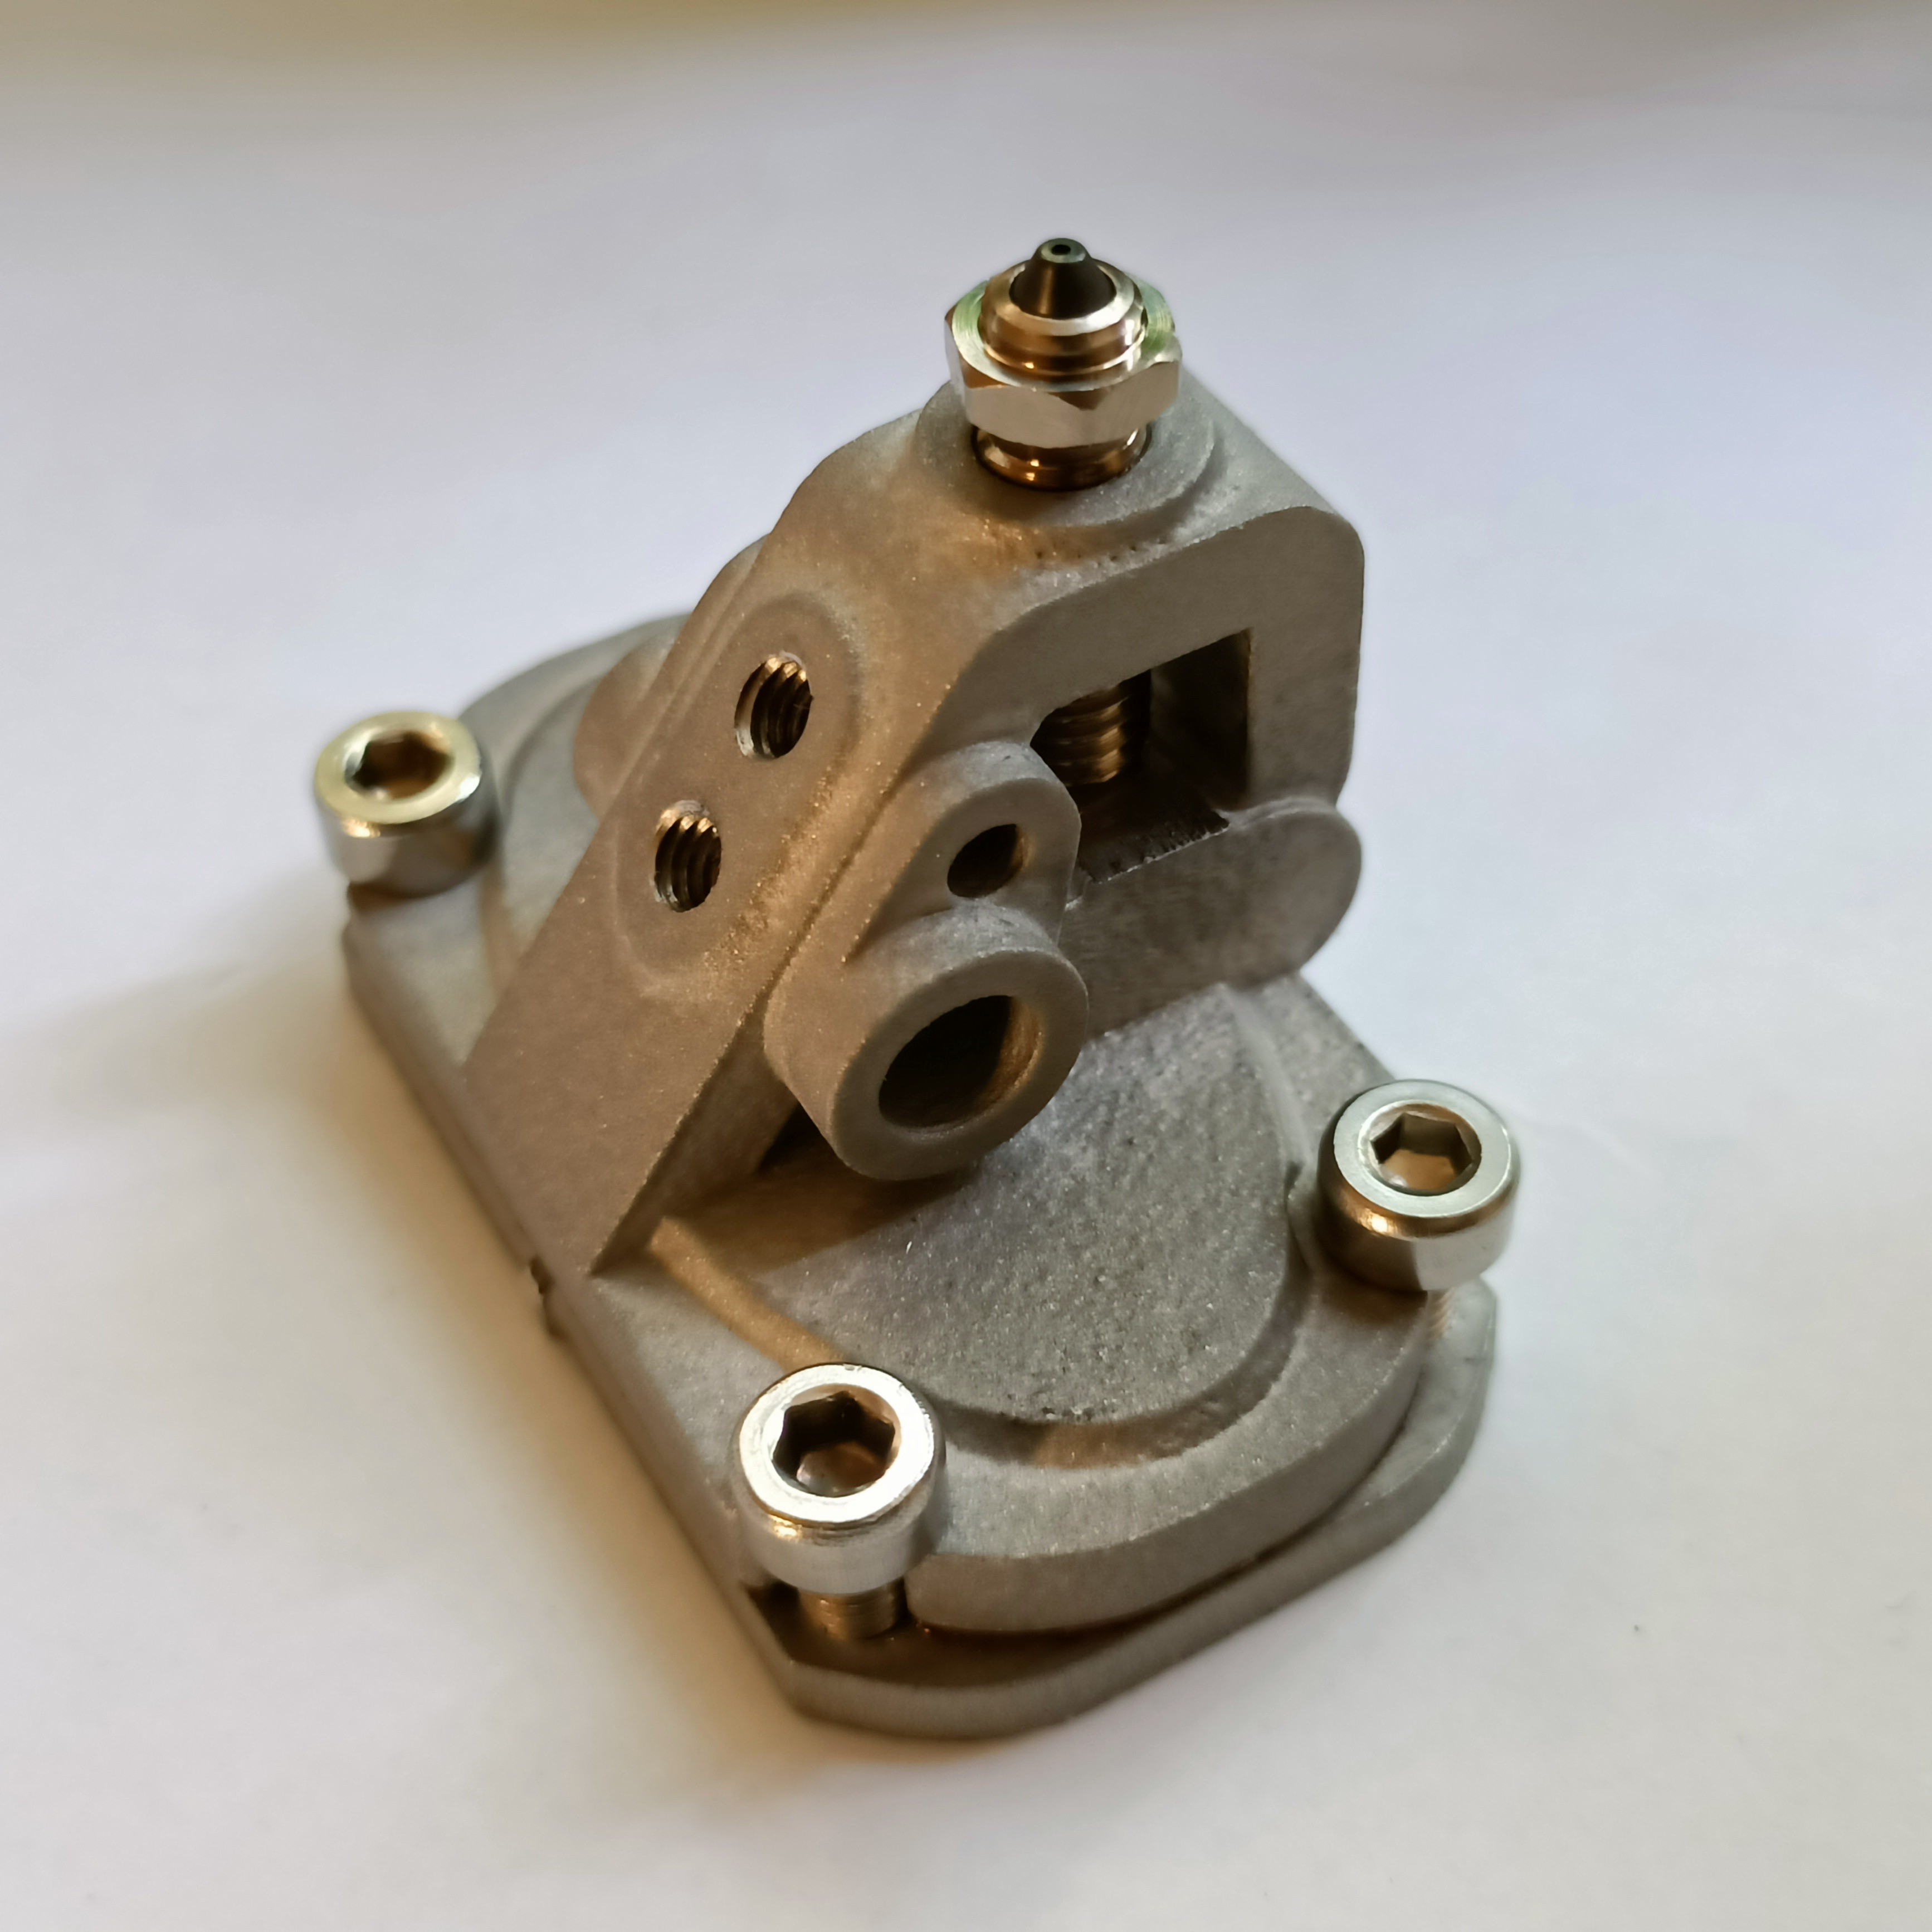 With the plate installed, I was able to confirm that there's no powder inside by using a syringe to push air through one input (covering as many others as I could with a thumb) and feeling the air from the output.
Found a HearWeGo track (Ptr - After The Storm) to calm / focus myself, since I'd like to reiterate that I've been putting sweat equity into this project for 5 months just so that I can facilitate a rematch from where I left off with c8or r0.
I then proceed to:
- Take out the old wires
- Flash new firmware for the Octopus and Touchscreen
- Test to make sure the 70W cartridge still works
- Reflash firmware, using the 504 (hotend) and 505 (hotbed) thermistor tables in Marlin
- Eventually get the holder on the correct way around
- Ideally, I was going to screw the coupler plate to the holder after aligning it, but the heatbreaks are so short that I couldn't fit an allen key in to tighten them.
- Install the fans
- (this is the image at the top of this log)
- Screw onto the CR600S
- Use electrical tape to keep the new wire bundle together
- Level the bed (and then do it again when I found out that the Z offset was wrong)
The next step was to run an MPC autotune, but the printer was taking an unexpectedly long time with the heater on max output so I connected up to Repetier Host to see what the issue was.
The issue:
Apparently, 70W is nowhere near enough power needed:
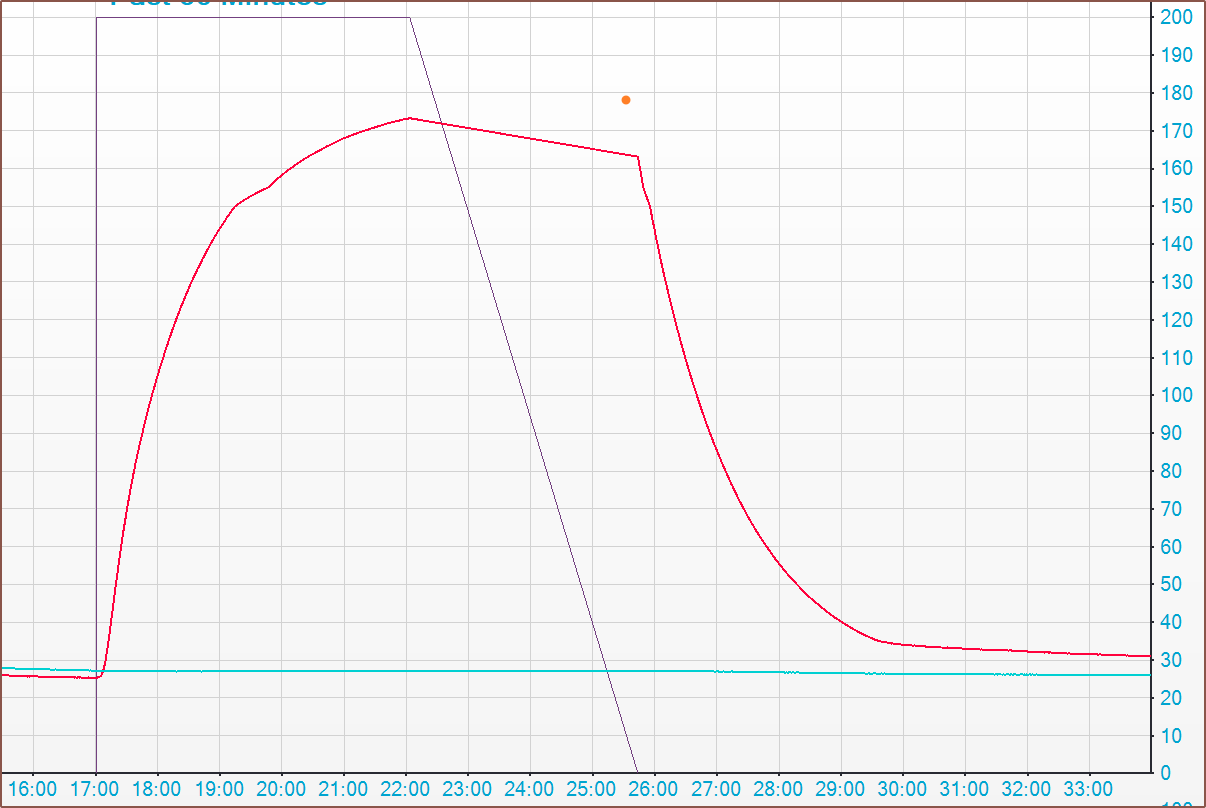

I was expecting problems like "Big Leak-a" (R0) and "Fabrication Station" (R1), but not this!
It seems that enough heat is radiating away that the plateau point is somewhere around 185C. There's also a mysterious "non-log-arity" between 150 and 155C.
Next steps
In theory, I could try and wrap the heatsink in old-fashioned ceramic wool, but I obviously didn't design the R2 with this in mind. These have no resistance to leaks and they will hinder fast cooldowns (e.g. switching to PLA temps after printing a section in PETG).
 I've also started on the beginnings of Coaxial8or R3, which trades a bit of futuristic form for thermally-conductive function:
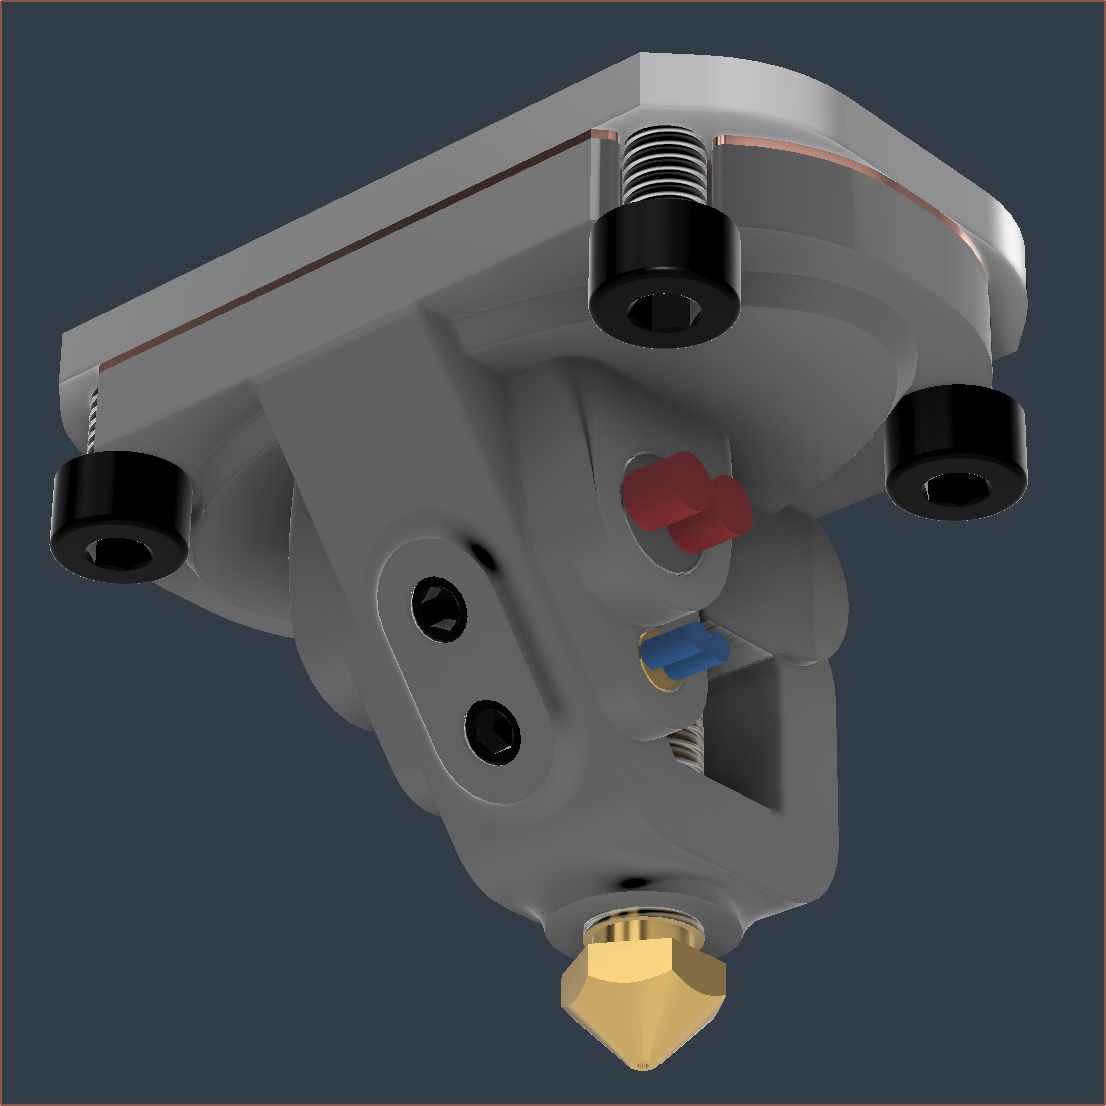
Right now, the strategy is to just take out the 70W cartridge and install a 200W cartridge.
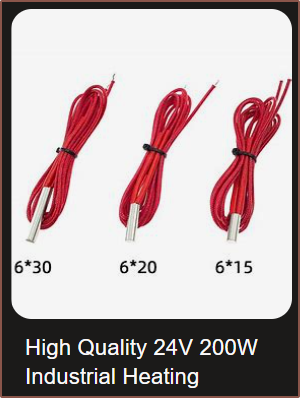
"Woah! They sell 200W cartridges now?", you might be inclined to ask.
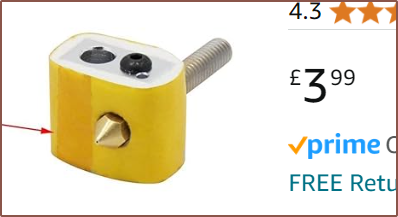
They always have, just that they go by the trade name "12V 50W":
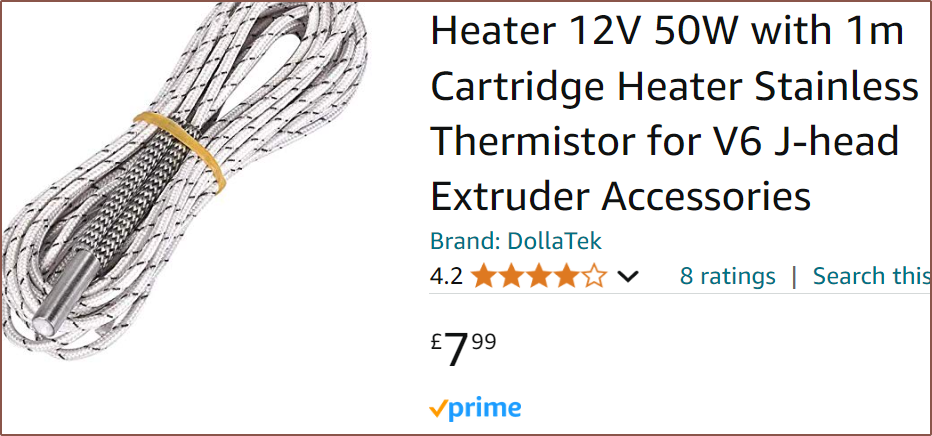
I have a bit more faith that the 50W, white-wire cartridges can handle the 8.3 (ish) amps than the 40W, red-wire cartridges. Additionally, my experience from watching the power reading in Repetier Host suggests that the at-temperature power should be around 40% of max, so if 70W isn't even getting there, I'm going to need a good bit more than just double
The Coaxial8or R0 really took its time to heat up, now that I think about it.
 kelvinA
Discussions
Become a Hackaday.io Member
Create an account to leave a comment. Already have an account? Log In.