Finally! I've been trying to solve a solution essentially daily since the 8th and I've finally arrived at one that minimises the drawbacks and incorporates the benefits.
 The main issue was mounting the 30mm cartridge in such a way that it didn't block an allen key to the plate bolts and that the cartridge can be held in a clamping mount instead of grub screws. When I got to save v45, I more or less abandoned mounting the cartridge horizontally since I couldn't think of a solution that didn't look ugly (and likely use a relatively large amount of material).
 My ceiling for modelling was 20cm3, and the result is a respectable 17.2cm3. The PCBWay autoquoter says this print is $35.
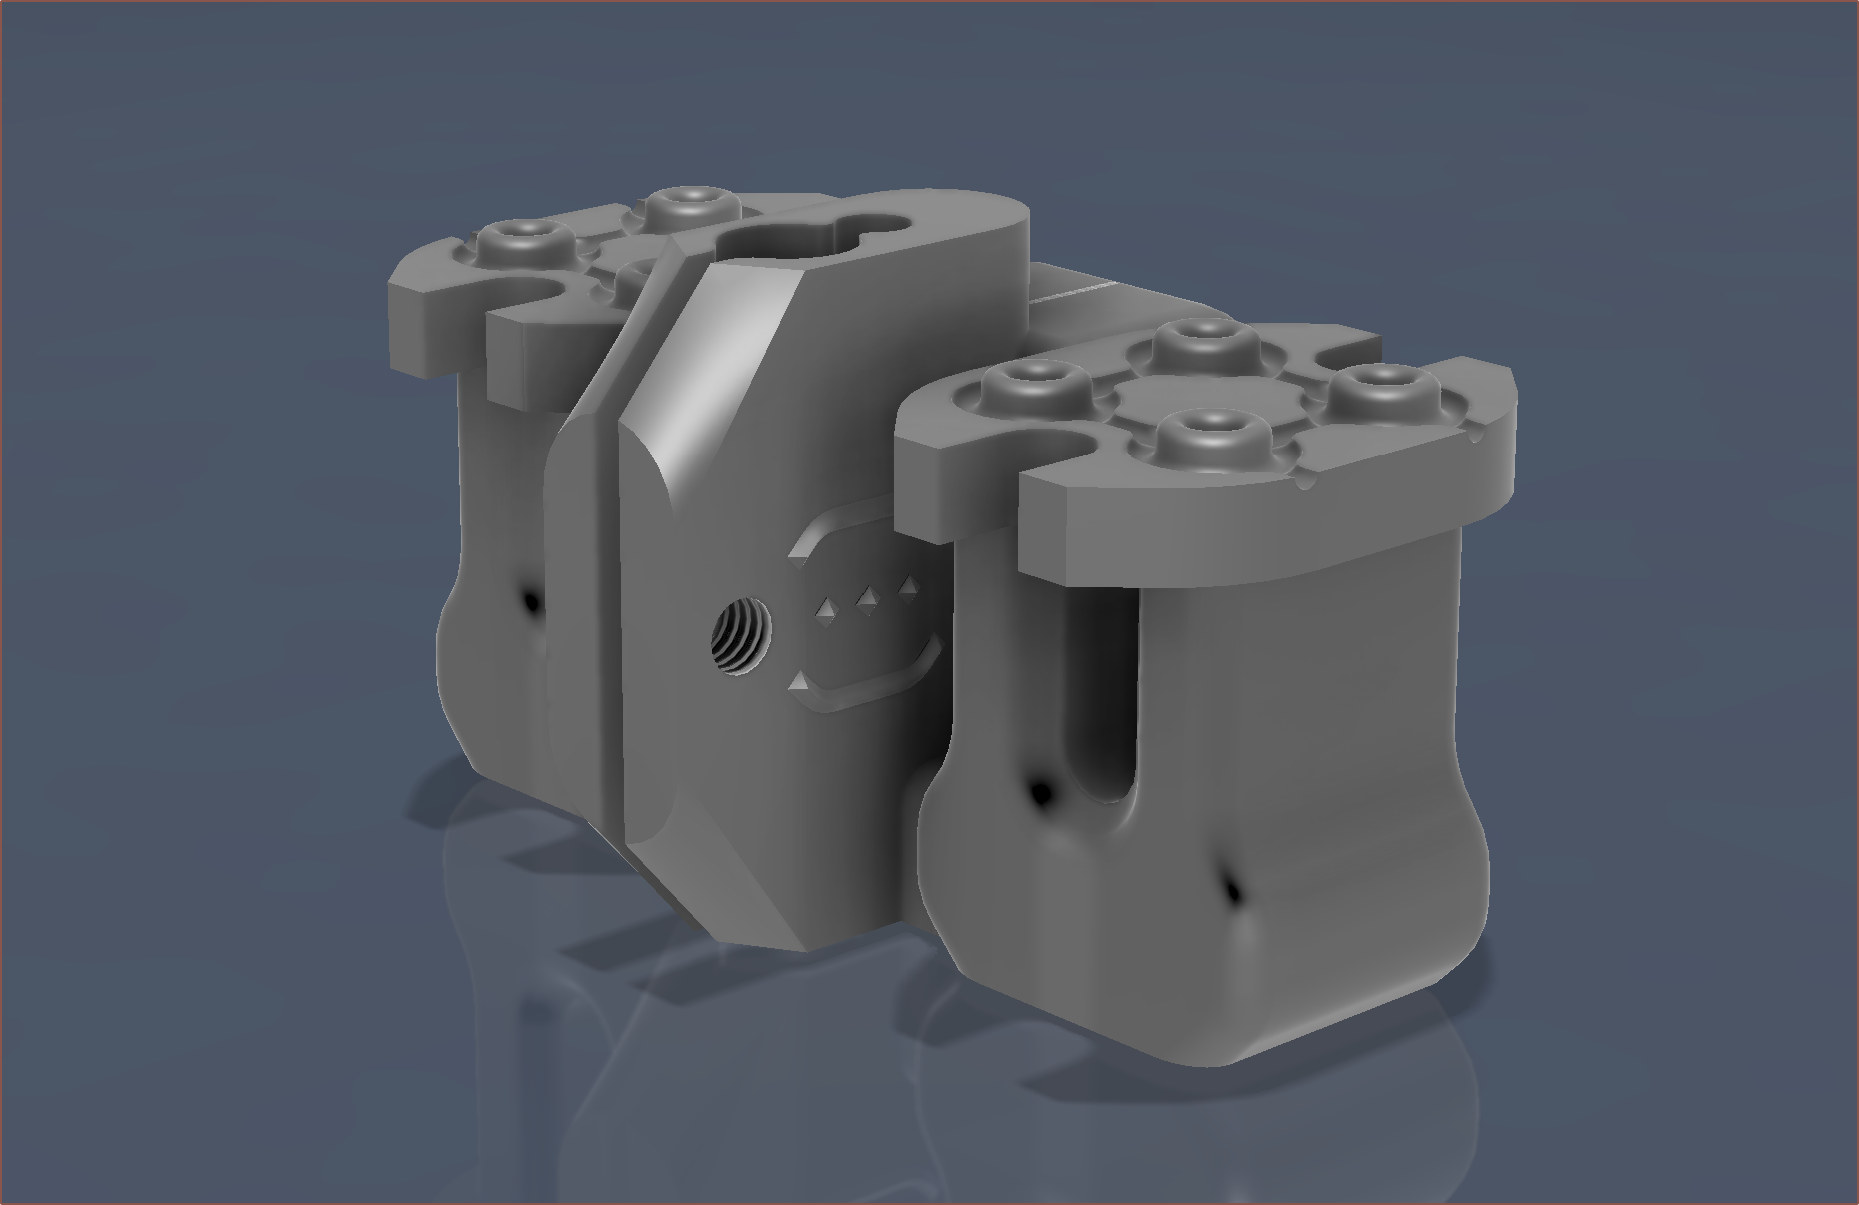
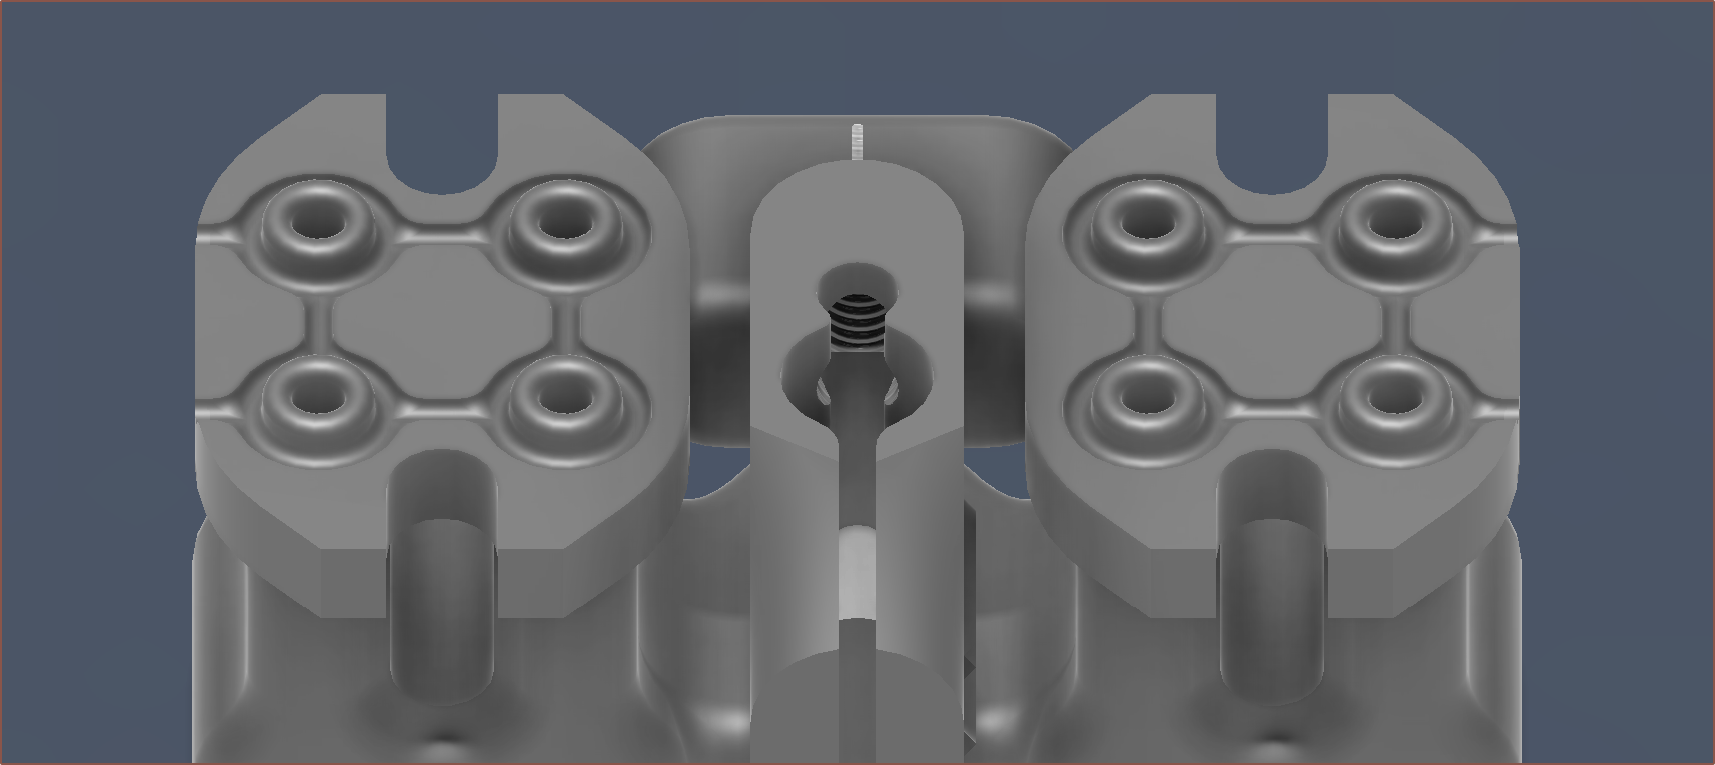
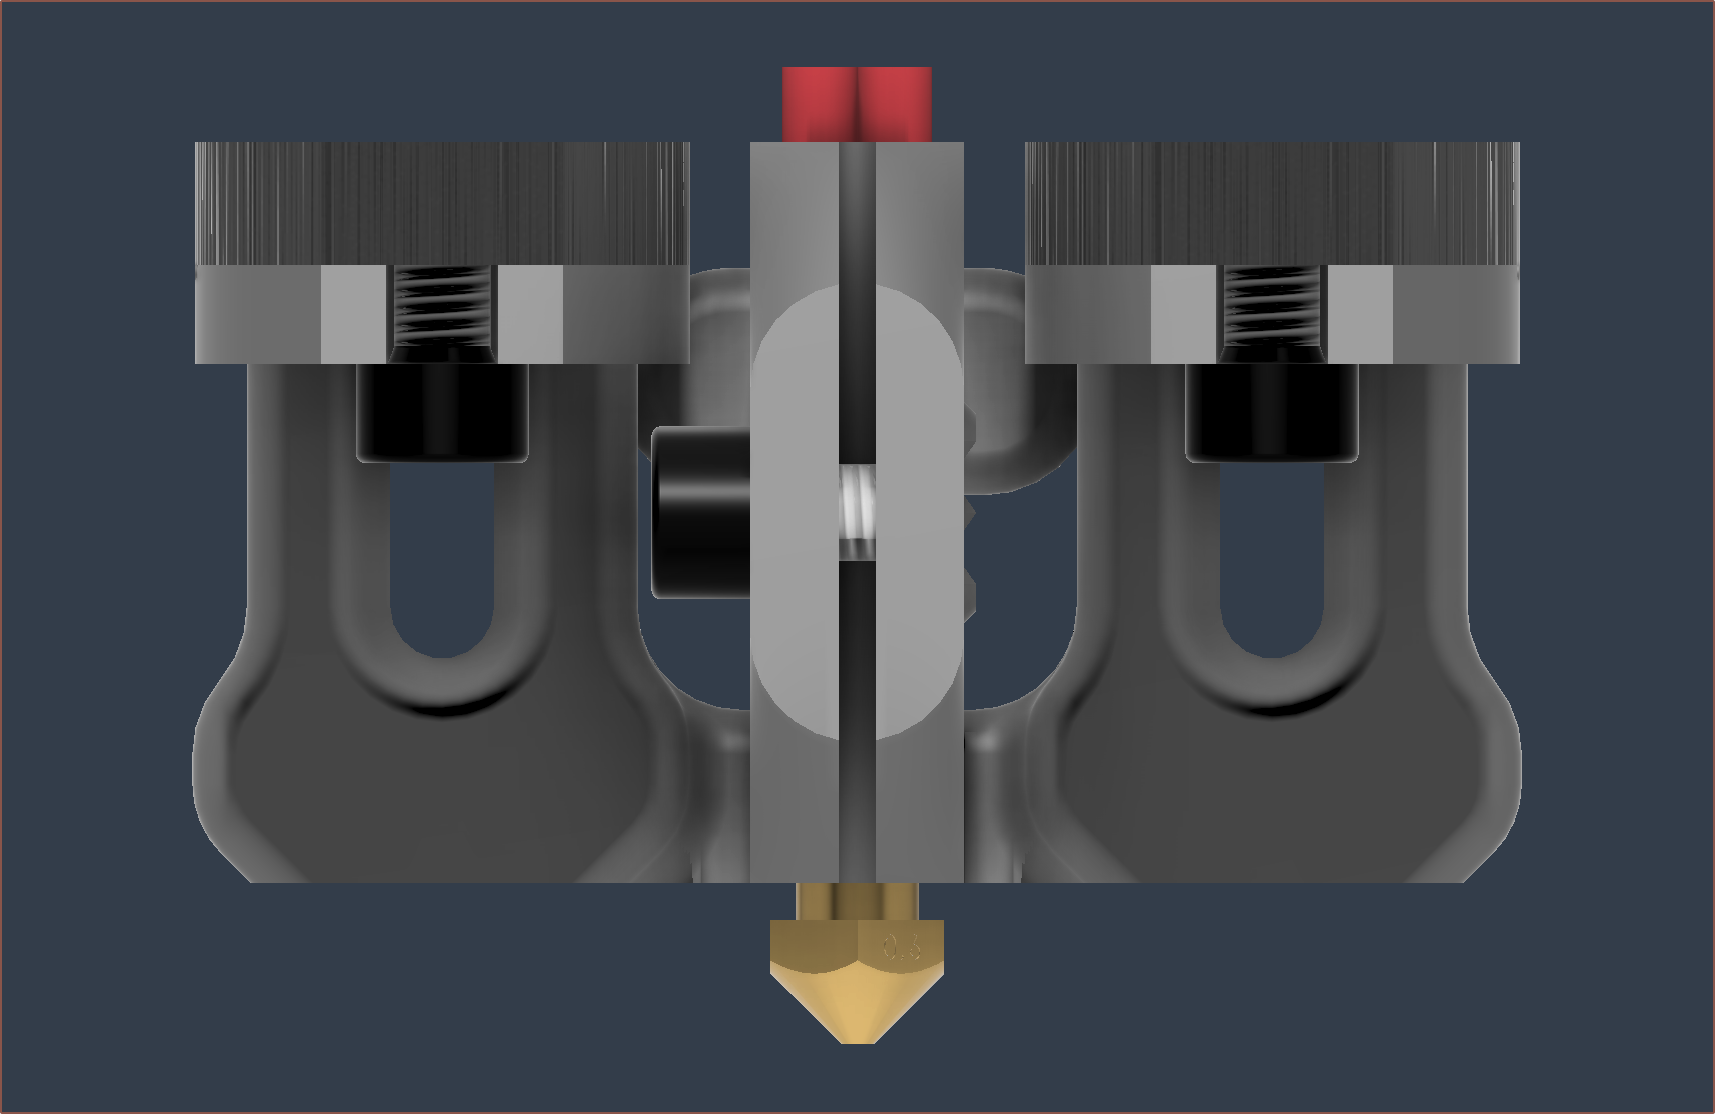 Additionally, measures have been taken to both try and prevent leaks and prevent difficult cleanup should they occur. All inputs and output has a print-in-place o-ring to encourage deformation at the contact points, hopefully avoiding the need for post processing like the previous revisions. Then, leak channels have been added to allow any leaks a low(er) pressure way out, instead of a leak deciding to show up wherever. Furthermore, 5mm steel plates are used, with the mounting bolts as close as possible to the inputs to minimise flexure. Lastly, the design has a gap between the input plates and the cartridge+thermistor as a last line of defence against rogue plastic.
 This solution has been facilitated by a modified input shaft and coaxialiser geometry. In addition to the split (hopefully) increasing flow rate, it allows the inputs to be connected without a bridge overhang, which would be the case if a basic L path was rotated 45 degrees. The coaxialiser is slightly more compact now. I did try orienting the coaxialiser vertically, but it uses more Z height.
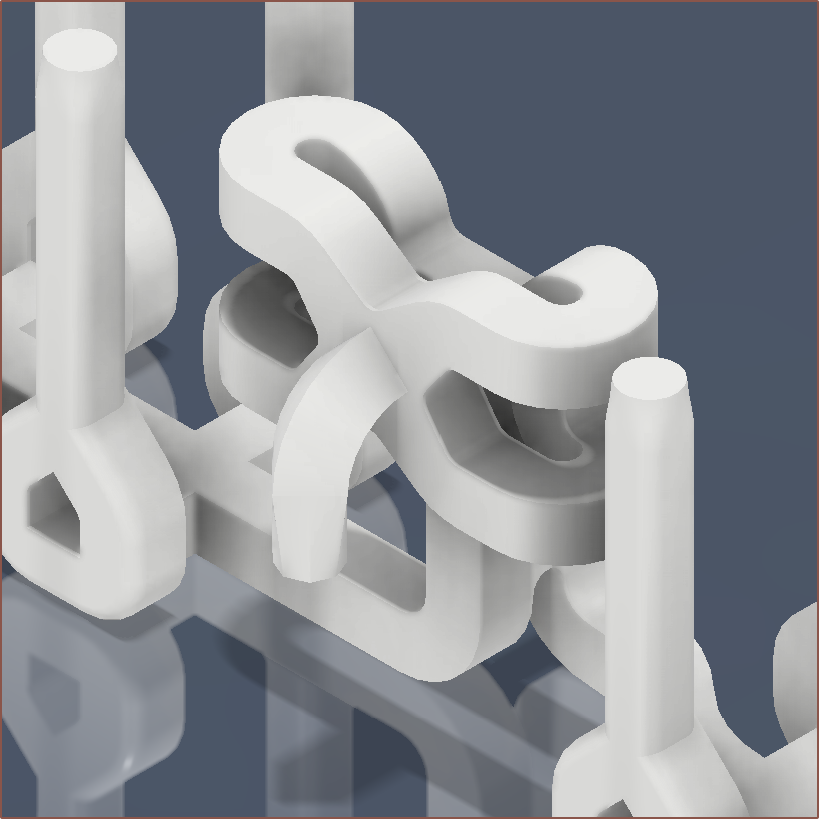

From the top of the o-ring to the Y split is 19.5mm long uninterrupted, so I'm expecting that this heatblock can put the "ate" in Coaxial8or when it comes to consuming filament.
As for aesthetics, I think I've done a passable job with the limitations I have to abide by. Like previous designs, there's a main element of symmetry. Somewhat inspired by earbuds, I've used fillets to make everything seem more organic, like a pebble. There are also some sharp edges, a design tip I saw used for cars (and some earbuds). I like how my logo is somewhat obscured, peering out of the shadows.
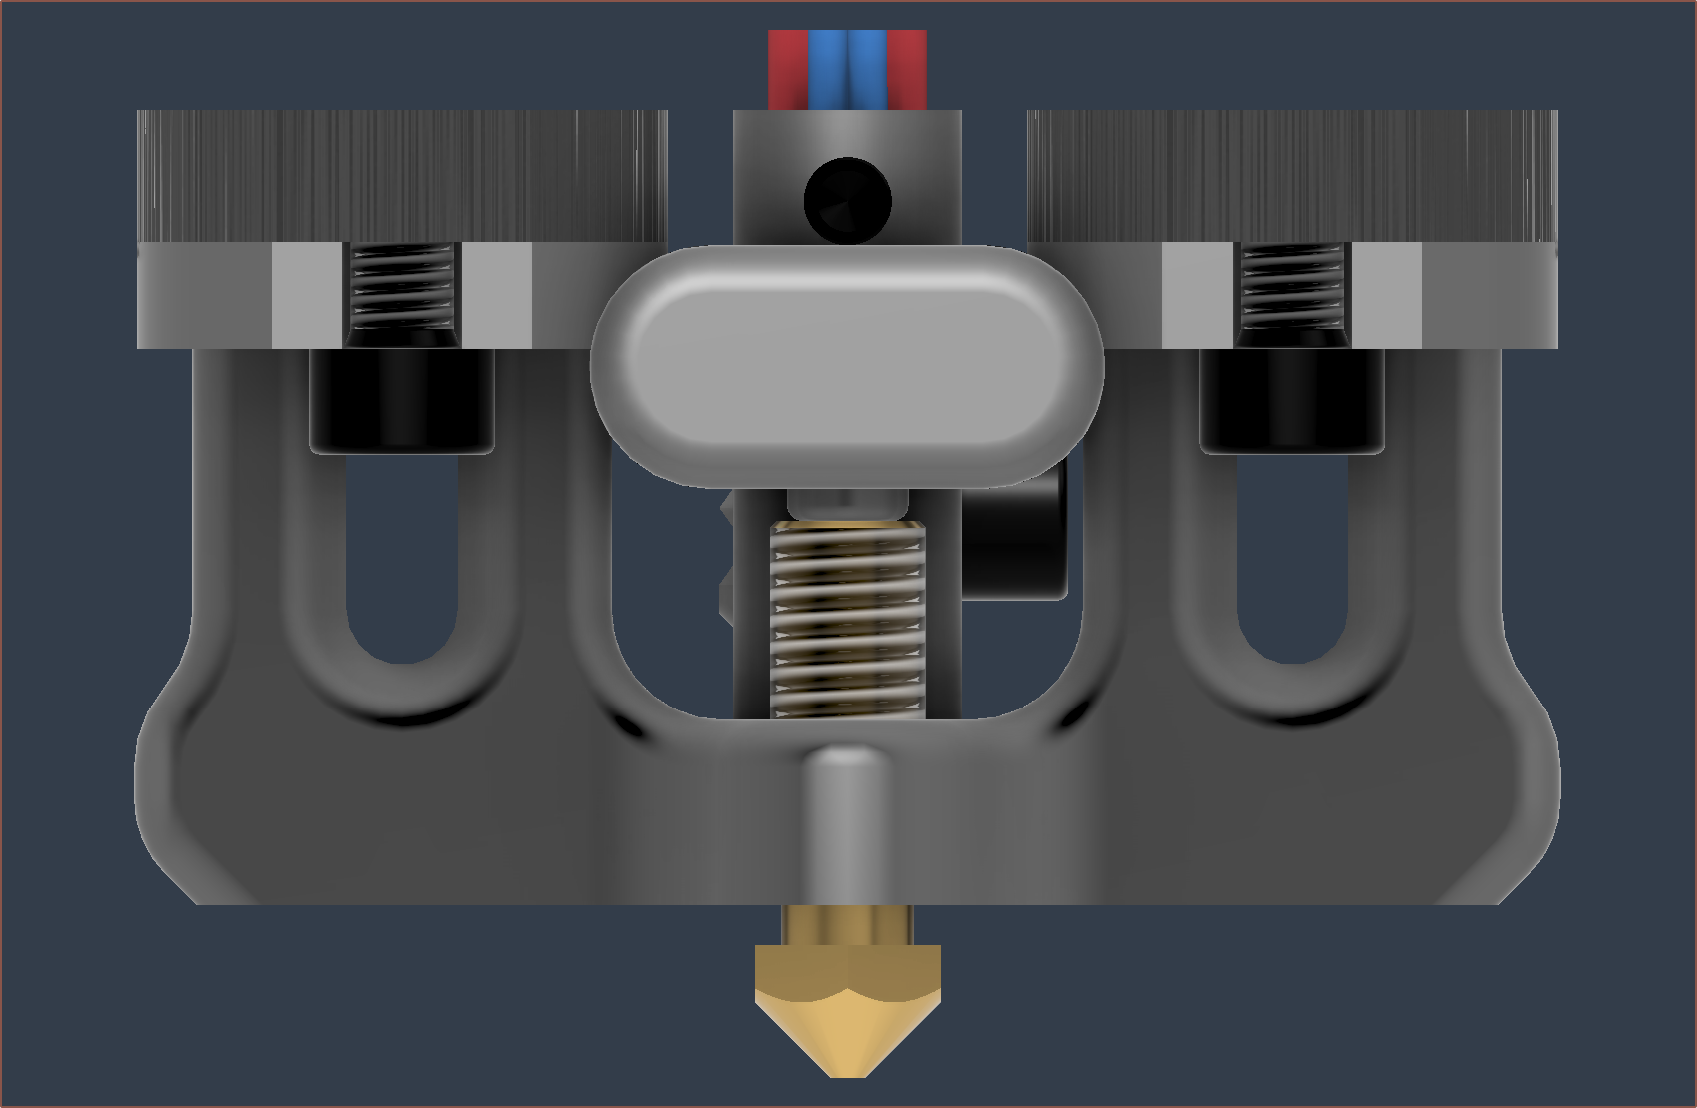
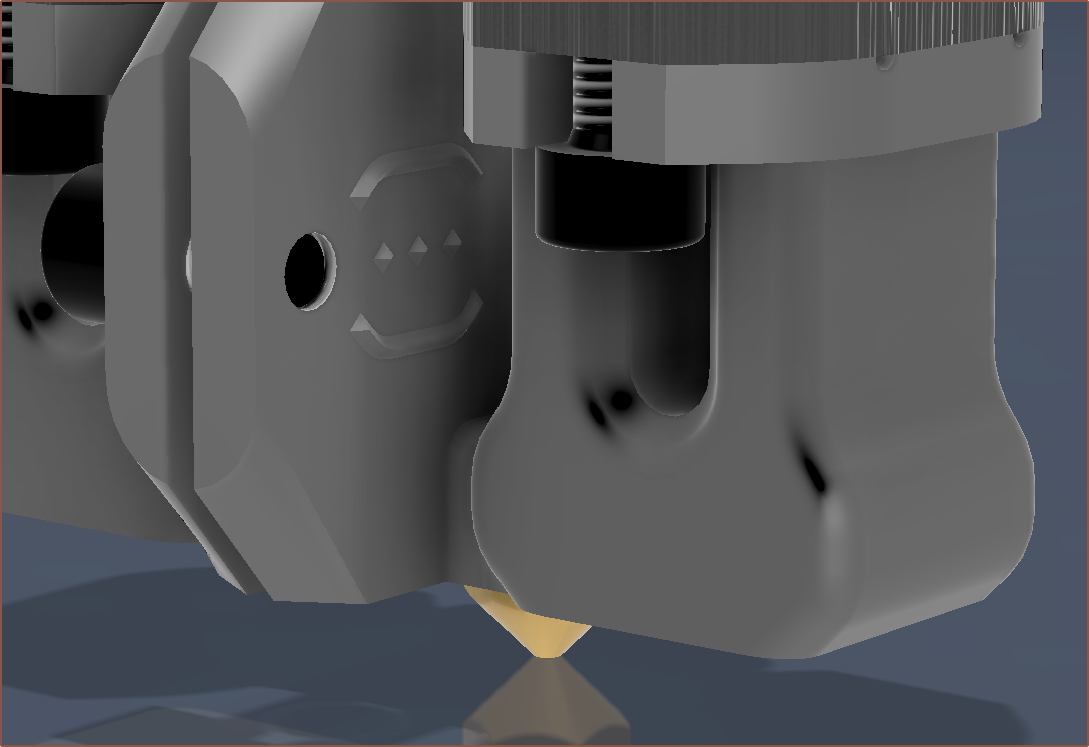 I just don't like how flat the bottom of the heatblock is:
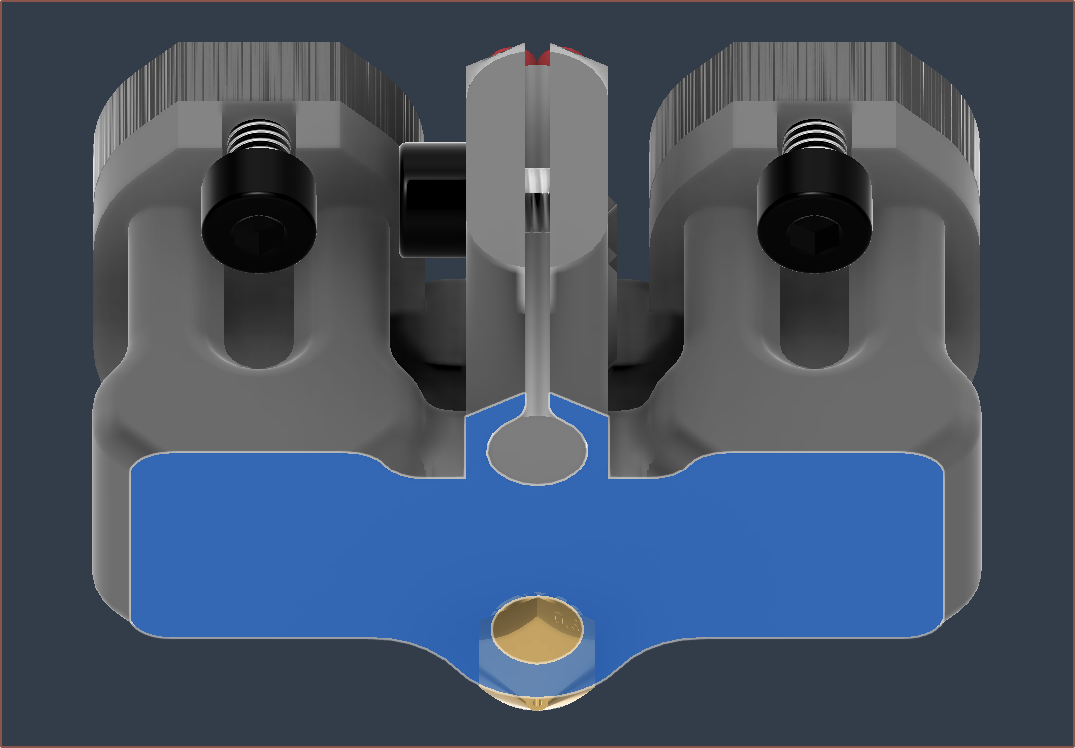
[Oct 21] - I've opted to go with a sharp circle for all inputs/output. I feel it will have more pronounced deformation.
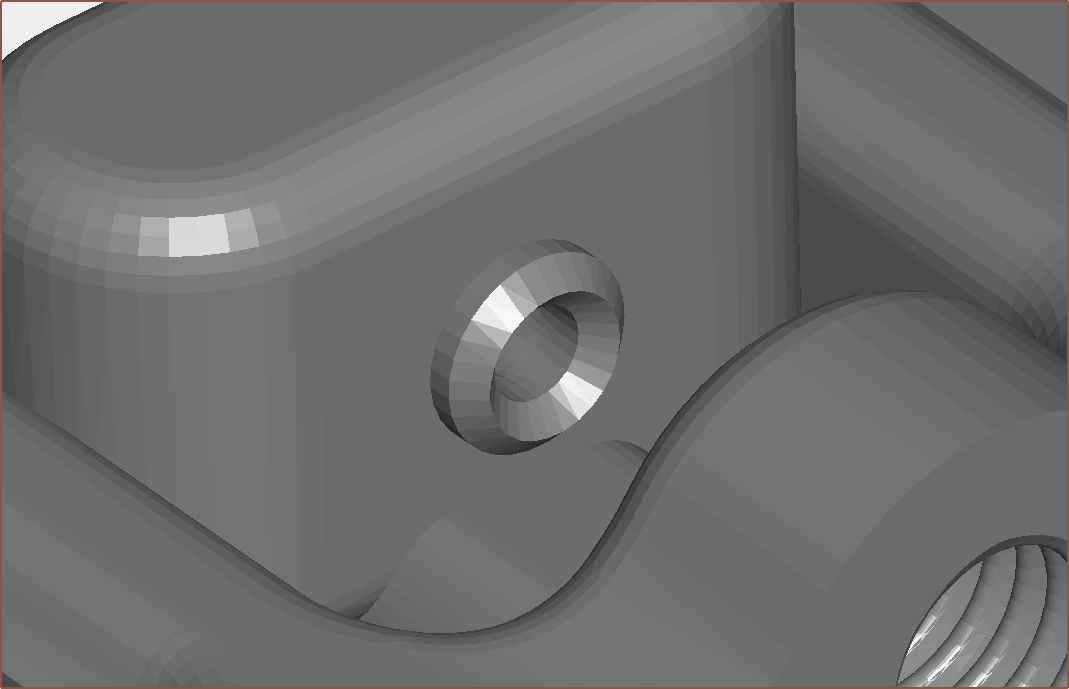
I'm also trying a new variable fillet across the bottom to improve aesthetics:
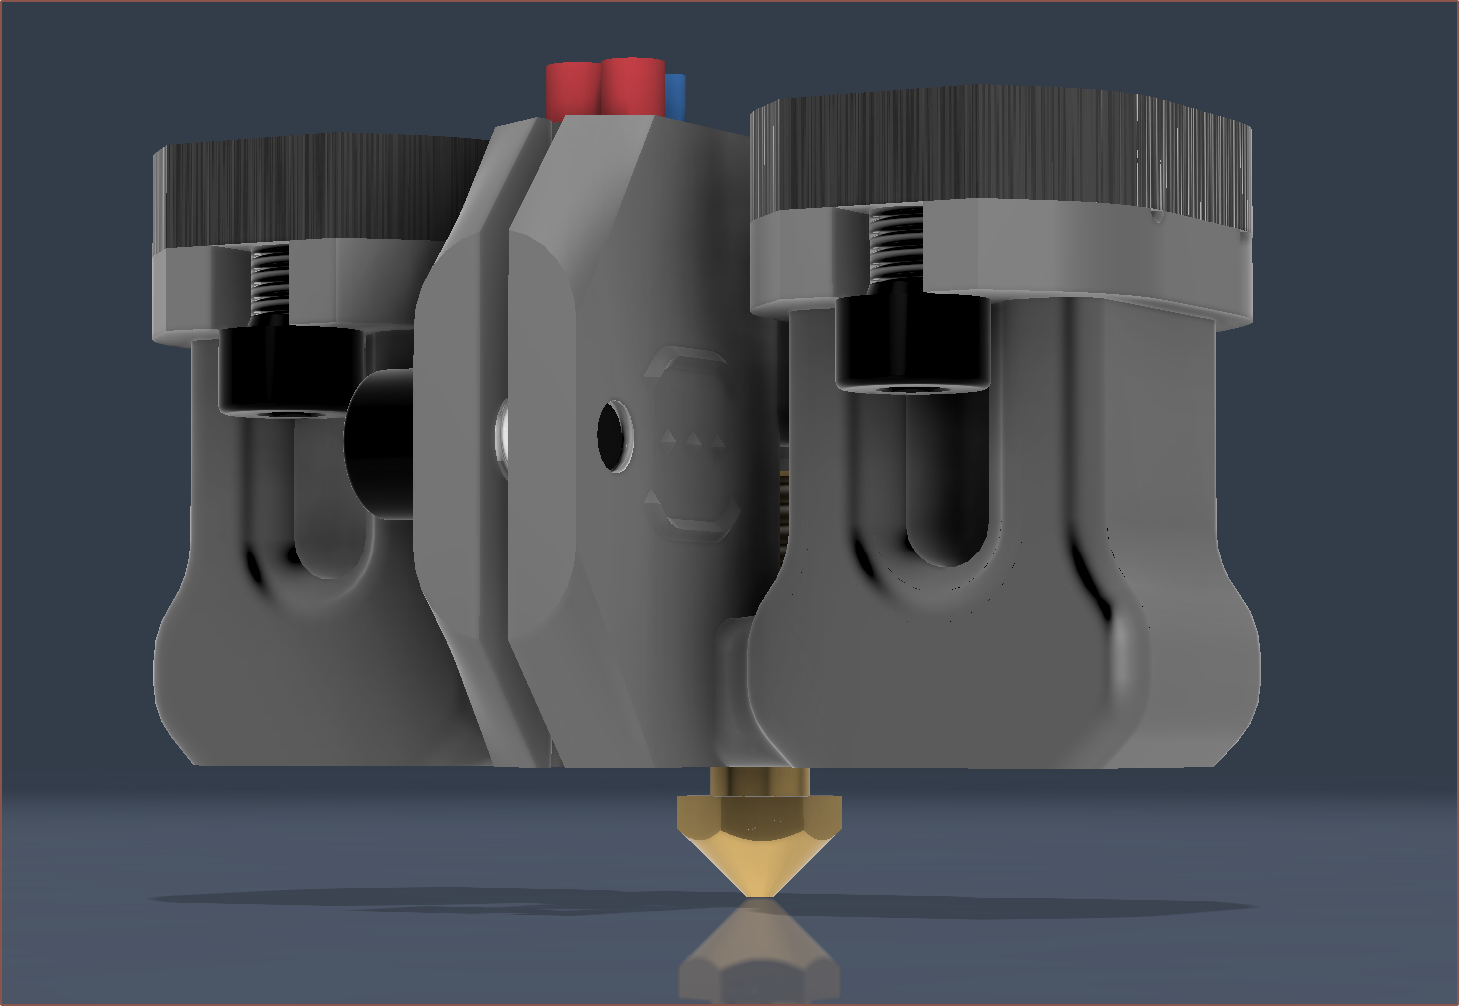
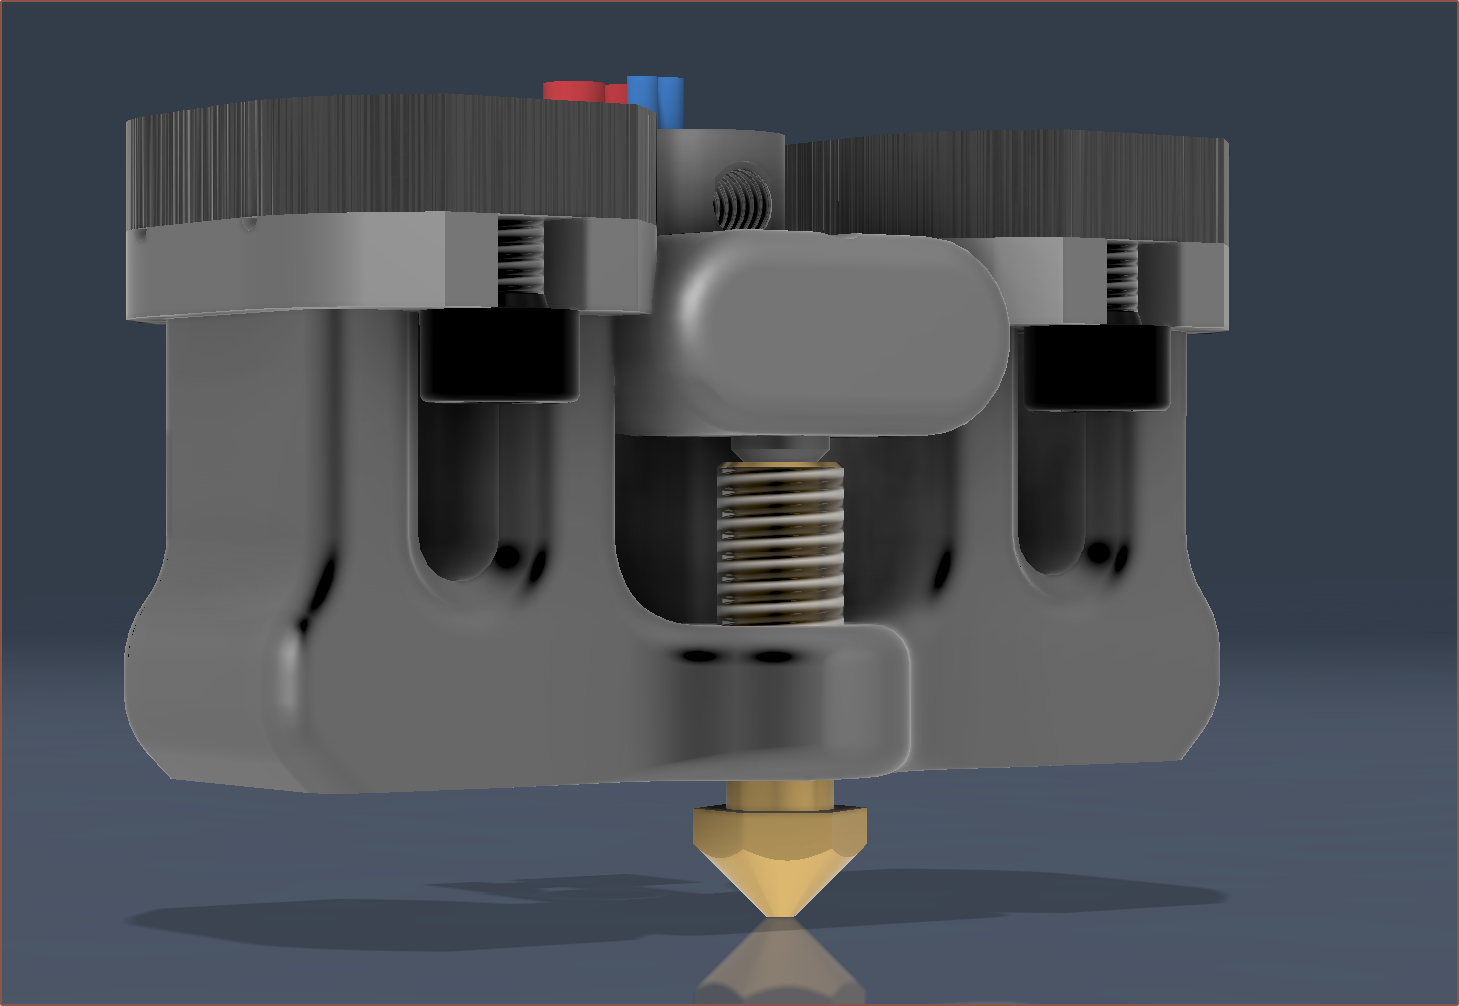
[Oct 27]
I've added a cutout so that the allen key has uninterrupted access to the bolts, requiring a slight aesthetics adjustment, and I've made use of the internal space to add a 5-way intersection so that each collection of 4 inputs can change their resultant mix relatively quickly.
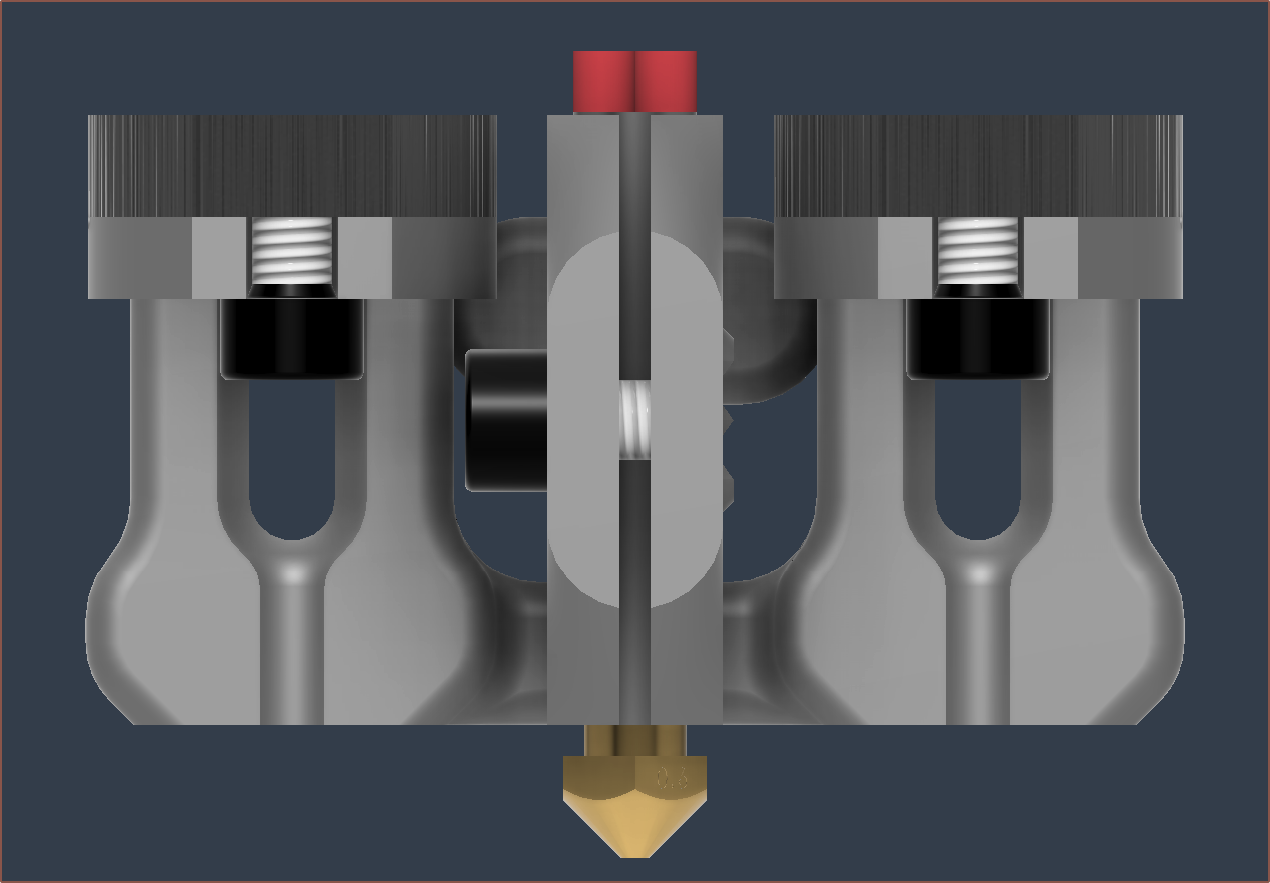

I'm also testing to see if there's a step-increase in PCBWay's delivery cost if the shortest bounding box dimension is 30mm or more. The R1 and R2 orders cost sub-$8 to ship, which both were 29mm or less on an axis. R0 was 35mm at its thinnest and was around $16. R3 was 30.0mm, but I've reduced it to 29.9mm in hopes of reducing its $12 delivery fee.
 kelvinA
Discussions
Become a Hackaday.io Member
Create an account to leave a comment. Already have an account? Log In.