 kelvinA
With my degree behind me, I'm soon going to lose the reason I attended in the first place: the manufacturing facilities. The good news is that, unlike back in 2016 - 19 when I went from 0 to 5 3D printers, there are quite a few outsource options in my league budget now that it's 2025; this fact is unlikely to stop my pursuit in 3D-printed multilayer boards seen in #SlimeSaver [gd0105]. The bad news is that I was scrolling Amazon, looking at all the nice FFF 3D printers, and then realised that none of them had a coaxialising feature:

The goals
I knew that if I was to engineer a 4th revision, it would have to achieve the following:
- Merge 8 inputs into 1 in the smallest possible way for sharper (buffered) changes
- Reduce the volume between the merger and nozzle tip. The coaxializer geometry is more or less fixed, so the aim would be a shorter input path and shorter nozzle.
- Drastically reduce the cost of the heatblock. In other words, reduce the printed volume. Ideally, the cost will be reduced such that, like with the current nozzle trend, the heatbreak can be permanently attached to the block. Essentially a unibody hotend that works and doesn't cost £200.
- Per-input toggling using the heater valve idea I mentioned last year.
Tubing
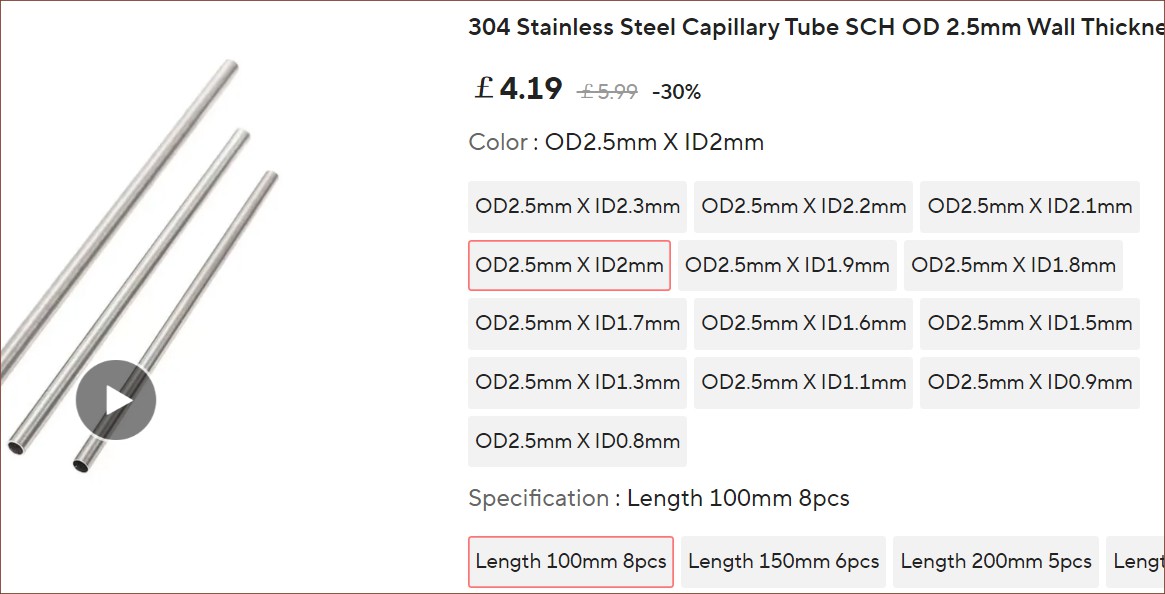
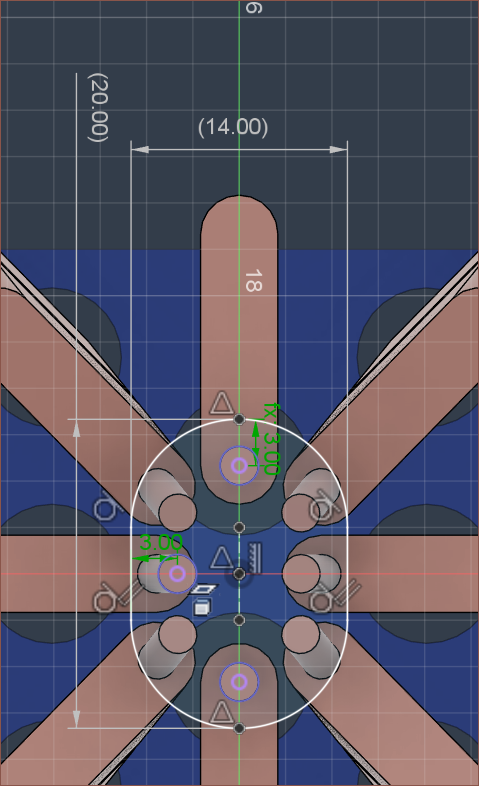
I did a bit of moving around of the inputs to take the 14mm CR-10 bolt locations into account:
Then I wanted to learn about how the tube is fitted permanently, and it just sounds like tight tolerancing, potentially using thermal expansion to their advantage during the insertion step:


Well, a thermistor is still stuck in the Coaxial8or R2 heatblock so I guess a straight hole really does work?
Looking at the Creality version, I'm going to assume I need at least 6mm inserted into the heatblock.
Minimum heatblock cost
- It seems that the cheapest method is to tab multiple pieces into the same .STL file. PCBWay did 5pcs for $33 but 10pcs in a single file for $31.
- PCBWay: $30 for x1, $31 for x10
- Elecrow: $27 for x1 or x10, $29 for x12
- Unionfab: $8 for x1, $26 for x10
- JLCPCB (stainless): $8 for x1, $15 for x5, $29 for x10
10pcs is about 15.5 cm^3.
Heat control
I learned a bit about the KSD9700 and its suitability as bang-bang control of the heater. They are available up to 250C. Still, due to potential surge currents if all 8 inputs are active (though 4 at a time is much more likely), a more active control method may be required. This may also need a 12V supply since the ceramic heaters only come in 24V 50-80W options. I was planning to use the cylindrical ones, but then I realised that I'd be able to get the inputs closer together with the rectangular heating element.

The best heating element I've seen so far is the one for the Flashforge 5M (above) since the cable isn't too long (only 5cm), the thermistor is on the same connector (similar to a heated bed, for example), the heater is a not-too-extreme 50W and the whole thing typically costs less than other options for the heater alone (typically costing £18 for 10pcs).
The dimensions of the heating element are 15mm x 7mm. In a similar size, there's also mini copper heatsinks (below), so I may be able to acquire 16pcs of a part designed to facilitate heat transfer to/from the tube.

I still don't know precisely how I'm getting all of this attached, with boron nitride paste being the most likely option.
I went to research more about Flashforge hotends and I found this for the AD5X:
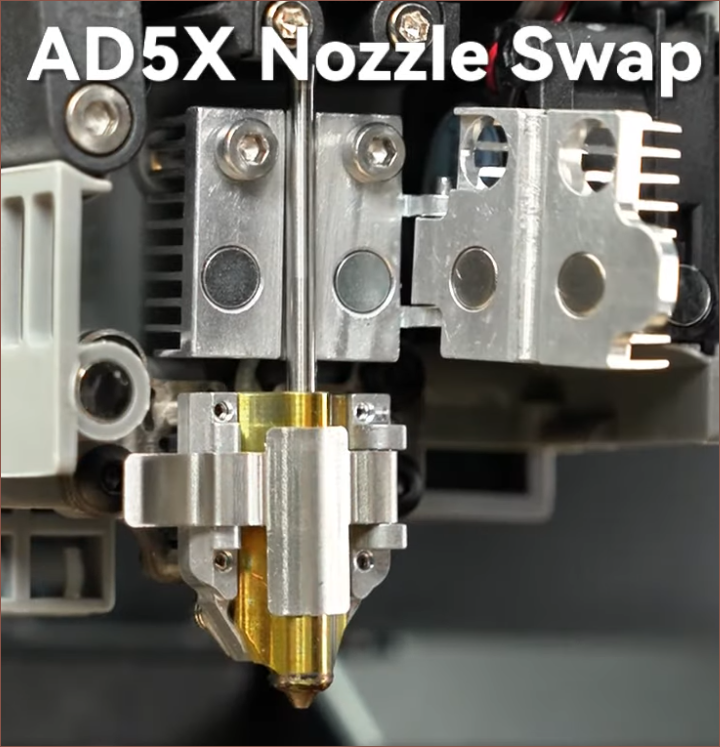
This is very insightful since it implies that a heatsink can press against a plain steel tube. I mean it makes sense, since this is how clamp-based heater cartridges work, but this is the first time I've seen it done for the heatsink. Since there are magnets, it also implies that the operating temperature of the heatsink is unlikely to exceed 80C.
Something else Flashforge does is include a useful unclog pin in the box. Hopefully this would be better than trying to use an allen key:

Nozzle

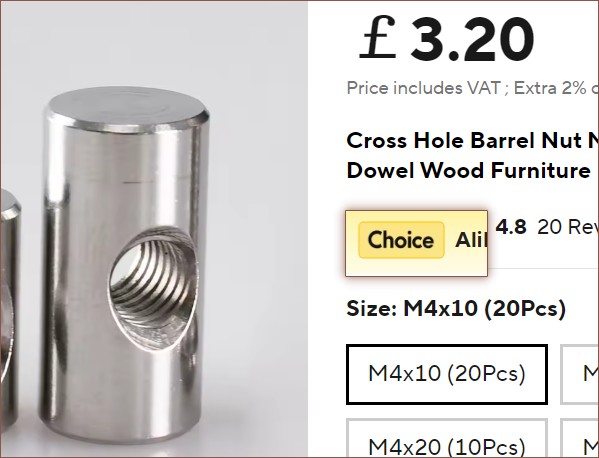
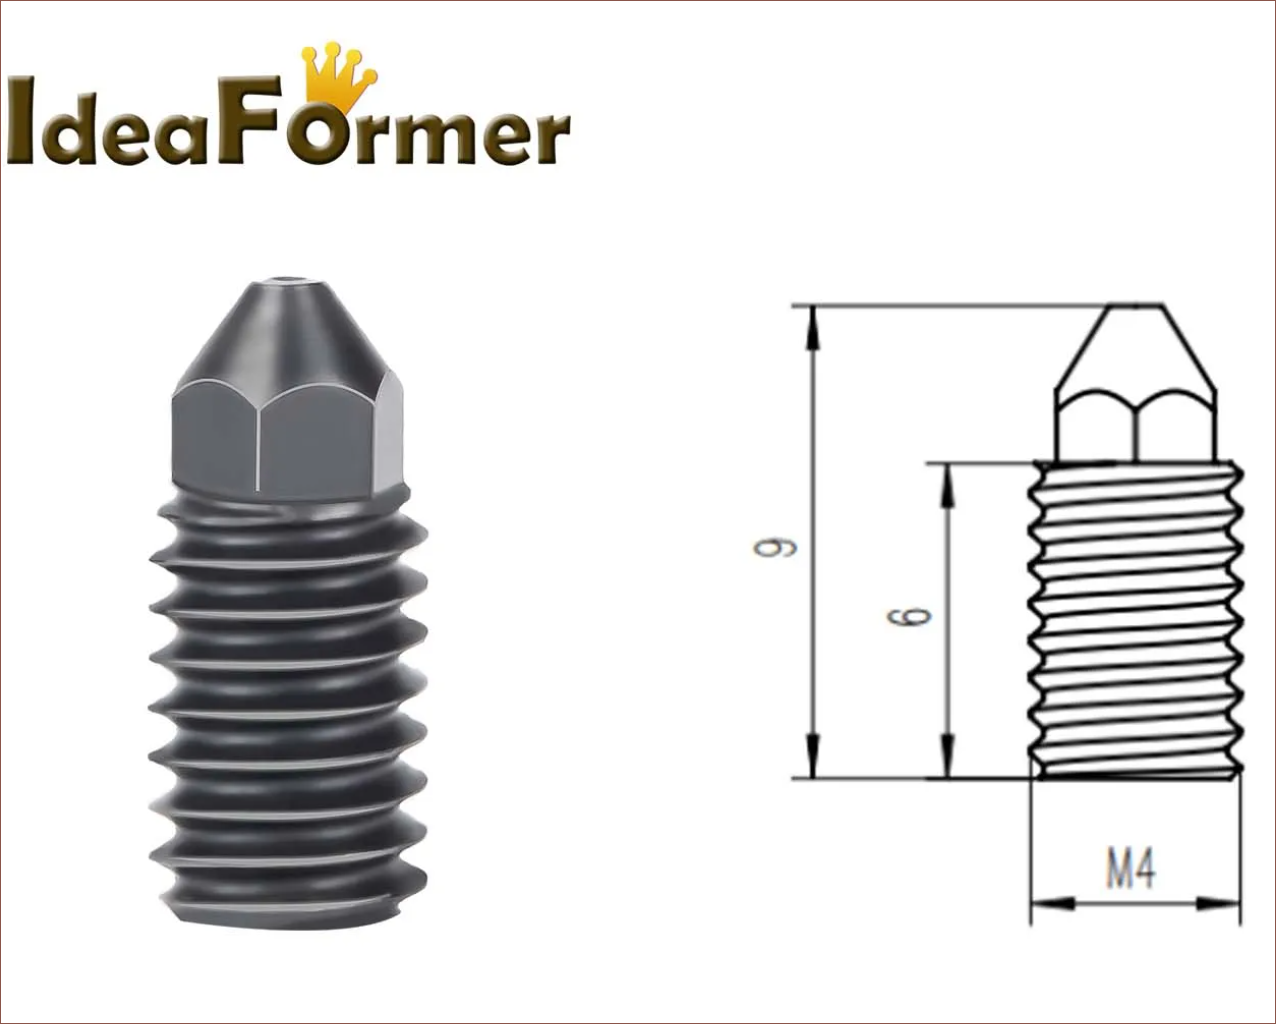
 It comes in brass, stainless and ✨hardened steel✨. The issue is that, as I've experienced, I wouldn't be able to complete the threads without at least 7mm of space, which is one reason my Coaxial8or R2 and R3 used volcano nozzles. But very soon after, AliExpress showed me T-slot slide-in nuts:


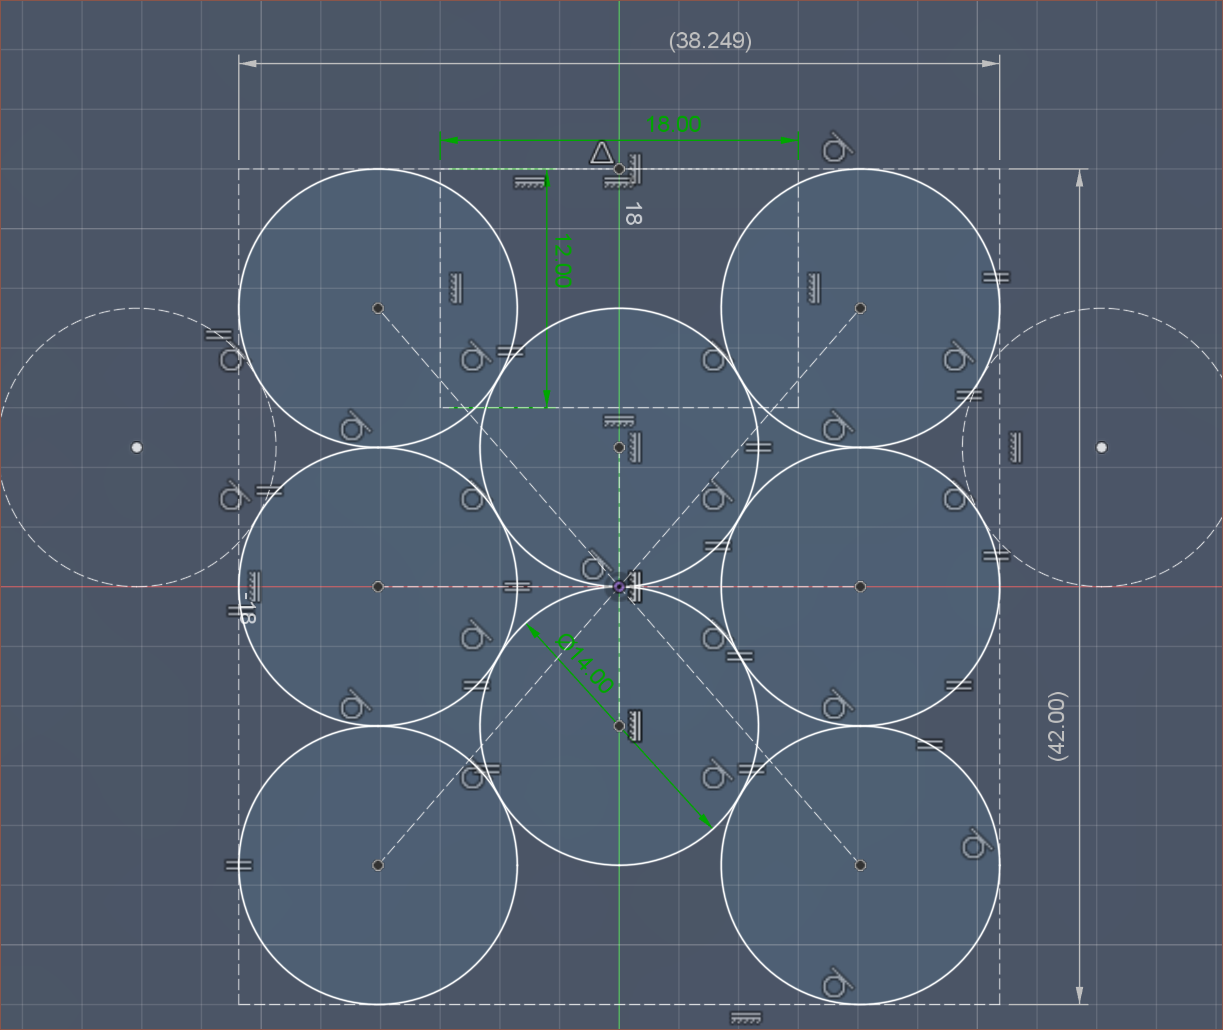
Inputs
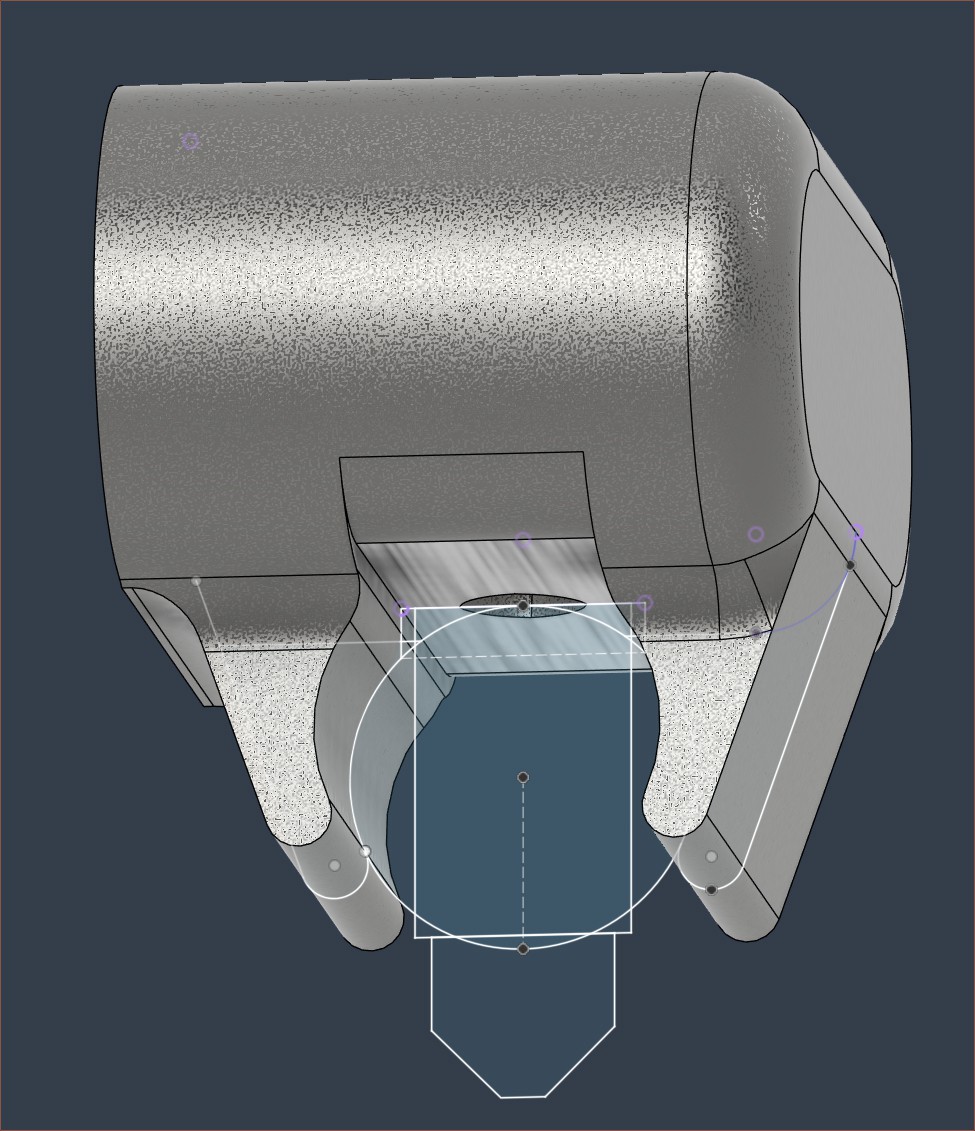
My strategy for merging the inputs is to feed 4 from the top and 4 from the bottom of a short path towards the coaxialiser. I might also be able to make the actual input channels slightly thinner than 2.2mm without causing blockages to further minimise the merger:
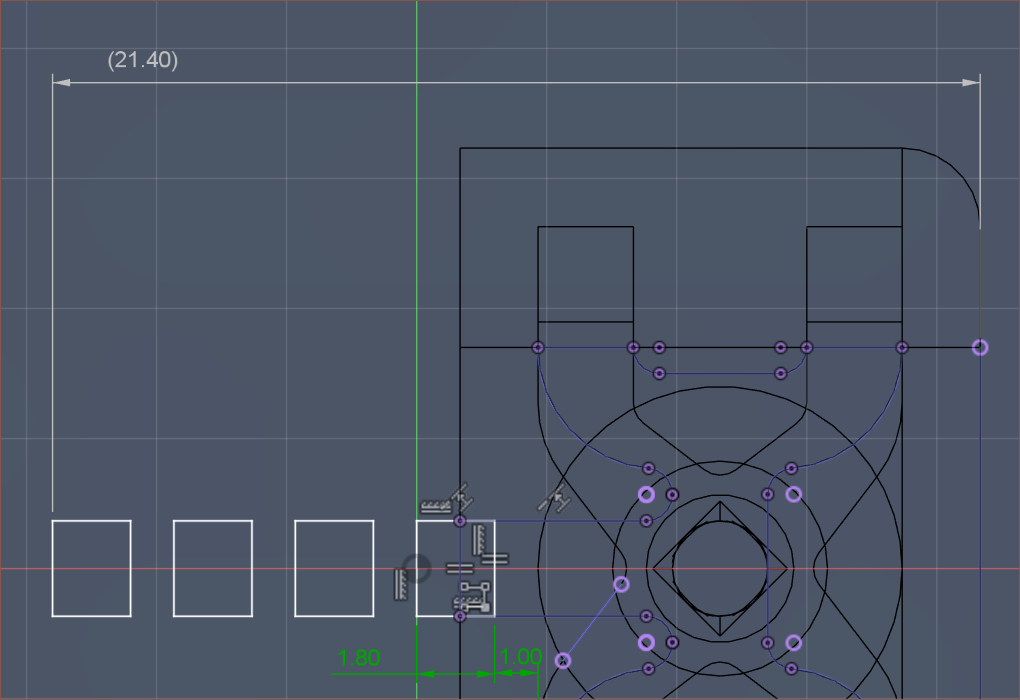
I would only be able to route the compressed input version if they alternate, such as North, South, North, South in the above. I couldn't have all 4 (top/bottom) inputs coming in from the North, for example.
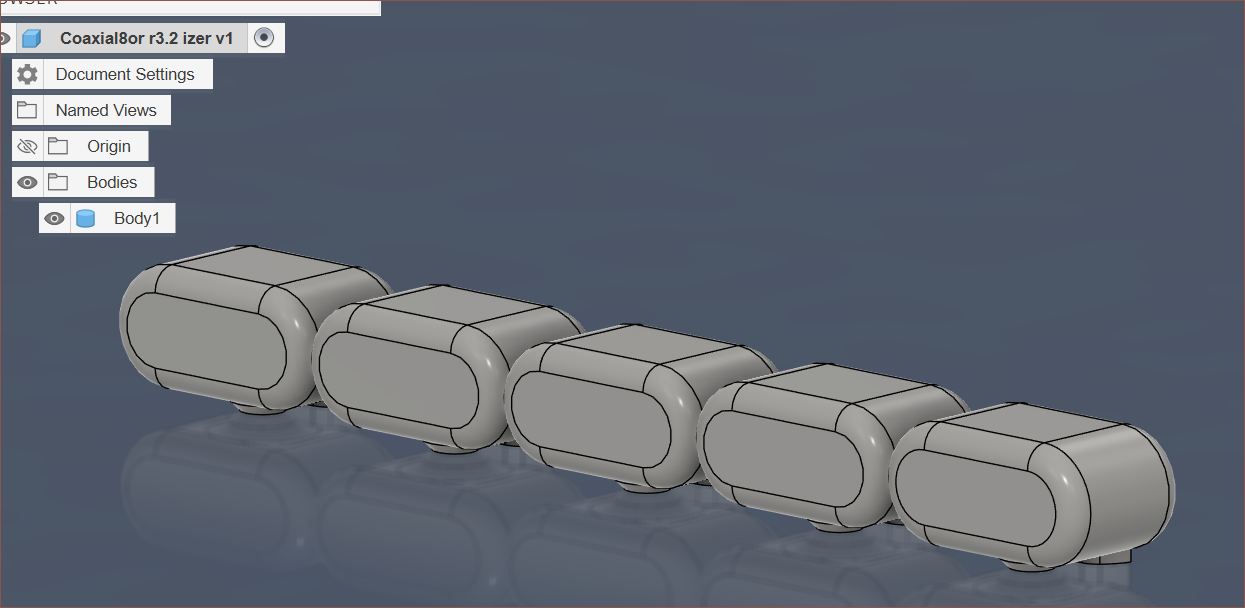
For the heatbreaks, I did some designing and rotations and obtained:
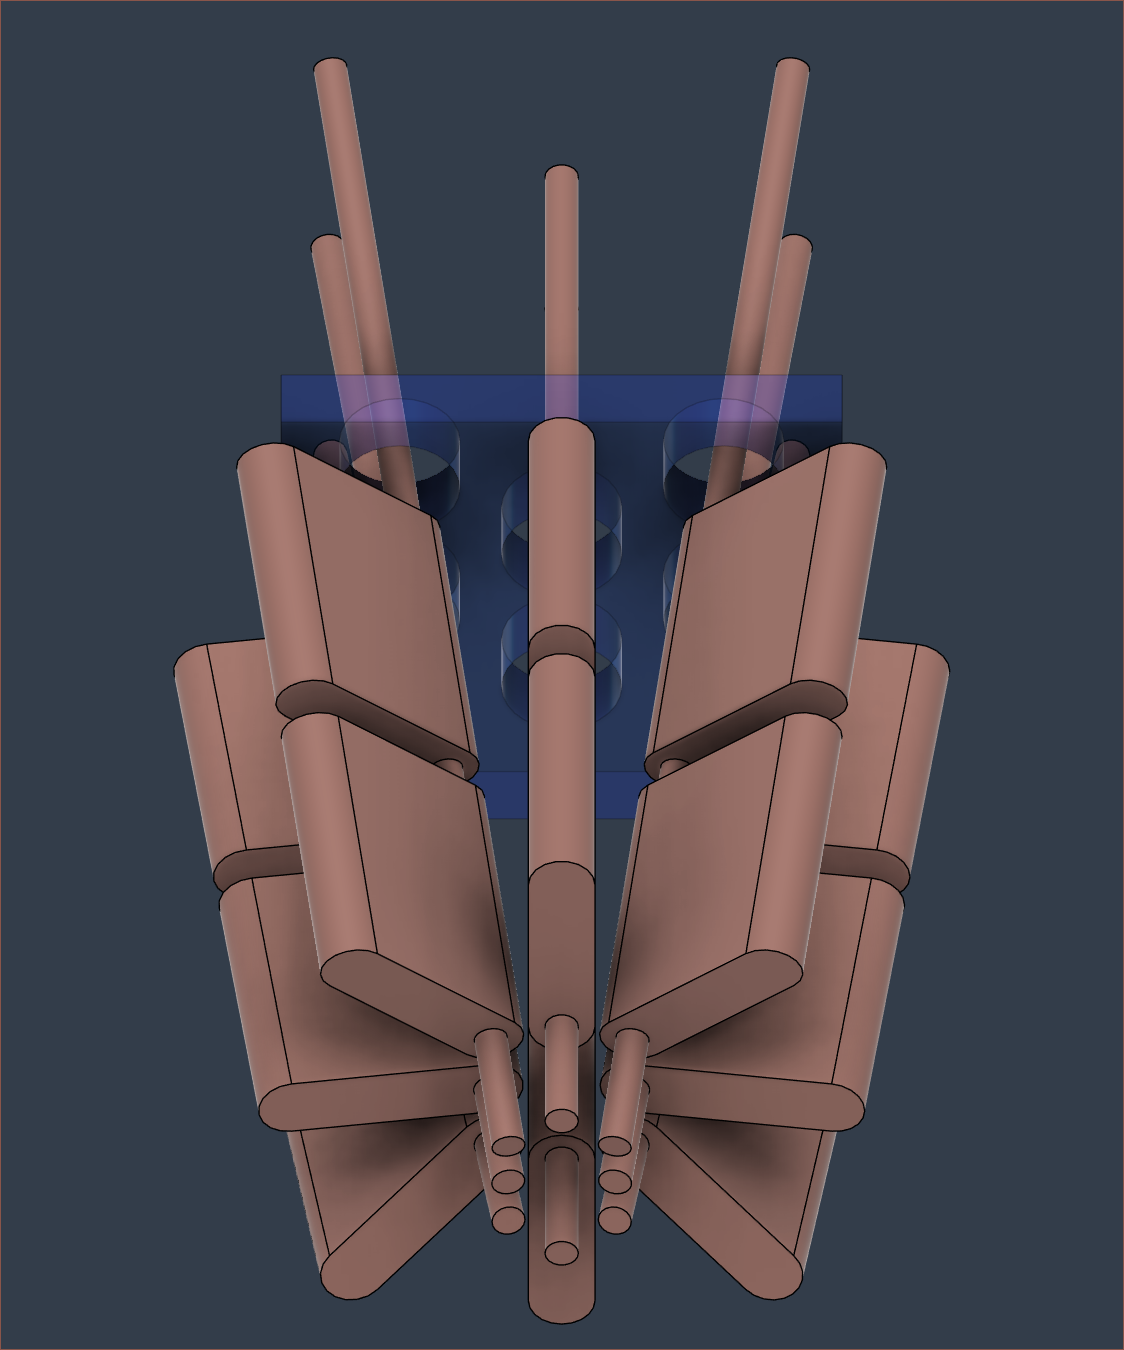 Each heatbreak is a stainless steel tube with the bottom block being a heater and the top being the heatsink. Due to the heatsink being 22mm, the blocks are the same height.

The angles are much less extreme than I thought (I was expecting something more like the Diamond Nozzle) and the resulting inputs can be brought very close together. I was initially imagining that I'd have to figure out how to bend the tubes to get this kind of shrinkage. However, the middle inputs may need to move or else they may stab into the merger.
Discussions
Become a Hackaday.io Member
Create an account to leave a comment. Already have an account? Log In.