I currently have the Celsys Tabmate--a device specially made to work with the art program I use (Clip Studio Paint, formerly known as Manga Studio).

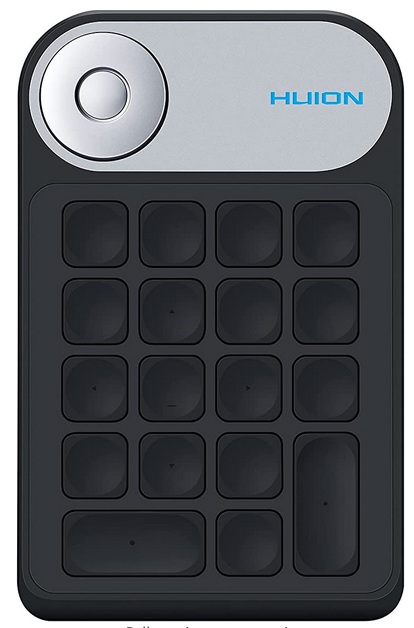
I also purchased the KD100, a small keypad (18 keys and 1 knob) made by Huion, the same company that made the drawing monitor I use.

I really like the Tabmate, and will continue to use it. It works great for the most-used buttons--undo, shift, ctrl, flip (horizontal and vertical), grab, brush size, and zoom. It's very comfy and I like it. The KD100 was handy, but to switch the knob to different functions, you would click down and it would pop up a menu. Then you had to wait for it to time out before it would function. It was a few seconds, but it was a definite halt to the work flow. Besides, I need more buttons.

So macropad it is, and no mere store-bought trinket. This needed to be worthy of someone who has built guitars, owns a 3D printer, and taught himself to solder. I had to justify all this stuff!
Like any good designer, I started with the look of it--function would at least make room for form. I didn't know how to work Blender or other "real" 3D modeling software, so I turned to an old favorite--<Tinkercad>. It's not refined, but with some determination and vision, you can do some pretty good things in there.
I wasn't expecting to have my hand resting on the keyboard (ie. these buttons would be for slightly less common functions), so I wanted the keys to be clearly labeled and maybe a little larger than normal.

Because the buttons should serve as a means of kicking off other actions, they seemed a bit like spells to me. Therefore, I named it The Grimoire (although I was never a part of the scene, I'm an emo kid at heart). The symbol in the upper right-hand corner is a symbol created for my comic. It will glow (hopefully) from the LED beneath.

Now that I had the basic shape, I needed to handle the keys--and that meant learning about wiring a mechanical keyboard.
I found this Instructable in which a gent hand-wires the keys to a "blank" circuit board. But not me. I knew I wanted to use keyswitches, and that I wanted them to be changeable. So that meant some research.
I saw Zach Freedman's article/video about making his keyboards and saw him waving around a fancy custom PCB that had decorative writing on it. The idea that I could decorate my PCB cemented the idea. I had to learn to do that.
And that led to the next adventure--learning to make PCBs.
 mrpendent
Discussions
Become a Hackaday.io Member
Create an account to leave a comment. Already have an account? Log In.