 theodore.boyer

Our project consists of developing an automated robot/car that facilitates food delivery. Thanks to its articulated arms, it is able to transport different types of food.
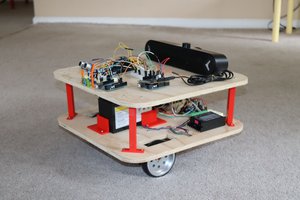
So, to create our robot we will need some materials : 1 Arduino board, 2 servo motors, 2 DC motors, 1 L298N H-bridge, 1 9V battery, connection cables, 4 wheels (2 drive wheels, 2 front steerable wheels), 1 plastic chassis (3D printed), 1 battery box.
Guide :
1. Design and print the parts:
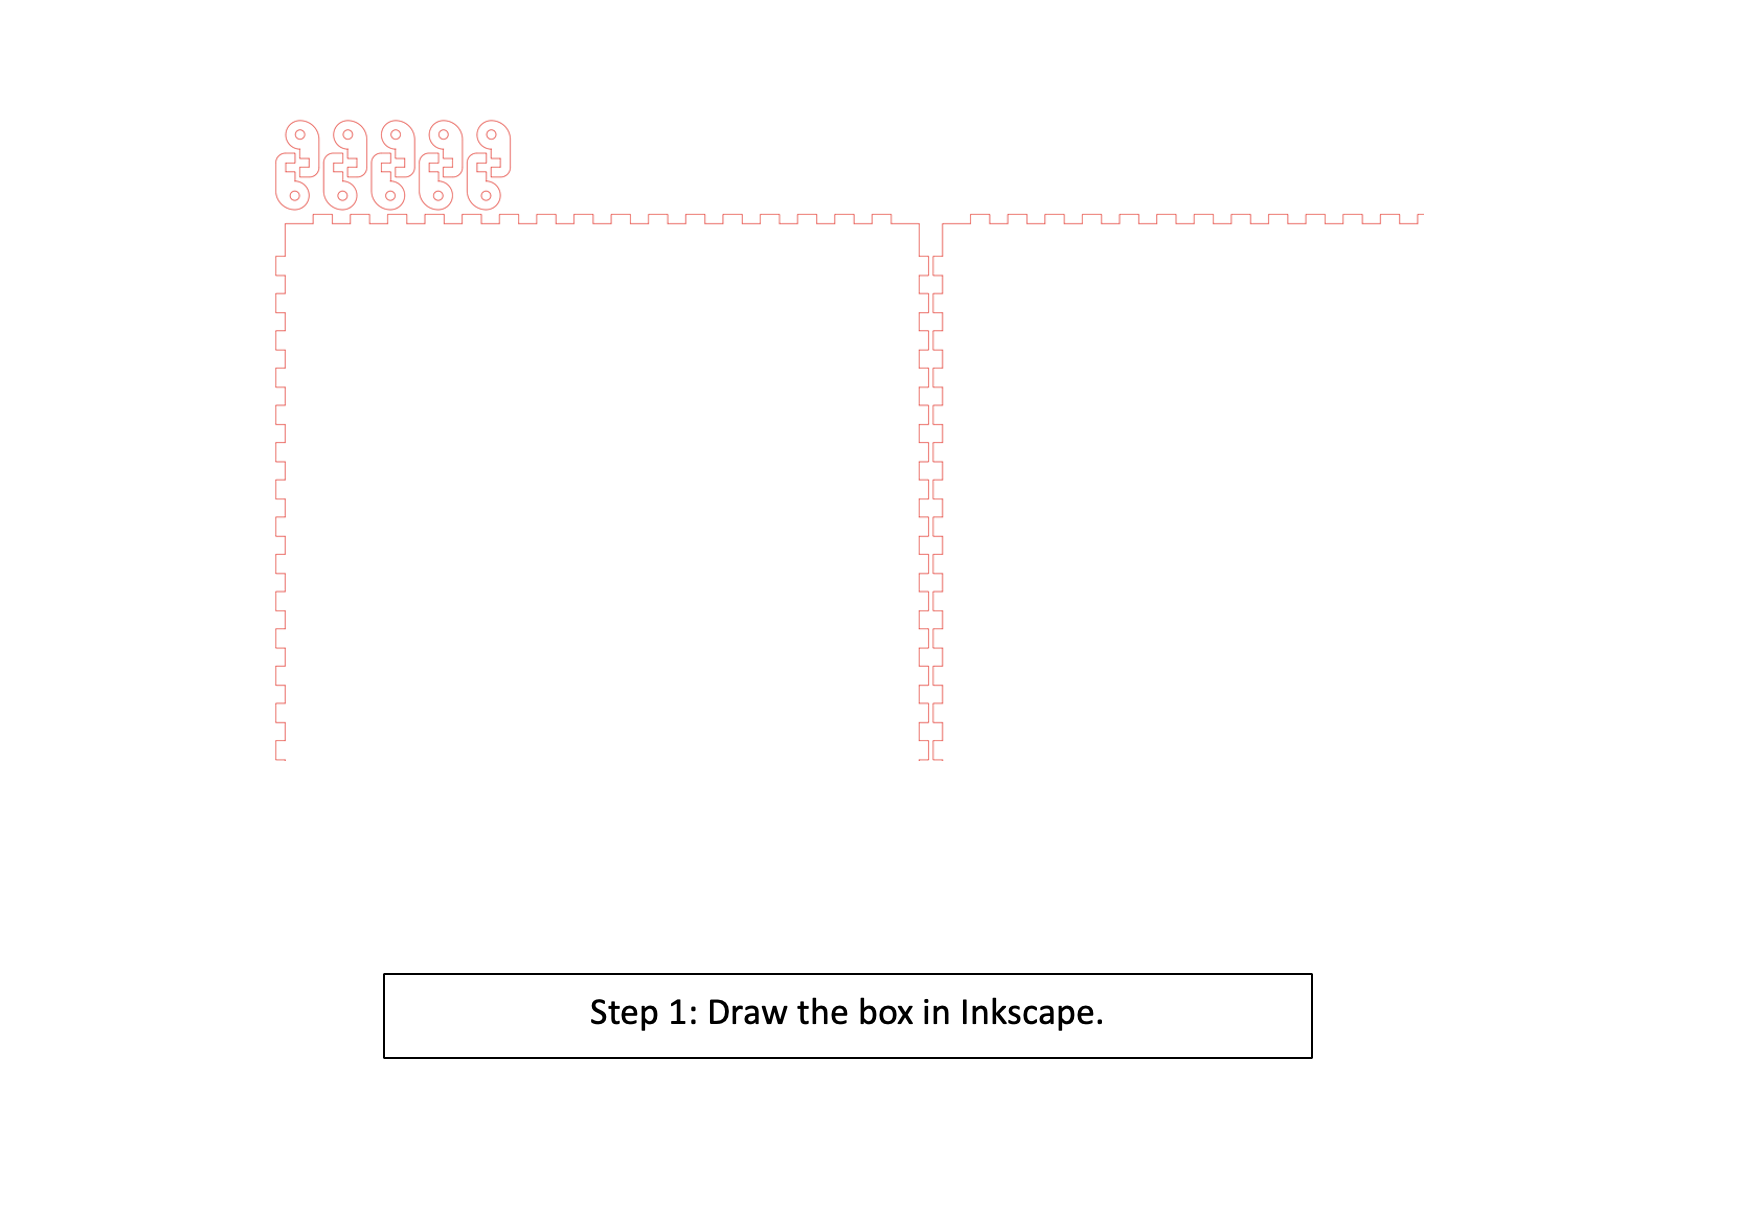
- Draw the box on Inkspace
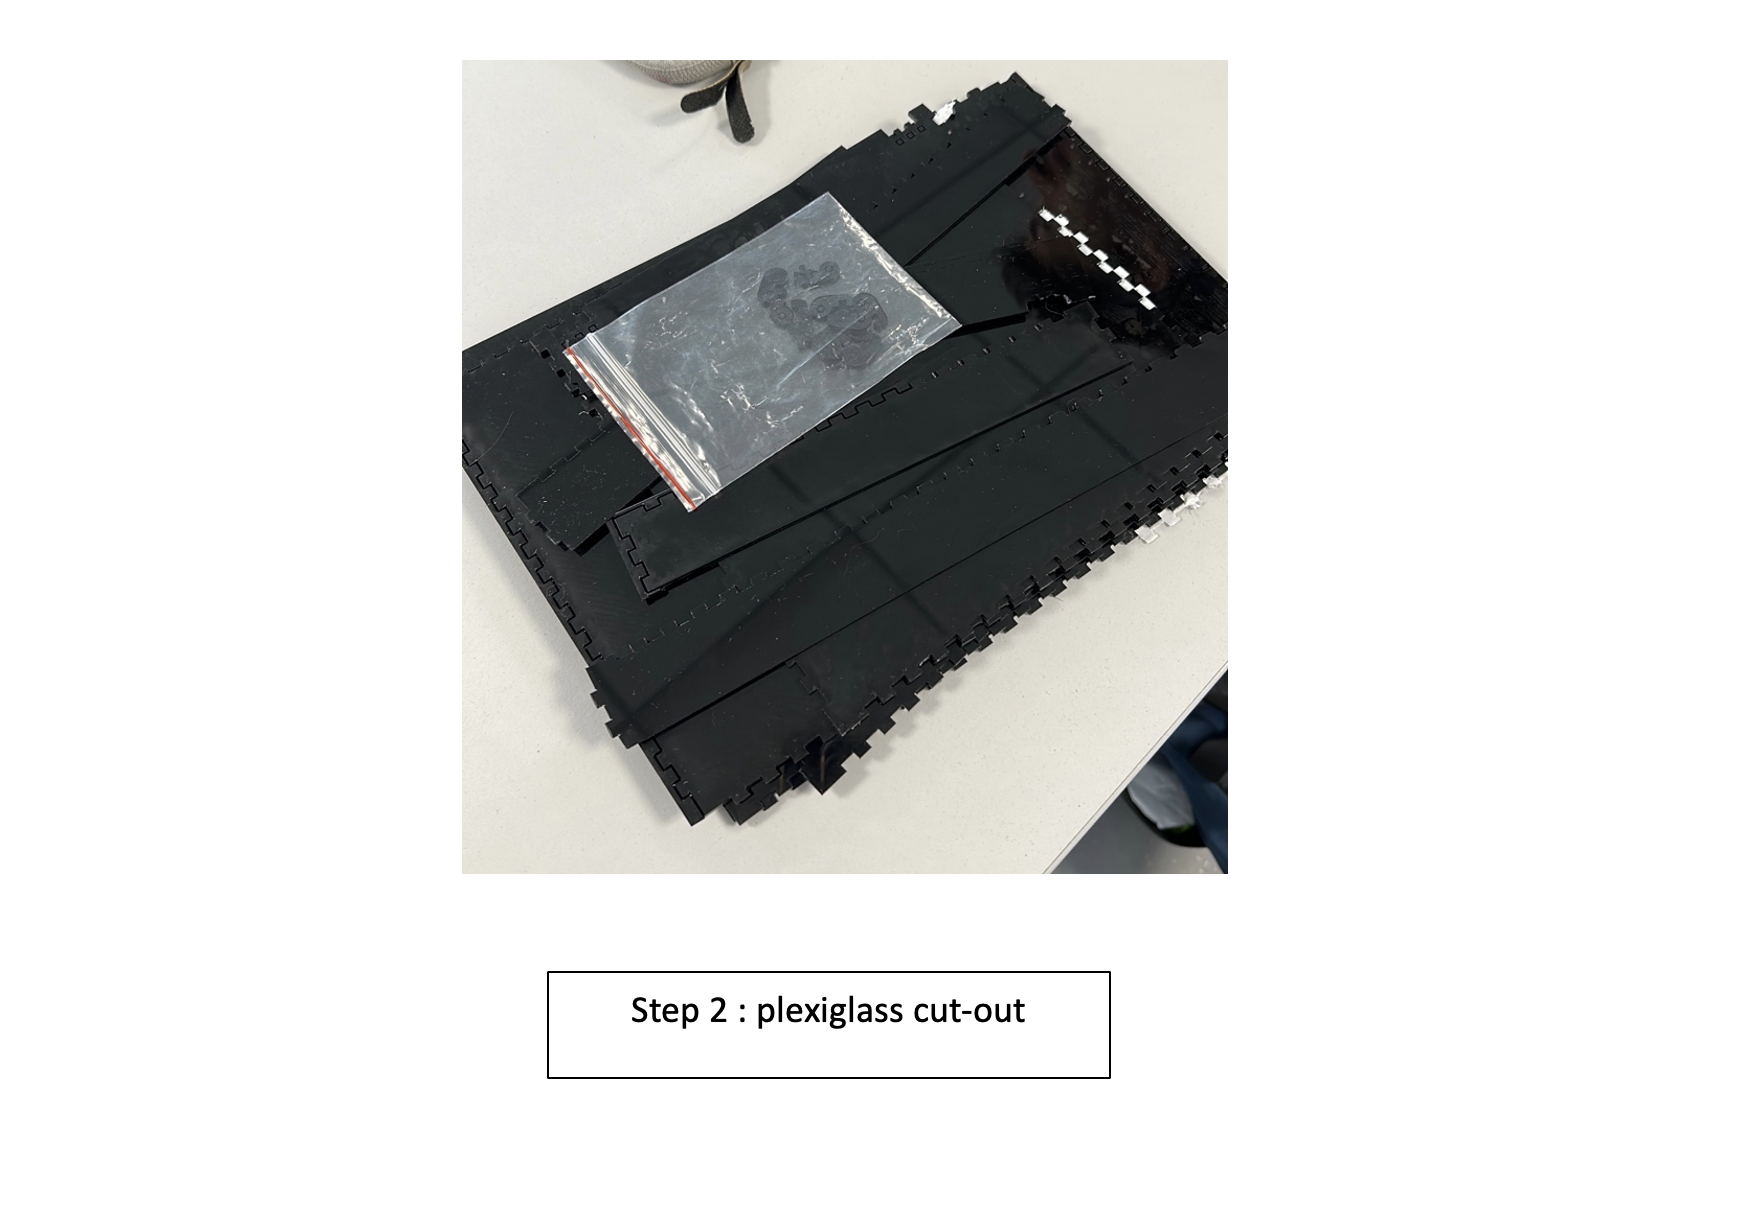
- Use a laser printer to cut the parts of the box.
- For the box you can use plexiglass or wood
- Or you can do your box with fusion 360
2. Mounting the servo motors :
- Use appropriately sized servo motors for the front wheels. The actuators can be purchased online or in electronics shops.
- Attach the servo motors to the front wheel brackets.
- Connect the wires from the servo motors to the Arduino board.
3. Mounting the motors :
- Use appropriately sized DC motors for the rear wheels. Motors can be purchased online or in electronics shops.
- Attach the DC motors to the rear wheel supports.
- Attach the L298N H-bridge to the chassis, preferably near the motors.
- Connect the wires from the DC motors to the H-bridge.
4. Connecting the components :
- Connect the servo motor control wires to the PWM output pins on the Arduino board.
- Connect the servo motor power leads to an external power source, such as a 9V battery.
- Connect the DC motor control wires to the digital output pins on the Arduino board.
5. Programming the Arduino board :
- Use the Arduino IDE to program the board.
- Use the necessary libraries to control the servo motors.
- Program the board to control the servo motors to steer the front wheels and the motors to move forward, backward or turn.
- Add functions to control the speed and direction of the DC motors.
6. Test the system:
- Insert a 9V battery into the battery box.
- Turn on the system and test the servo and DC motors using a remote control.
- Make sure that the front wheels turn easily and that the DC motors move forward, backward and rotate correctly.
7. Final adjustments :
- If necessary, adjust the settings on the Arduino board to improve performance.
- Add additional features, such as LED lighting or a sound system.
- Paint and decorate the model car to make it look realistic.
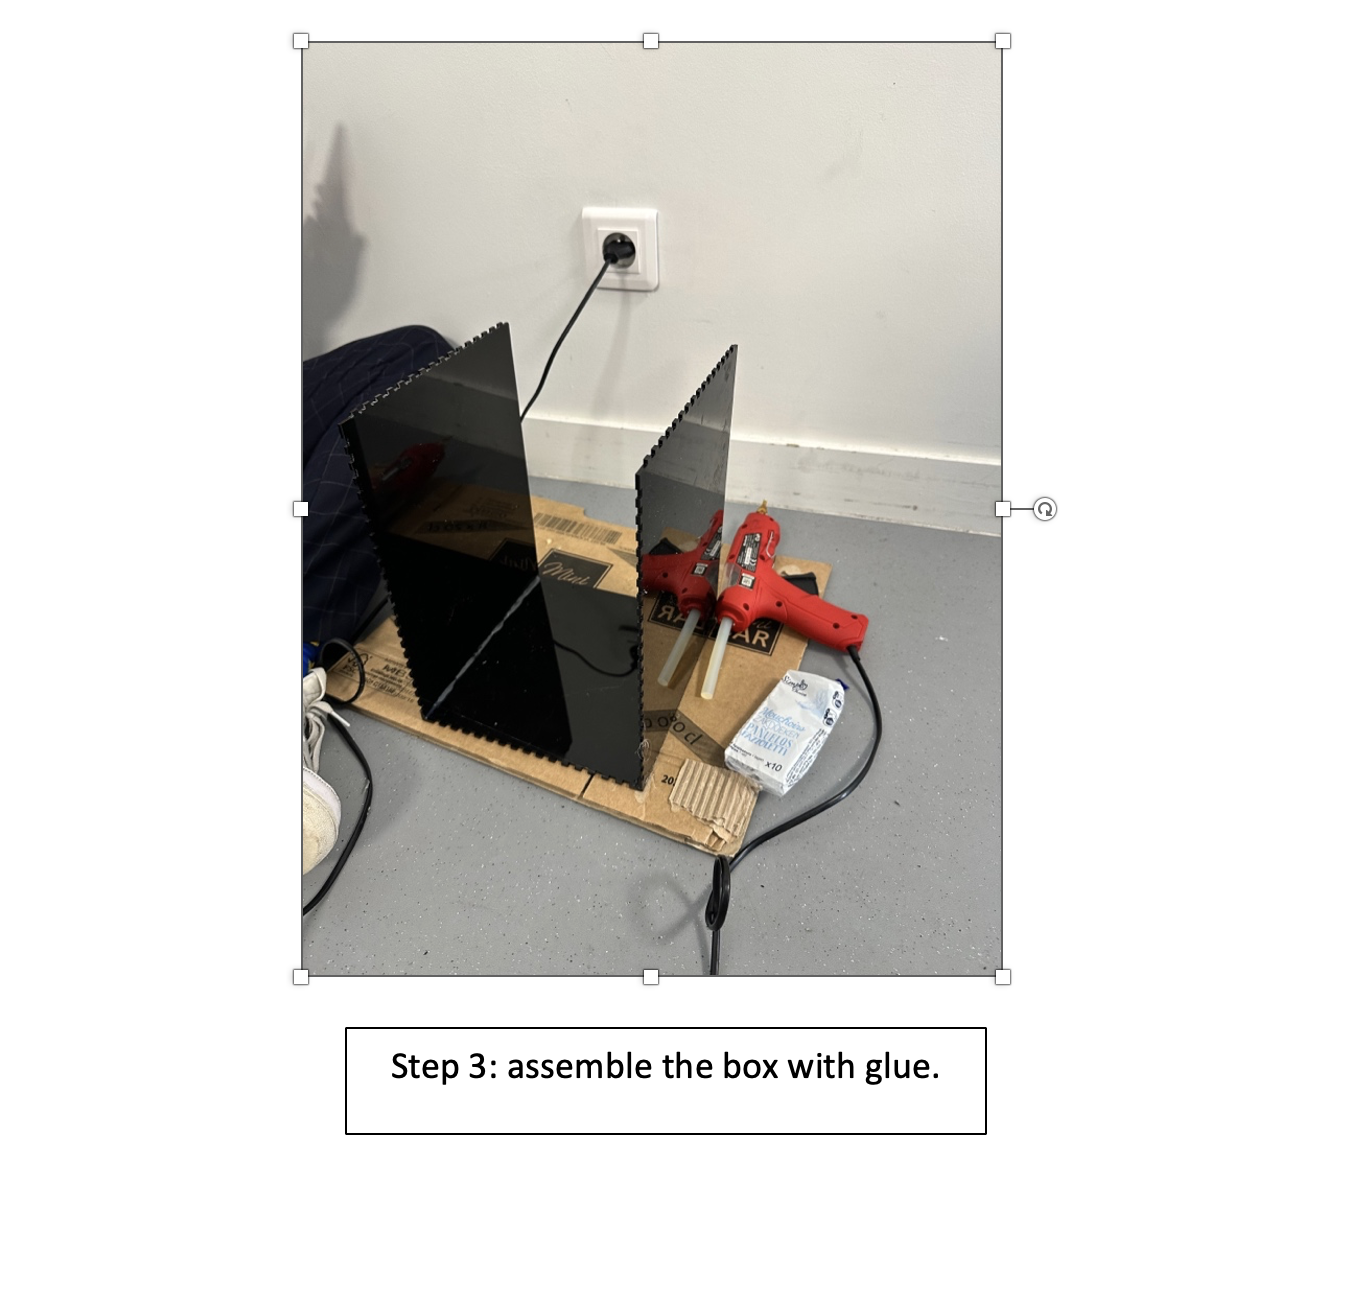
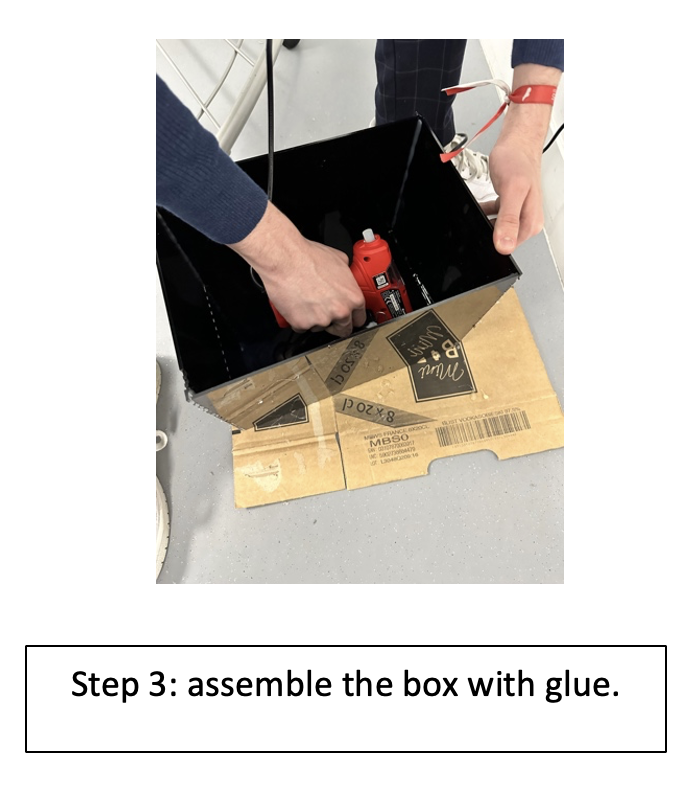
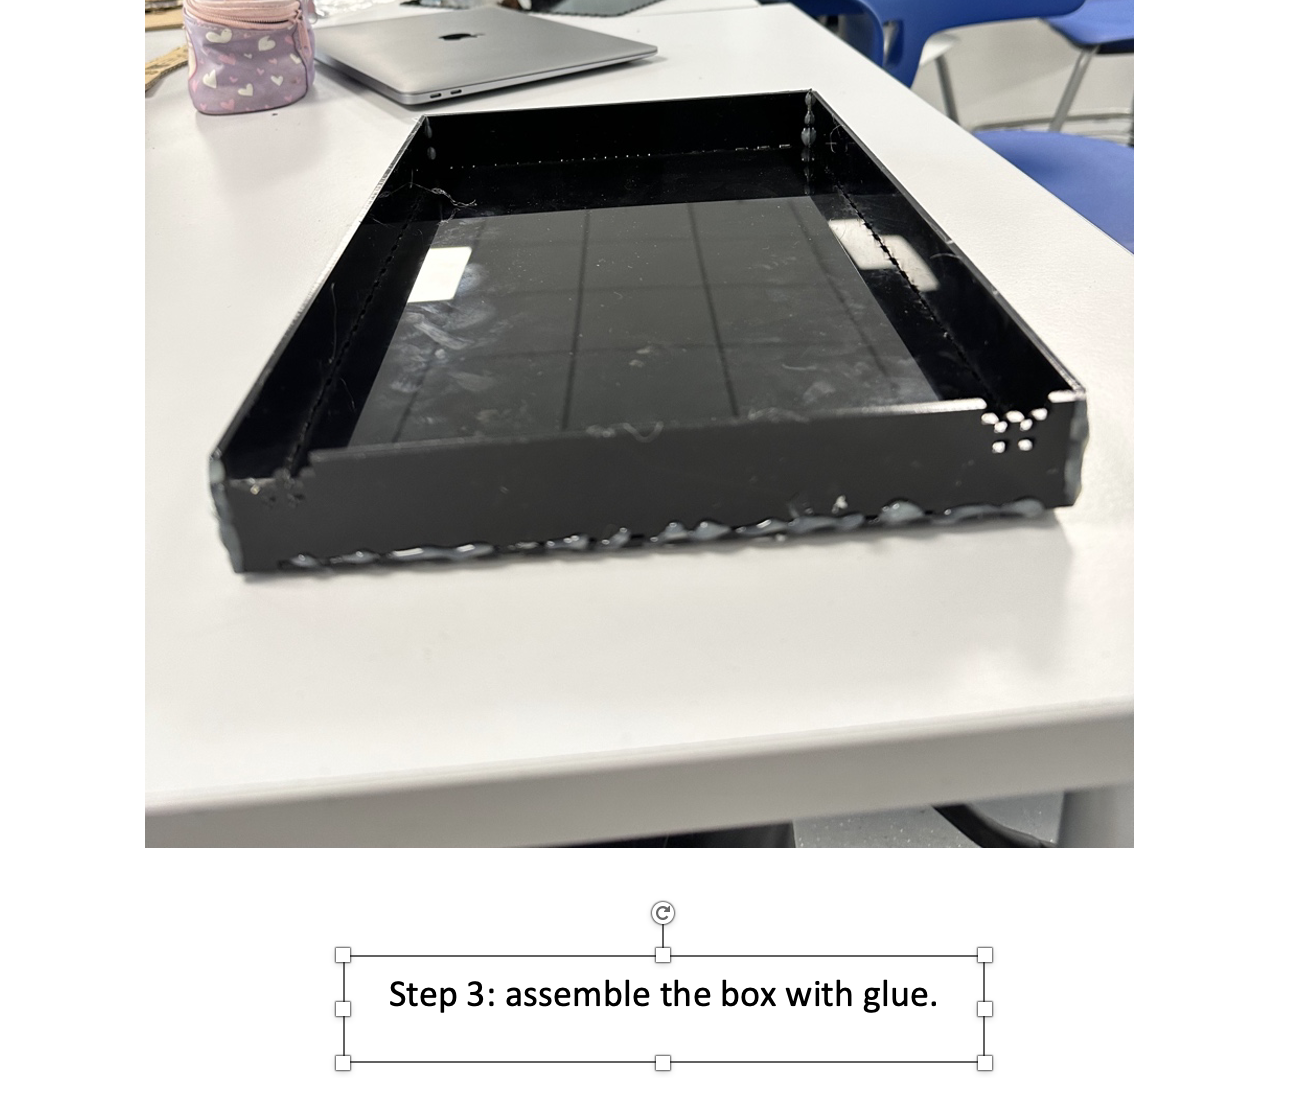
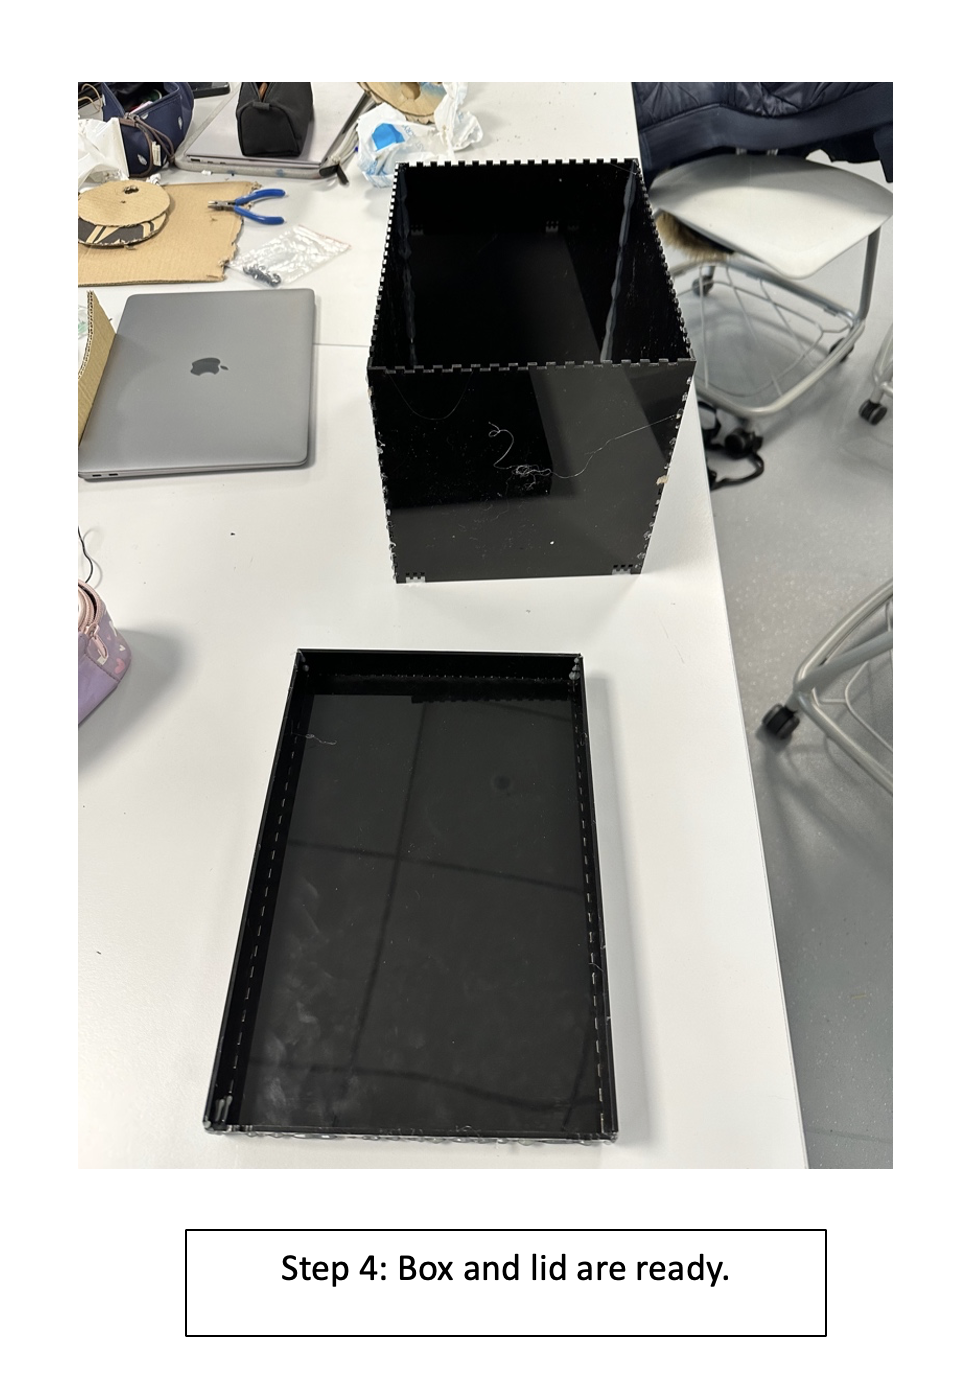
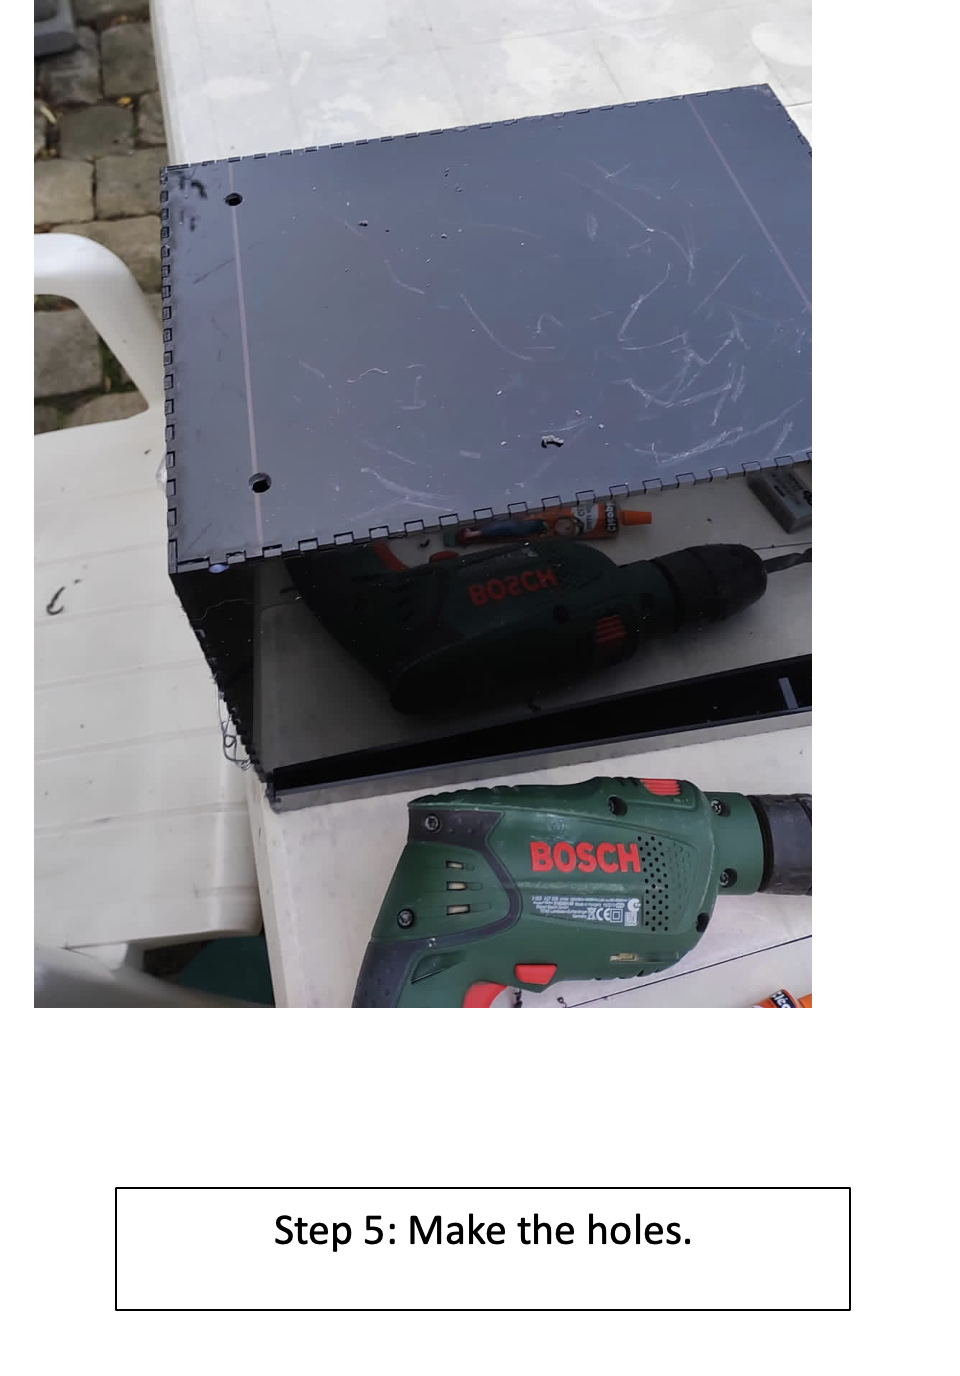
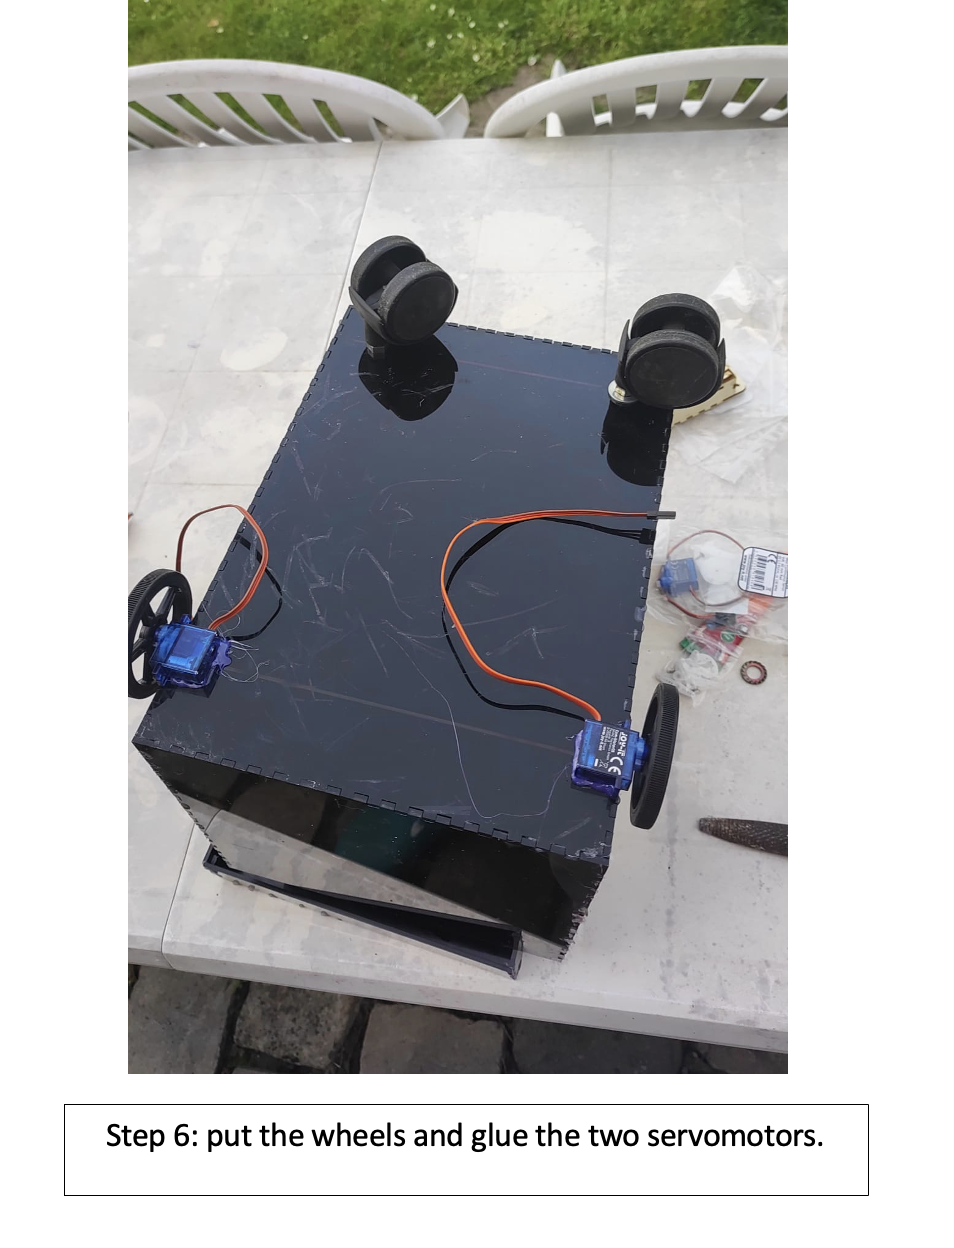
Then we made an Arduino assembly to check that the wheels work. We glued the servomotors to the box. We plugged everything in and then ran the code. We set the code so that it up to turn 180 degrees forward.
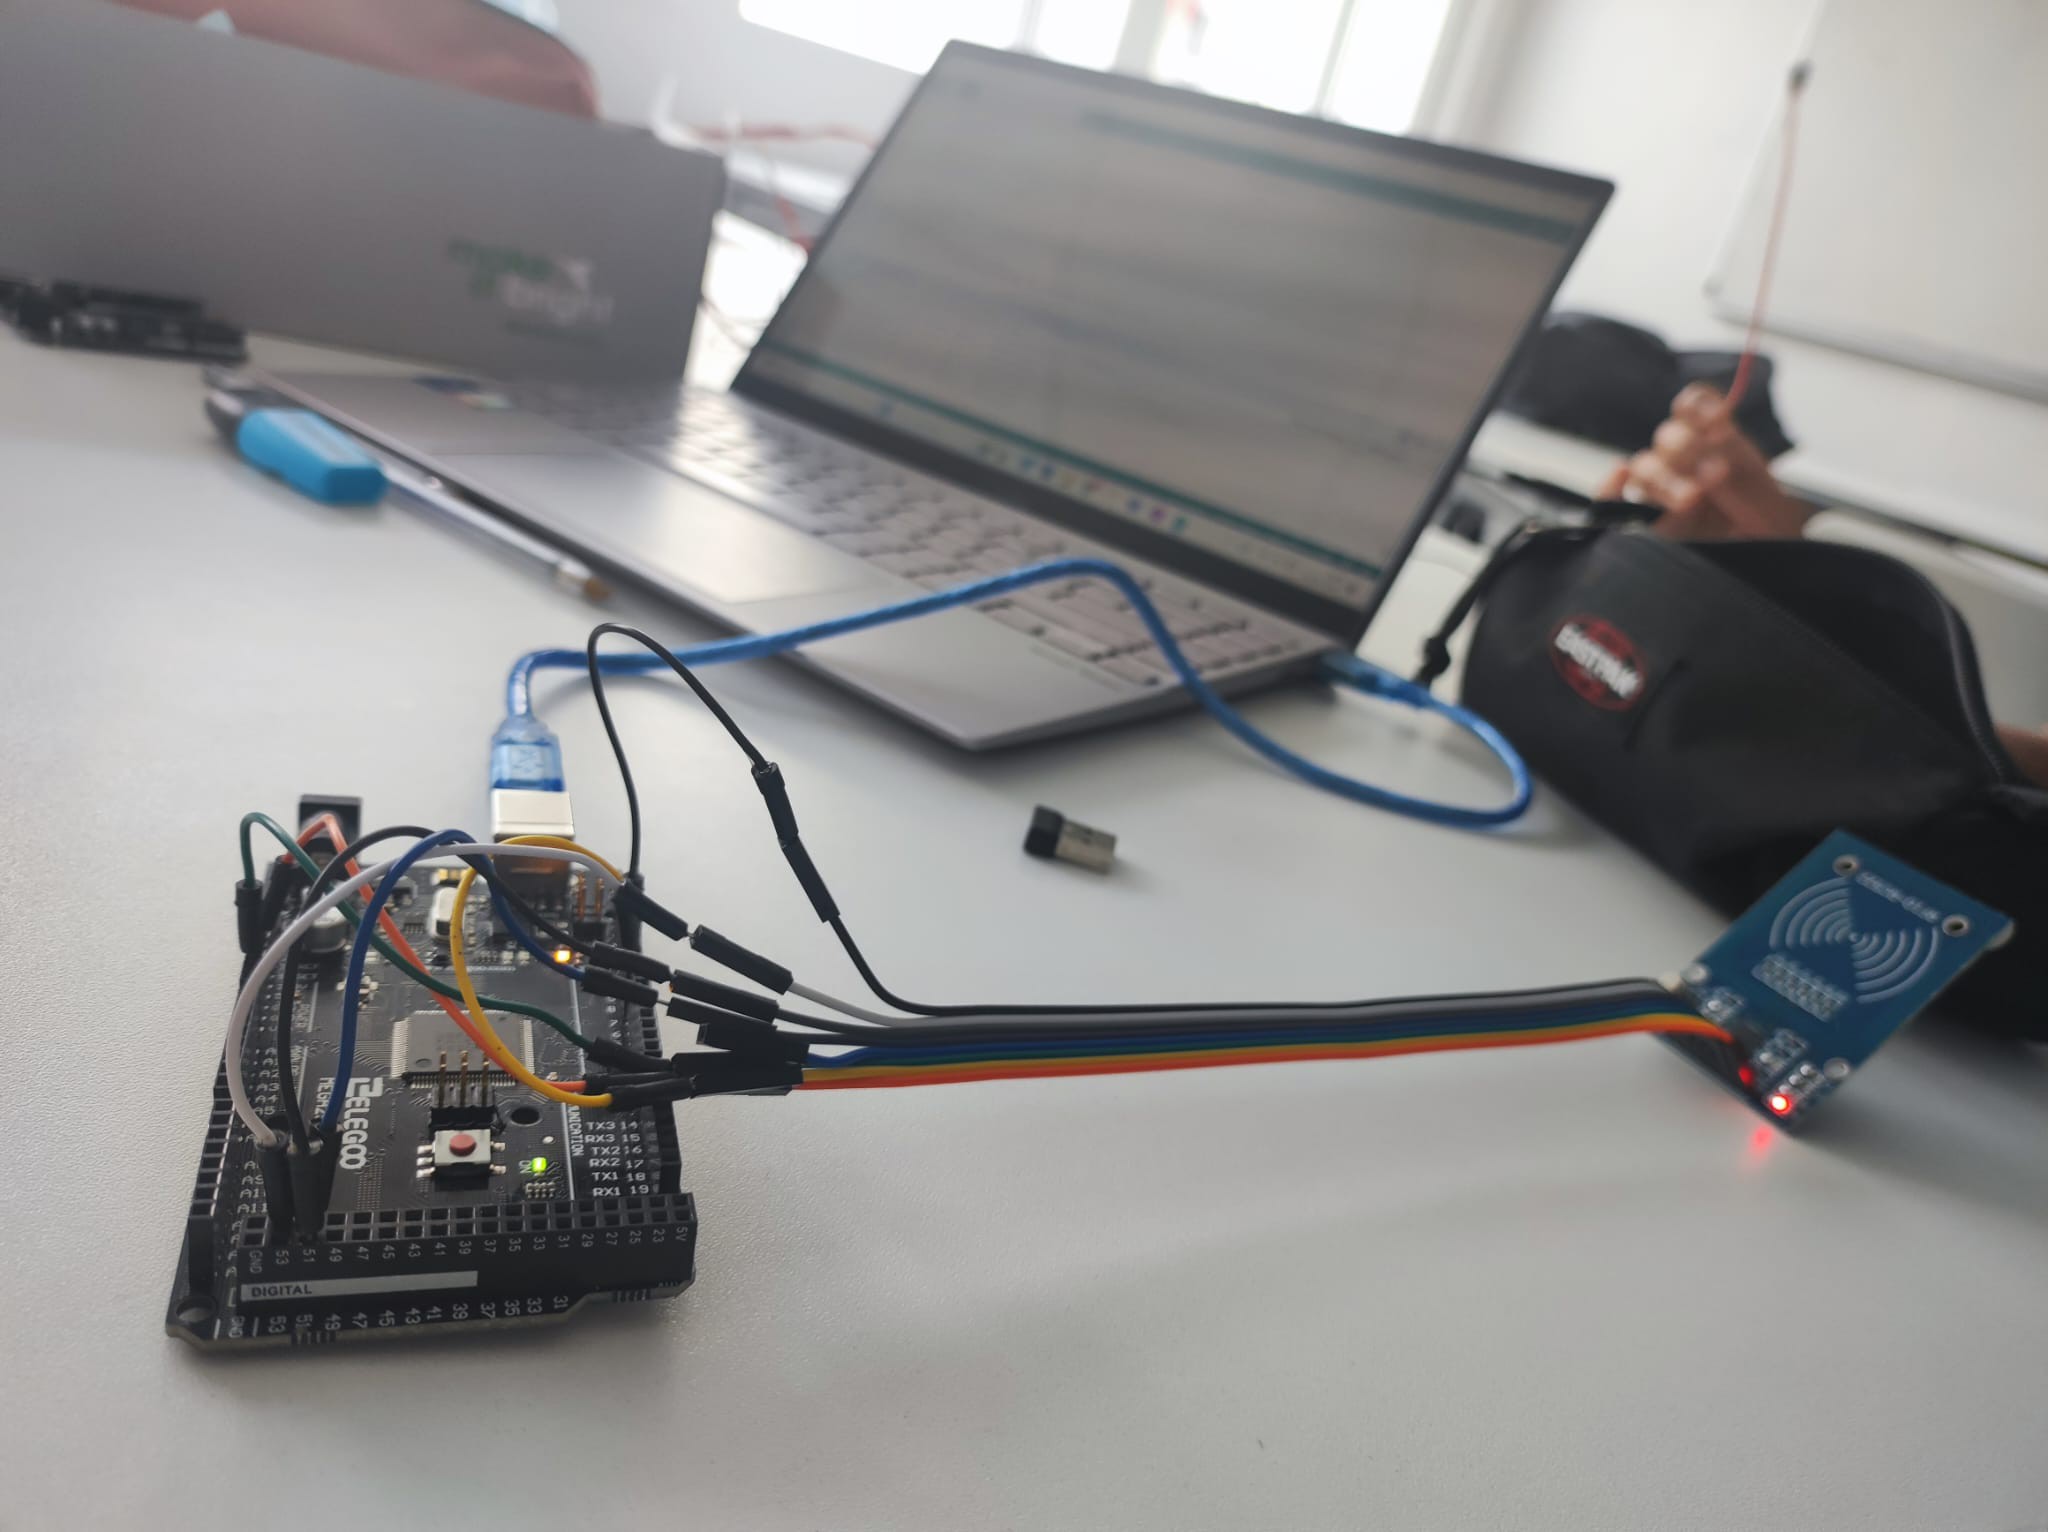
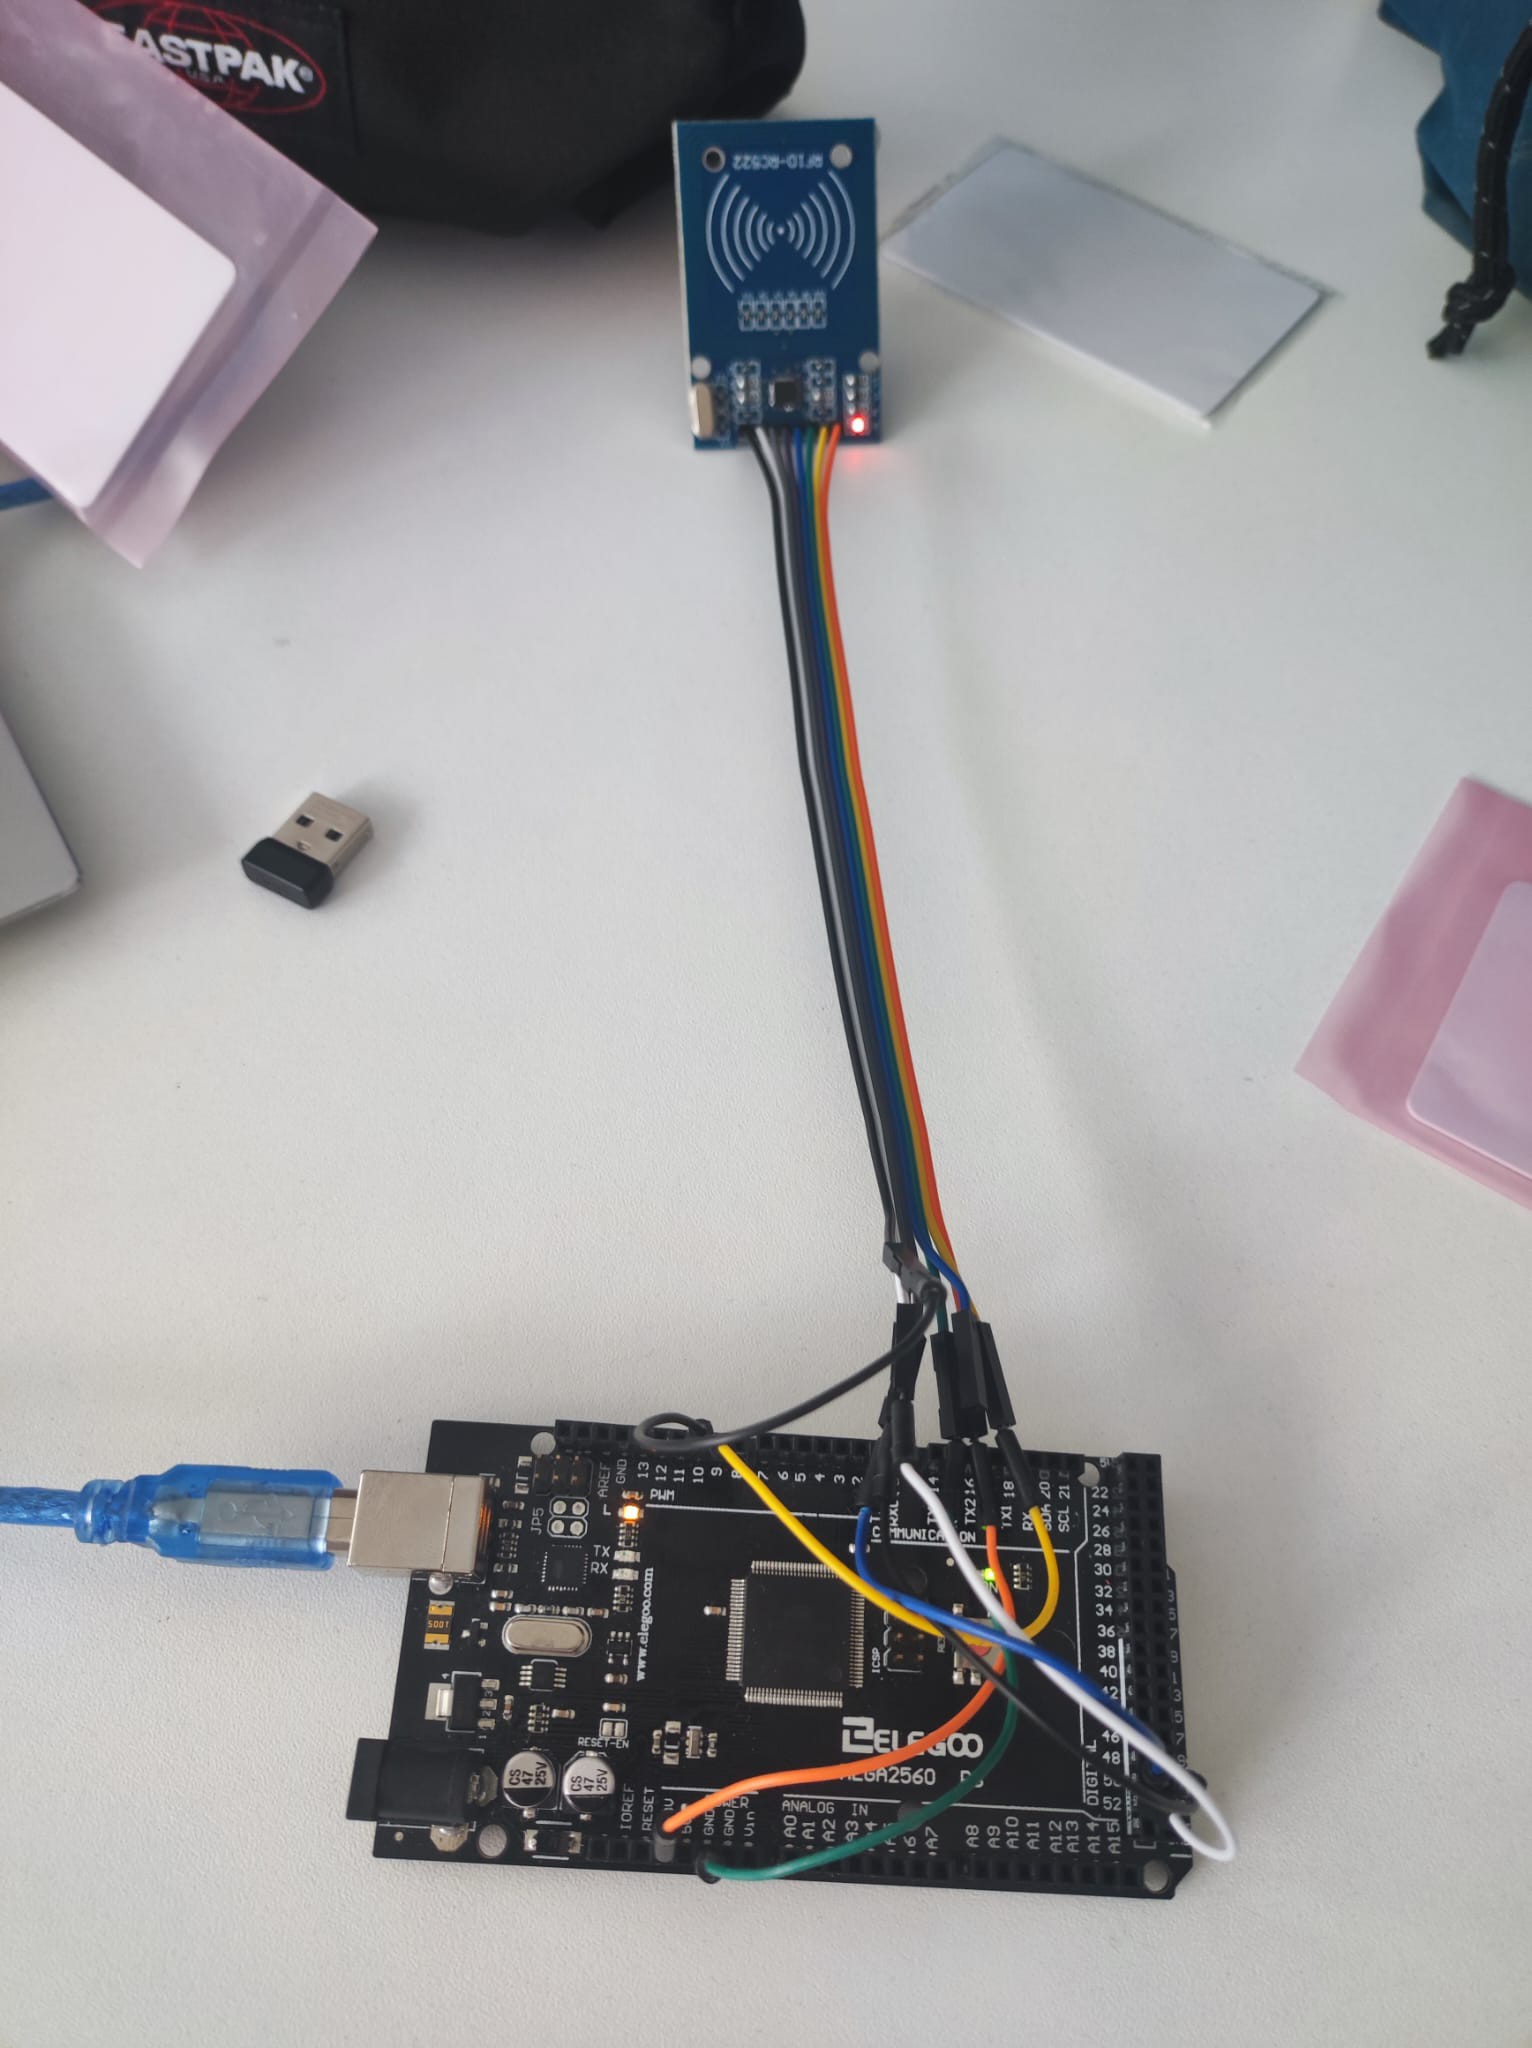
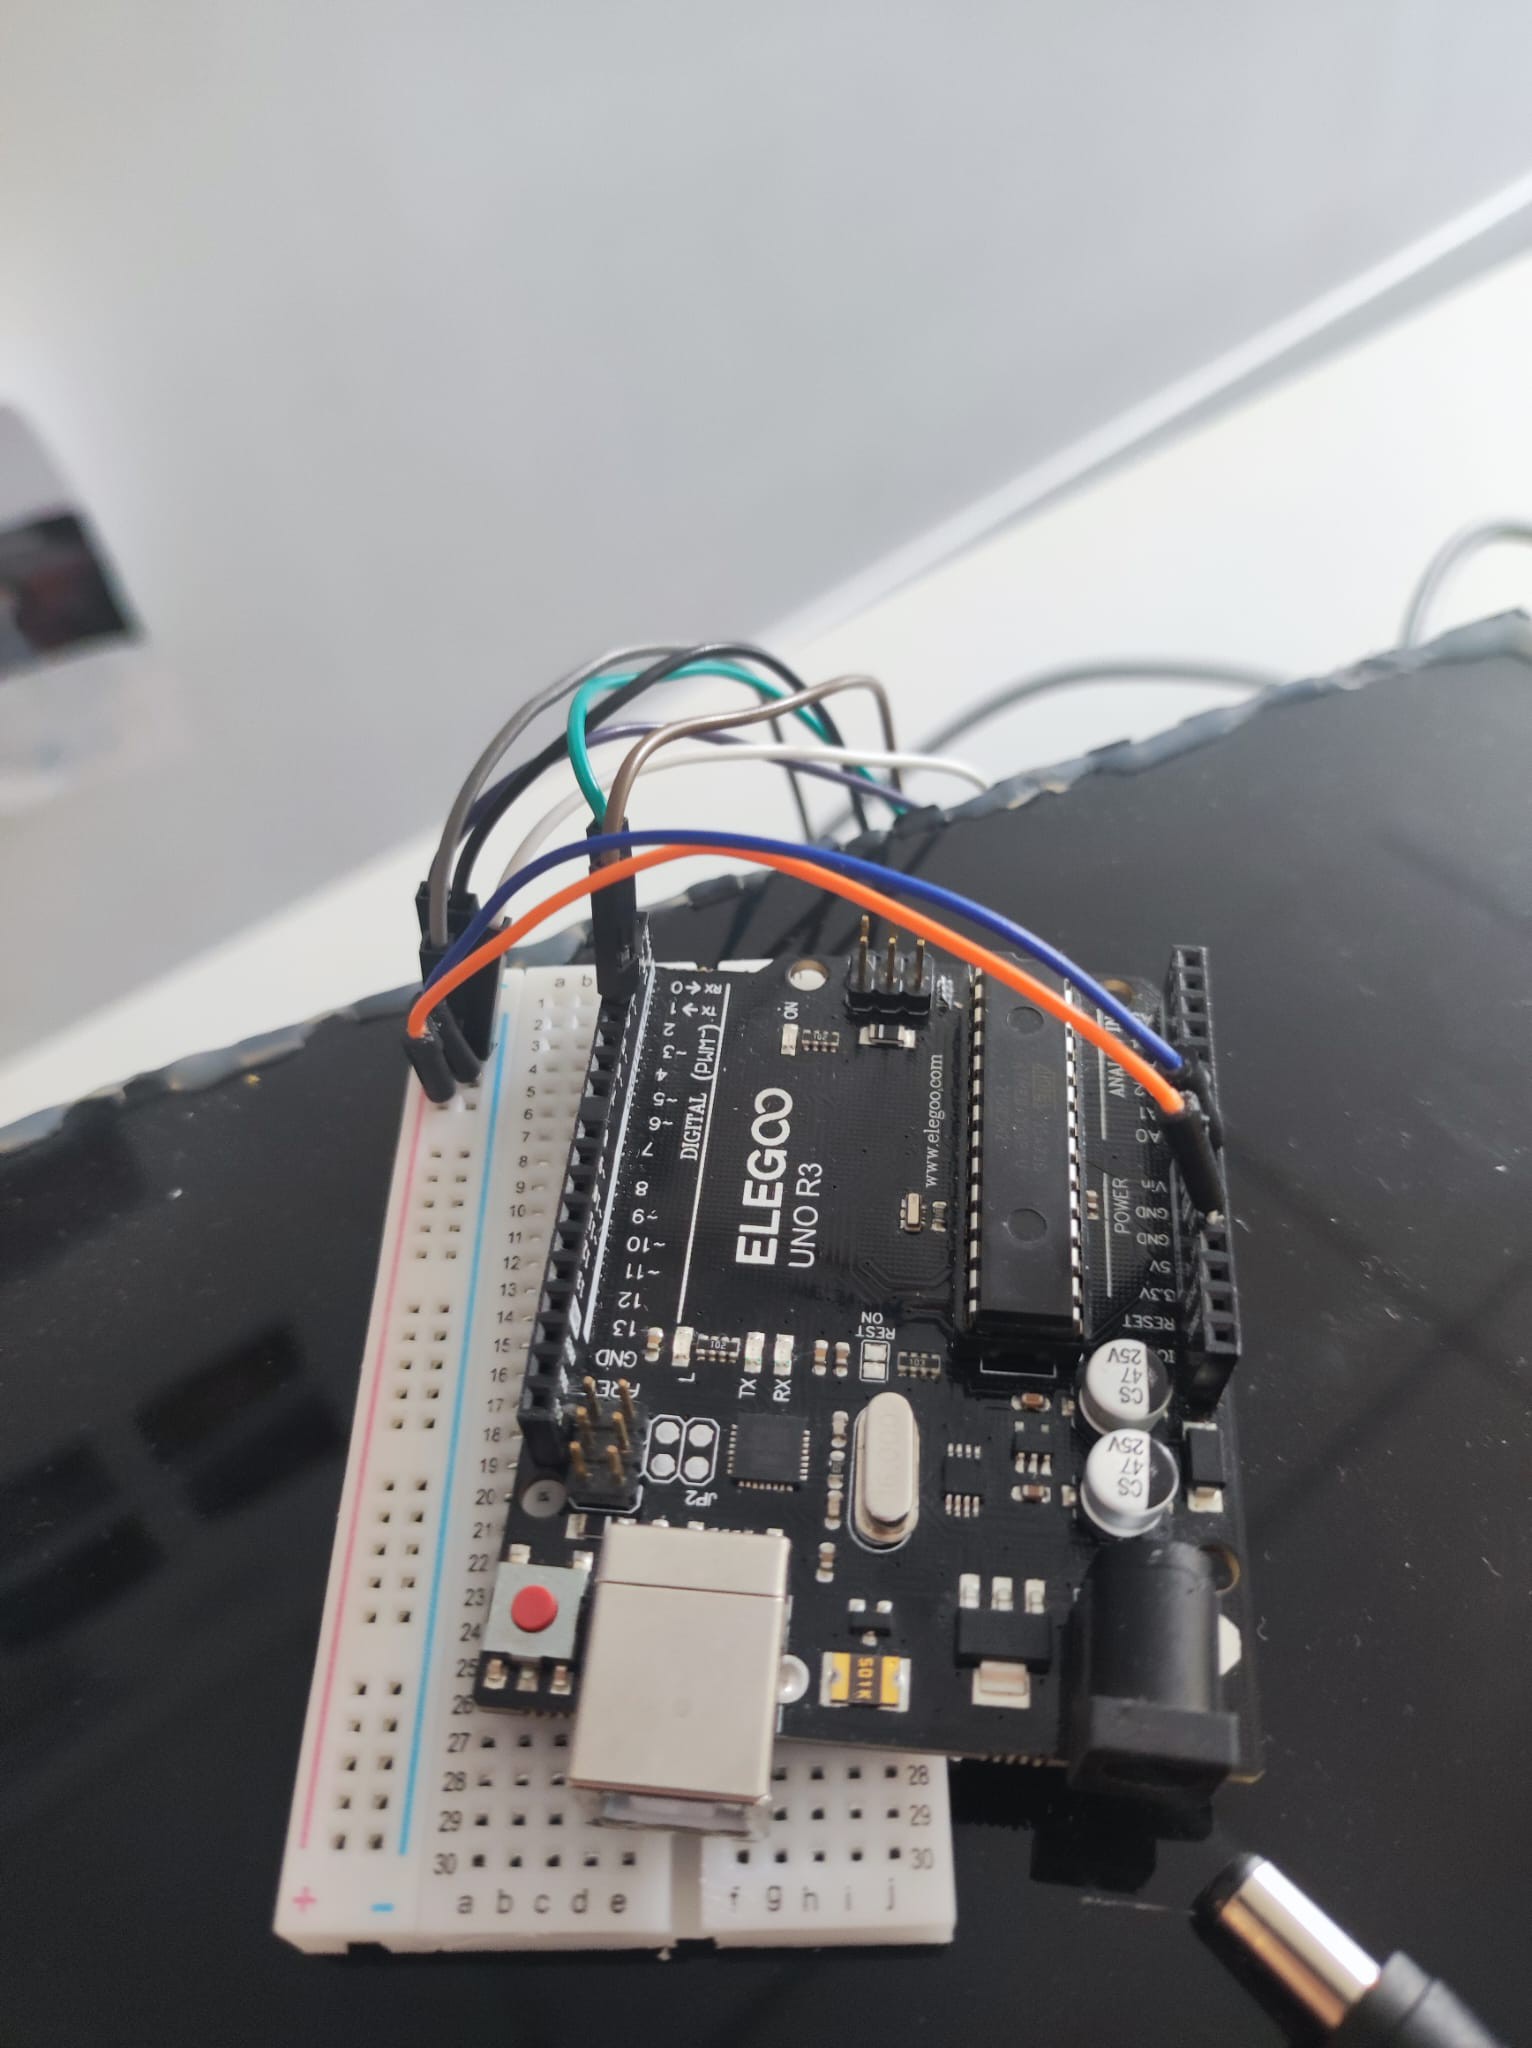
Once we'd checked that the wheels worked properly. Then we thought about an innovative way of making a remote control, as we didn't have any available apart from RFID sensors. These sensors work with badges. We need to present the badge to the sensor that will sends out a signal. Thanks to this system, we can move the car forwards, backwards, right, or left, etc.
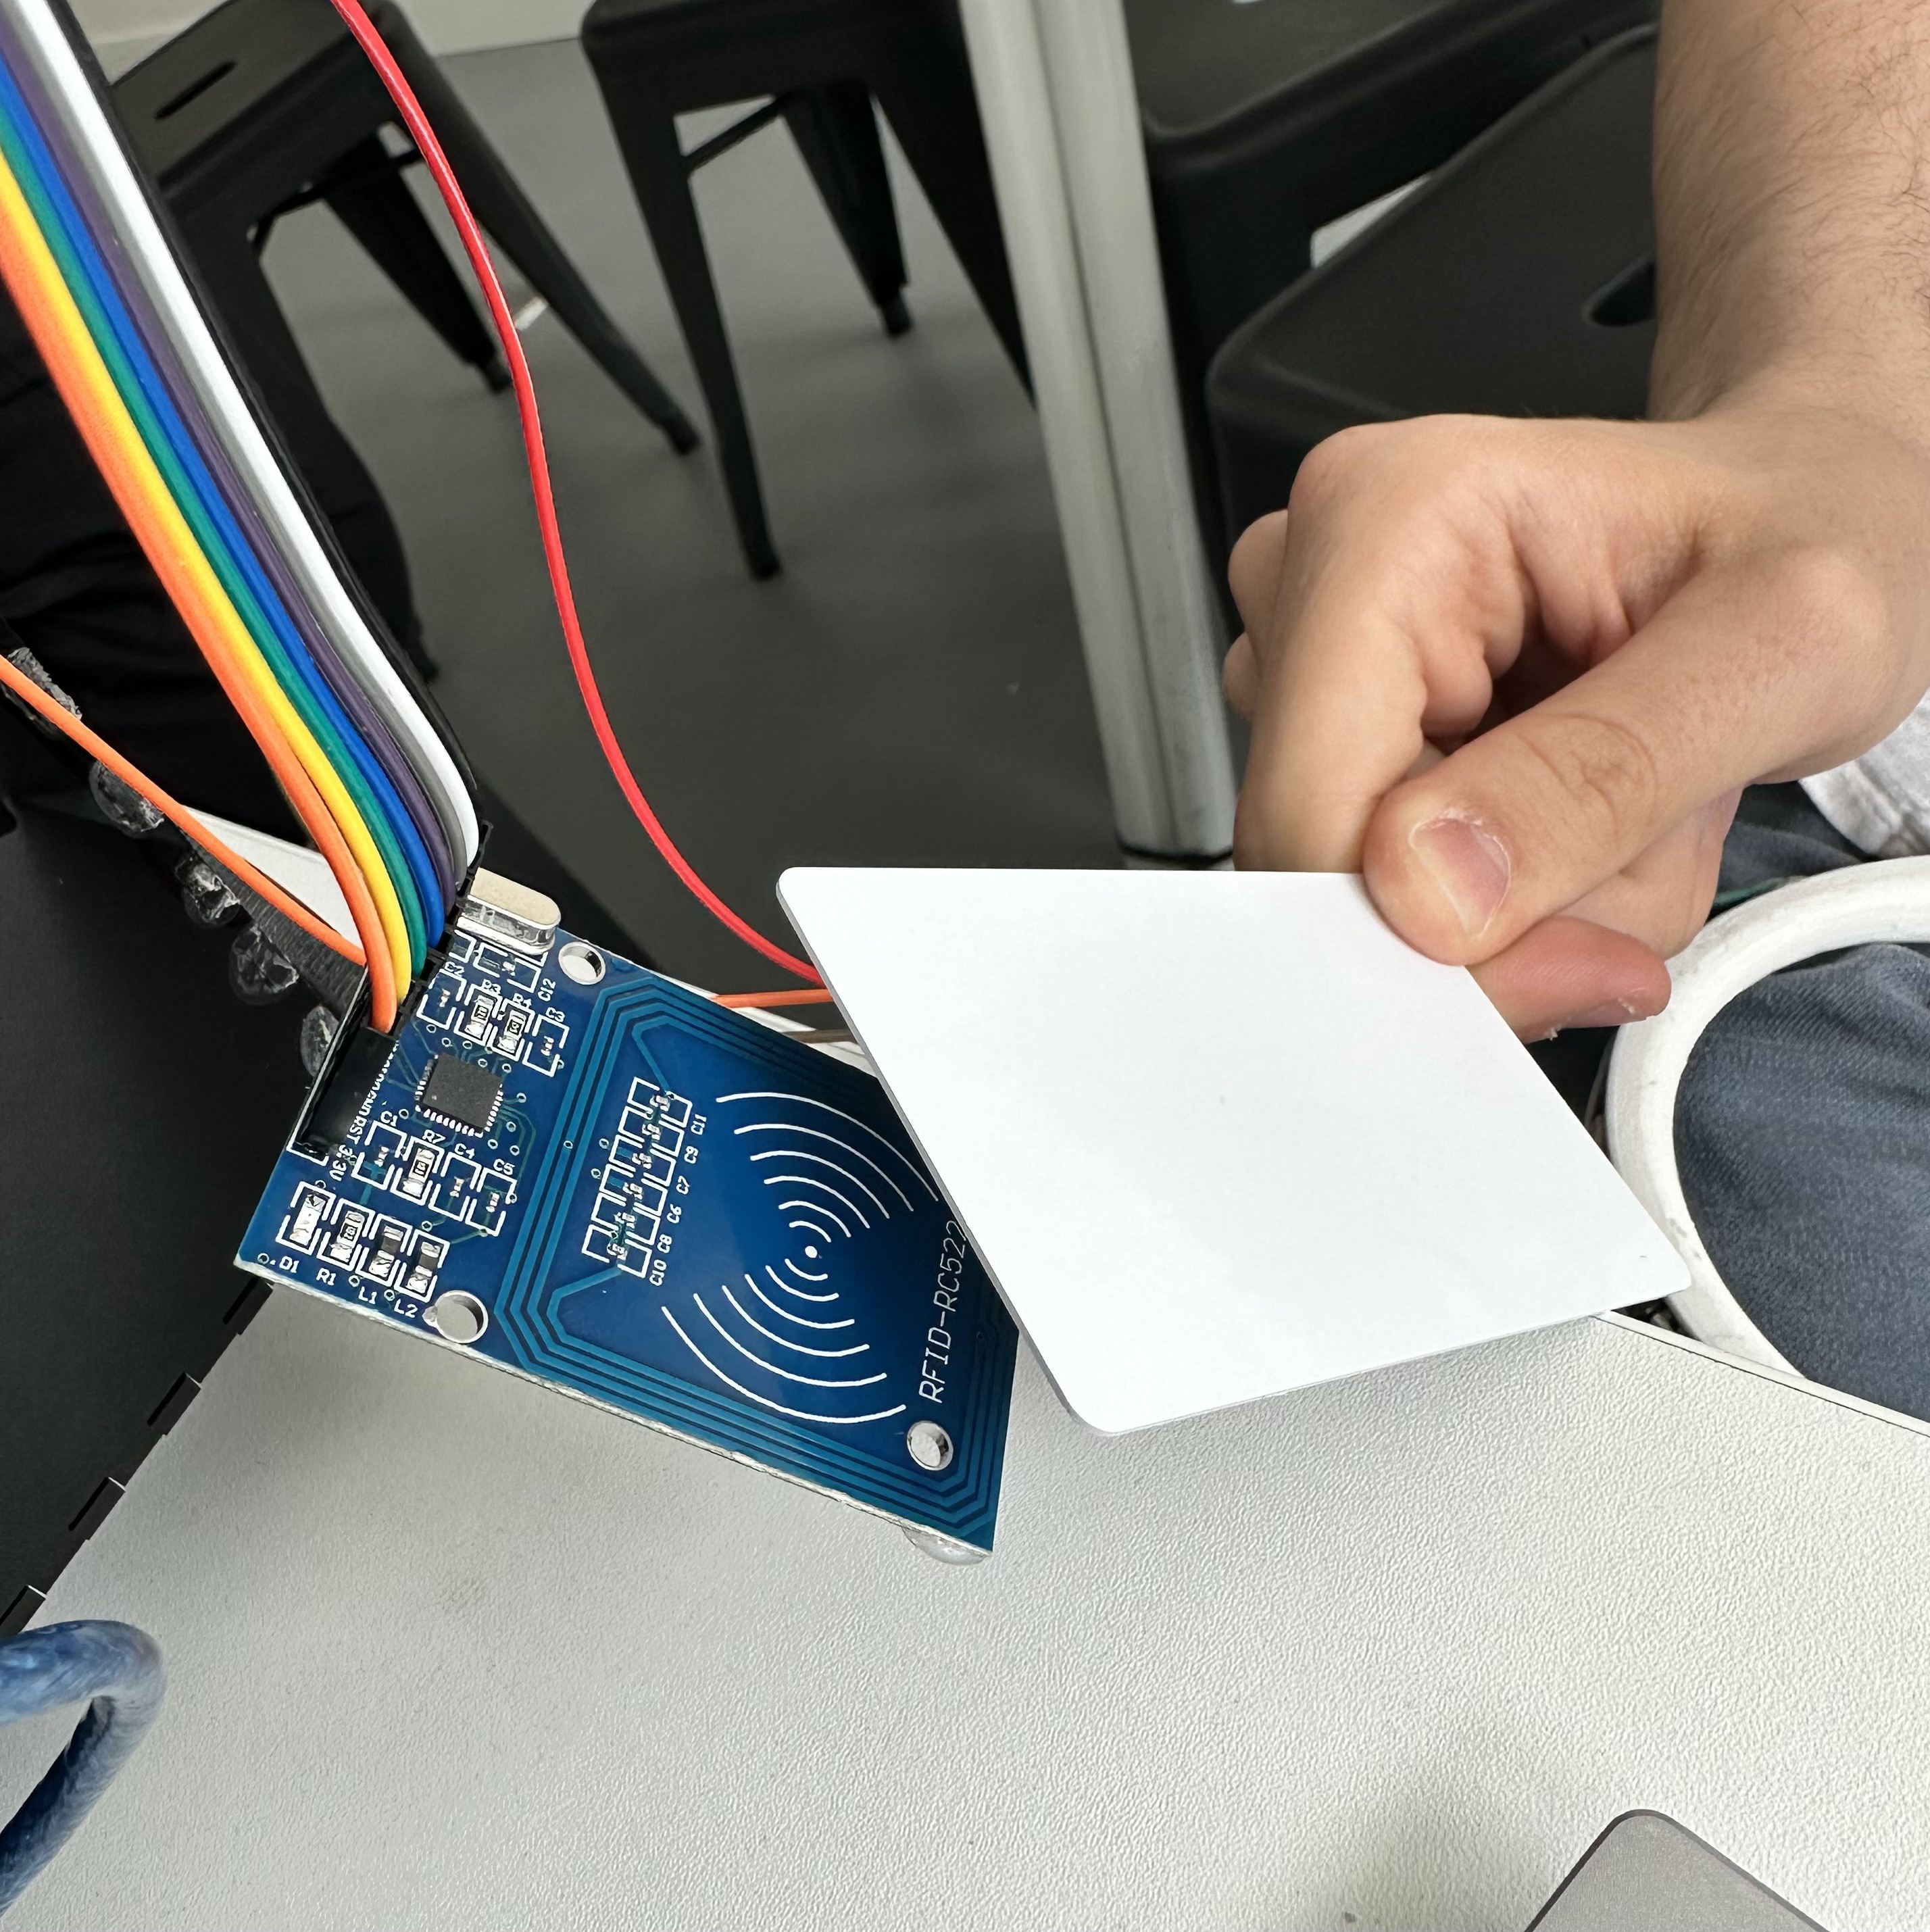
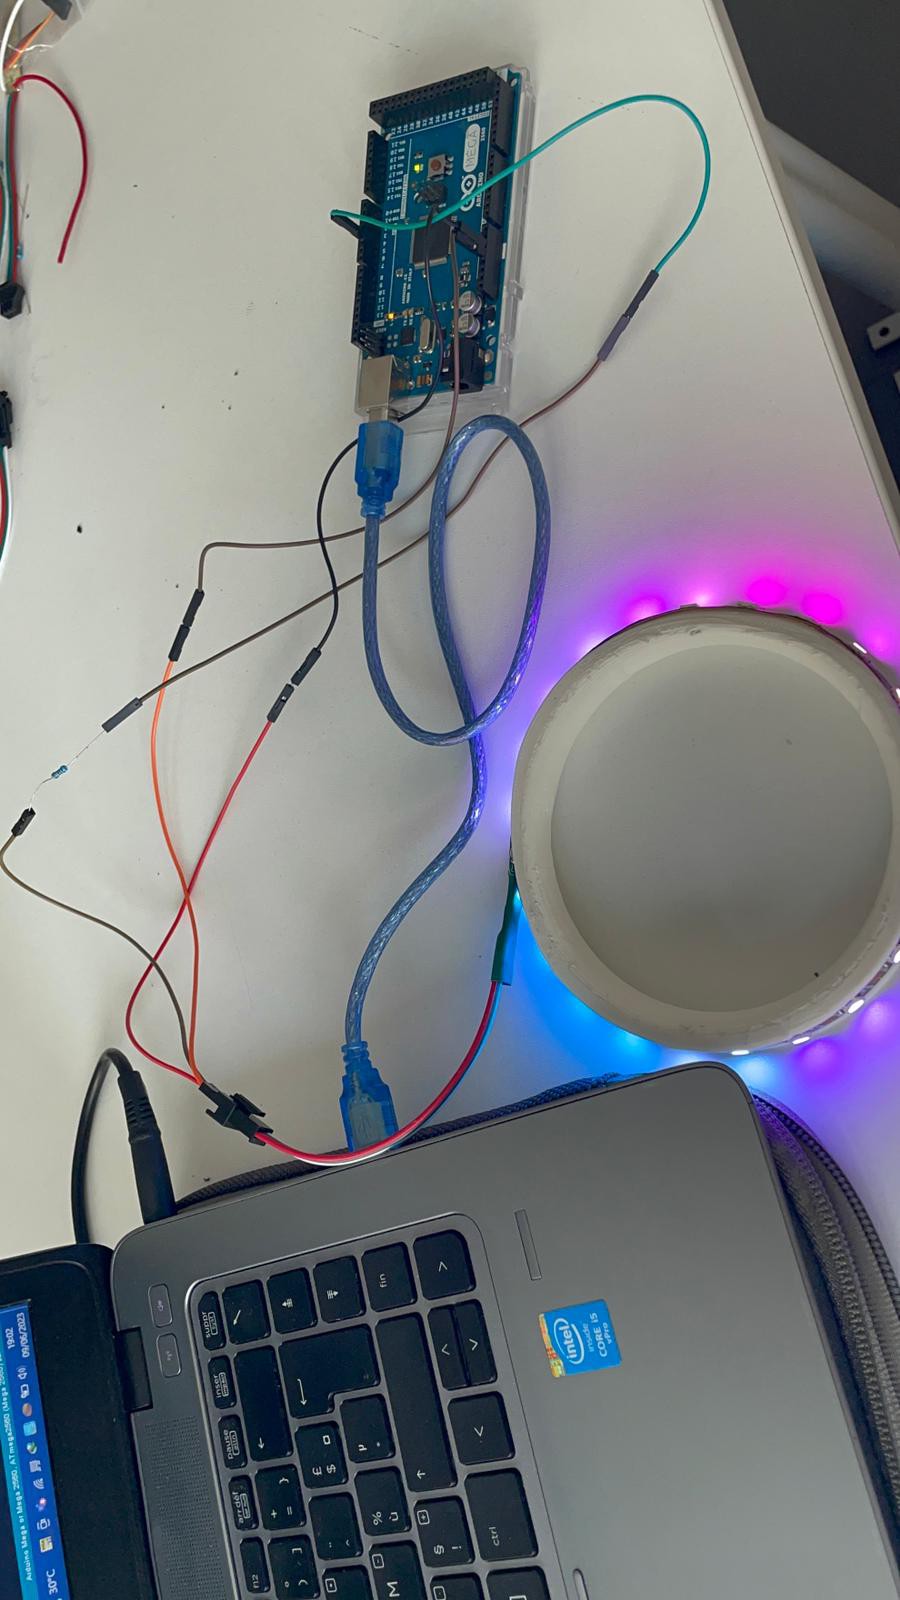
Then we coded with Arduino to turn on the led. The led is a round shape so we will use it for Tank you robot's mouth because our robot has eyes.
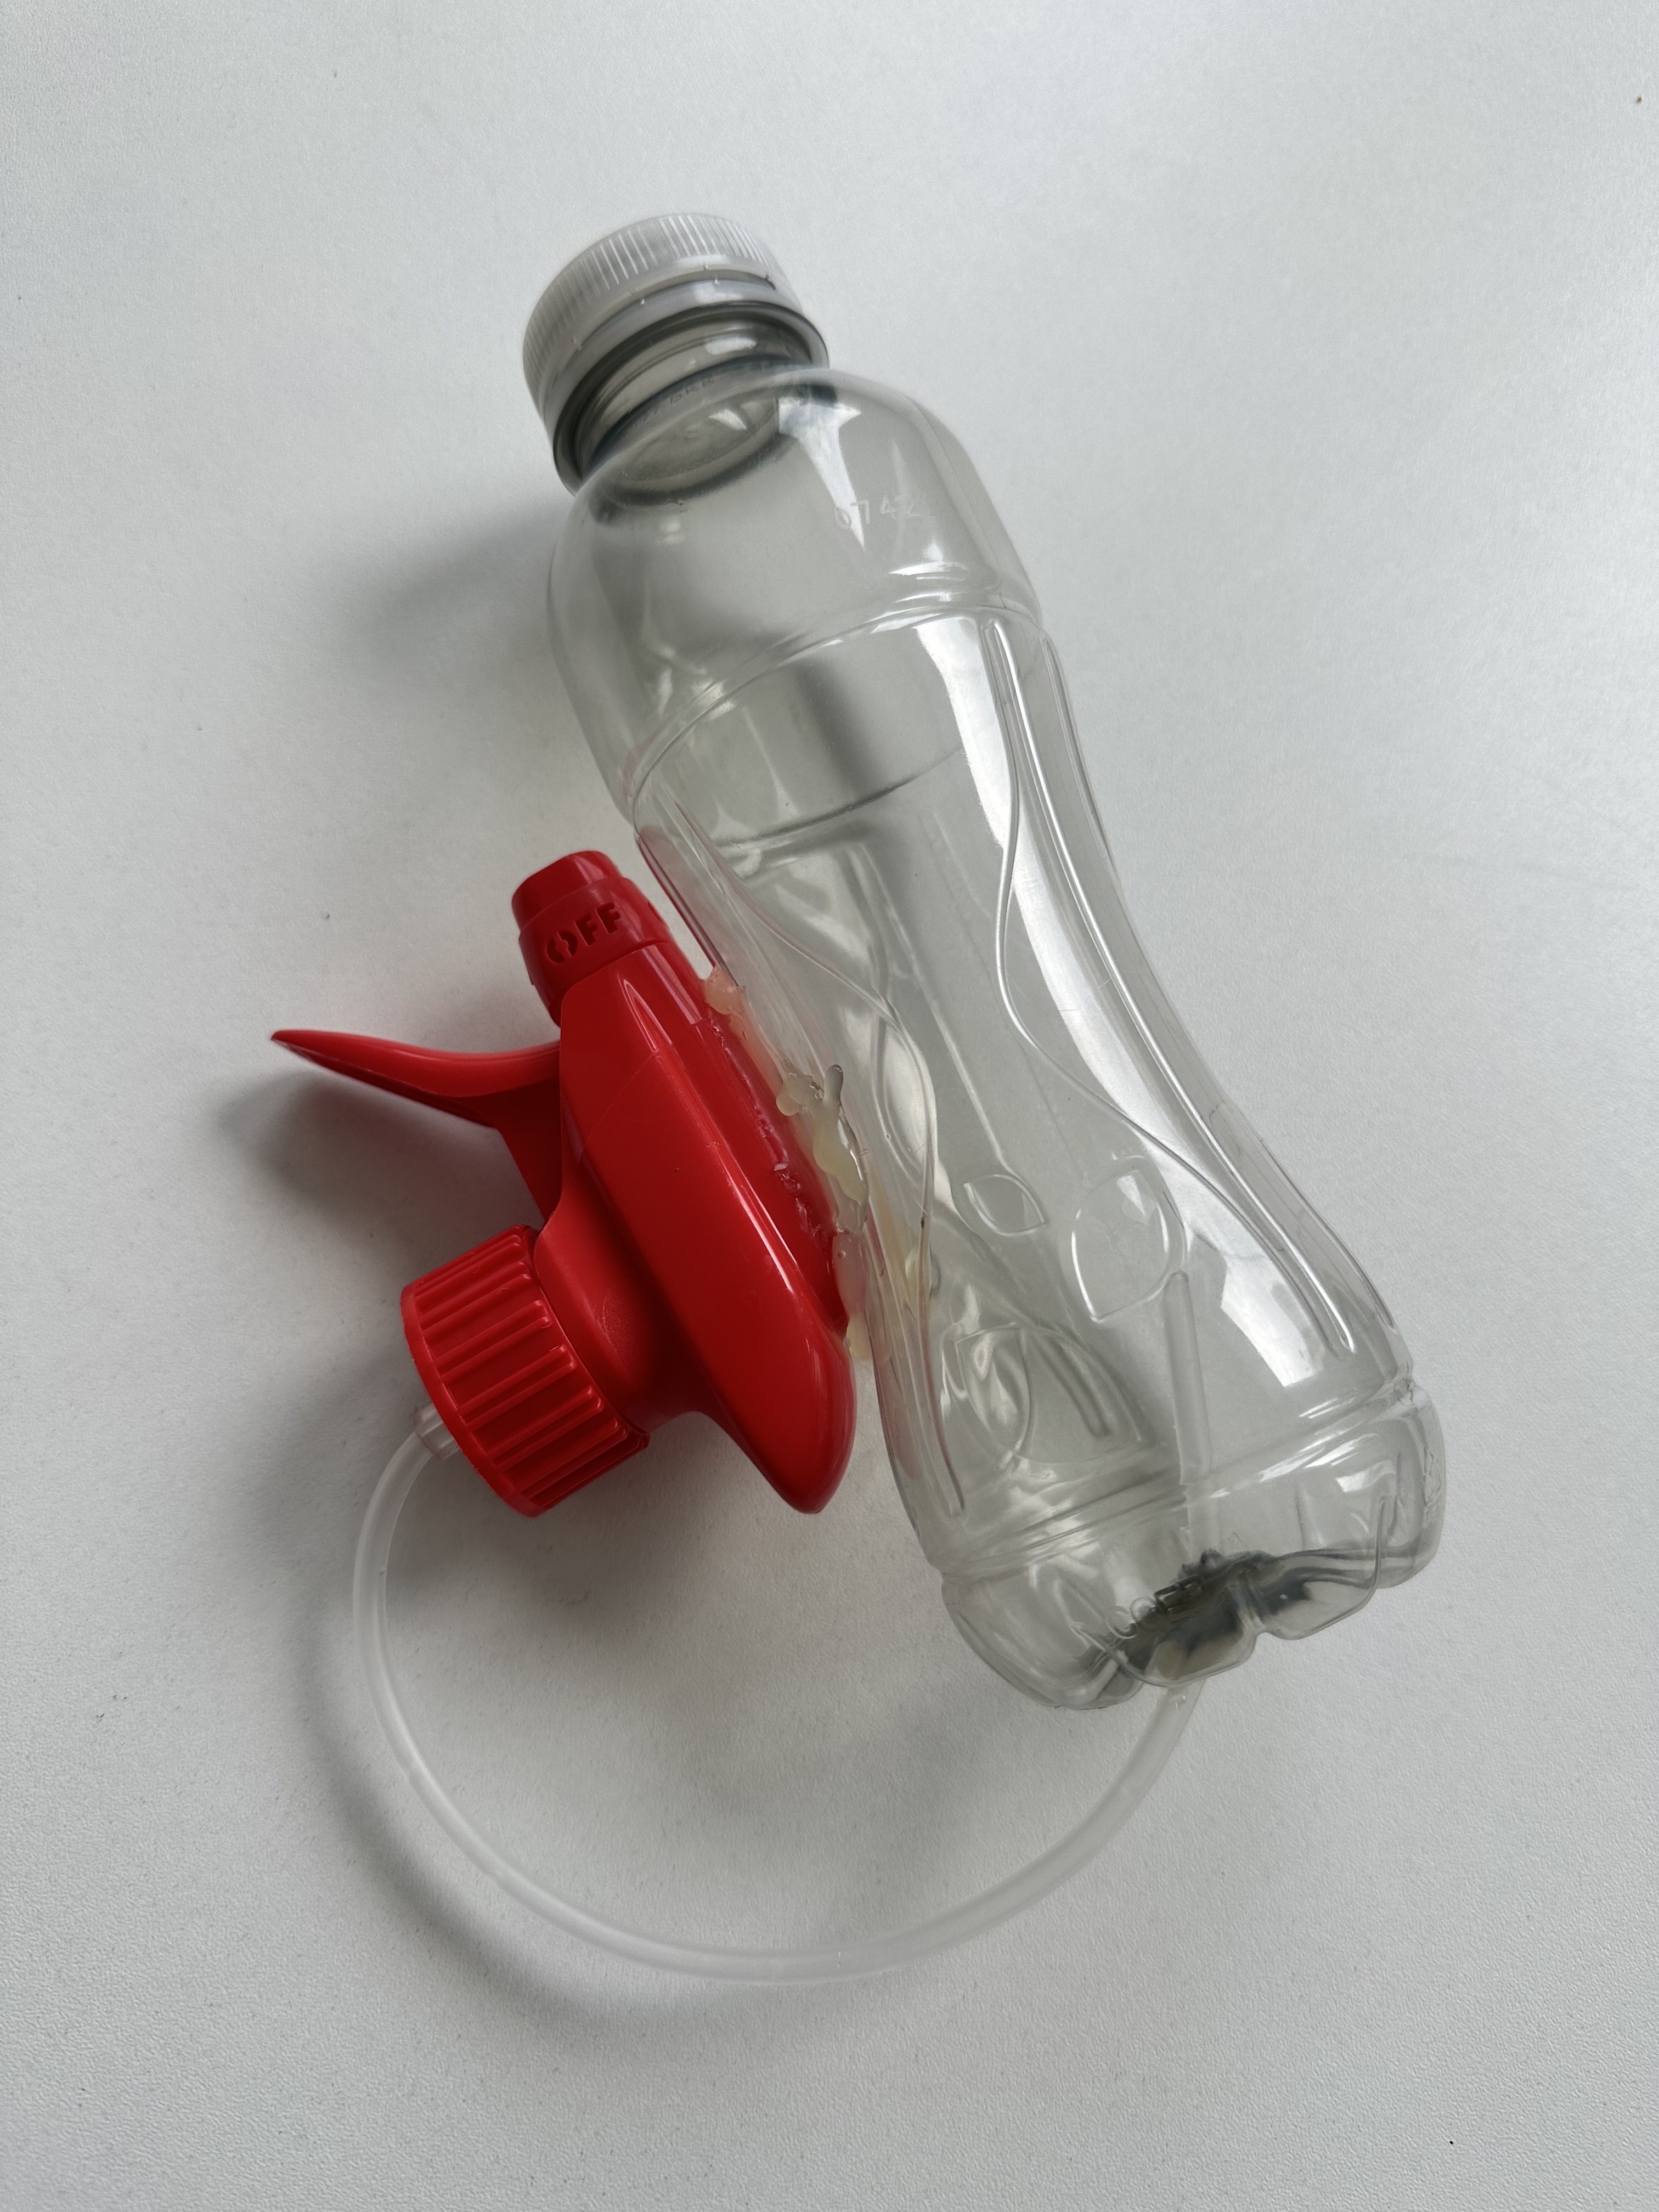
At the end, we made a water gun with a bottle and a spray. We will glue it with the box.
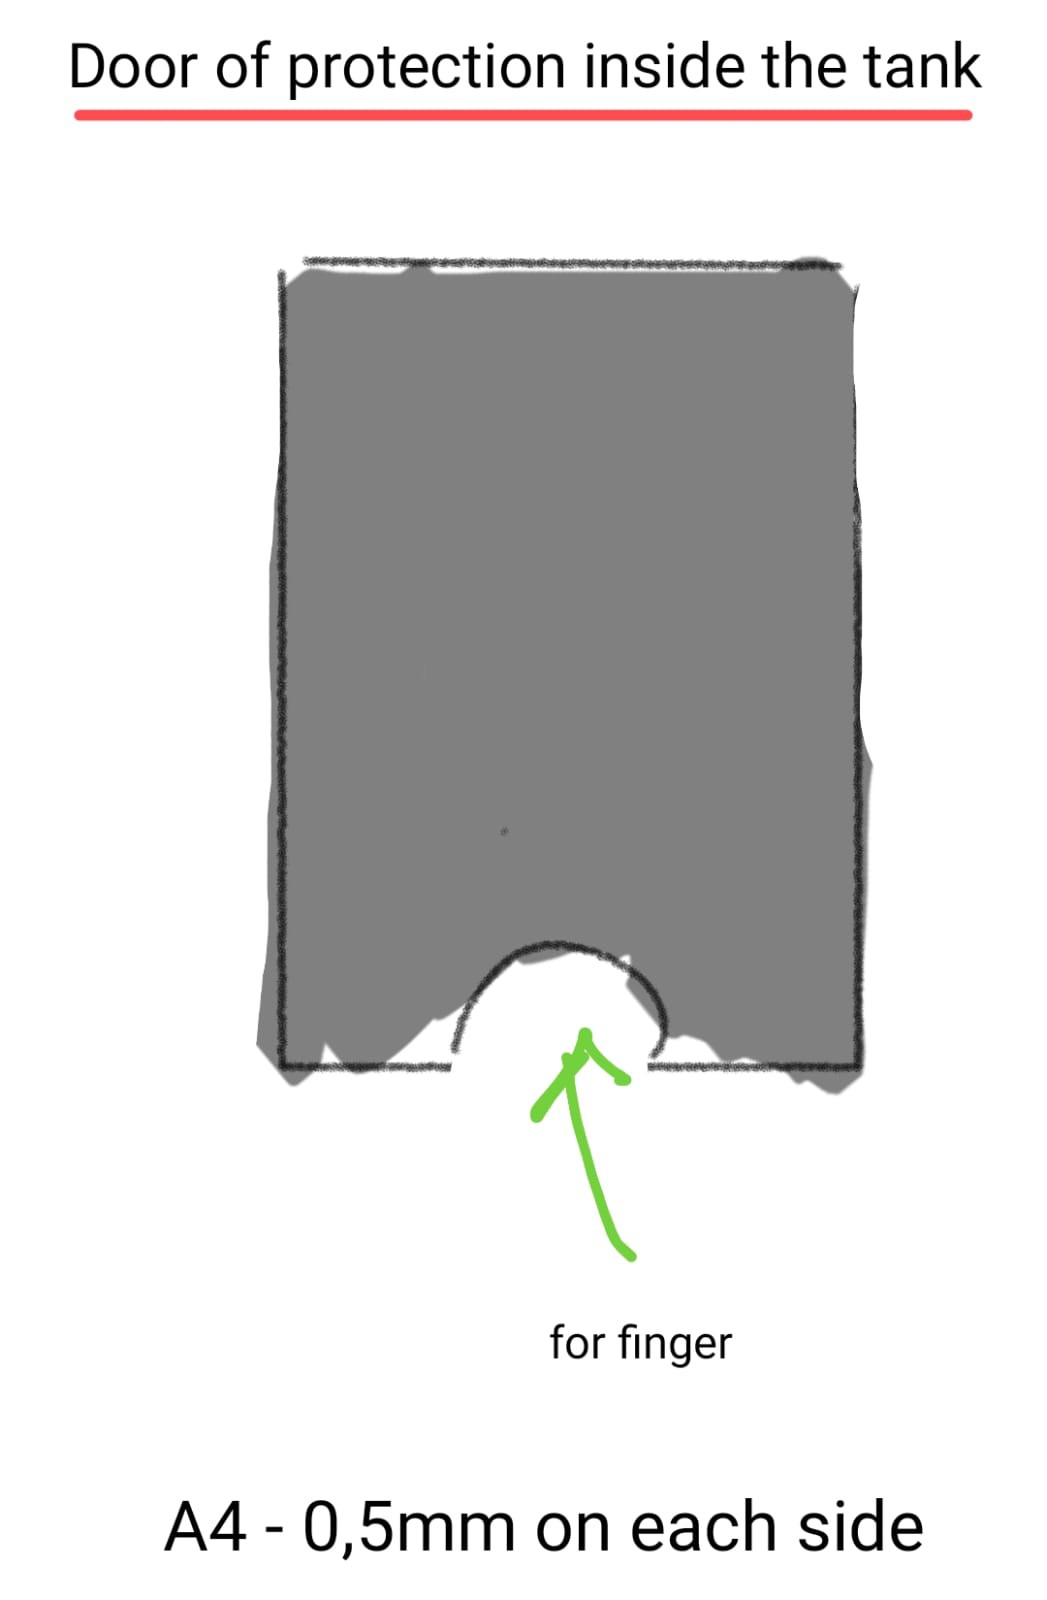
Also we used a protective plate to hide components in the Tank bottom:
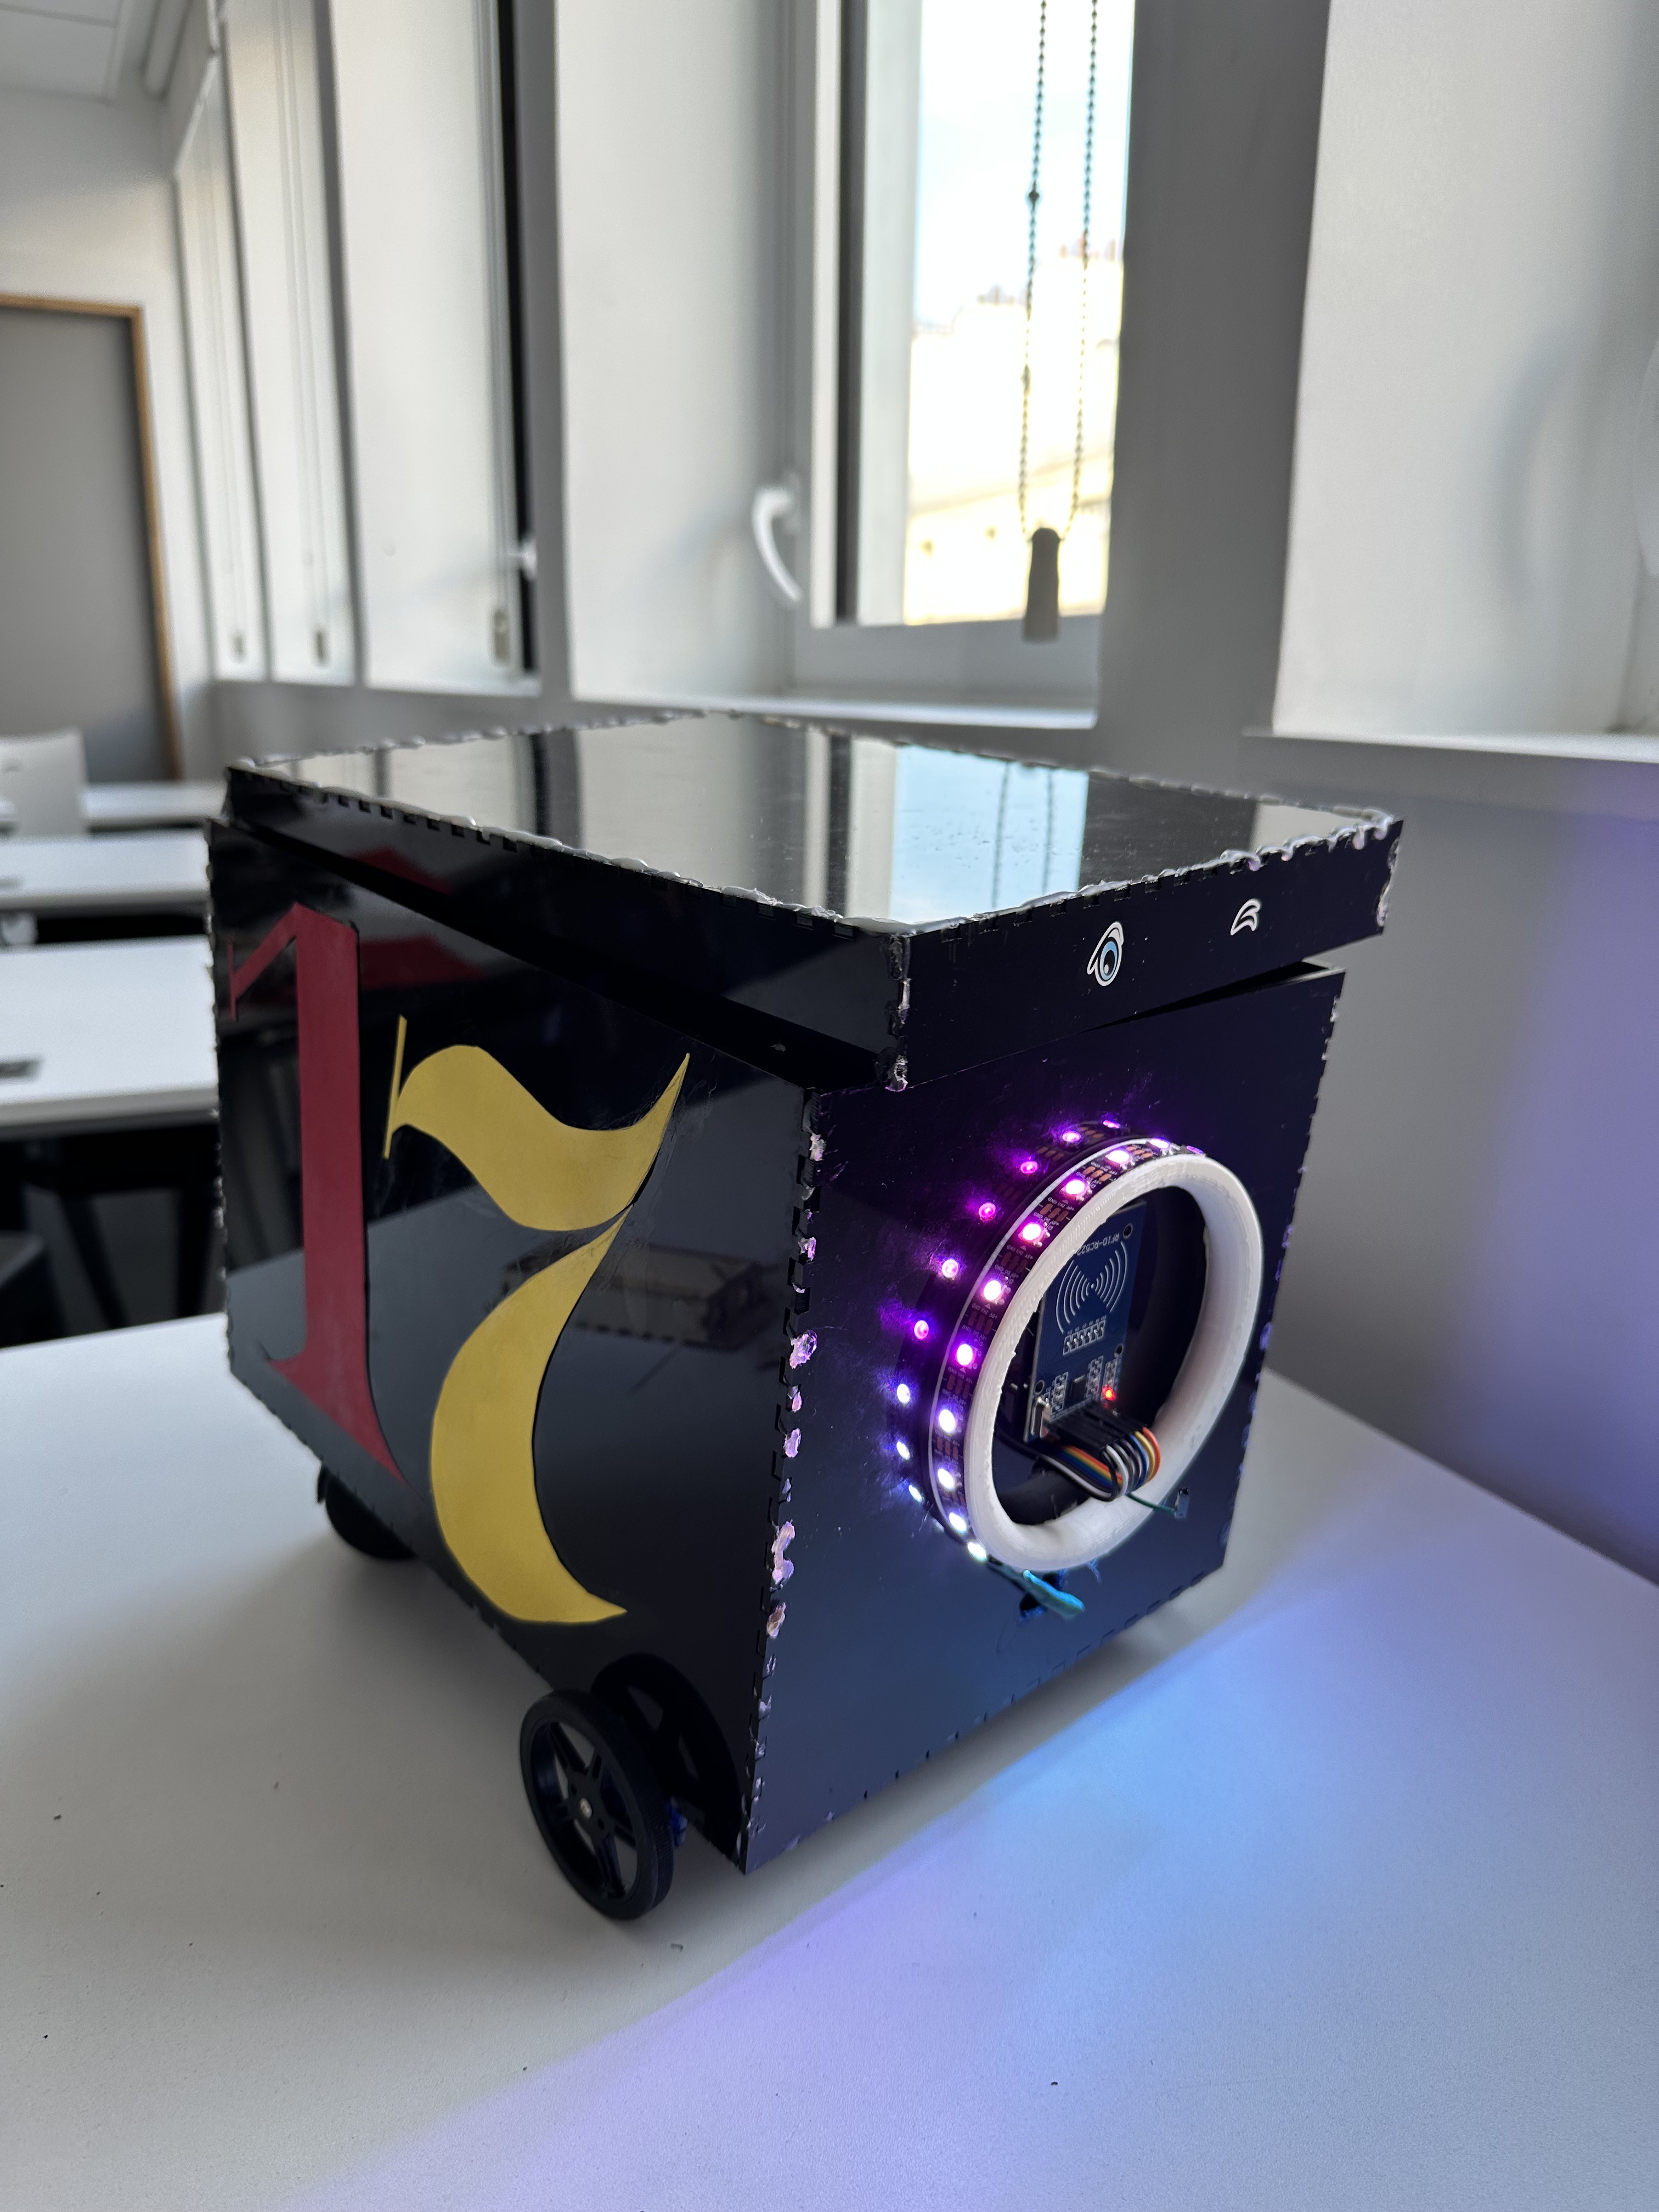
Here is the final picture of our Tank-you Robot :
And here is the link for a short video of our Tank you Robot :
https://drive.google.com/file/d/199k_ybcKYncK8jpxLJa_qbfg2KH6Bxok/view?usp=sharing
Code for the RFID card :
#include "SPI.h"
#include "MFRC522.h"
#include "Arduino.h"
#include "Servo.h"
// Numéros des PIN : RESET + SDAs
#define RST_PIN 9 // RES pin
#define SS_PIN 10 // SDA (SS) pin
// Led PINS
Servo servo1;
Servo servo2;
int count = 0;
// Liste des UIDs des Tags qui sont autorisés...


 amr.mostaafaa
 Mike Rigsby
At Create By Influence, our core values are the foundation of everything we do. Customer satisfaction is our top priority and we always strive to exceed the expectations of our clients https://createbyinfluence.com/