Close
0%
0%

Auto-Inflate (AI)

An "auto inflation" device specifically designed for inflation style sensory/anxiety vests.

Similar projects worth following
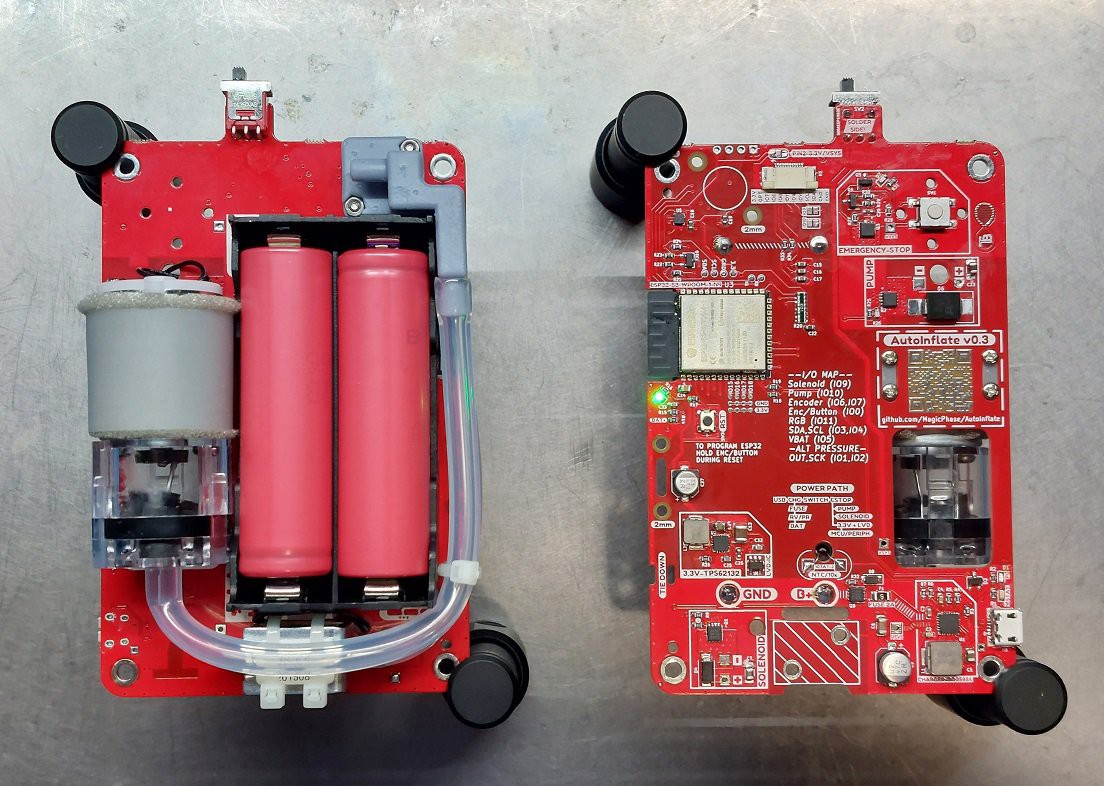
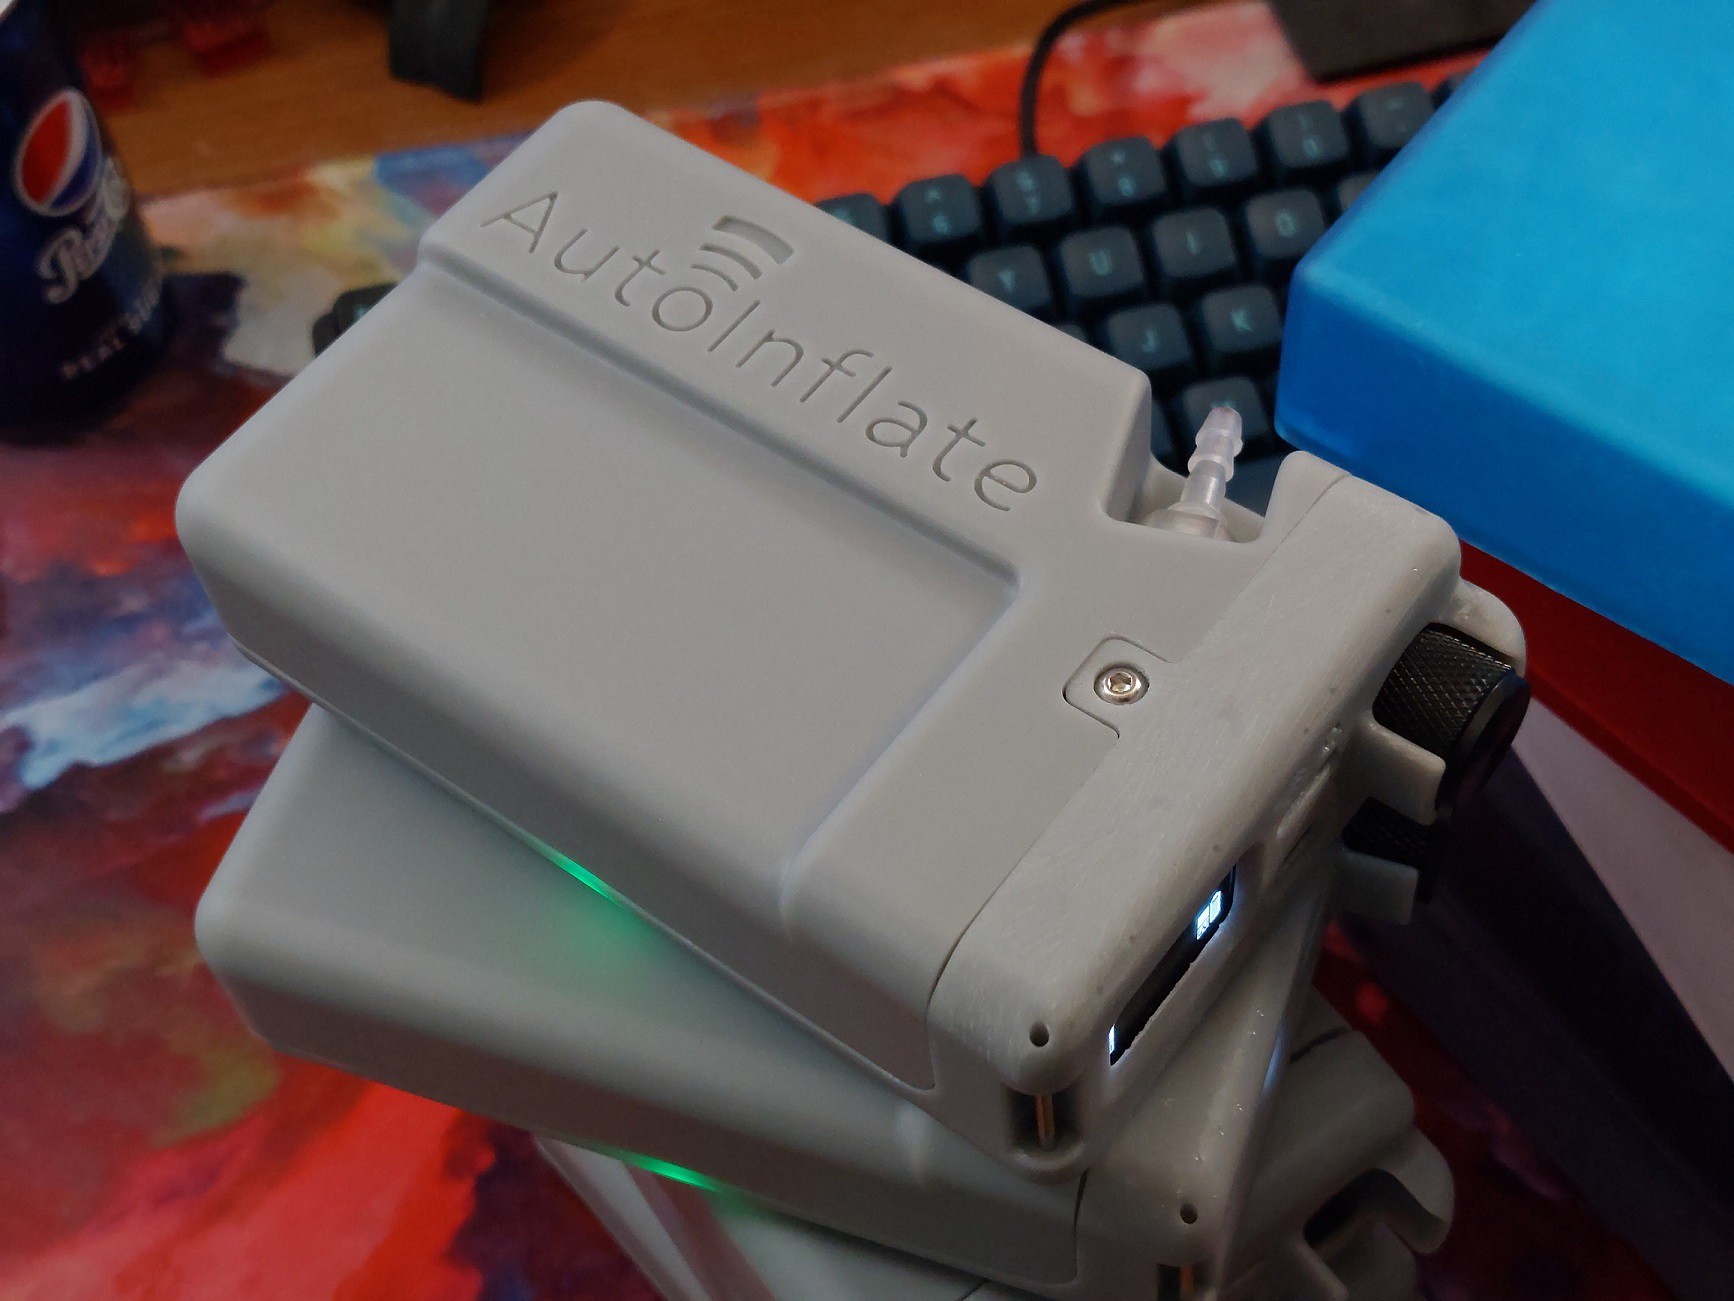
This device is designed for inflation-style sensory/anxiety vests such as The Squease Vest. This device can undoubtedly work with another version if any are available, however. The Auto-Inflate is meant to be worn on the individual and has a relatively small footprint allowing it to be concealed in a pouch or pocket. See the current design files on GitHub https://github.com/MagicPhase/AutoInflate

Update 11/28/23: It appears that Squease will be relaunching soon! This is good news for those unable to get a vest prior to the company shutting down operations earlier this year. Yay!


8-28-23

I'm happy to say that the hardware portion of the design is finished! I'm updating the GitHub slowly but all related files can now be found here --> AutoInflate-GitHub While I've included the Gerber, schematic, and 3D files, the GitHub will contain specific information so check it out!  

Slowly but surely, the software portion will get some attention. I'll be posting on GitHub. 😅
-----

Squease Company is closing!

I've recently learned that Squease Vest Company is closing. https://www.squeasewear.com/

This project is specifically designed to be used with inflation style sensory vests. To my knowledge, Squease was the largest producer of these vests and their closing definitely limits the availability for those interested since new vests won't be available. That being said, unless something else happens, I'm still fully motivated in completing this project as the polished version of my original auto inflation device. Stay tuned to the project log for details!

-----

7-21-23 

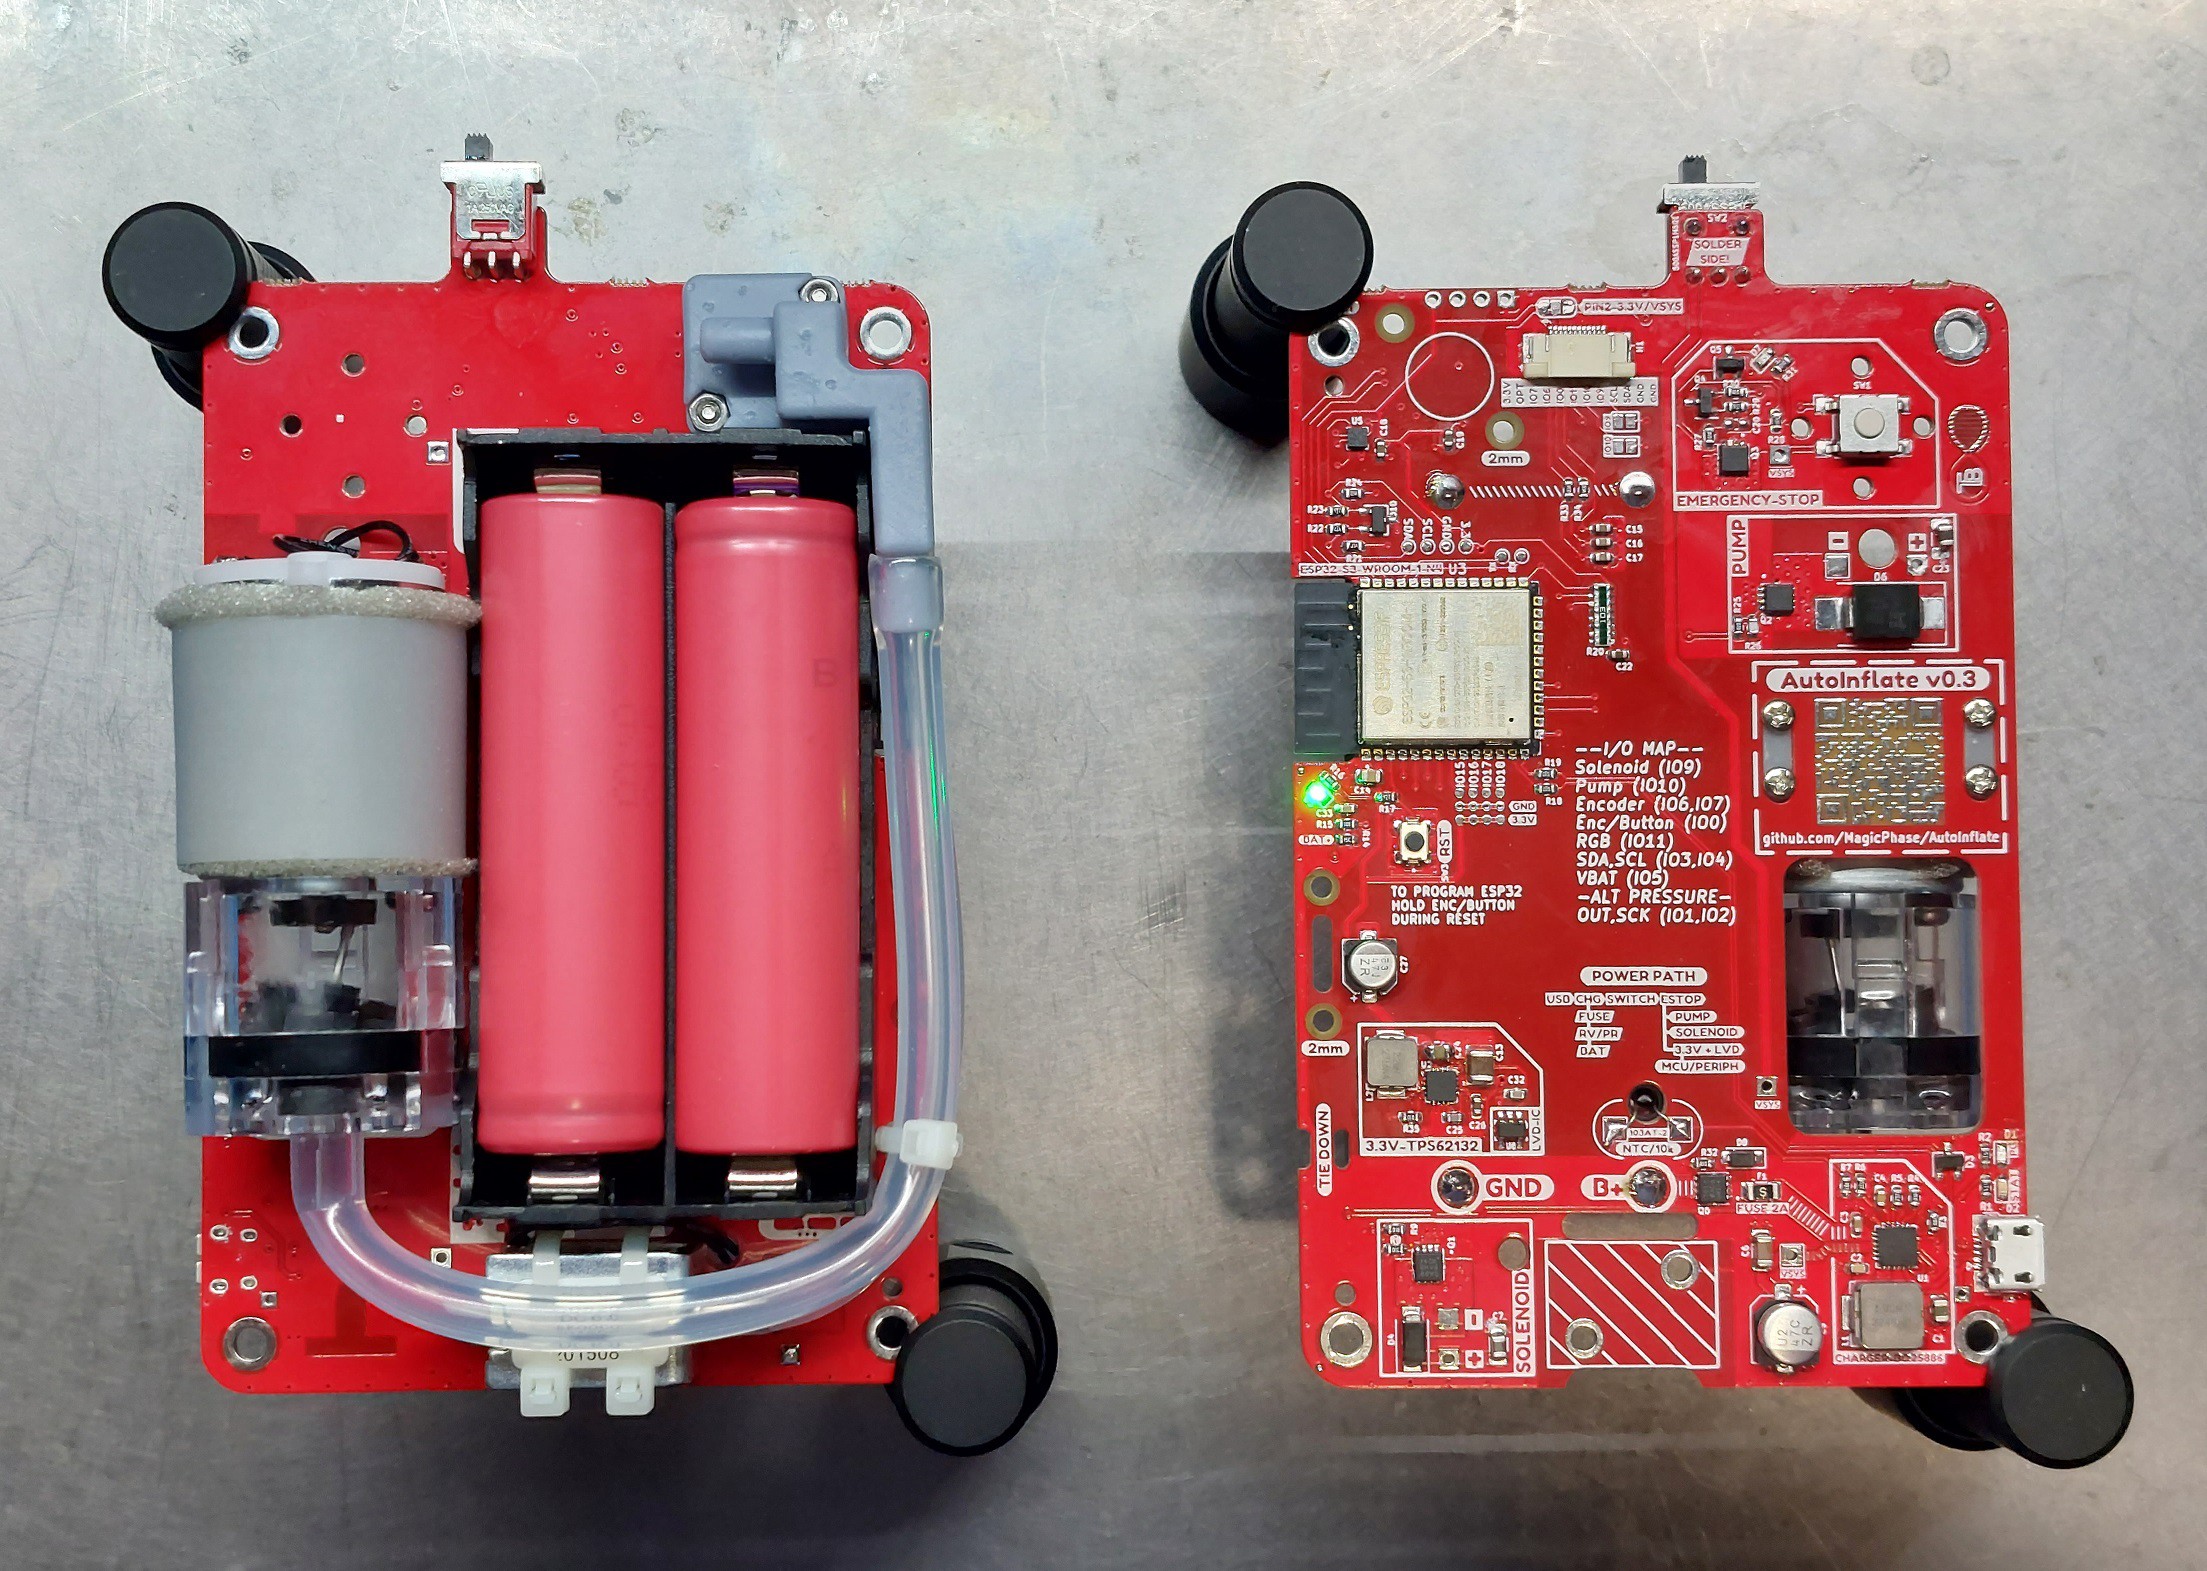
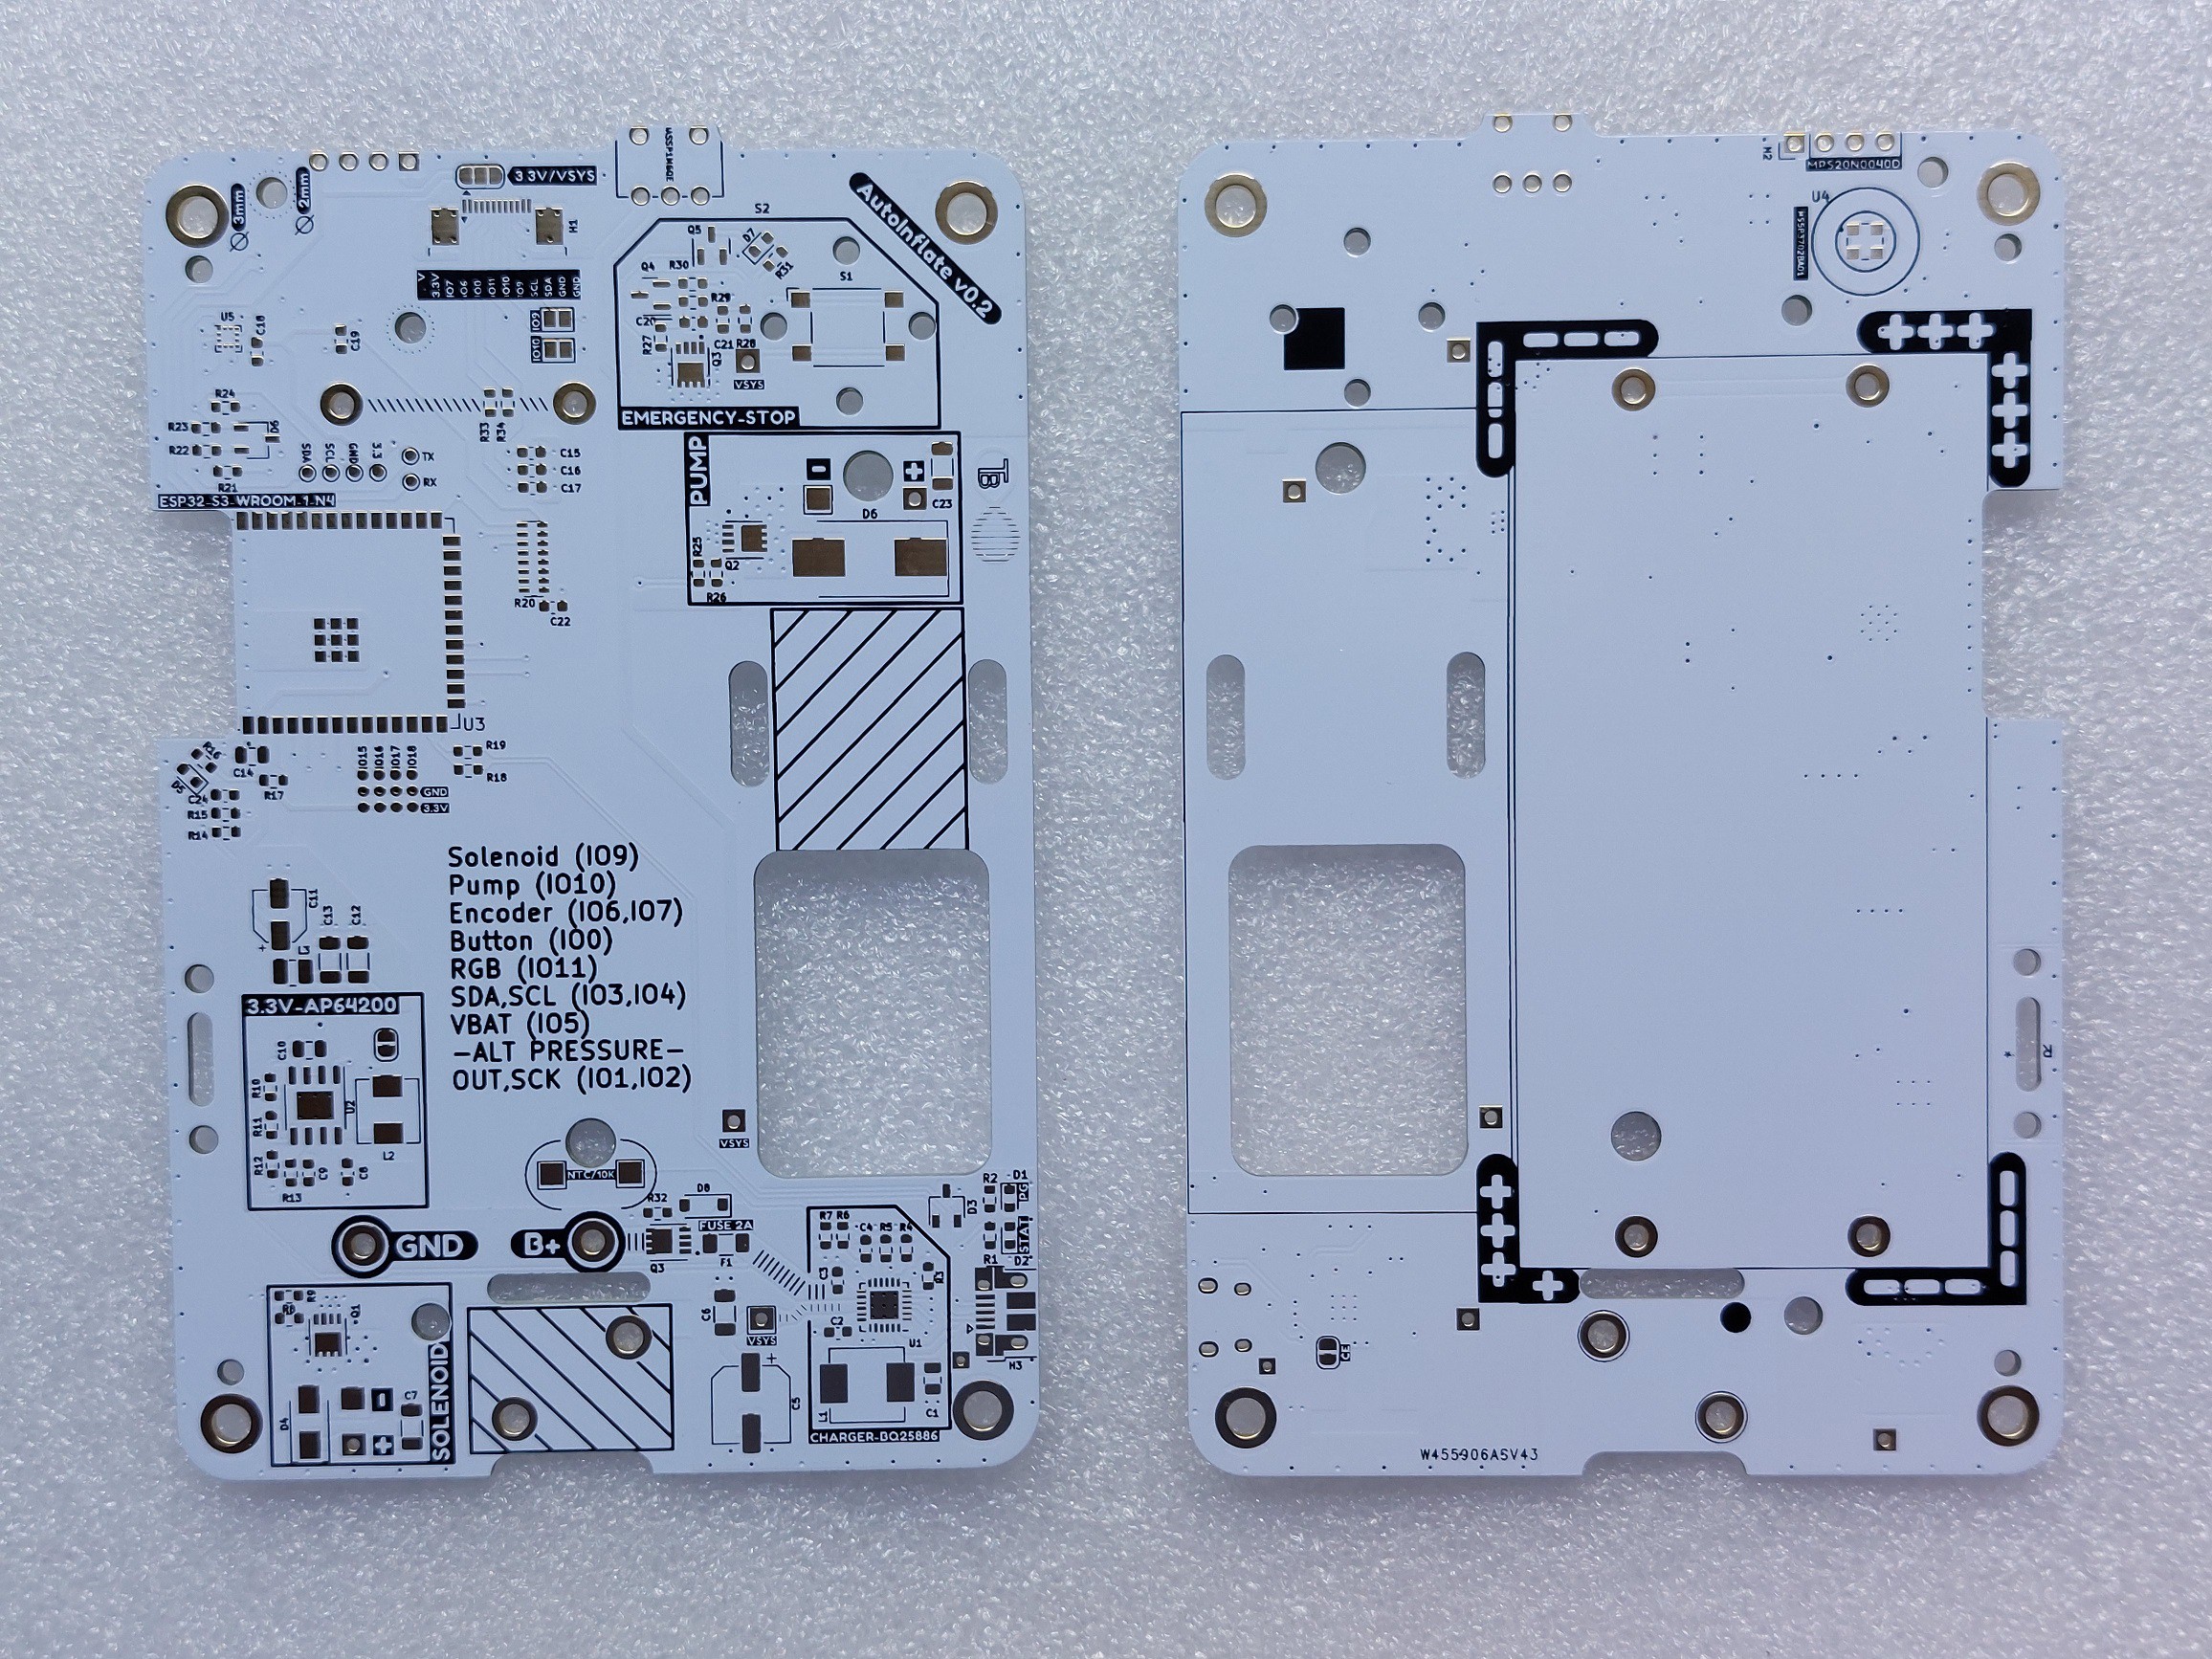
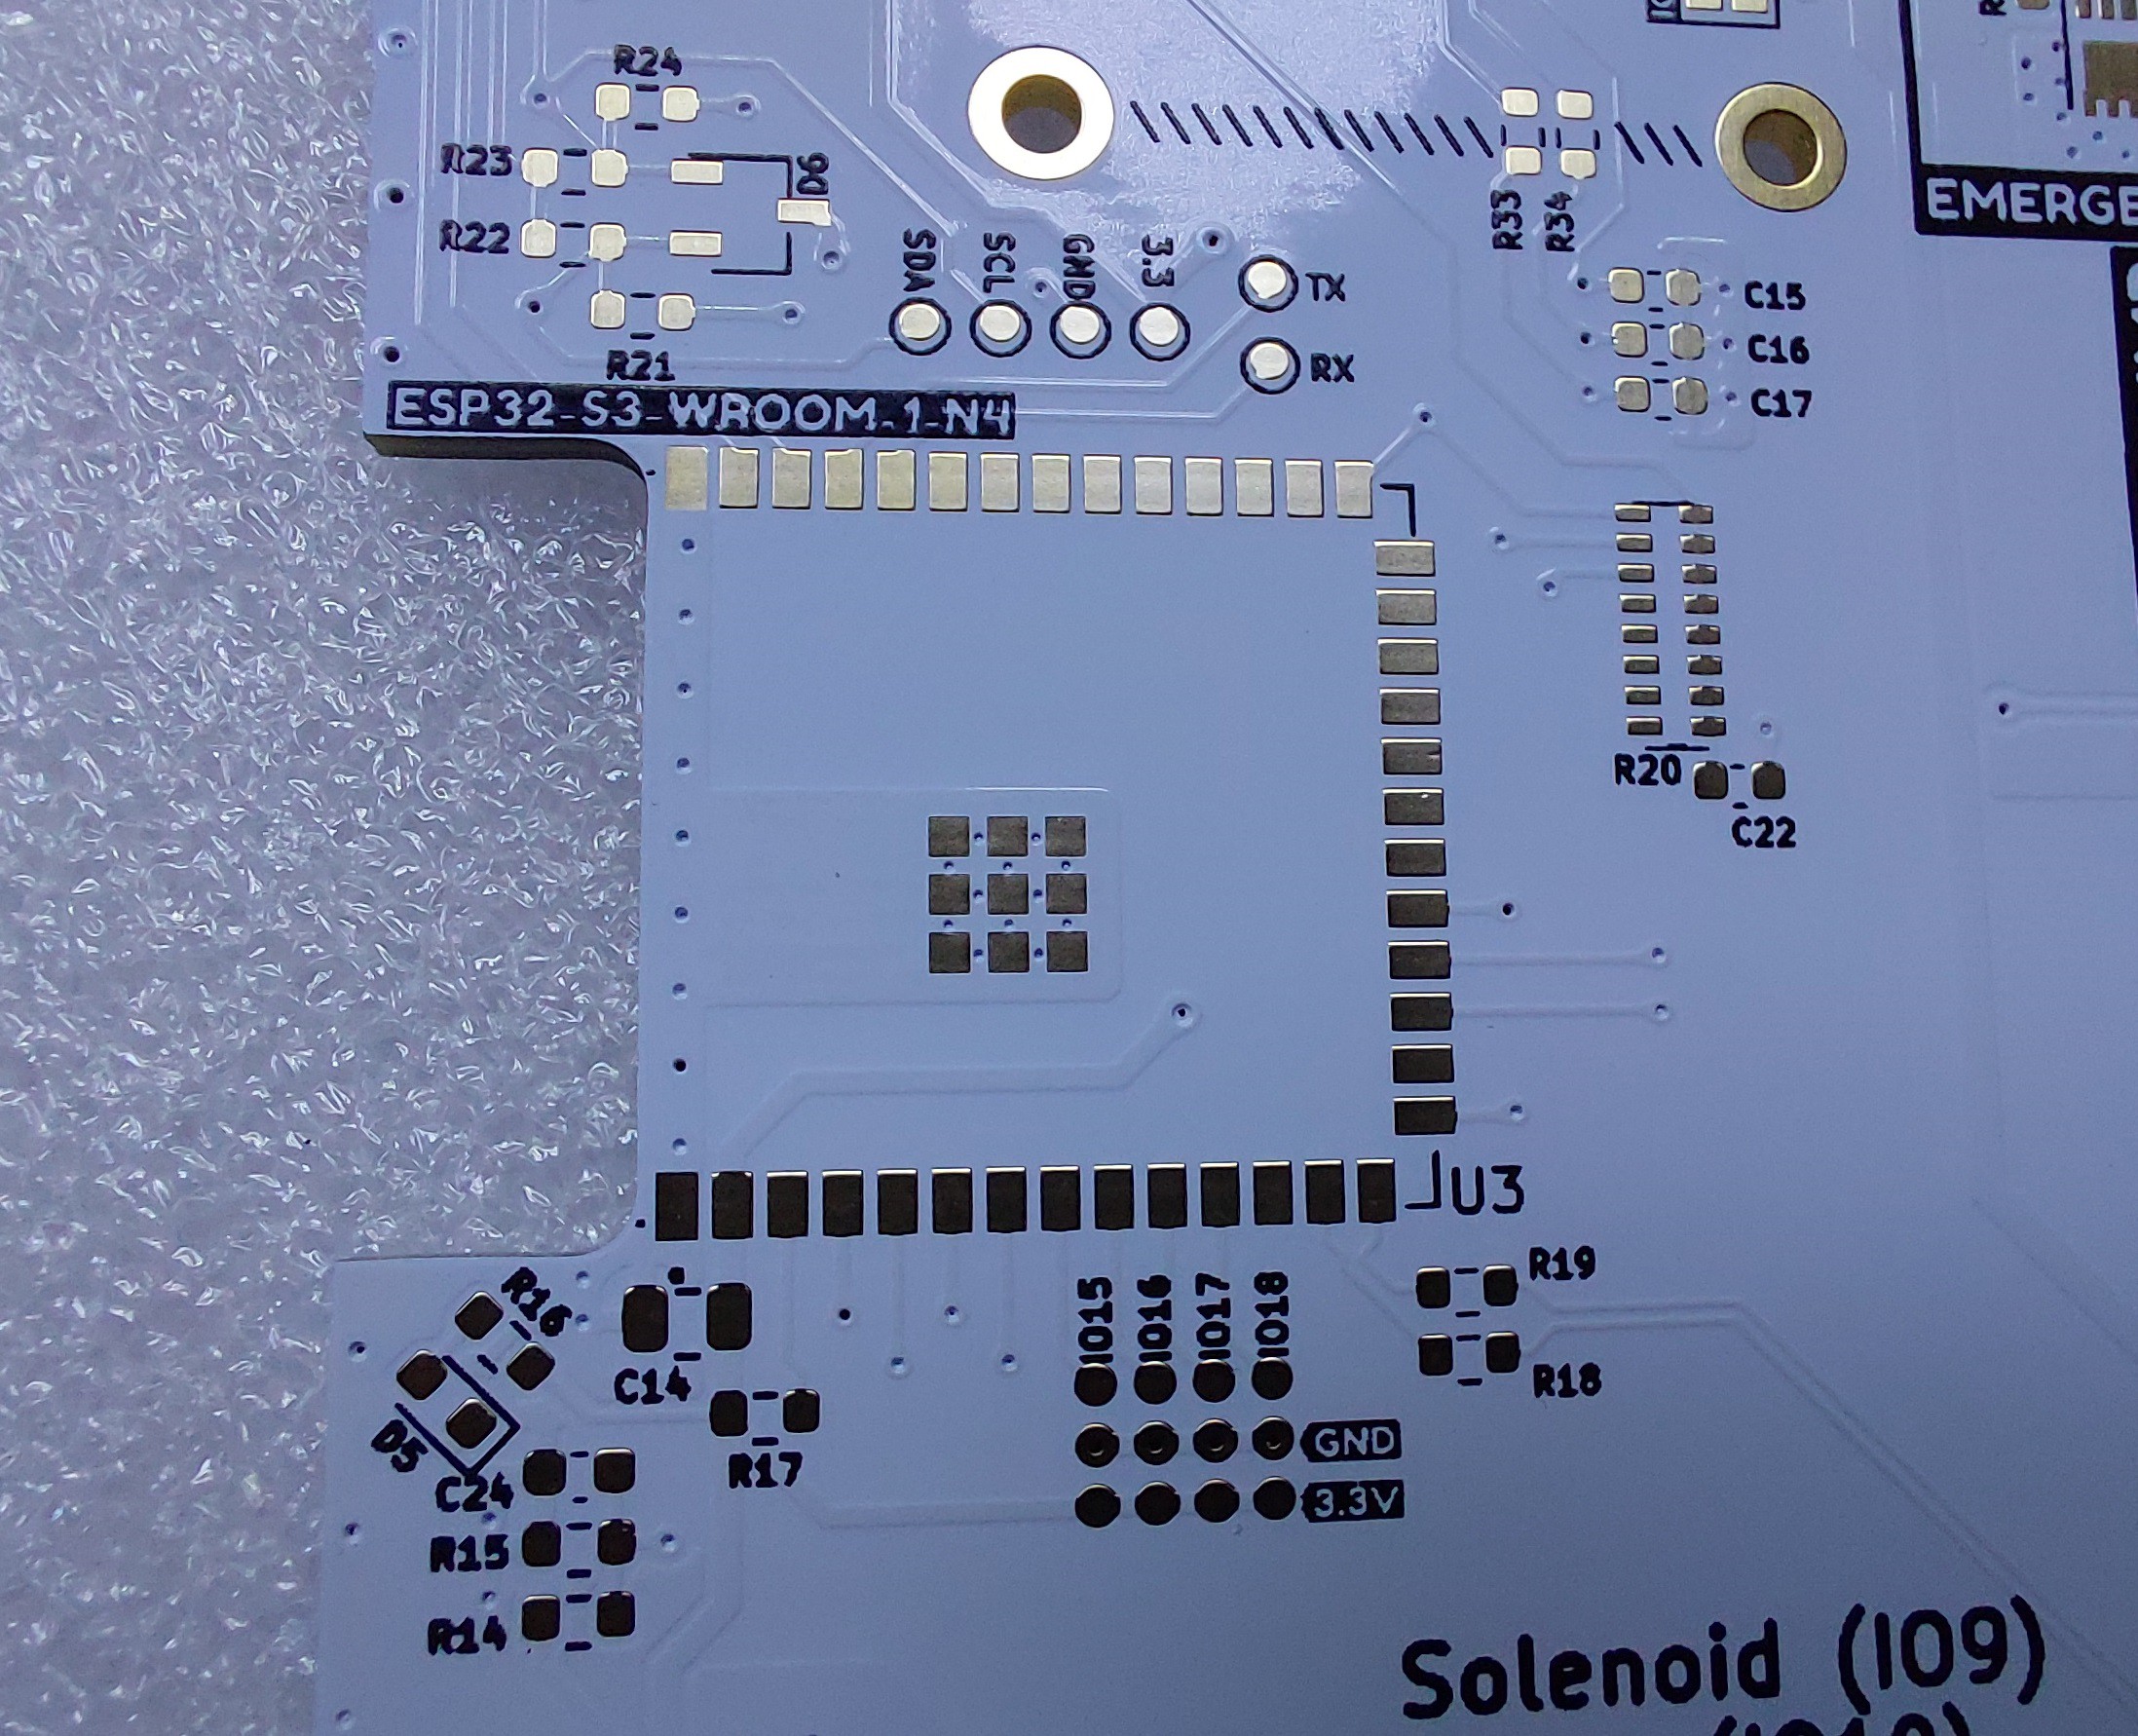
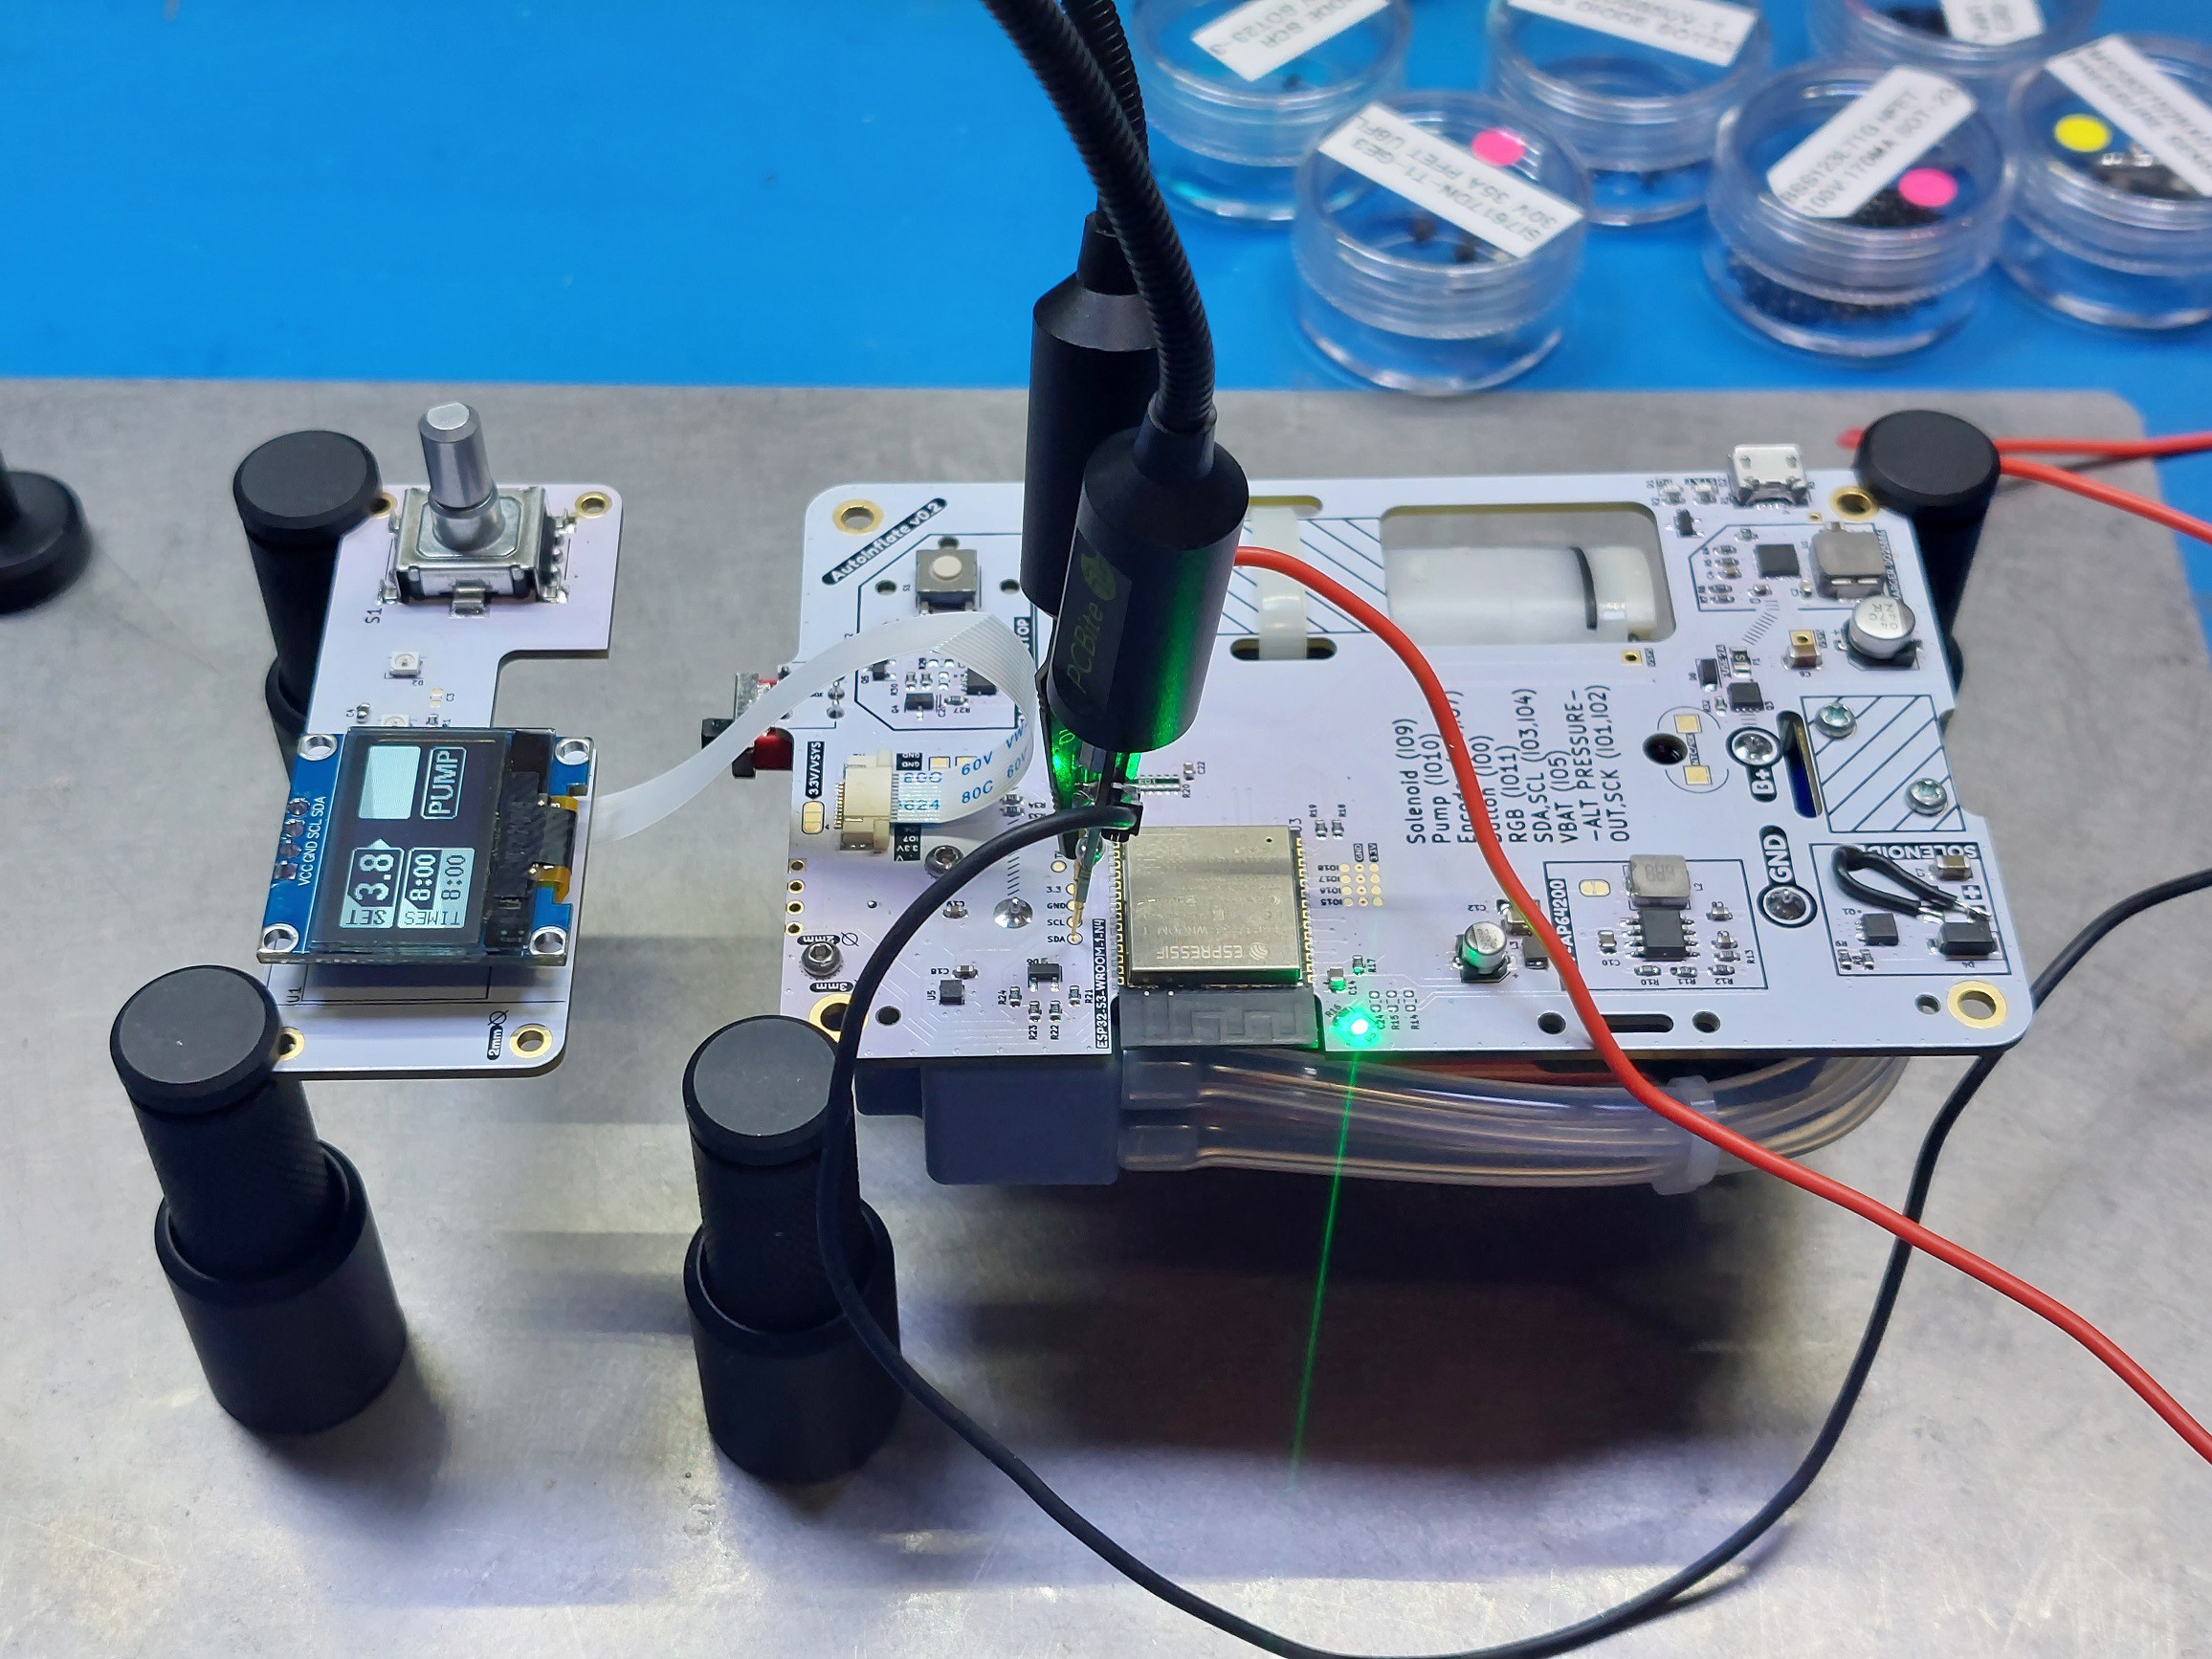
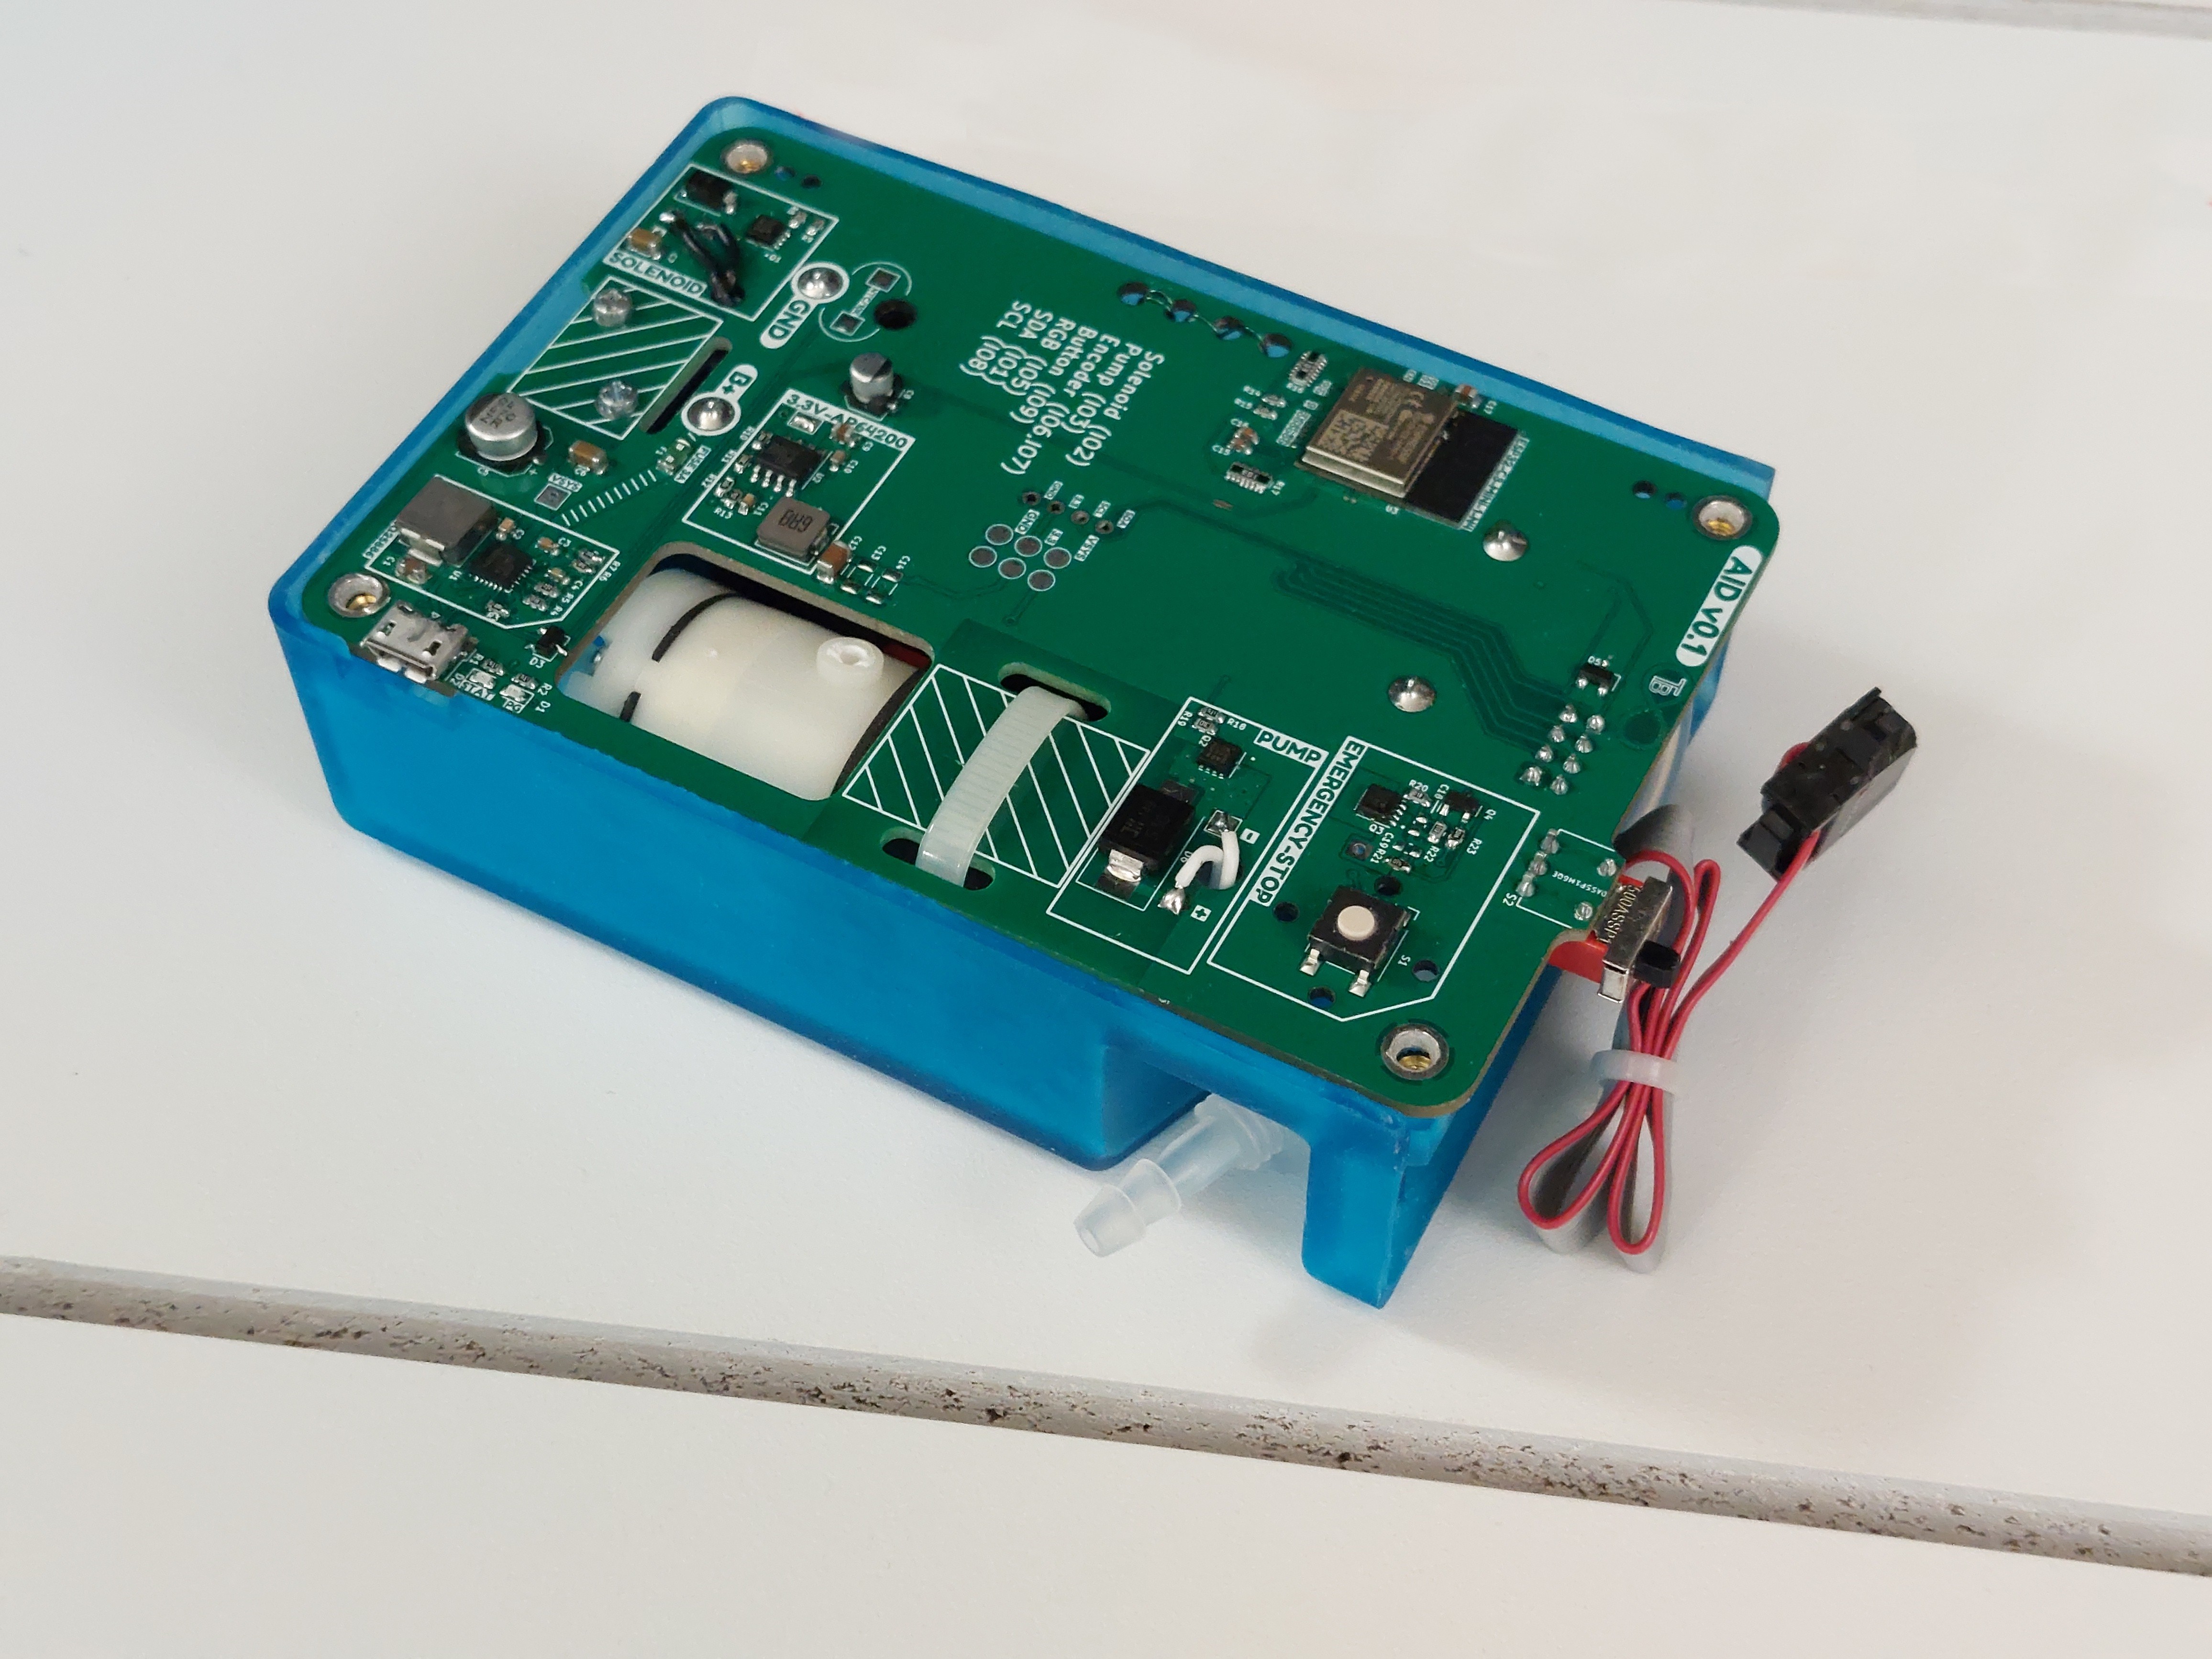
The next version of the PCB has been assembled and things are looking good. These boards were sponsored in fact by PCBWAY and I'm very pleased with their gracious gift to further our endeavors. I've included some photos of these beautiful white and gold PCBs so check out the project log below!
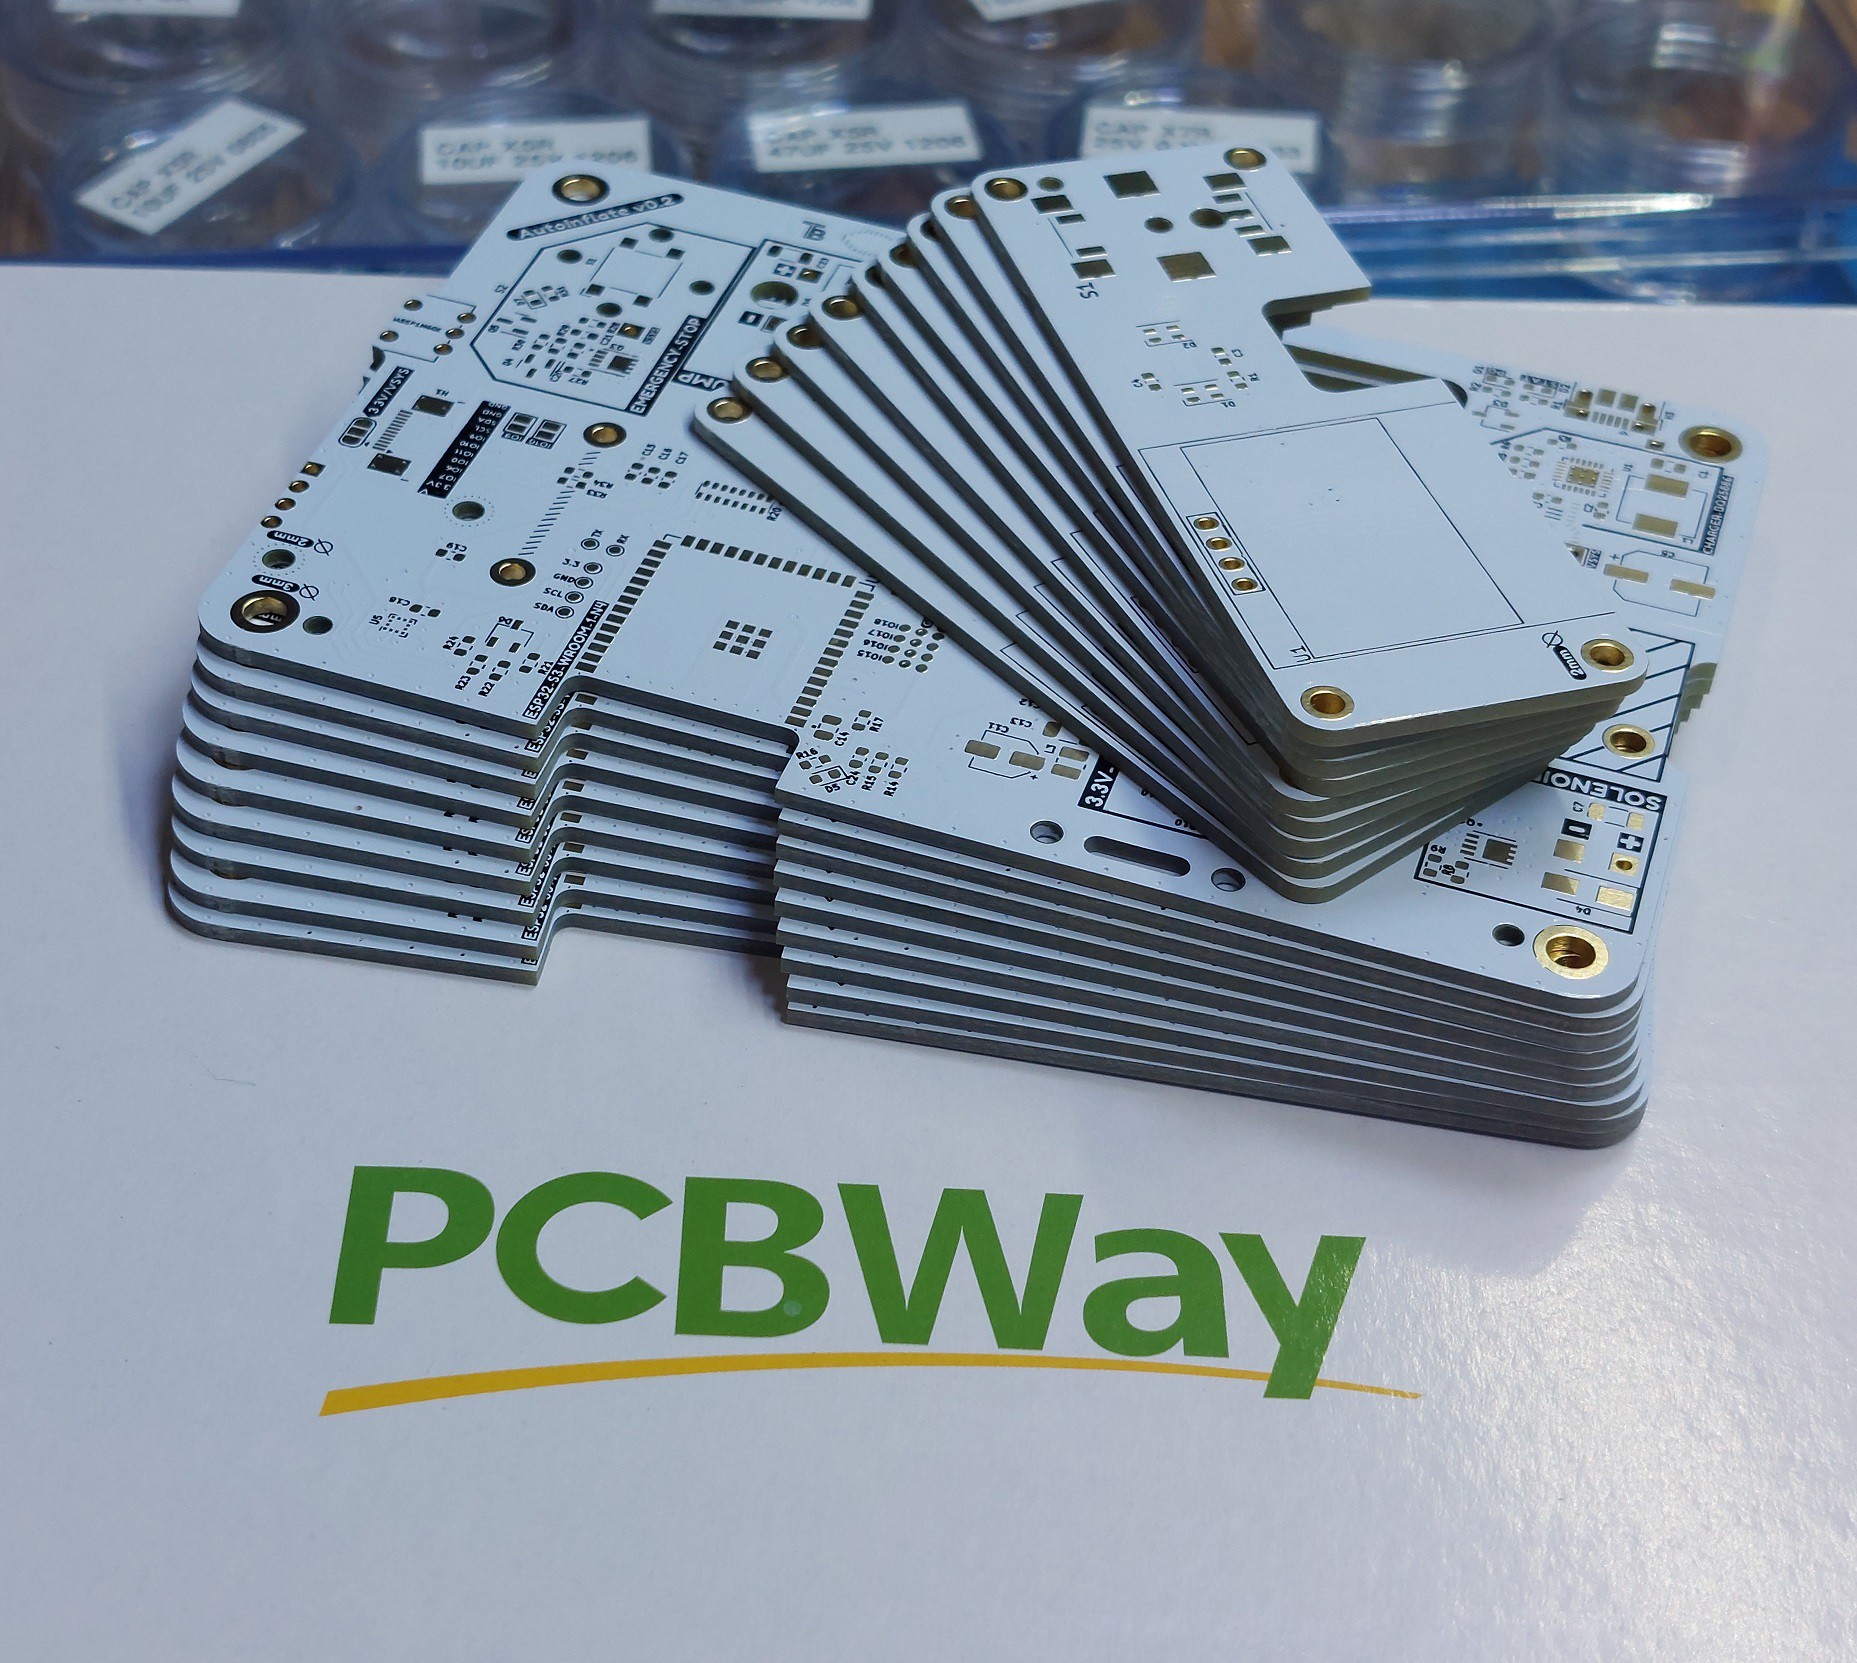
Some design considerations have changed to potentially make things more streamline and cost effective. Specifically the decision to remove the option for pre-built developer boards. One issue with having the built-in battery charger and power supply is dealing with these dev boards' included power supplies. Mainly the requirement to separate these power supplies as to not conflict with the included 3.3V and battery charger circuit. Also to reduce the number of USB ports as to not have one dedicated to charging while the other is for programing as most of the dev boards have no option to reroute the USB data lines. Instead I've decided to simply include a very powerful ESP32-S3 chip. This ESP32 chip will be more than powerful enough for the internal operations as well as the potential further integration with a possible external sensor package. This option is contingent on many external factors, but the initial operation goals will be satisficed by this single MCU.

-----

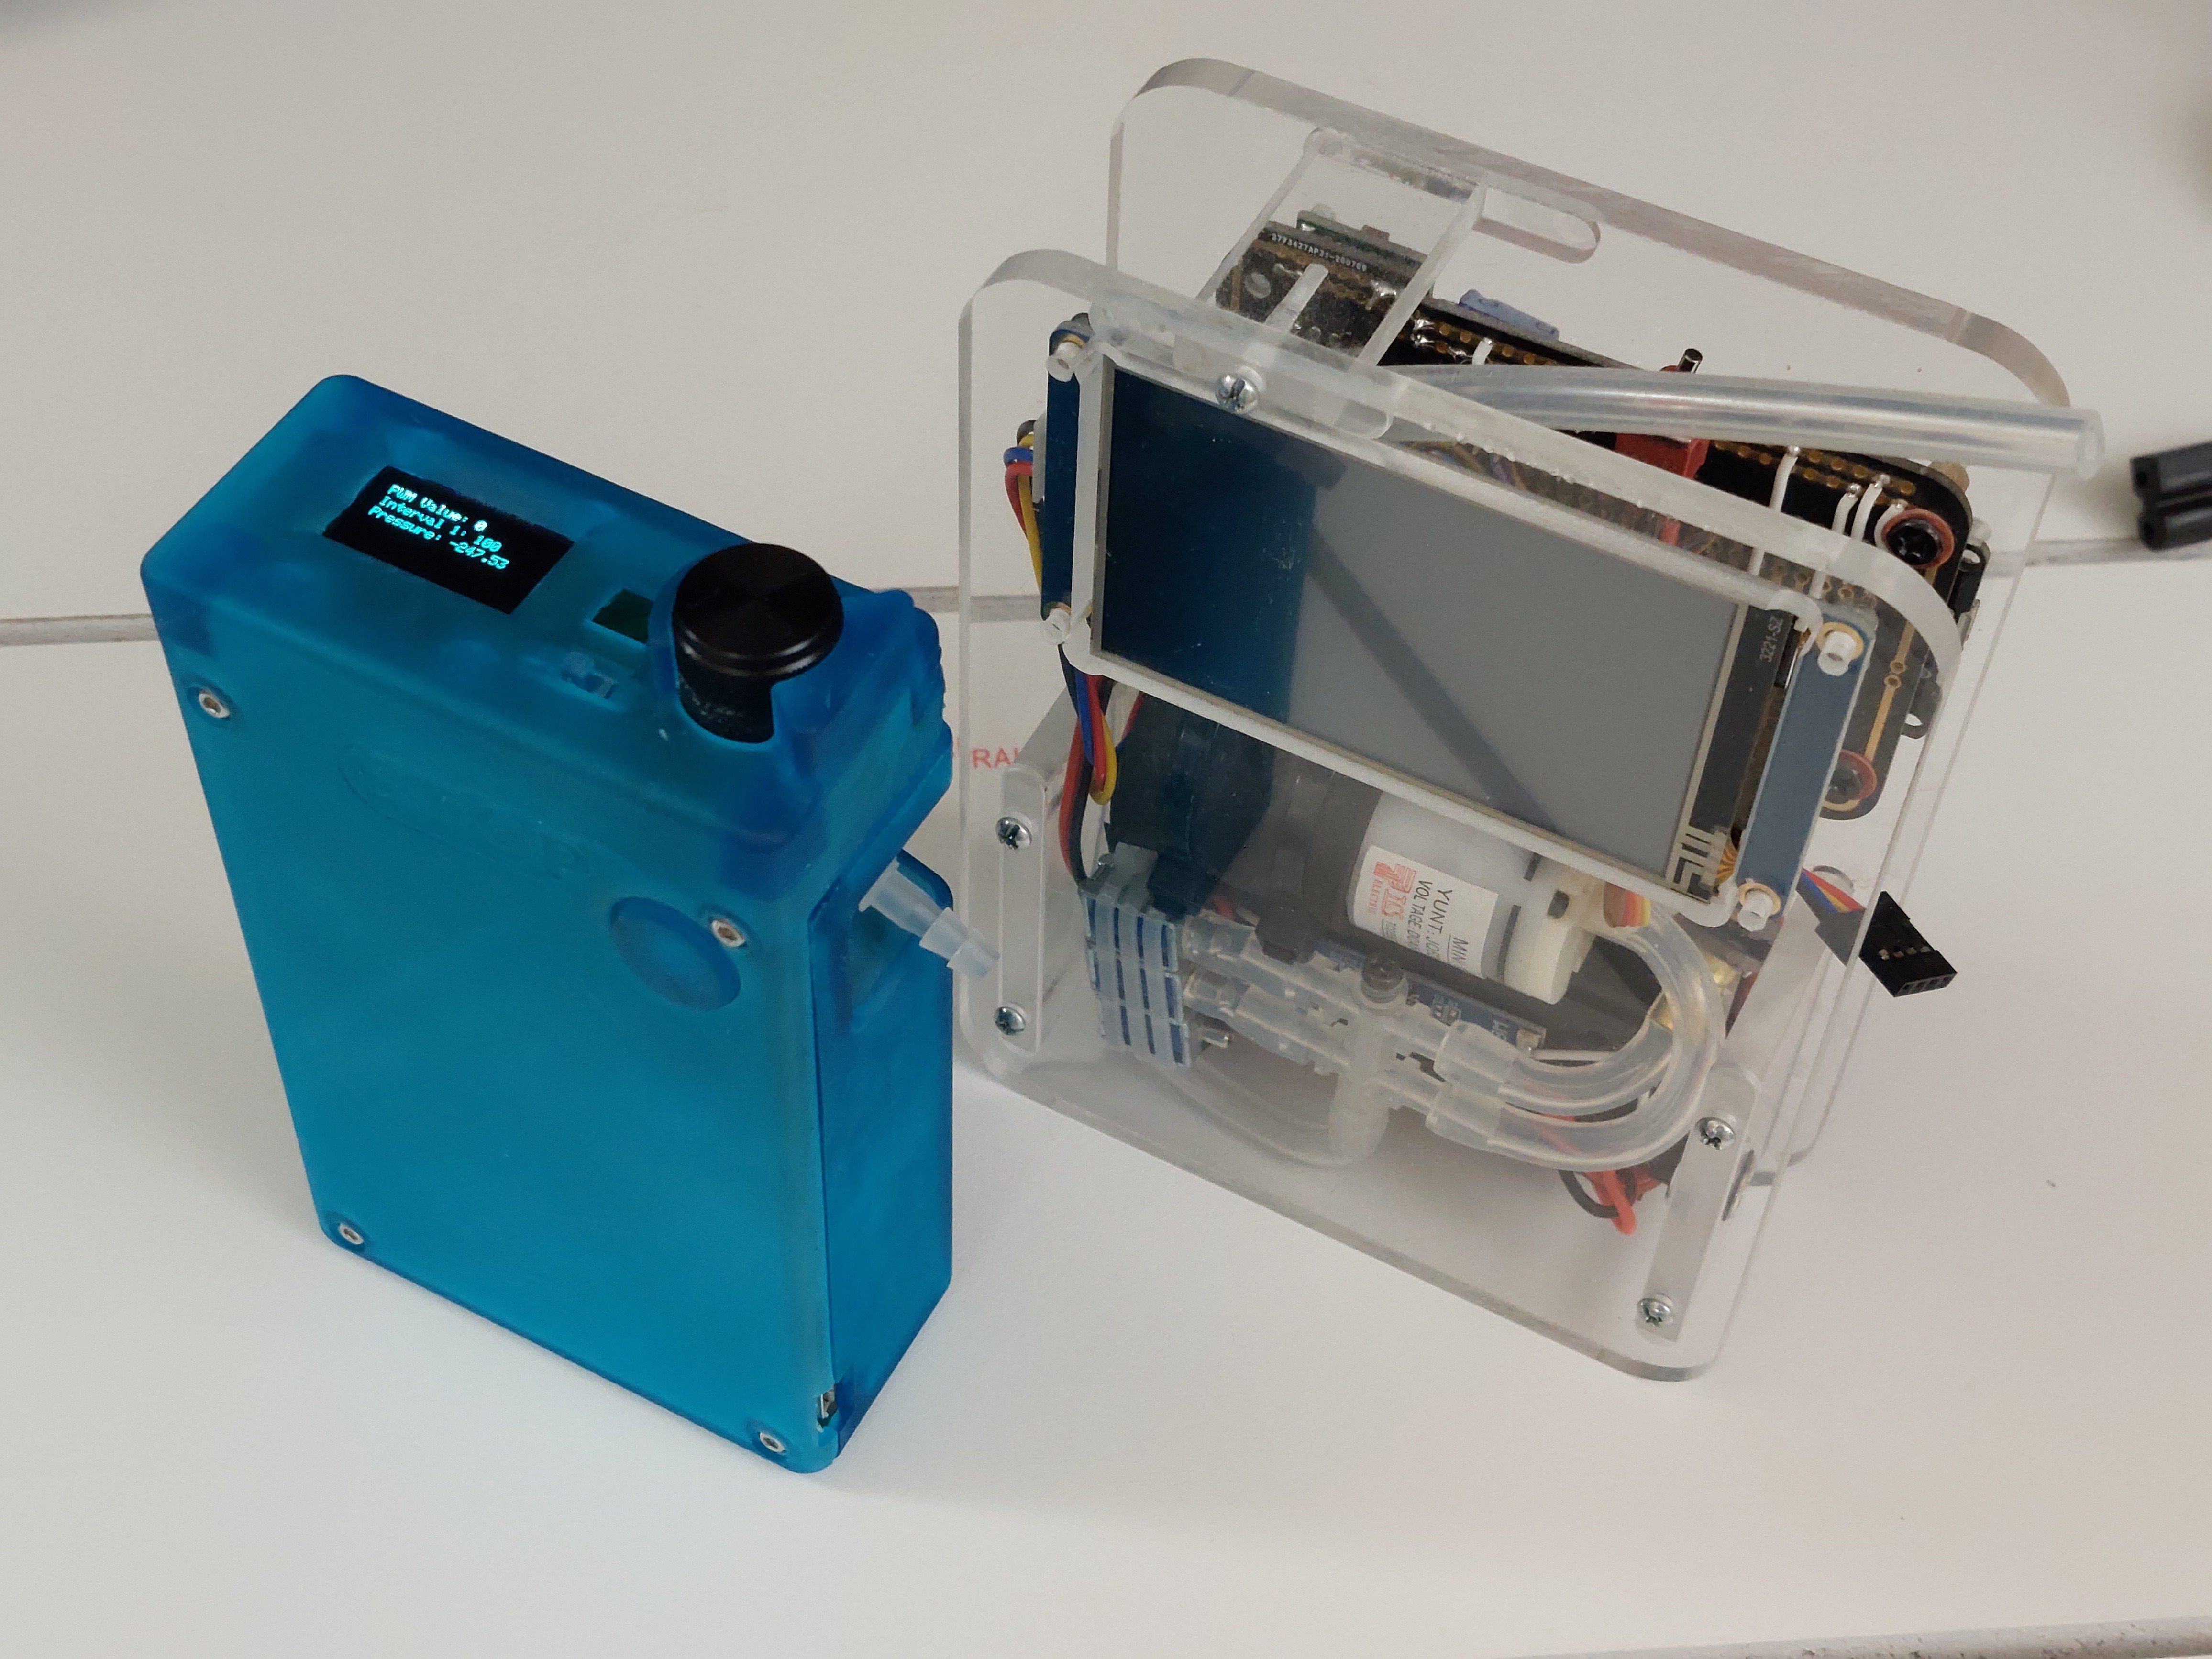
This is meant to be a refined version of a previous project the "Automatic Timed Inflation Device" that was never finallized. https://hackaday.io/project/176935-automatic-timed-inflation-device I was contacted by tahunus for a possible collaboration. His interest in the old project prototype has led to the creation of a multi use platform with the overall functionality being to inflate a sensory vest. How this device is activated and controlled will be an iterative process but should include all functionality of the previous project. This collaboration is ongoing and will leverage this platform. Regardless, once the hardware and software for the basic functionality is finalized, all project files will be made open source for others to use including possible variations of the PCB for different use cases.

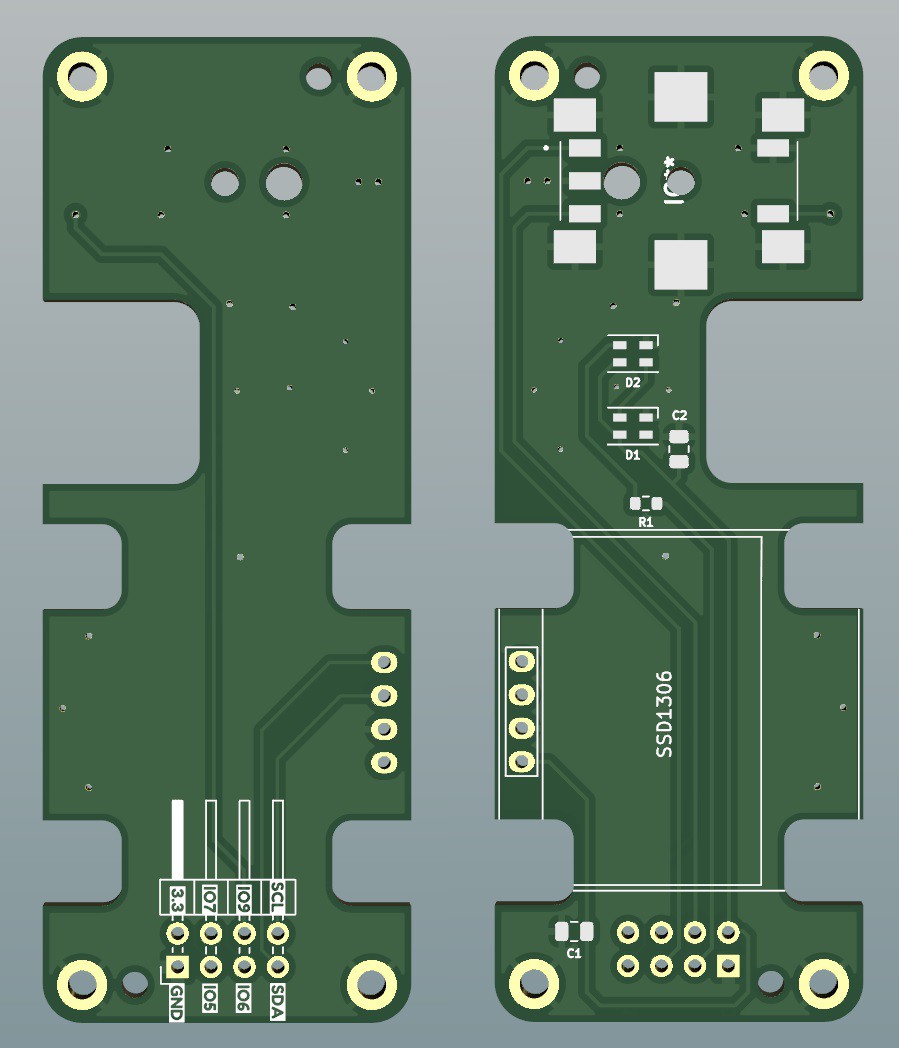
While this version will eliminate the touchscreen UI in favor of a simpler OLED plus encoder interface, all functionality will be implemented such as timed inflation and deflation cycling that is monitored with an onboard pressure sensor. One important difference will be the potential for a "haptic" interface and feedback system. This will allow activation with simple taps to activate an inflation cycle. The Auto-Inflate will have wireless control via Bluetooth or WIFI bringing the potential for enhanced usability with disabled children or adults that use inflatable garments. One key addition is an emergency shutoff button...

Read more »
AutoInflate_V0.3_BOM.html.zip

x-zip-compressed - 334.93 kB - 08/28/2023 at 13:02

Download

BOTTOM.stl

Standard Tesselated Geometry - 13.28 MB - 08/28/2023 at 13:01

Download

Air Manifold V0.5.stl

Standard Tesselated Geometry - 9.17 MB - 08/28/2023 at 13:00

Download

TOP.stl

Standard Tesselated Geometry - 10.27 MB - 08/28/2023 at 13:00

Download

Air Manifold V0.2.stl

Standard Tesselated Geometry - 10.61 MB - 08/28/2023 at 13:00

Download

View all 19 files

  • Hardware Design is finished! Files available!

    Tevian08/28/2023 at 12:55 0 comments

    I'm pleased to say the hardware part is done! It's taken a fair amount of my free time, but I'm happy this part is done. It's possibly over-engineered and I'll take all criticism for that. 😅 My resin printing adventure has been somewhat costly, but I've gained valuable skills. I feel very confident that the parts I designed are adequate for the design. I've recommended some specific types of resin springing for the various parts on GitHub

  • Next PCB version. (PCBWAY)

    Tevian07/21/2023 at 12:25 0 comments

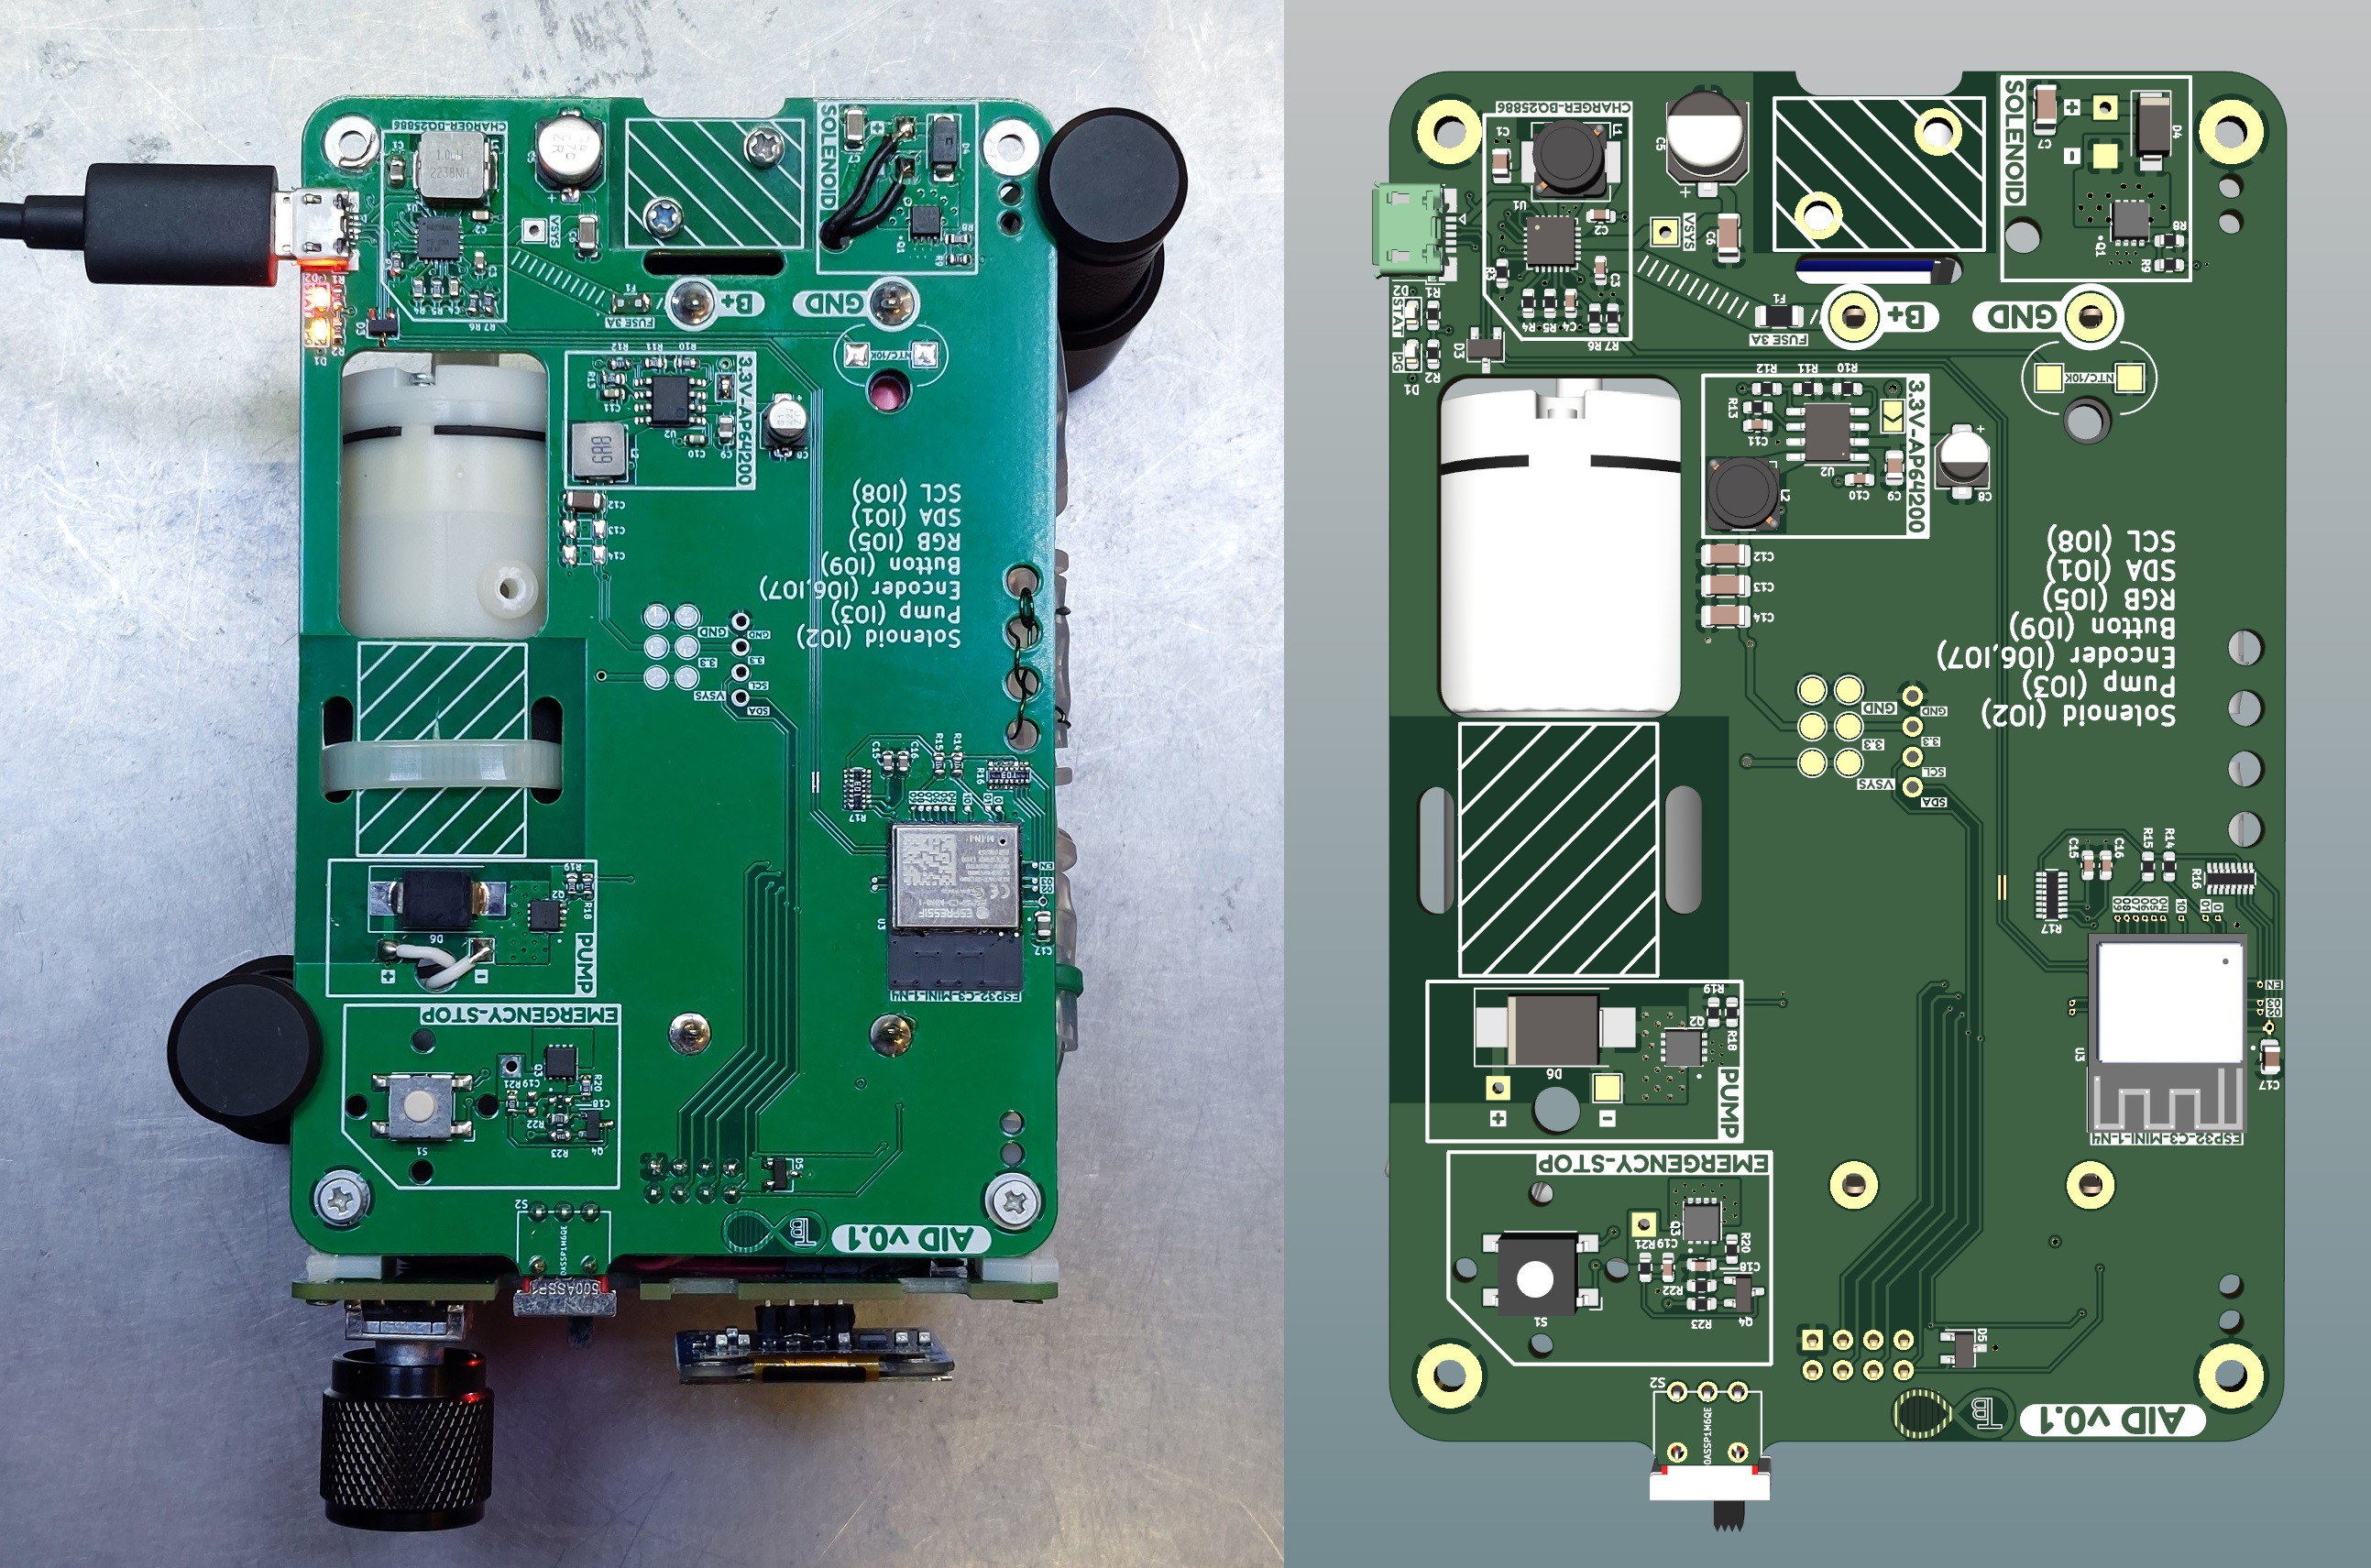
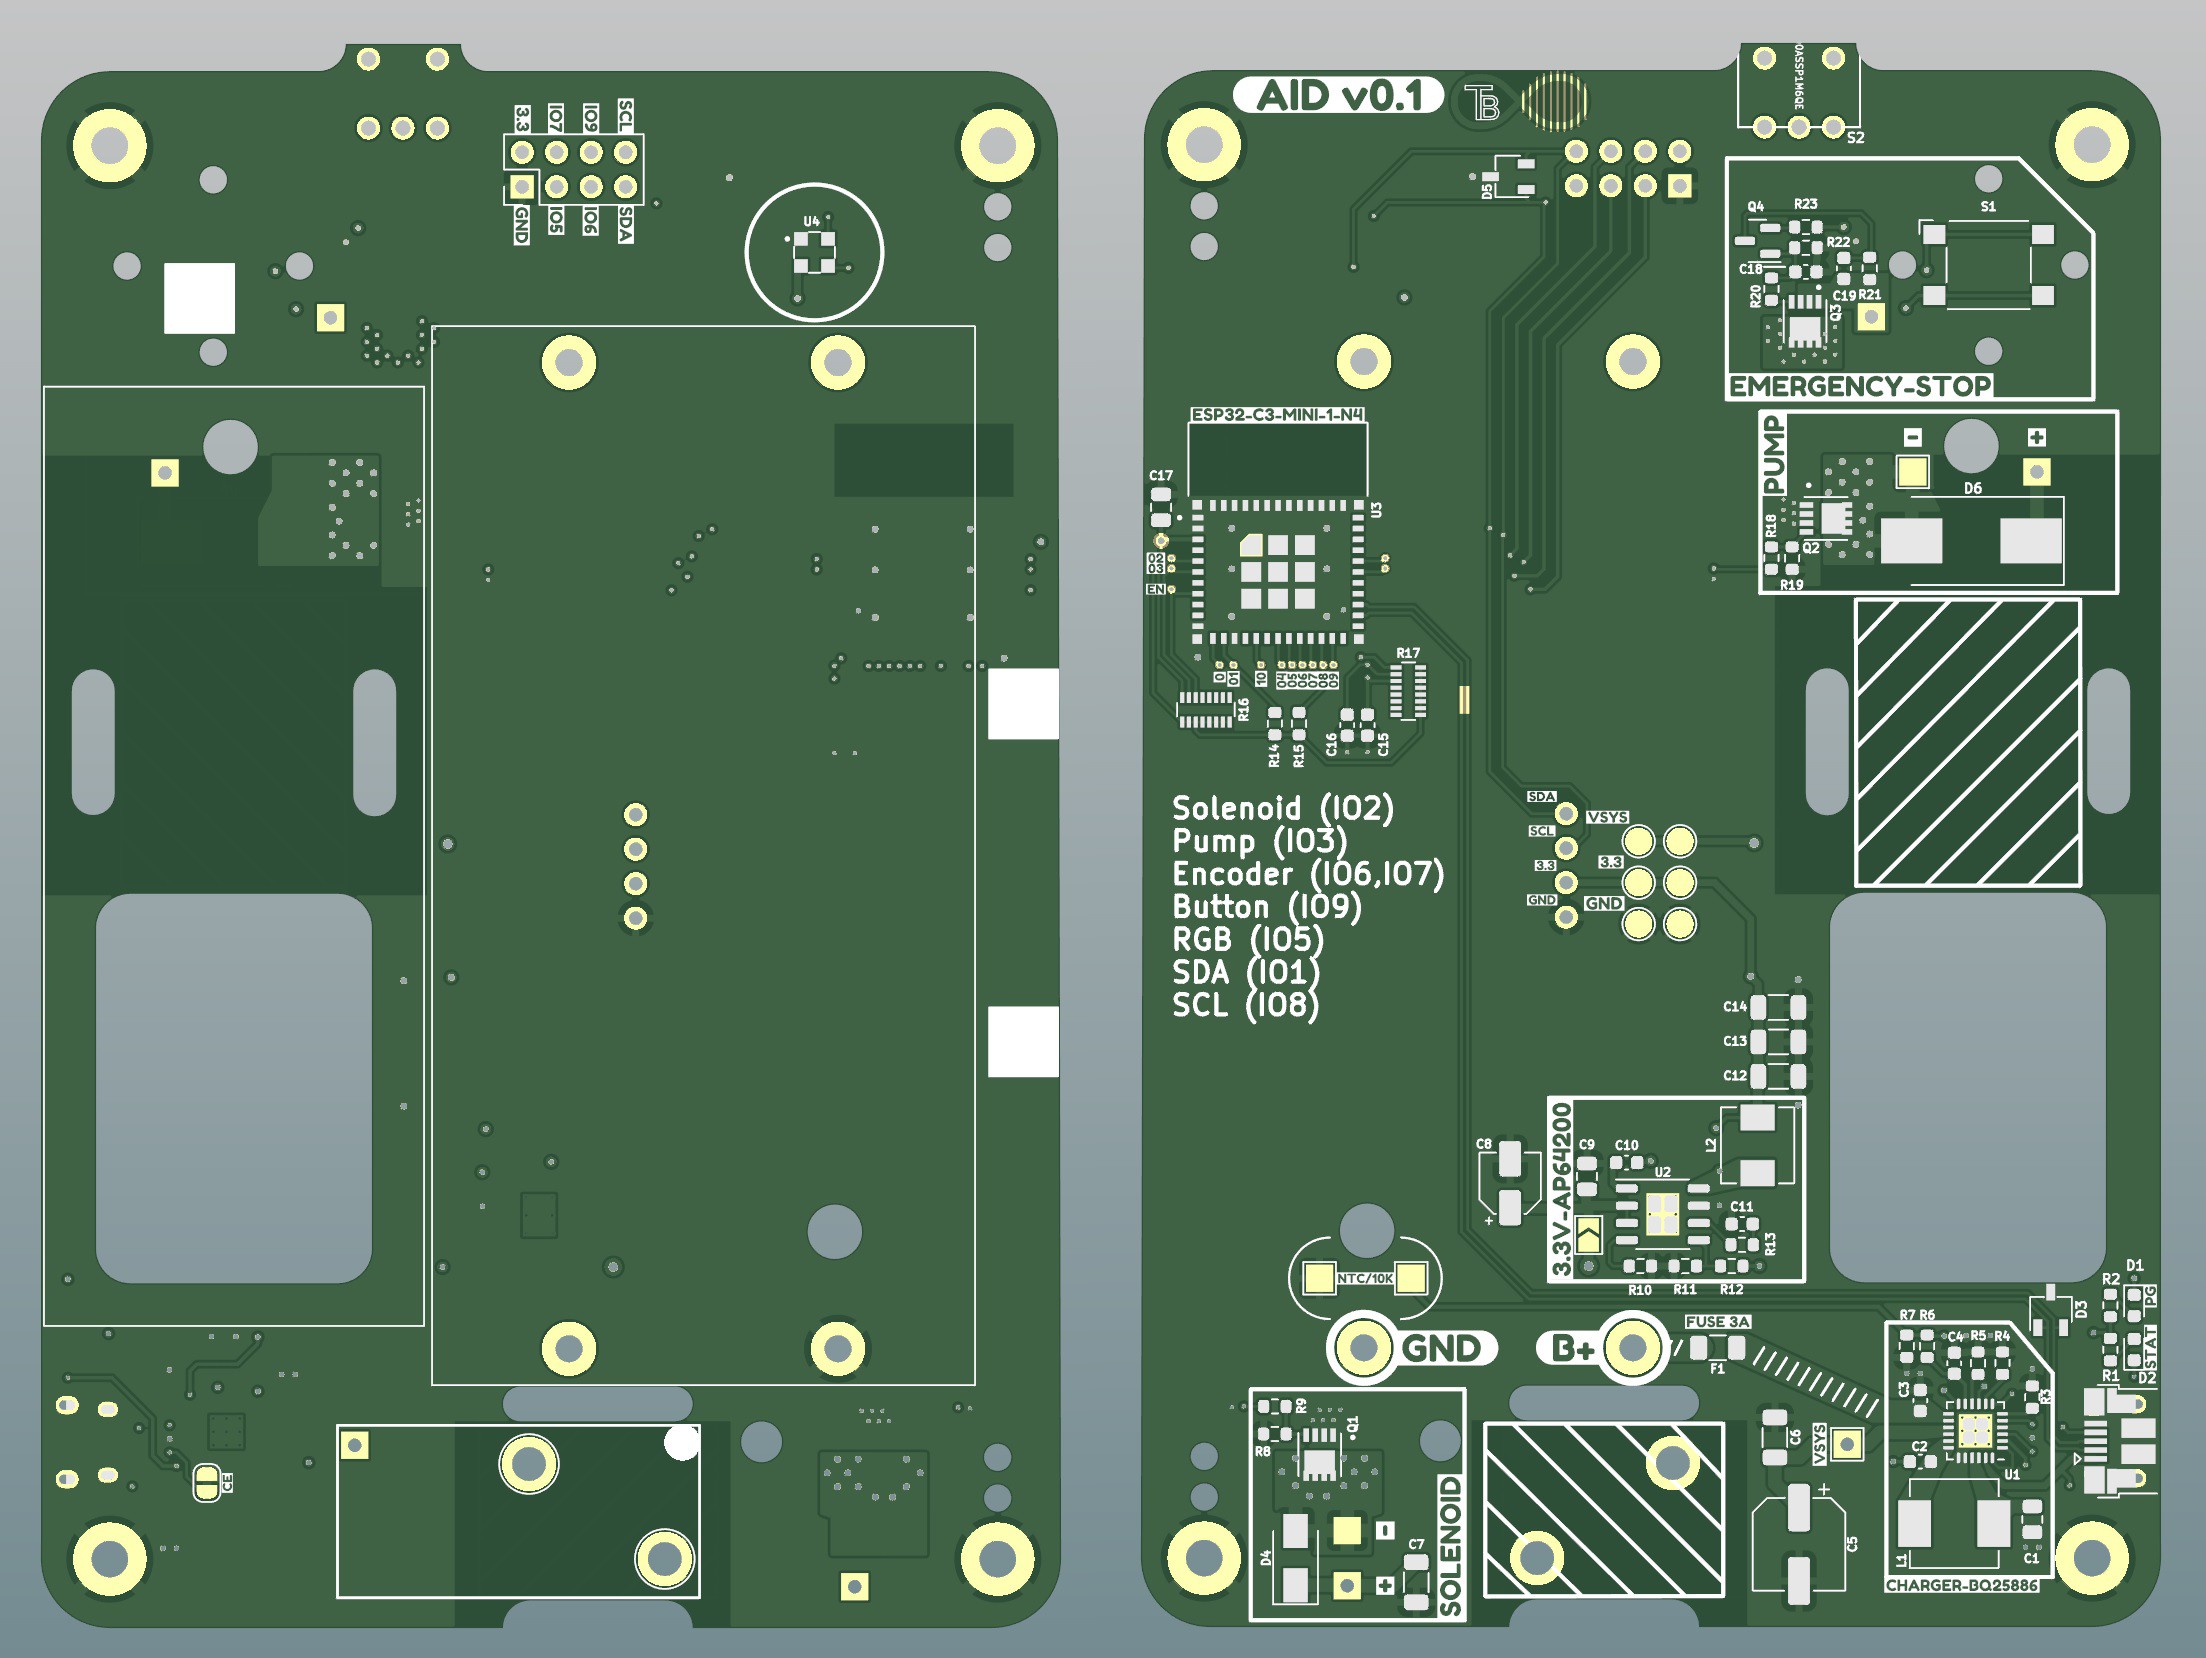
    PCBWAY was gracious enough to sponsor this revision. With their support this project is one step closer to completion and I'm very pleased with the results. 

    A few changes from the last board to streamline things. While using dev boards can make things simpler, sometimes they can be difficult to integrate smoothly. I've decided to simply use a ESP32-S3 module directly for this project. This removes the issue of dealing with multiple USB ports and potential power supply conflicts. So we get all the power of an ESP32-S3 for a cheaper price with none of the hassle. This was an easy decision since this board requires reflow soldering. Adding the vanilla module doesn't add complexity and reduces the overall cost. The only "must have" sensor to satisfy the initial goals is a simply IMU/accelerometer which has also been added (MC3479). 

    Also included is a simple battery monitor line to an IO pin, reverse protection for the lithium cells, red indicator light for E-Stop function, and a change to a 12 pin flex ribbon vs the bulky standard header cable. 

    Thanks again to PCBWAY for these cool looking white and gold PCBs. Looking mighty fancy! ☺

  • More modeling of the custom air manifold.

    Tevian06/10/2023 at 14:14 0 comments

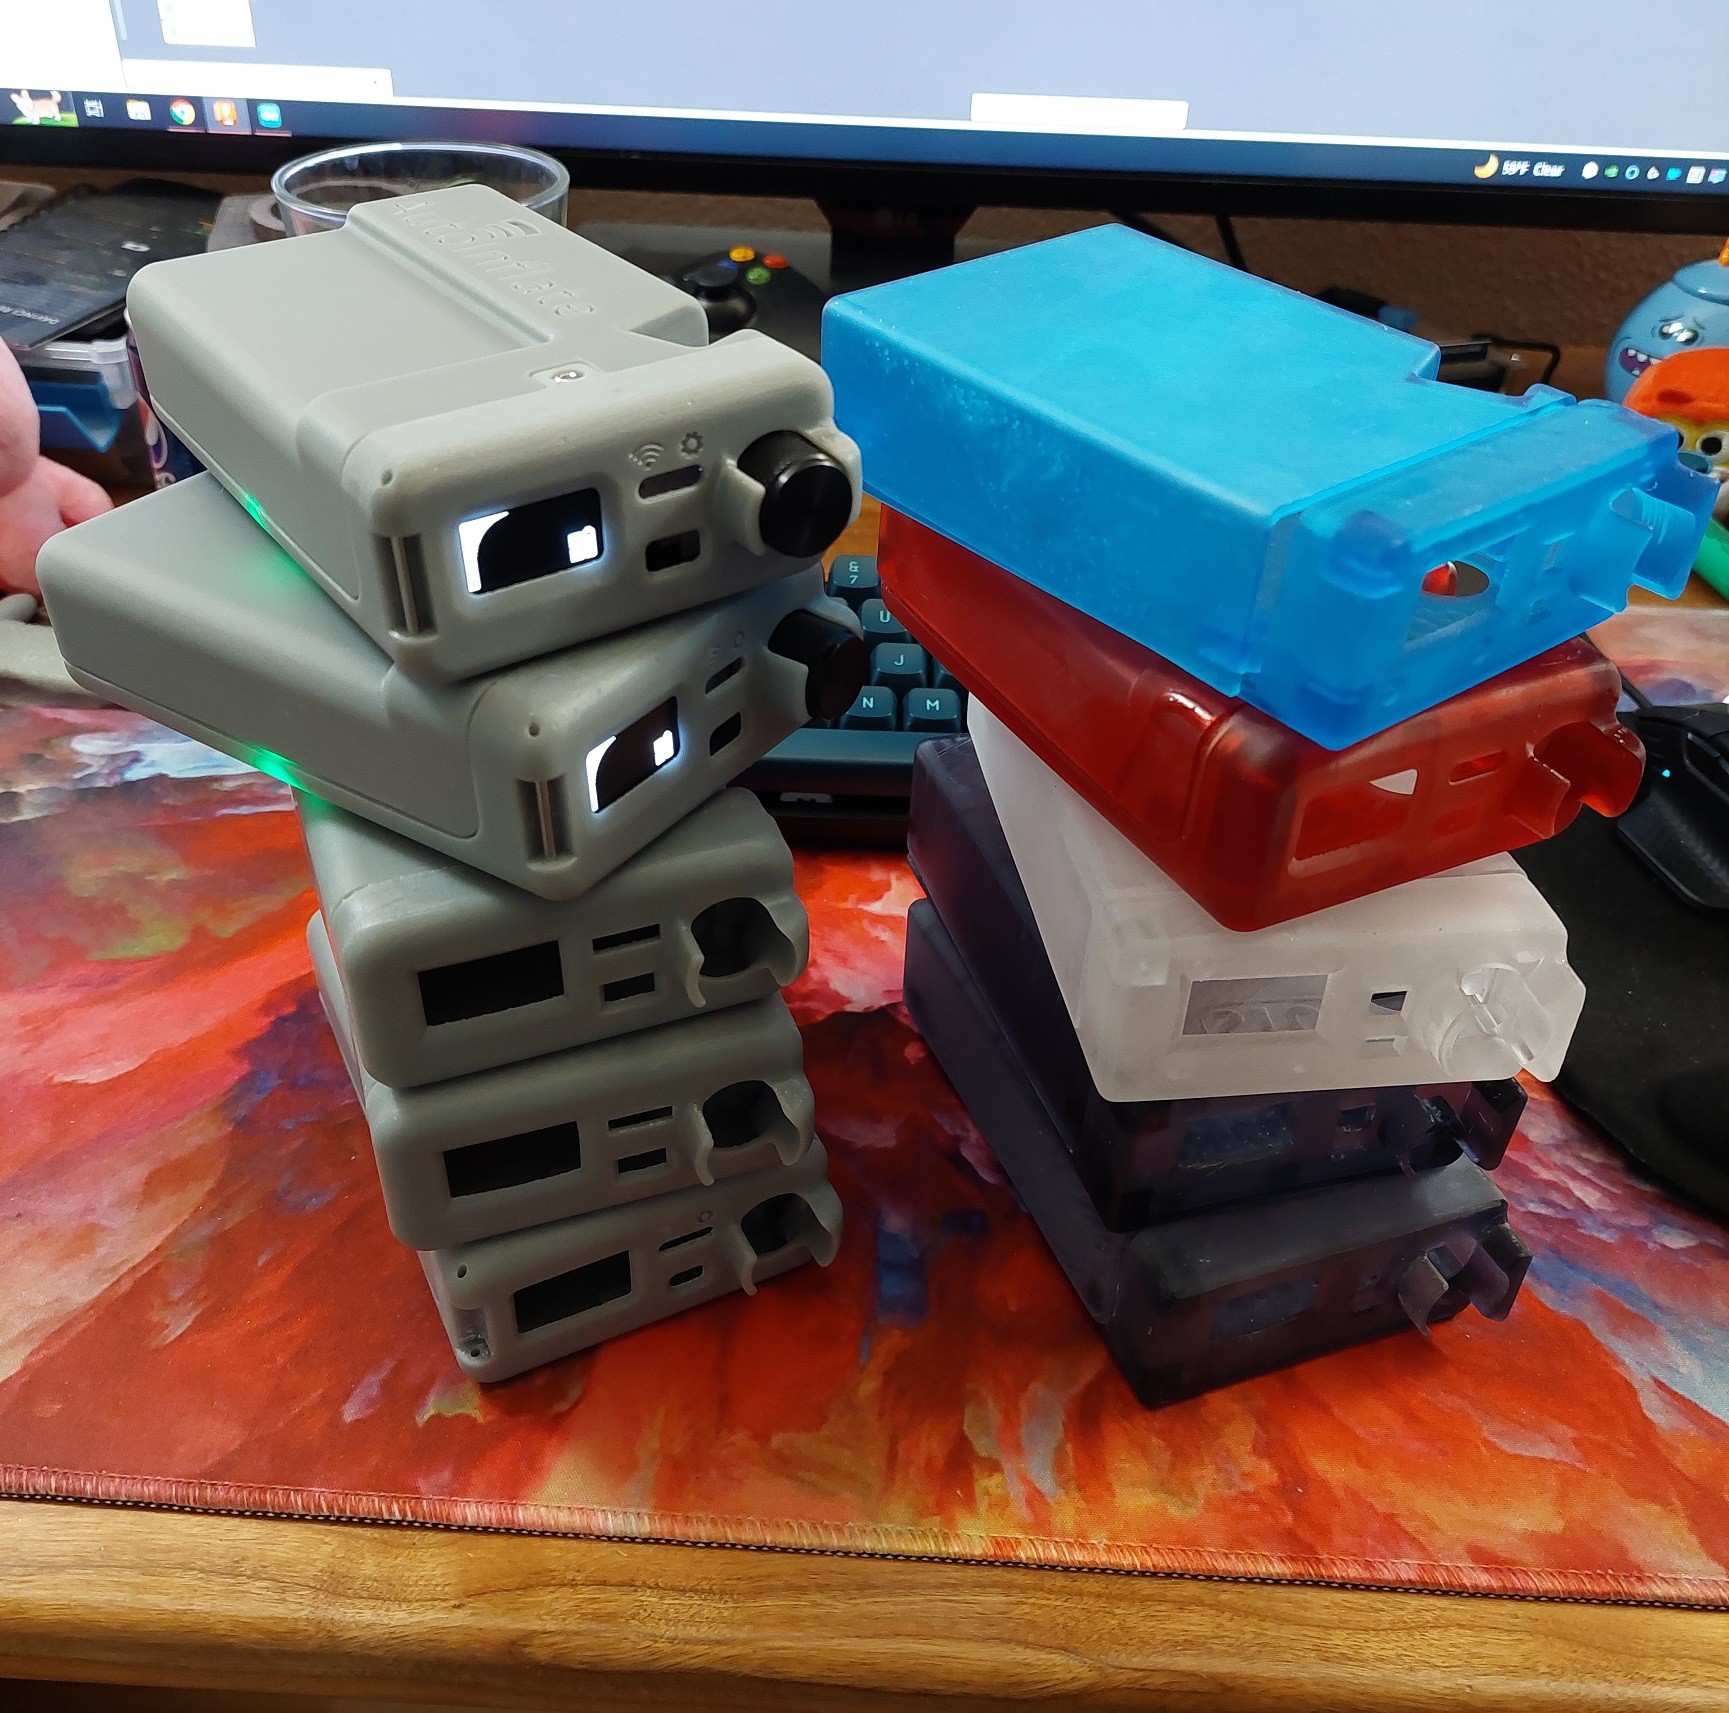
    The finished project will most likely include a few build options determined by part availability and cost. Specifically concerning the enclosure and a few custom plastic parts that will need to be printed.

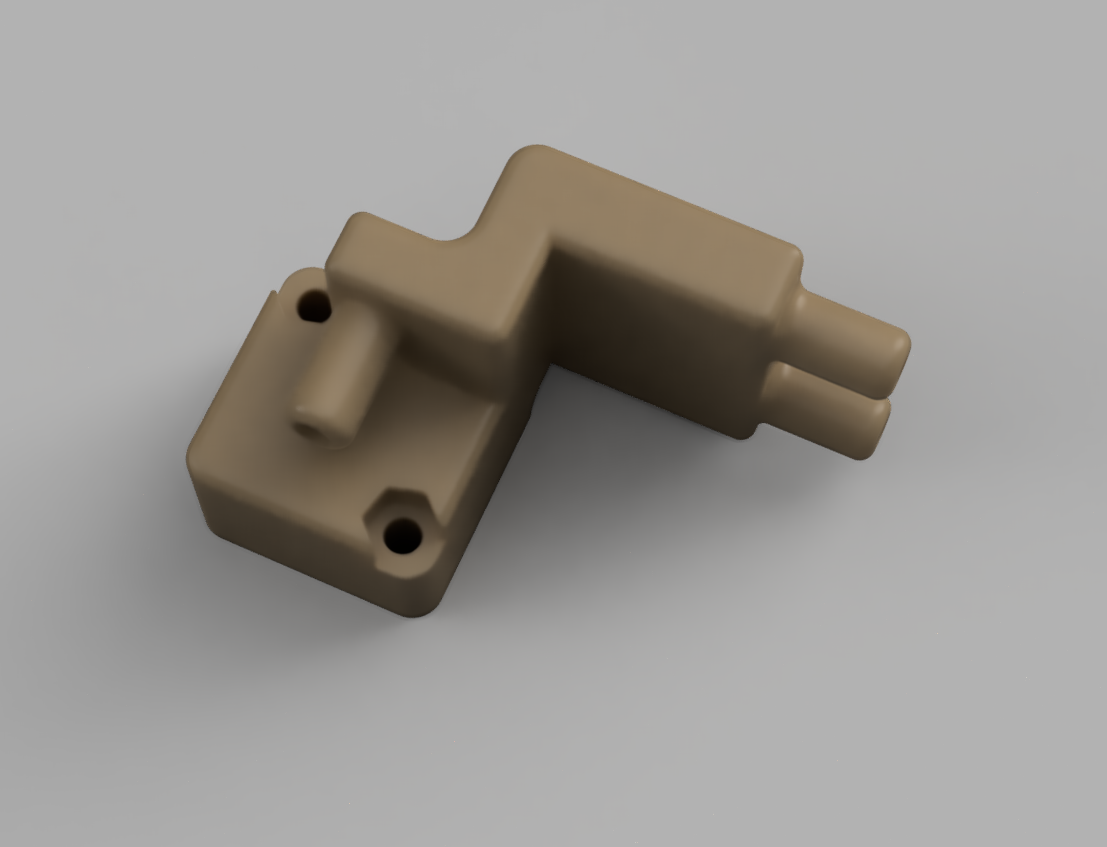
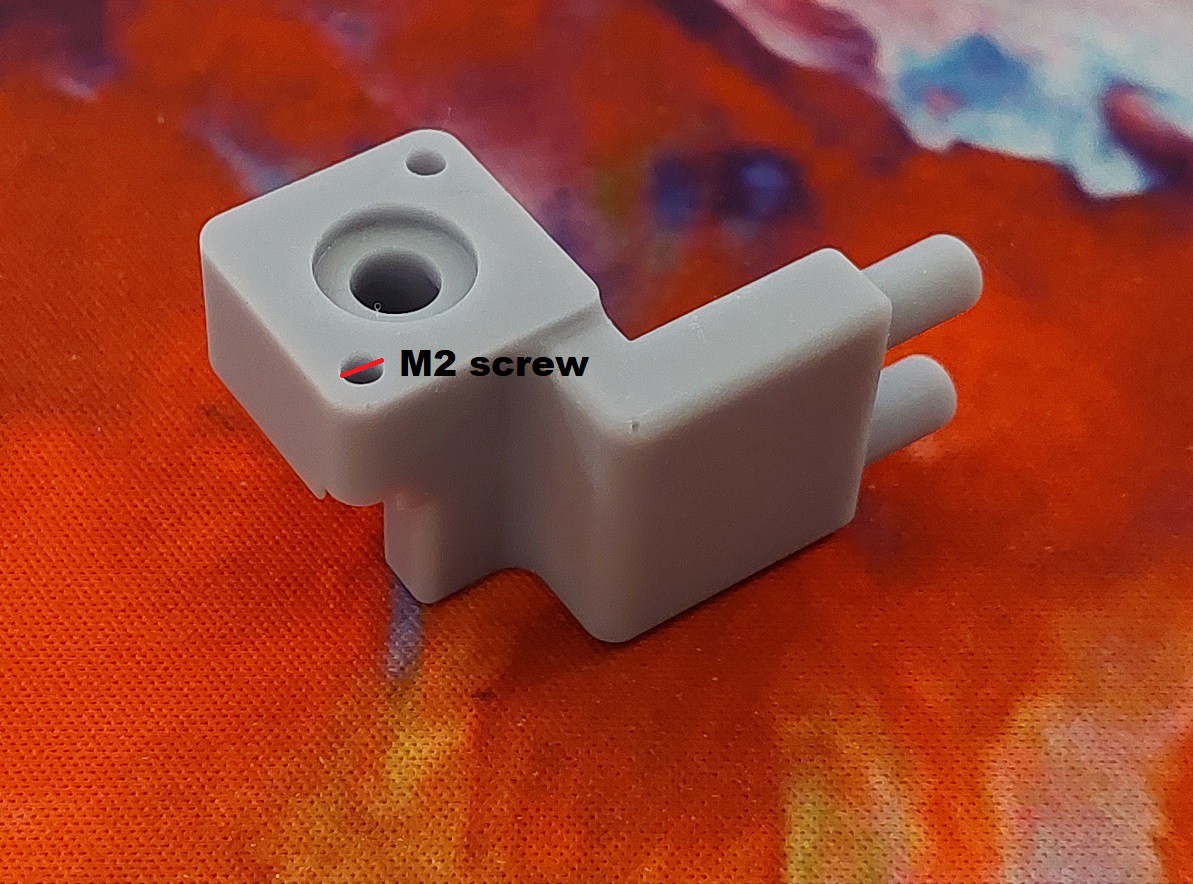
    One such part is a custom manifold that will cover the pressure sensor eliminating one air tube. I'm now getting my feet wet with resin printing and things are looking very promising. It's important that these parts are feasible to print either at home or by a 3d Printing service. I figure if I can print these at home, a service should have no problem. This part was made at home with a resin printer and Elegoo ABS-Like grey resin. This part requires high accuracy on a small scale to be air tight at low pressures. Because of this, it may require SLA printing vs Filament 3d printing. 

  • Working on the enclosure.

    Tevian06/09/2023 at 11:02 0 comments

    Modeling and printing the enclosure has been a learning curve for sure! Along with the next revision of the PCB, the enclosure definitely needs some work to ensure a secure fit!

  • Feasibility Test Assembly

    Tevian05/27/2023 at 12:07 0 comments

    Finally received all the parts for the feasibility test and all the peripherals works as expected! YAY! There are already some minor changes I can make so that will be for the next version. 

    The casing needs to be finalized and printed so that the next item to tackle.

  • First Prototype PCB

    Tevian05/14/2023 at 07:16 0 comments

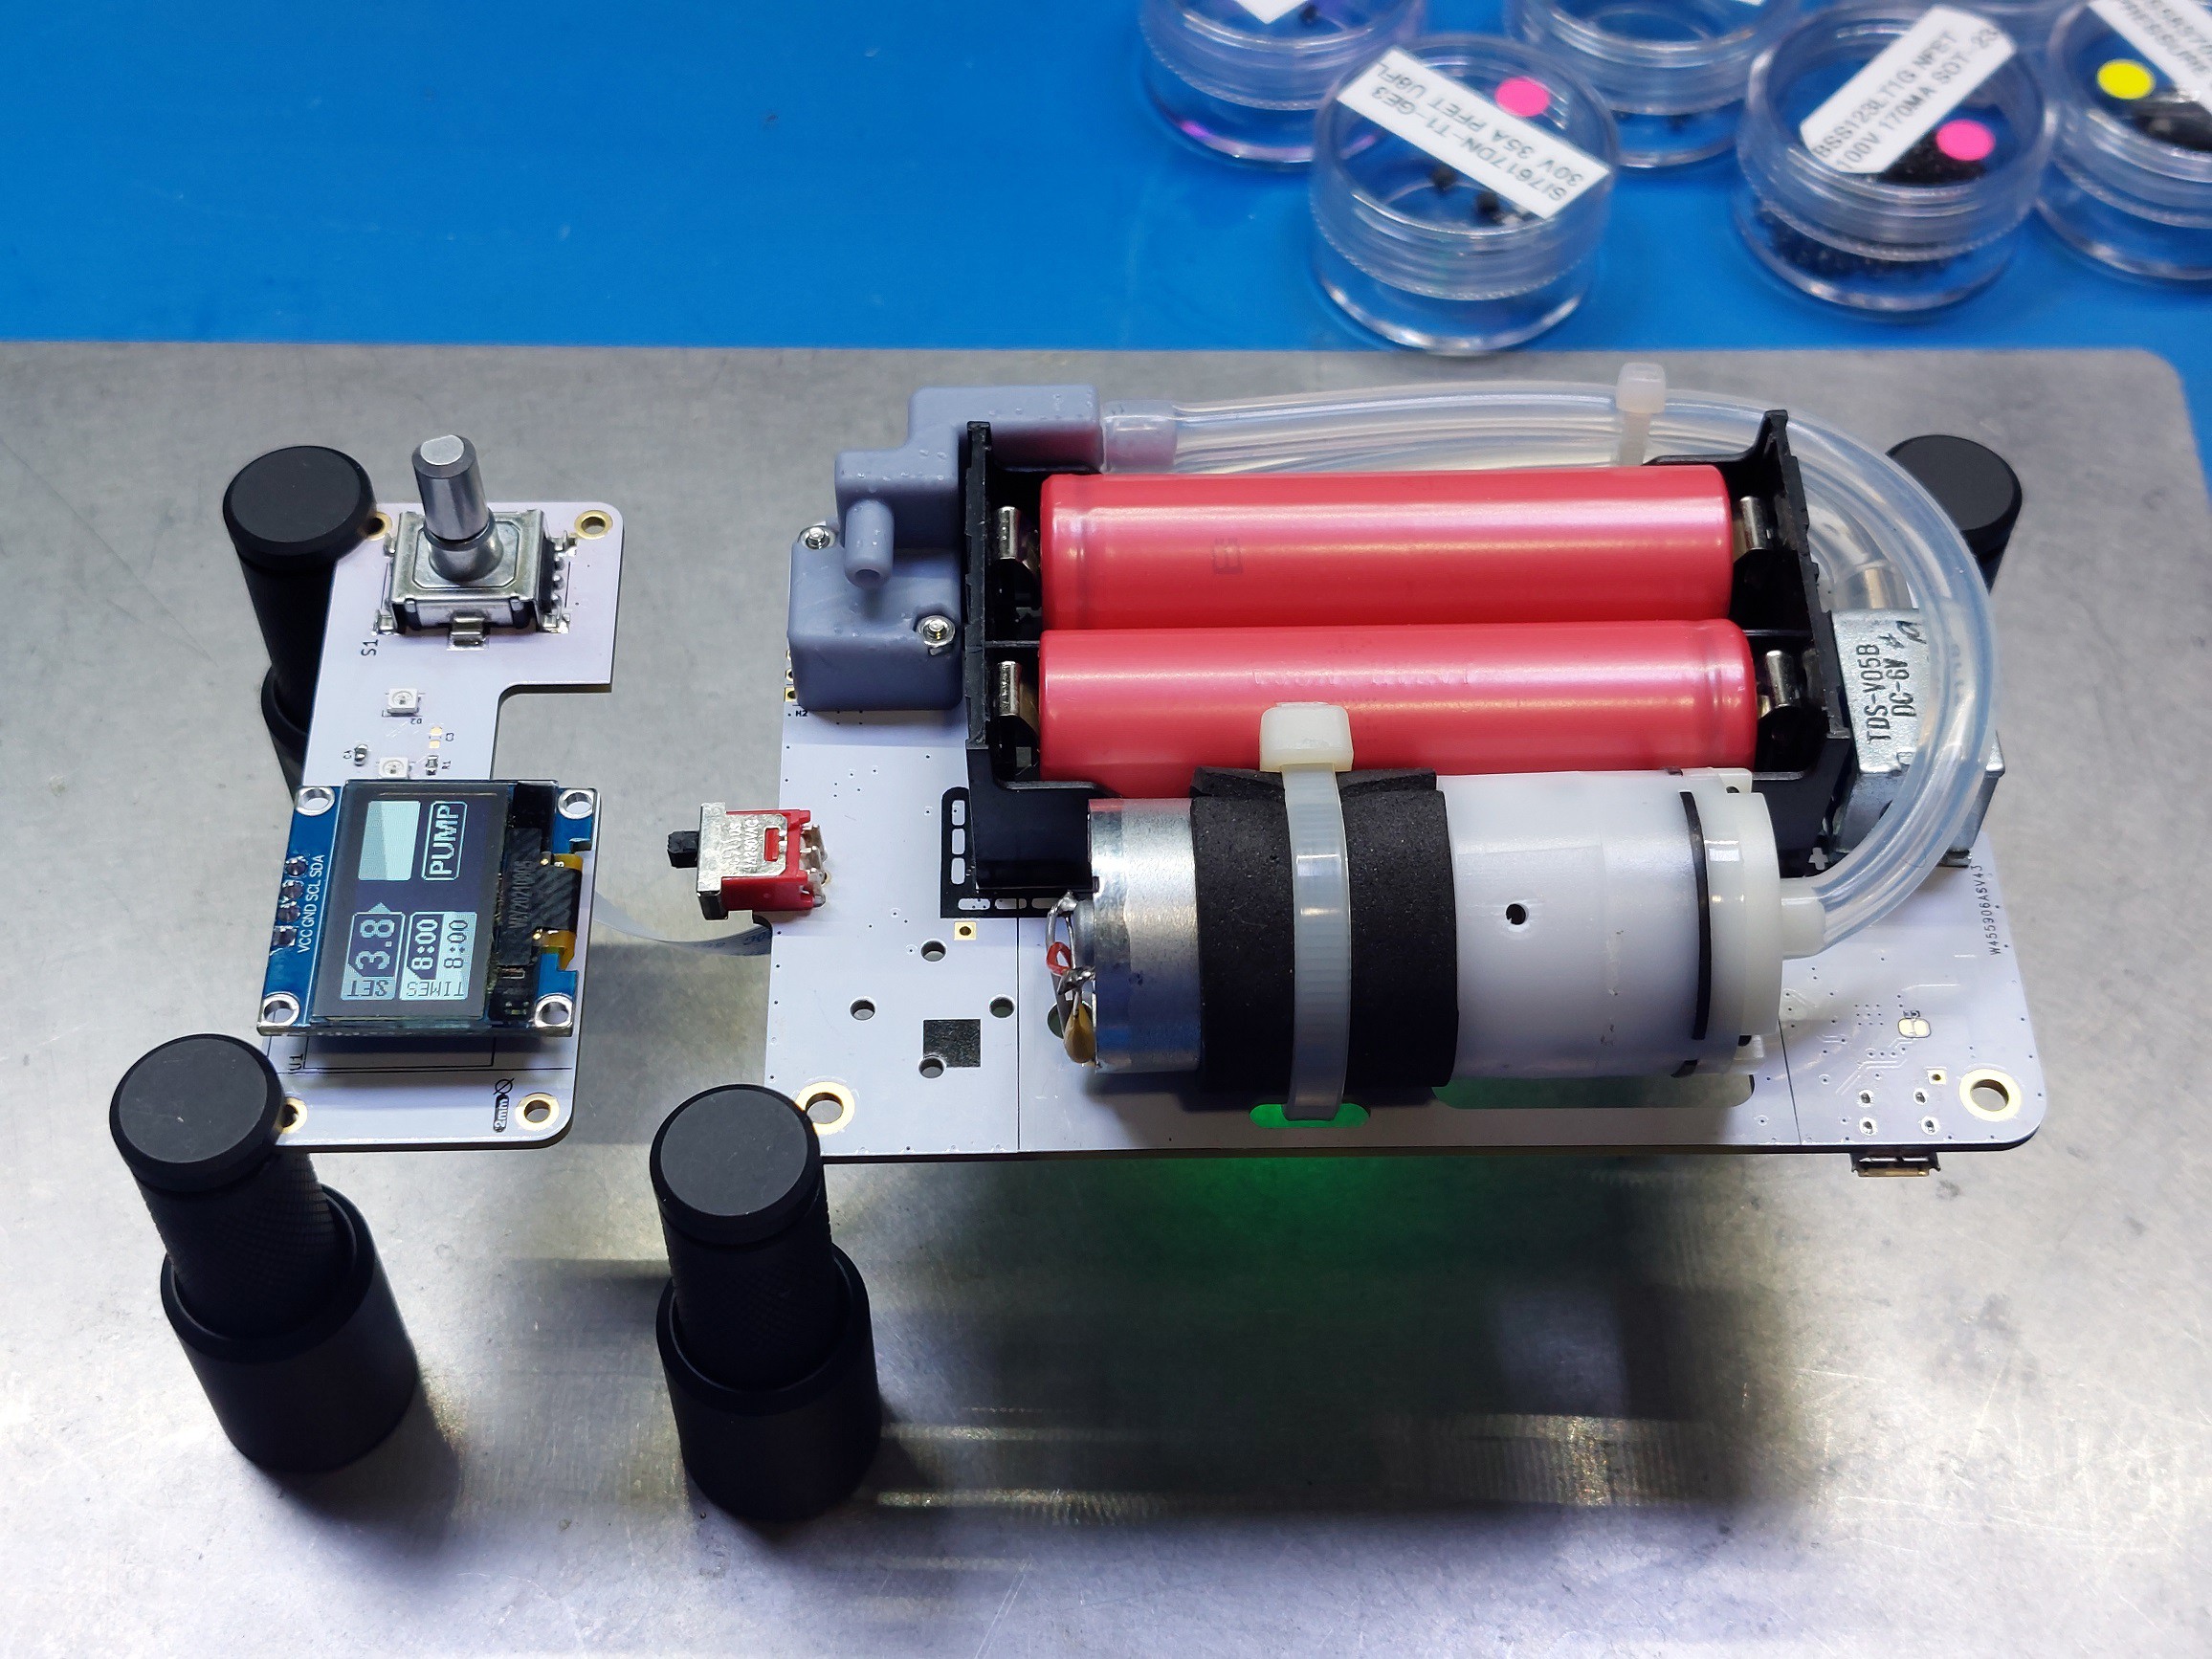
    This project is currently in the prototype stage and the first version of the PCBs has been ordered. While my first project was very much a throw-together DIY device, my goal is to create a design that can be implemented and modified for other potential use cases. This includes leaving ample space for additional MCUs and other sensors to be added in future versions for more enhanced features. This will be a feasibility test with the current component choices. This first test will give insight into potential changes and further refinements to the layout and case design.

    This design uses two PCBs. The main PCB carrier board will all low-pressure pneumatics and batteries with the second PCB containing the display and encoder.

View all 6 project logs

Enjoy this project?

Share

Discussions

Similar Projects

Does this project spark your interest?

Become a member to follow this project and never miss any updates