-
1Assembling Muscle BioAmp Shield v0.3
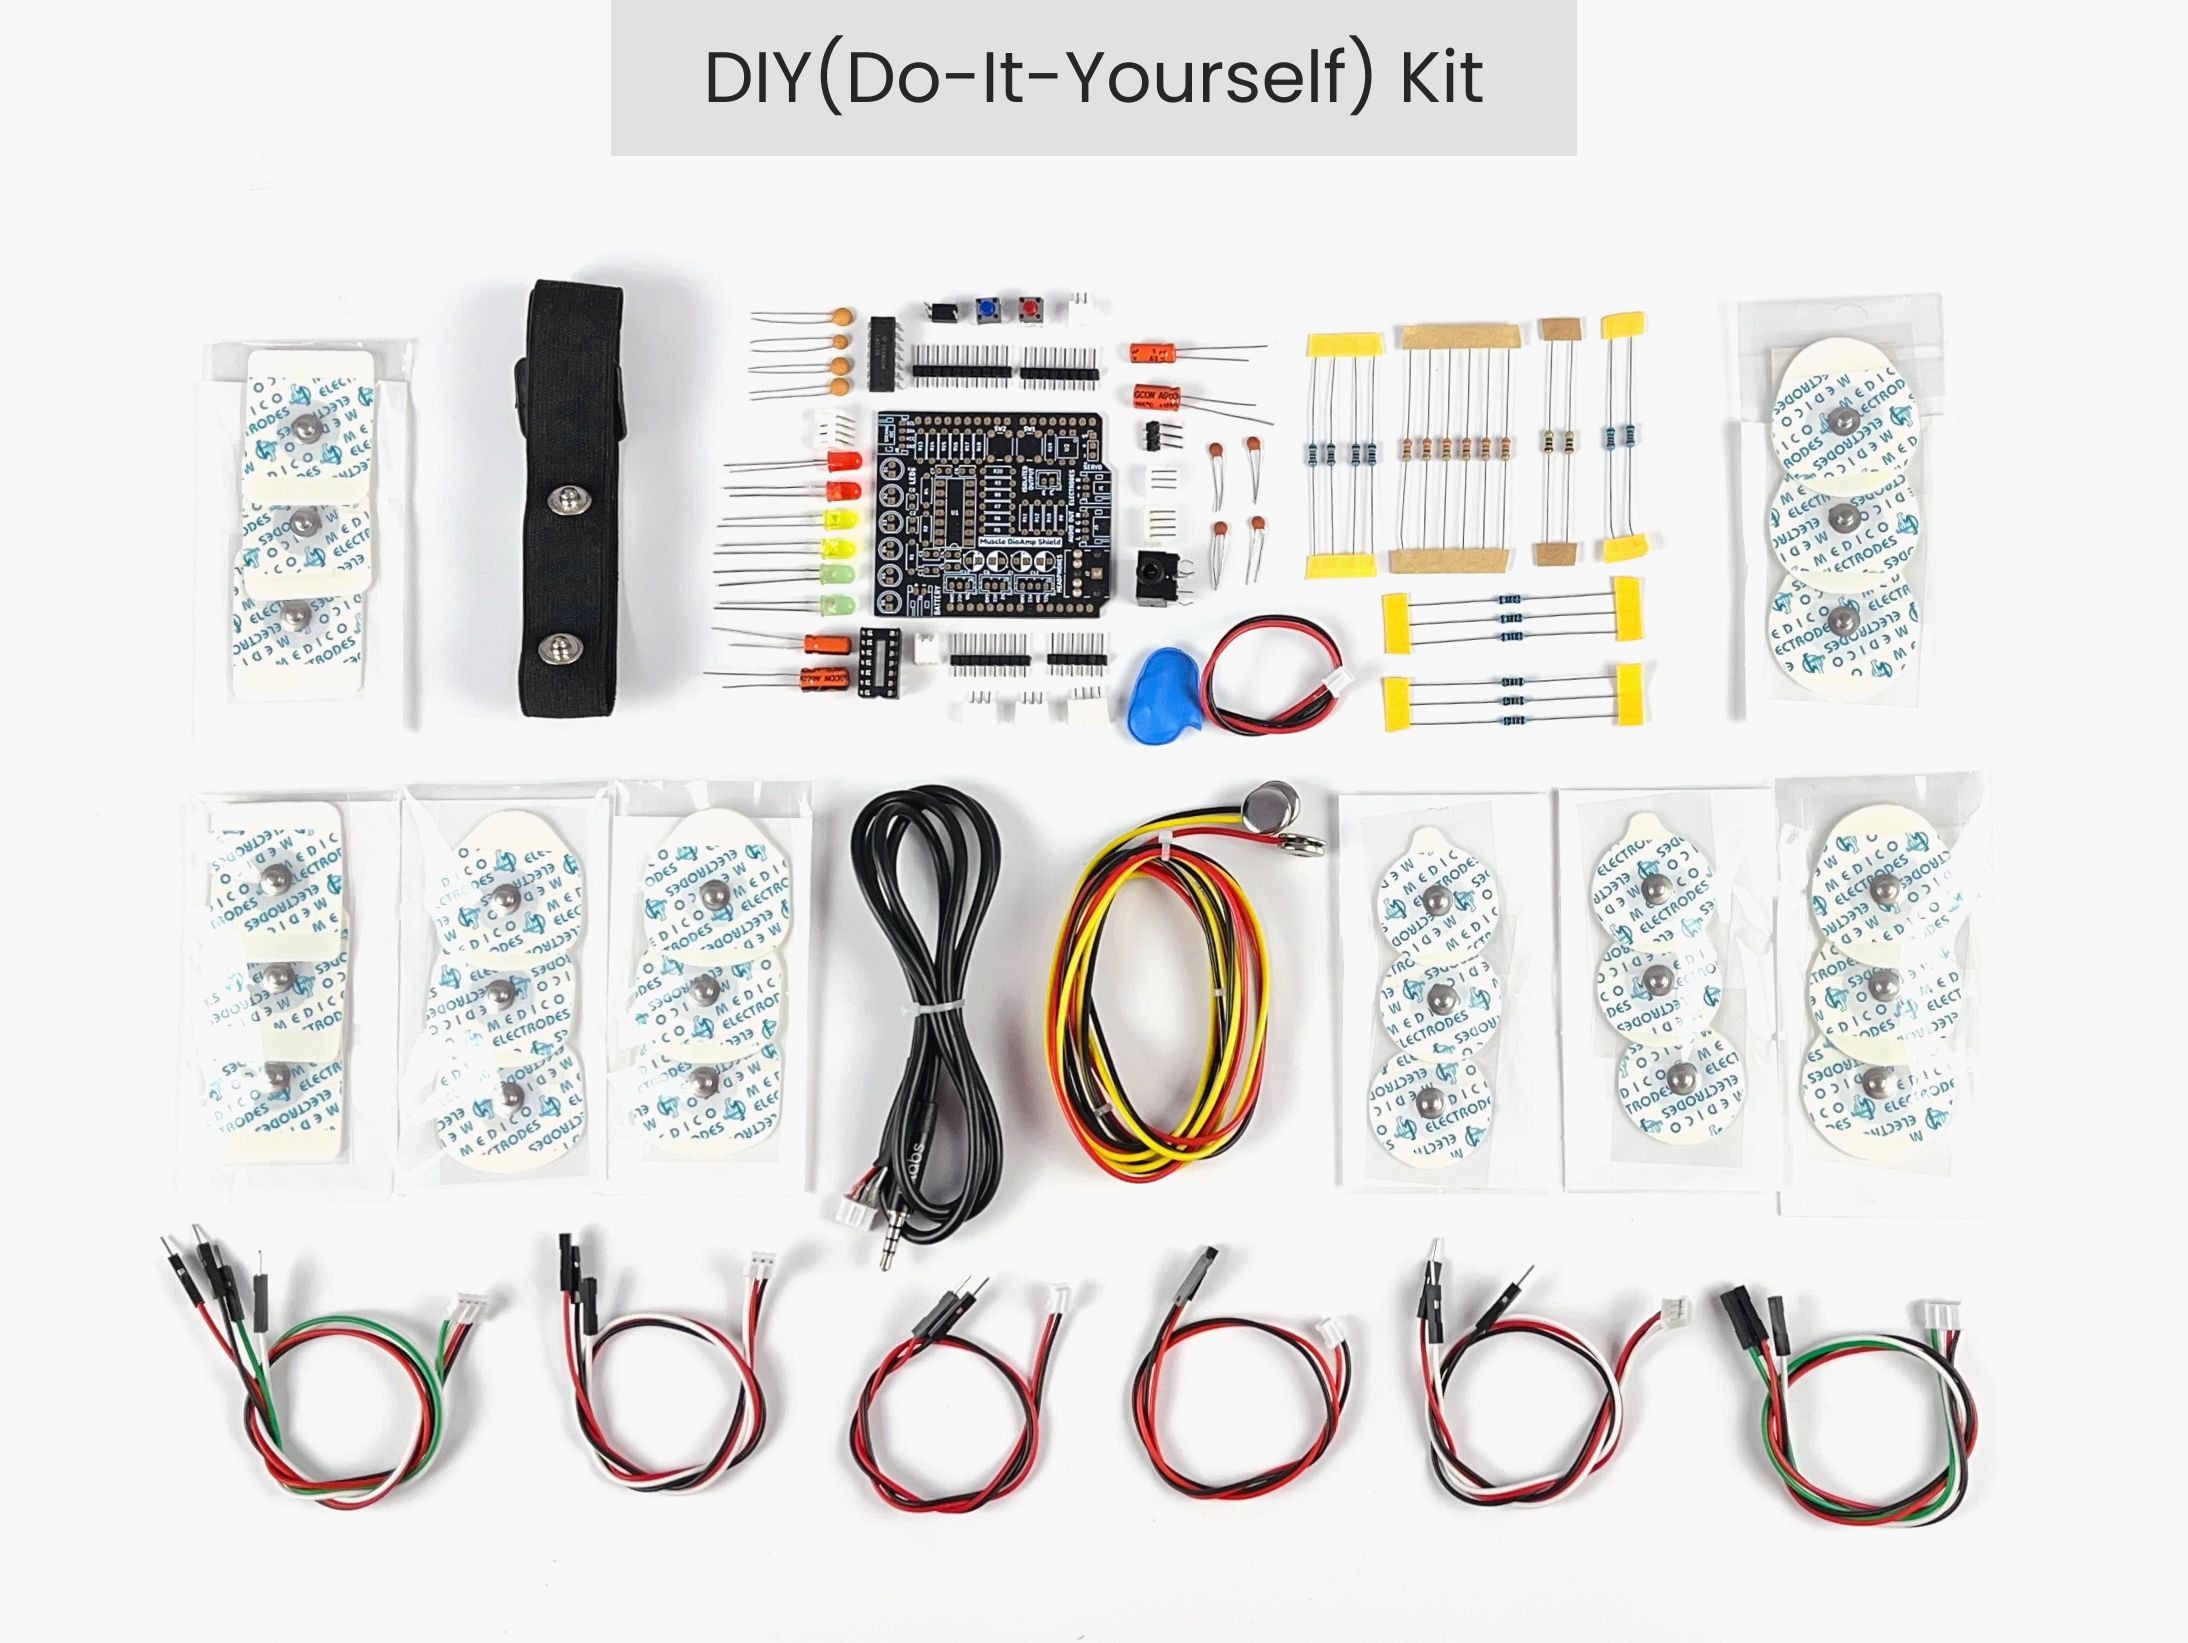
Firstly, you will have to assemble Muscle BioAmp Shield v0.3 as we provide it as a DIY Kit.
![]()
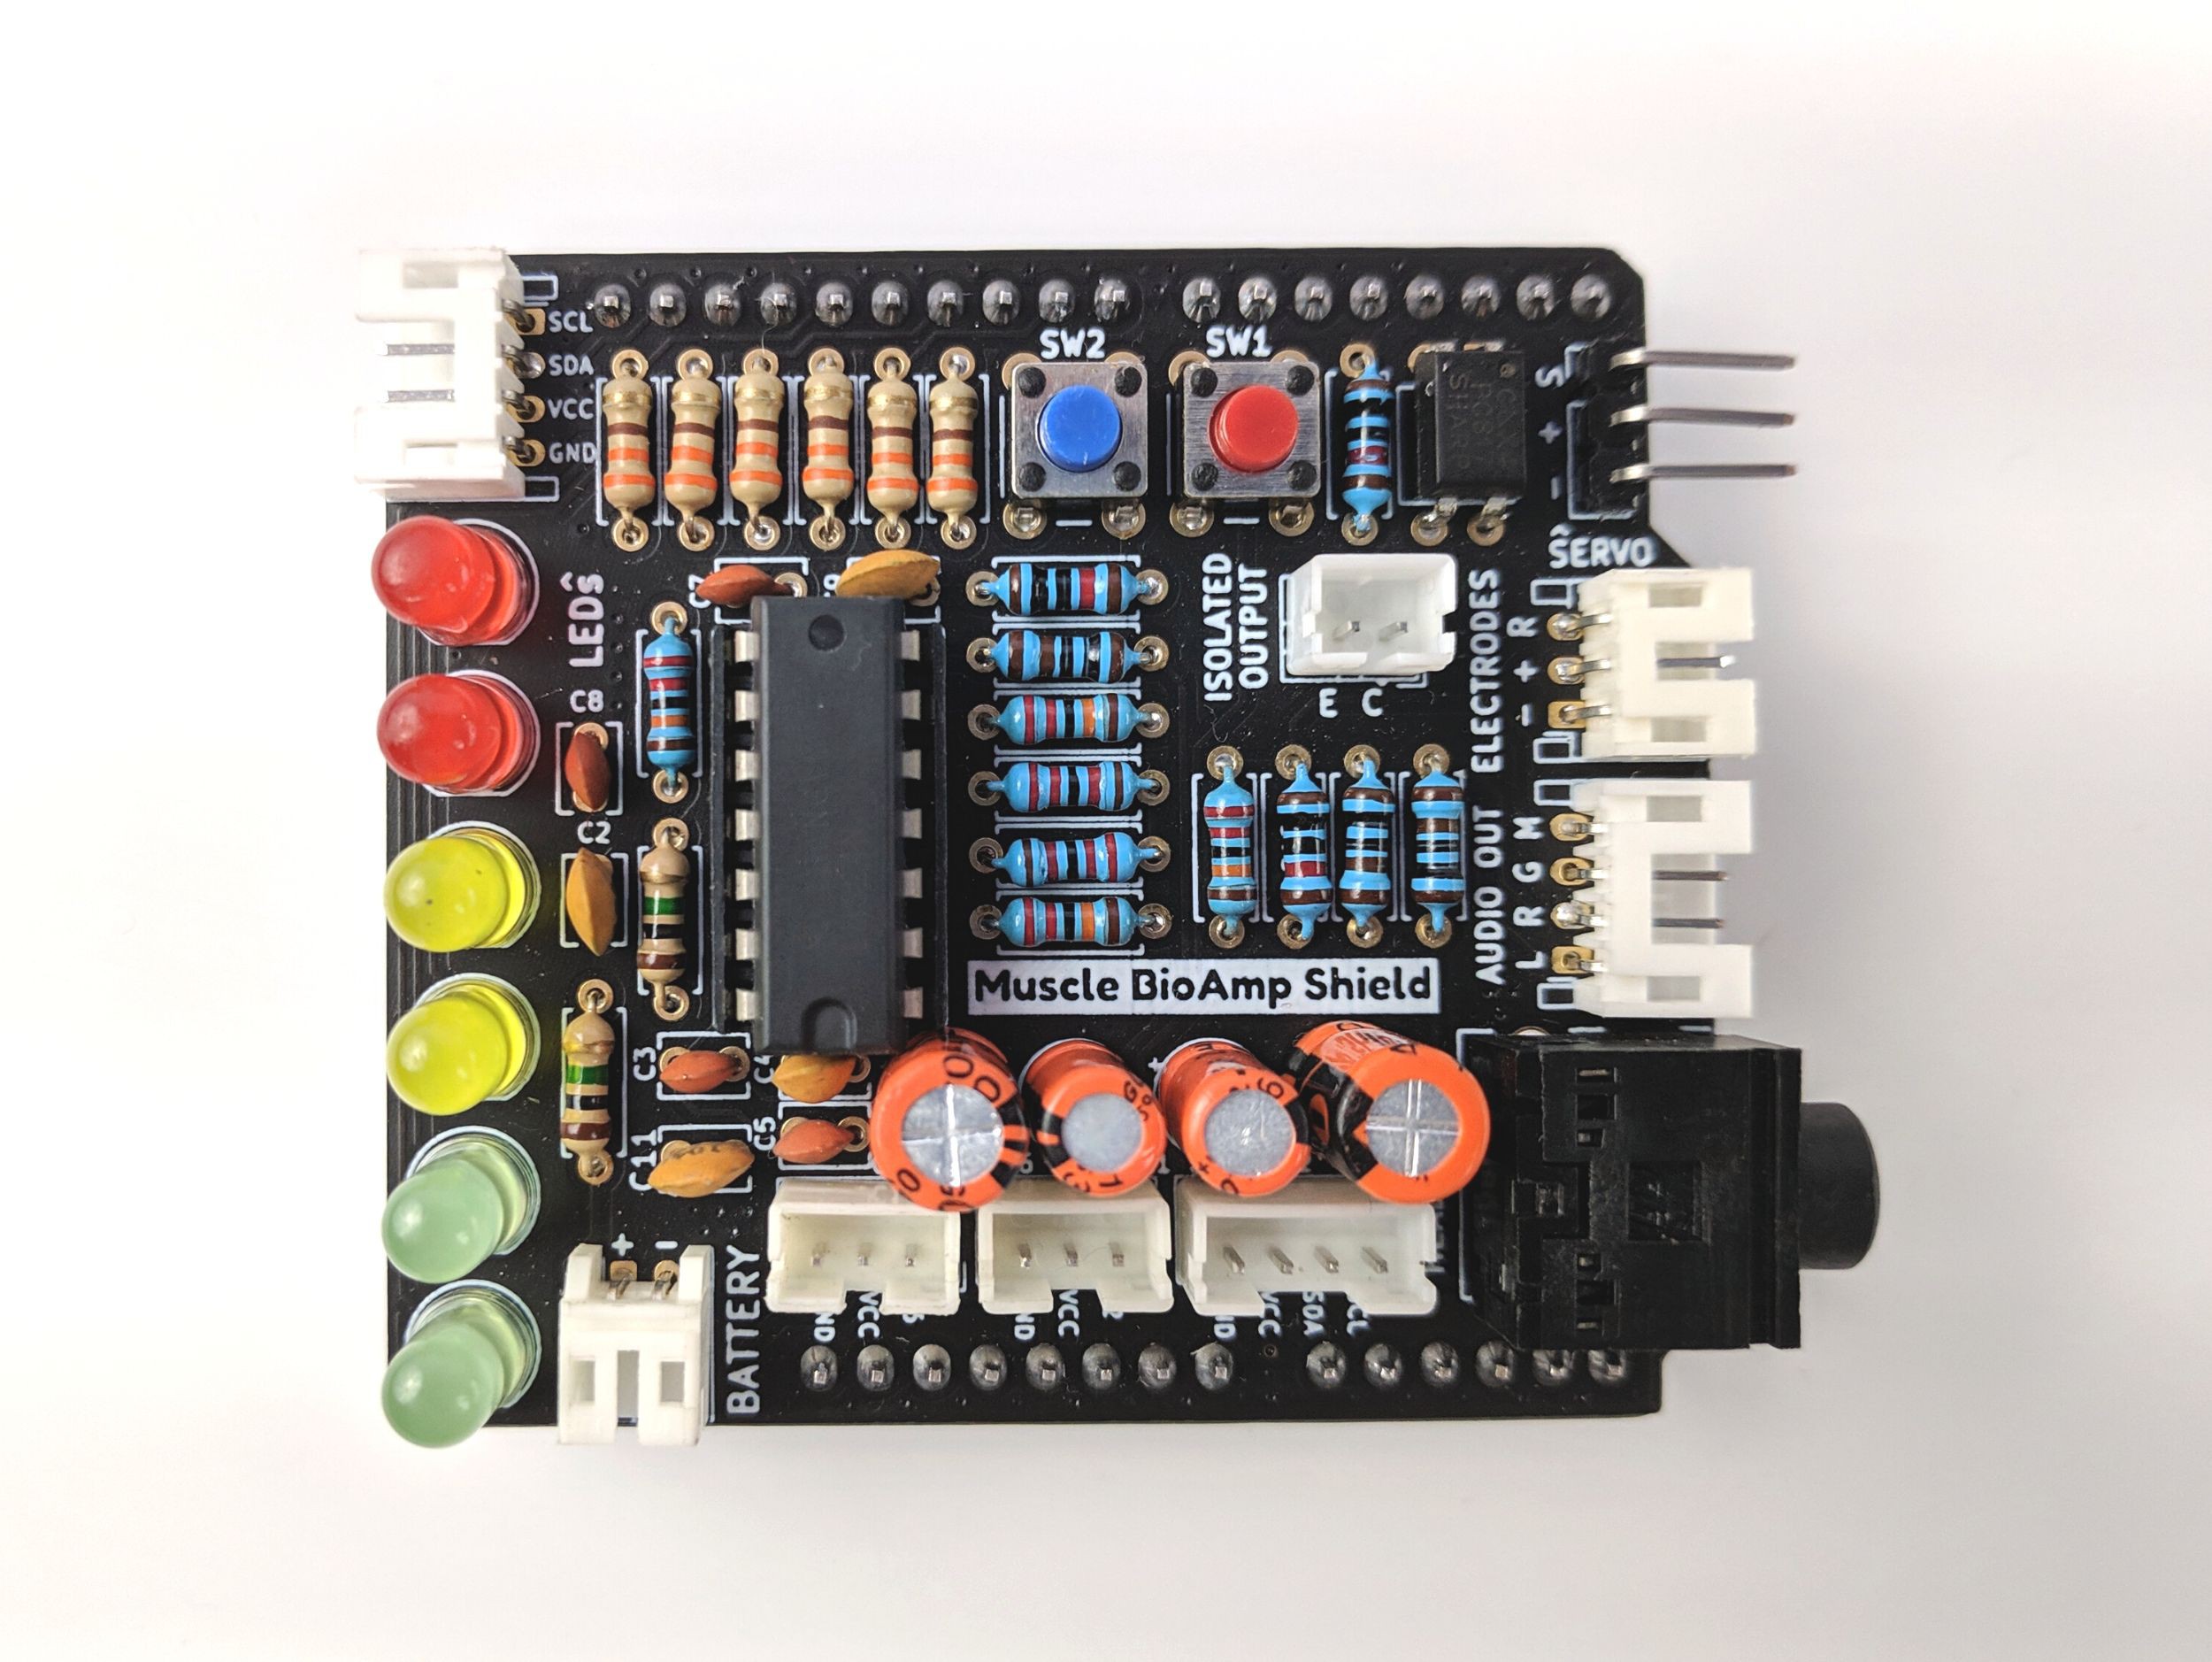
After completing the assembly, Muscle BioAmp Shield v0.3 should look like this:
![]()
-
2Connecting Muscle BioAmp Shield v0.3 with Arduino Uno
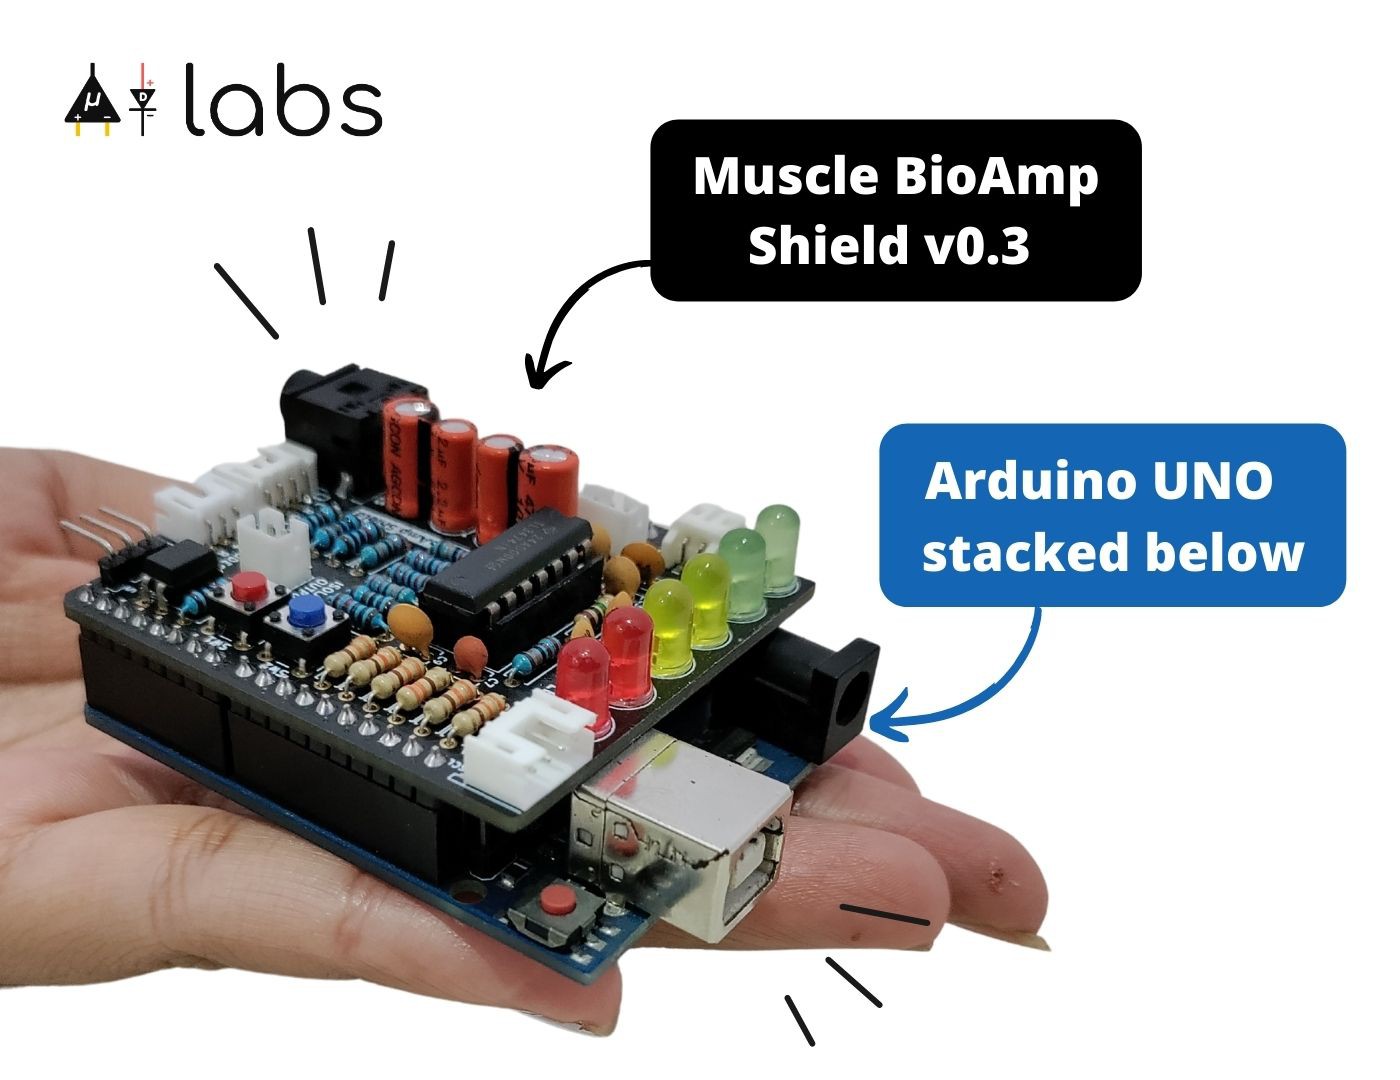
As Muscle BioAmp Shield v0.3 is an Arduino Uno Shield, you can directly stack it on top of it as shown in the picture below:
![]()
-
3Connecting BioAmp Cable to Muscle BioAmp Shield v0.3
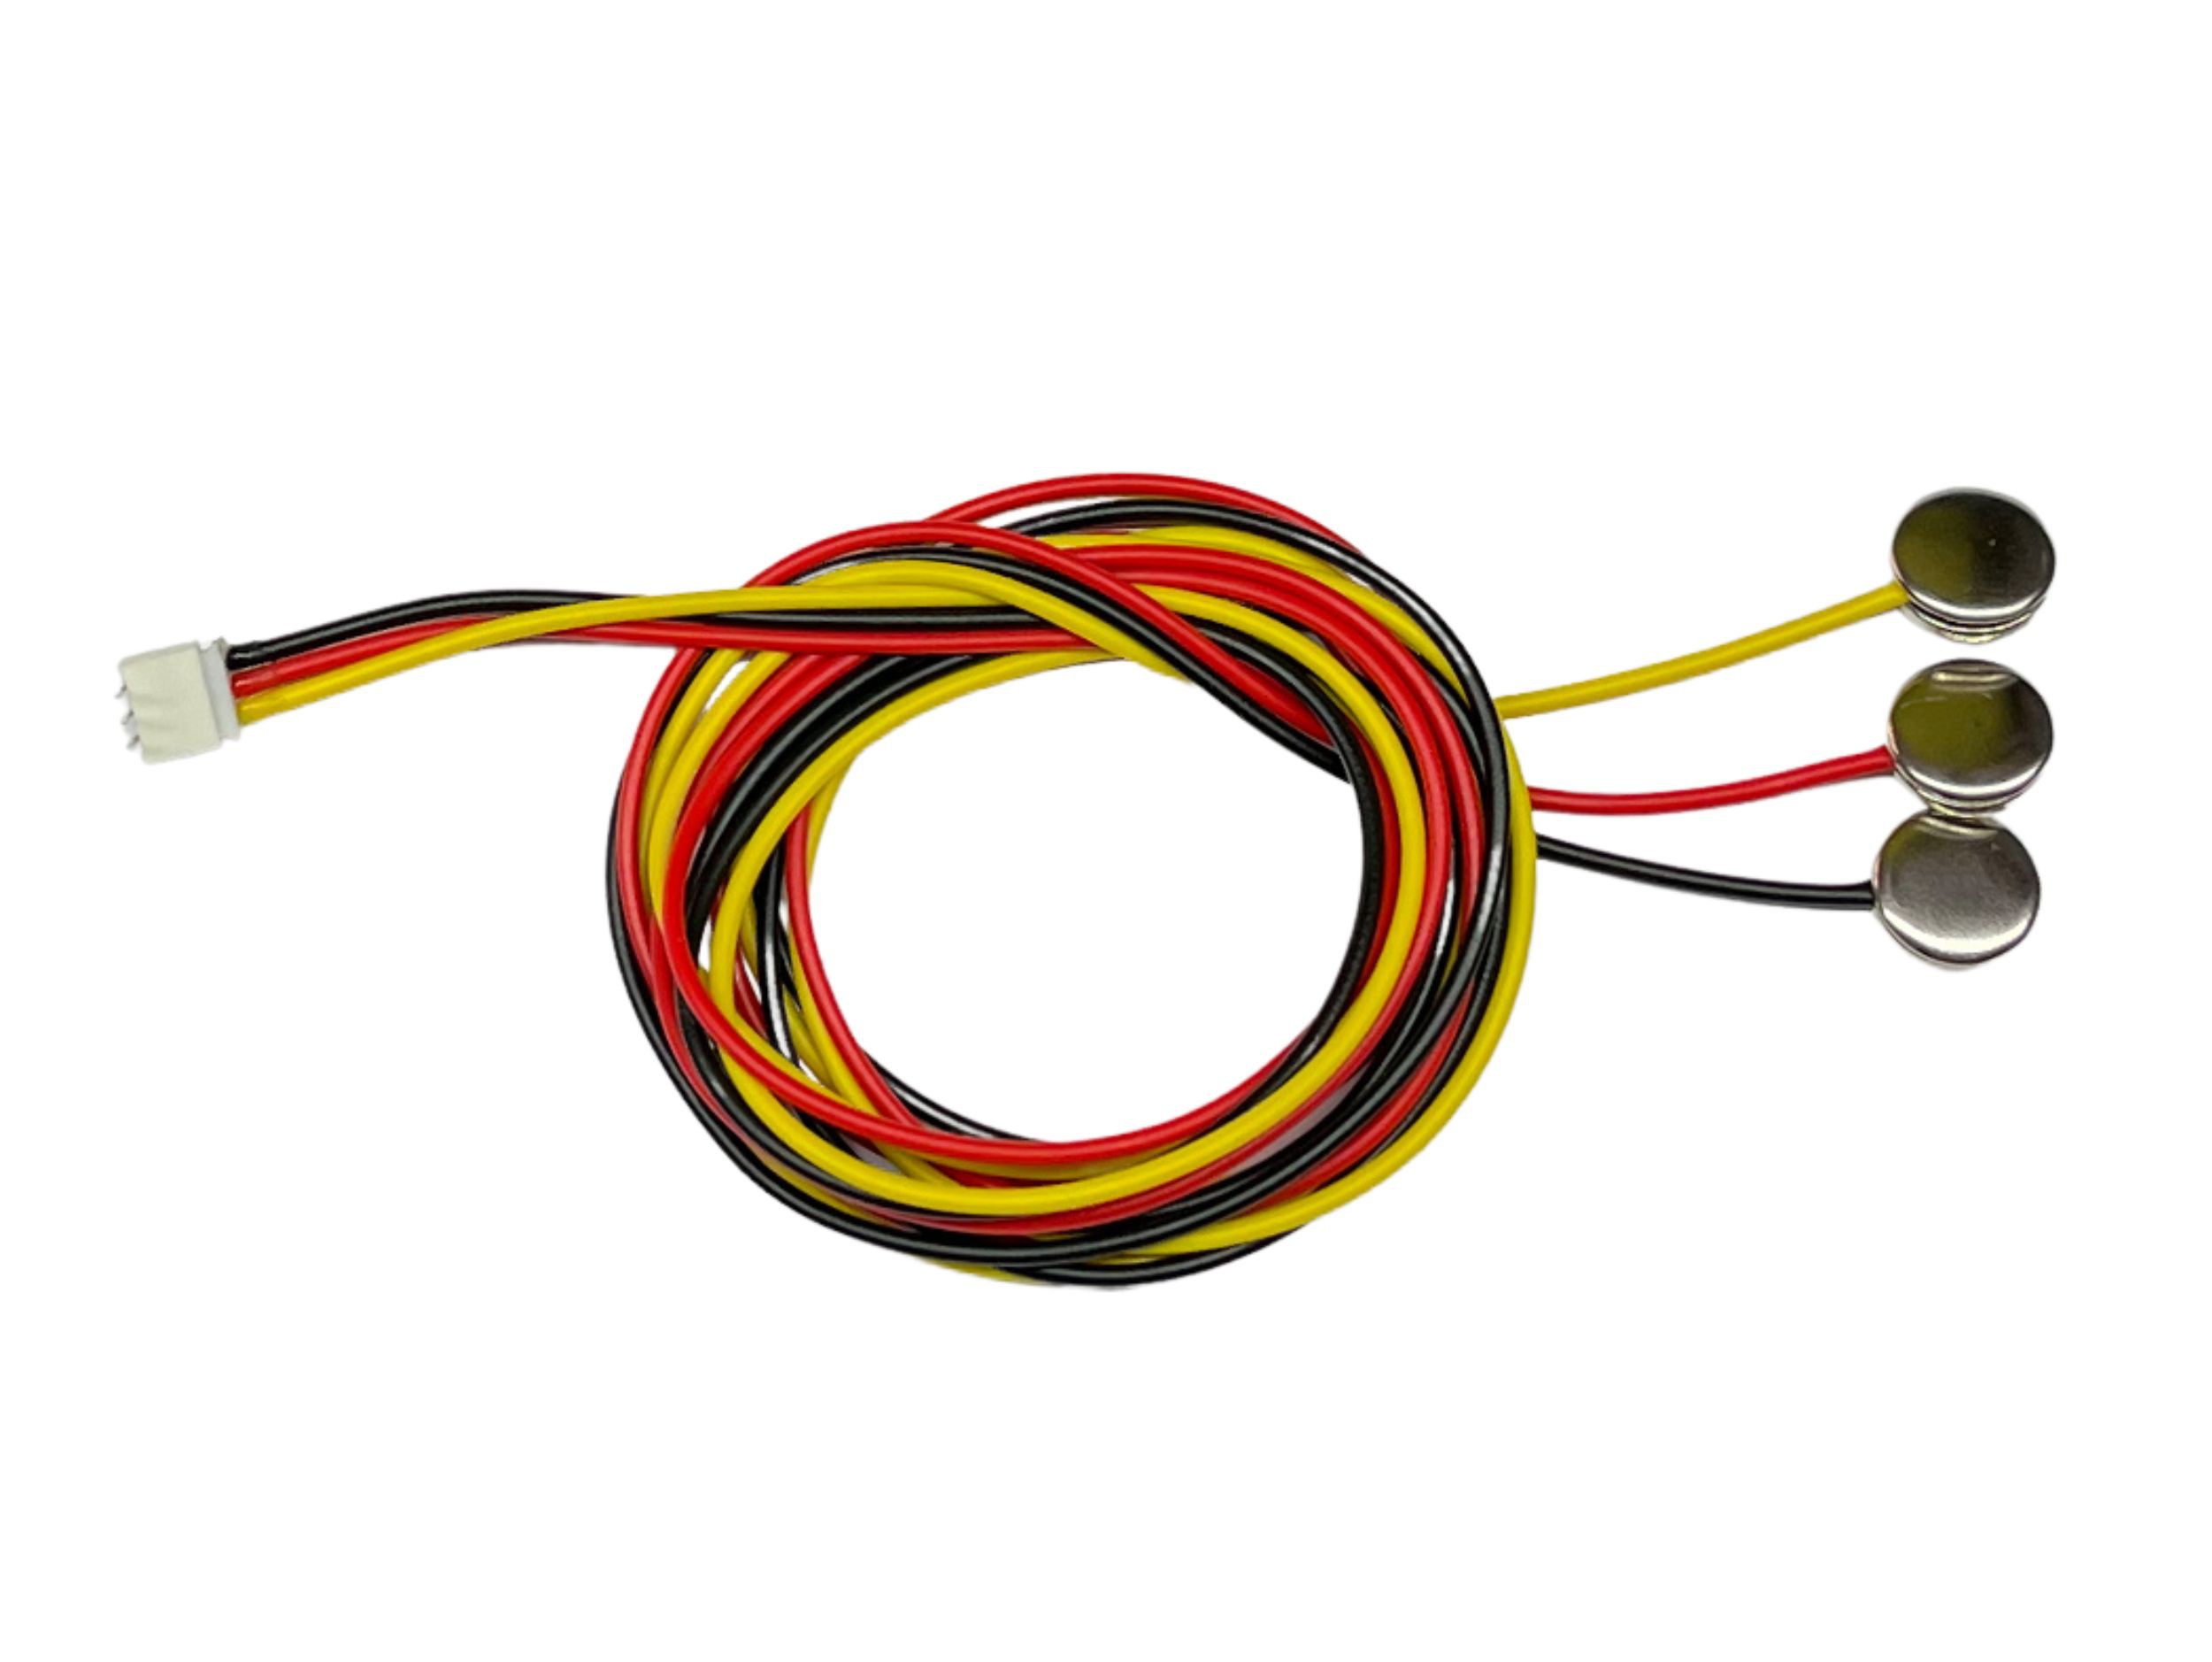
BioAmp Cable is an electrode cable that comes with 3-pin JST PH 2mm connectors on one side and snappable connectors on the other side as shown in the picture below:
![]()
You can connect this cable to Muscle BioAmp Shield v0.3 via a 3-pin JST PH 2mm connector.
-
4Interfacing with the body
You can detect EMG signals from your muscles either using gel electrodes or Muscle BioAmp Band that comes with dry electrodes.
The snappable connectors on the BioAmp Cable can be snapped on both the gel electrodes as well as the Muscle BioAmp Band easily.
-
5Uploading the Arduino sketch
Connect your Arduino Uno to the laptop using the cable
-
6Setup PC for keyboard emulation (python)
-
7Play the game!
 Deepak Khatri


Discussions
Become a Hackaday.io Member
Create an account to leave a comment. Already have an account? Log In.