-
Ep. 4 - A fresh approach? #design
06/28/2023 at 22:23 • 0 commentsI decided to meet with my friend Claudio to talk about product design and engineering. He is a teacher of mechanical engineering and design. He is also a designer specializing in enclosure design for PCBs and sensors.
When I introduced him to K-Ability, he immediately suggested that a traditional approach would be time-consuming and wasteful.
We quickly realized that this would be a good opportunity to try an artificial inteligence service.
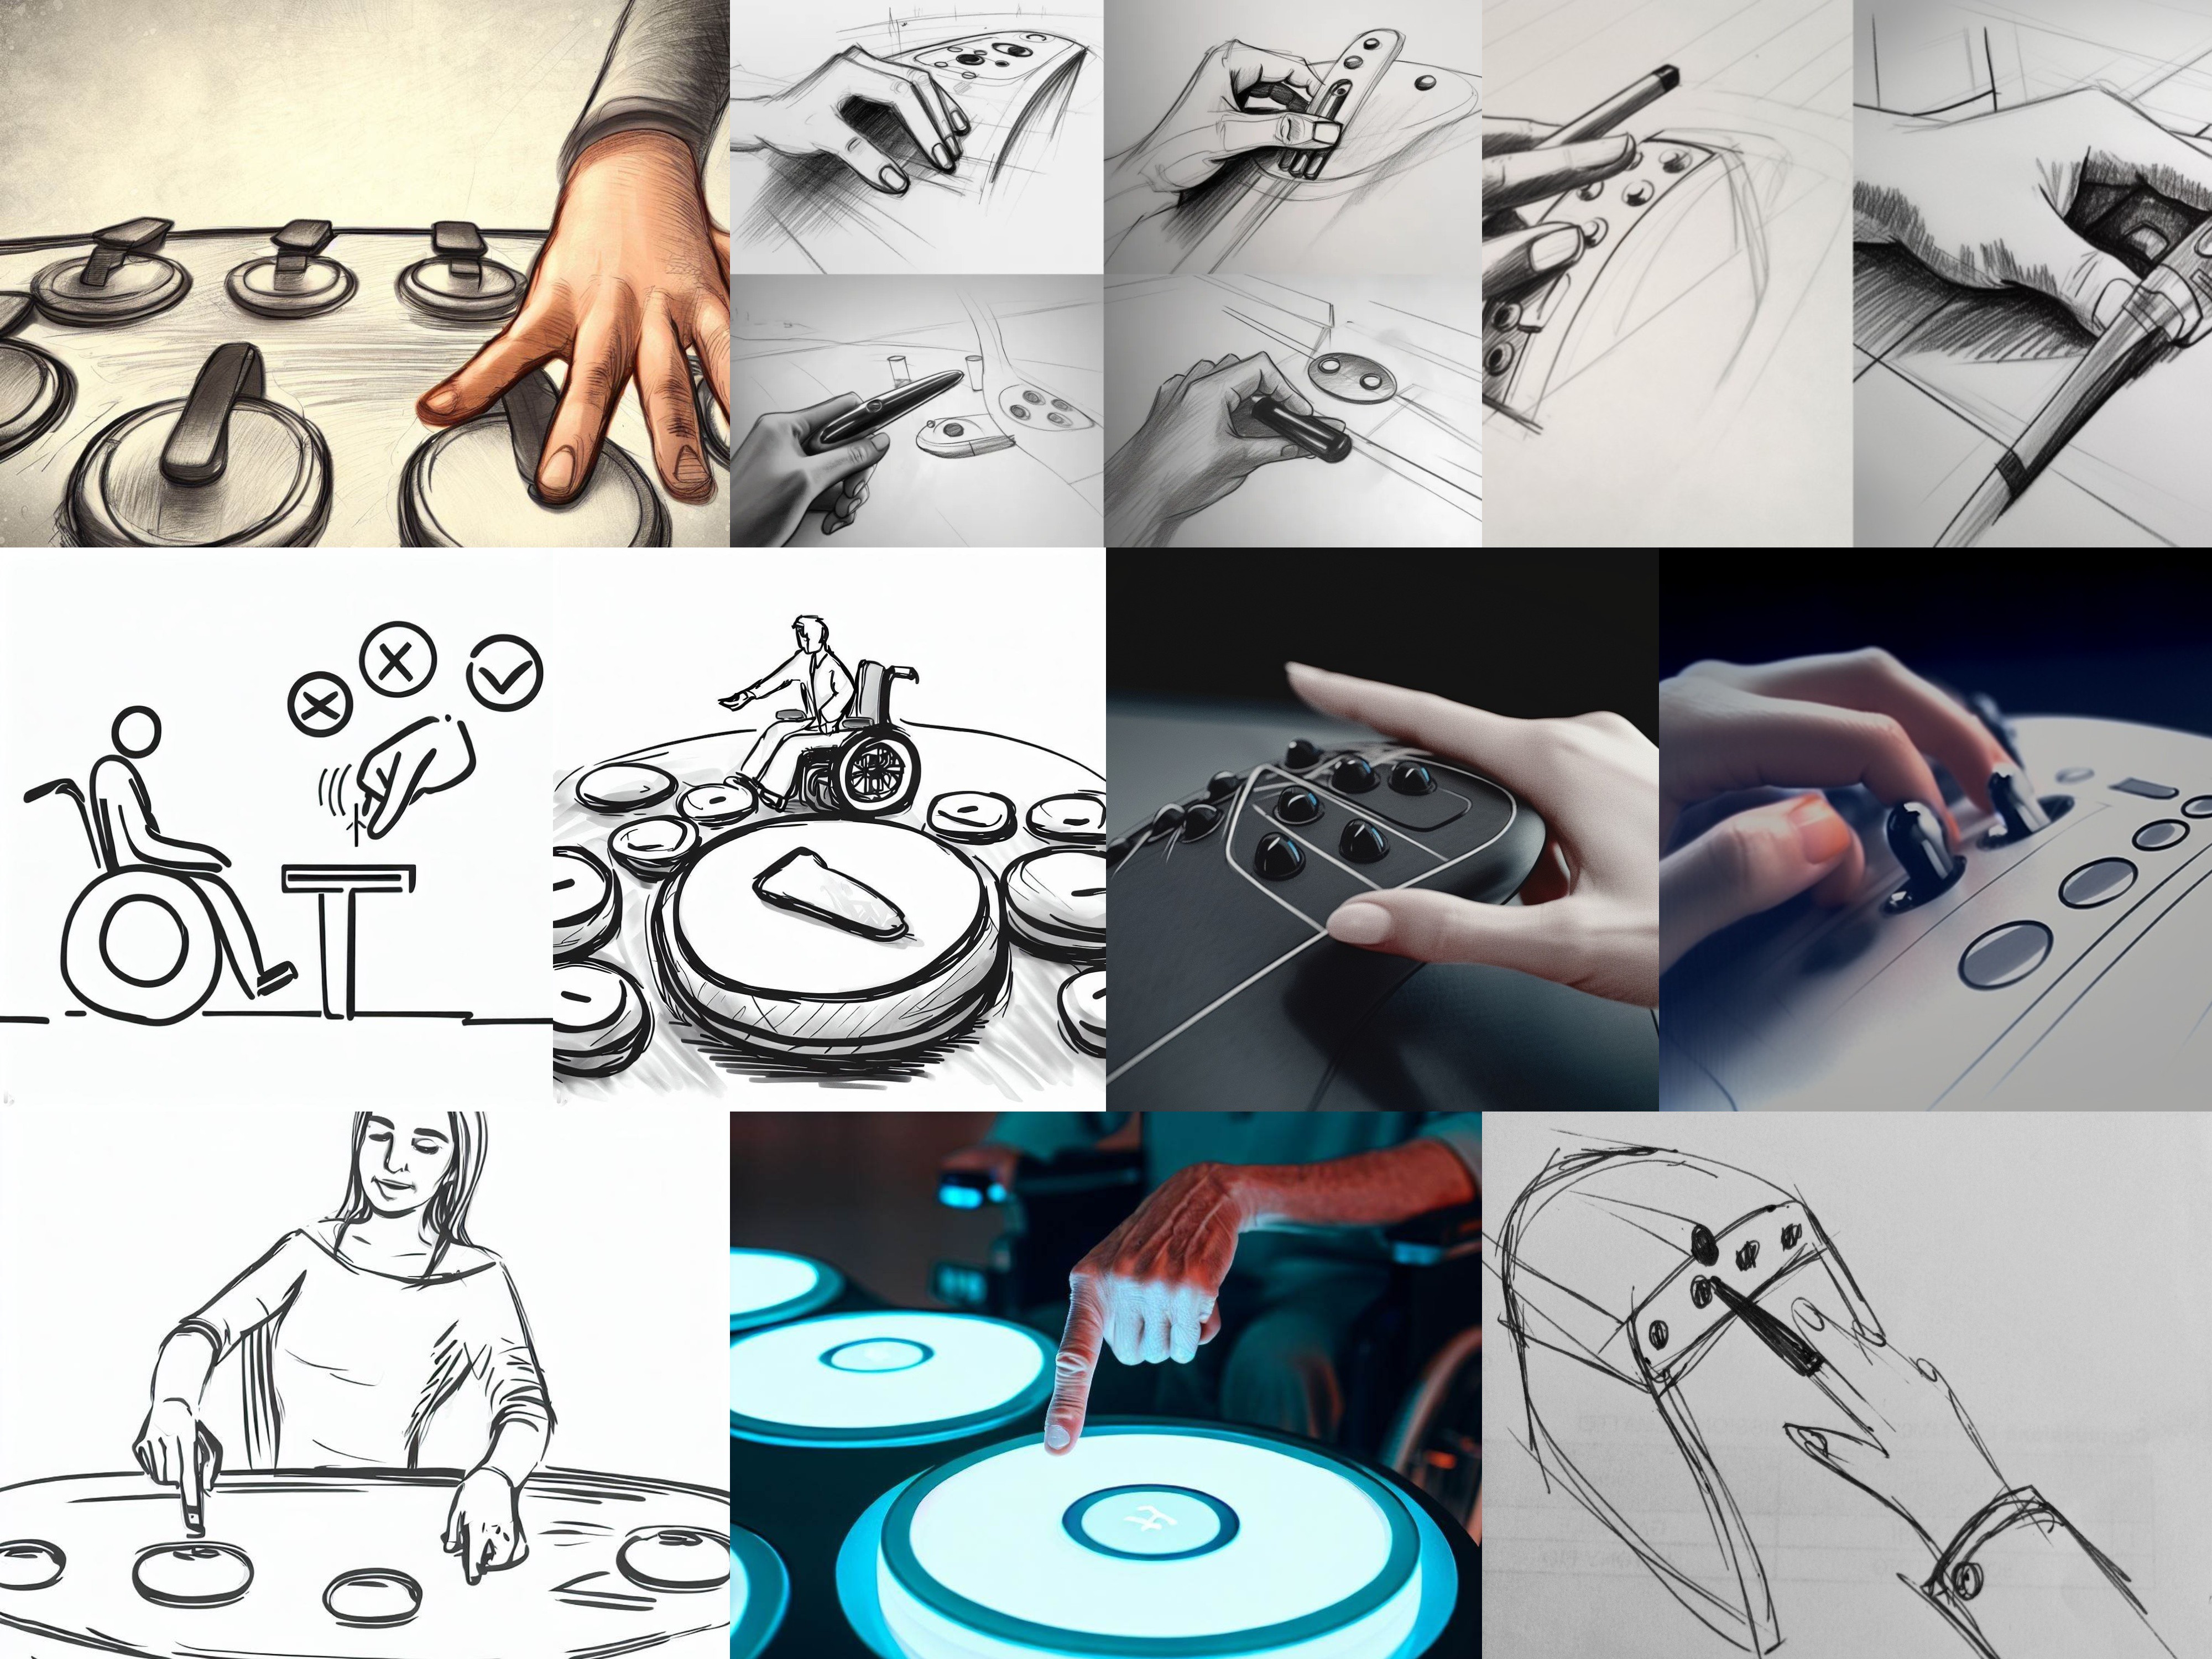
With these new tools, the process of producing concepts or images is very fast, and by playing around with parameters, we are able to produce images of good quality and consistent with expectations.In one hour of testing, we produced about 10 images by entering very general and quite similar inputs with each other.
![]()
We selected 3 images that triggered curiosity or ideas we had not thought of.
![]()
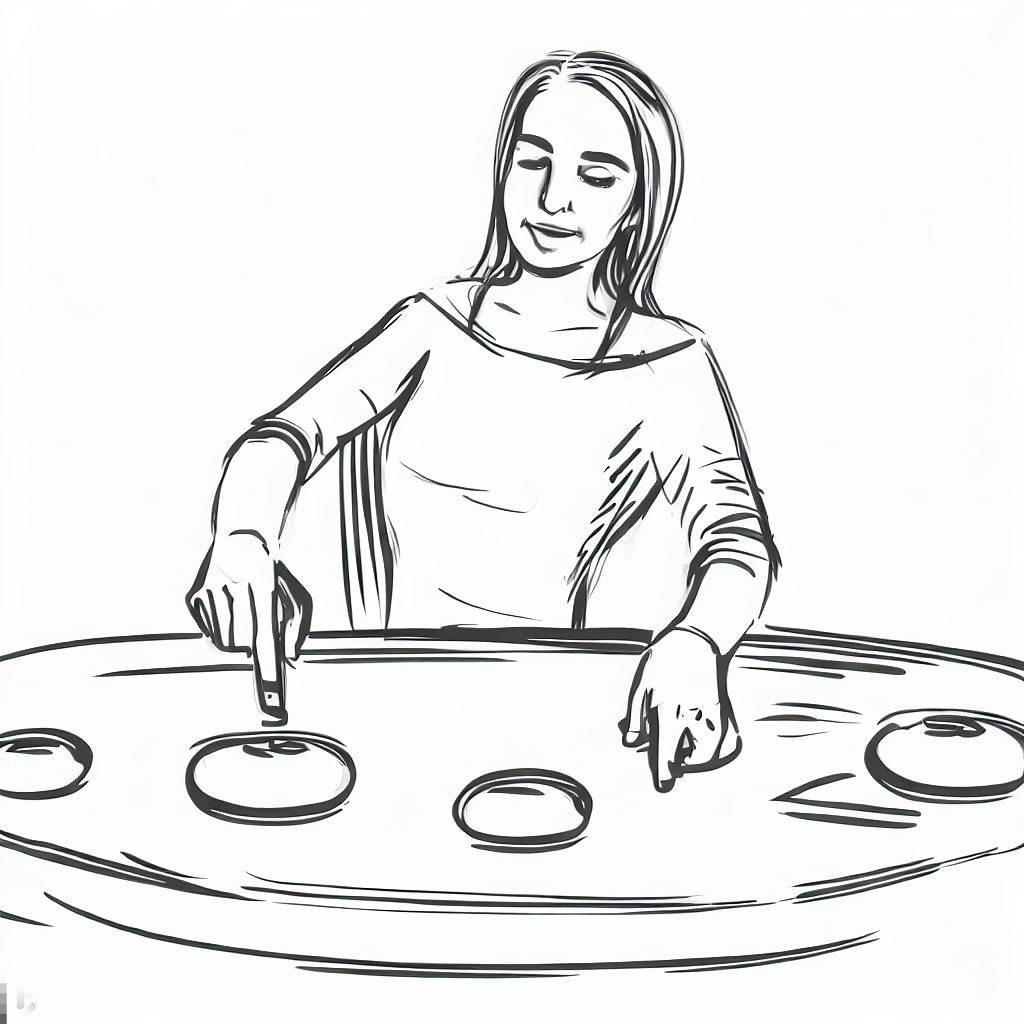
This first sketch impressed us because it described a typical use-case in a few strokes. It did not inspire us any particular ideas, but this sketch manages to explain very directly the typical gestures and interaction of the system.
![]()
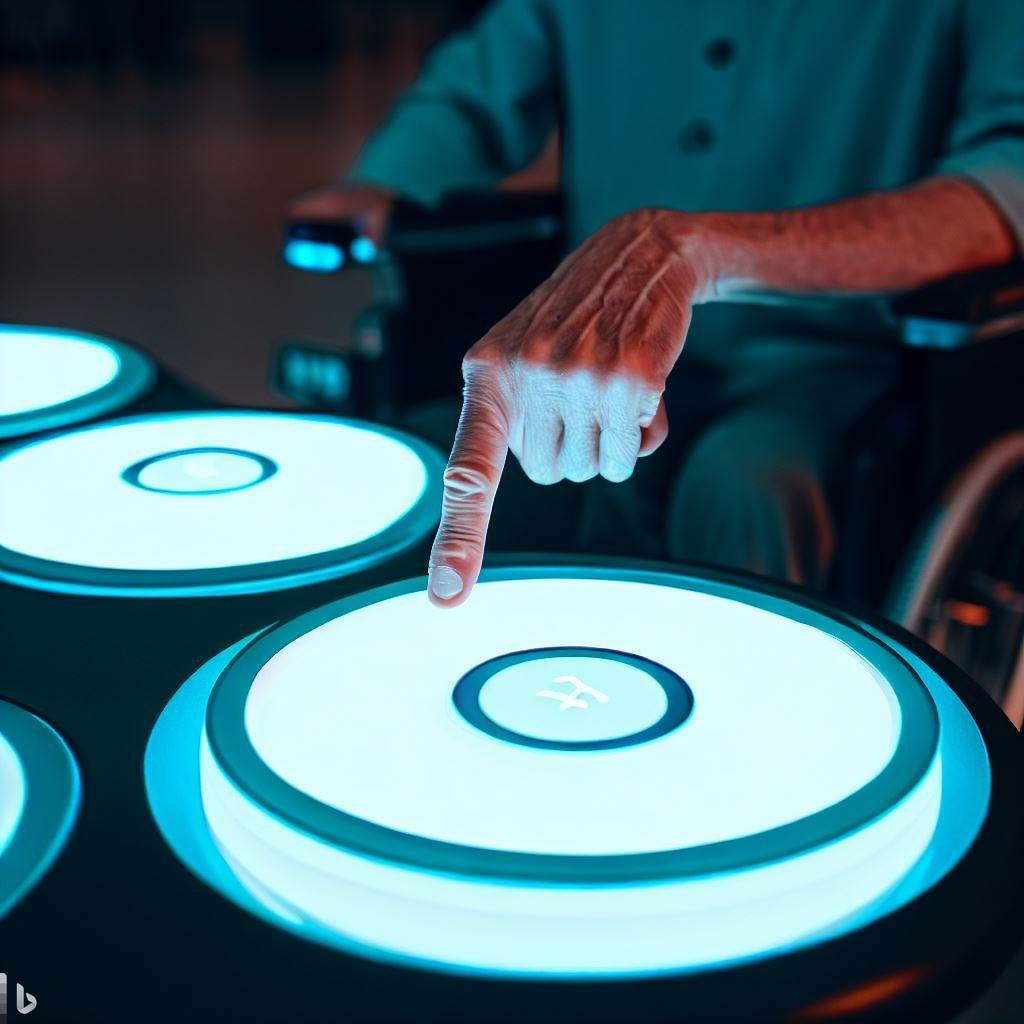
The second image proposes to us a concept similar to the previous one. In this case the AI focused our attention on the concept of a light button. In truth, we had not yet thought of visual feedback beyond the small display... Lighting buttons could open the development to specific devices for motor problems combined with low vision
![]()
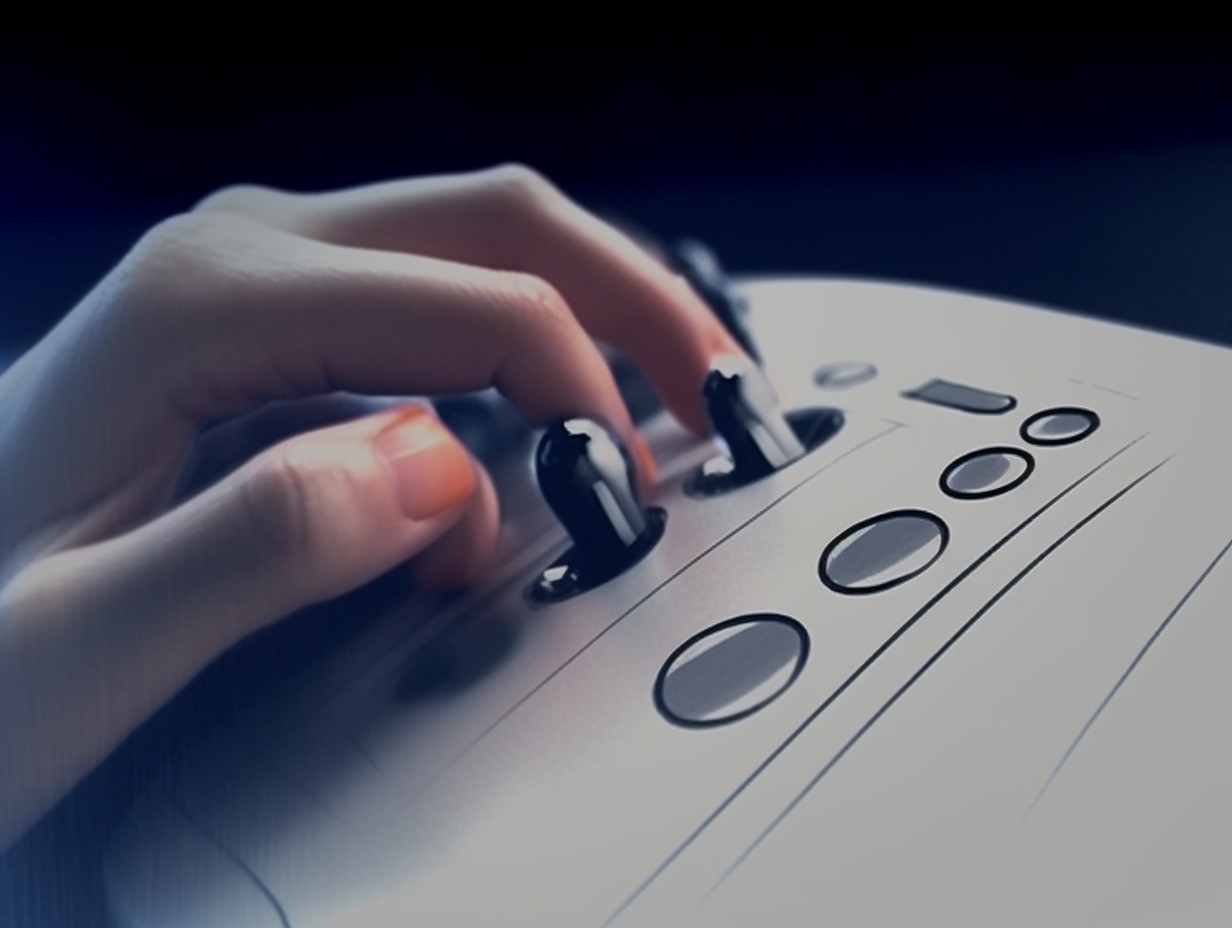
Although we have always used very similar prompts, this image is totally different from the others.
The interesting idea of AI is in having proposed a curved device with no buttons. We can see instead of buttons a kind of lever.
The concept of levers can be interesting for subjects who,for example, have a lot of strength or violent jerks caused by spasms.At this point Claudio and I wondered if this little experience with AI had been worthwhile.
What to say...
I don't know!
Certainly it was fun to play with a new tool, and the quality of the images is very good and the working time is very fast.
The inputs and ideas that this process has given us are limited but still good.
I will have to meet my friend Claudio another time and try the old technique of drawing on a sheet of paper! -
Ep. 3 - Firmware overview #code
05/30/2023 at 15:33 • 0 commentsI developed the firmware with platformio, Esp32/Arduino framework, and it is based on bodmer/TFT_eSPI, t-vk/ESP32 BLE Keyboard, and t-vk/ESP32 BLE Mouse libraries.
Using the ESP32 BLE Keyboard and ESP32 BLE Mouse libraries, the device works on all desktop and mobile operating systems without any other apps, software, or other tools installed on the master machine. Connecting K-Ability to any device simply by Bluetooth pairing.
I organized the program in tasks with FreeRTOS. Although it seems a complicated approach, I preferred to divide the various features of the code into different files and tasks, in order to make easier to copy/paste the code for other projects.bluetoothTask (include/bluetooth.h)
handles bluetooth connection. It checks for disconnection every second and reports events on the screen.batteryTask (include/battery.h)
prints the battery status every 30 seconds. It will also handle the graphical representation of the battery status.buttonsTask (include/buttons.h)
handles the events of the 7 buttons.
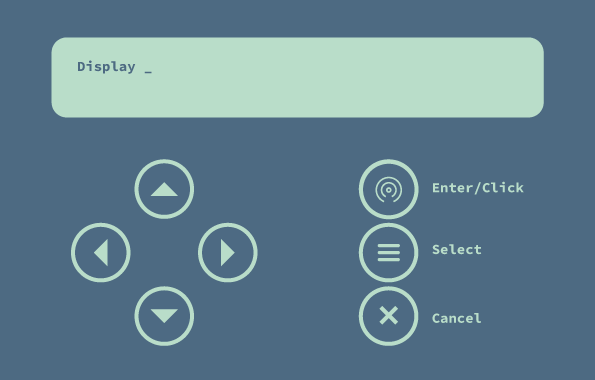
Right now the firmware manages capacitive buttons only, by using default Esp32 "Capacitive Touch Sensor Pins" (gpio 2, 4, 12, 13, 14, 15, 27, 32 and 33 ). One of the upcoming developments will give the possibility to use normal tactile buttons as well.4 out of 7 work as directional buttons (top, bottom, right and left), the fifth one as enter/click button, the sixth on as select button and the last one as cancel button.
![]()
"Select" button allows browsing through all over functions of the firmware.
"Cancel" button returns to the default function.In this task I manage each button by valuing a global variable. Each individual function is managed by the mouseKeyboardTask task.
mouseKeyboardTask (include/mouseKeyboard.h)
handles all main firmware functions.
Up to now, the following functions have been implemented:- Move and click, like a regular mouse
- Move and double click
- DragDrop, for e.g. moving or deleting app icons from the home screen, or doing "long mouse press" and cursor moves actions at same time.
- Scroll/Zoom, useful, both for vertical scroll and for zooming a photo in the gallery
- Swipe, both vertical and horizontal, useful for scrolling photos in the gallery or, for example, reels in instagram.
All keyboard-related functions will be documented and committed later
showOnDisplay(), refreshScreenState(), startDisplay()
I used T-Display tft screen to get visual feedback from the program.Getting access to functions from all parts of the firmware, I did not create a screen management task,.
These 3 functions initialize, display and refresh graphics on the screen.
Who hasn't a screen, just comment out these 3 functions and the TFT_eSPI library.To better understand how it works, I share this old video. Of course the technology is different but the mechanism of operation is identical.
-
Ep. 2 - Test board #hardware
05/30/2023 at 15:01 • 0 commentsAs I said in the introduction, I thought that the best way to spread the project is to use opensource and inexpensive boards that everyone can buy from various stores on the web.
In fact, I believe that designing a specific pcb limits the use and development of the project only to those who are familiar with smd soldering and other board manufacturing techniques. In this way, even hobbyists or students will have access to all the features of the project.
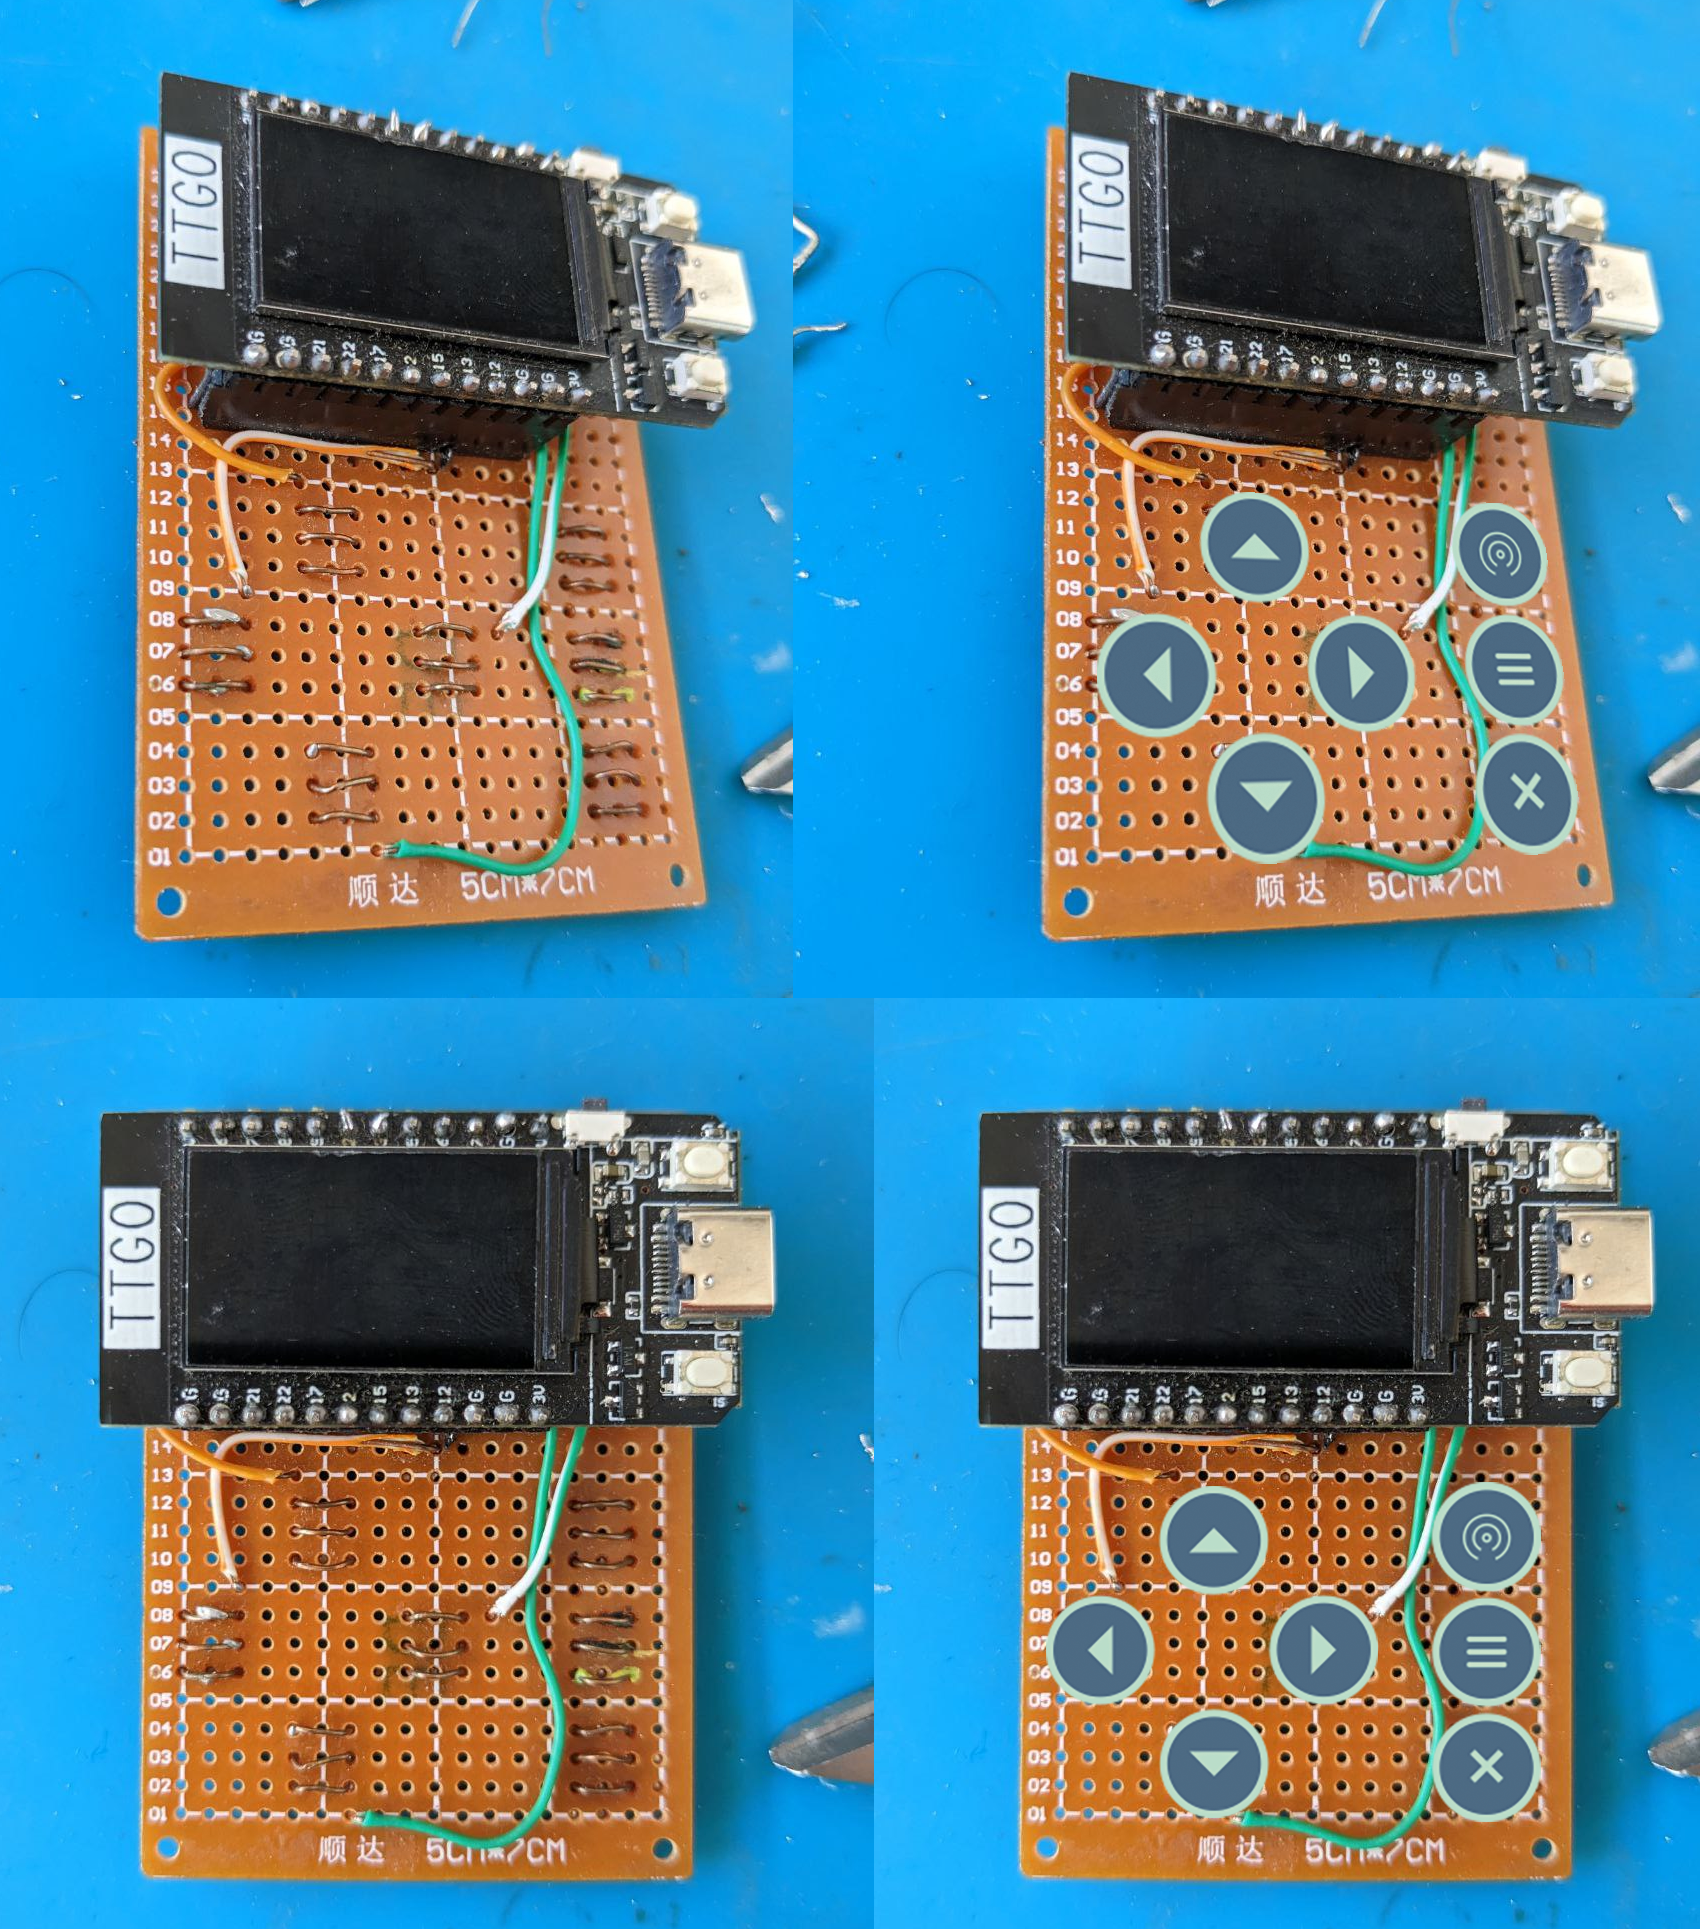
For the past few months I have been using the T-Display board because it is inexpensive, already equipped with a display, and already ready to attach a battery.To quickly test the firmware, I created this board. It is not the most elegant, but it is functional!
![]()
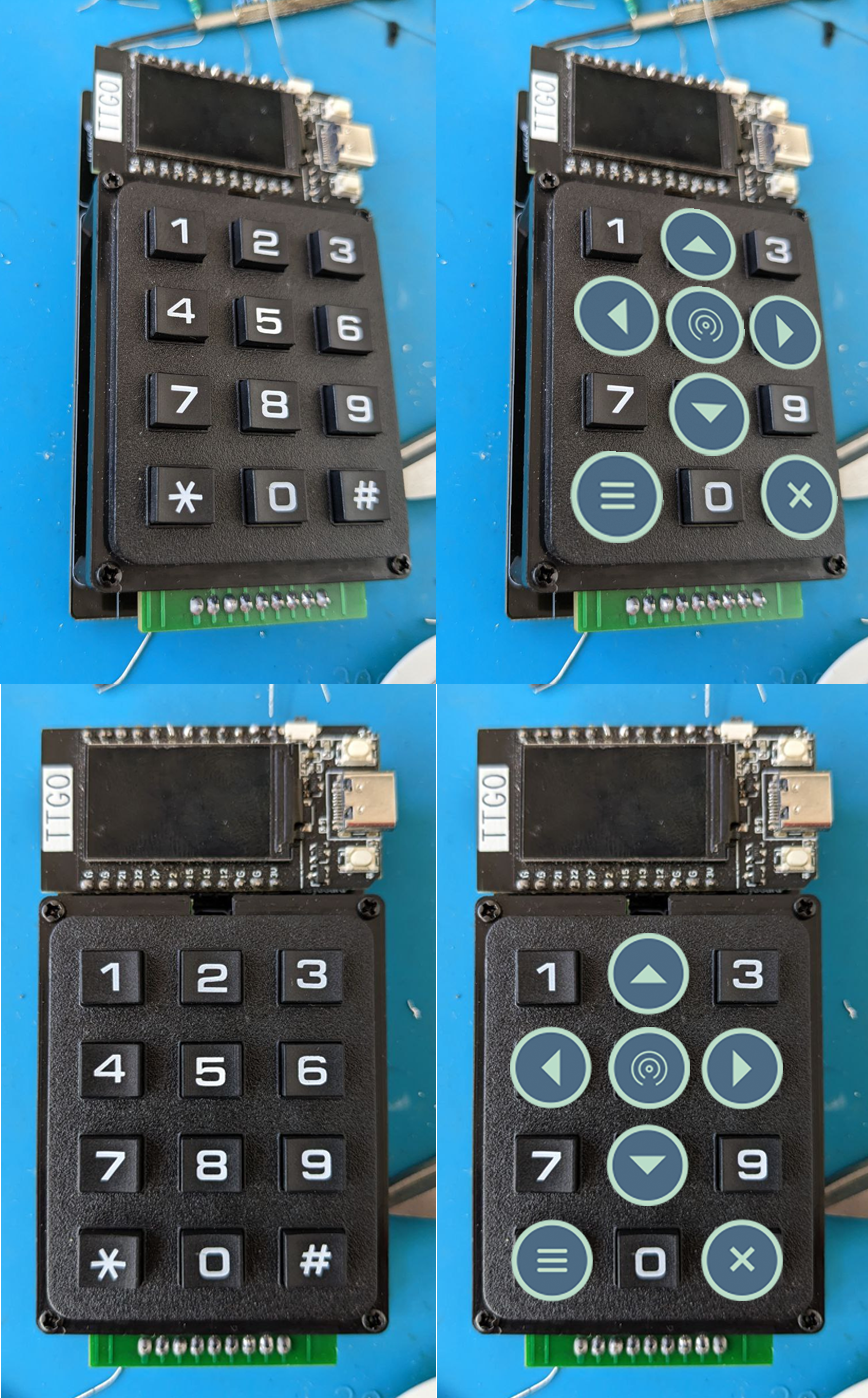
Regarding physical buttons I will also use this board. A bit more elegant than the first one....
![]()
For future developments I do not exclude testing other opensouce boards like T-Display-S3 (the evolution of the board I am using), T5-2.13inch E-paper (E-paper might be good for battery life) and Seeeduino Seeed Studio XIAO ESP32-C3 (super cheap and suitable for small applications).
The next hardware developments will be the design of 2 pcb:
- a development board that, in addition to giving a more professional development and testing tool, will also be able to be used in some cases, such as in pathologies that allow only one finger movement.
- a pcb that allows the use of both physical and touch buttons, so that device size can be scaled up, giving the possibility of creating much larger devices for pathologies that require it
-
Ep. 1 - Hystory and timeline
05/25/2023 at 15:06 • 0 commentsThis is not the first time I have posted this project on Hackaday or other platforms.
Each previous project consisted of a device that would allow people with physical problems ( like tremors and spasms) to use a computing device.
Working on these projects, I became passionate about finding a simple way to make complex actions, like touch screen gestures, accessible. My research did not focus on the design of simple mouse or keyboard, but on a device that would allow for the simplification of the movements most commonly used in mobile devices.
Each device previously made, consisted of 7 buttons (4 arrows and 3 actions). The combination of these 7 inputs made it possible to break down each complex gesture or movement into single simple actions to be performed procedurally, avoiding the physical and cognitive stress of simultaneous multiple movements in a single action.
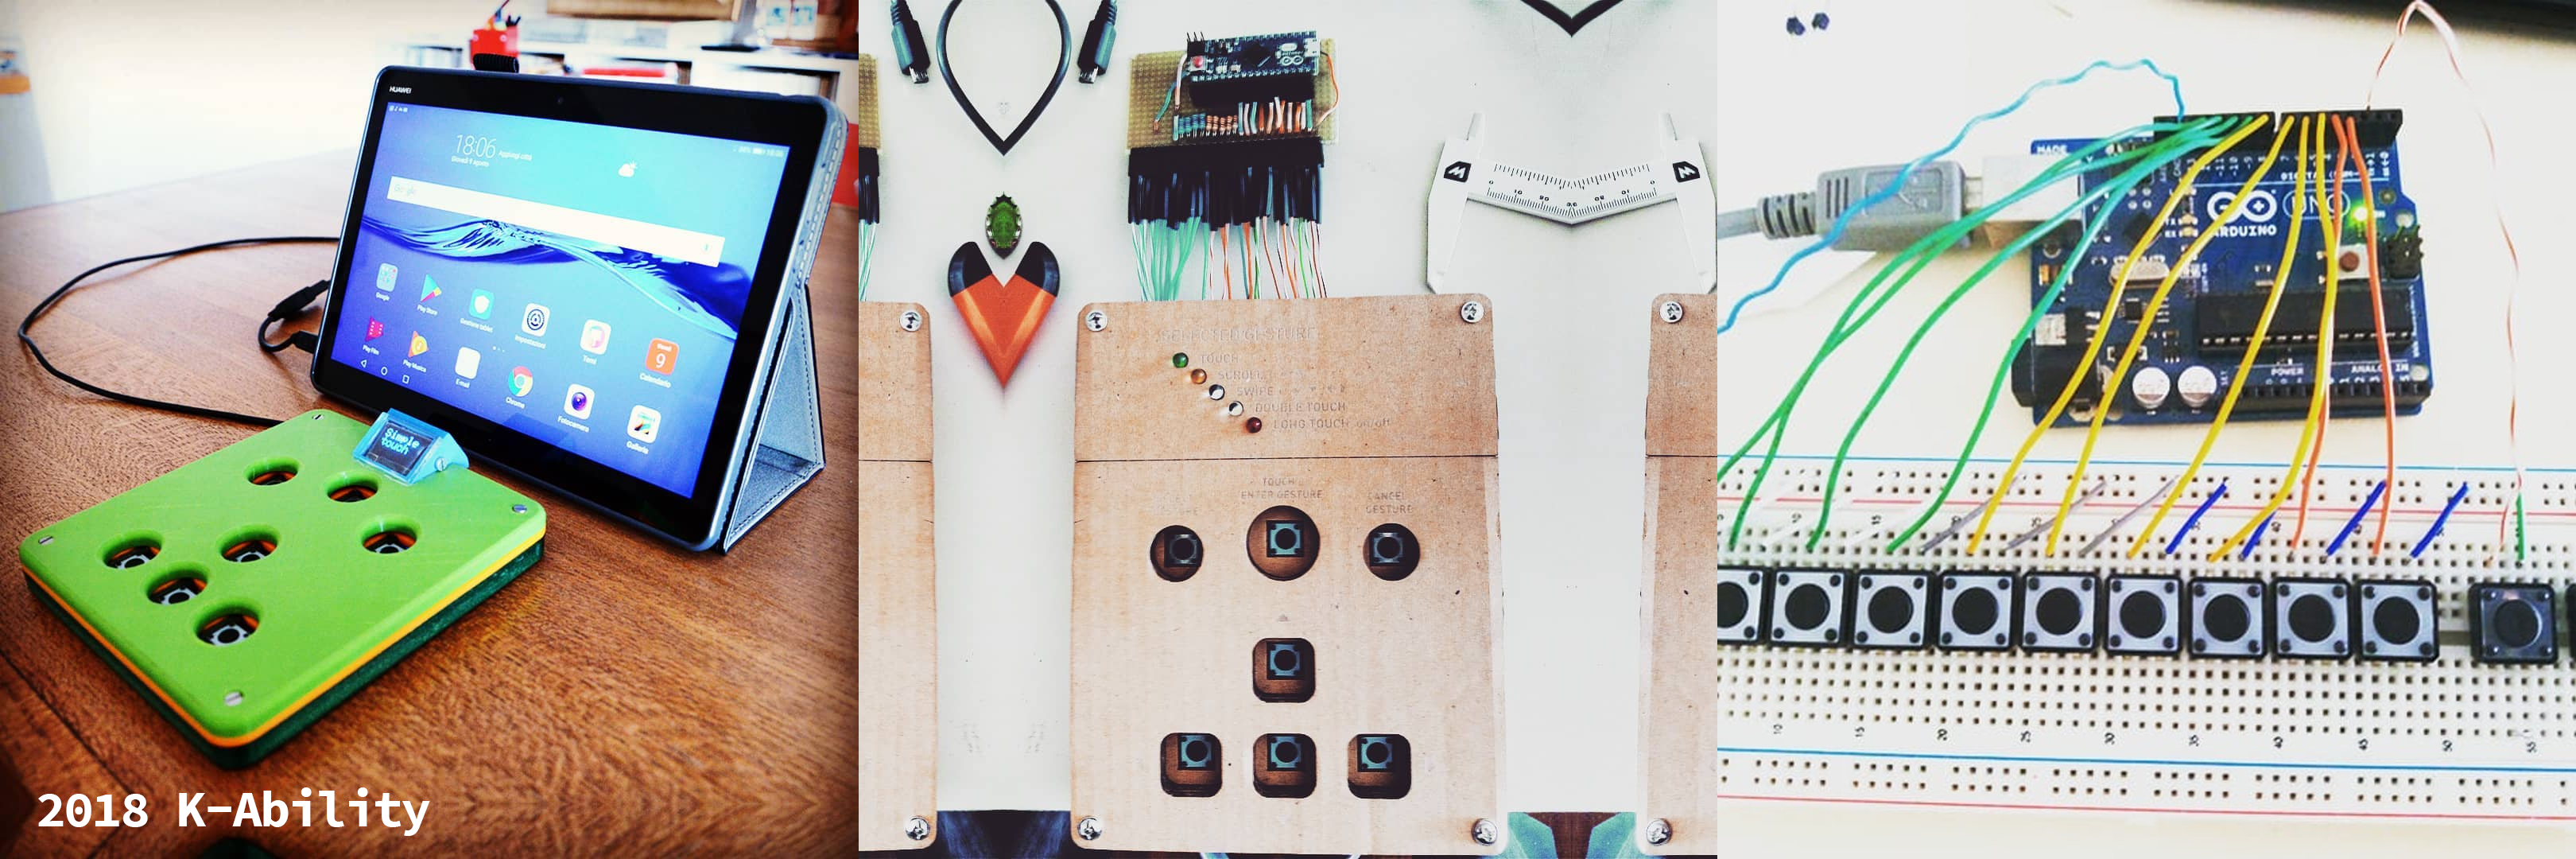
2018 K-Ability
https://hackaday.io/project/160279-k-ability - video![]()
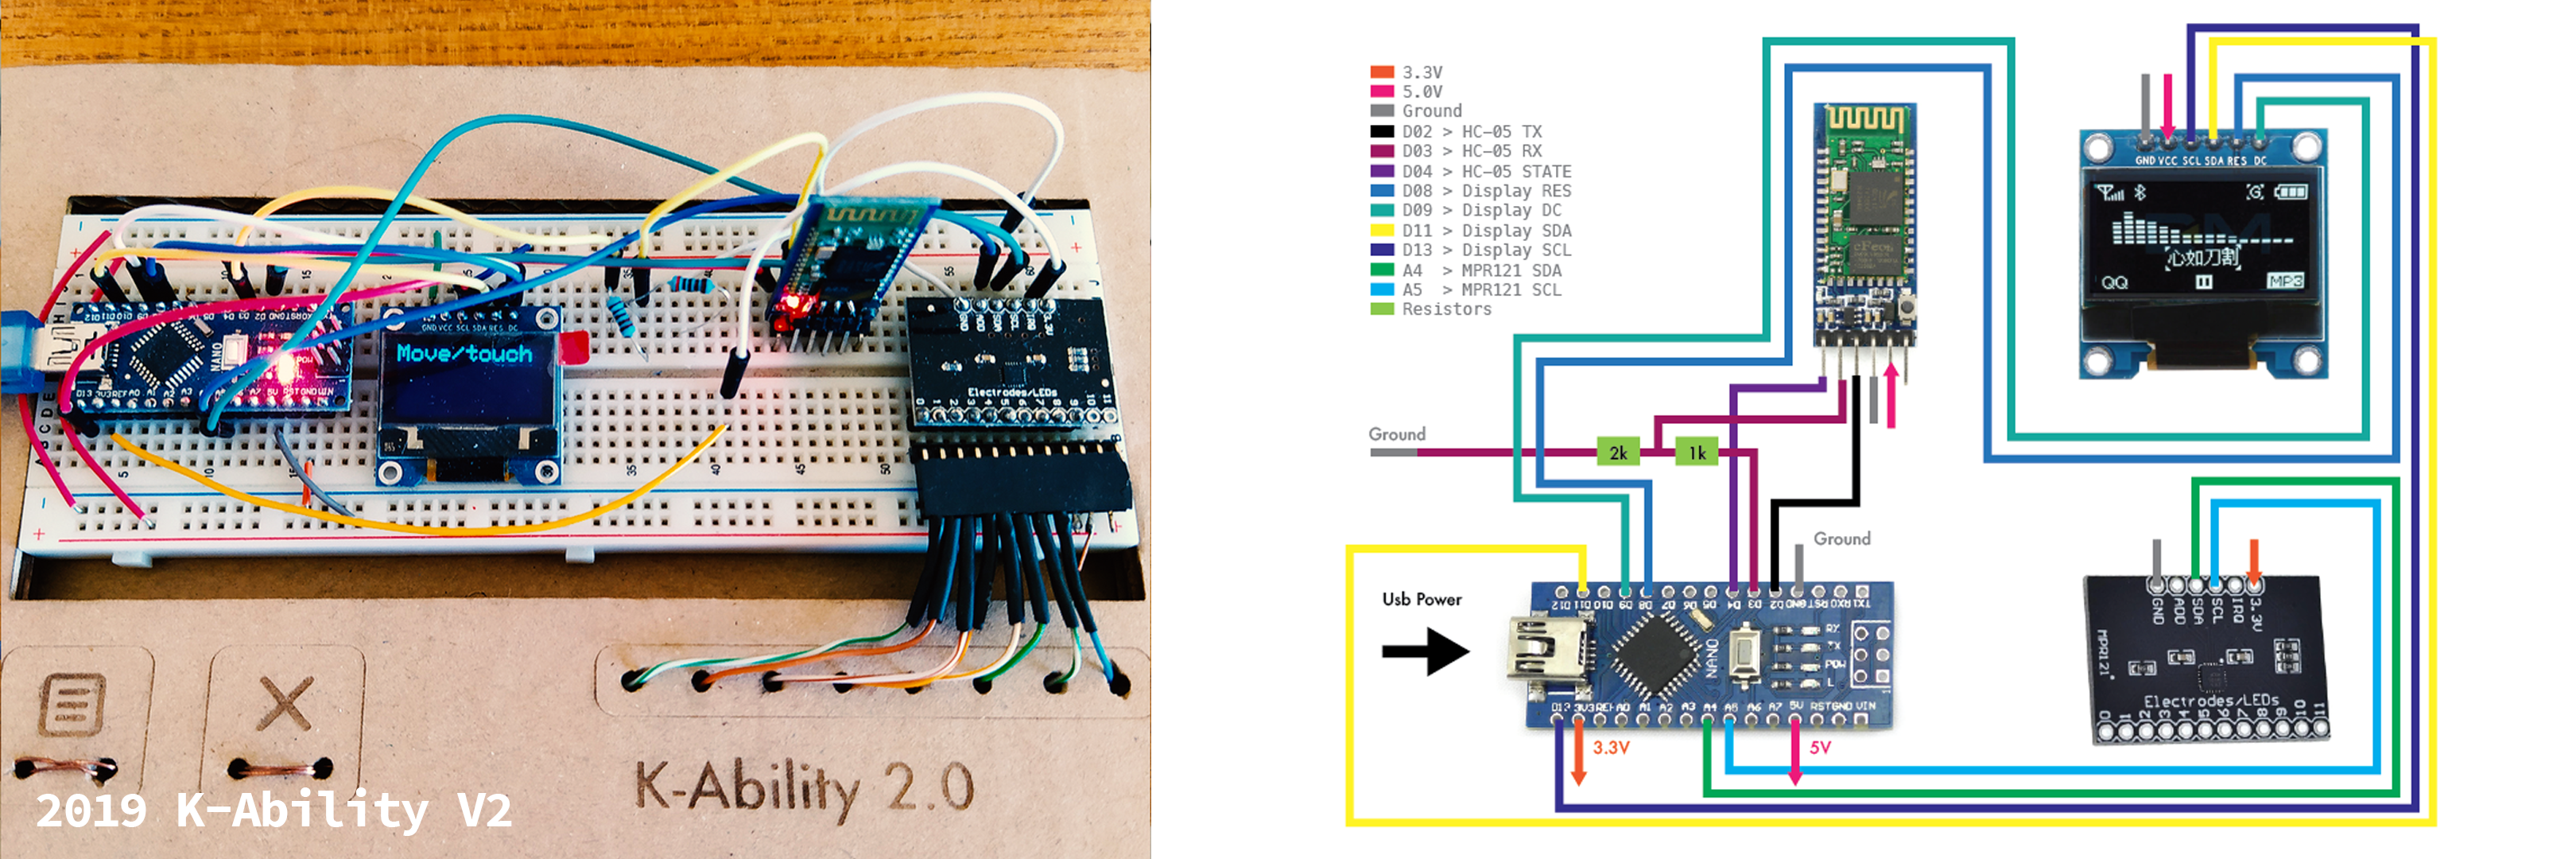
The project consisted of 3 prototypes made with Arduino. The first was made simply with a breadboard with buttons. The second was made of cardboard and had a more elaborate shape. The last one was more solid and neat, made in 3d printing and equipped with a small oled screen. The device was compatible with many devices and connected and powered via usb port.
2019 K-Ability V2
https://www.instructables.com/K-Ability-V2-Open-Source-Accessible-Keyboard-for-T/ - video![]()
A year later I created a paper prototype by adding bluetooth connection and replacing the tactile buttons with capacitive buttons.
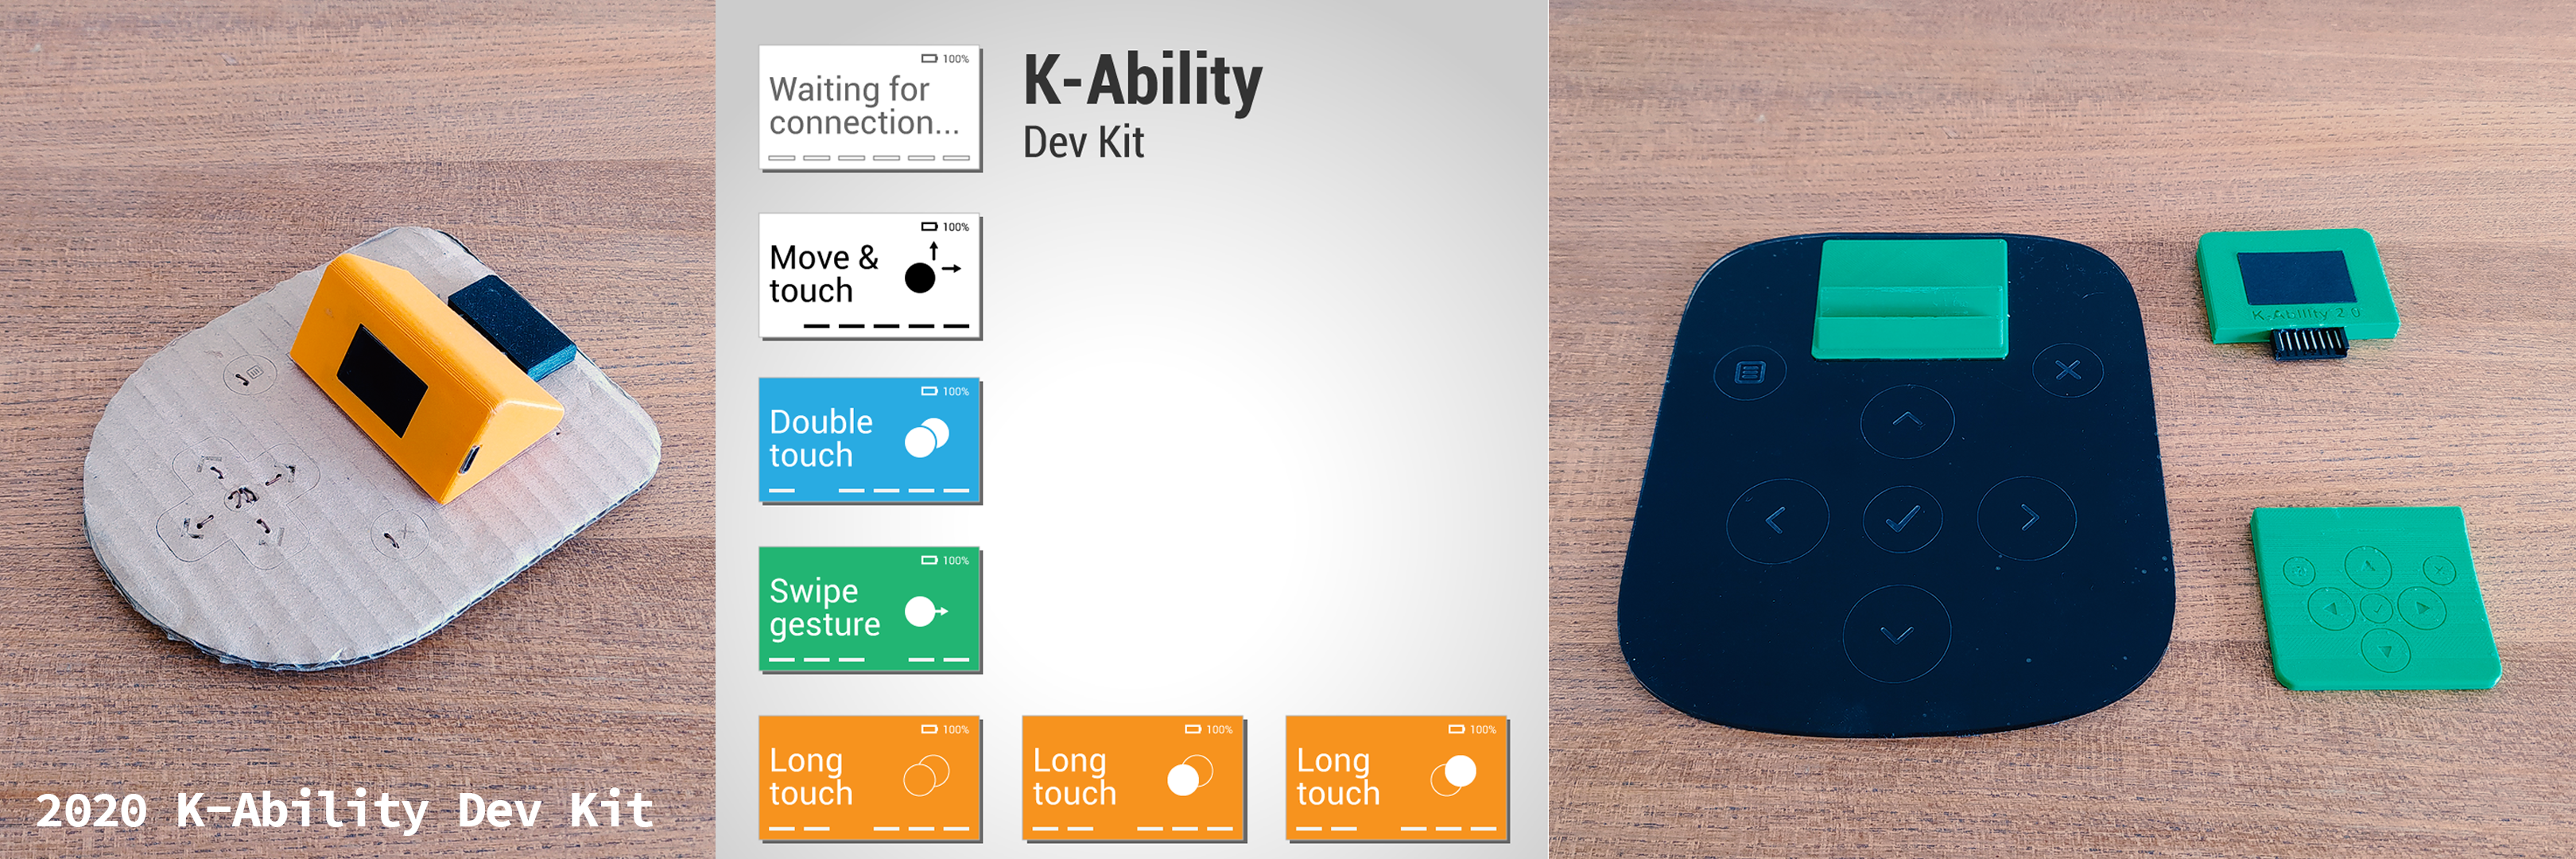
2020 K-Ability Dev Kit
https://hackaday.io/project/172392-k-ability-dev-kit![]()
From 2020, thanks to the release of some specific libraries, I started developing on esp32 so as to save components and circuit space.
The main difference with previous prototypes is that I focused on an idea of modularity in order to give the product various shapes and various sizes.
2023 K-Ability Toolkit
![]()
Now I would like to continue this experience in a different way, creating a library of tools that can help other people self-produce their own devices and share them with the community.
The work in the next few months will have very close updates to get to these 5 main goals:
- Document, clean up and make usable the code (arduino/esp32) used in previous prototypes.
- Document the hardware choices made so far and create open source pcbs to make it easier to build and test future devices.
- Add other functions to the current firmware, such as various types of accessible keyboards, configurations to change the responsiveness of the device, and all those useful functions to configure and make the program solid.
- Publish sketches, technical drawings and design ideas, which will improve the industrial design of possible devices
- Create one or more reproducible devices with open souce technologies.
K-Ability Toolkit
Toolkit for diy devices that allow the use of touchscreens to people with neuromuscular coordination problems
 dariocose