 Gary
Gary-
1Step 1
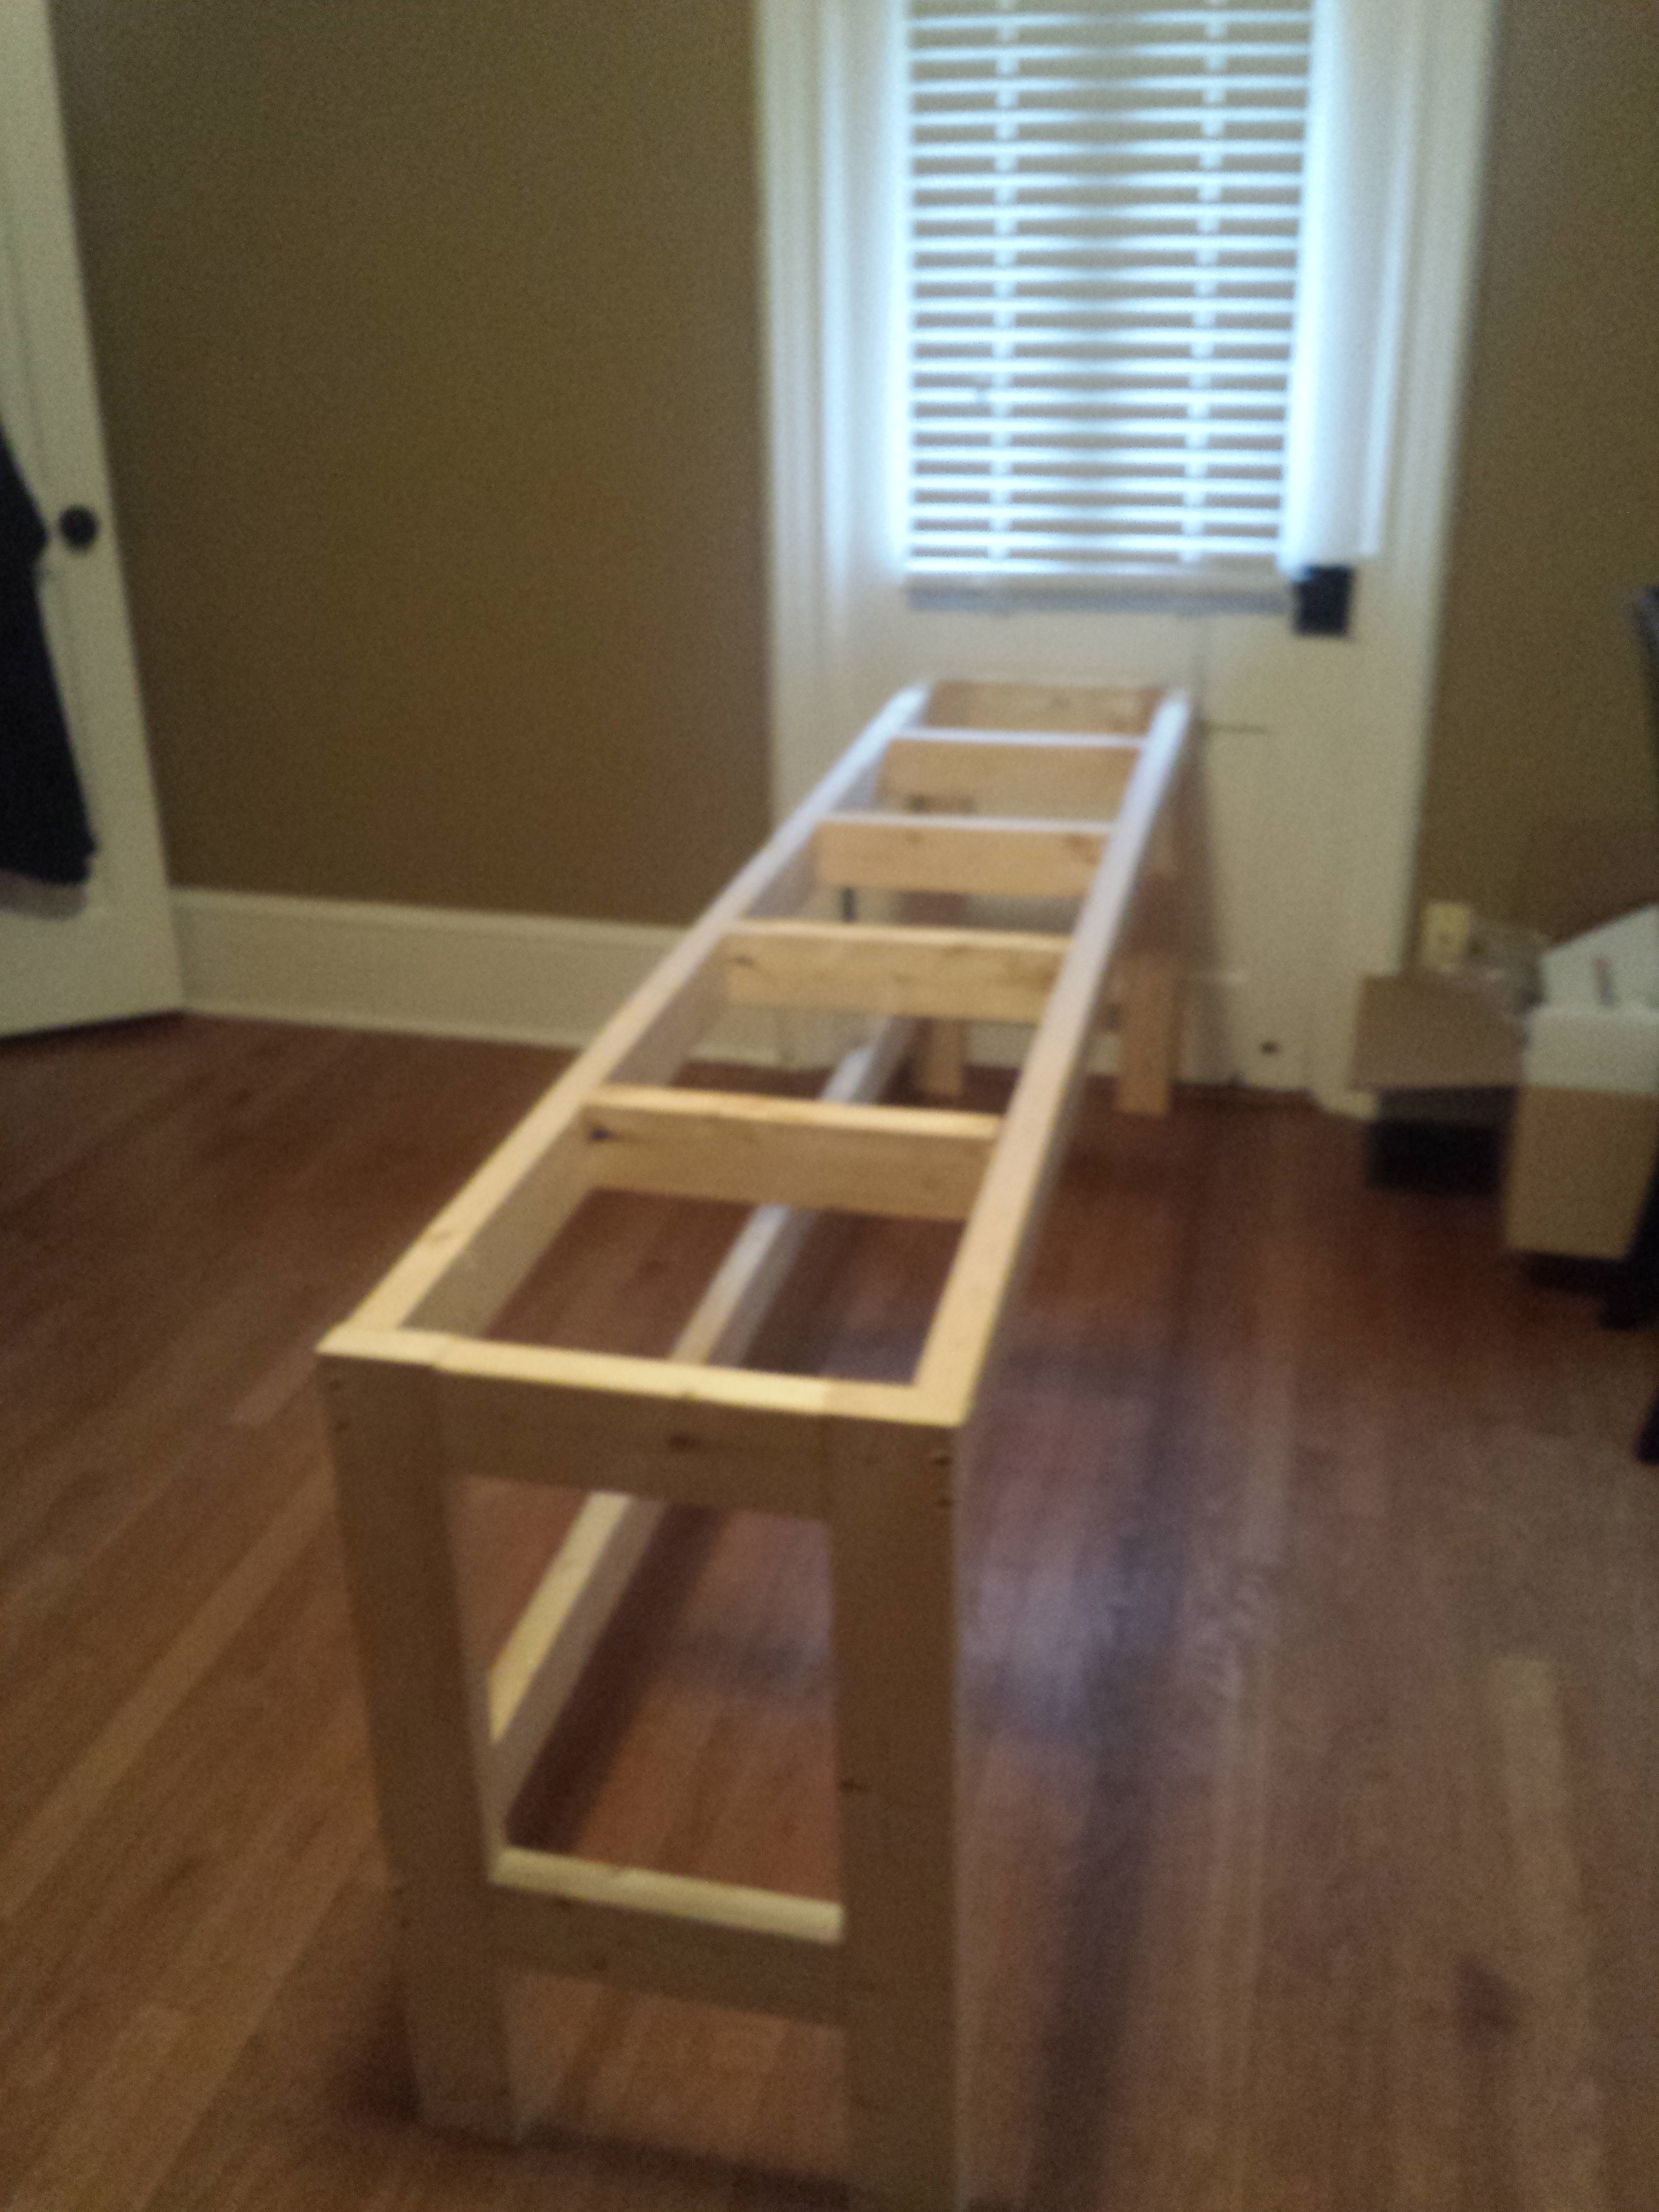
Build 2 sets of leg ends. Desk tops are typically 28 to 30 inches so your legs will be 30 inches minus the width of your desk top materials. The board between the legs are 13 inches in my case but will vary based on the size of your desk top.
![]()
Once you have two legs built, build a ladder frame to hold the top. I also used a lower brace but not sure it would be needed in most cases as the top provides a lot of rigidity.
-
2Step 2
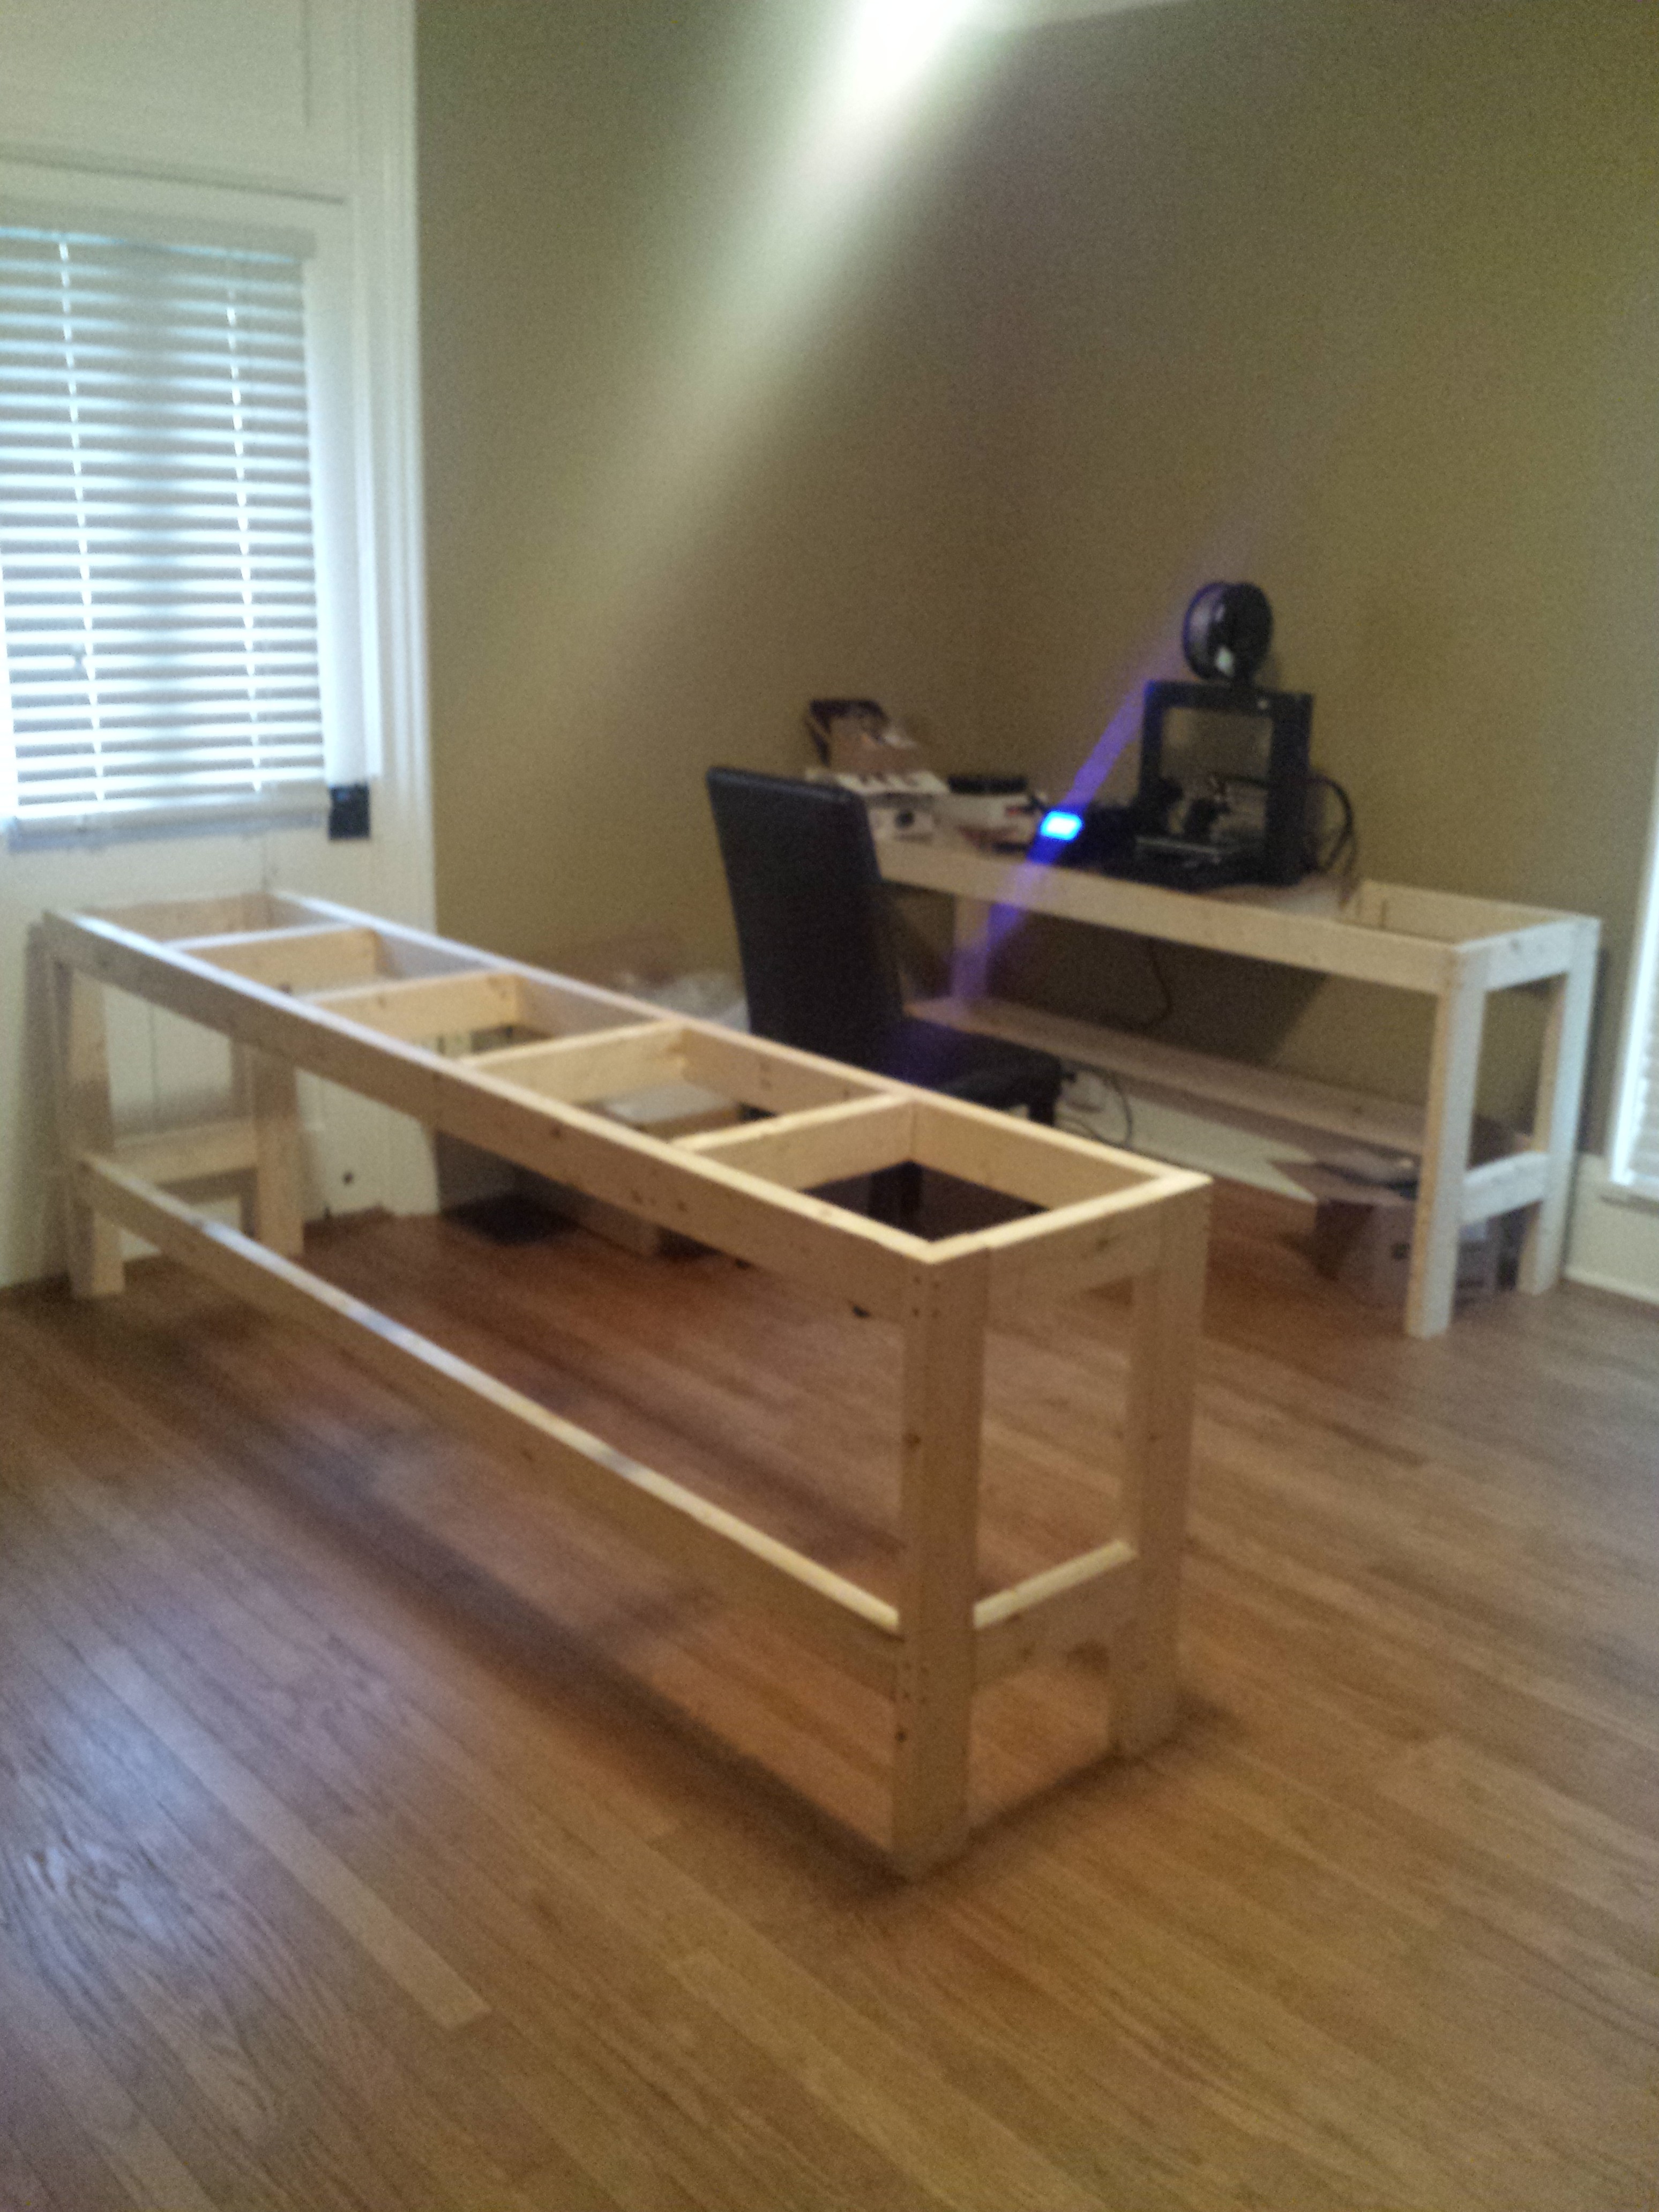
Since I was building a u shapped desk, I built two of the desk frames.
![]()
Due to a the layout of the room One table side was 8ft the other was 6ft.
-
3Step 3
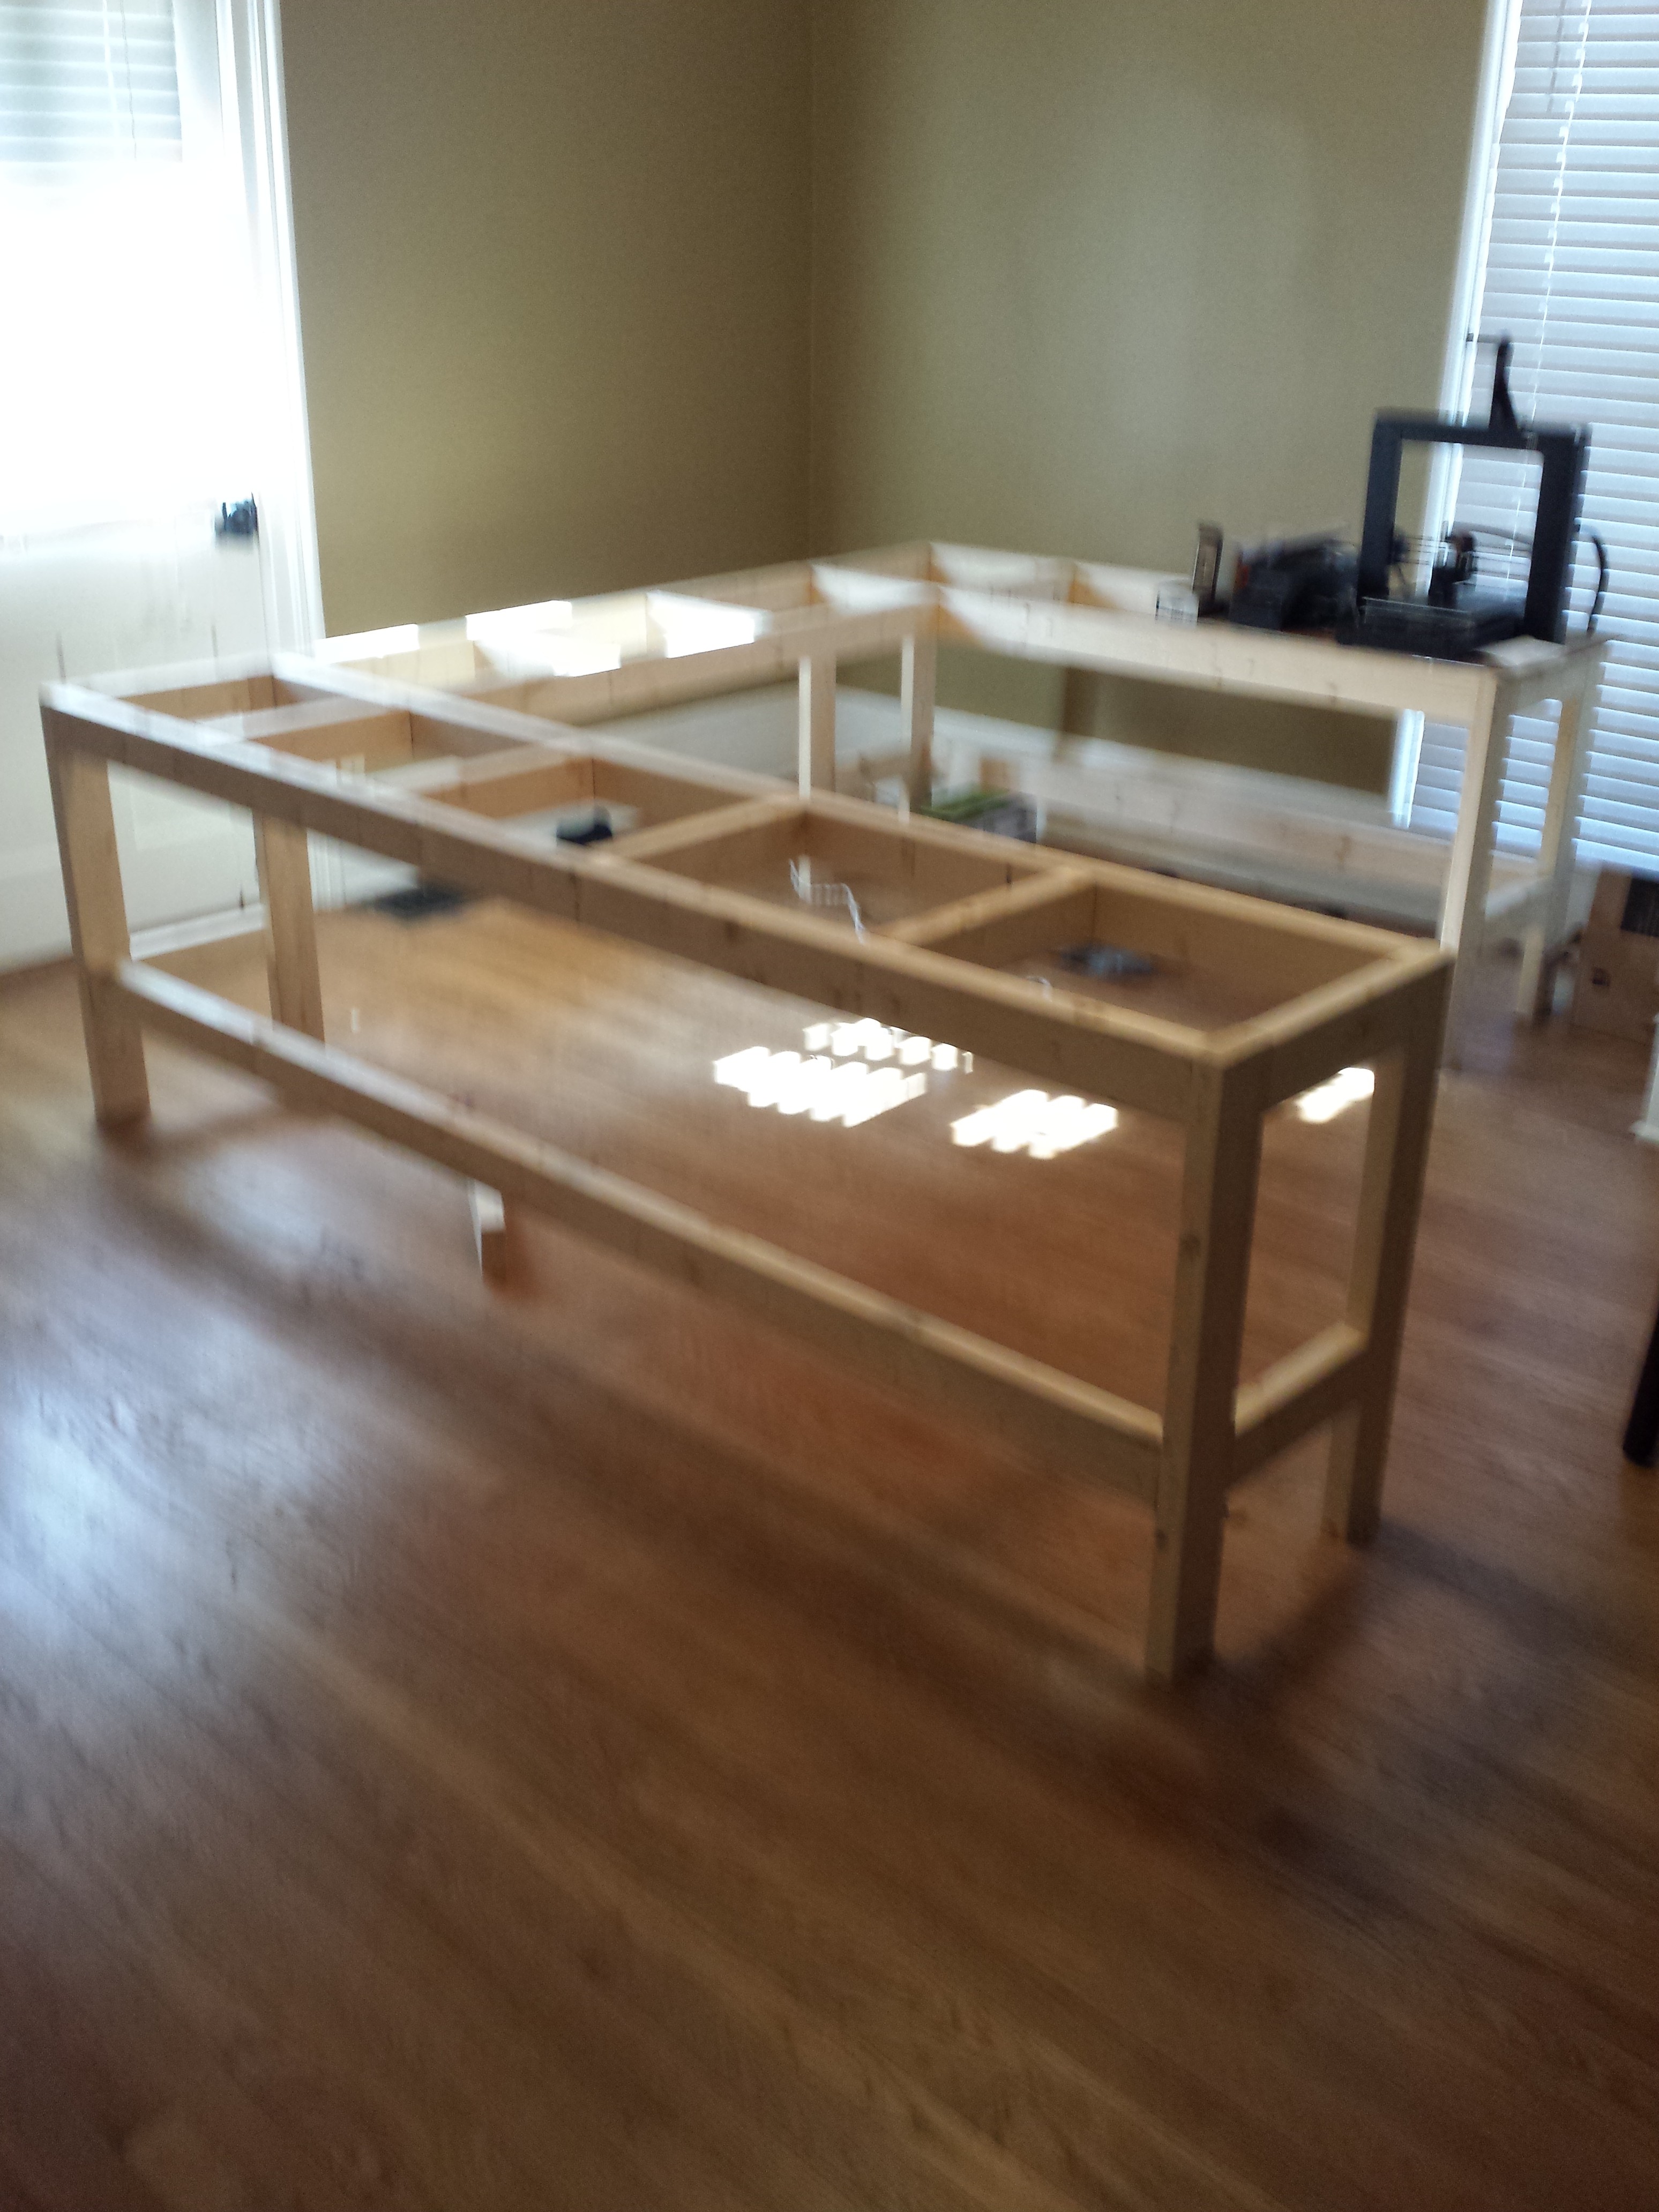
Attach the two table togeather with a bridge. The bridge has no legs to support it.
I did find I had to make the bridge frame a lille more norrow to allow me to attach it without impacting the ladder from the two sides.
![]()
-
4Step 4
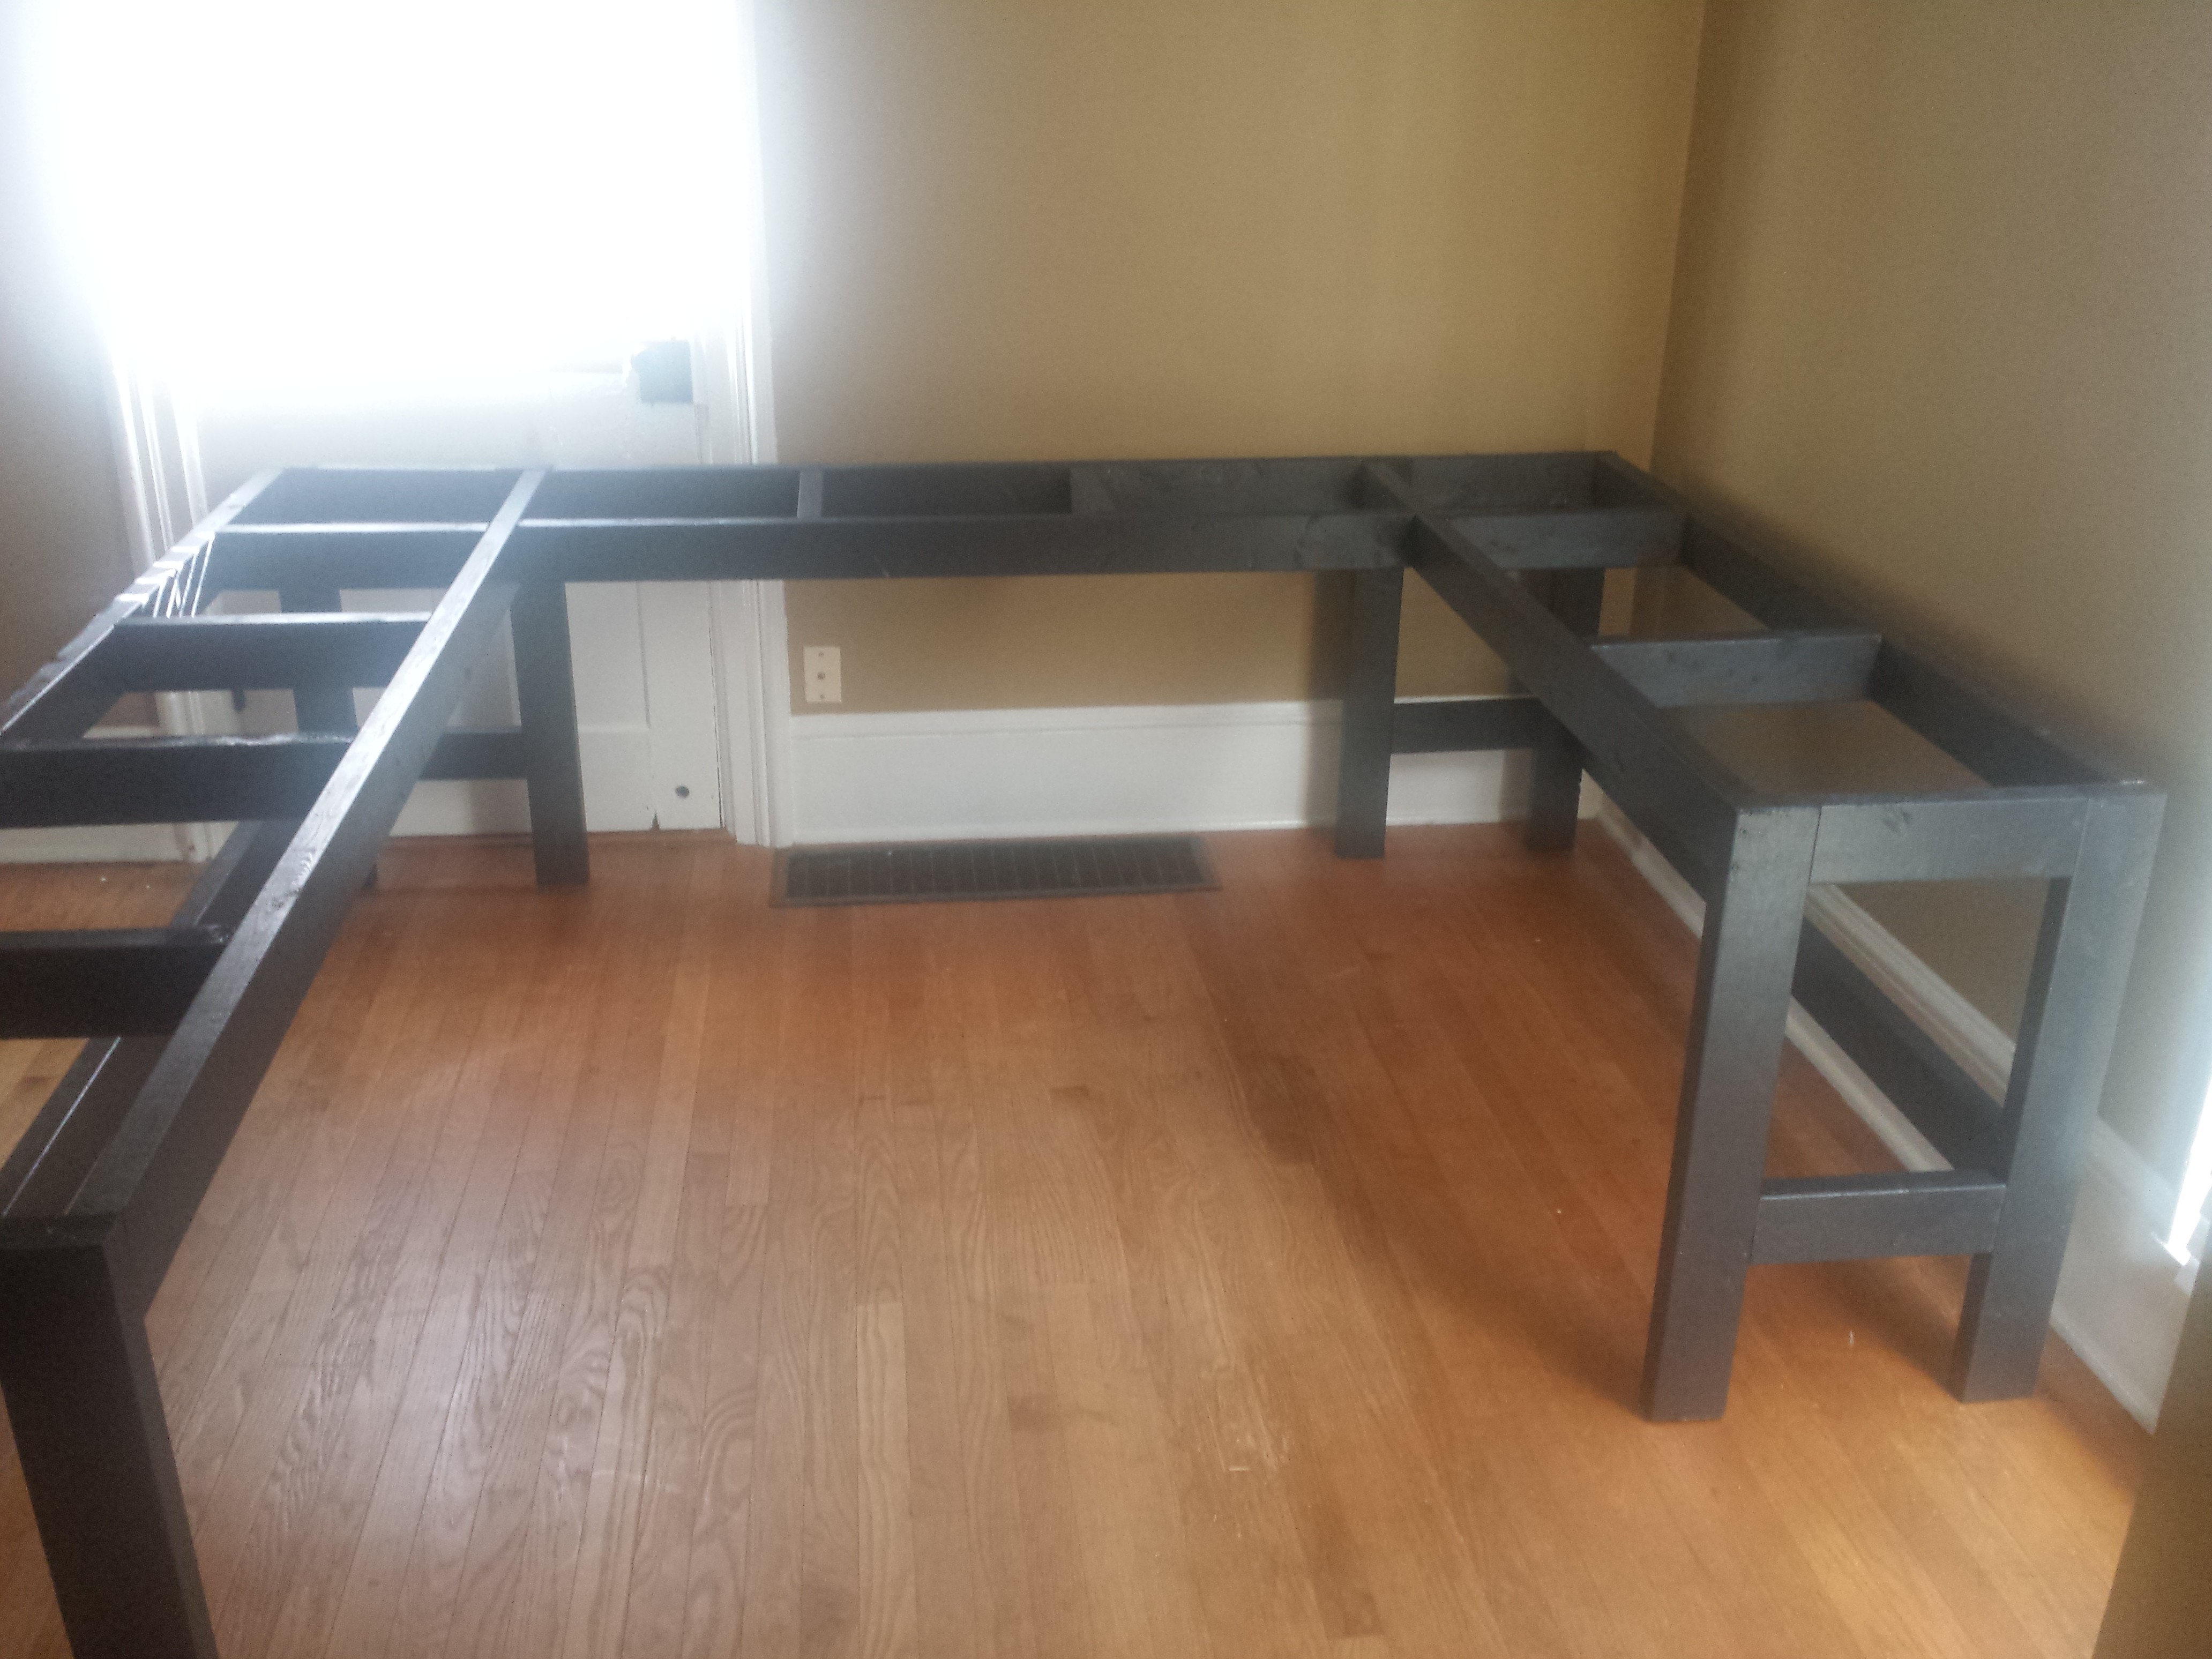
My wife didnt want "wood" color so she painted the frame black to match some of the cabinets in the room.
![]()
-
5Step 5
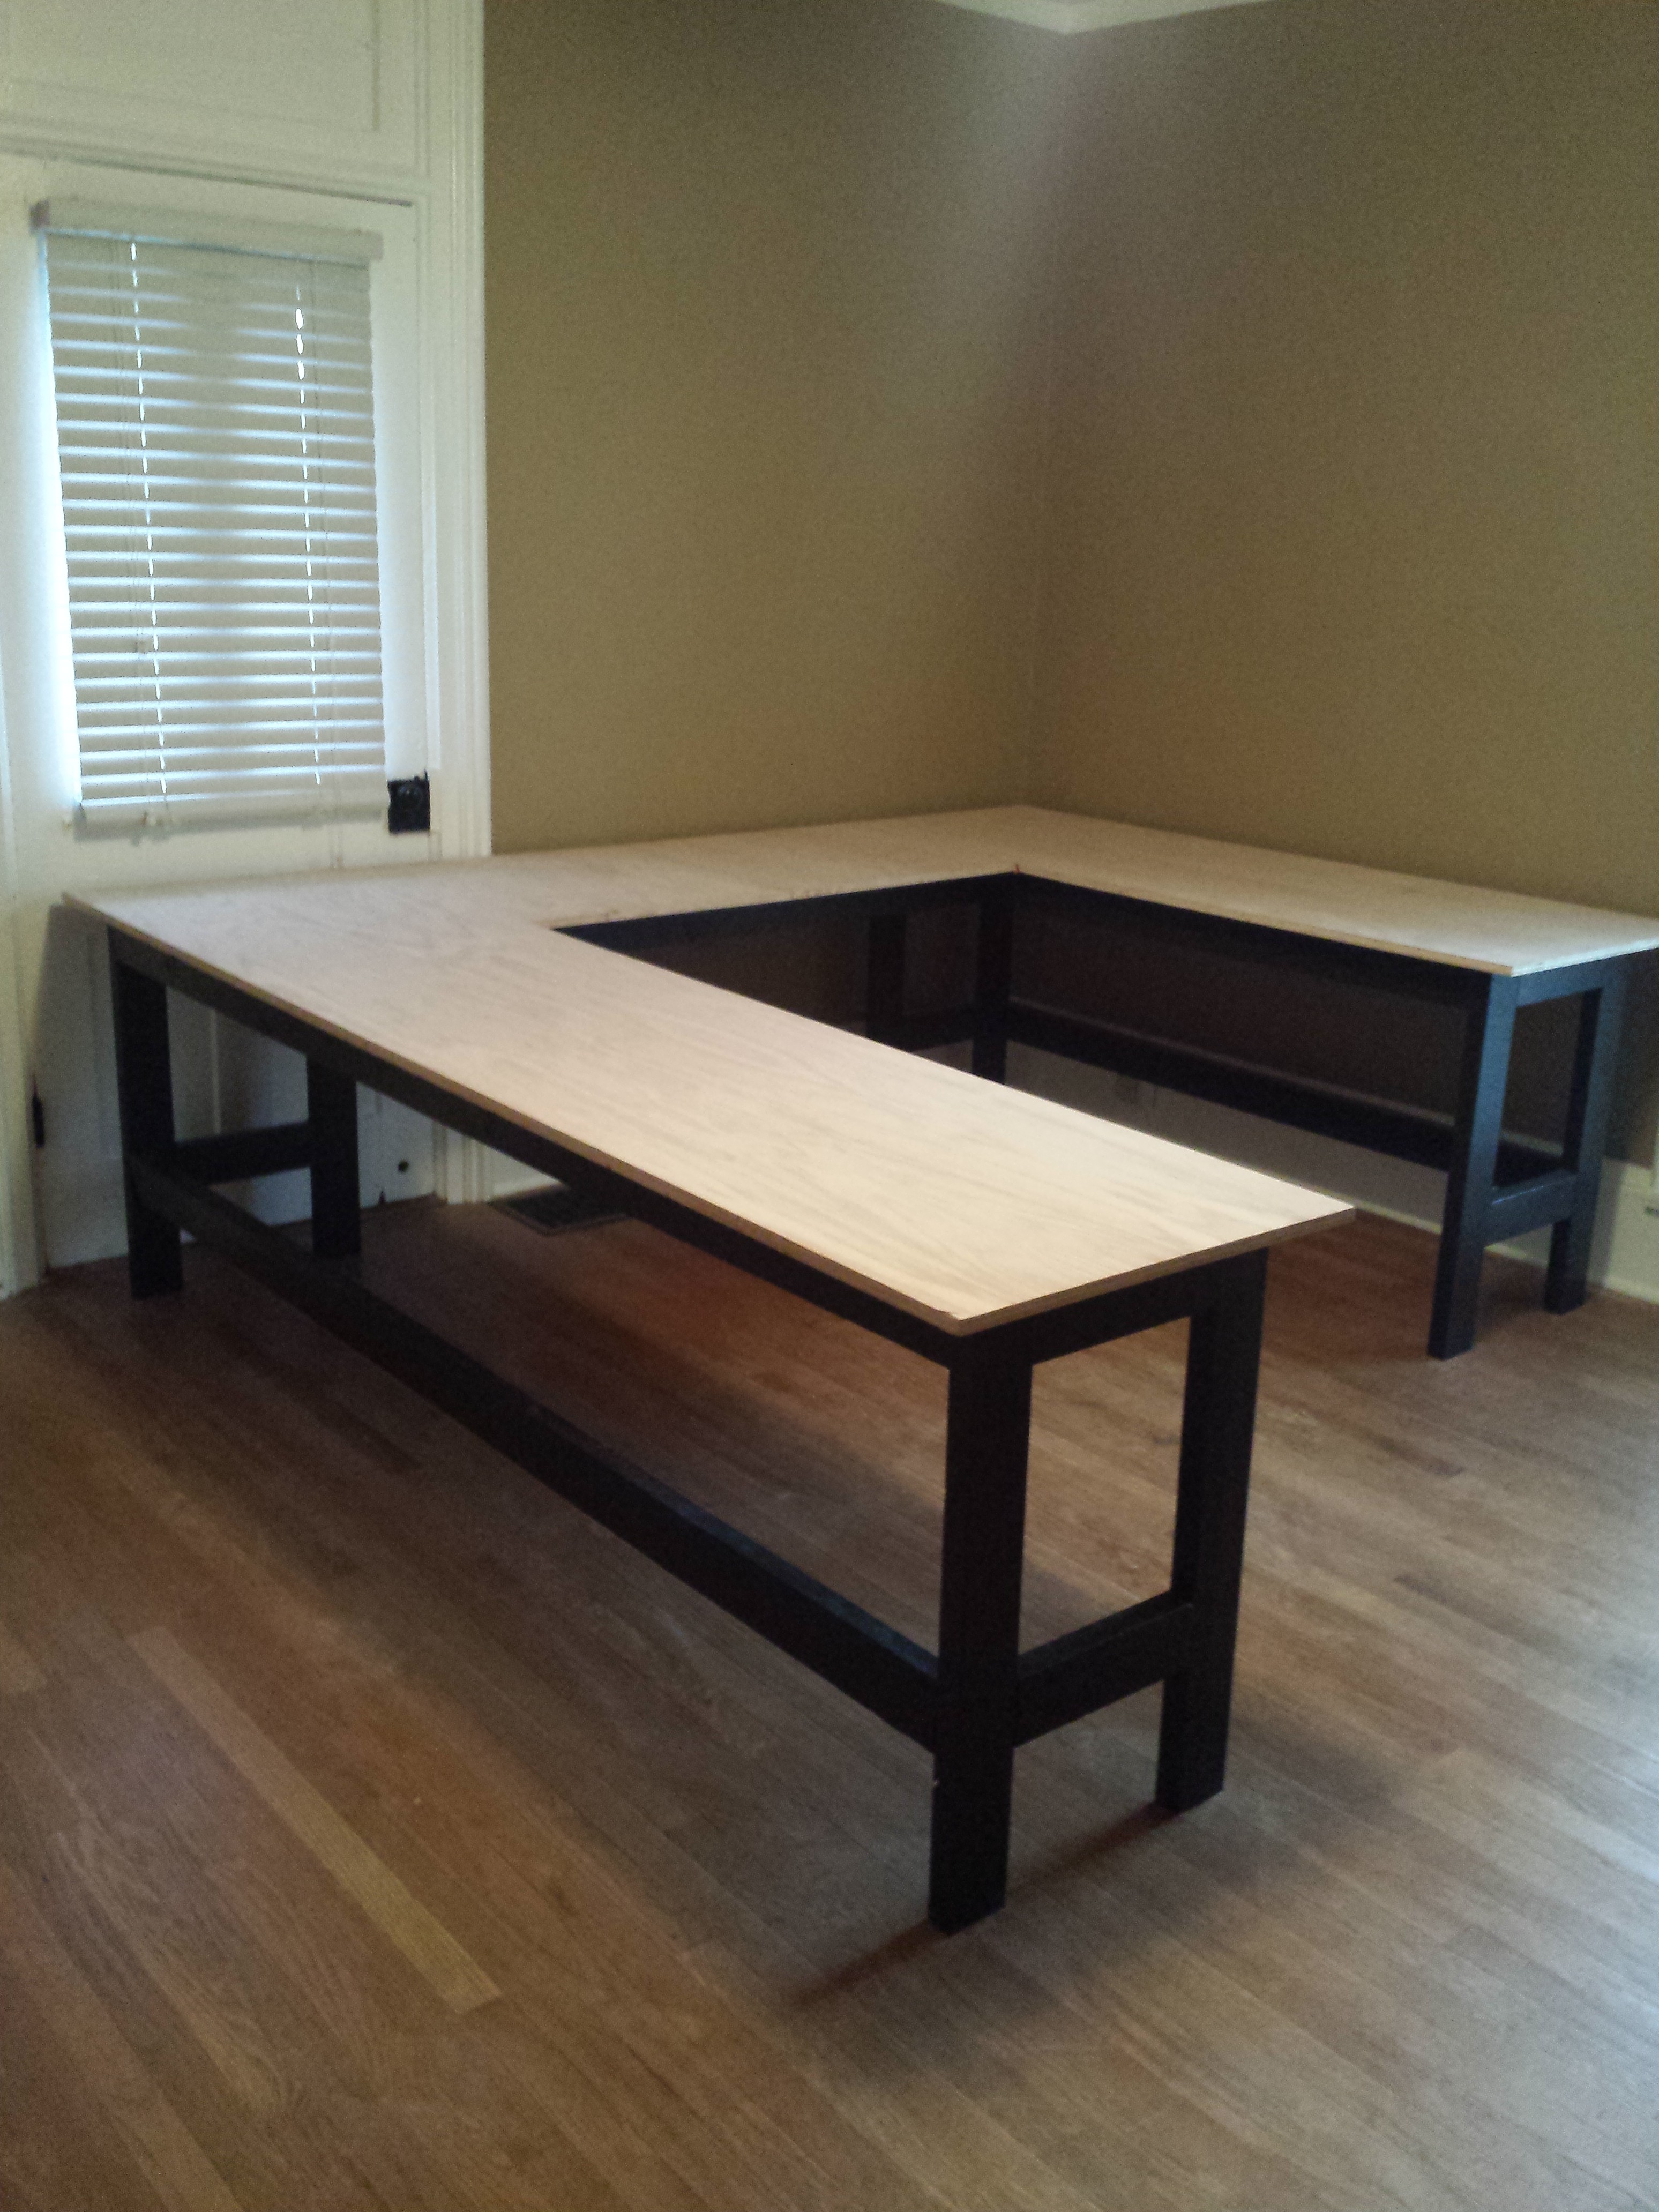
Next step was the top, In my case the frame was hold 2 4x8 plywood sheets with approx 3 inches of overhand on each side. Cut out the center section of the plywood.
I have 4ft of space between each desk side. This gives me room to roll around in my chair without feeling clostrophpic.
I would suggest you get some help trying to move the plywood as they can be heavy.
We also used the center section we cut out to make shelves for the room.
![]()
-
6Step 6
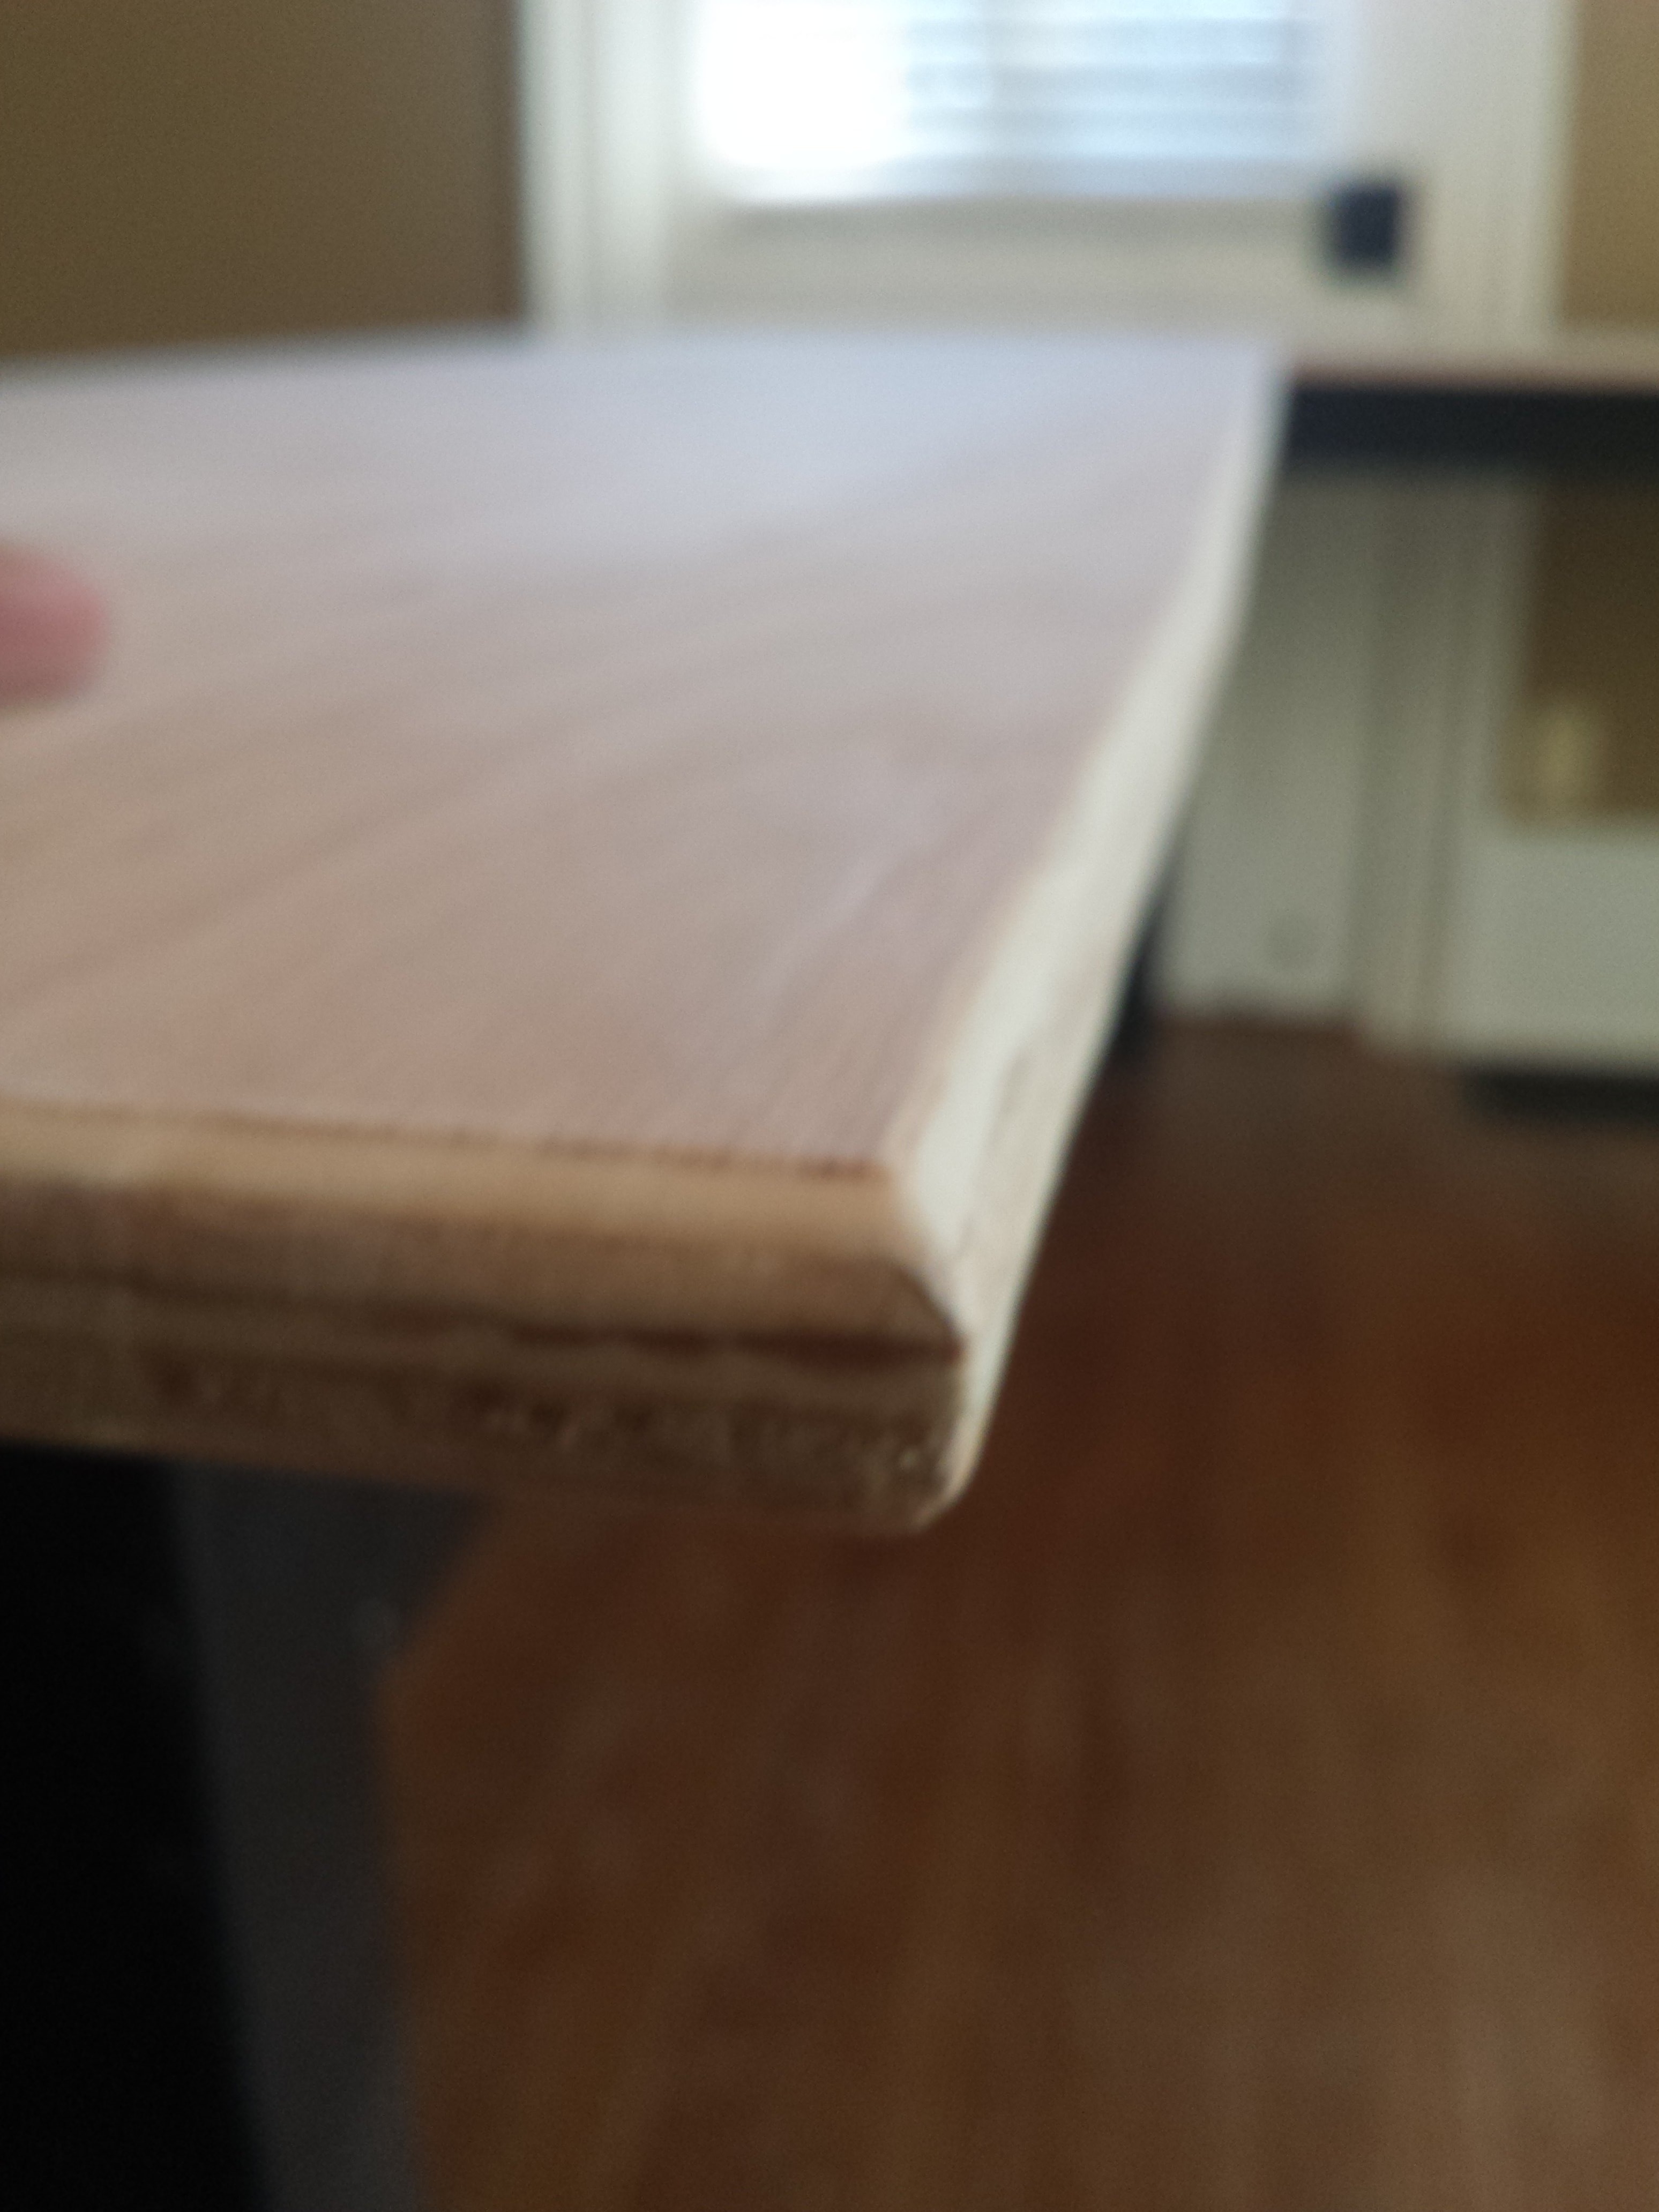
The desktop edges were kind of sharp and I wanted to cut the remove the sharp corners. I used a hand router but a you could knock the edges down with sand paper as well.
![]()
-
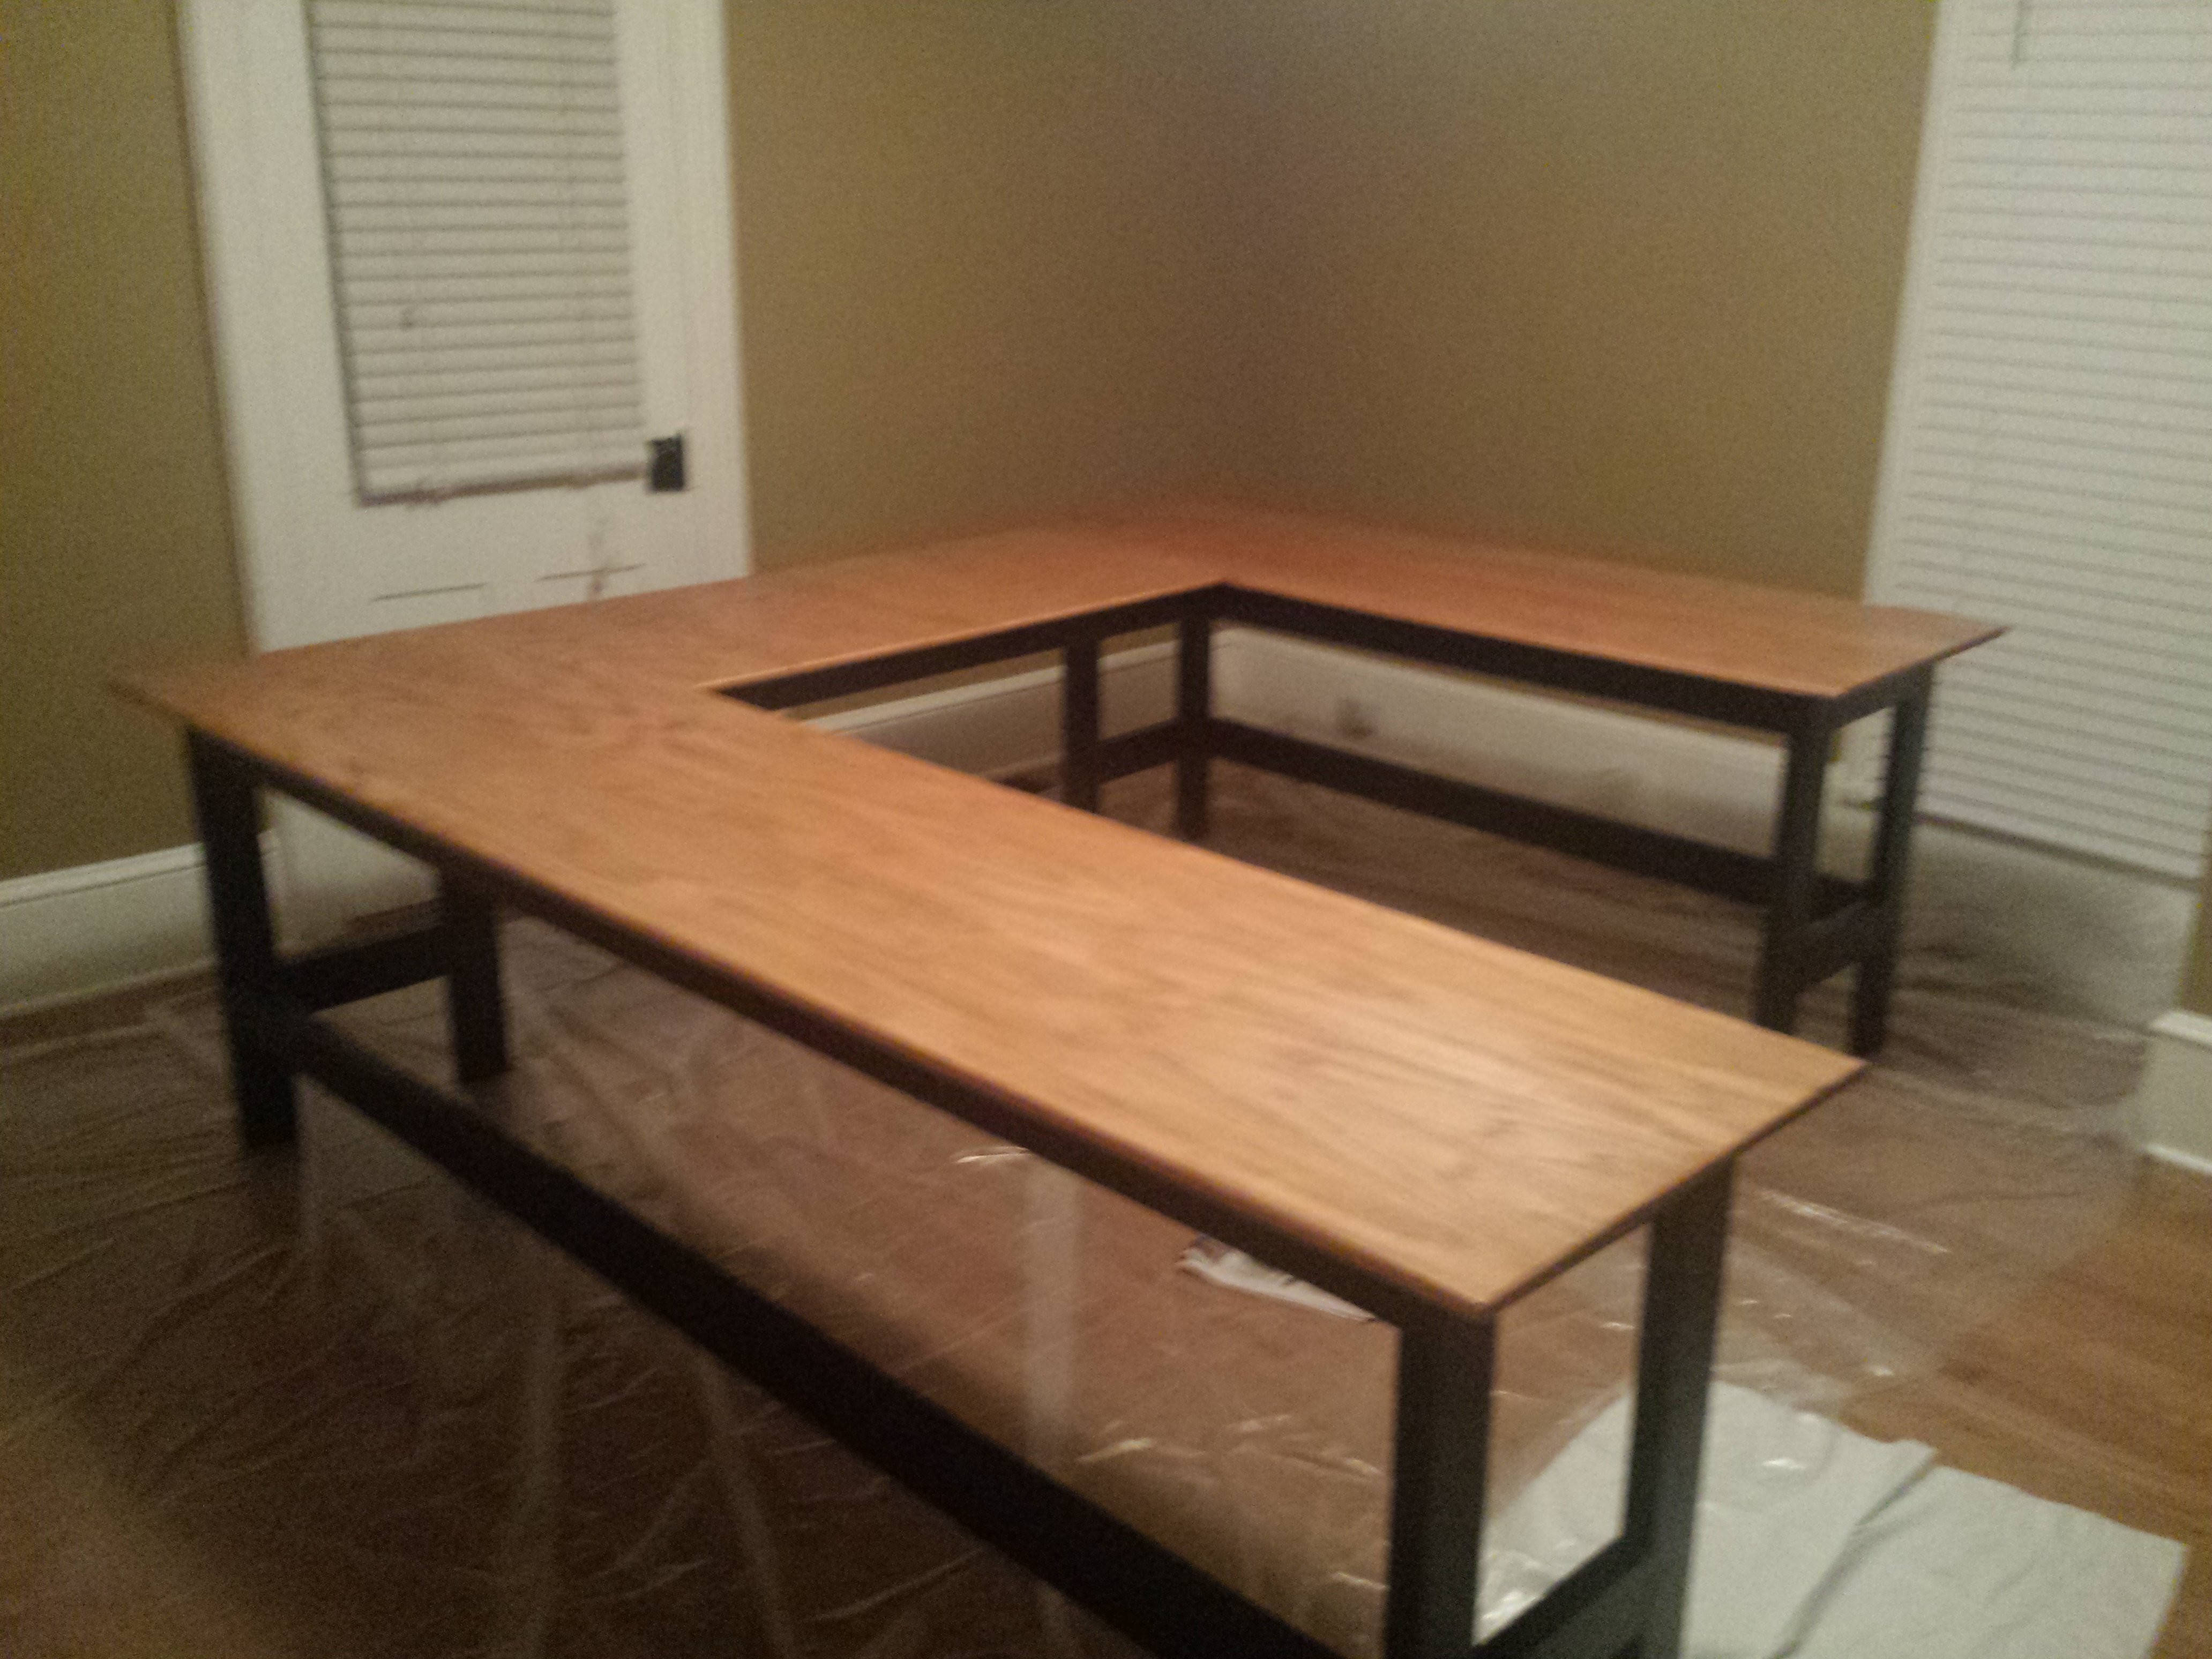
7Step 7
While the top looks very nice, I would advise to paint or stain it. My wife did a very nice job and stained my desktop. Several coats of stain and 4 coats of polyurethane to help with scratches.
![]()
-
8Step 8
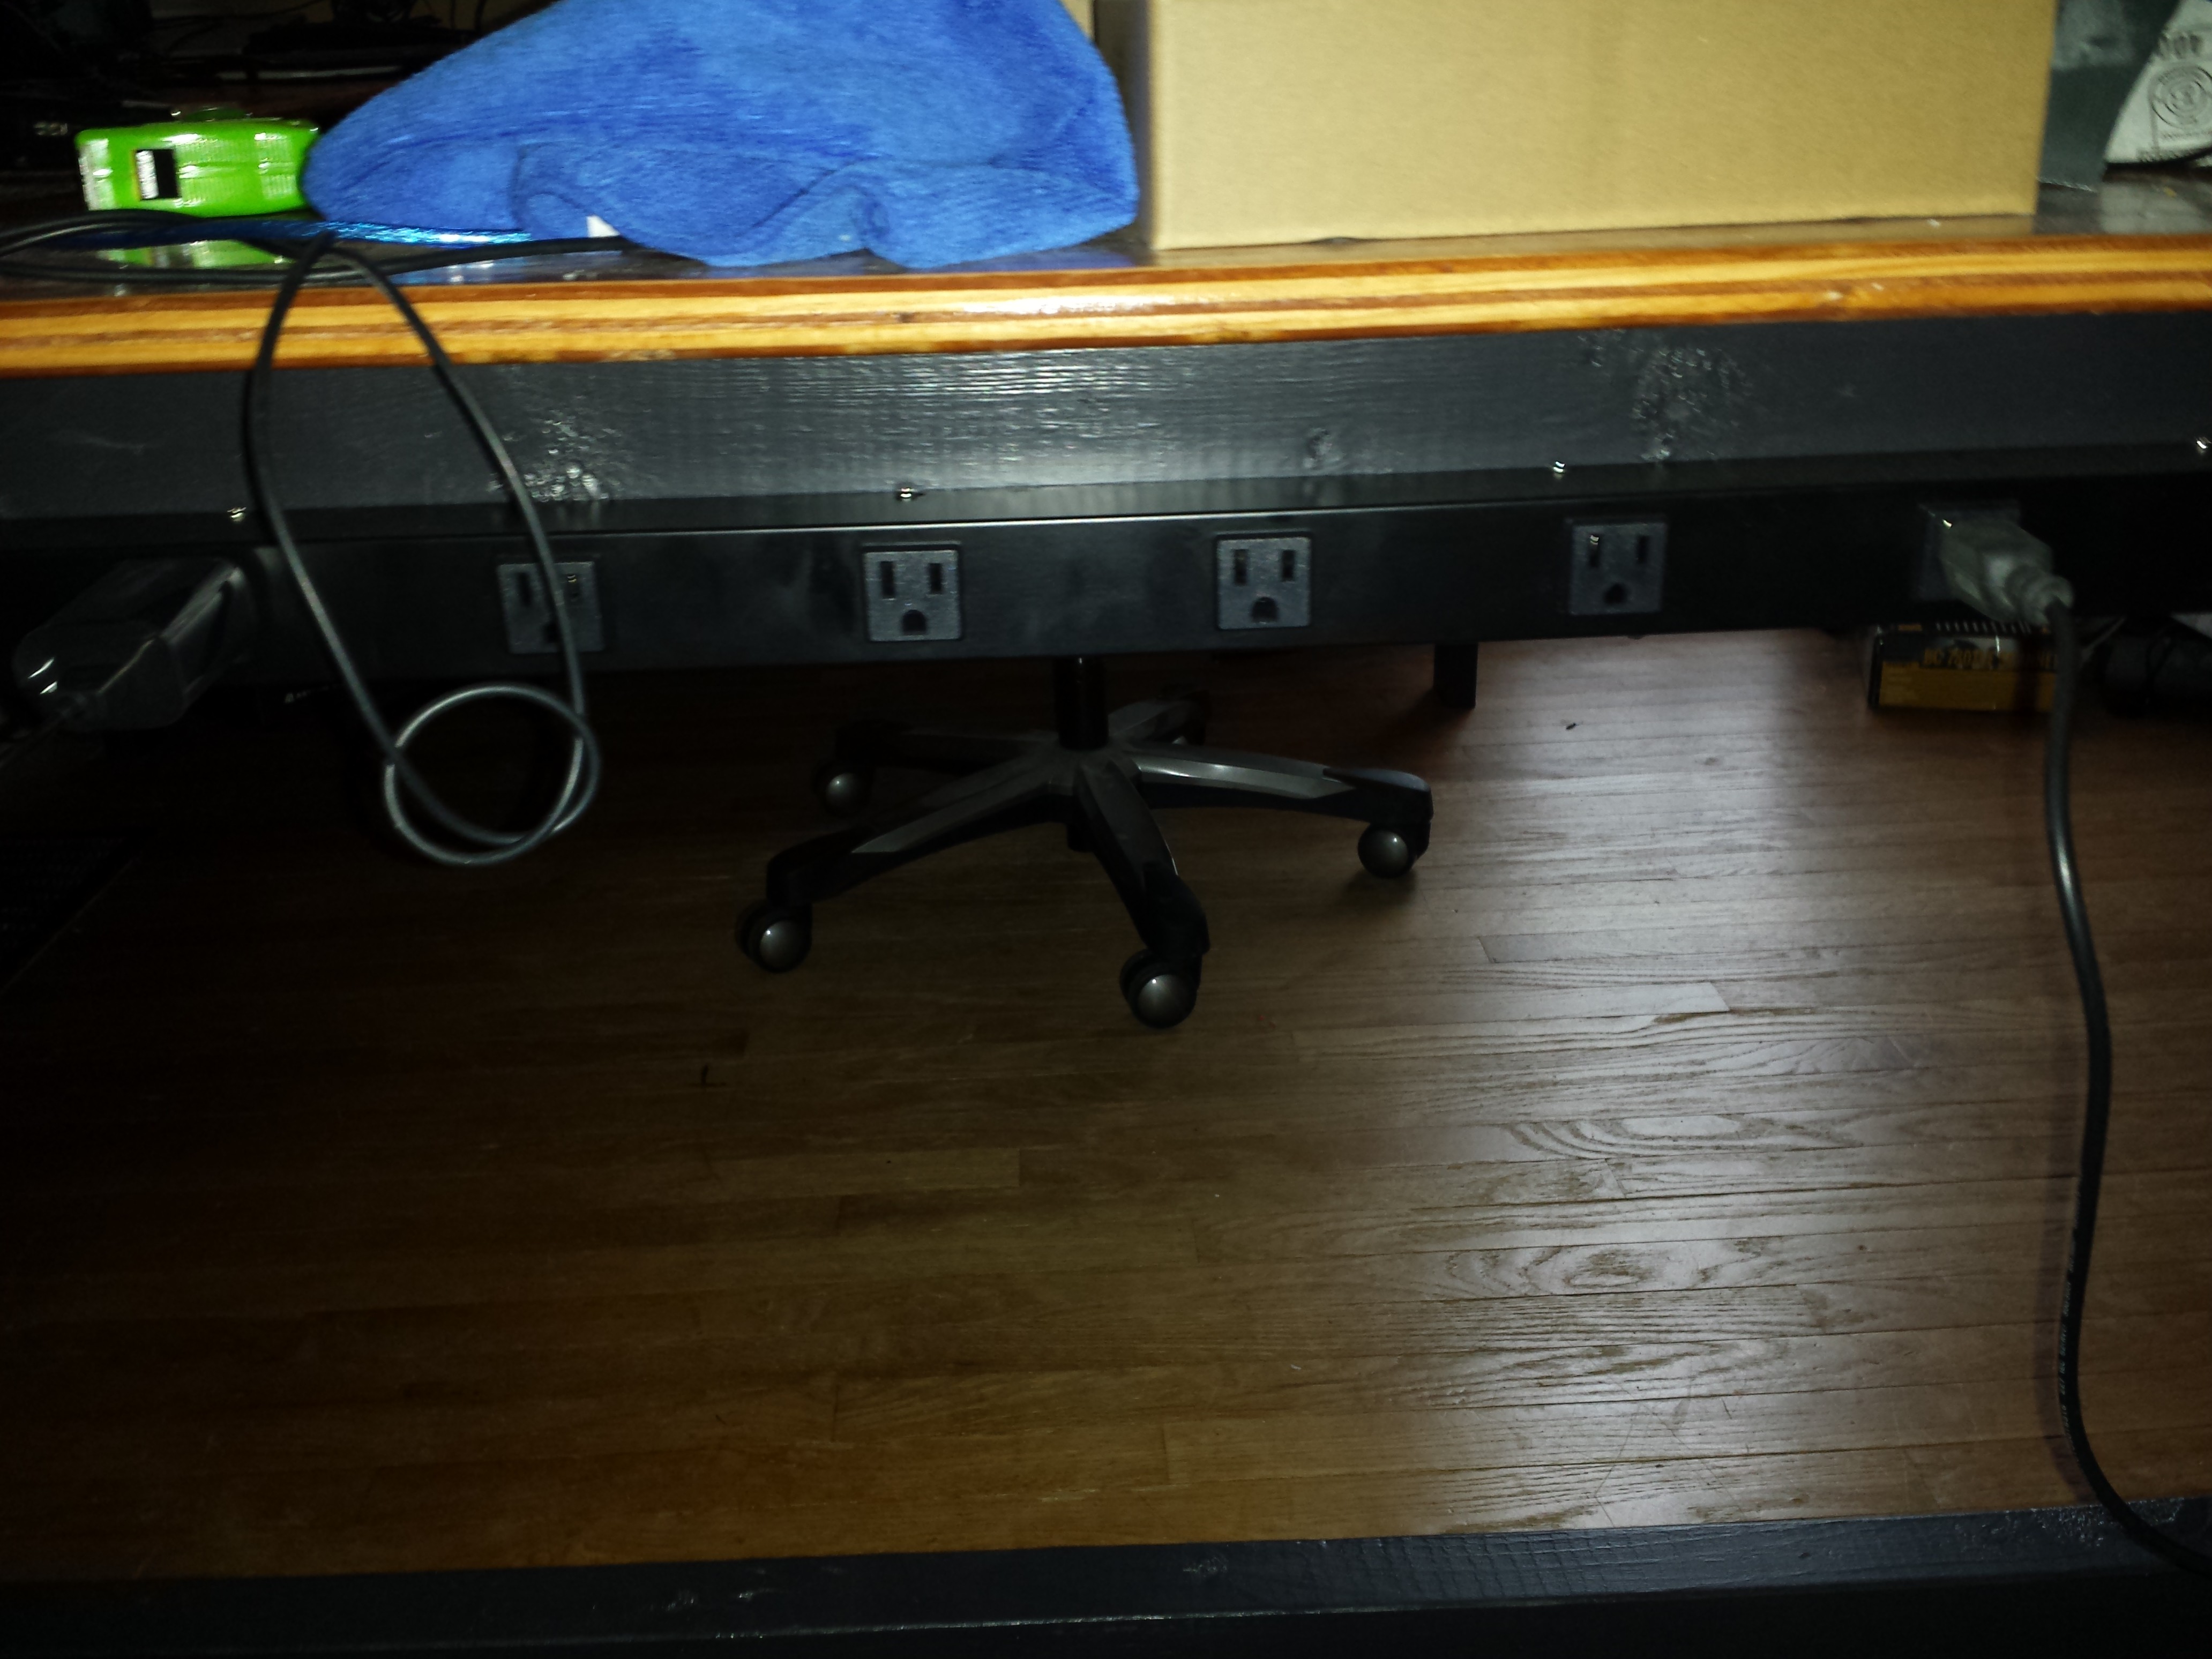
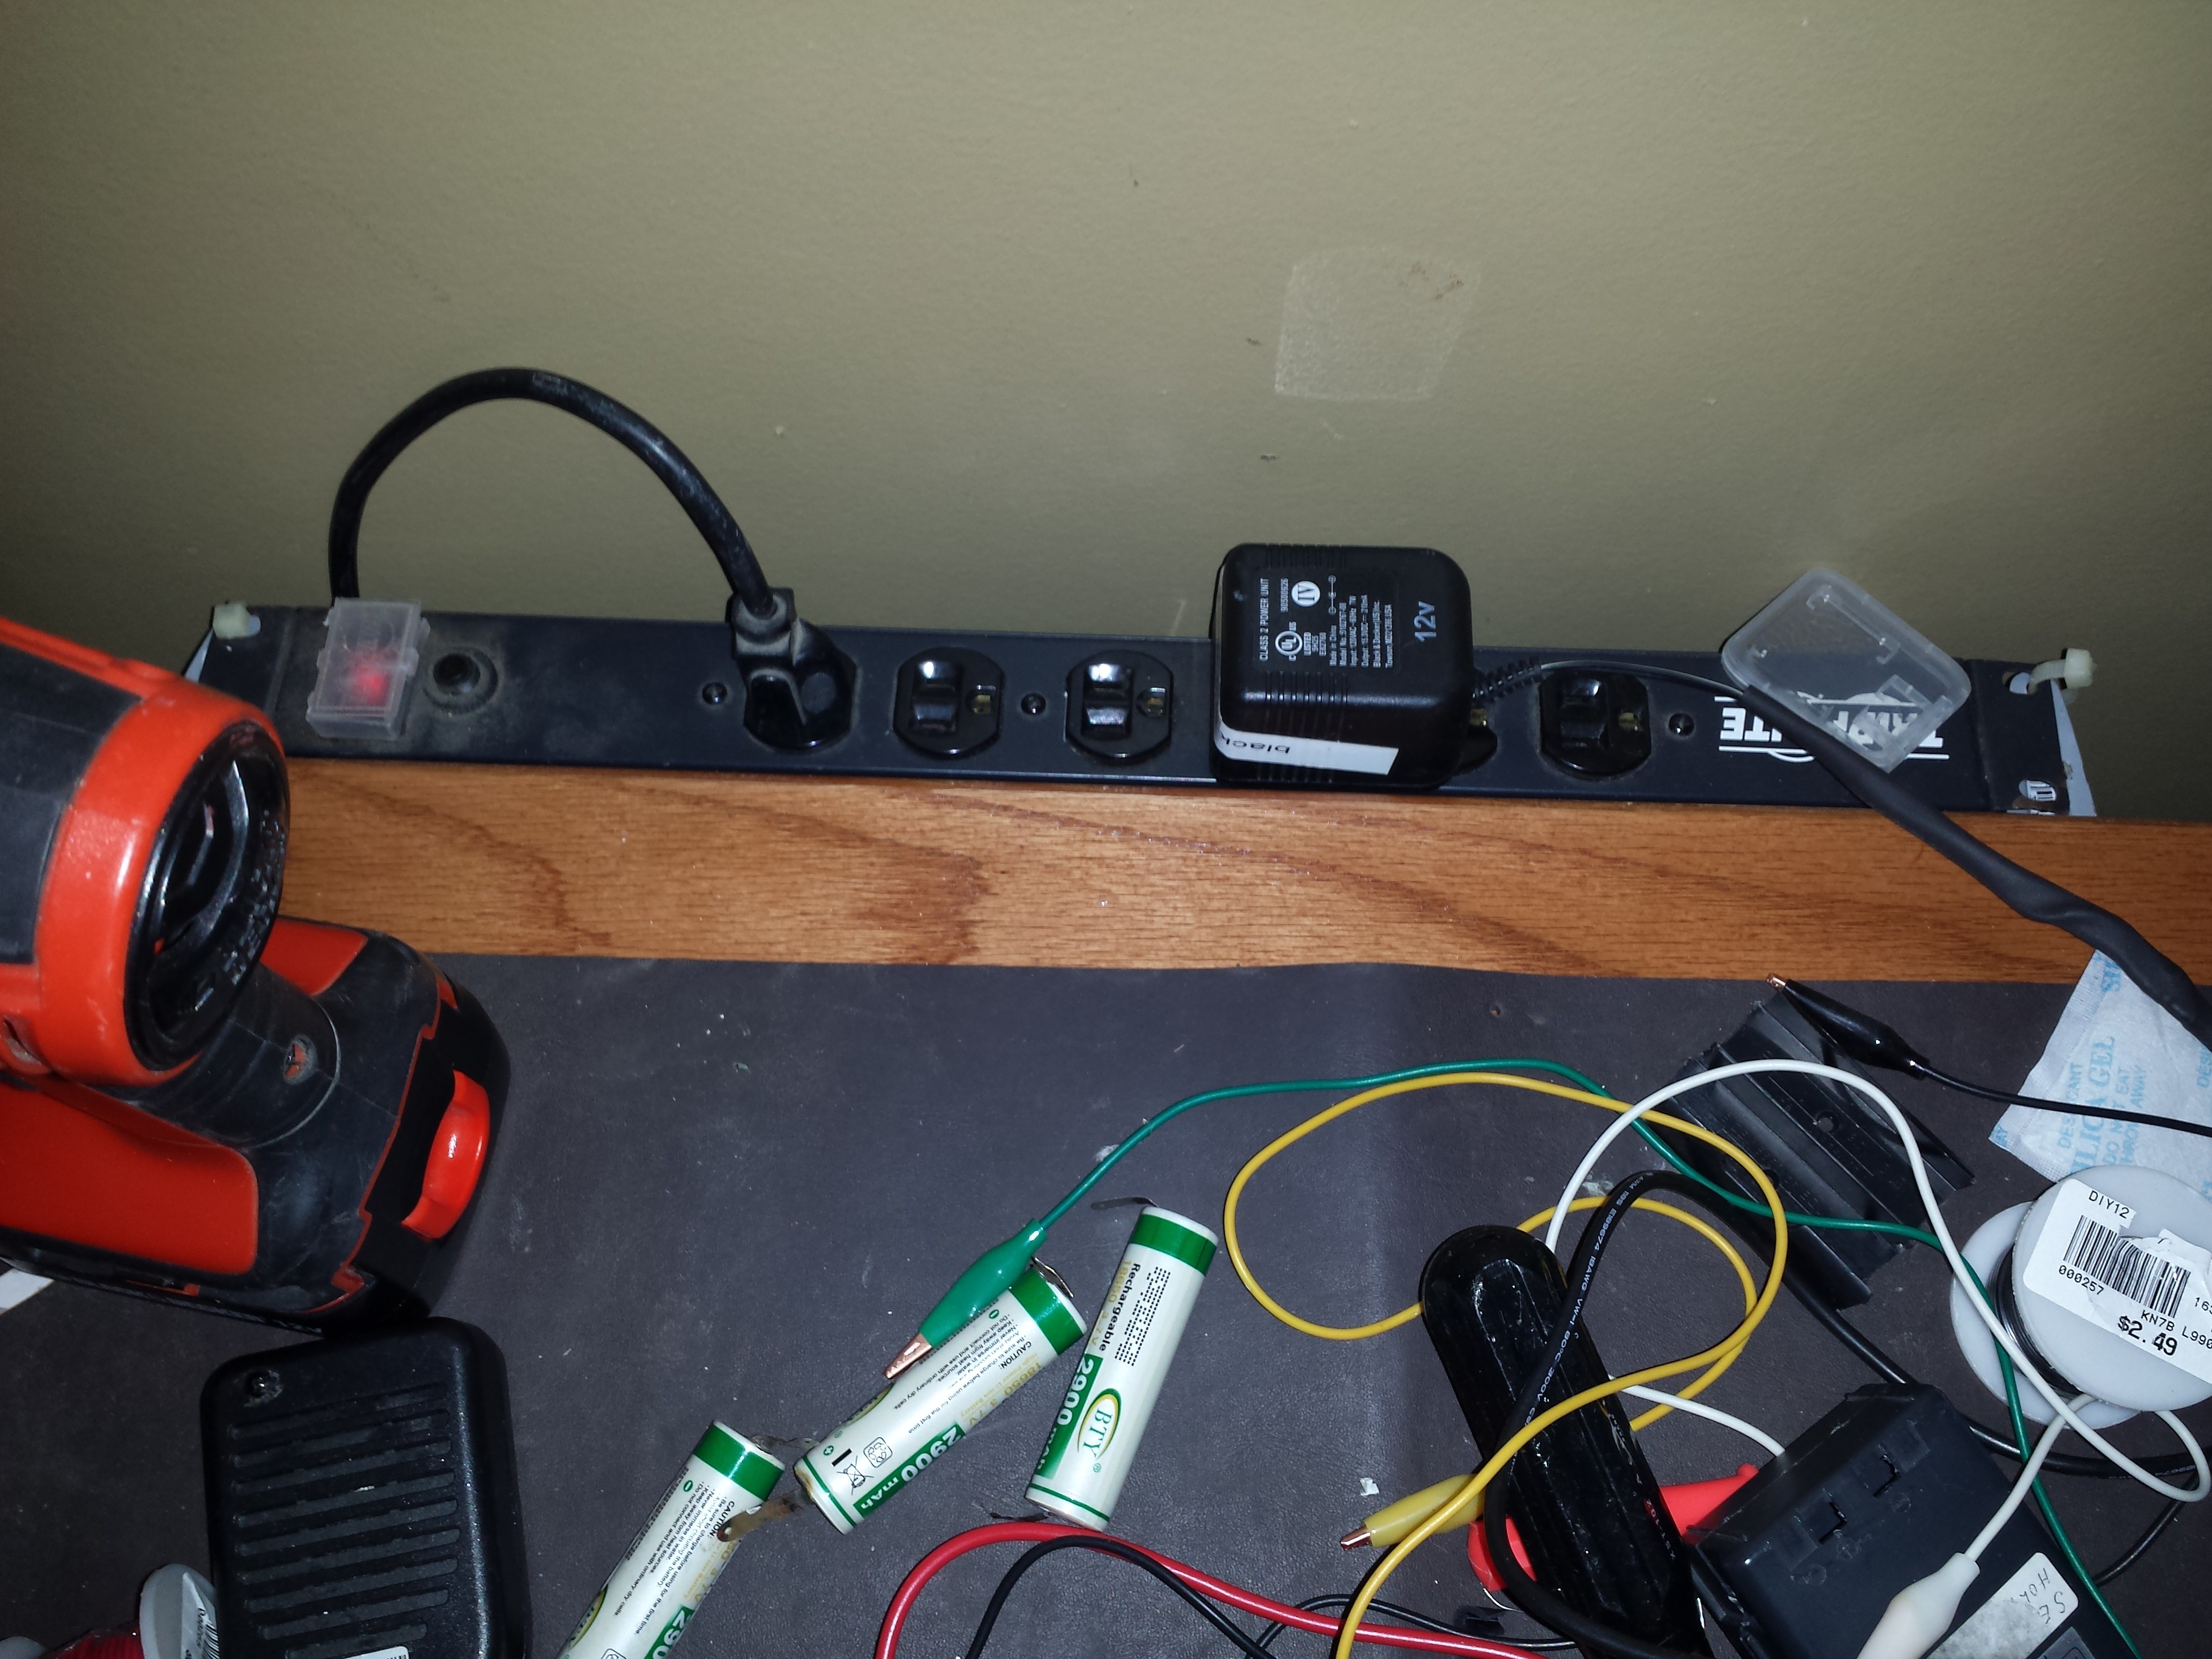
I put power strips around backside of the desk. This gives me power were every I need it.
![]()
Behind my maker area, I put a hanging power strip that allow quick connect disconnect from the setting position.
![]()
-
9Step 9
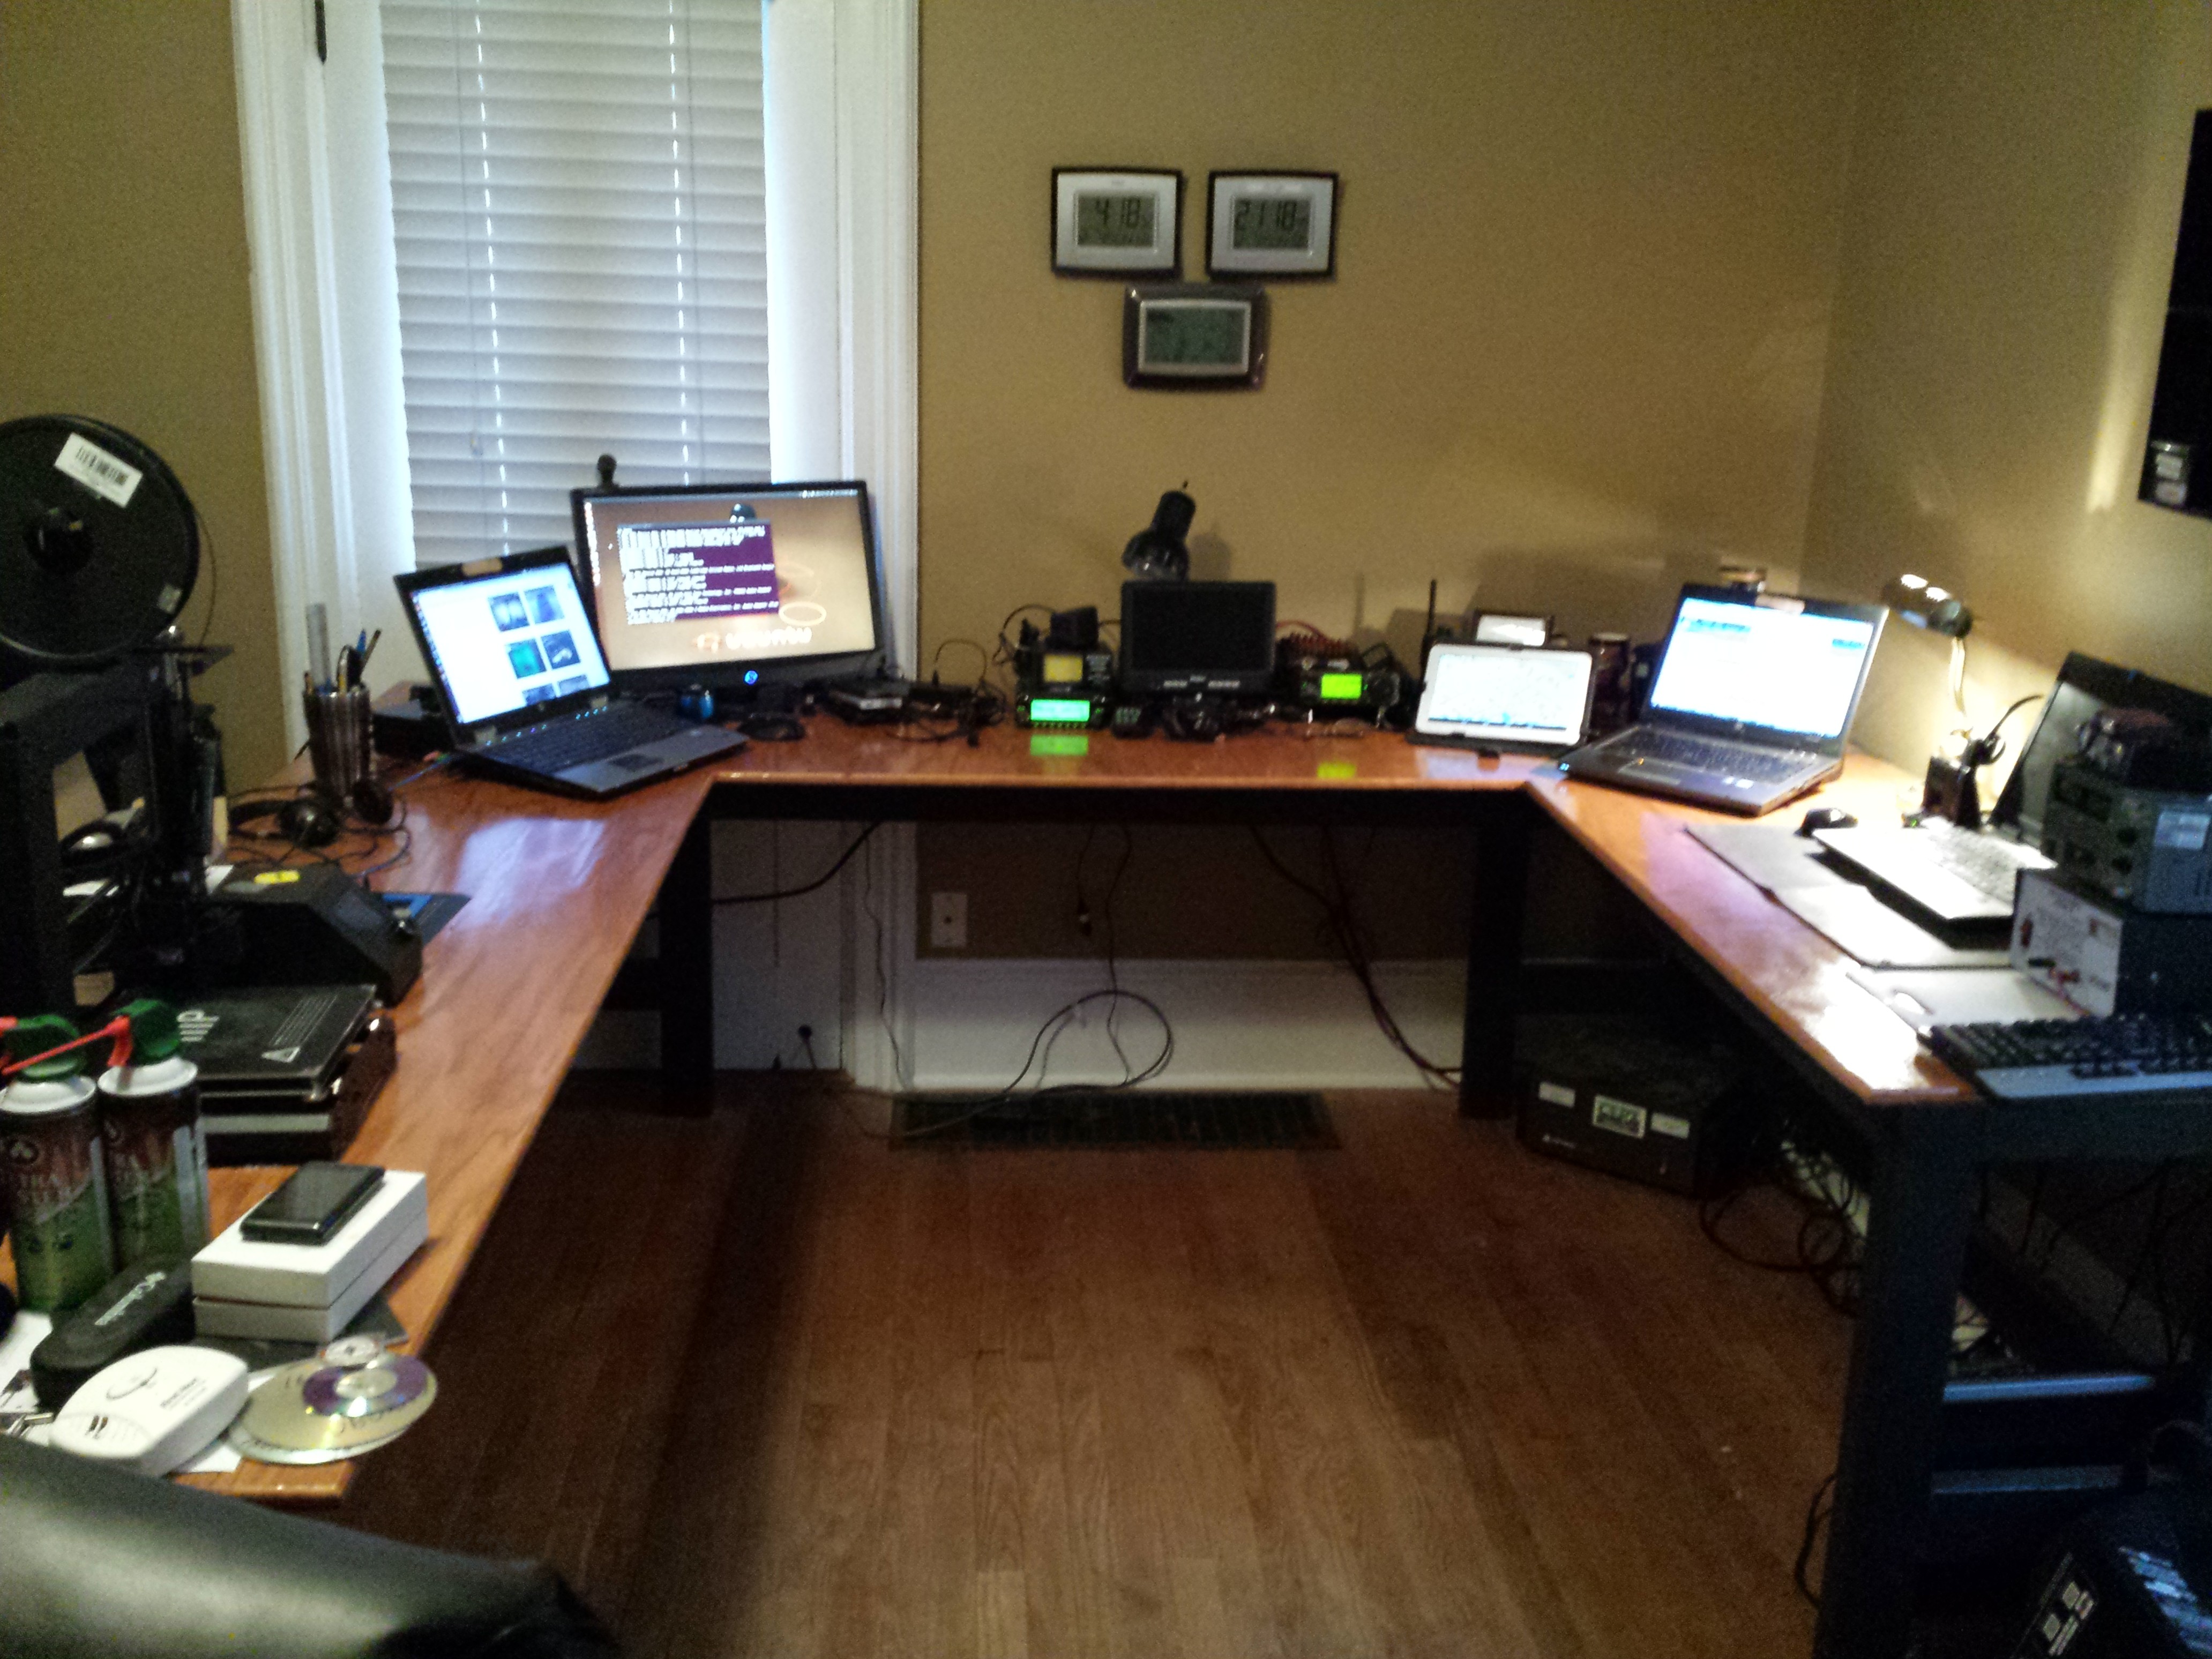
Last step is add your stuff to the desk.
![]()
2x4 U shaped computer desk
How to build a custom desk using basic tools and easy to obtain lumber.
Discussions
Become a Hackaday.io Member
Create an account to leave a comment. Already have an account? Log In.