After long, long work and long, long calibration I got my first image of copper plate.

The graph is reversed, since in my setup when we get 250 it means tip didn't touch the surface
Funny thing I found is LibreOffice and Google Sheets doesn't have 3D plots. So I had to find some simple python code to do it.
------------------------------------------------------
Manual calibration is difficult since each touch takes all system out of stable state.
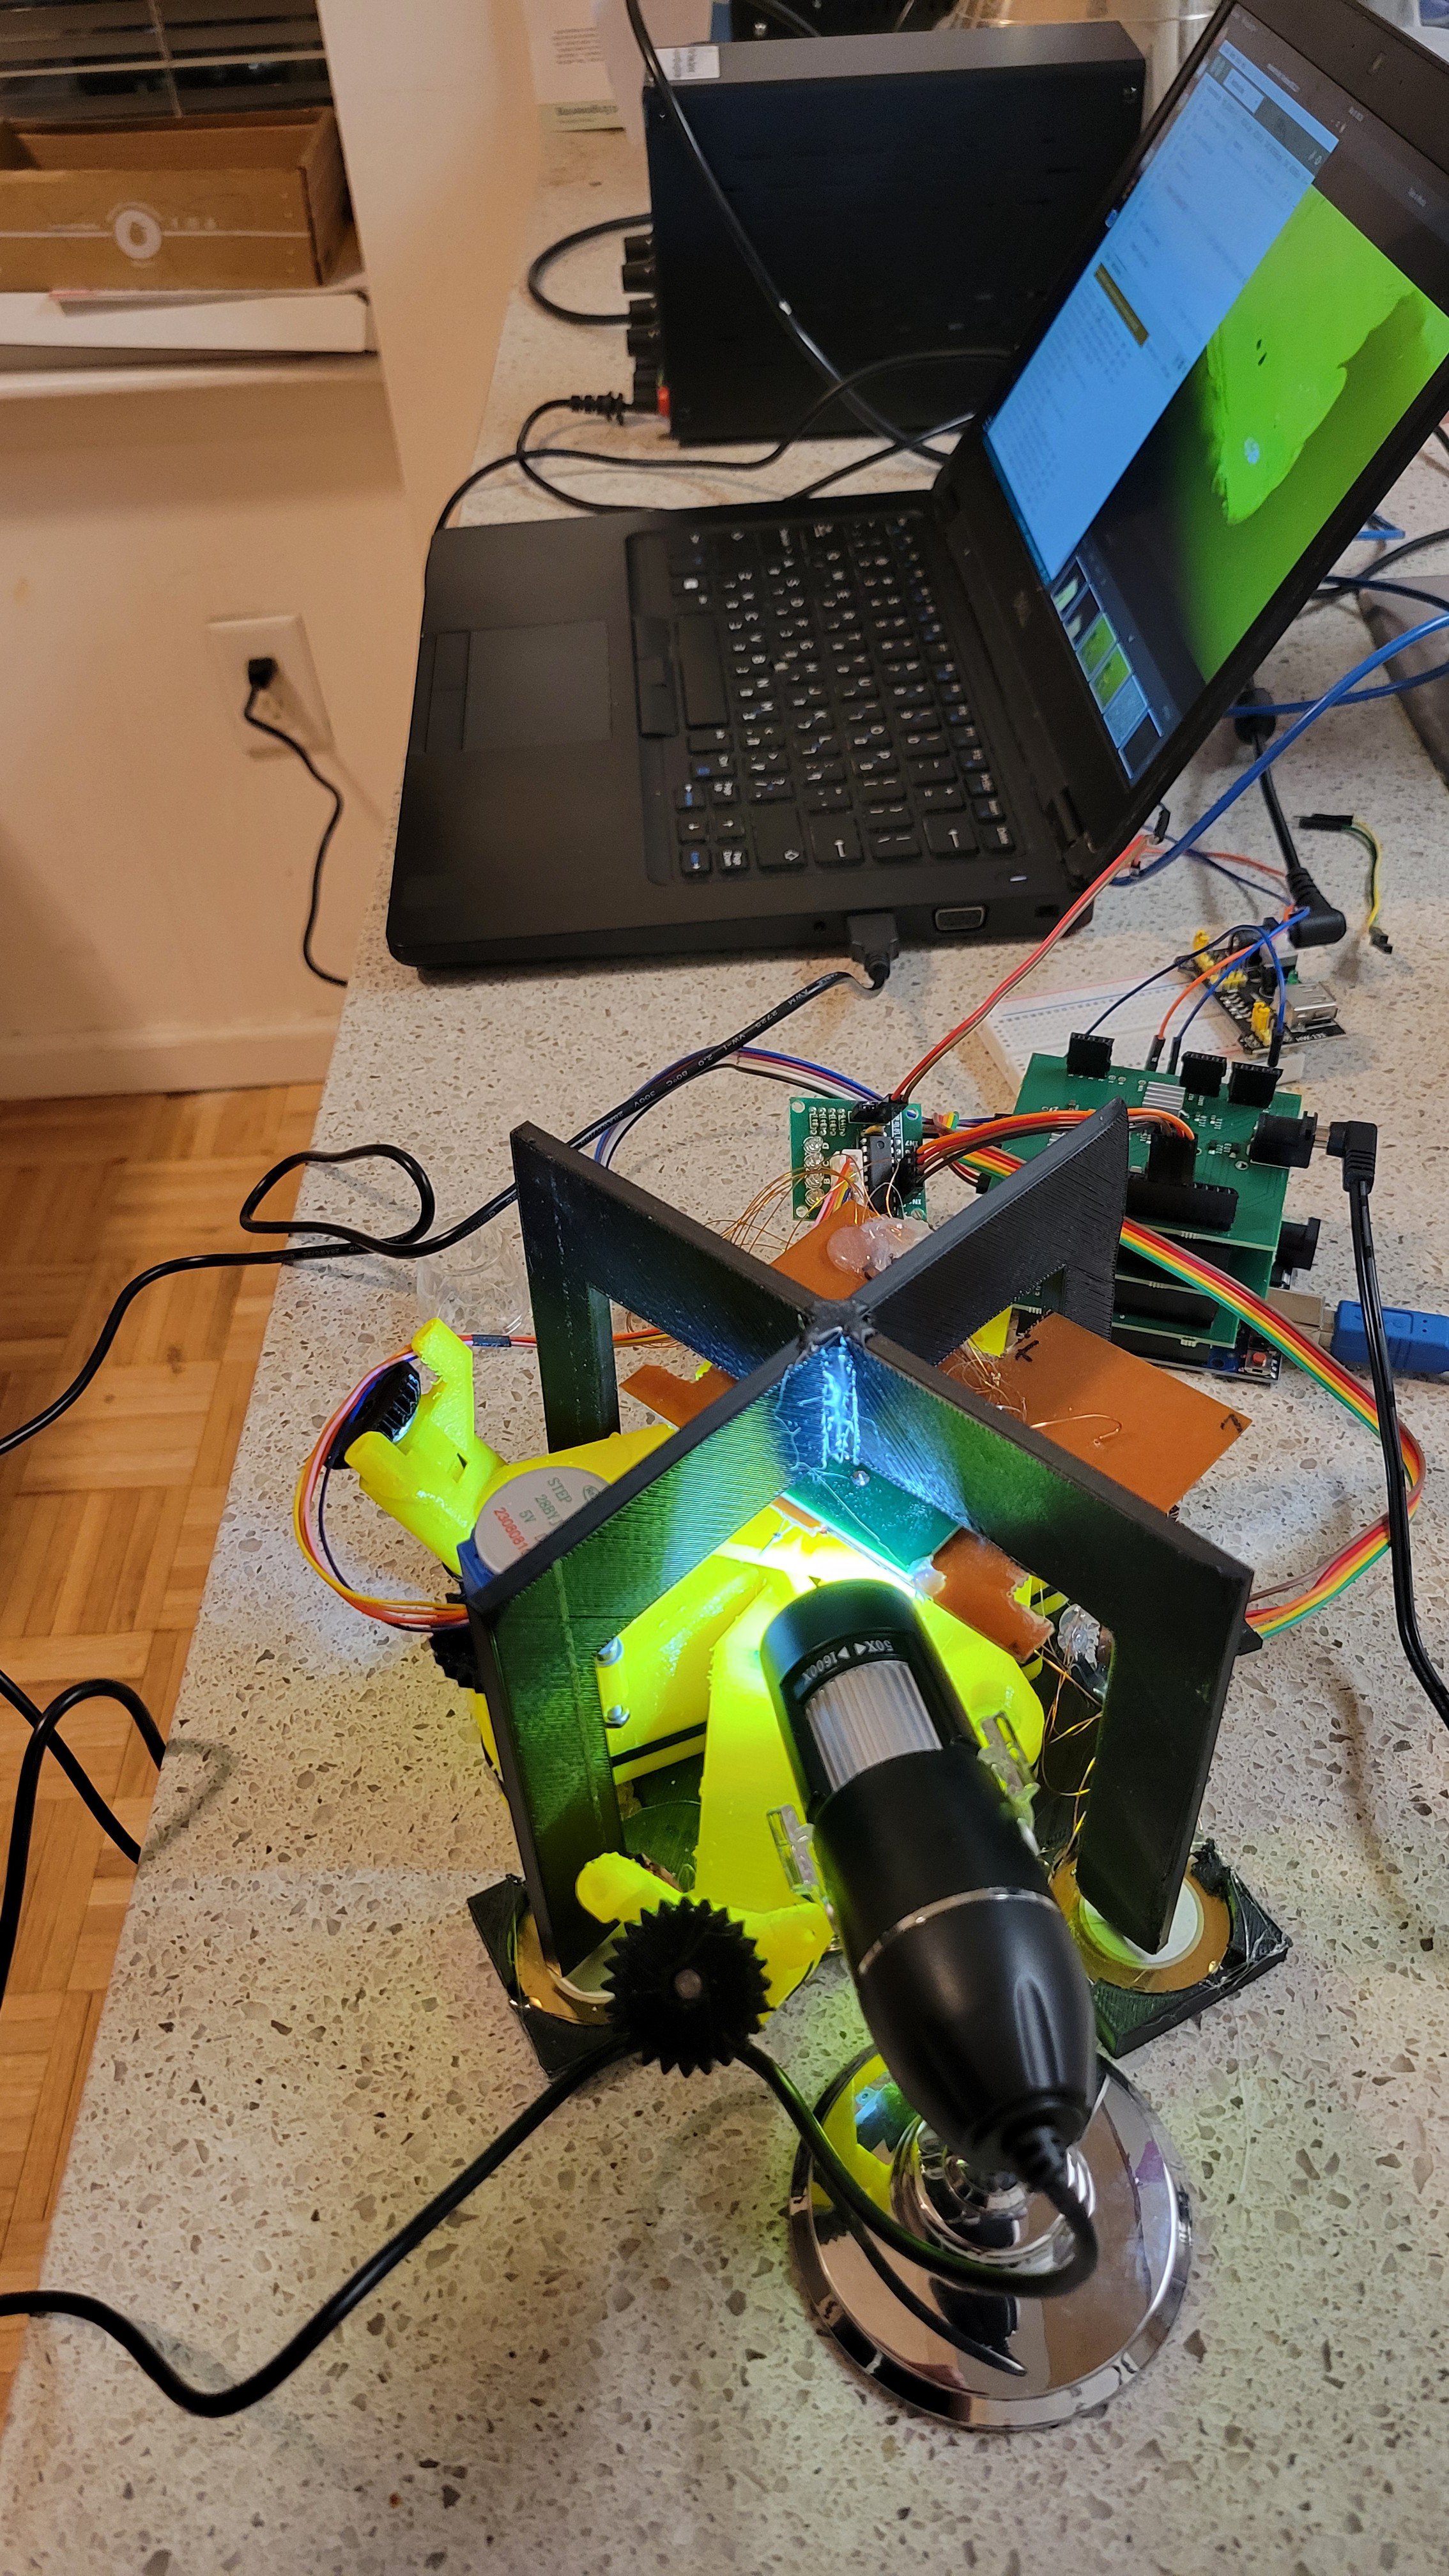
So, I've moved back to OpenFlexture with stepper motor which can be controlled by software.
Luckily we don't need any electrical changes

Looks good:
I've finally figured out how automated calibration should be performed. Move micropositioner up one step go from down to up on nanopositioner if found stop otherwise go down in nanopositioner and make another step in micropositioner. At some point tip should toch the surface.
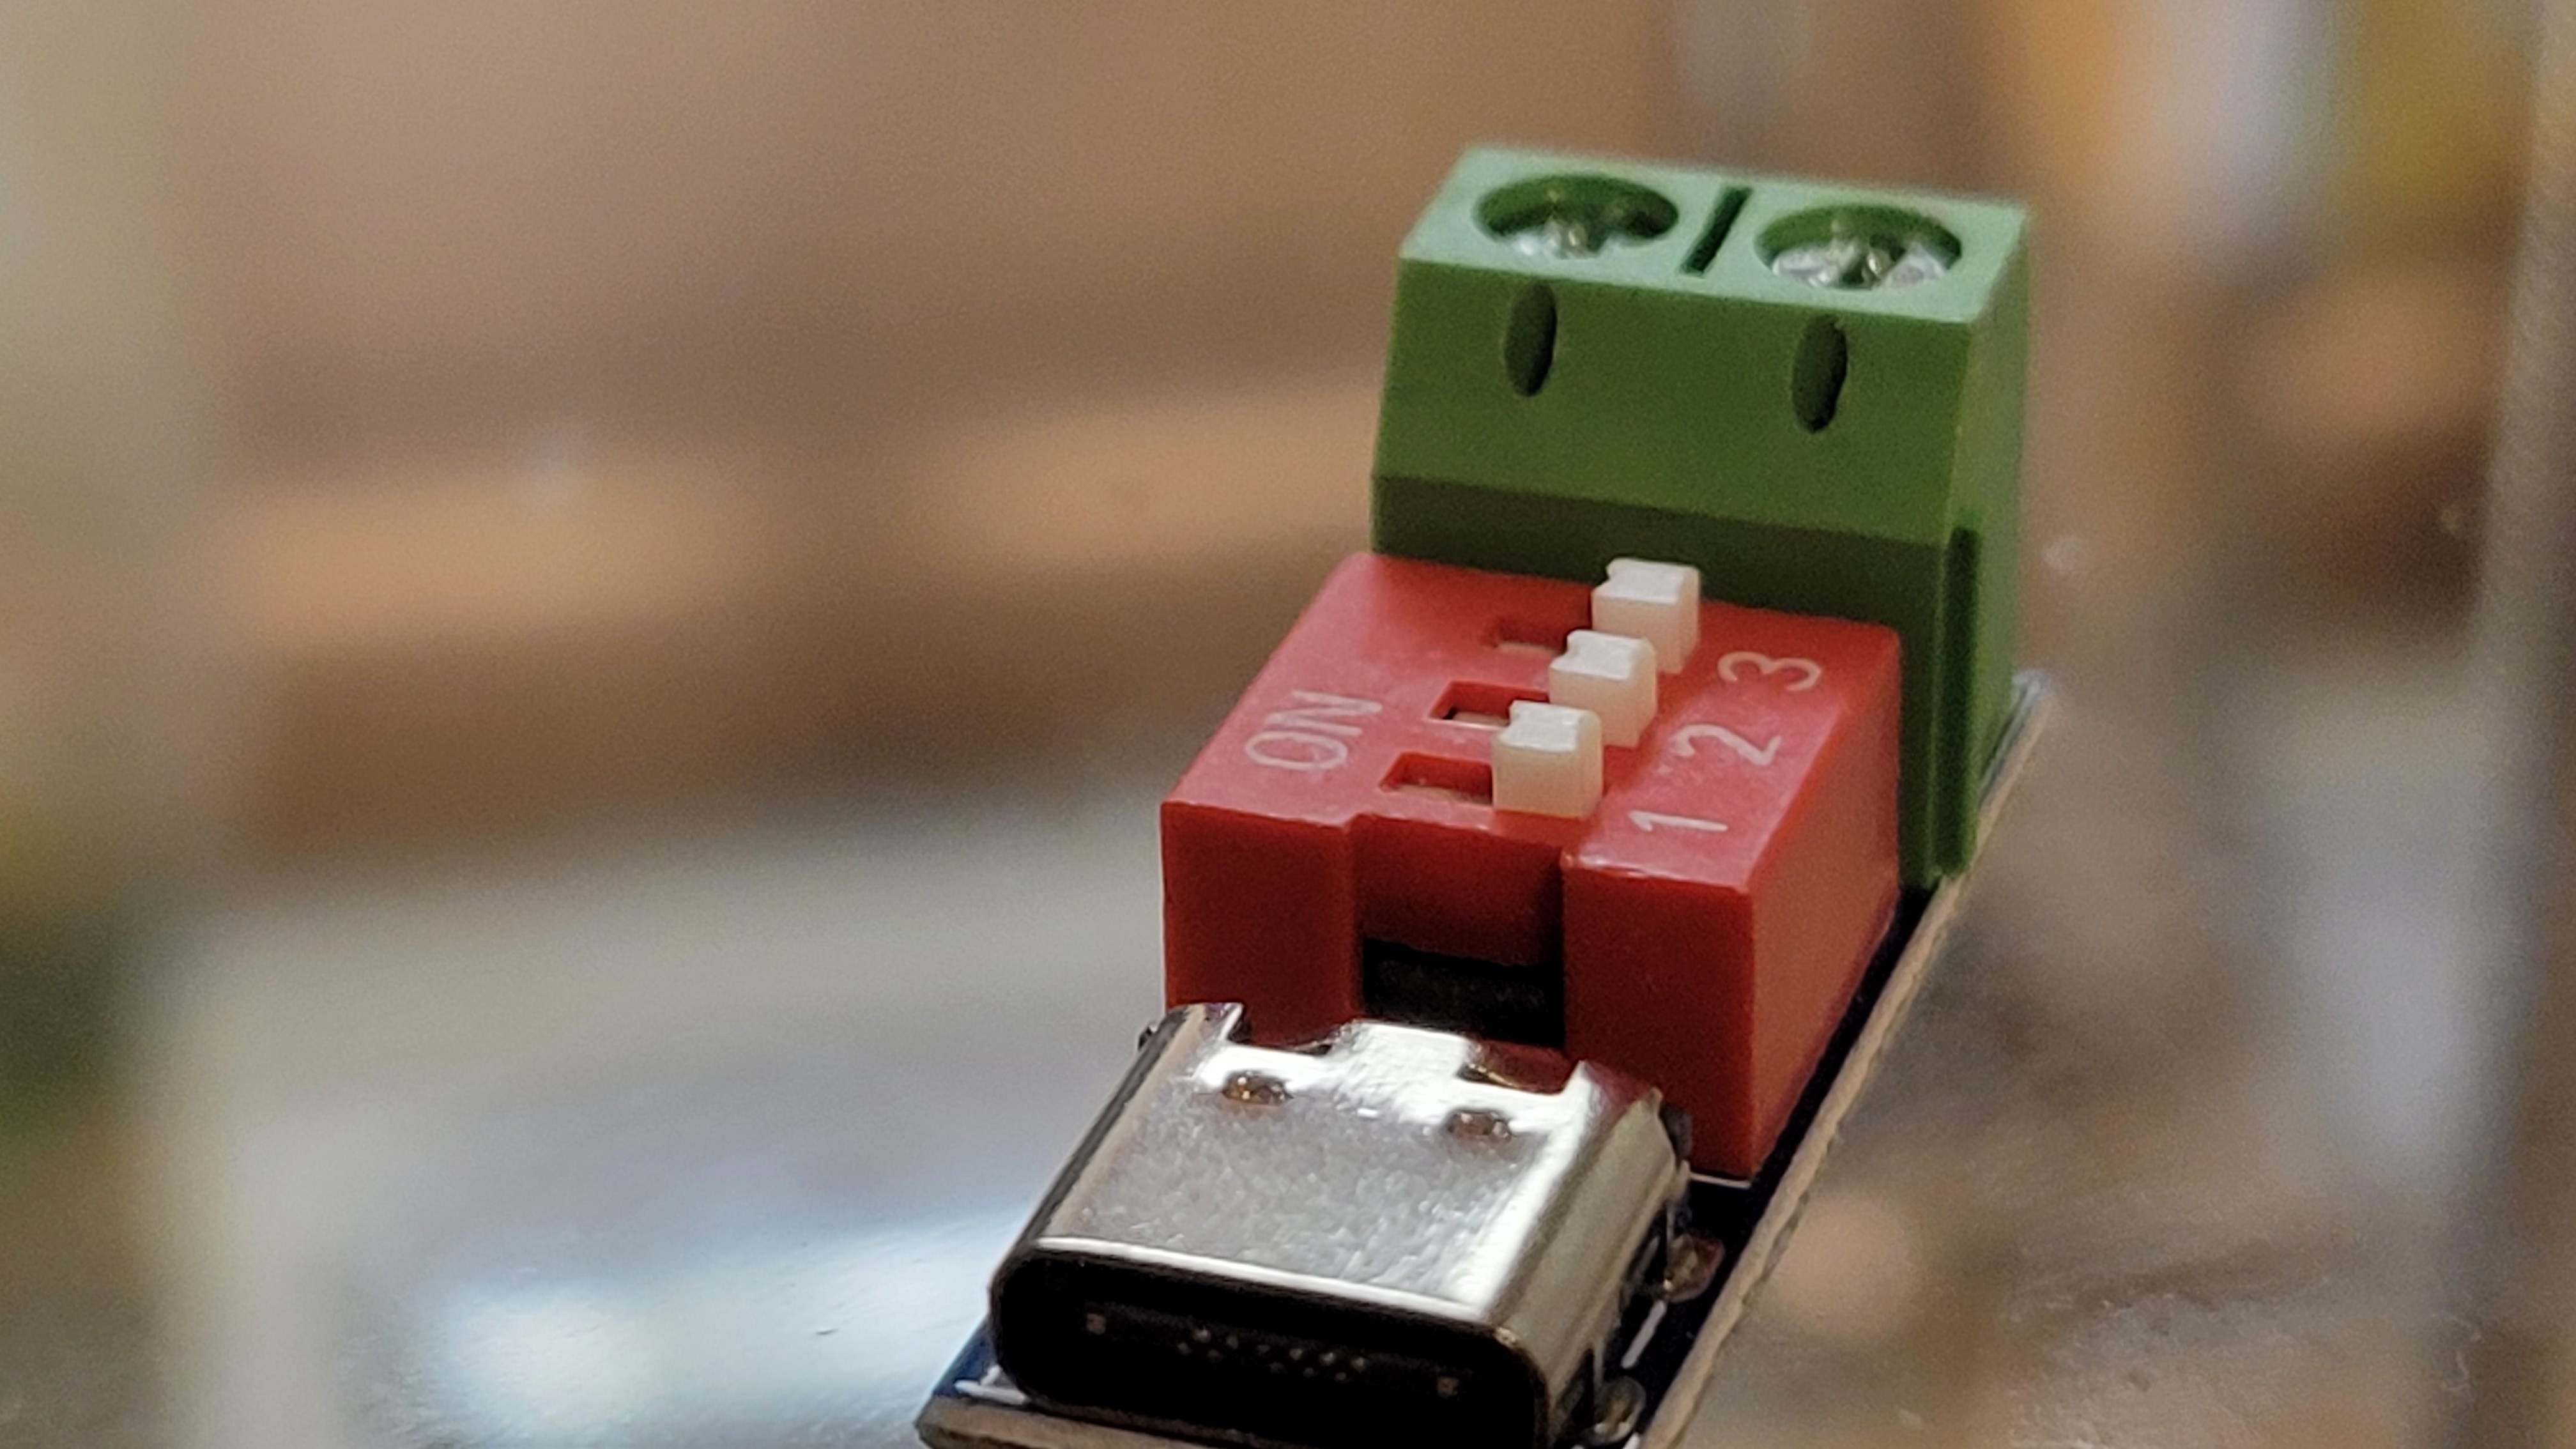
After some thought I've decided to add another power source for power hungry stepper motor. Although it possible to use original power board the voltage regulator became too hot and at this point I didn't want to lose another board. USB-C PD (power delivery) is an easy way to connect USB-C adapter and get its power.
It's small and can get you voltages from 5 to 20v depending on what your adapter provides.
----------------------------------------------------------------
I've tested the stepper motor with microscope and saw that on micro meter level it moves much smoother than when I touch it with my fingers.
----------------------------------------------------------------
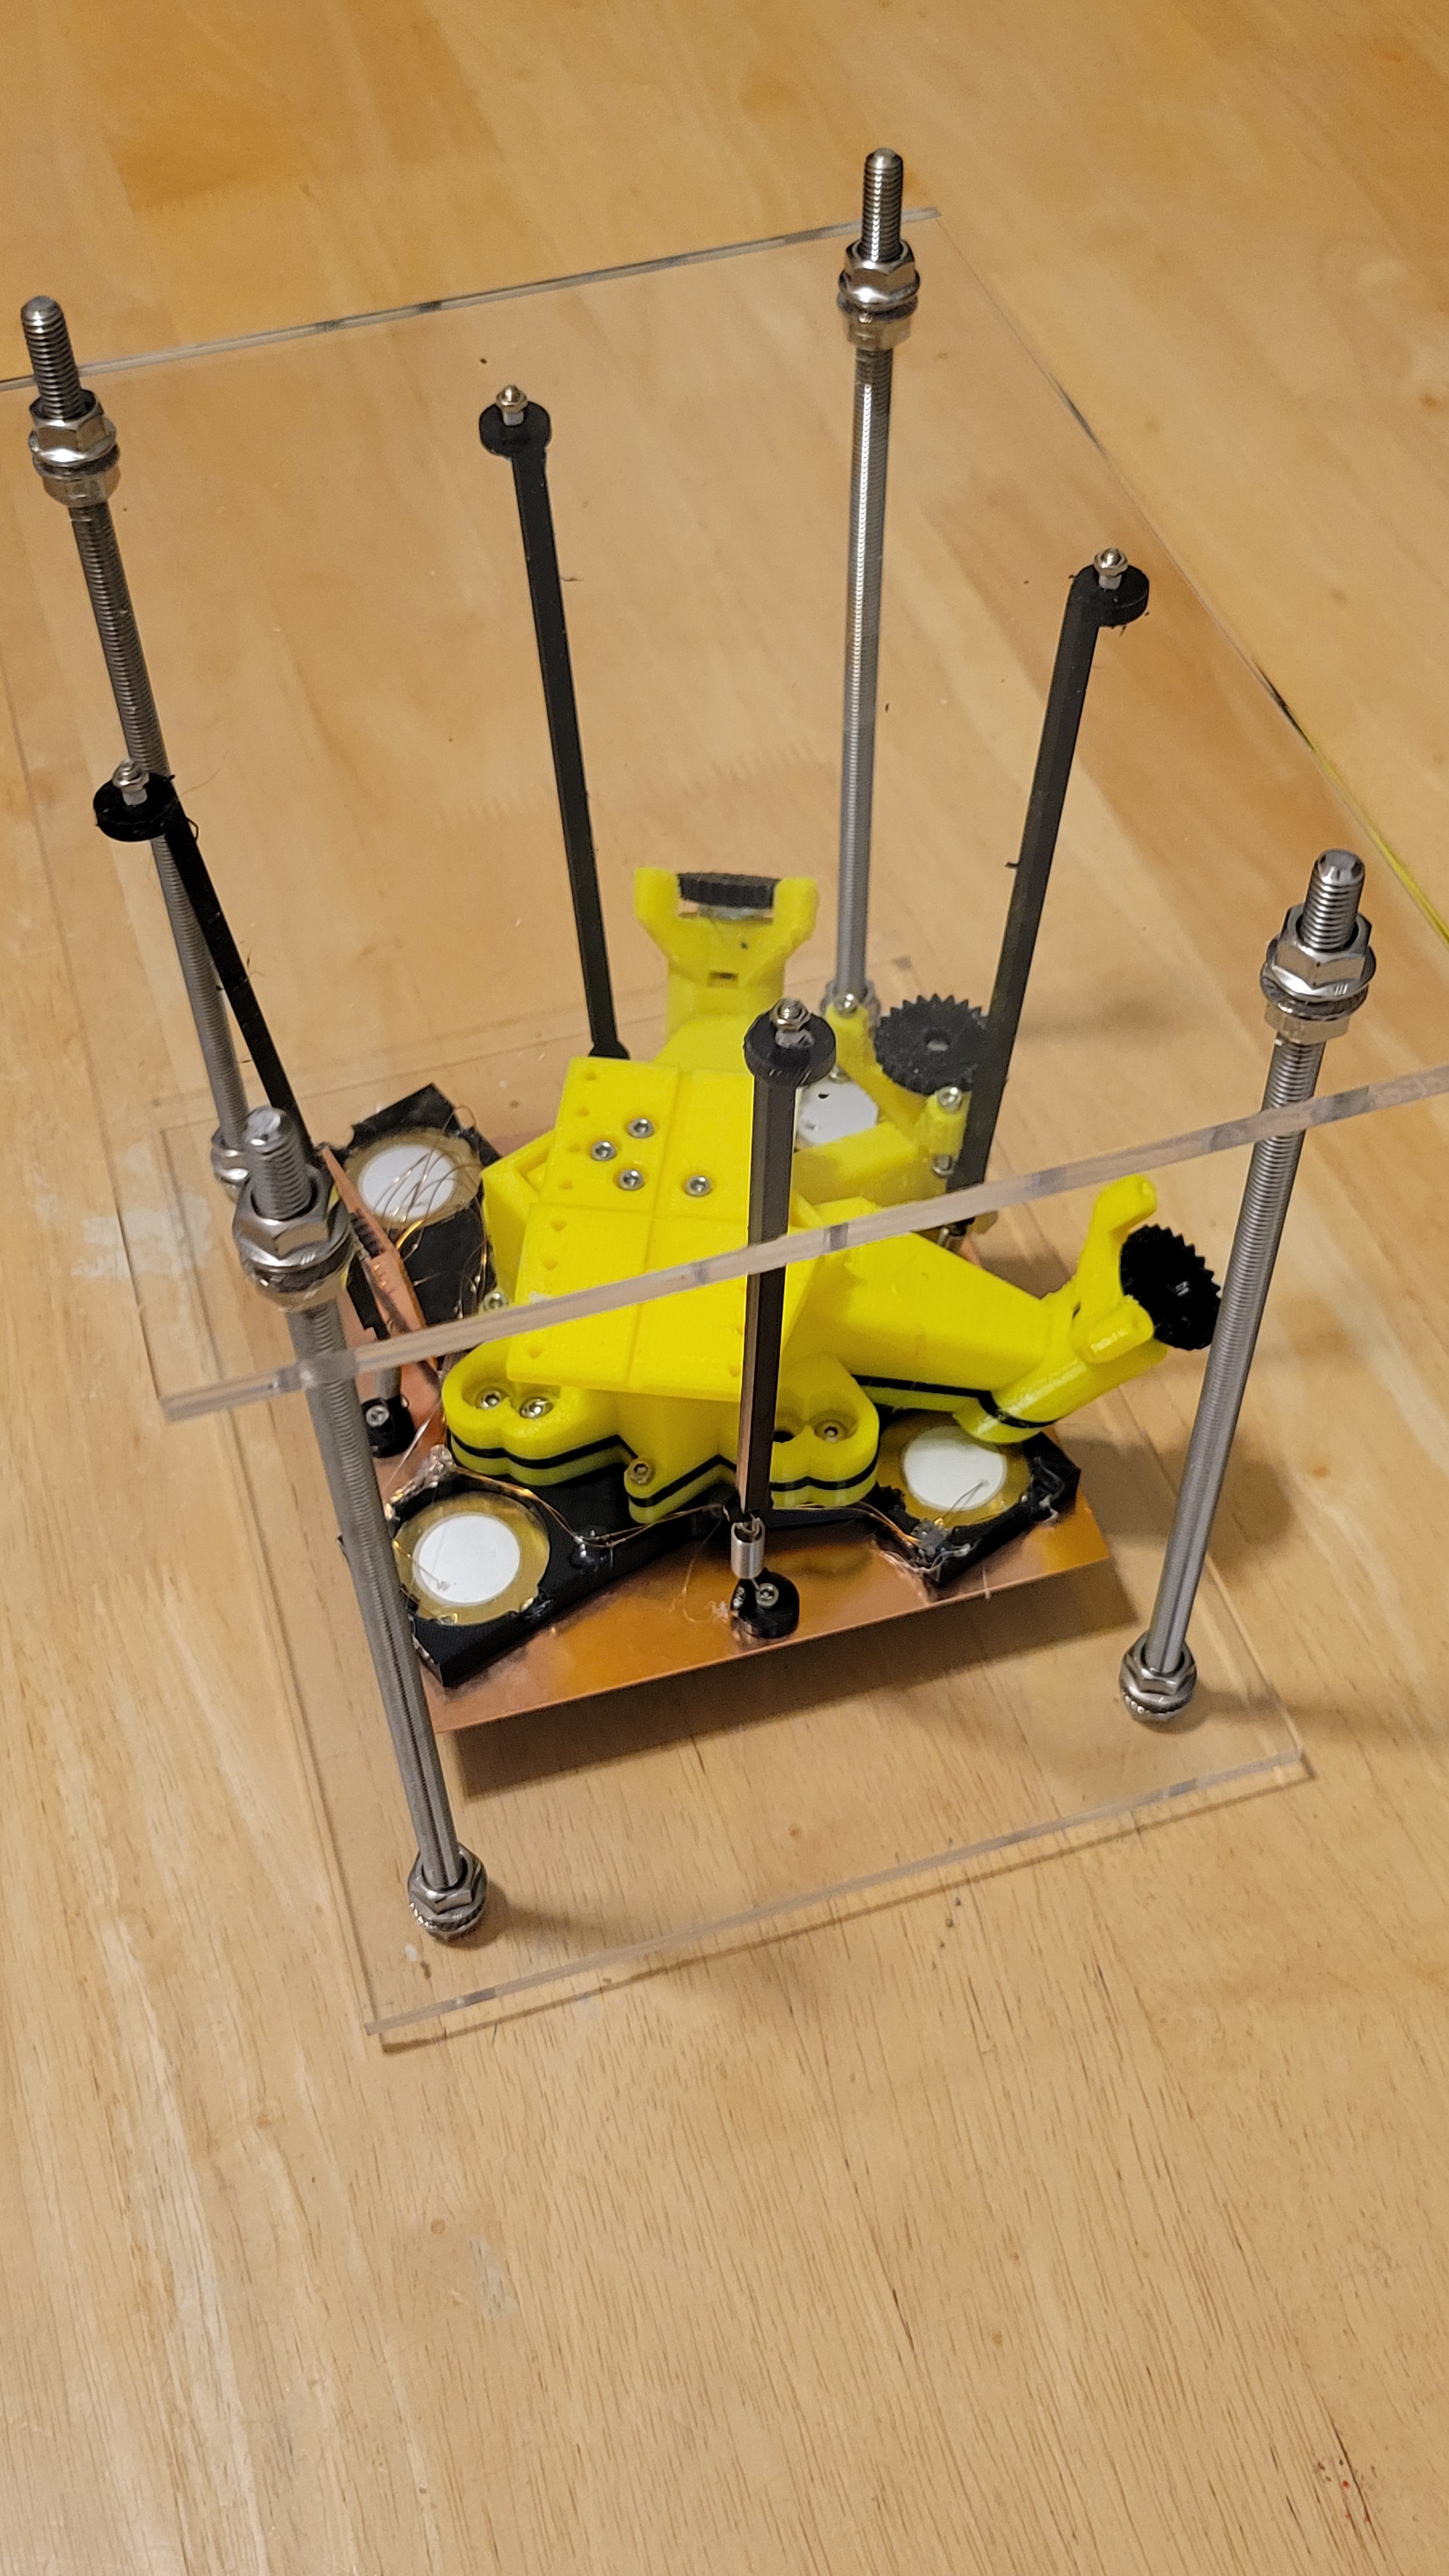
I was amazed from magnetic eddie current dumping system, plus using a tire and box of rocks was not convenient (although cheap) to work with. So, I've started to build a box to hold springs. Instead of 3D printing I've just used big acrylic board and made holes in it. Printing such big components will take forever in my 3D printer.
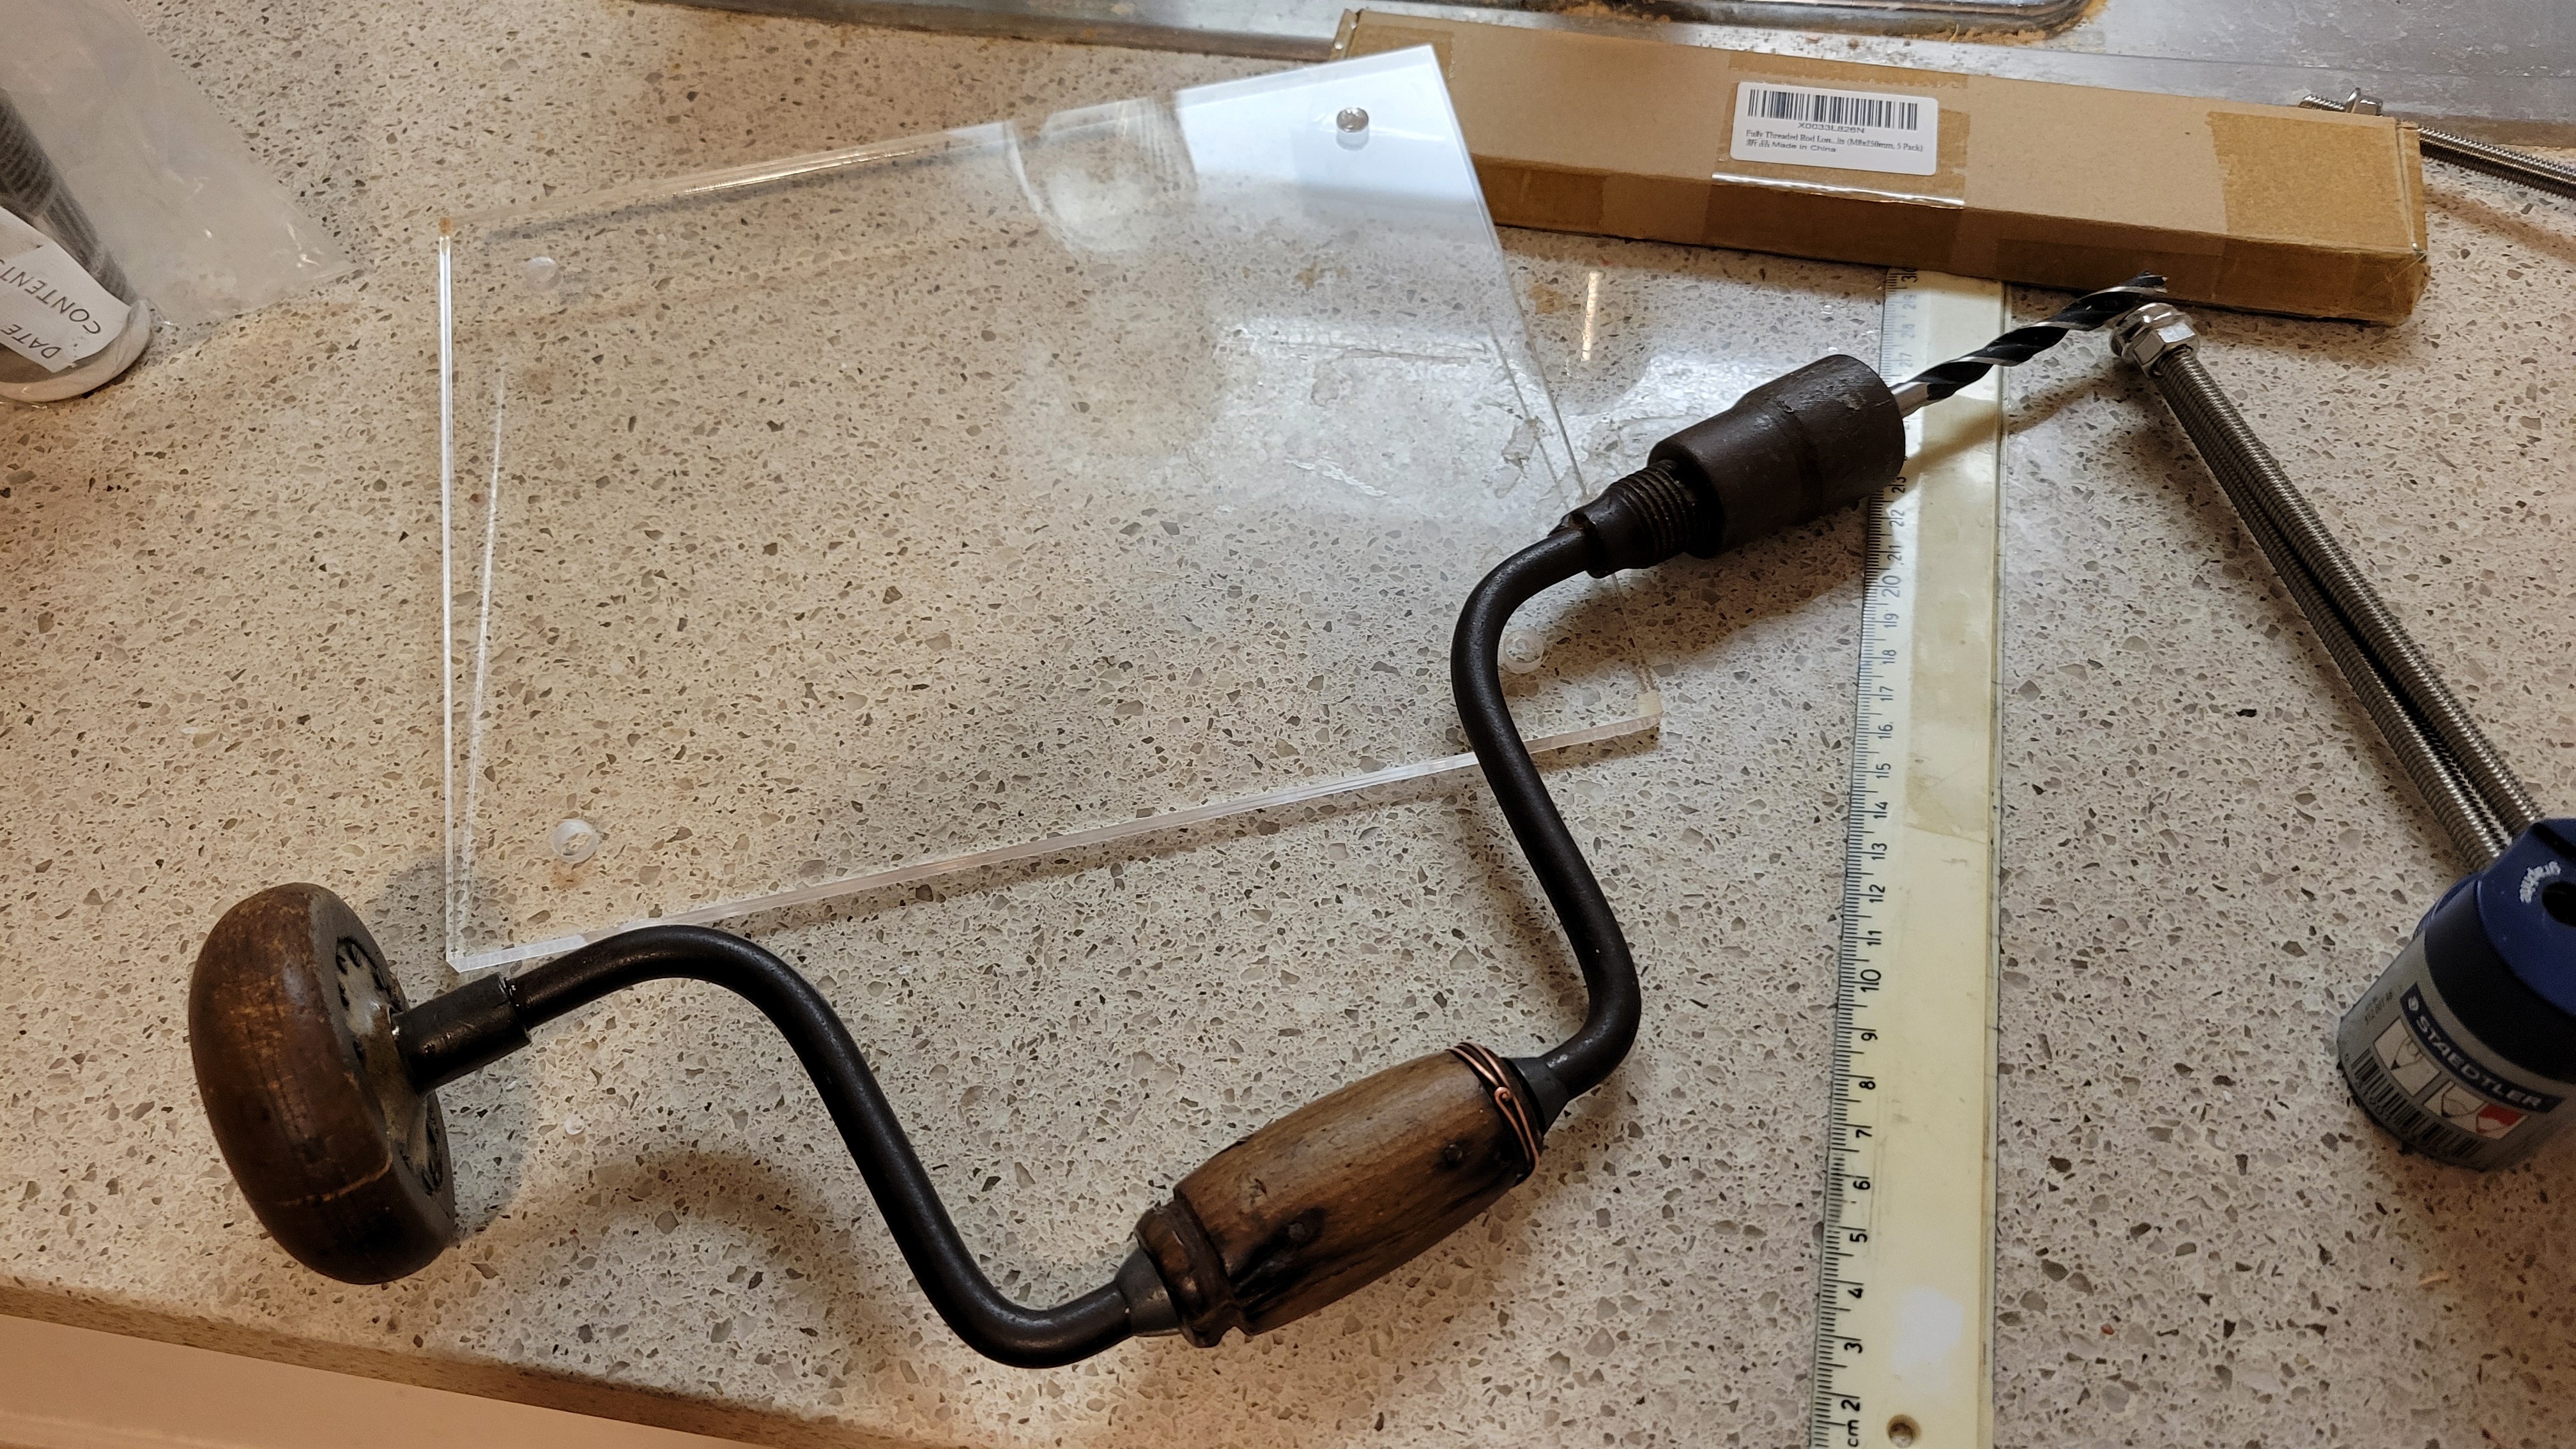
I know, I know this tool is prehistoric but it did its job without cracking anything ( It's my first time with acrylic so prefered to go slow... very slooooow)
------------------------------------------------------------------
I've added new commands to control micro positioner/stepper motor from software. Plus, I've added 'ring' command it to test piezoelectric discs connection. Although it's volume is low and nothing should be on piezoelectric discs it makes a noise and you can give a channel number {1,2,4,8}. This way you don't need signal generator.
------------------------------------------------------------------
Added magnets and copper plate on top. This way we have Eddie currents that takes energy out of the system.
You can see that I've pushed them to the same starting position. The one with magnets stops very fast the other takes few seconds
And this is how upgraded mechanical part looks like
-------------------------------------------------------------------
Next step would be moving micropositioner a step and check for frequency response until it quartz fork touches the surface if this works next step would be move nanopositioner let's say 1000 steps up if it fails to touch surface move micropositioner one step and continue until it's touching the surface. This will be the 'landing' if this stable enough (thanks to vibration dumping system) run scan to get image. Hopefully it will work as doing it manually is so time consuming...
Discussions
Become a Hackaday.io Member
Create an account to leave a comment. Already have an account? Log In.