 David Hopkins
-
Finally Complete
10/26/2014 at 11:32 • 0 commentsAll parts assembled, photos and video taken, packaged up, and gifted. Went down very well I must say.
Video can be found here:
Code Here:
https://github.com/hopo28/LED_CLOCK
Build pics can be found in the project logs.
-
Dock design and build
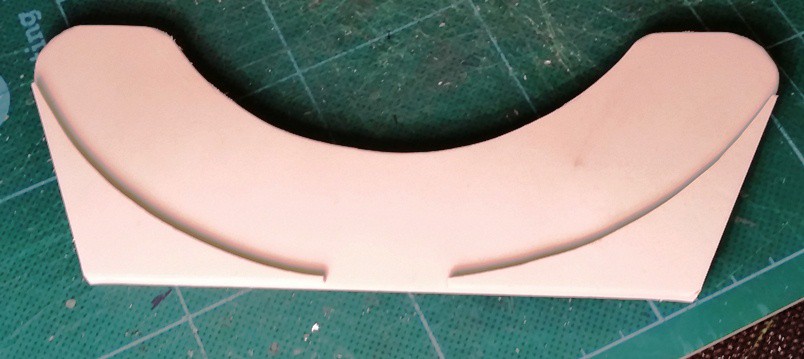
10/06/2014 at 15:36 • 1 commentafter thinking through a few options i came up with a simple dock that would hold the gate in place at an angle and not protrude too far from the top of the base... this is needed so that it can be boxed up and not be too flimsy.
Design turned out thus:
![]()
the base was also modified to accommodate this, the socket for the gate put in place and the light sensor (which i had previously forgotten) put in as well:
![]()
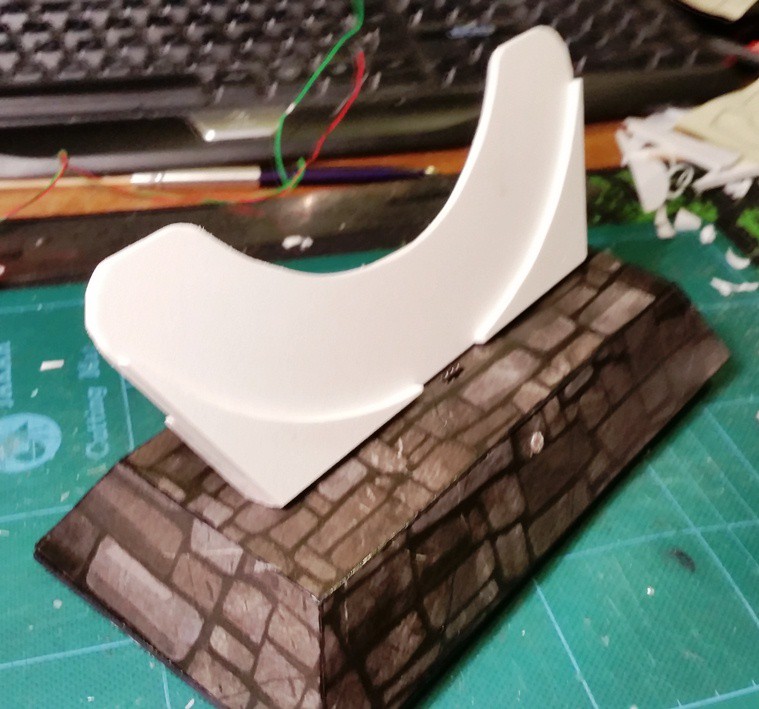
and now the dock in place to show mechanical fit:
![]()
next stages:
- finish spraying grey (already started, but rain is reducing opportunity to do so)
- spray with varnish
- mount dock
- wire up electronics
- try to fix the 'tripping' seconds issue (possibly due to RTC updates during fade effect)
-
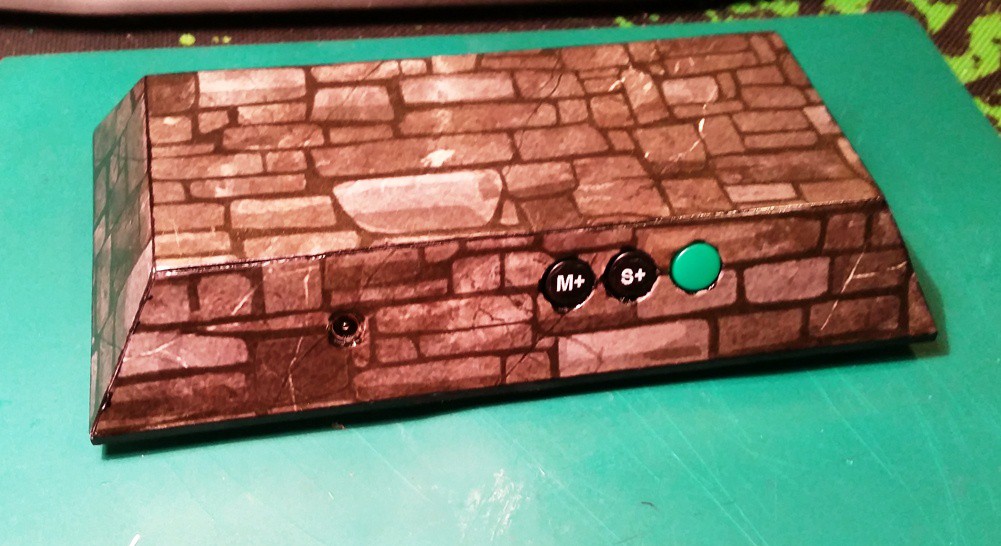
Finishing the base
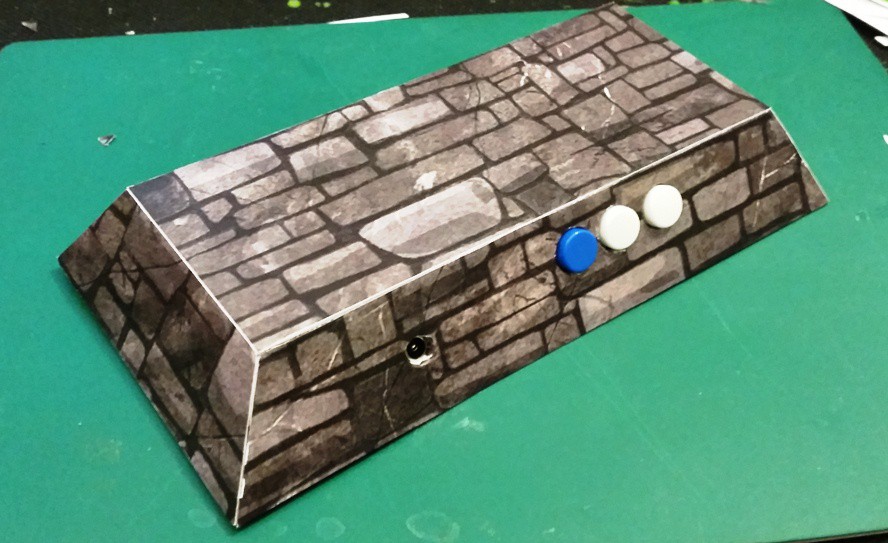
10/06/2014 at 15:27 • 0 commentsHave changed the button colours to be more subtle and added annotations (courtesy of a borrowed dymo label printer):
![]()
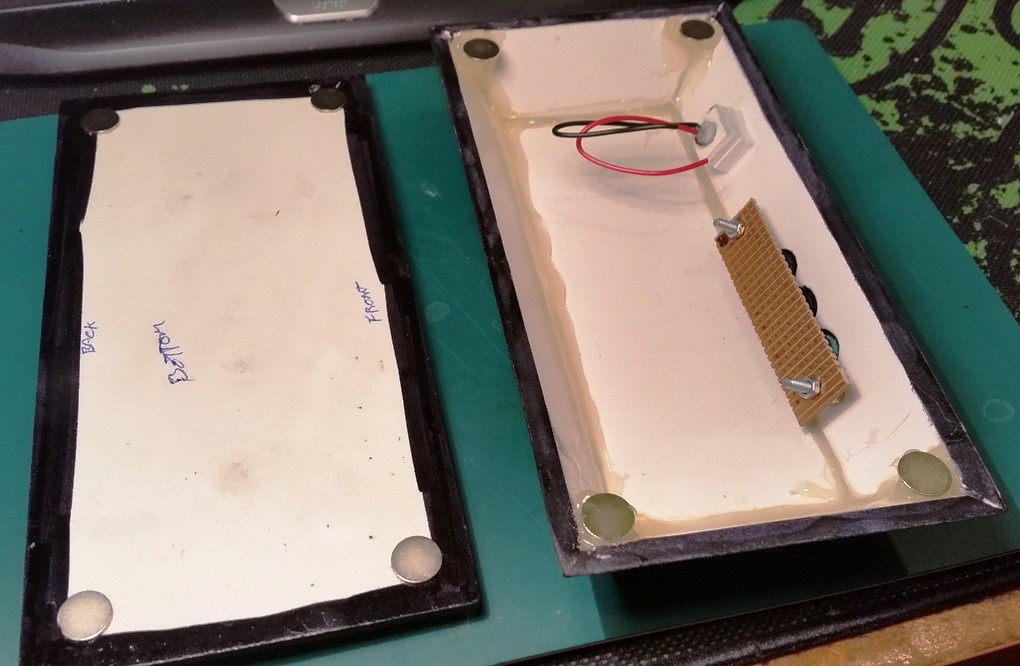
added magnets to the base board:
![]()
and decided that i need a dock for the gate....
ive not managed to think of a stable way to permanently fix the gate onto the base, so ill make a slot that it will fit in, to this end ive added a plug to the gate and wired it up, thus finishing that part of the build:
![]()
-
Varnish Failure
09/30/2014 at 14:12 • 0 commentsDidn't take a pic of it unfortunately, but... when spraying paper based things with polyurethane varnish, many thin coats are better than one heavy smooth one.... the varnish soaked into the gate sticker, compromising the adhesive and causing the paper to expand, and creating wrinkles, these subsided slightly as it dried and i was able to press the paper back down to get rid of most of the wrinkles.
However, in the process it smudged the laser-printed design (possibly the solvent in the varnish interfered with the bonding of the ink).
So i peeled it off and scrapped it.
This lesson being learned, i went much more gently on the base and it turned out fine (if slightly greener than expected).
I will try to apply a new sticker to the gate tonight.
-
Pretty-fying the base/stand
09/26/2014 at 07:39 • 0 commentsAfter hunting around for stone textures on the net i finally found a few, and with a bit of help settled on one of them, printed A3 size, and stuck it on. Hmmm, sounds simple, but there was a lot of carefull work with a scalpel and marker pens to tidy up the white edges of the paper.
efore colouring in:
![]()
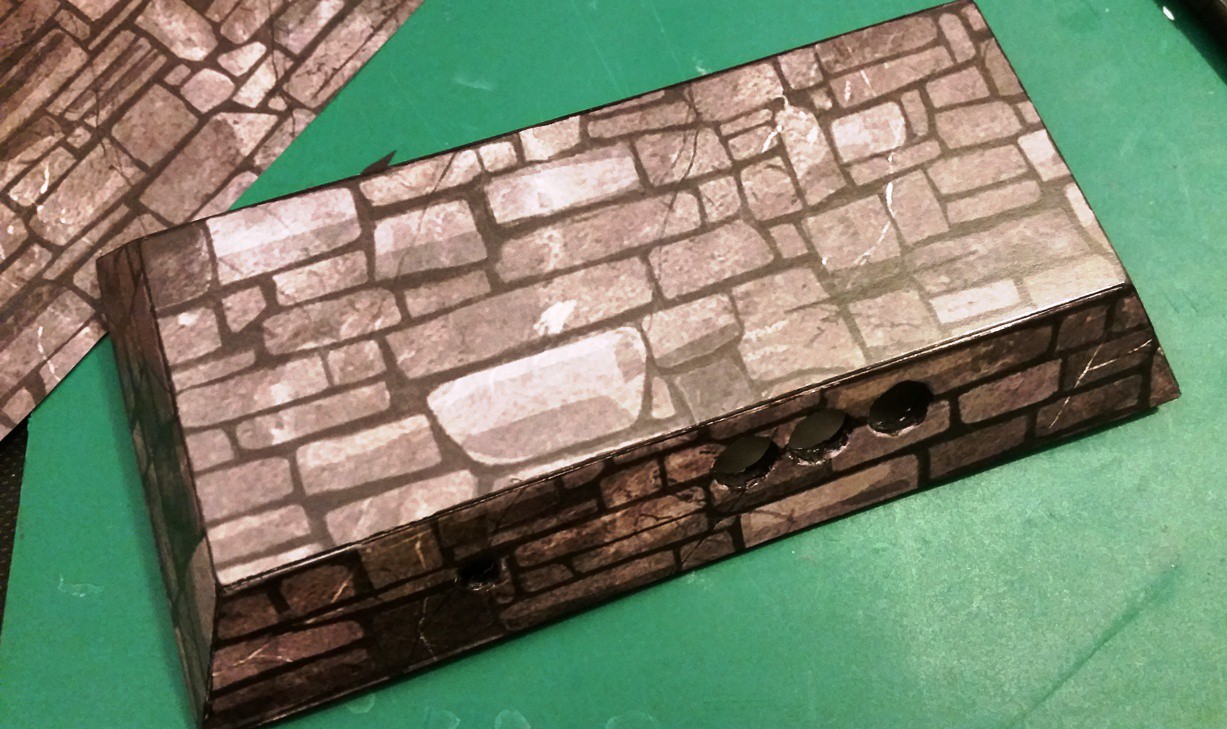
and after:
![]() next stages:
next stages:-decide on how to mount the gate (currently pondering a 'dock' style design)
-lacquer the gate (sans LEDs) and the base as it is
-add a mounting hole on the front of the base for an LDR (forgot last night)
-
Making the base and painting the gate
09/25/2014 at 13:00 • 0 commentsLooking at some of the SG models around the net, most have ramps or the bottom of the gate is obscured so people can walk in/out of them. all makes sense but not suitable for my version... so what im creating could be called a 'themed stand'.
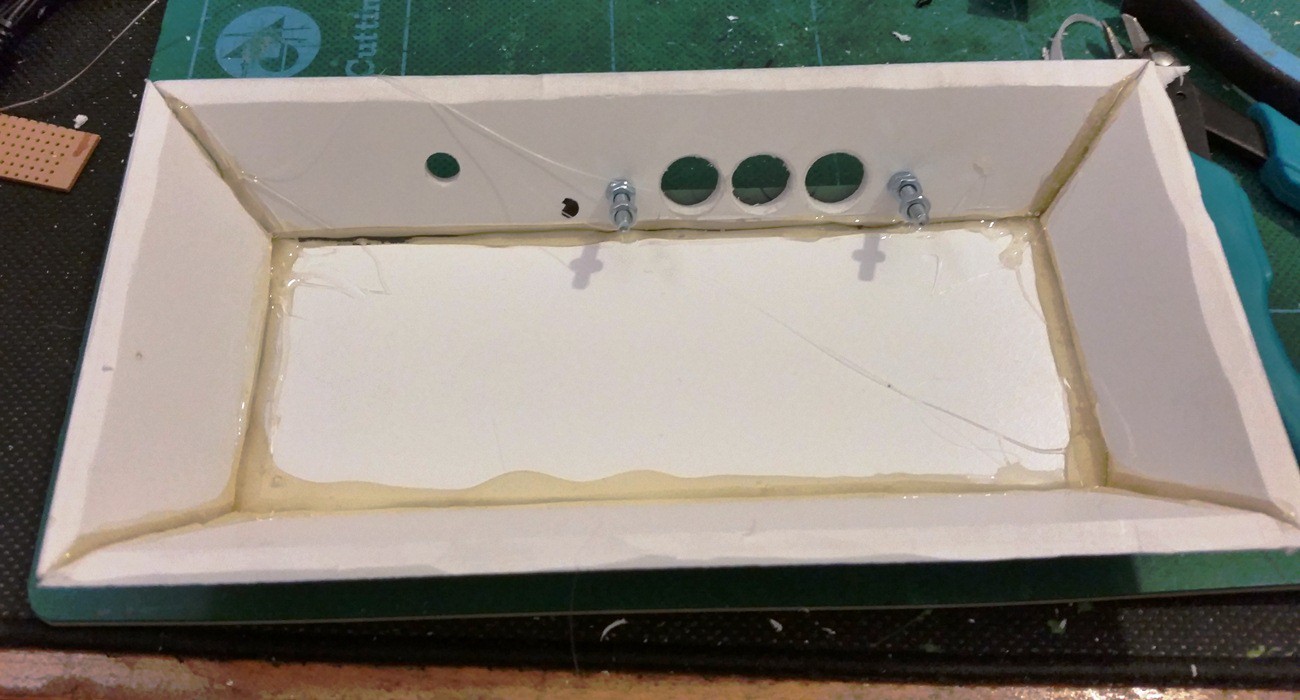
it will have a power socket and 3 buttons; the base will be removable in-case any adjustments need to be made. this will probably be held on with neodymium magnets, but we shall see.
Picture time!
close up of the button board:
![]()
inside of the base/stand:
![]()
base and sprayed gate (the back and sides of the gate will be generic grey)
![]()
stand & gate, now with SG printout stuck on, trimmed and touched up where needed, also the led ring is sitting in its slot, but no wiring as yet:
![]()
the base will have stone effect stuck on and, like the ring, all be sprayed with polyurethane varnish to protect it.
just need to find some stone textures now.....
-
BUTTONS!
09/19/2014 at 13:30 • 0 commentsit has buttons now,
just 3; advance minute, advance hour and change colourSet.
the SG1 version of the code is a right mess now, contains a lot of stuff thats not needed for that version but hey ho, its only planned to be a one-off, kinda a spur from the main objective, code uploaded for current version.
now to wait for the spray paint and design the base for this thing to stand on.
-
More 'Chime' Effects
09/11/2014 at 10:48 • 0 commentsI have decided to do effect sequences for the chimes, the sequences are :
case 1: dial(); dialFailSparks(); break;
case 2: dial(); kawoosh(); wormhole(); wormholeEnd(); break;
case 3: dial(); kawoosh(); wormhole(); wormholeUnstable(); break;
case 4: dialIn(); kawoosh(); wormhole(); wormholeEnd(); break;
case 5: dialIn(); kawoosh(); wormhole(); wormholeUnstable(); break;
default: dial(); dialFail(); break;
these will be selected randomly every hour, since the video of the dial sequence was made, it now dials twice as fast and 'rotates' both ways (randomly)
the kawoosh and dialFailSparks are somewhat tricky, so havent been made yet, and the wormoleUnstable takes far too long at present, but that will be fixed shortly
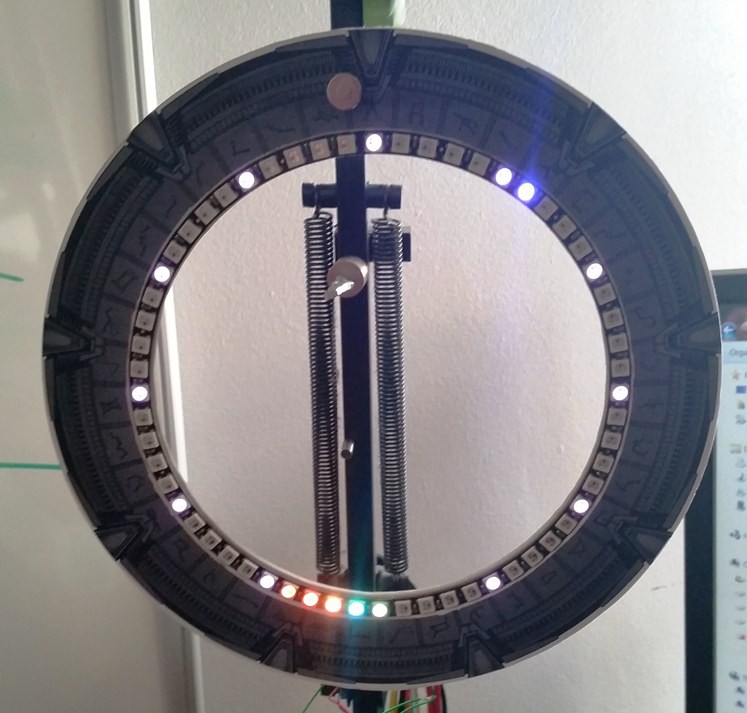
also, white position markers have been added so that its easier to tell the time... as there are 9 chevrons, it makes it tricky to imagine 12 points to estimate the time, so the markers were nessisary:
![]()
seem to have an issue where it occasionally jumps time (backwards) when it resyncs with the RTC, this is odd that the micro can get so far out.
-
Stargate Dial 'chime'
09/09/2014 at 22:11 • 0 commentsfirst custom effect for the stargate clock, a dial sequence, which will run every hour on the hour.
takes roughly 45 seconds to complete, but that varies as it 'dials' a different address every time.
it dials all 9 chevrons... this doesnt happen in SG1 but the talk about it, and it is done in SGU, between destiny and earth.
had a quandary between keeping it SG1 authentic and satisfying the OCD, but seeing as the whole gate (the leds at least) will need to be visible, i thought it best to do the lot.
the leds are a bit bright for the camera but you can see what its doing :-)
-
LED Clock: SG-1 Edition :-)
09/09/2014 at 08:48 • 0 commentsI have decided to do a simplified version for a present, set inside a Stargate, many of the features previously mentioned will be disabled for simplicity.... feature list will be:
- time display
- switchable colour modes
- variable brightness
- simple 3 button configuration (colour cycle, hour increment and minute increment)
- variable brightness will be via LDR, with a switch to change to a pot for manual setting
- 'dialing' effect for the hour and min light blocks every hour (or maybe a generic dialing effect)
preliminary pics:
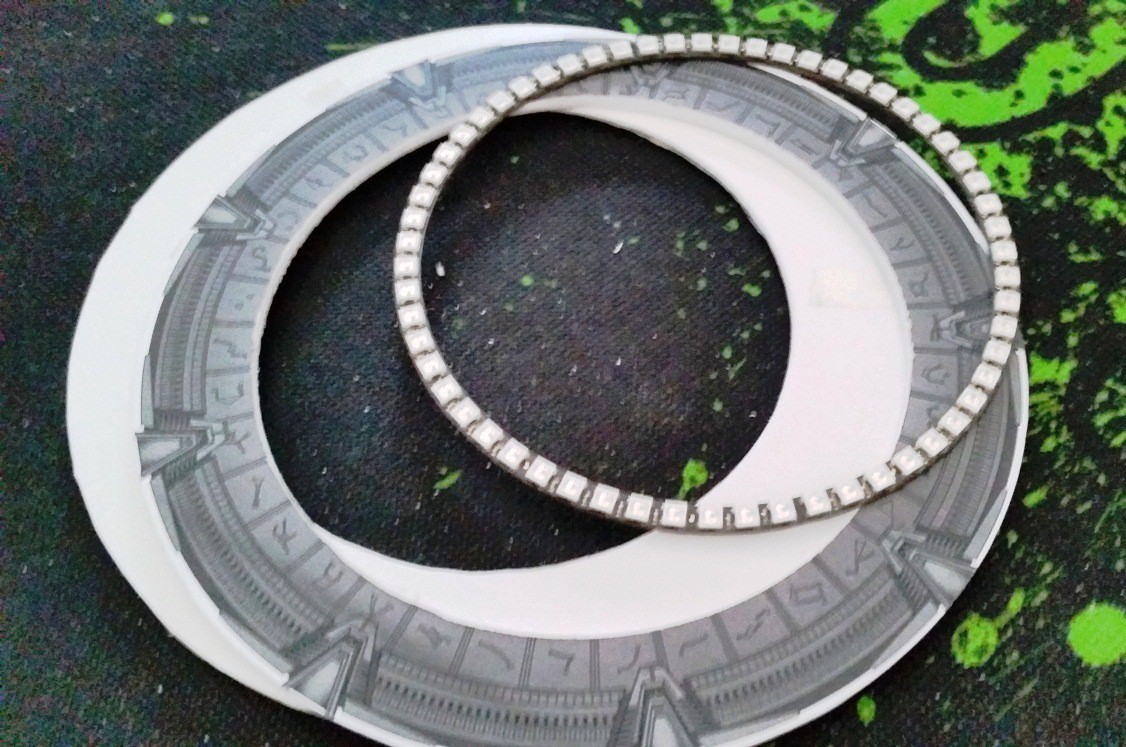
![]() ^ the cut parts with preliminary graphics
^ the cut parts with preliminary graphics![]() ^ loosely assembled
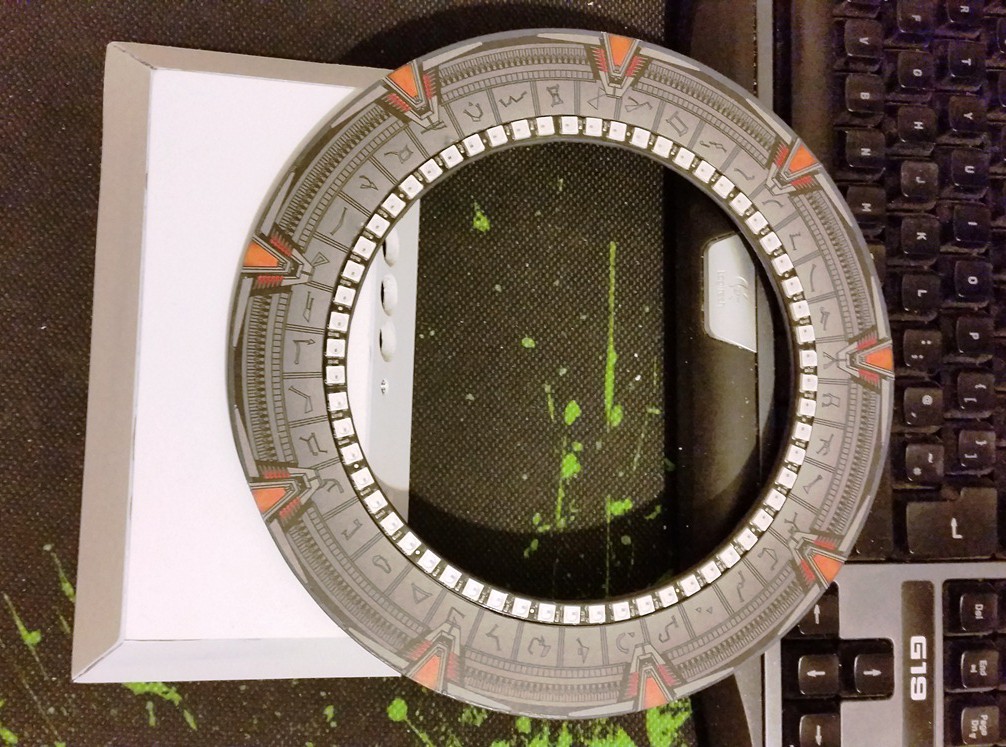
^ loosely assembled![]() ^ LED ring and final graphics
^ LED ring and final graphicsthe ring assembly will be sprayed mat grey, printed graphics applied, touched up where needed and varnished (polypropylene spray probably), this will then have the LED ring set into it and wired up, then I will work out how to make a (hollow) base/ramp to house the control gear.
Stargate LED Clock
An LED clock using the adafruit 1/4 sections to make a 60 LED ring. Although not a new concept, it should be expandable to other variations.


 next stages:
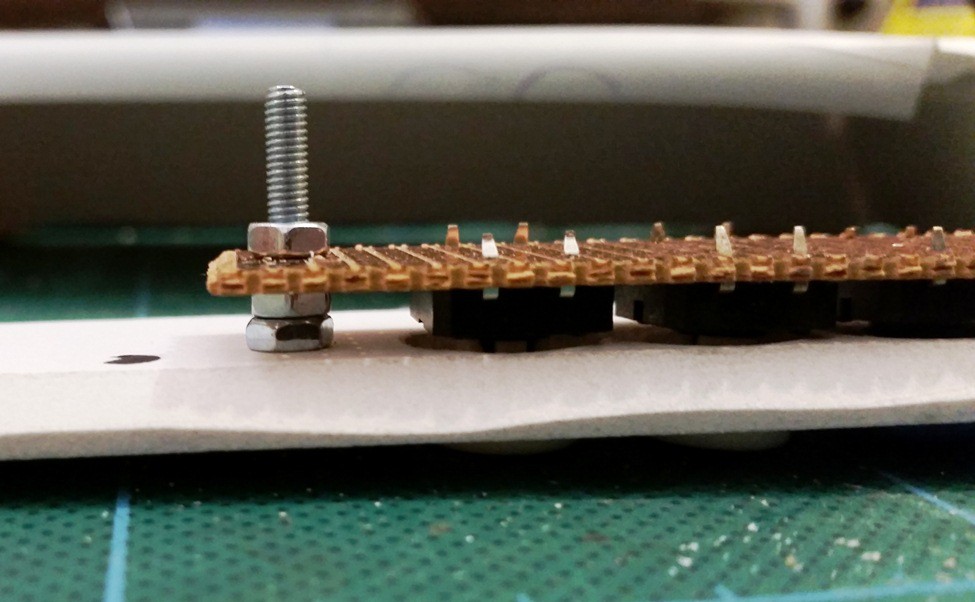

 ^ the cut parts with preliminary graphics
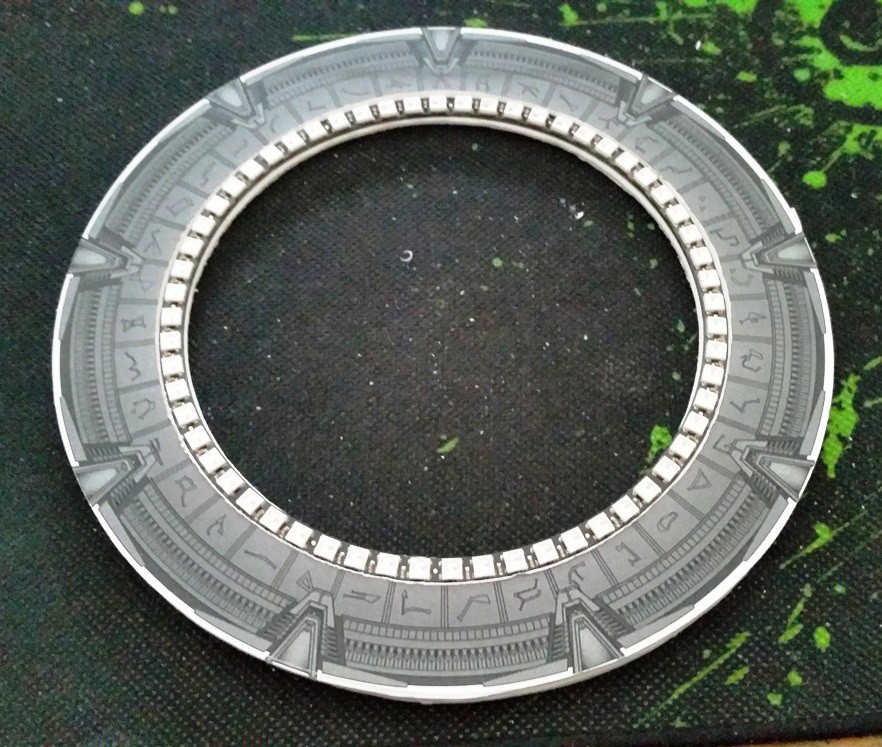 ^ loosely assembled
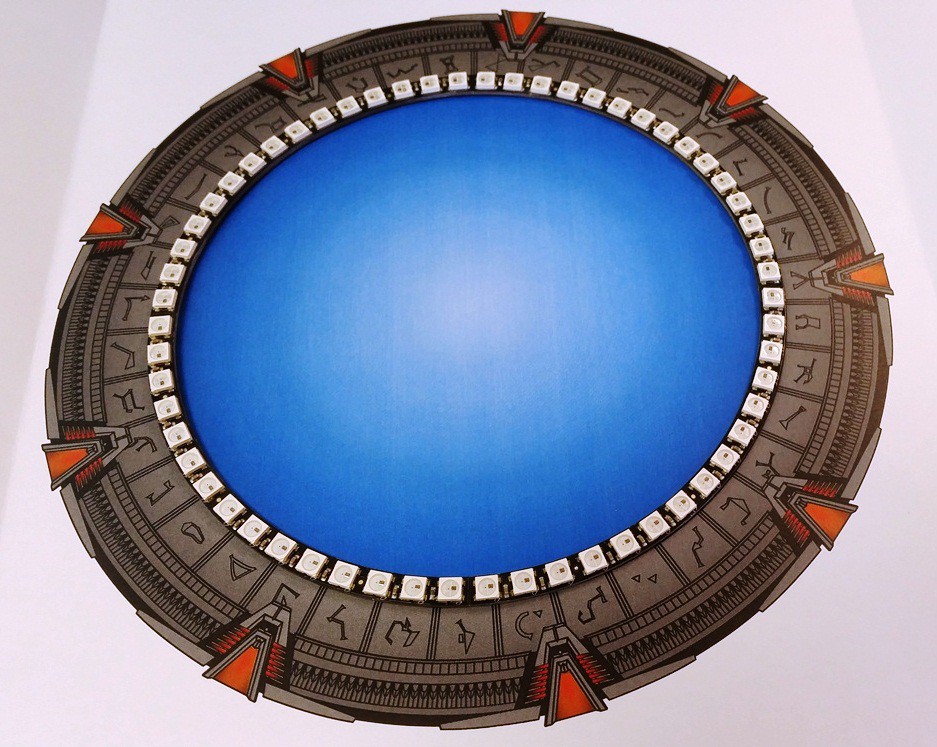 ^ LED ring and final graphics