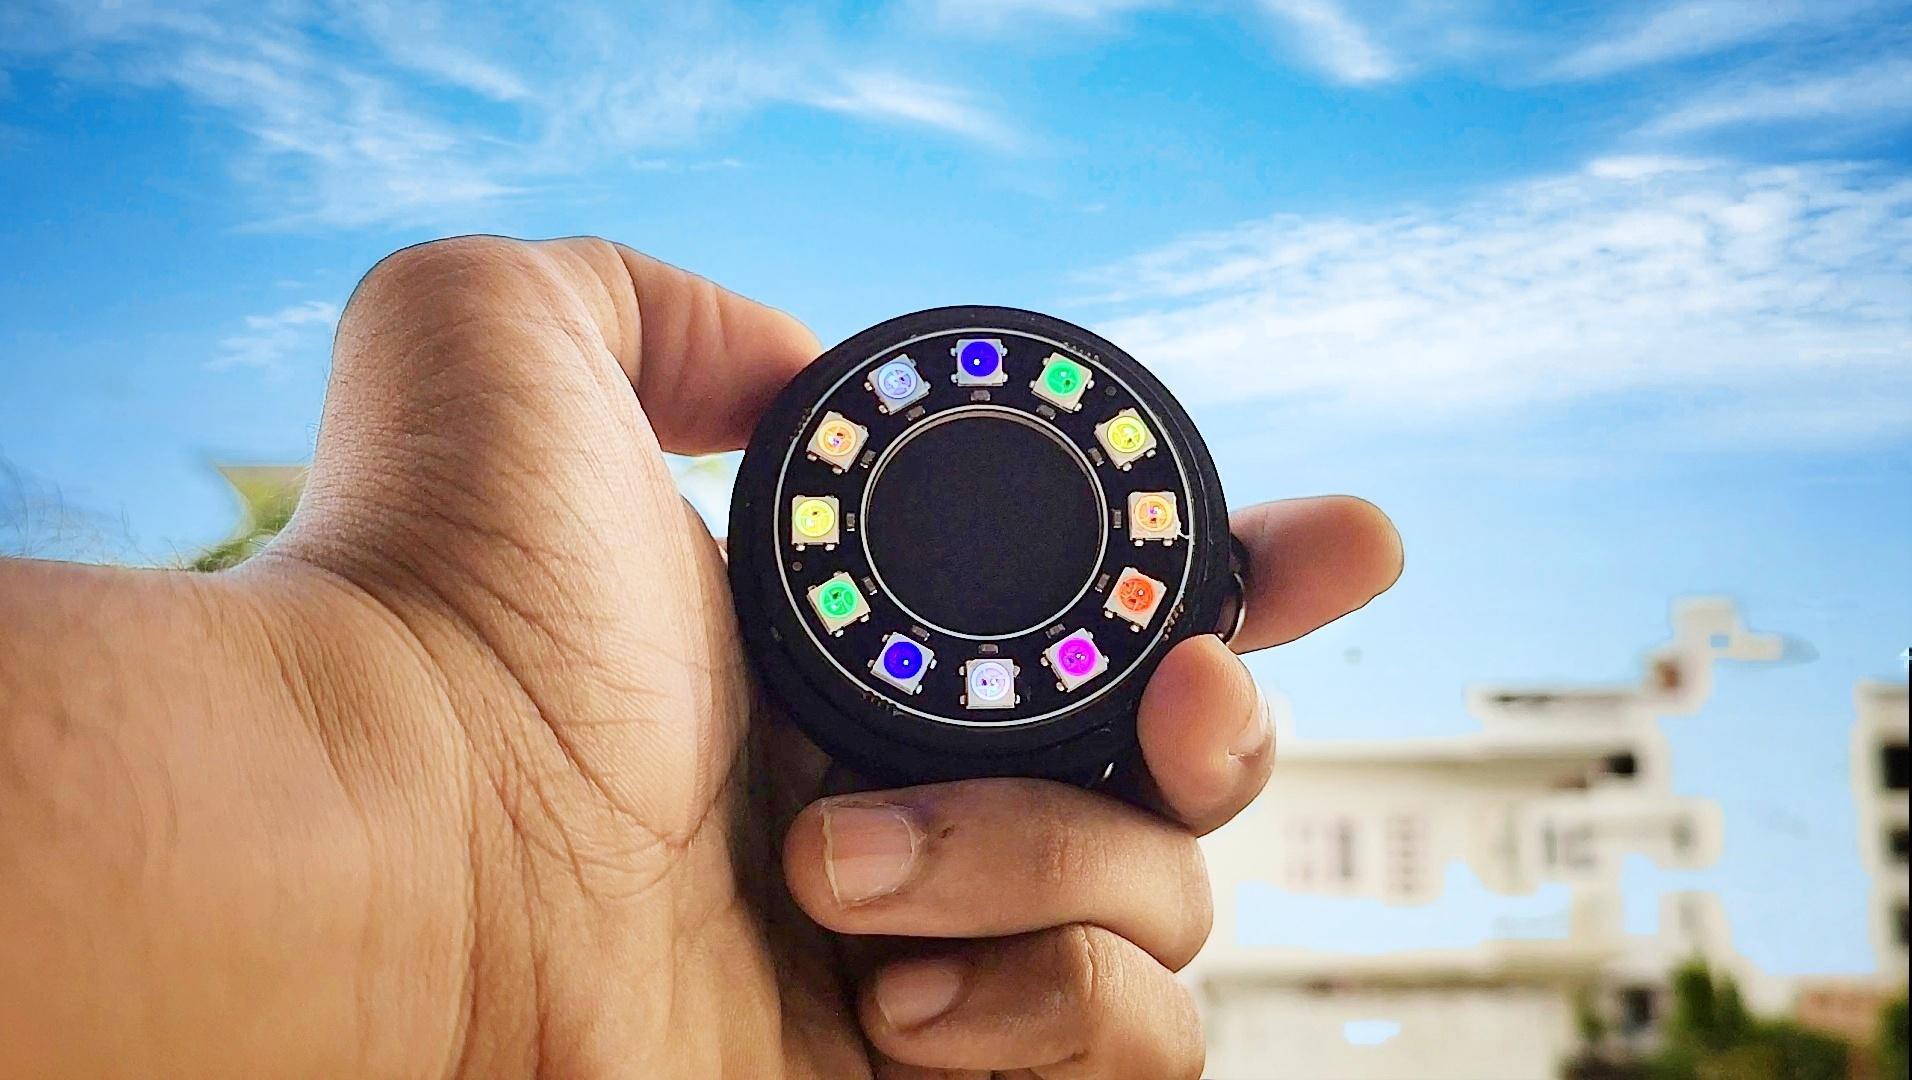
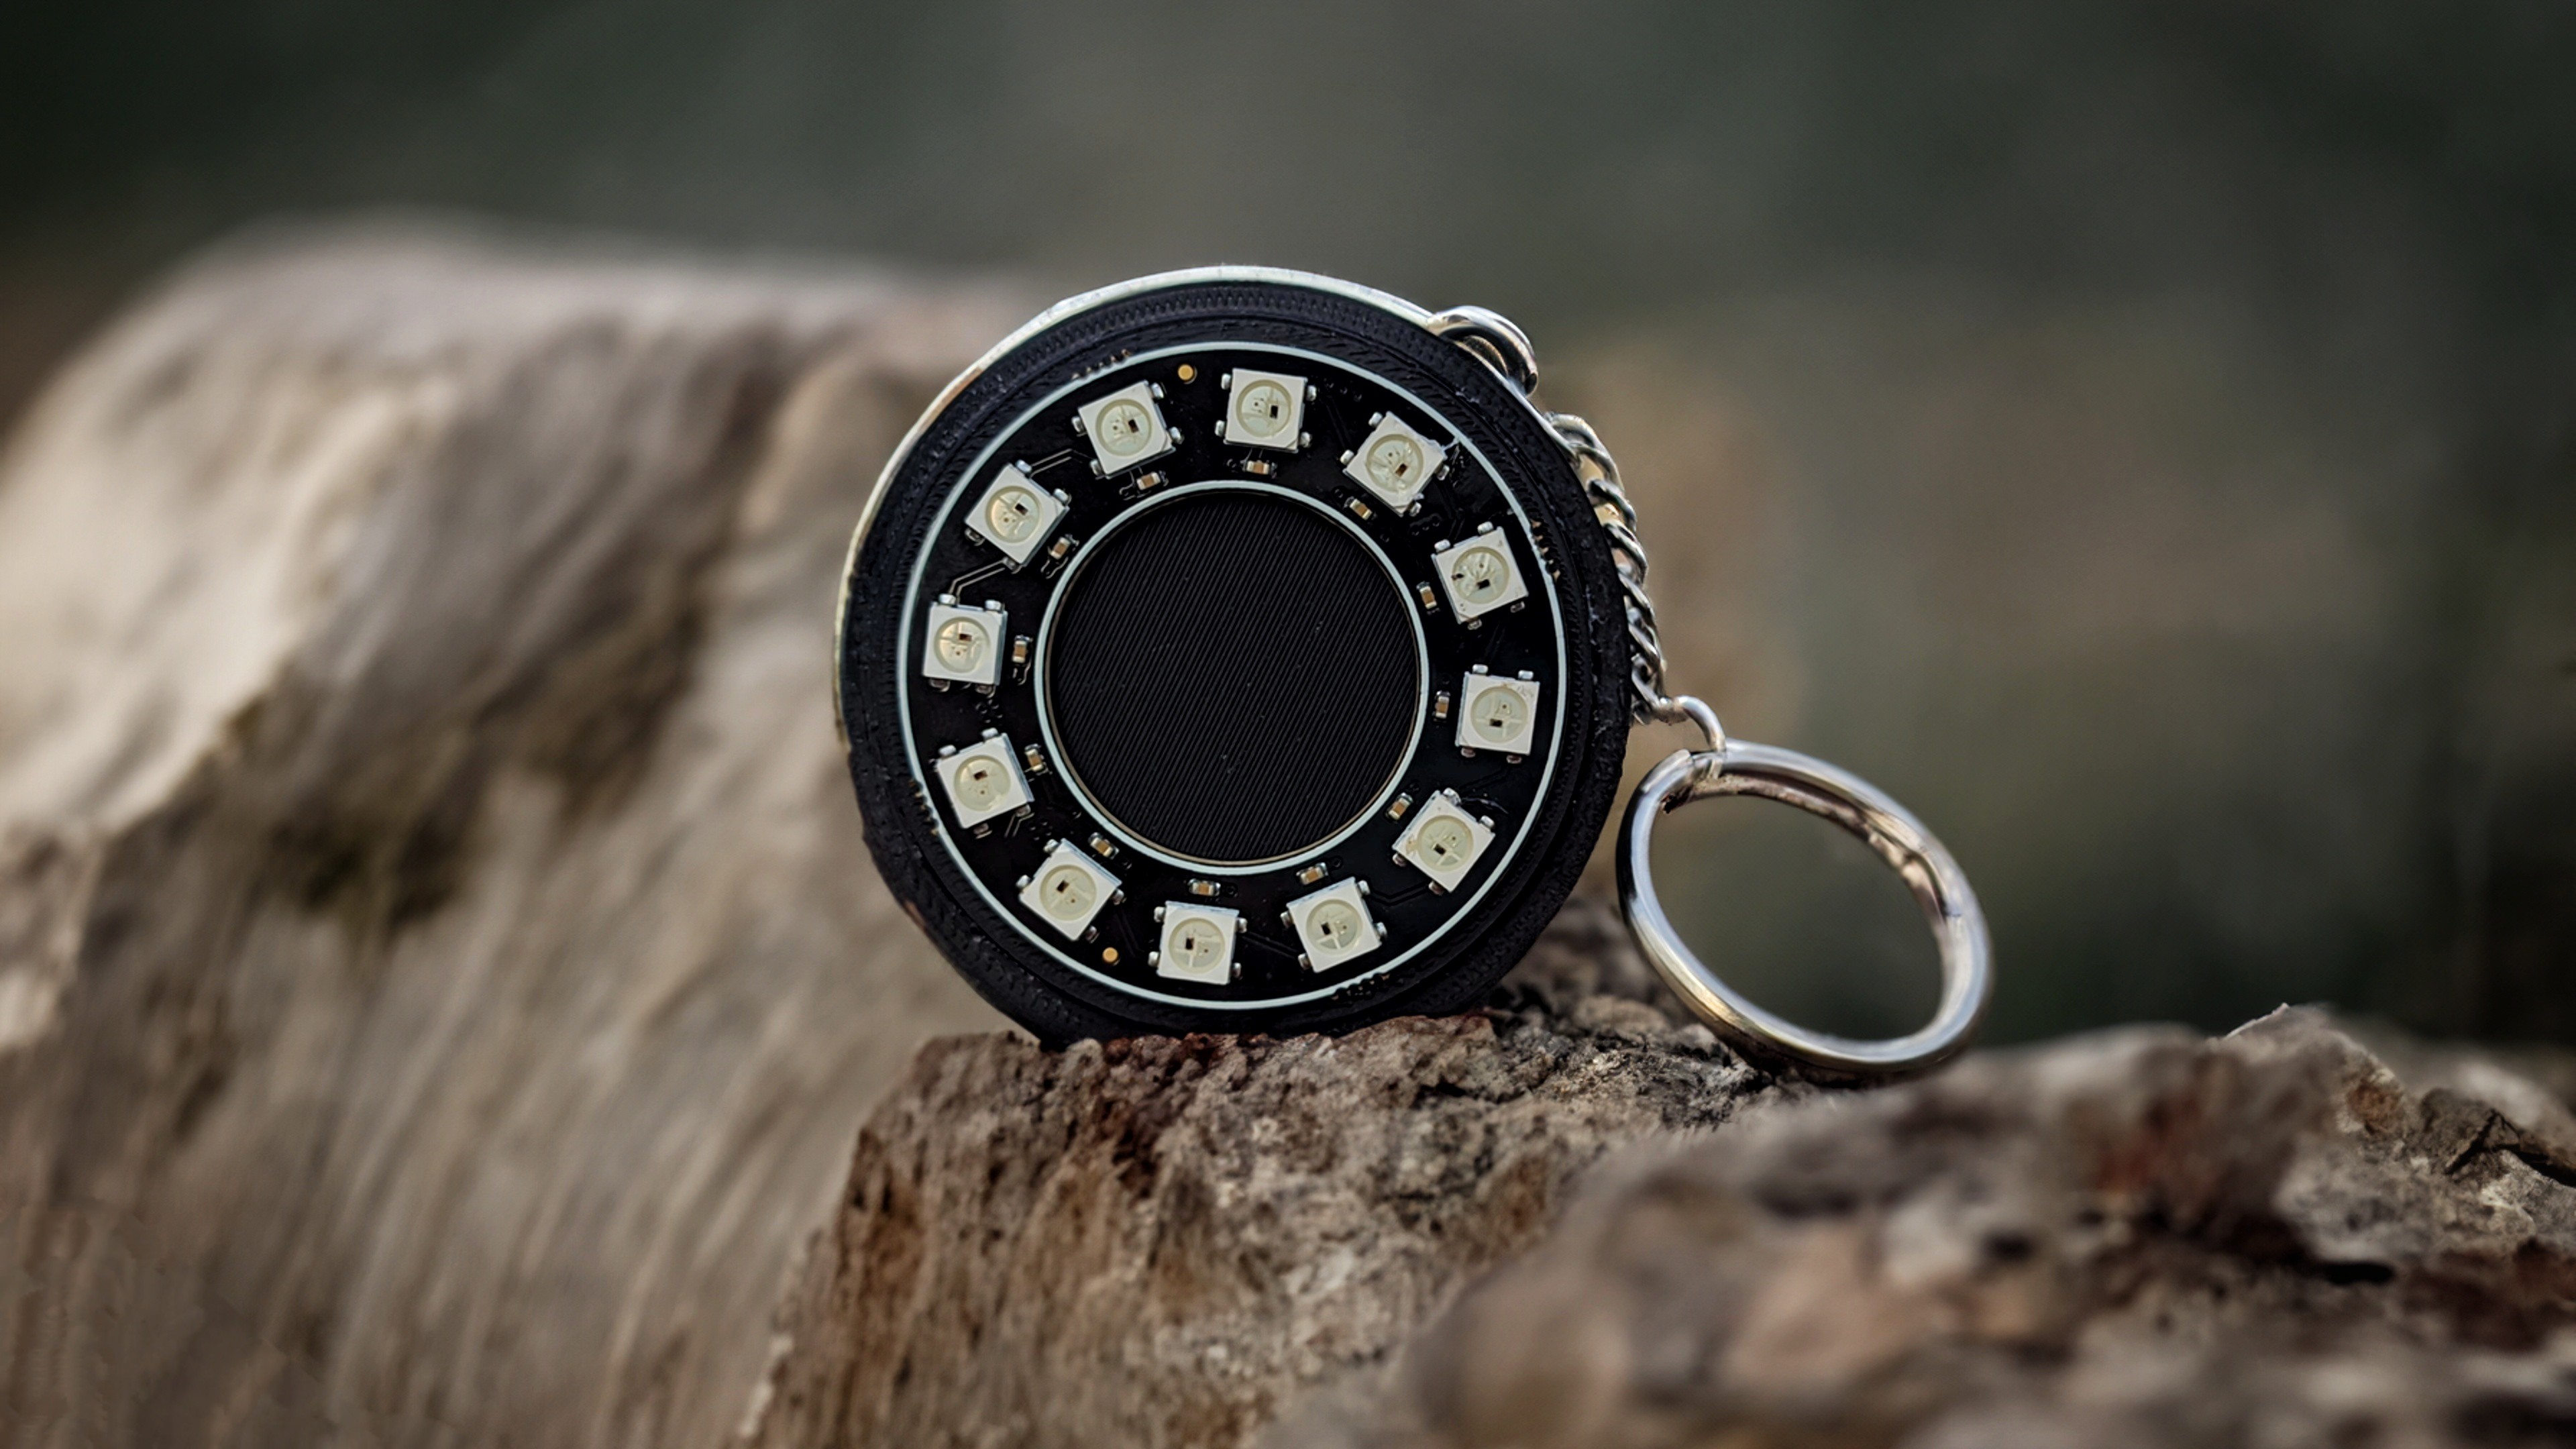
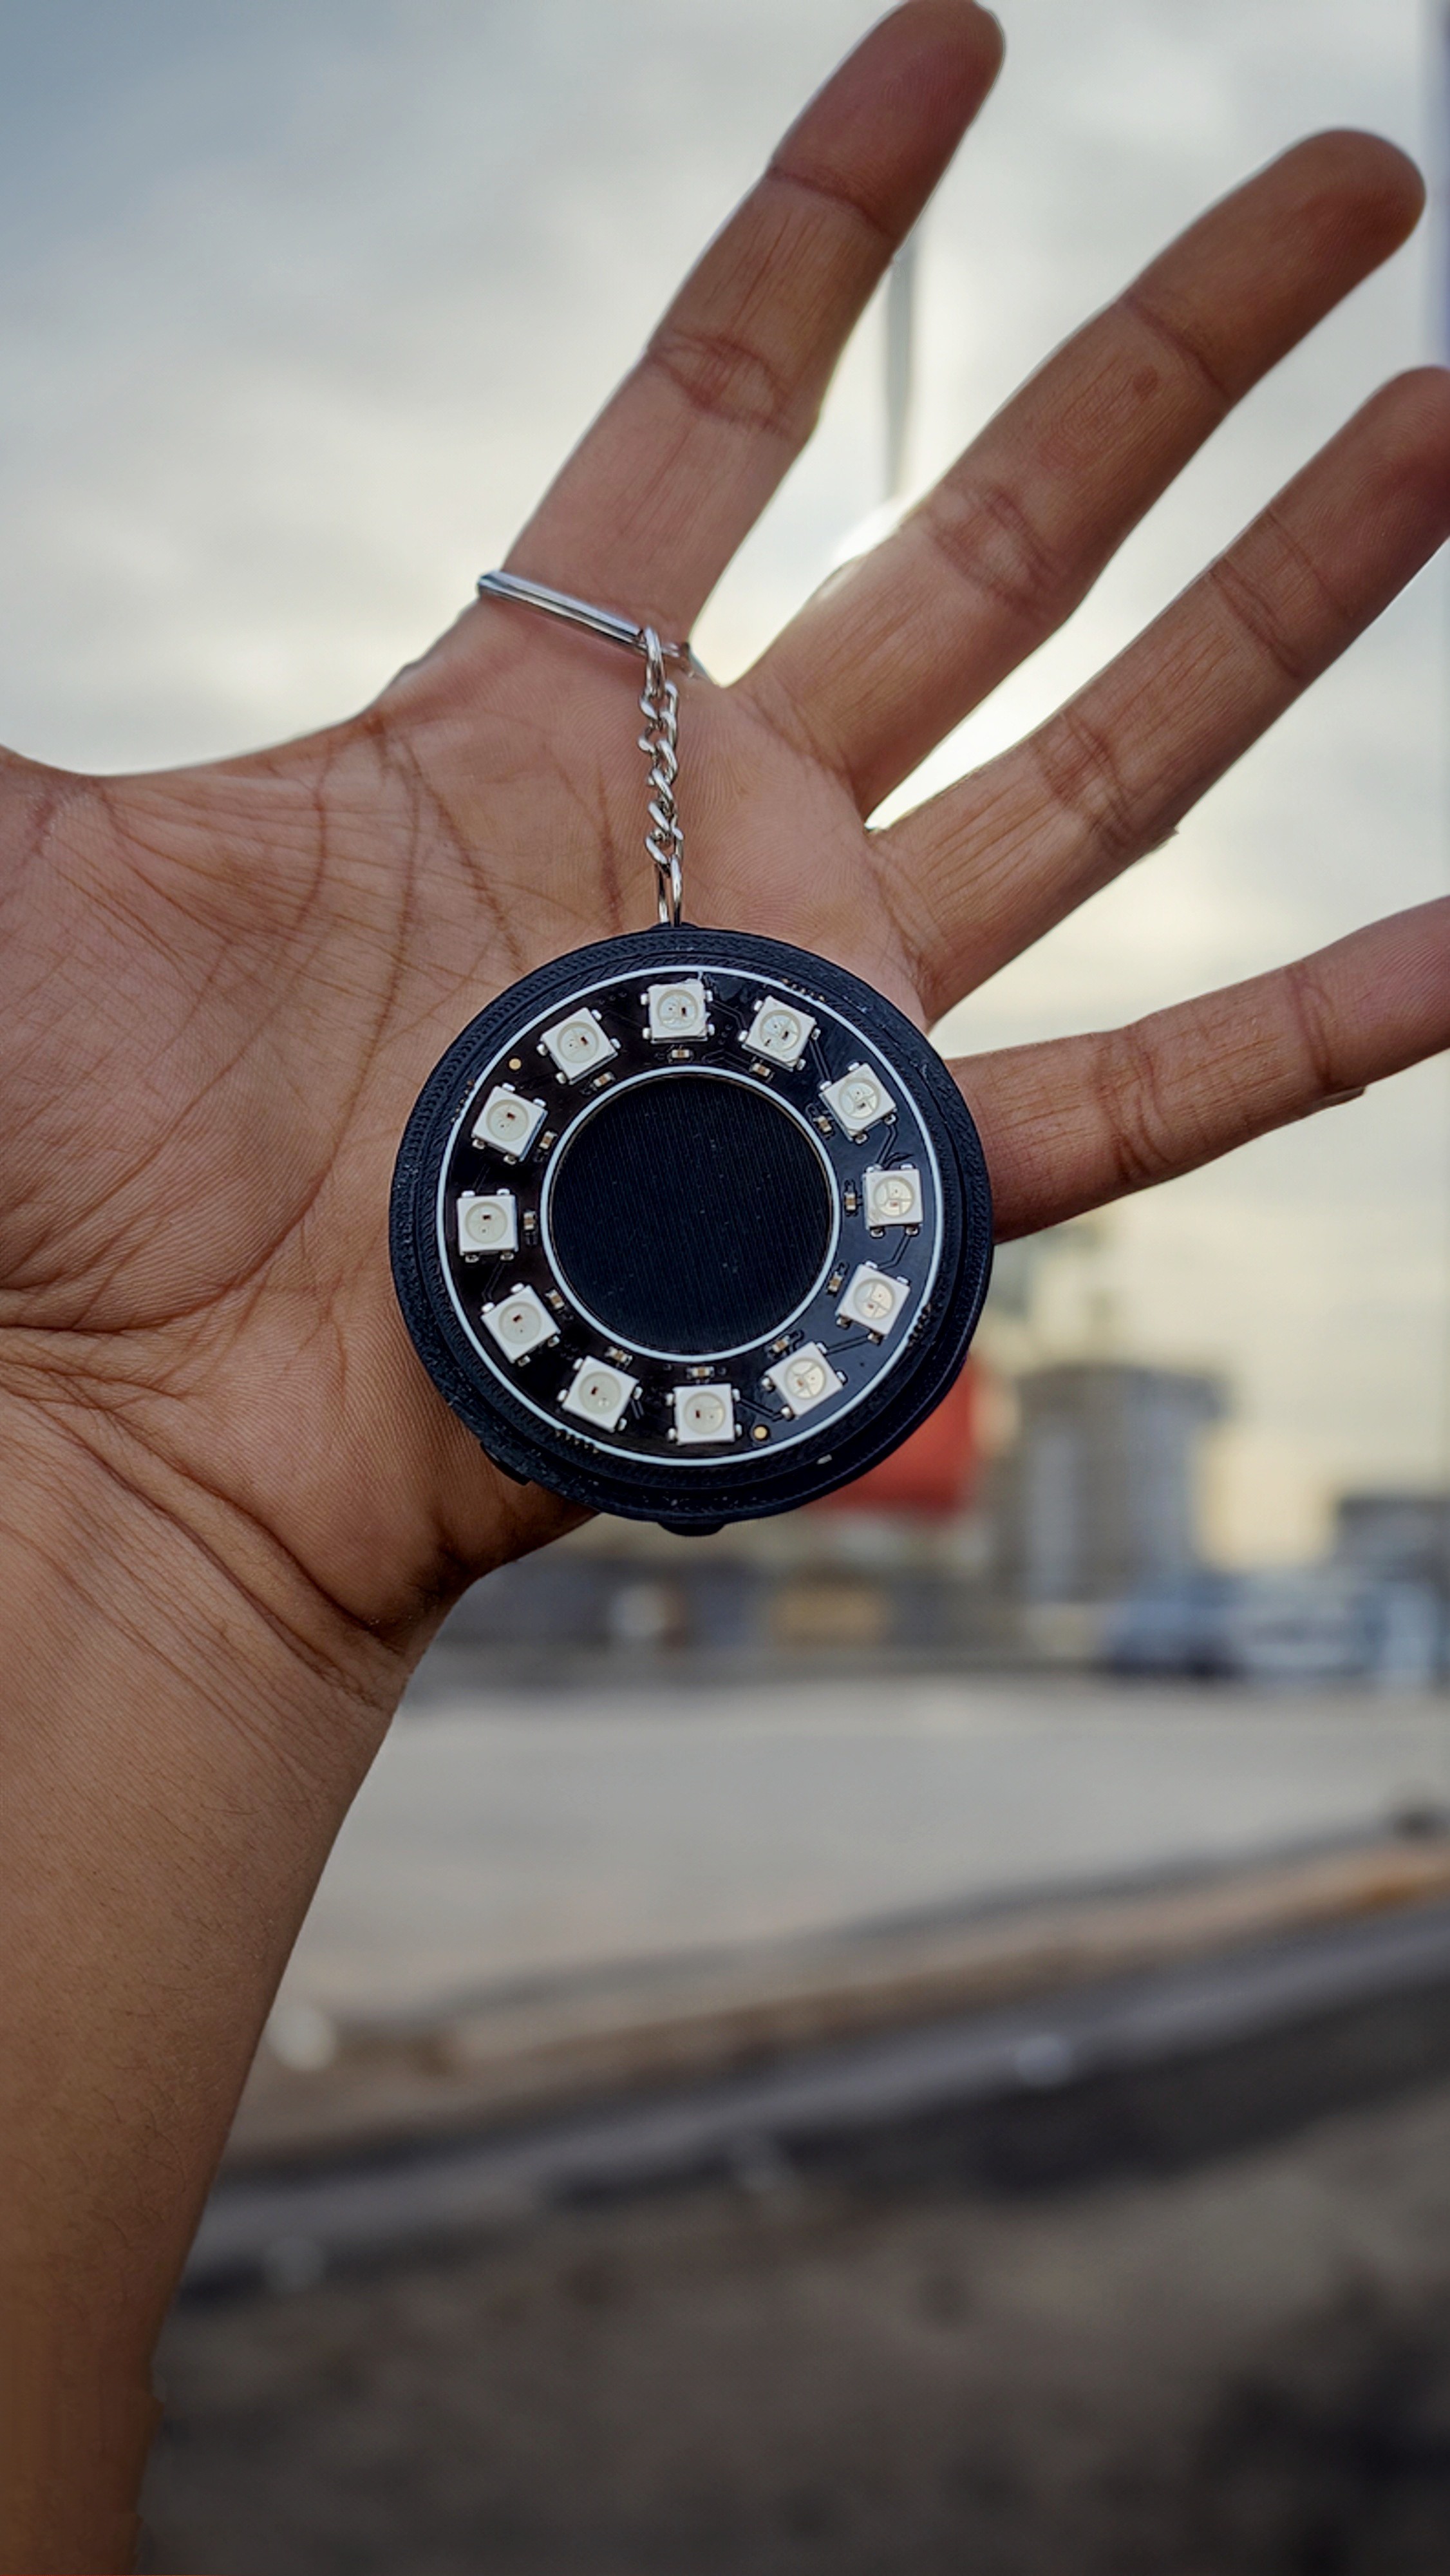
This is a rechargeable fidget keychain. The small size can be carried in a pocket. It is a never-ending game.
To make the experience fit your profile, pick a username and tell us what interests you.
We found and based on your interests.
Hello everyone!
Keychains are small, seemingly insignificant items that hold keys. Keychains keep all your important keys in one place, preventing them from getting lost or misplaced.
But normal keychains are boring, So I made an LED Fidget KeyChain.
Buy It on Tindie: https://www.tindie.com/products/vishalsoniindia/huefidget-fob-a-led-fidget-keychain/
Why I Made This?
Sometimes you are bored on a train, at a meeting, or on a date. Or maybe some time your fingers want to do something and you don't have any fidget toys, then this can work for you because keys are important things that need to be carried in your pocket.
What is special about it?
This is a rechargeable fidget keychain. The small size can be carried in a pocket. It is a never-ending game that can increase your concentration and presence of mind. and colour identification capability. The game needs alertness and fast responses that will be trained by this device, which helps as well as in real life.
Some history of keychains
The concept of keys and their management can be traced back to ancient civilizations. The ancient Egyptians, Greeks, and Romans used keys made of wood and metal to secure their homes, temples, and important possessions. While there is limited evidence of early keychains, it is likely that people used simple cords or chains to carry and prevent the loss of their keys.
DFRobot WS2812 12bit RGB LED Ring
Small in size, these LED beads come in a variety of colors and can be cascaded. Only one signal line is required to control the color and status of all leads.
TP4056 Type C module
This TP4056 1A Li-Ion Battery Charging Board Type C with Current Protection is a tiny module, perfect for charging single-cell 3.7V, 1 Ah, or higher lithium-ion (Li-Ion) cells such as 16550s that don’t have their own protection circuit. Based on the TP4056 charger IC and DW01 battery protection IC, this module will offer 1A of charge current and then cut off when finished.
Attiny85 SMD
The ATtiny85 is a small 8-pin microcontroller from Atmel and is based on Atmel's 8-bit RISC architecture. The ATtiny85 is a high-performance, low-power microcontroller that combines 8KB of ISP flash memory, 512B of EEPROM, 512-Byte SRAM, 6 general purpose I/O lines, 32 general purpose working registers, one 8-bit timer/counter with compare modes, one 8-bit high speed timer/counter, USI, internal and external Interrupts, a 4-channel 10-bit Analogue to Digital converter, a programmable watchdog timer with an internal oscillator, three software selectable power saving modes, and debug WIRE for on-chip debugging. The device achieves a throughput of 20 MIPS at 20 MHz and operates between 2.7 and 5.5 volts.
3D prints were made in Tinkercad and printed on a 3D printer in black ABS. The design is very handy and small, made in such a way that it looks like an actual Keychain.
here I am using single pole double throw slide switch, there are two switches used in project, both Switches has there specific purpose.
I am using 600mAh Li-Po battery here, A lithium polymer battery, or more correctly, a lithium-ion polymer battery, is a rechargeable battery of lithium-ion technology that uses a polymer electrolyte instead of a liquid electrolyte. High-conductivity semisolid (gel) polymers form this electrolyte. These batteries provide higher specific energy than other lithium battery types and are used in applications where weight is a critical feature, such as mobile devices, radio-controlled aircraft, and some electric vehicles.
The Keychain Has Two modes: Silent mode and Buzz mode, But the Game Will work the same in Both Modes.
Buzz mode
When the device is turned on by a slide switch, it will enter buzz mode. In this mode, The device makes sounds to make the game more interesting; playing with sounds increases interaction with the game.
Silent mode
In Silent mode, the device will not make any sound, but the game will remain the same. To enter silent mode, press the push button and then turn on the device.
How Game Works
When the device is turned on, it will show all the colours. After this, all 12 LEDs will show the same colour and blink twice, which means this is your target colour.
Press the push button when the target colour is on by one of the 12 LEDs; if you hit the right colour, the device will show the next colour, and the speed of the LED will be increased. In this way, LEDs increase the speed of rotation at each level. If the colour is wrong while pressing the push button, the game will be restarted.
3D Enclosure for This project is made in TinkerCad.
Tinkercad is very easy to use online website by autodesk. This is completely online, so there is no need to install anything, and there is no system configuration or OS dependency. It can run anywhere in the browser.
I have used different shapes and sizes to make the 3D, and the smoothing feature can reduce sharp edges and turn them into nice curves.
The STL file can be found on tinker cad from this link.
The printing settings, which I used are given below.
Firstly, I made the code for Arduino Nano because debugging Things and Connections is easier in Arduino Nano and Arduino Uno.
As you can see in the image, I have connected All the connections on the breadboard. the buzzer, button, and LED ring After verifying all the algorithms in the code, I converted it for Attiny85.
Both codes are given on my GitHub.
Github : https://github.com/vishalsoniindia/HueFidget-Fob---a-LED-Fidget-Keychain
I have not found the Attiny85 SMD version here, so I will desolder the Attiny85 from the Digispark board. Before desoldering the Attiny85, I decided to programme it on the Digispark board.
But I am not going to use the Digispark bootloader because it has USB firmware, which takes a lot of memory, and there is only 4kb out of 8kb left to programme.
So I connected the Attiny85 ISP pins to the Arduino Nano, and I used the Arduino Nano as an ISP programmer.
If you want to know how to programme the Attiny85 with Arduino, Watch This Video.
One more important thing
For Attiny85 Download the board Package by Spence Konde from the board package link given below.
Attiny85 Board Package Link: http://drazzy.com/package_drazzy.com_index.json
After Connecting The Attiny85 With Arduino As ISP We have to set it at an 8 MHz internal oscillator.
For this, Select the board as Attiny85 (no bootloader), then Select the clock source as internal (8 MHz).
Select the correct board and click on Burn bootloader. It will set the controller fuse bits to internal 8 MHz. There is no bootloader here, so it will not upload any bootloader in Attiny85, but you still see the message bootloader uploaded.
After uploading the bootloader, go to Sketch and click on Upload Using Programmer.
After Programming the Attiny85, we are ready to Connect the circuit.
Download the circuit diagram from my GitHub and connect the circuit.
I have removed the Attiny85 from the Digispark board and soldered it on a Zero PCB to make it stable.
After connecting, test it to see if it is working properly or not.
After Testing the code, once you're satisfied, Let's Pack things in a 3D enclosure.
First of all, Screw the Slide Switch into its place, as shown in the image. Glue the TP4056 Module, buzzer, and push button together.
Insert the battery and test the circuit; if it is still working, go ahead.
The 3D part has a circular part. Stick it inside the RGB ring, and the ring will go on the Hollow Circular Ring as shown in the image.
GREAT JOB !!!!!
we did it the HueFidget Fob - a LED Fidget Keychain is ready to Rock between friends and family.
Create an account to leave a comment. Already have an account? Log In.
Become a member to follow this project and never miss any updates