 Human Controller
-
11Building the shutter button
TOOLS
- PCB Board Cutter
- Nipper
- Tweezers
- Soldering Station
- Solder
- Black Fineliner Pen 0.5mm
- Precision Files
COMPONENTS
- Universal Prototype Board 95x72mm 1.6mm thick
- Adafruit Soft Tactile Button x2
- 0.3mm Polyurethane Copper Wire 100mm
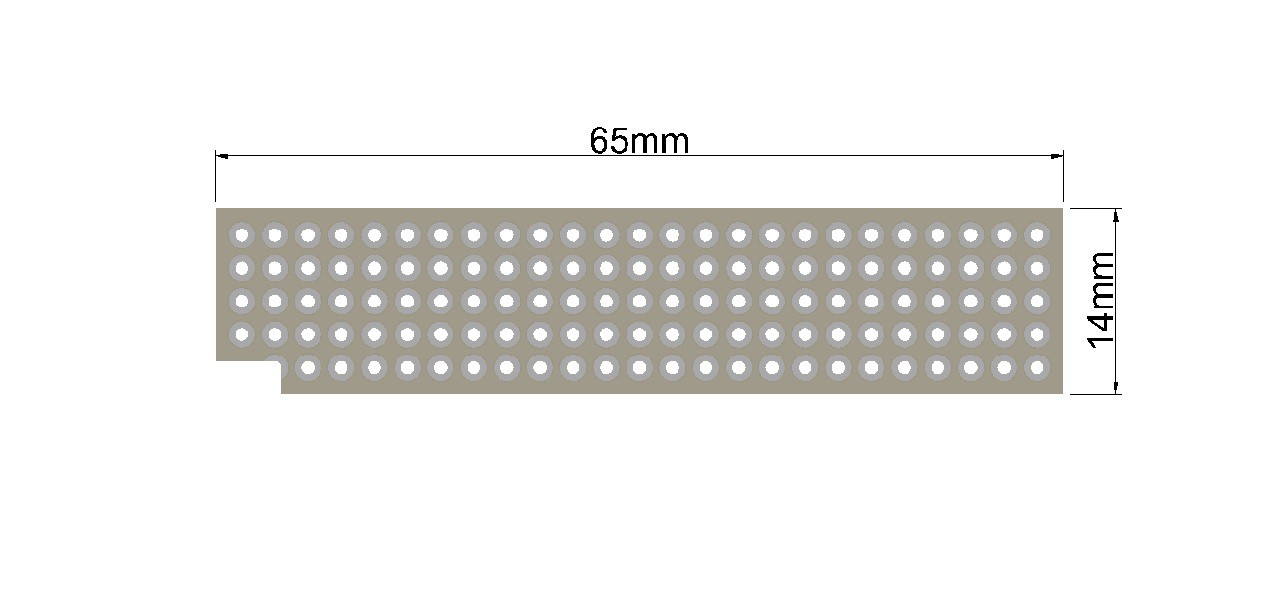
Cut an universal prototype board with the PCB Board Cutter as shown in the image.
![]()
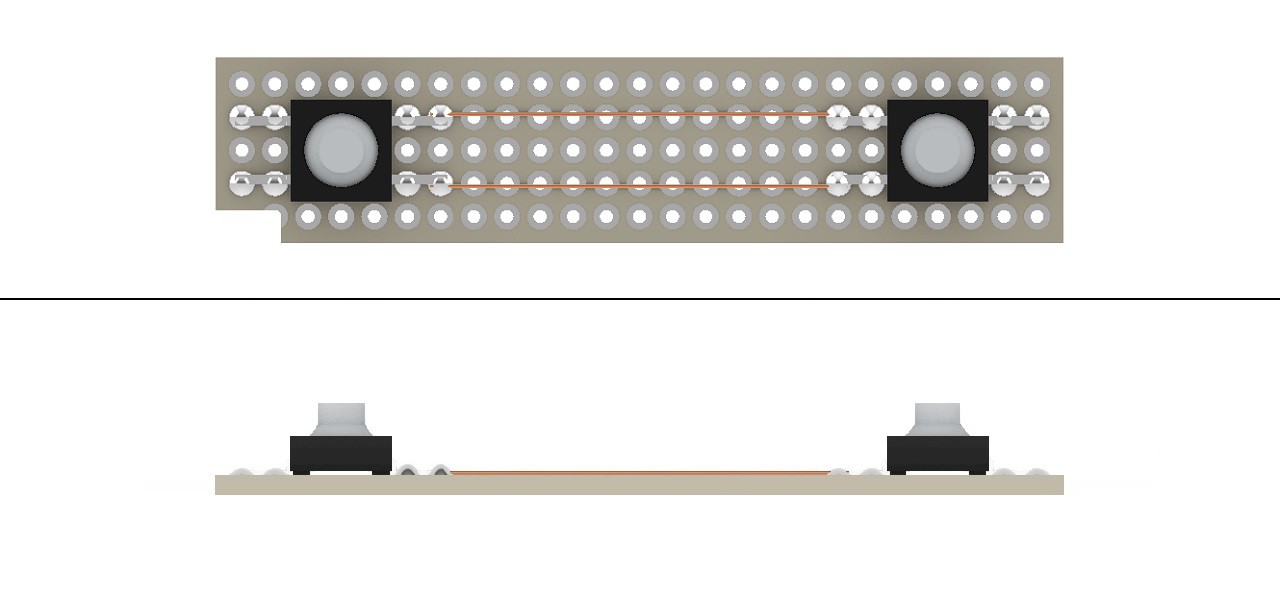
Solder two soft tactile buttons to the universal prototype board. Solder the legs of the soft tactile buttons with polyurethane copper wires so that it will be ON when either button is pressed.
![]()
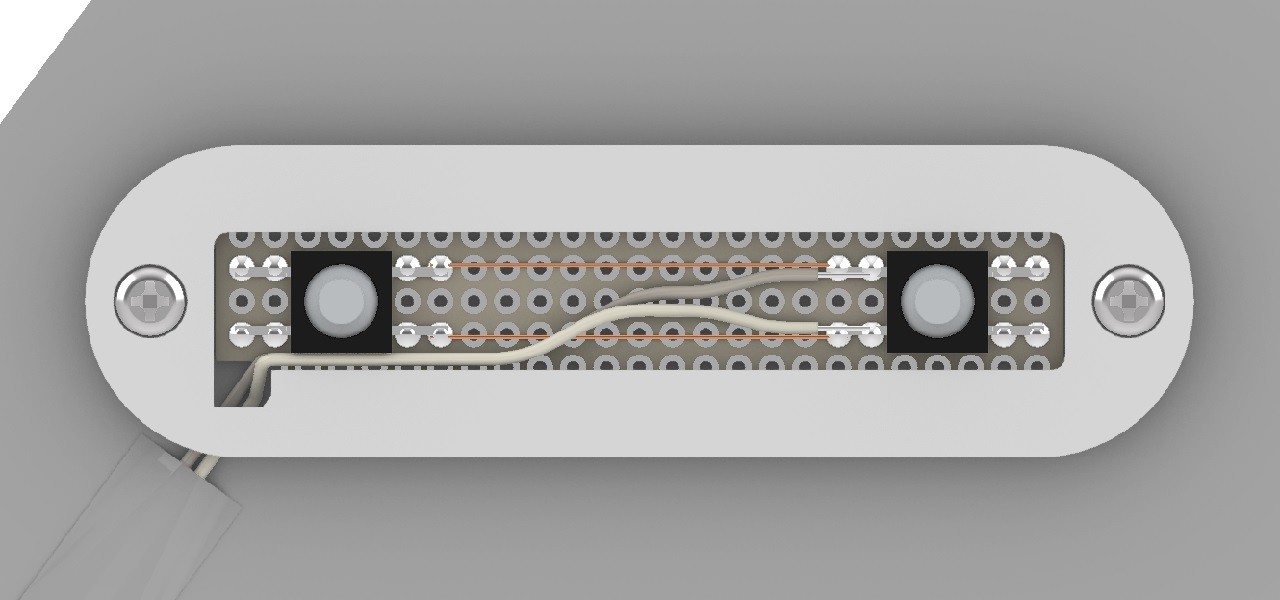
Solder the 2 pin flat capper cable from the Raspberry Pi GPIO connector to the soft tactile buttons. Make sure that the 2 pin flat capper cable does not interfere with the Shutter Button Base.
![]()
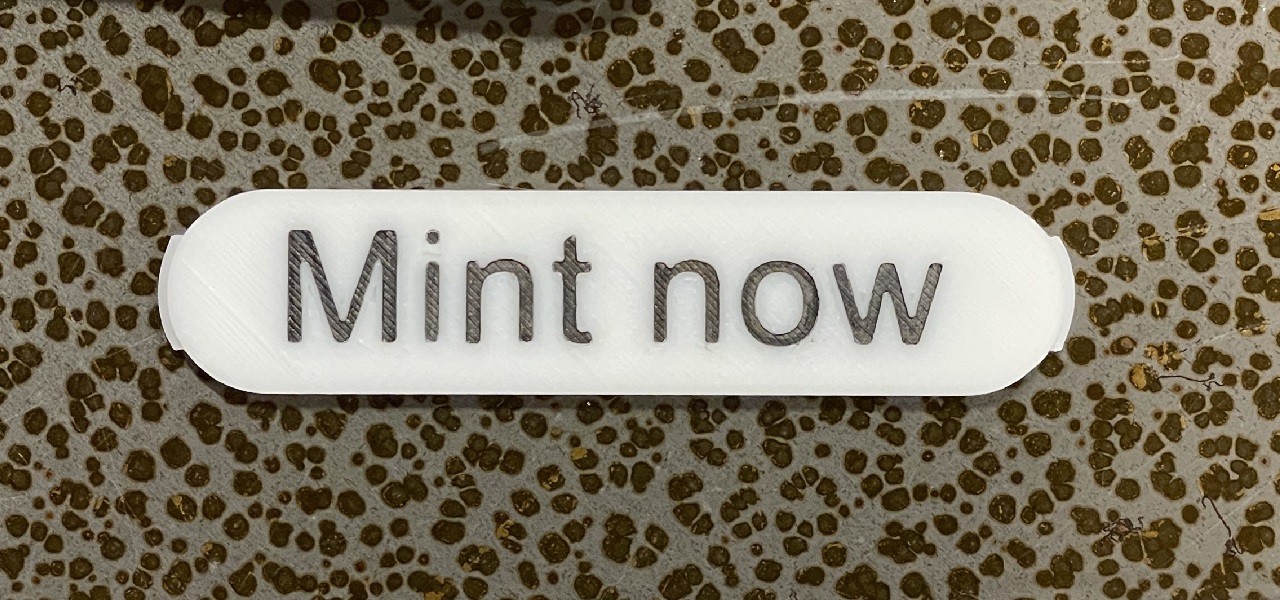
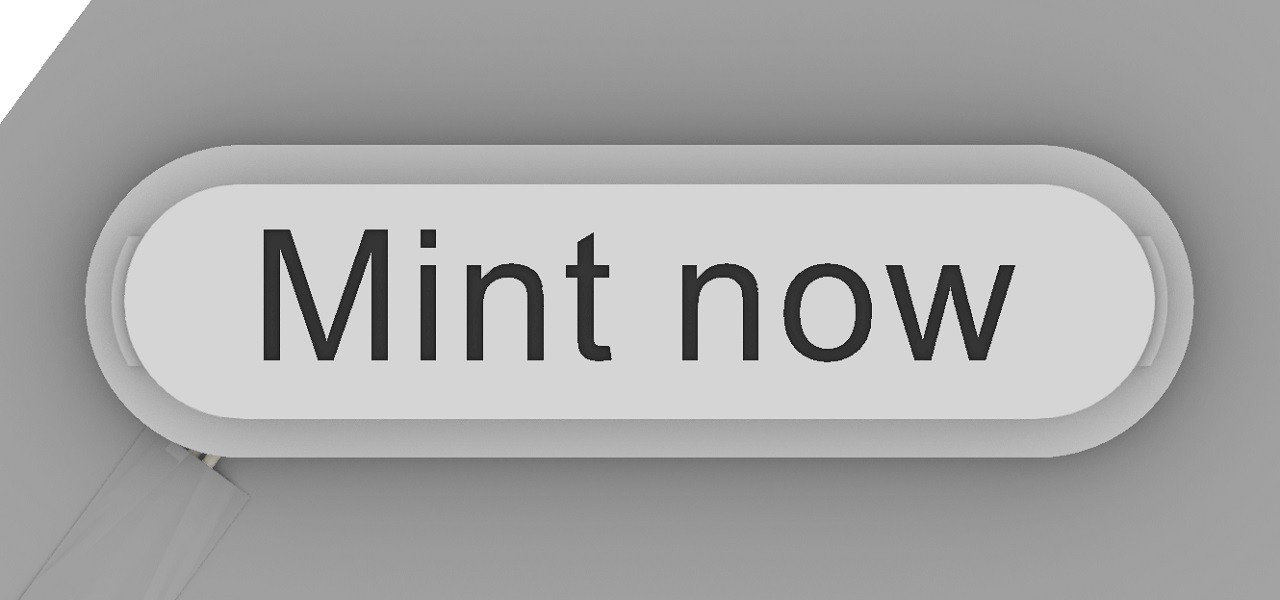
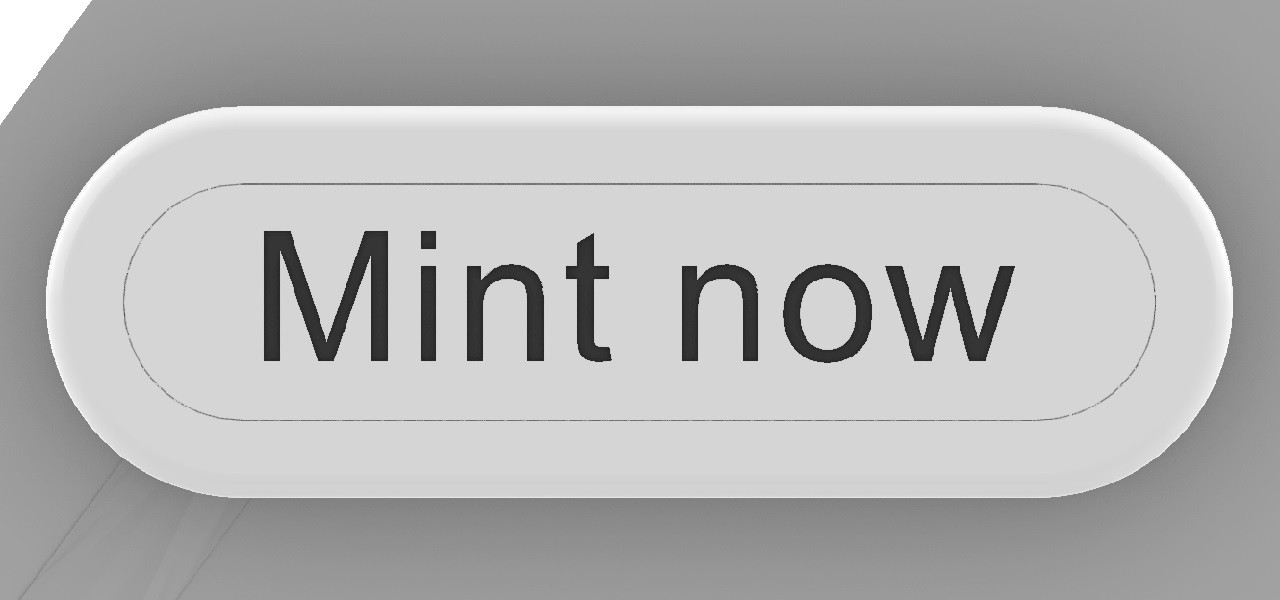
Paint Mint now with the black fineliner pen 0.5mm.
![]()
Assemble the shutter button. Make sure you can press the shutter button without getting caught. And make sure that the shutter button returns to its original position without getting caught. If it gets caught, File down the sides of the Shutter Button Panel and the hole of the Shutter Button Side with precision files.
![]()
![]()
-
12How to start
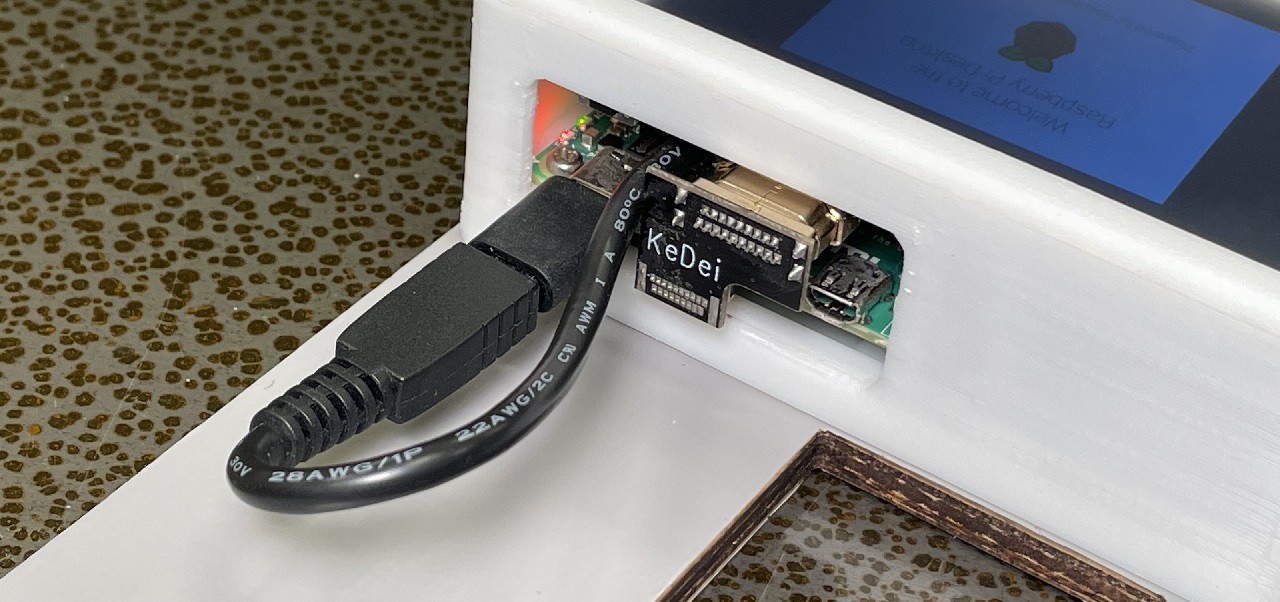
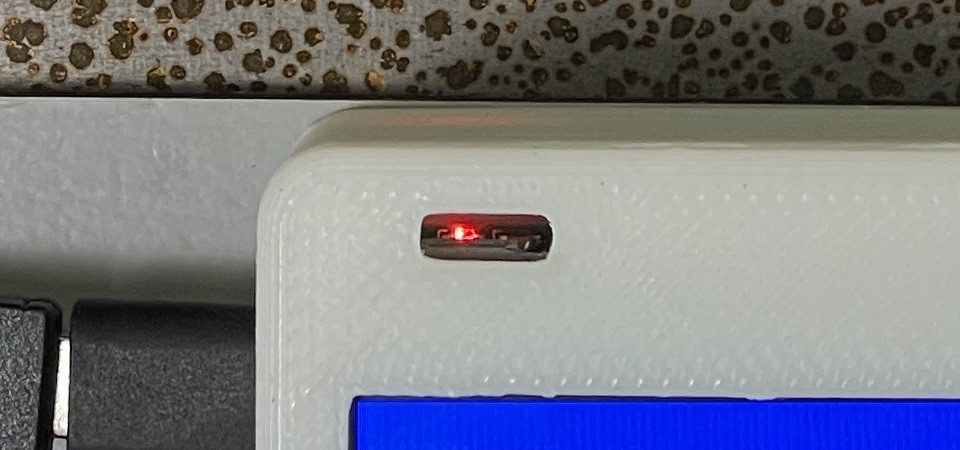
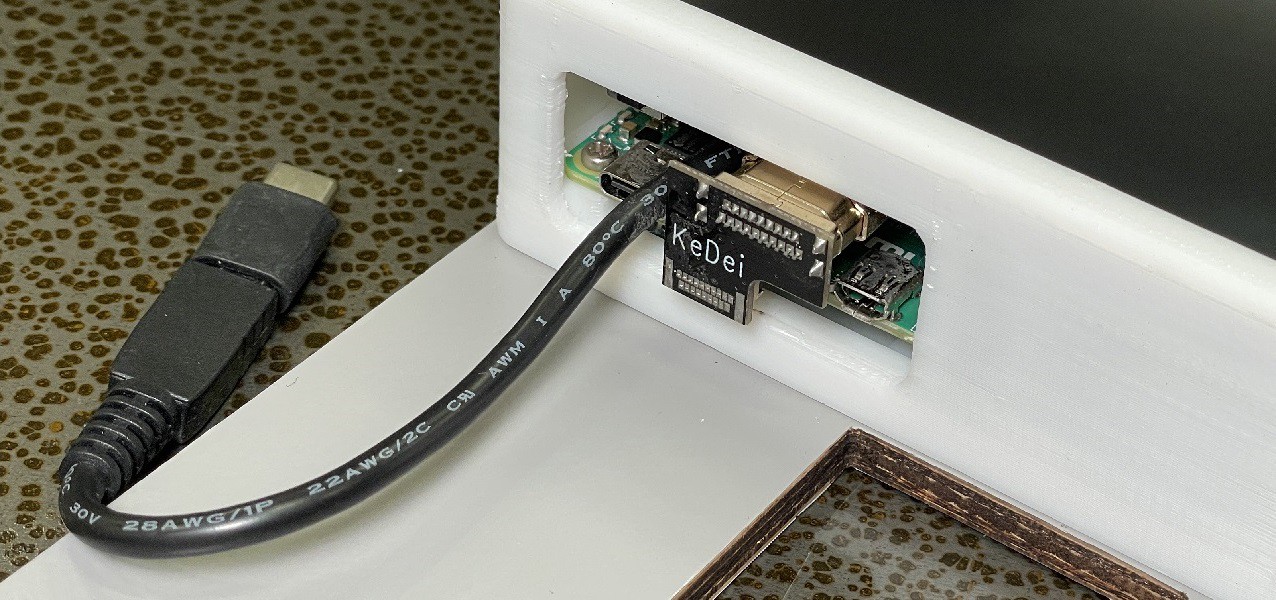
- Plug the power supply cable into the Raspberry Pi.
![]()
- Connect Wi-Fi if it didn't connect automatically.
![]()
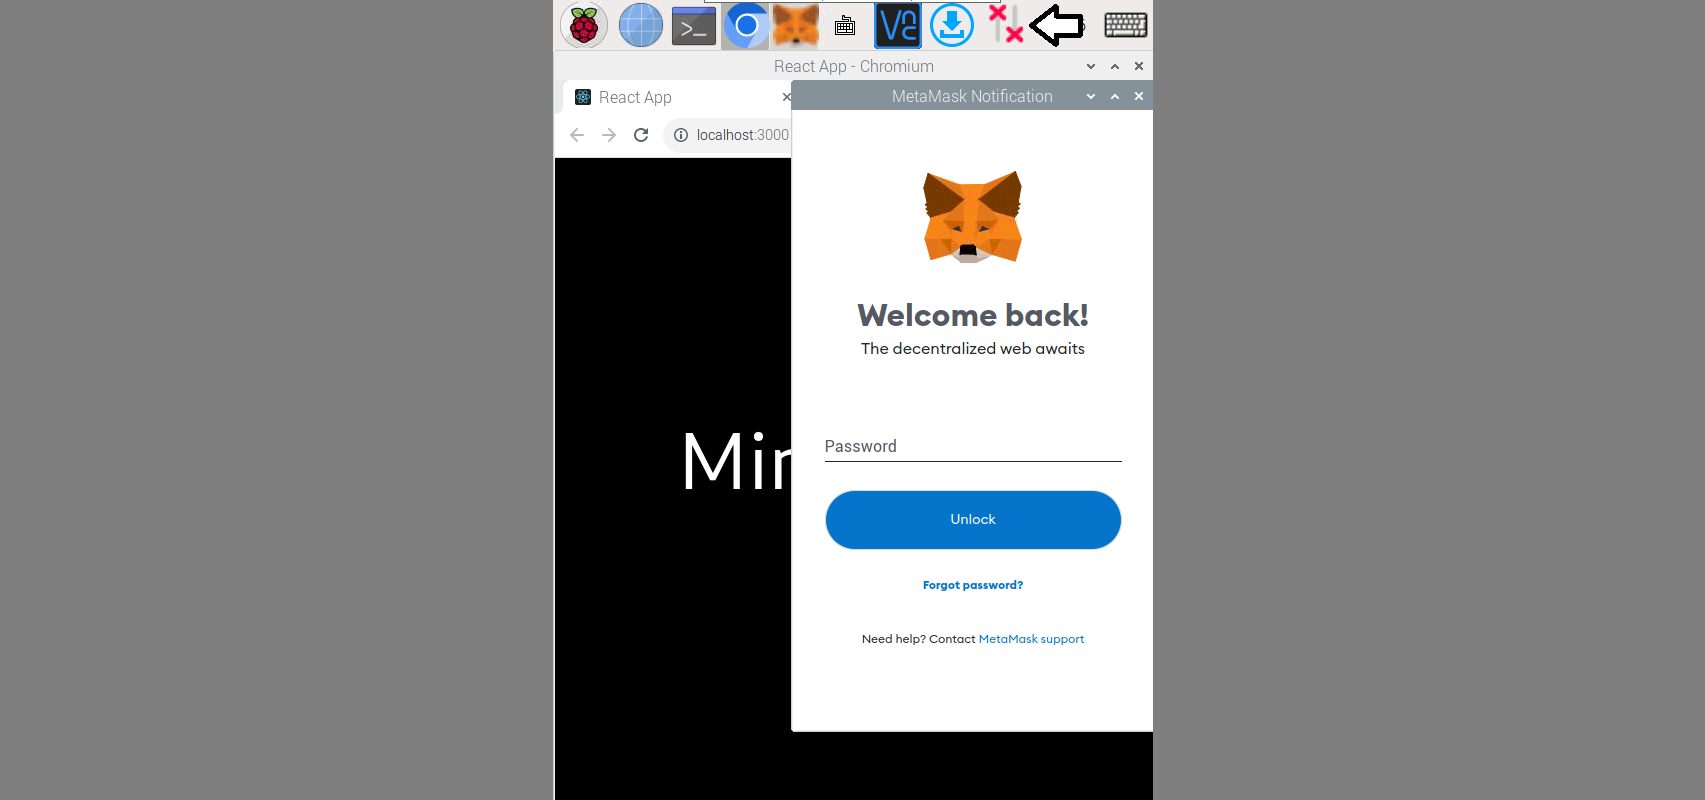
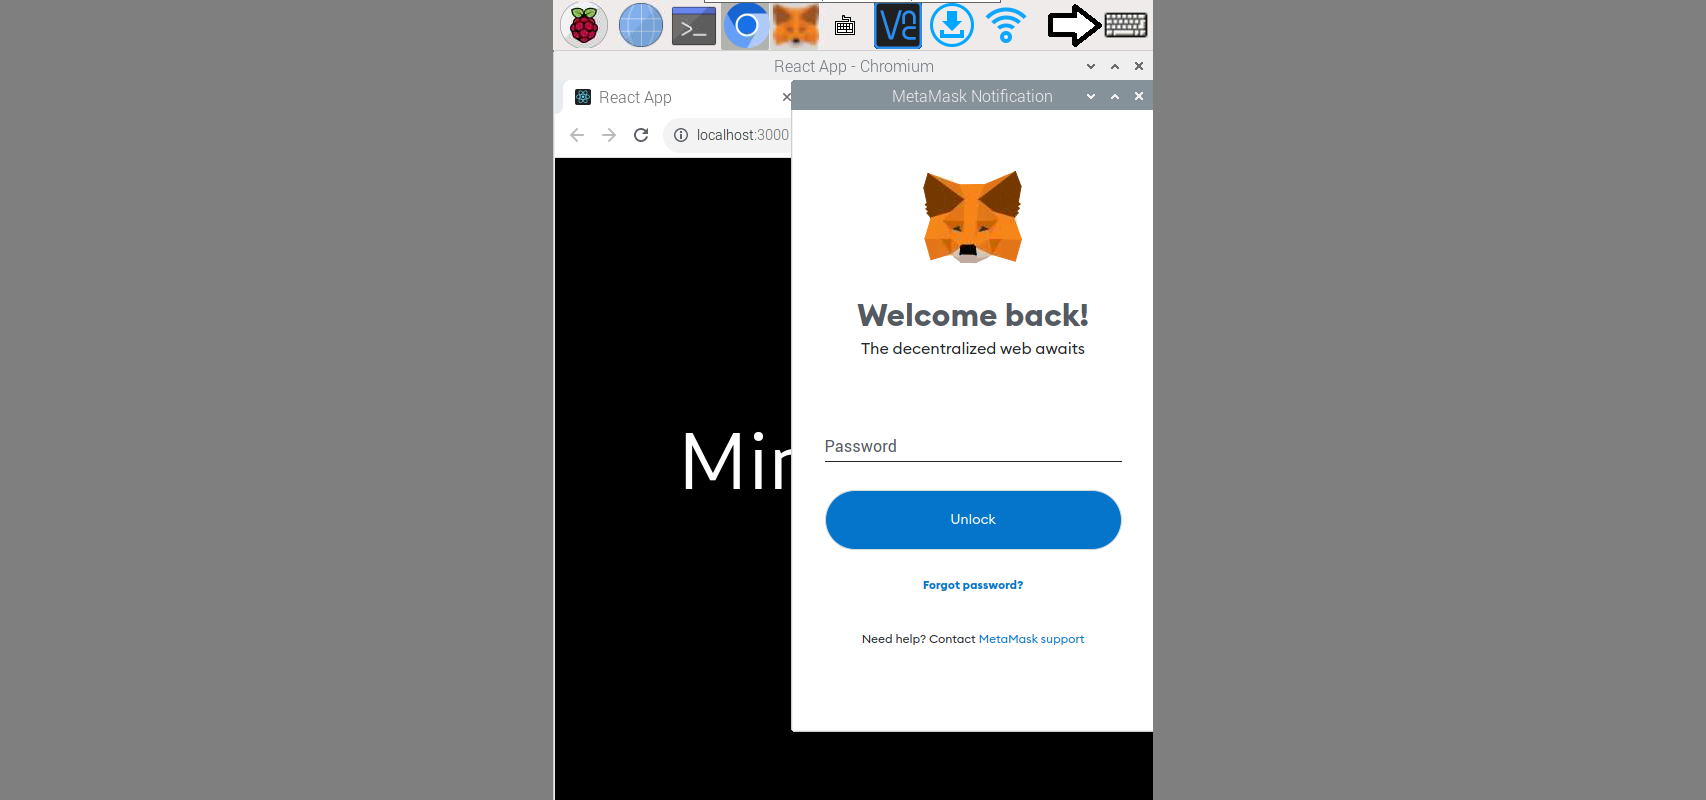
- When the crypto wallet appears, touch the panel of the software keyboard.
![]()
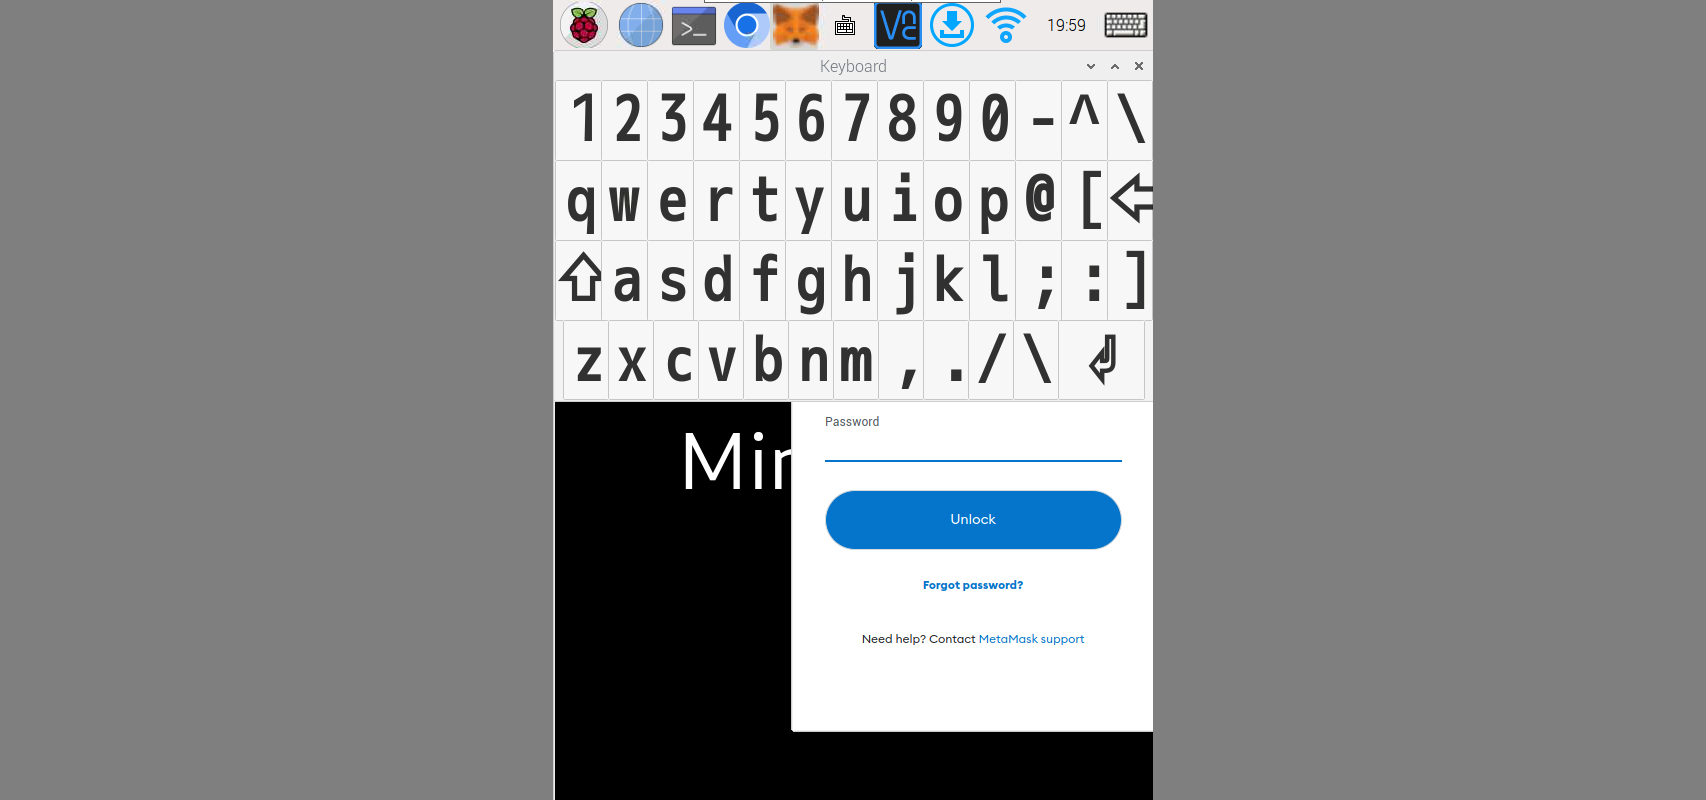
- Enter the password using the software keyboard.
![]()
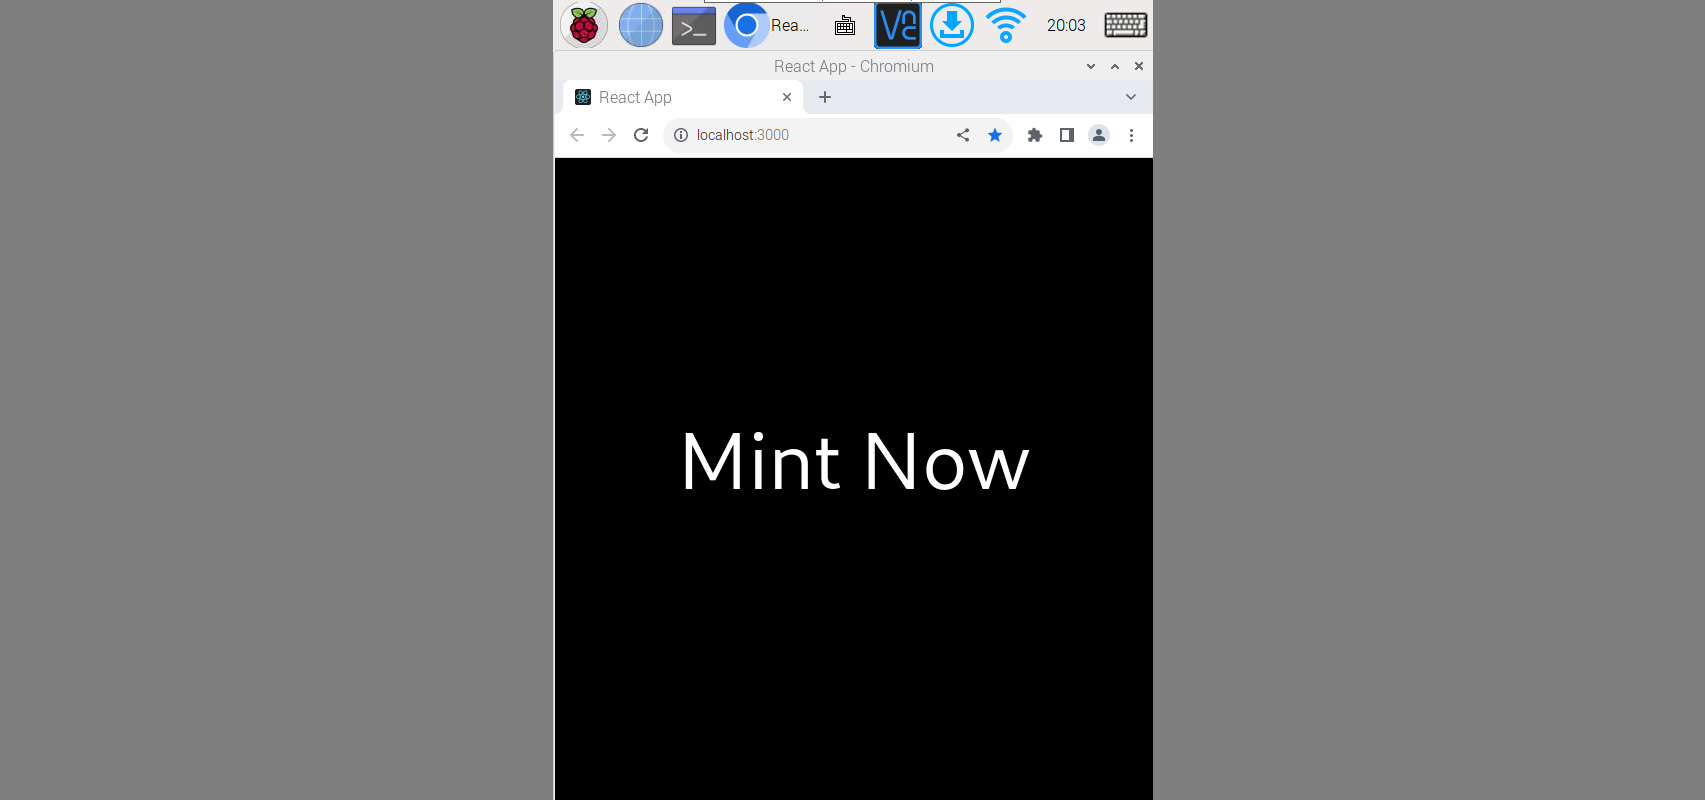
- Exit the software keyboard.
![]()
- Plug the power supply cable into the Raspberry Pi.
-
13How to shutdown
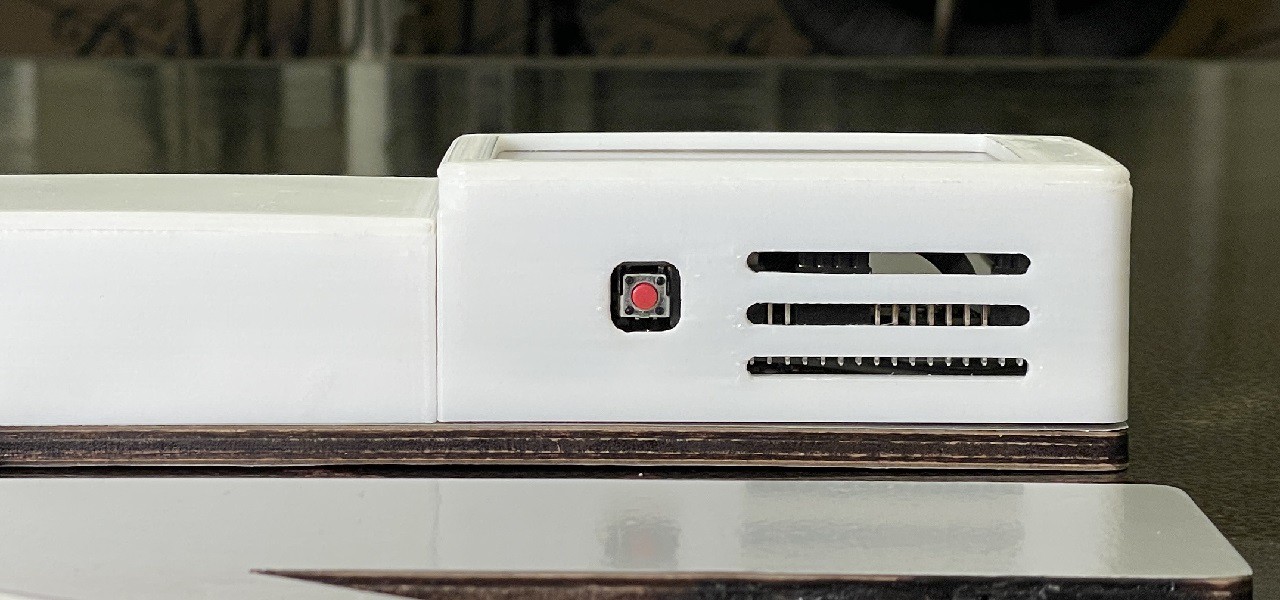
- Press the shutdown button.
![]()
- Make sure the green LED is off.
![]()
- Unplug the power supply cable.
![]()
- Press the shutdown button.
Blockchain Camera
A photo taken with this camera will instantly become a NFT. This camera aims to prove with blockchain that a photo was taken with a camera.
Discussions
Become a Hackaday.io Member
Create an account to leave a comment. Already have an account? Log In.