 Jon
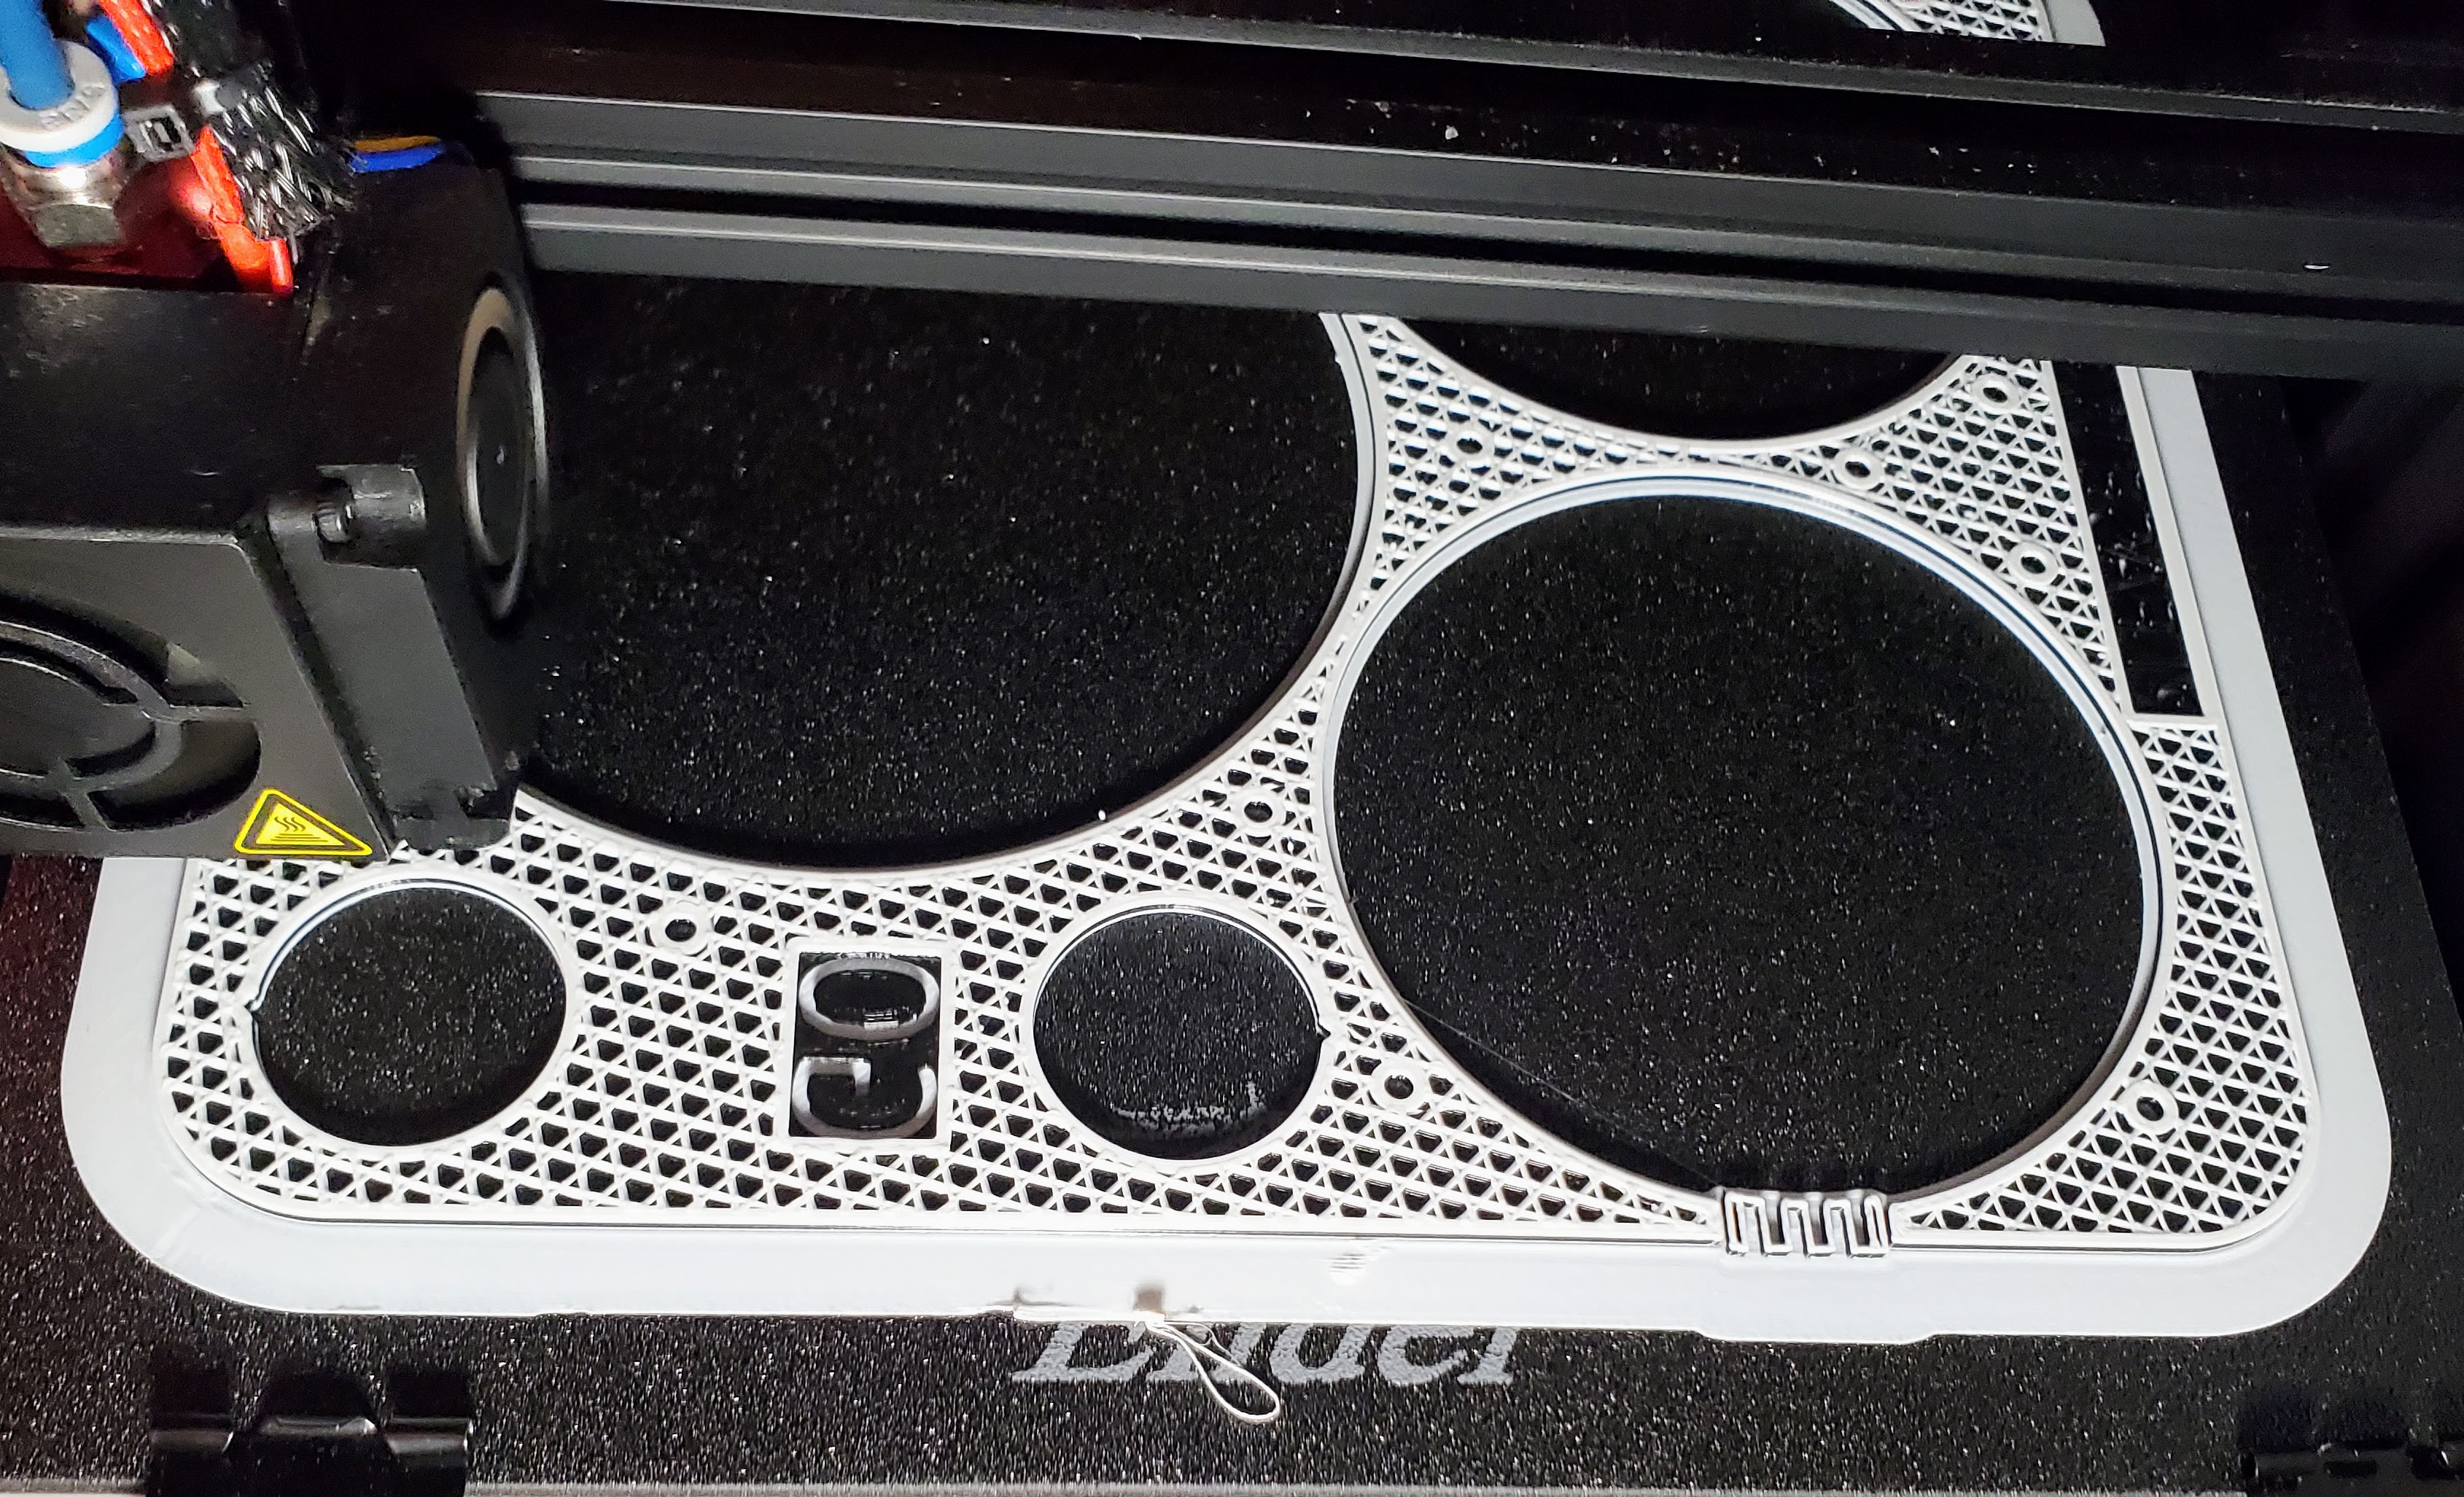
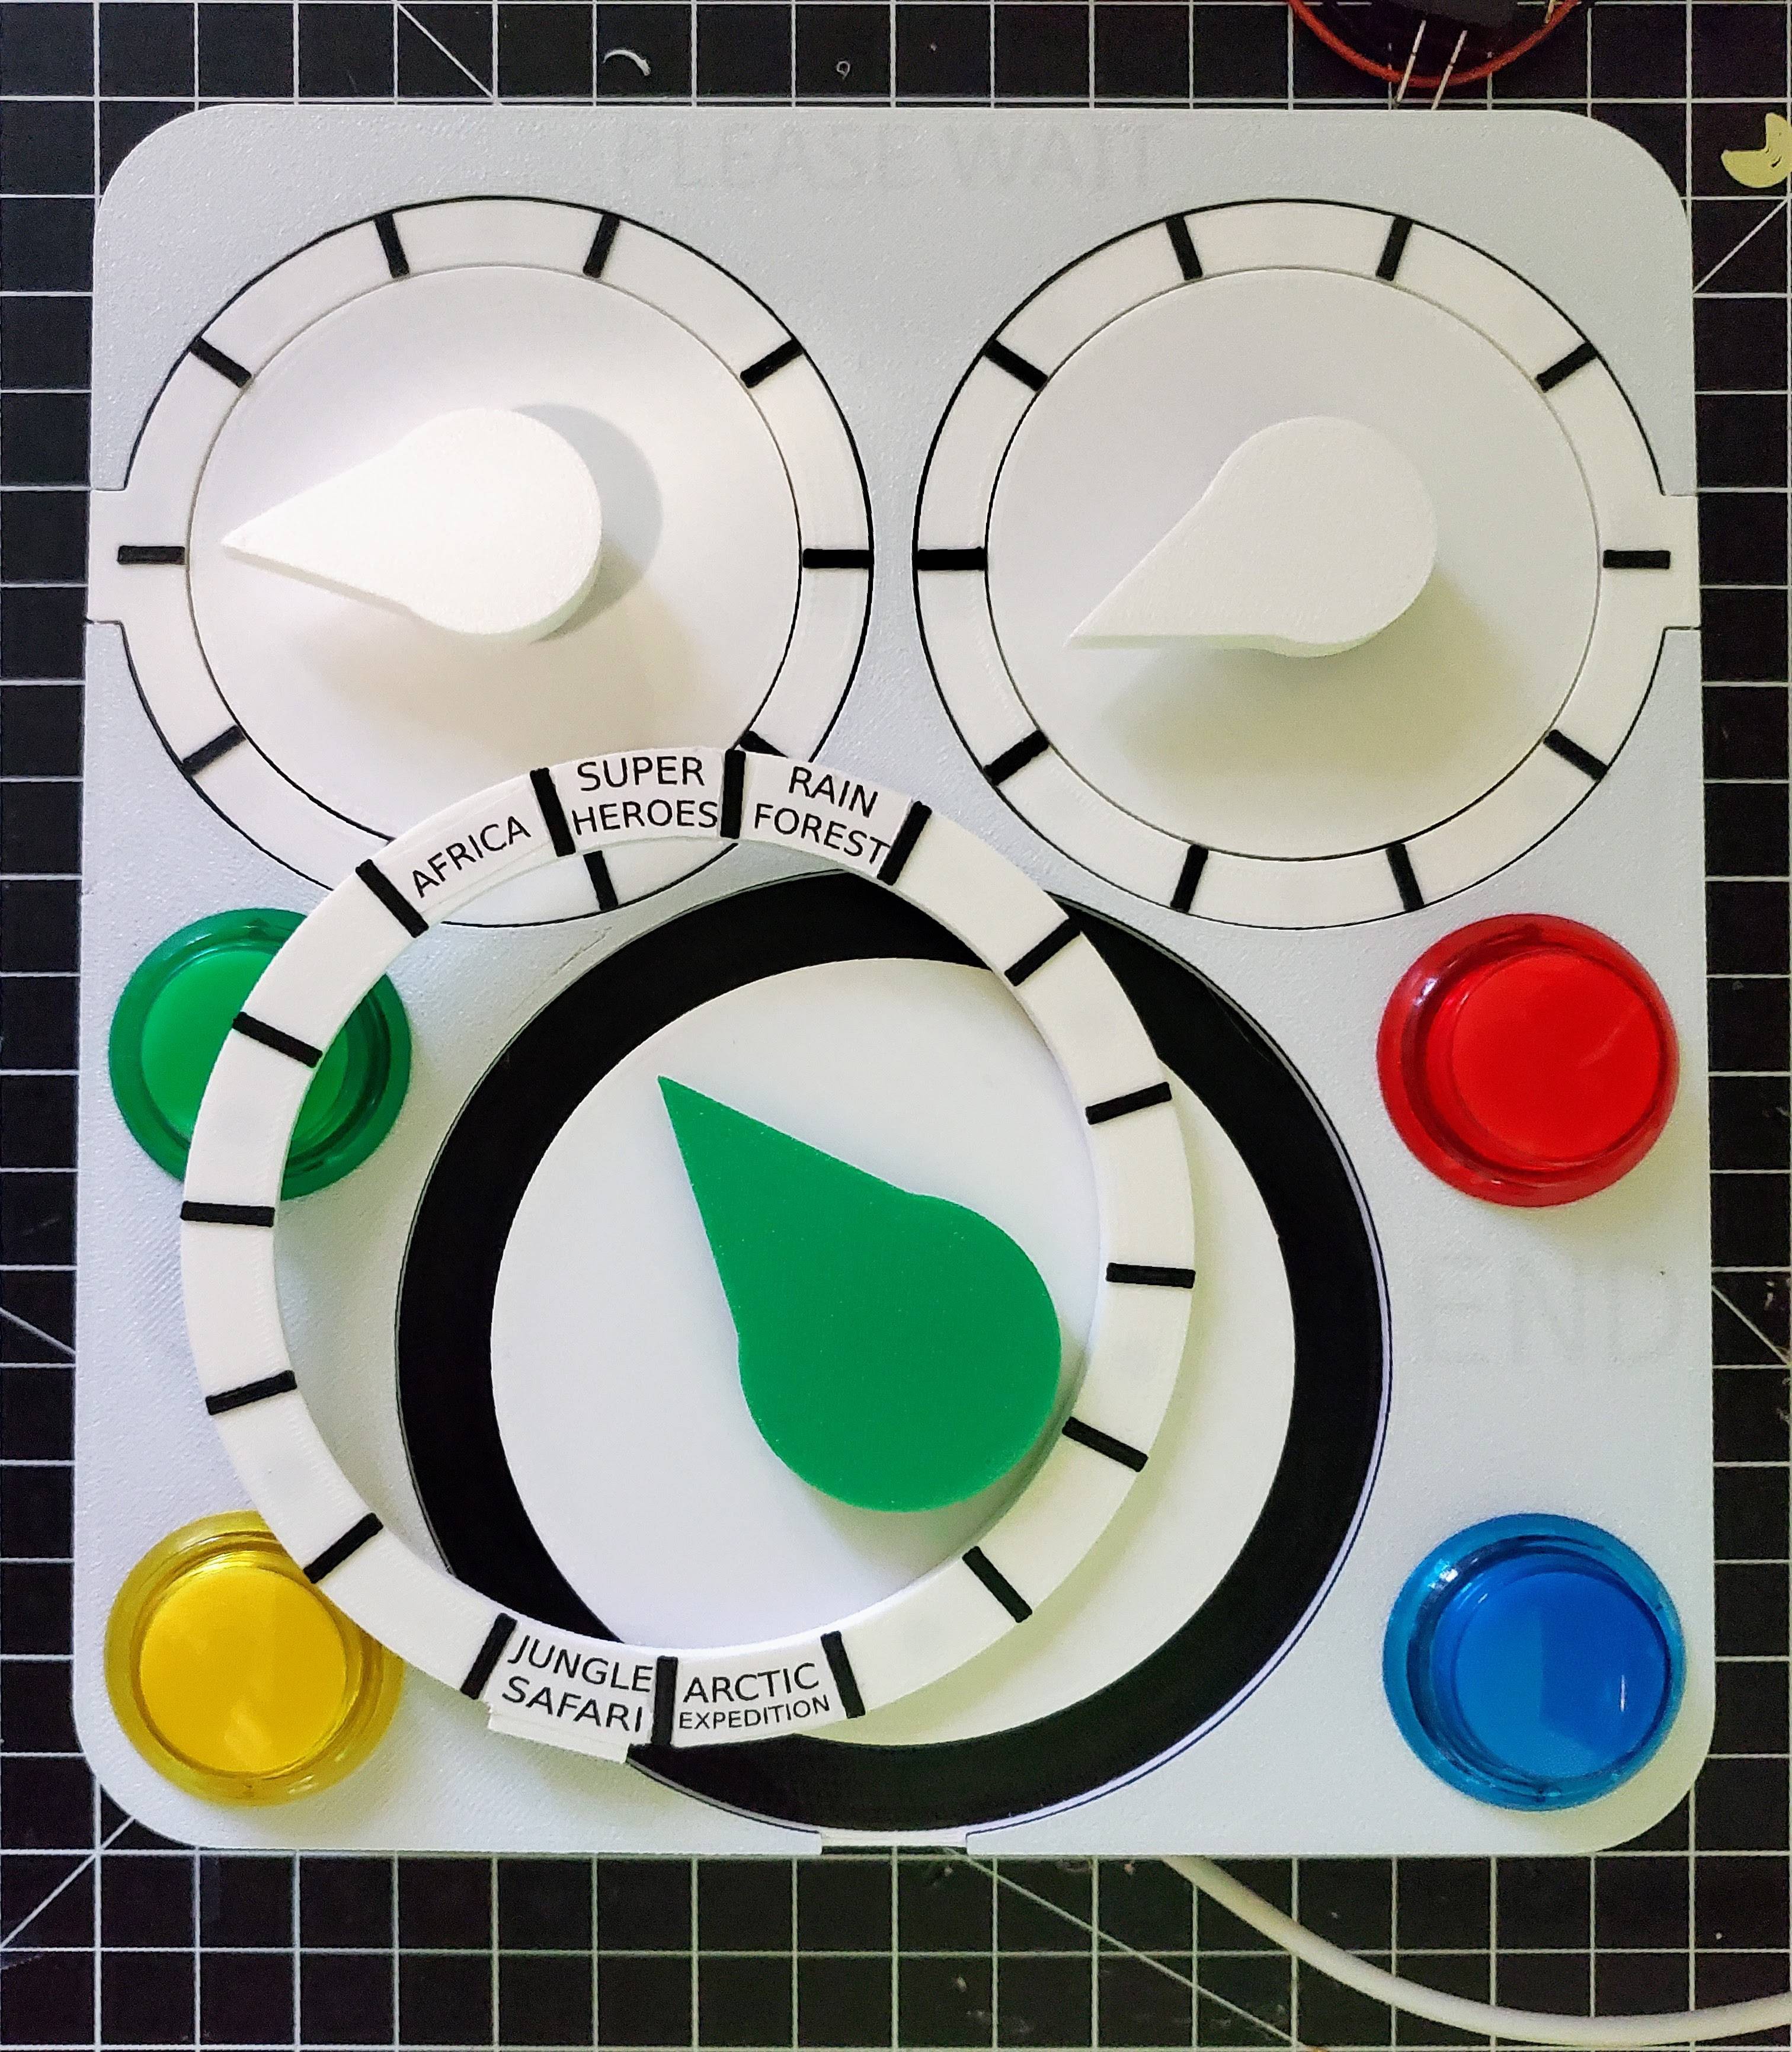
JonThe PLEASE WAIT, GO, and END text is hidden from the face when the LEDs are off. To get this effect, the first layer is printed solid and then subsequent layers have a void where the text is. To get better contrast, the filament color was changed to black after two layers of white.
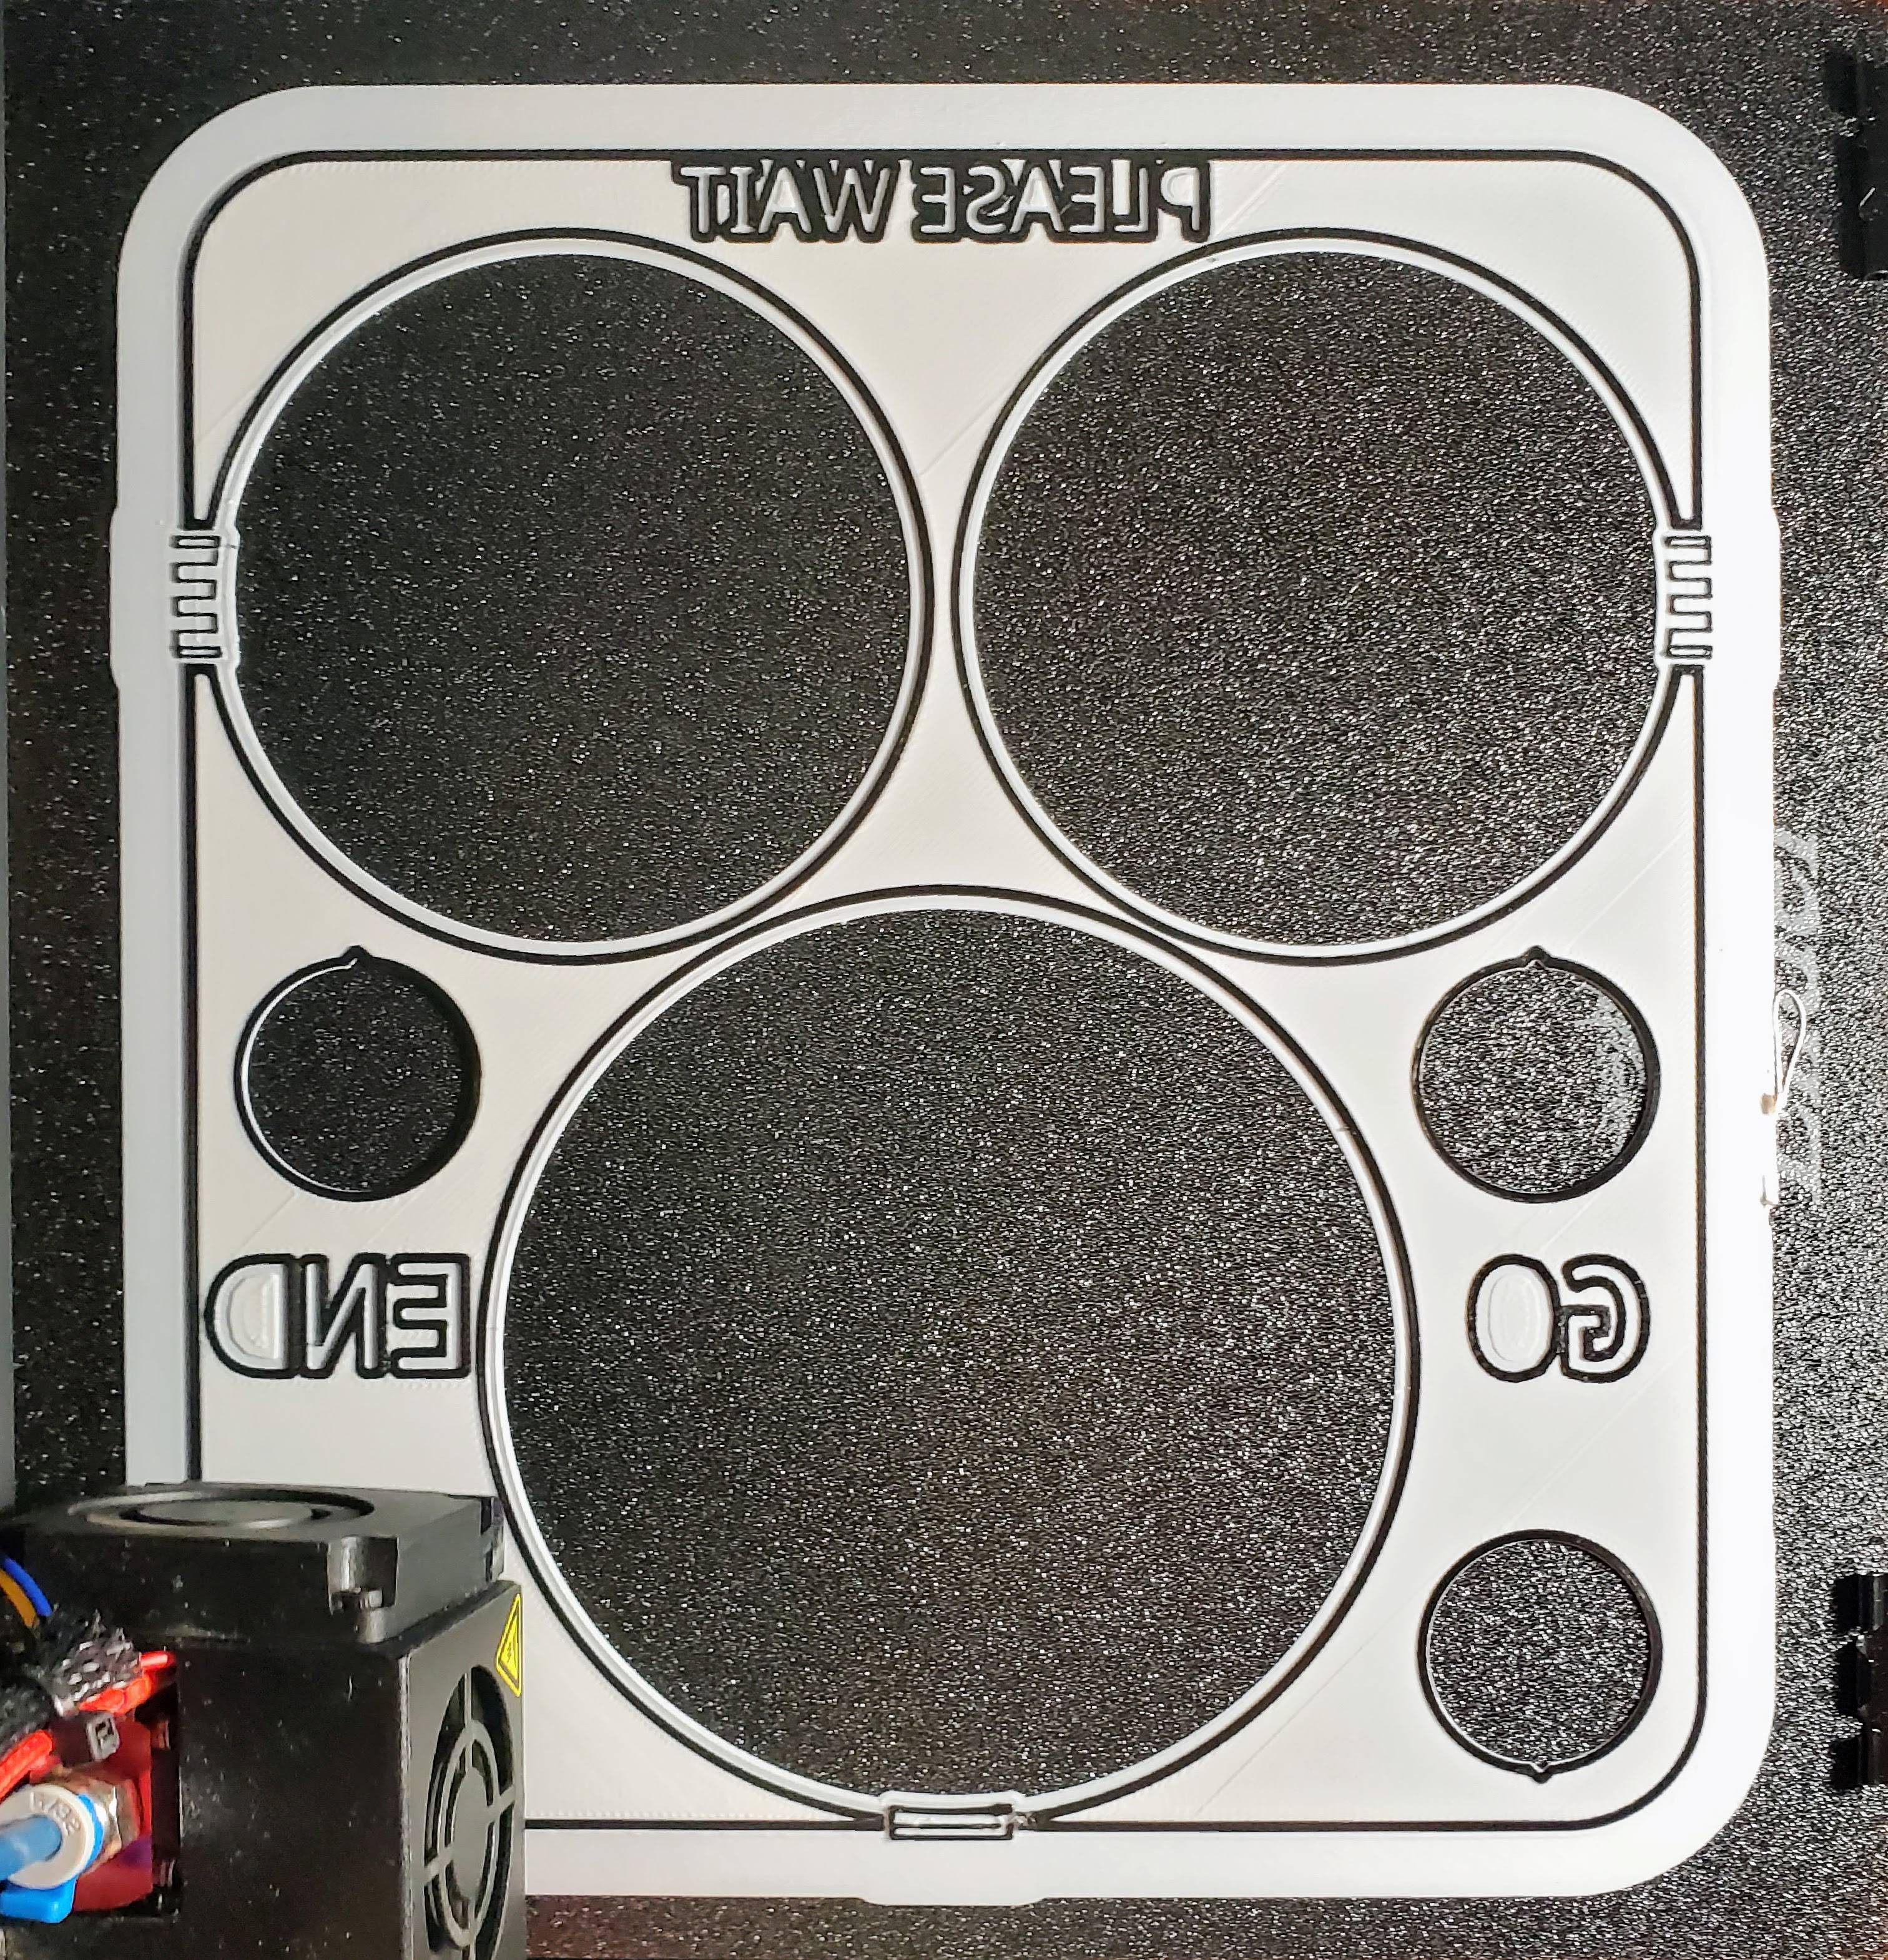
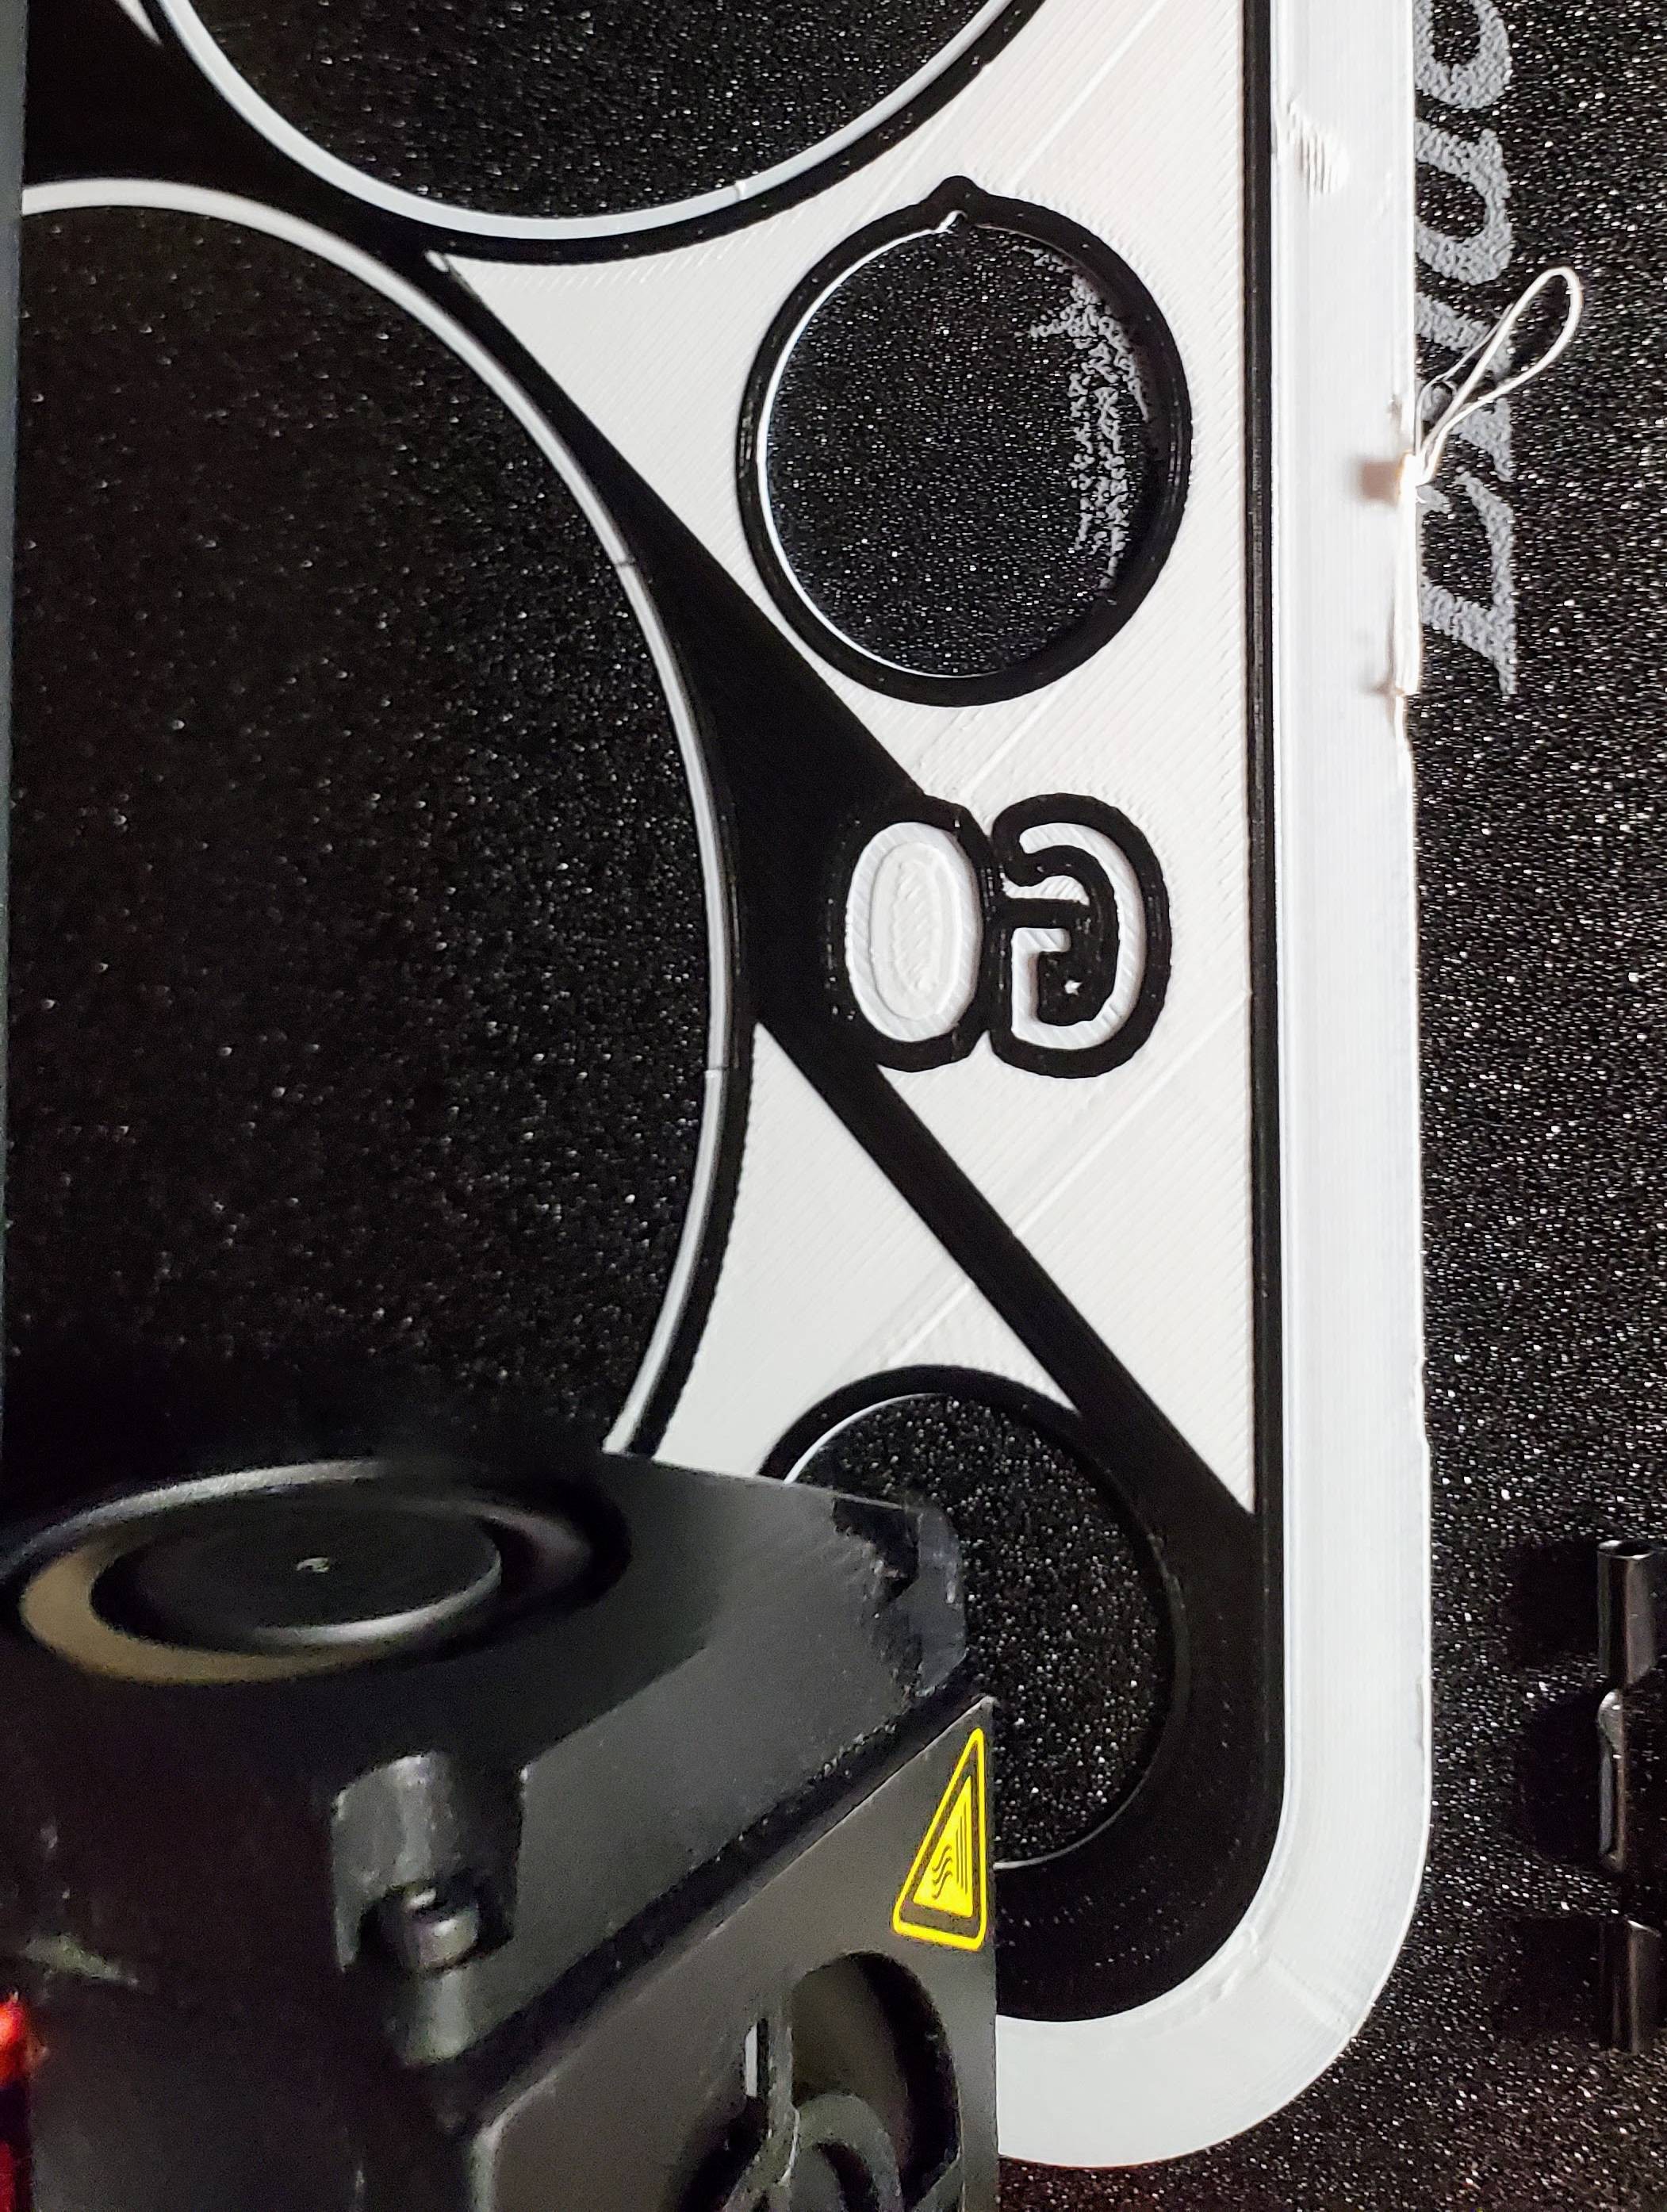
To keep the exterior of the whole thing mostly white, I switched the filament color back to white after the letter silhouette layers.
The centers of the dials are printed separately as an insert to allow for different colors for the center and the void when the interchangeable rings are removed.

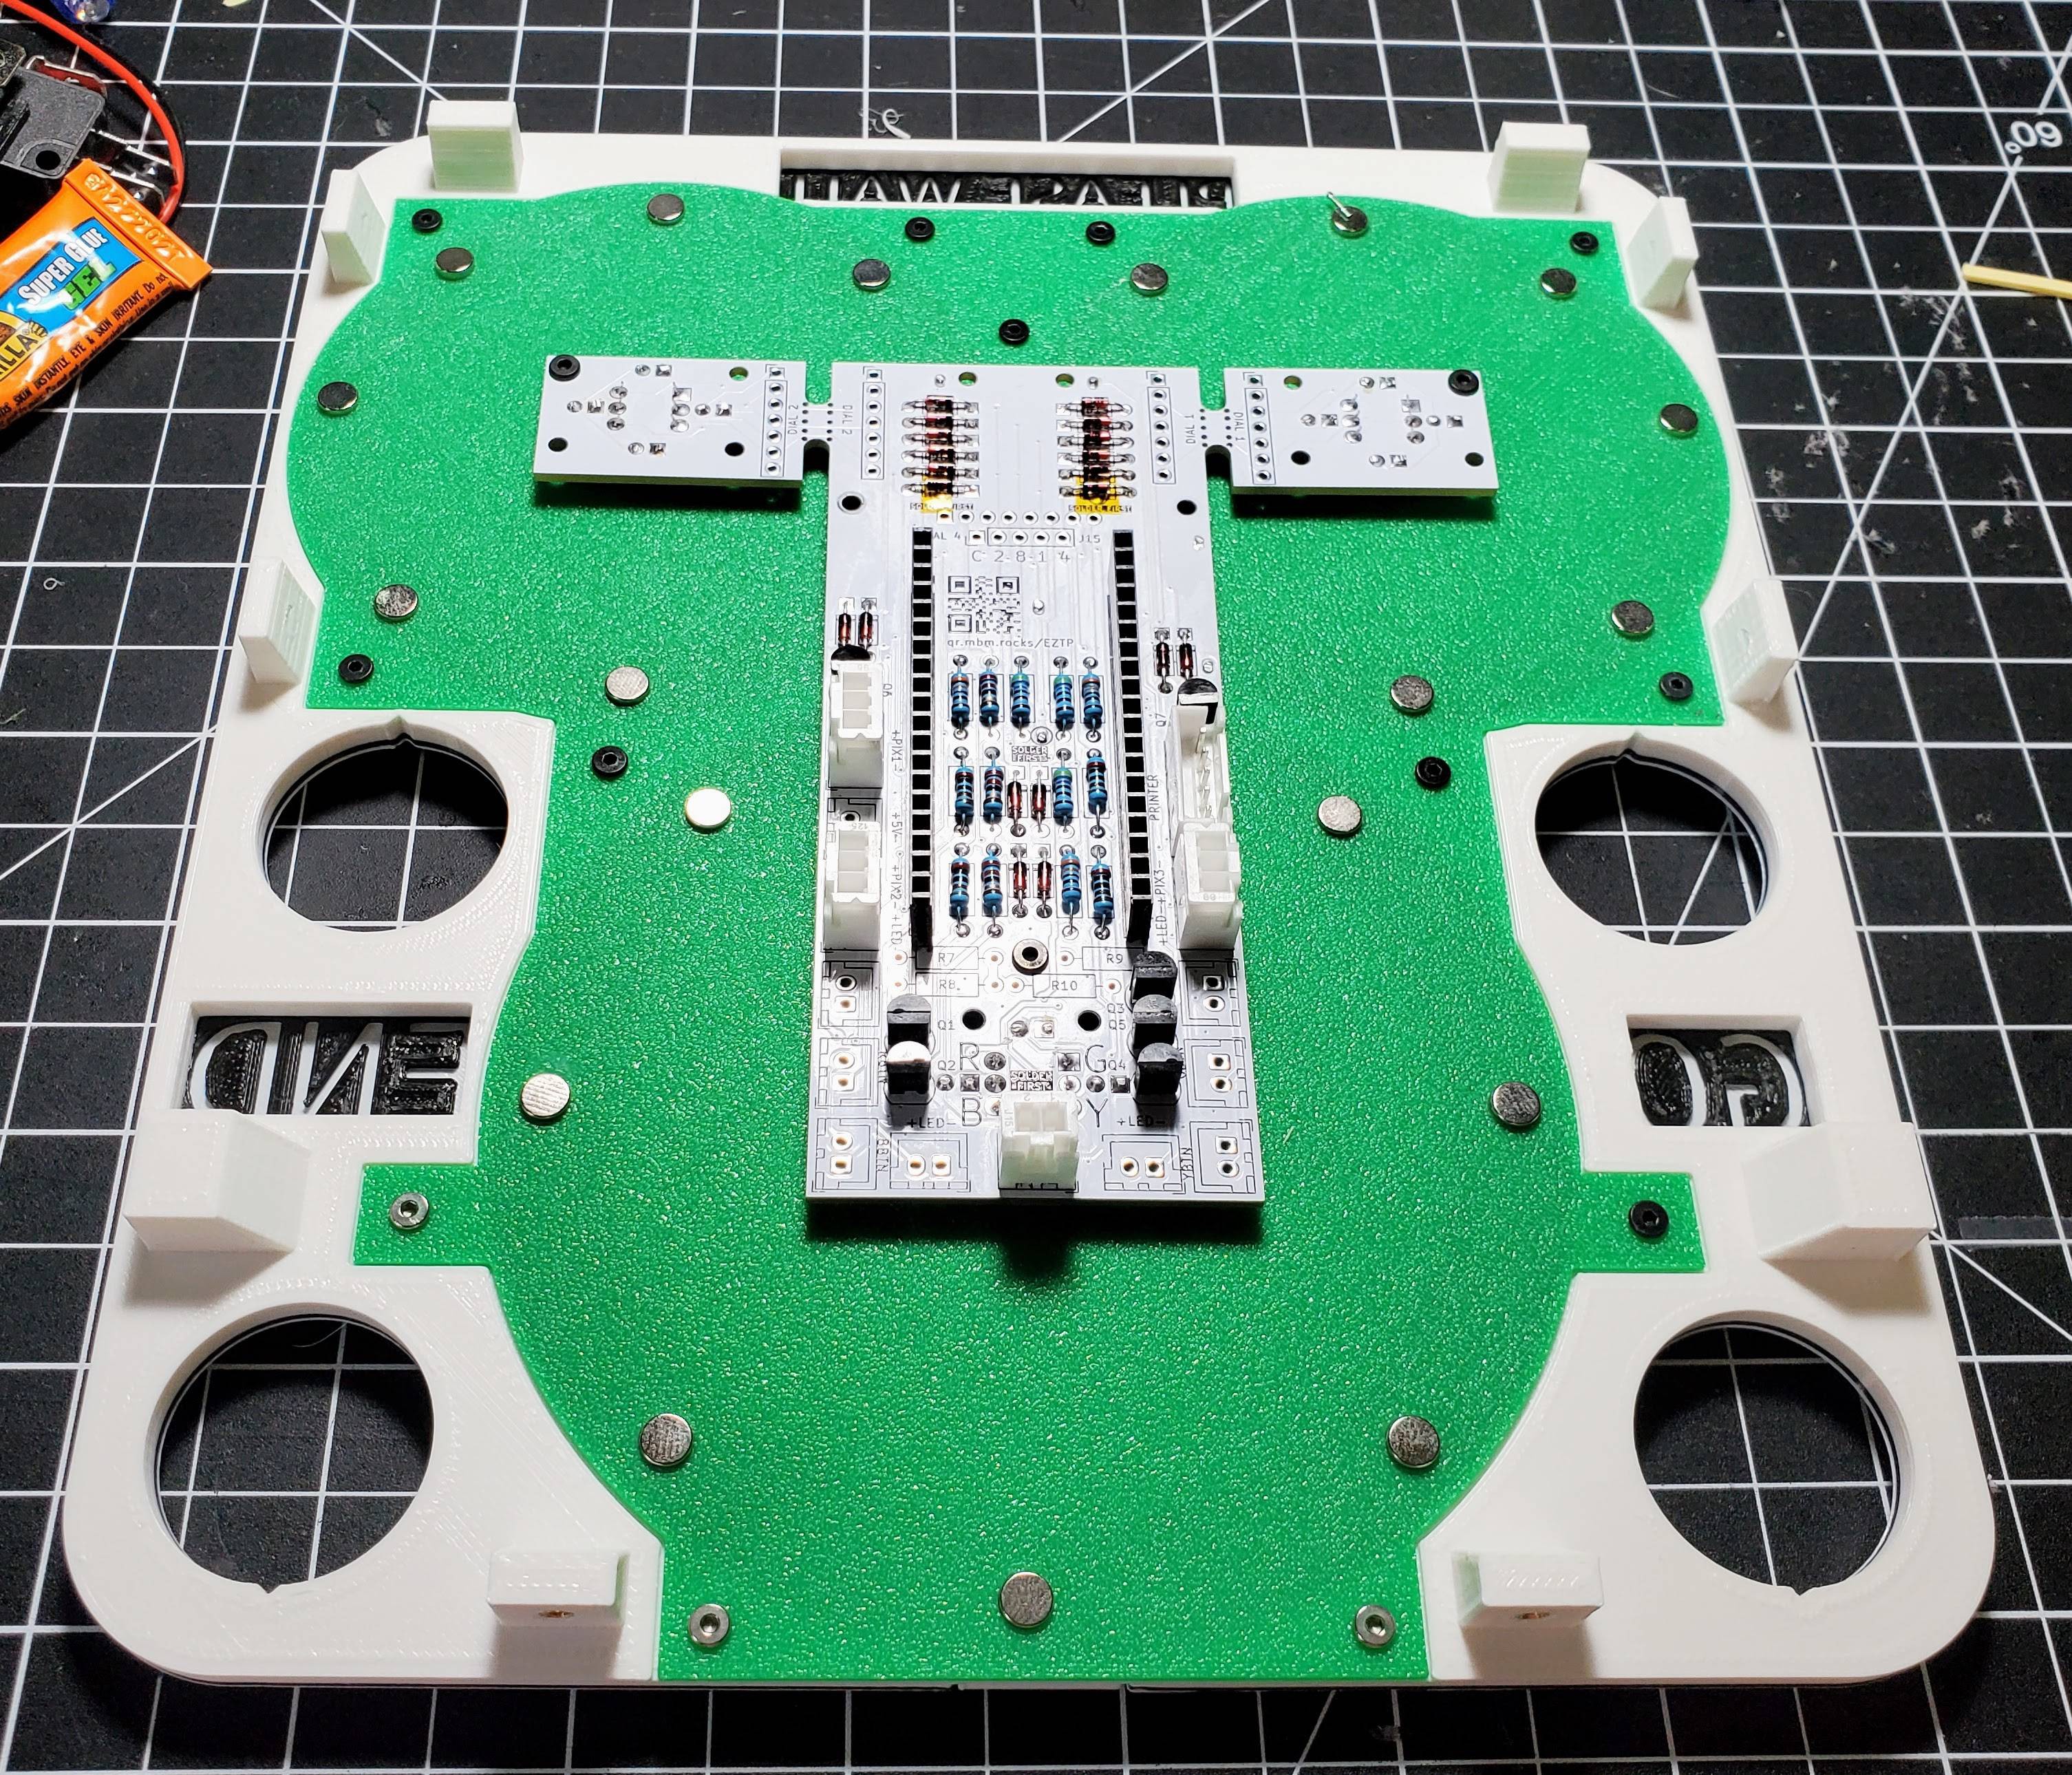
The insert screws into the face plate frame and then the PCB is attached to the insert with standoffs to protect the glass on the magnetic reed switches. Once the insert is installed the magnets for the rings can be glued into the recesses.

Discussions
Become a Hackaday.io Member
Create an account to leave a comment. Already have an account? Log In.