 ElecLab
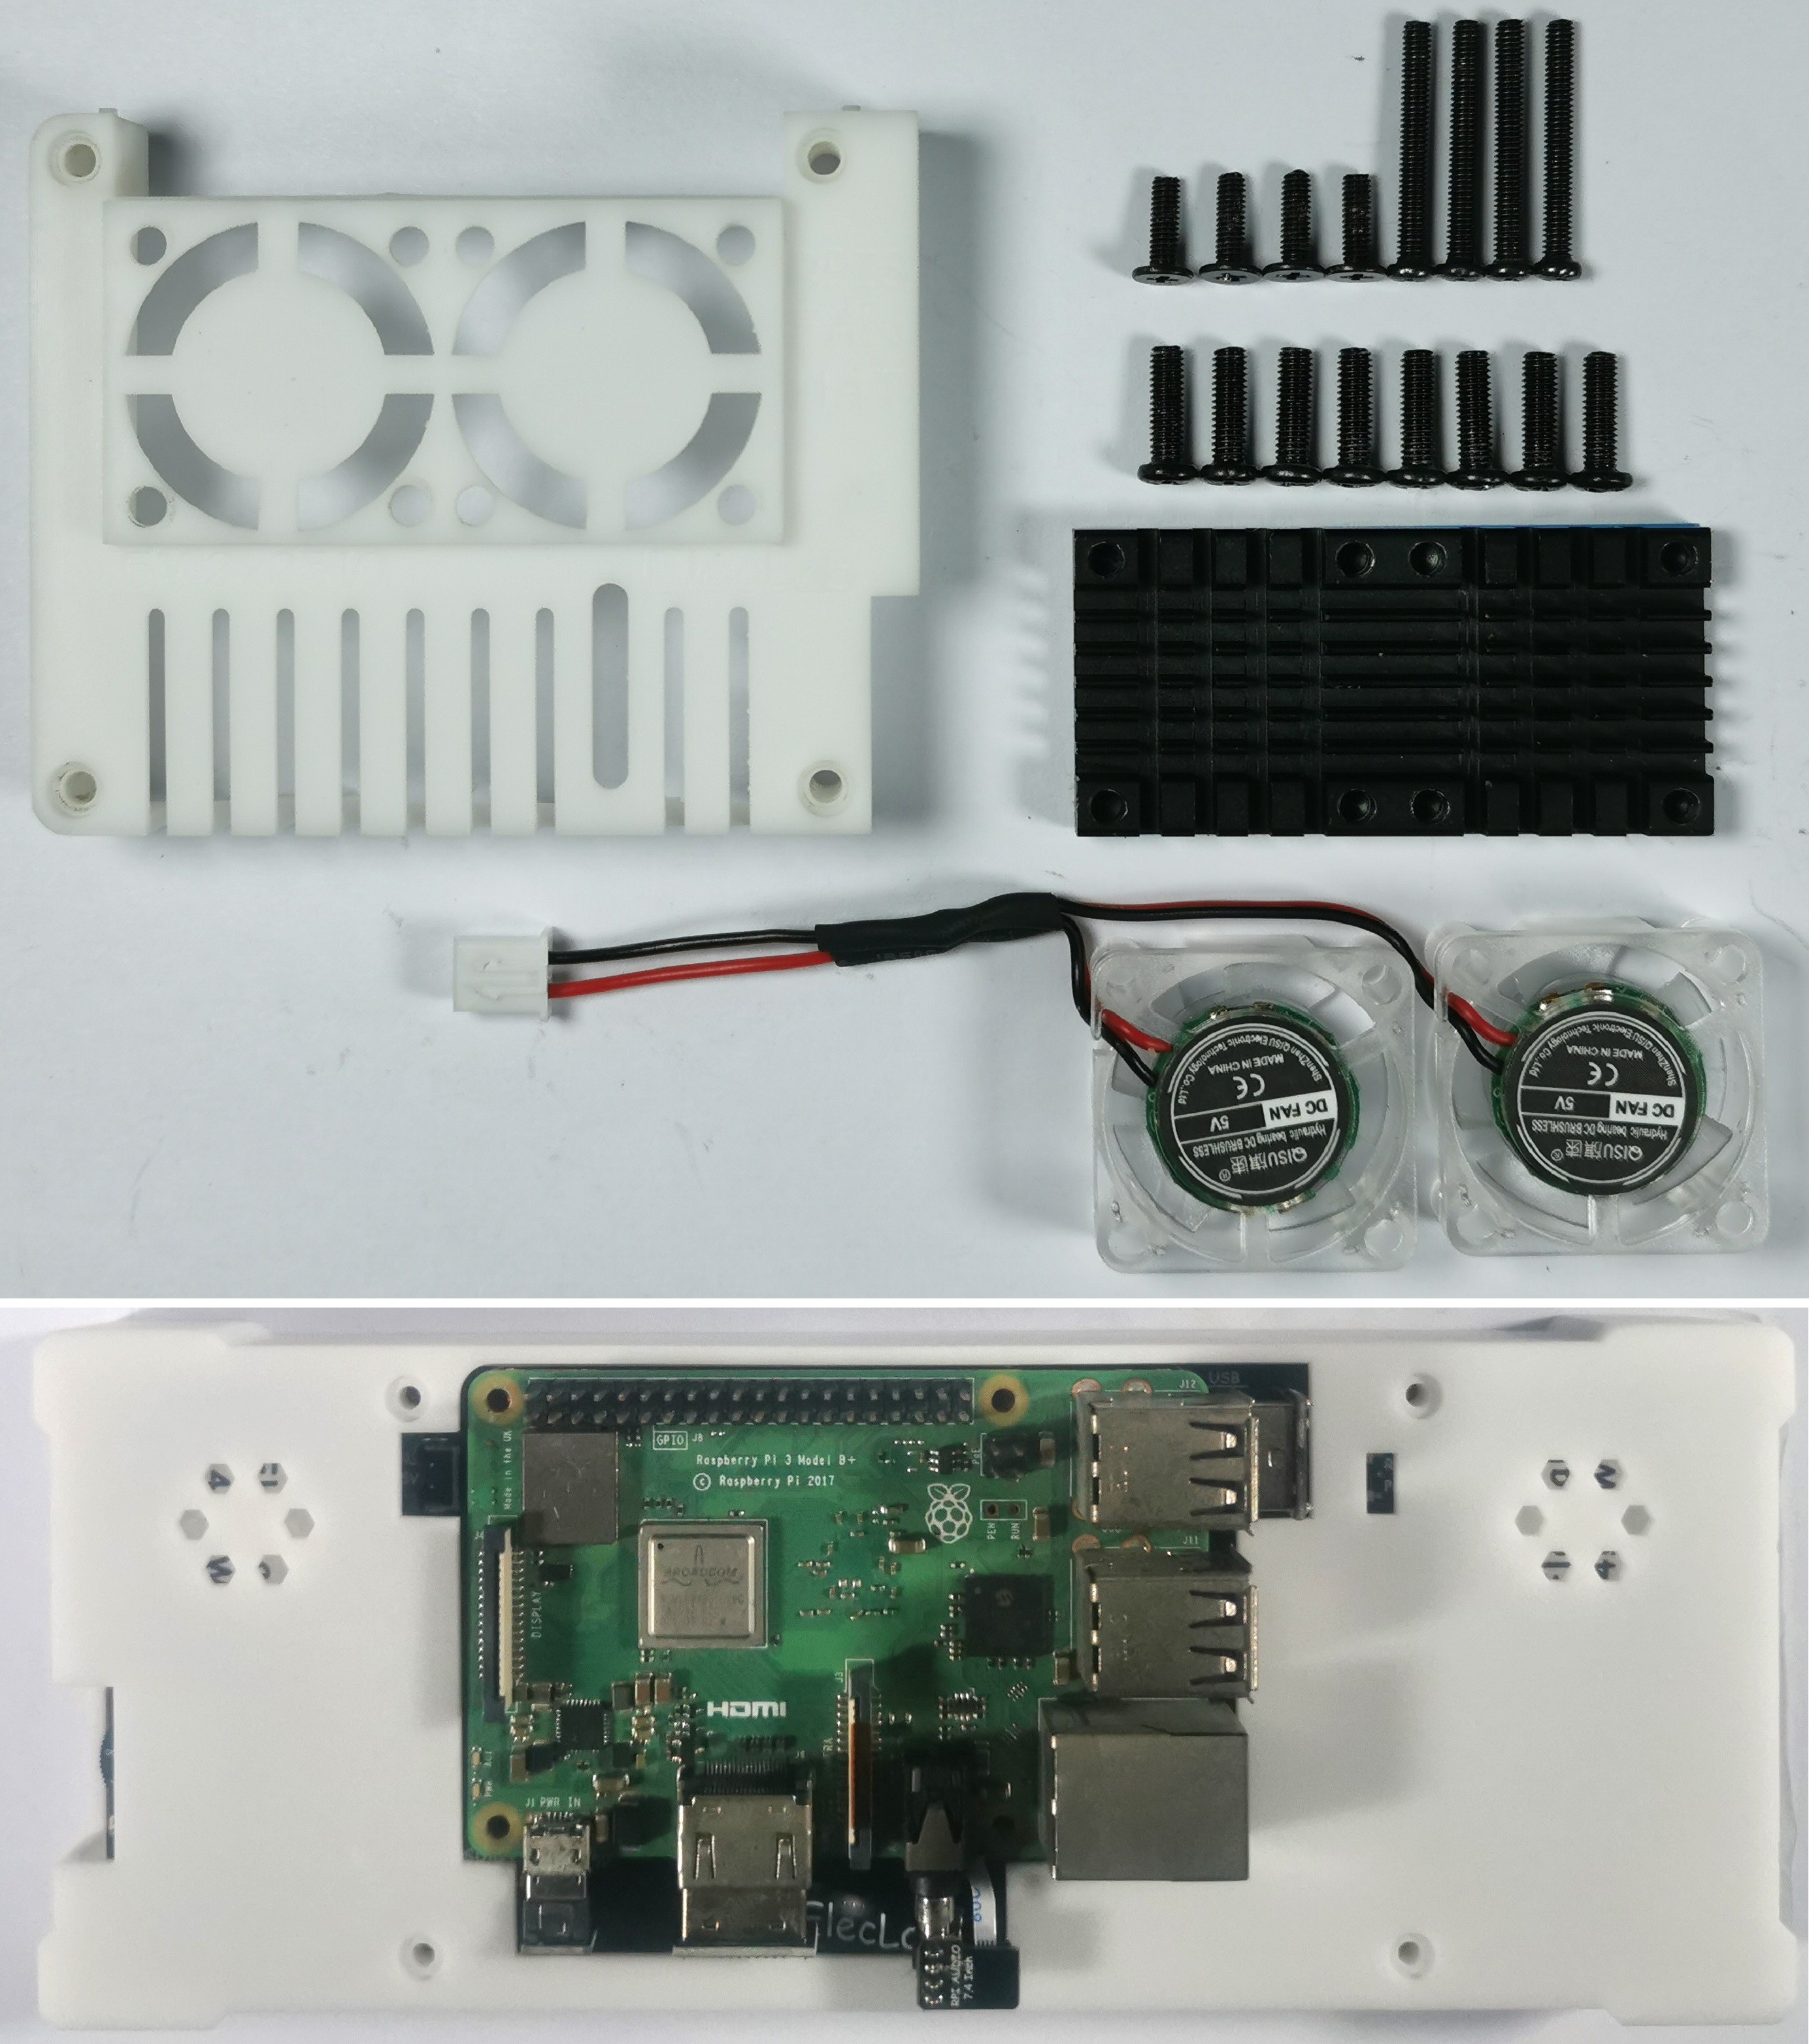
A user shared the modified shell, I have printed it out and assembled it as shown below.
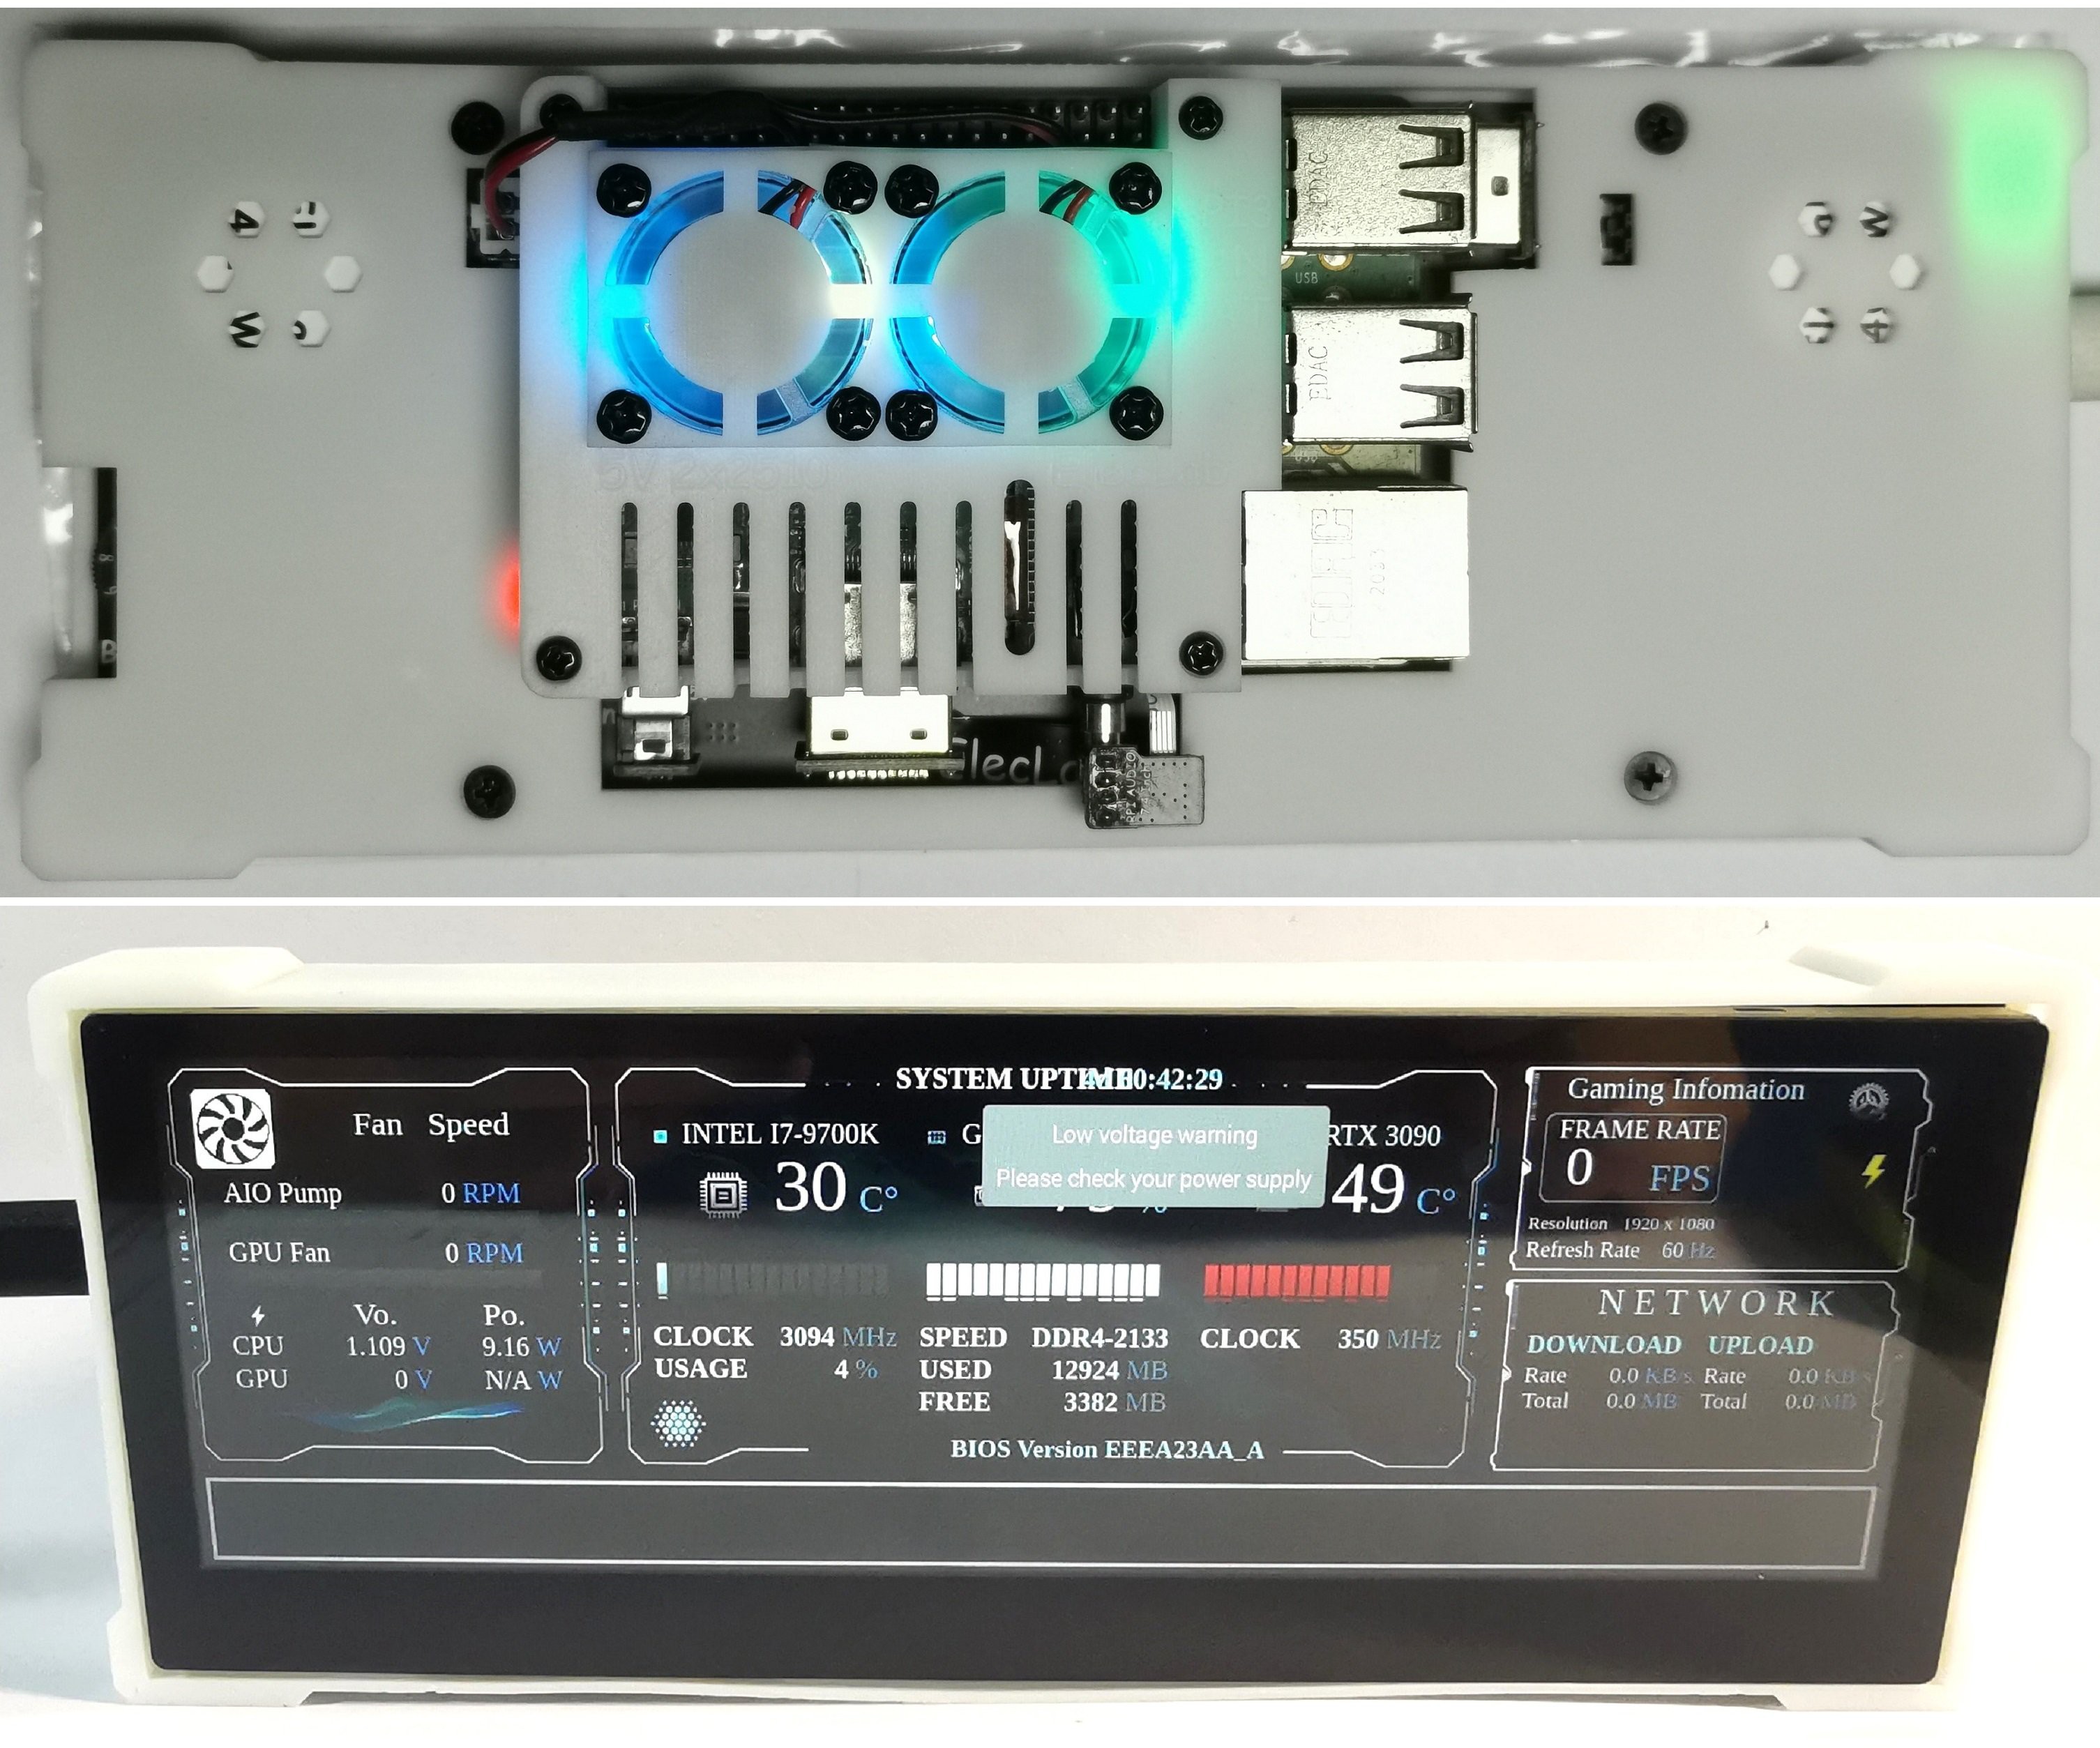
This example is to use the old RPI2/3 to connect the display and turn on aida64 wirelessly, so that you can remove the second secondary screen but still enjoy the fun of aida64.
The full-color 2510 fan has arrived, and the lights change beautifully when it runs.
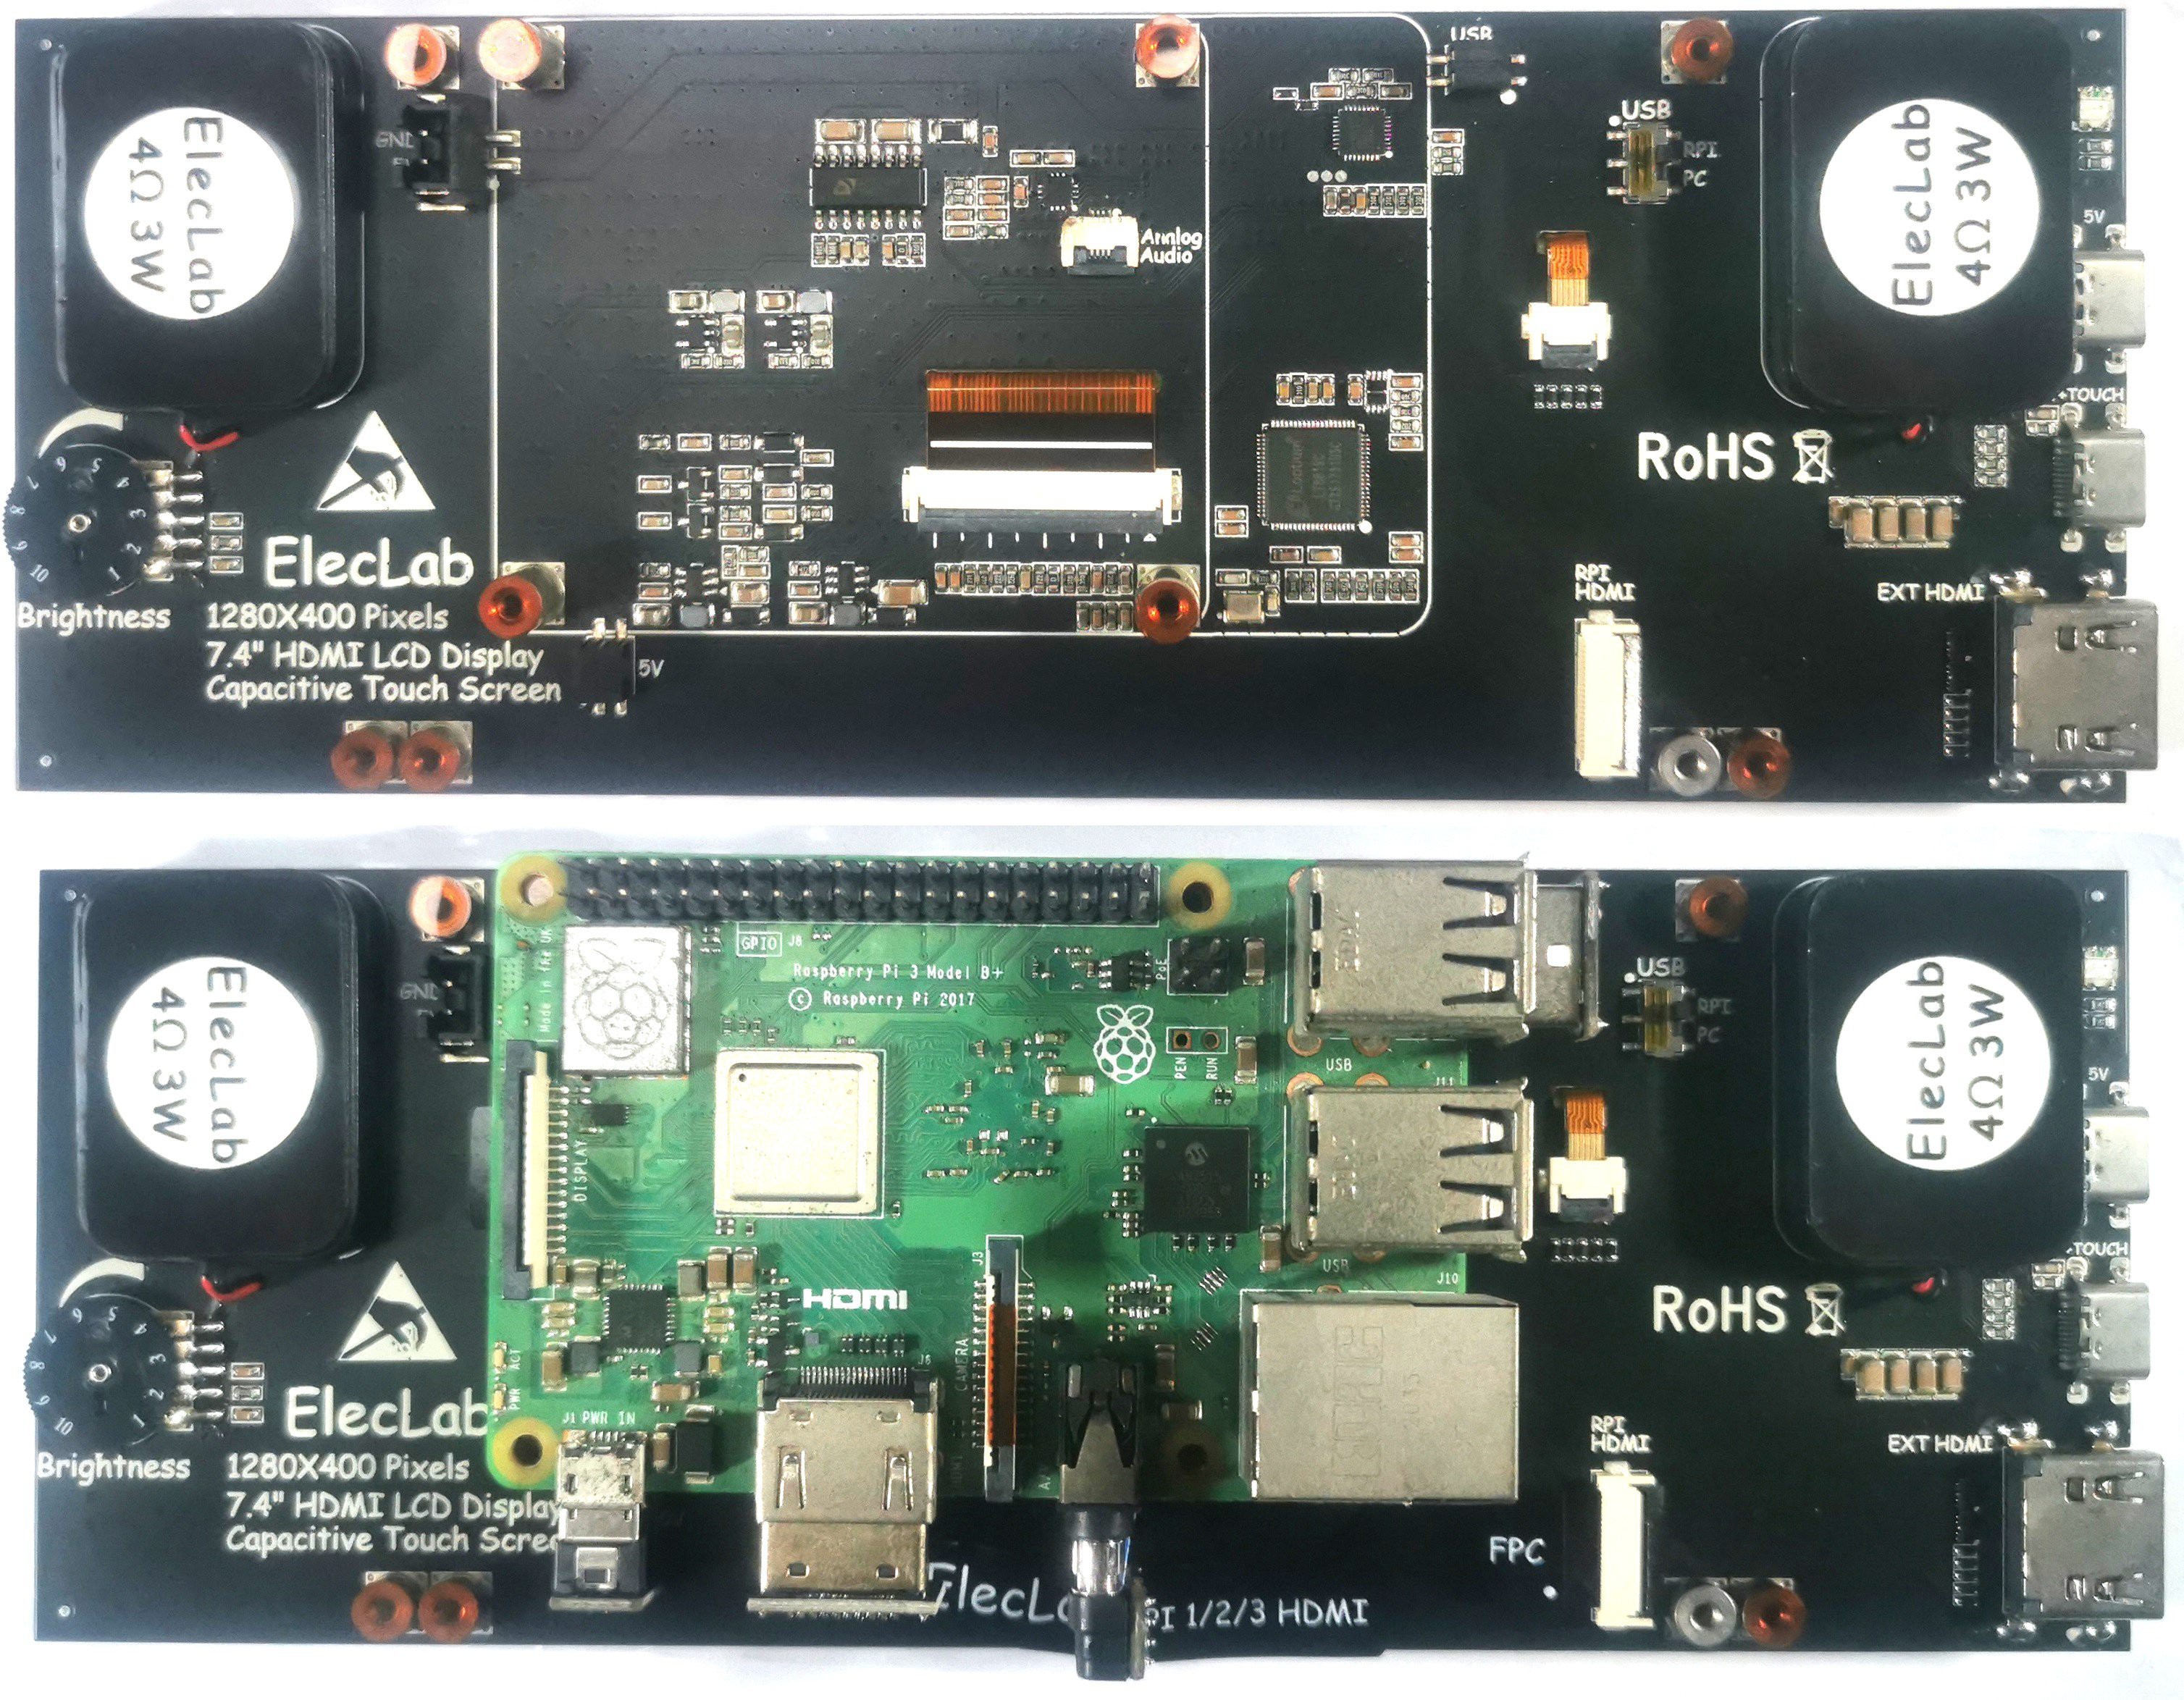
7.4 Inch 1280x400 Touchscreen
https://www.amazon.com/ElecLab-Raspberry-Touchscreen-Capacitive-1280x400/dp/B09YJ37SBH/ref=sr_1_10?crid=CN01QCOOJG9V&keywords=raspberry+pi+screen&qid=1696048811&sprefix=raspberry+pi+scree%2Caps%2C328&sr=8-10
Display Case
https://github.com/eleclab-rpi/7INCH4_HDMI_1280x400/blob/main/7inch4_1280x400_Case_Type6_For_RPI.STL
Fan Case
https://github.com/eleclab-rpi/rpi_fan_case/blob/main/RPI3_HAT_FAN2510_DURE.STL
Aida64 skin
https://github.com/eleclab-rpi/7INCH4_HDMI_1280x400/blob/main/star%201280-400.rslcd
Raspberry Pi 2/3
8x M3x14 screws
4x M2.5x20 screws
4x M2.5x8 screws
Discussions
Become a Hackaday.io Member
Create an account to leave a comment. Already have an account? Log In.