Steph
Steph-
Reuse As a Candle Replacement
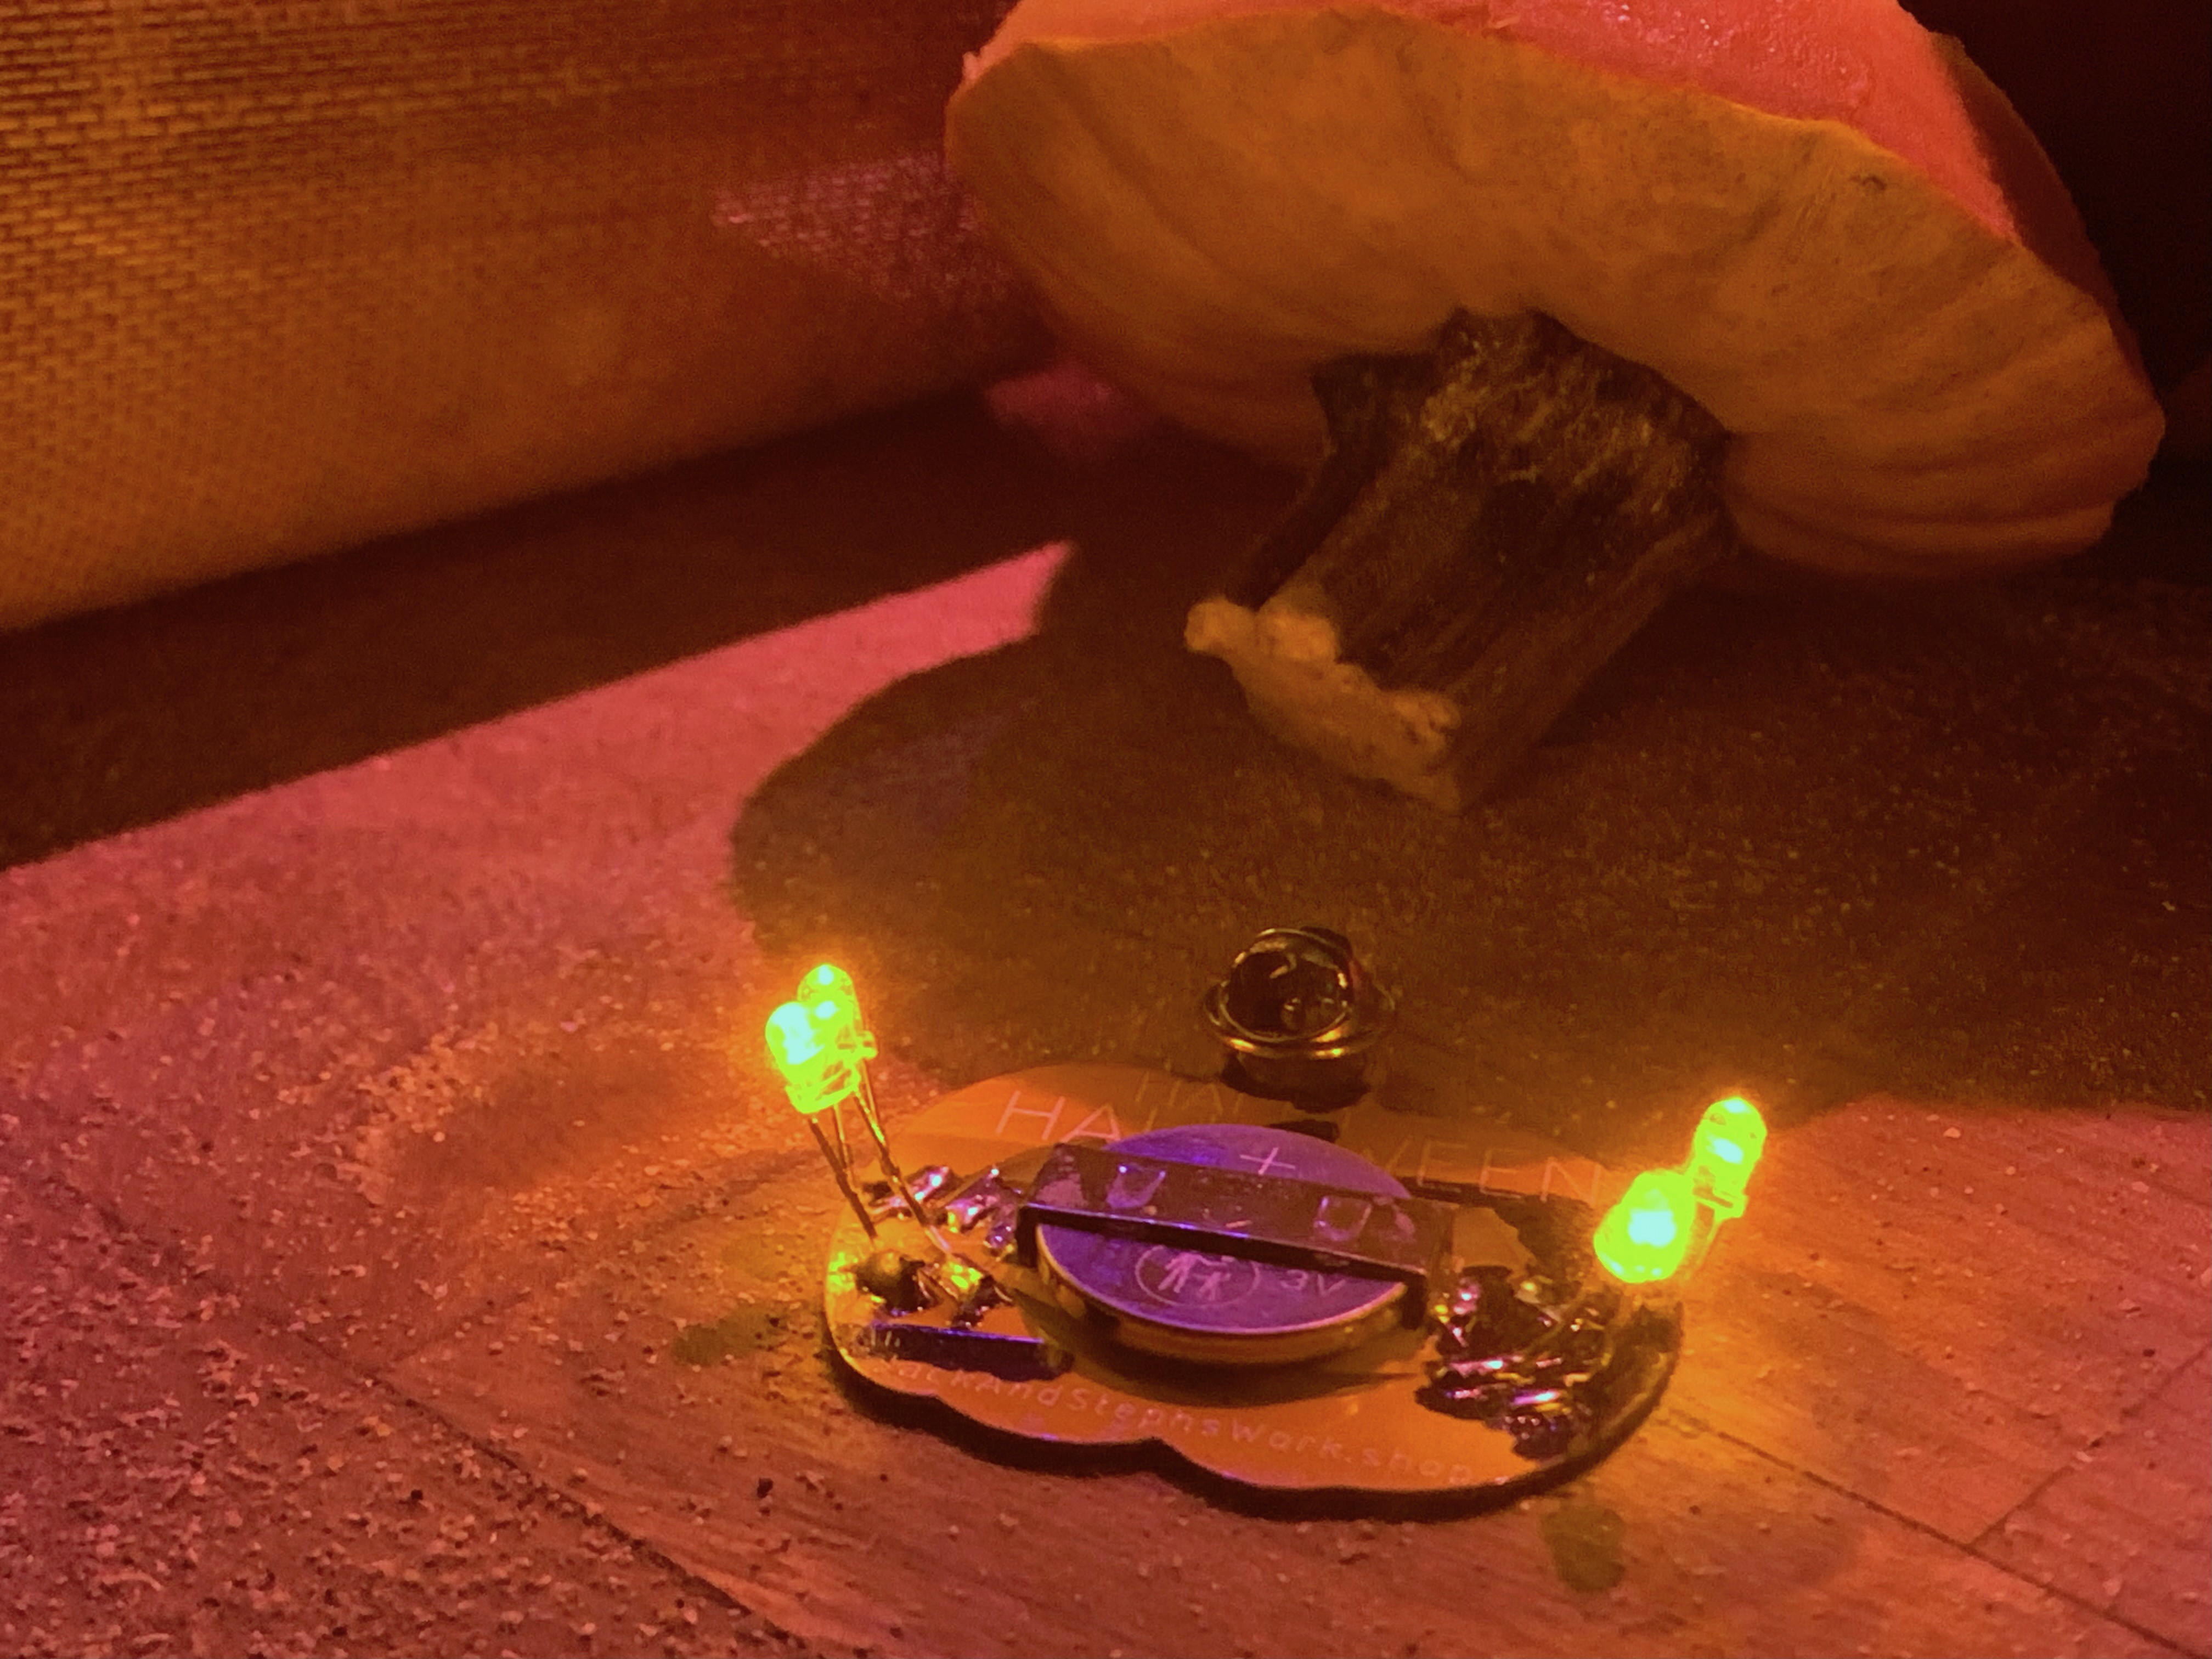
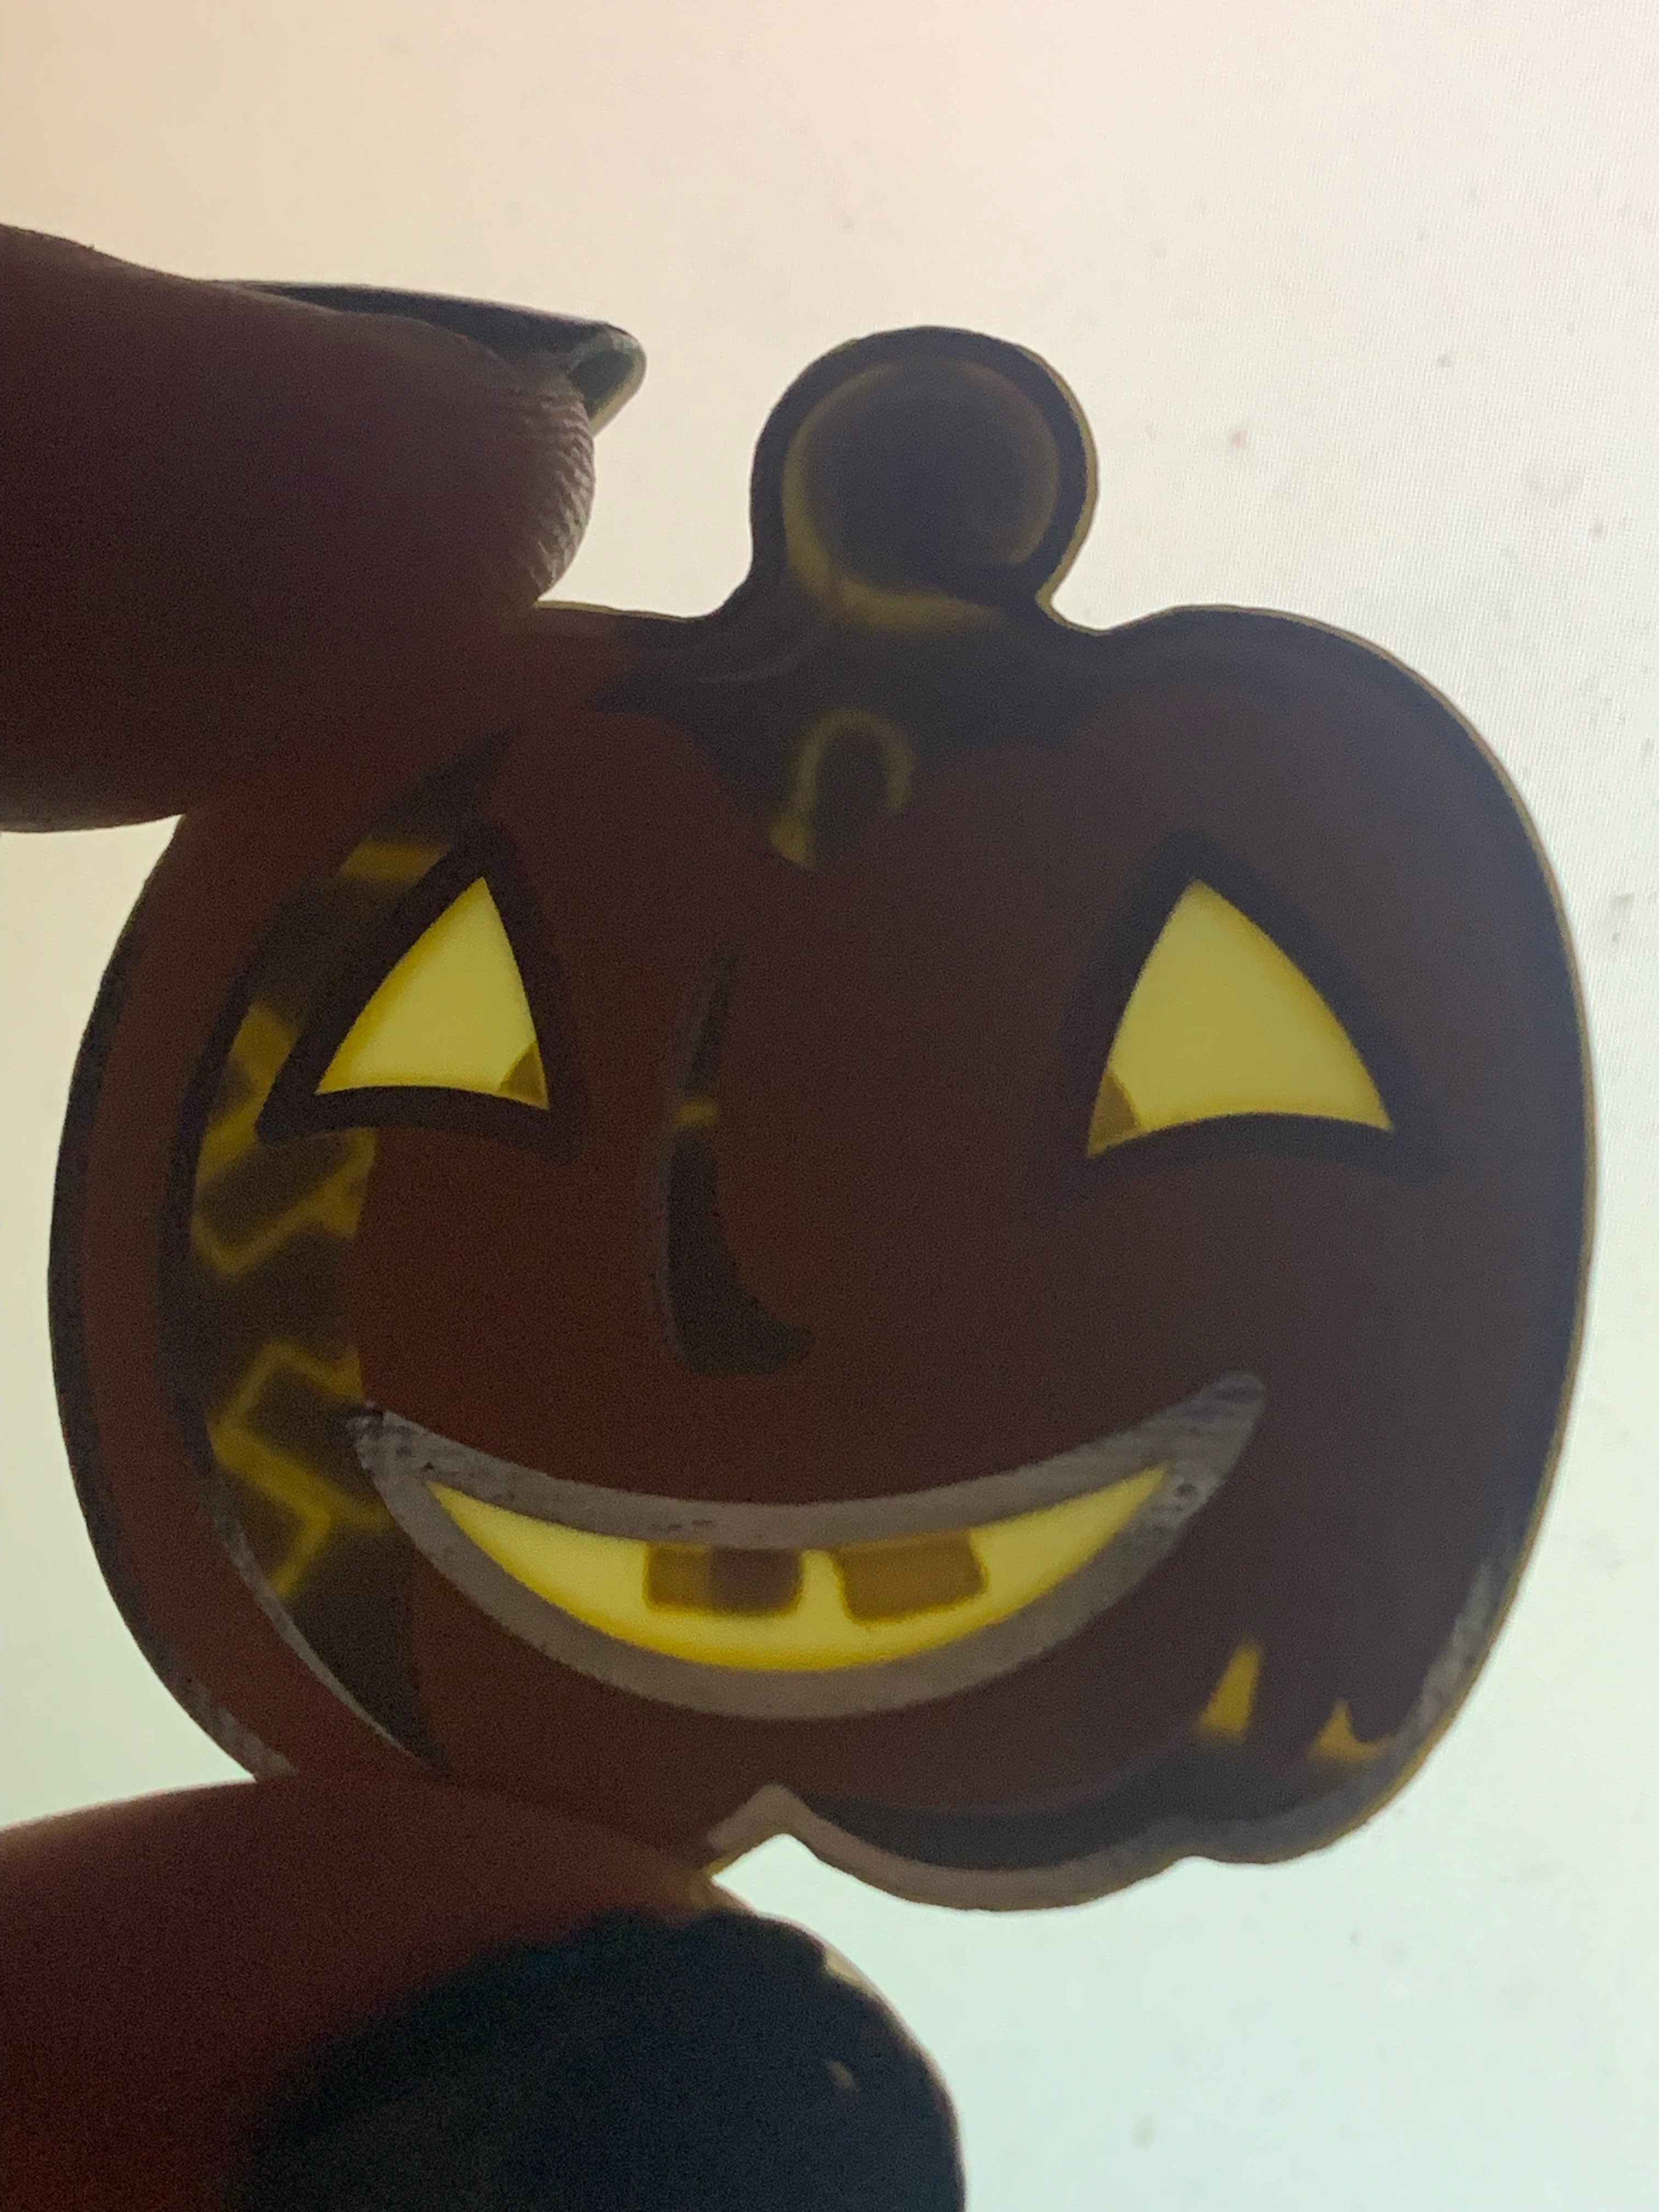
10/17/2023 at 04:55 • 0 commentsTurn your pin into a safe jack-o-lantern light!
After a long night of haunting (or partying) in style, your fashionable pin can be easily converted to provide flameless pumpkin illumination with a satisfying flicker.
![]()
All you need to do is bend the LEDs about 90° upward from their flat position. Angle them slightly out so that they shine directly onto the inner walls of your carved gourd masterpiece. Your can also experiment with bending the LED's over the front side, which allows you to use the tie tack to attach the pin inside the pumpkin (as seen in the gif above).
![]()
That's it!
The resulting light is pleasing and natural, with a brightness very similar to a tea candle. Have a look at the result in this video:
-
Double Duties
10/02/2023 at 08:00 • 0 commentsOn a project with so few parts, every part does a few jobs!
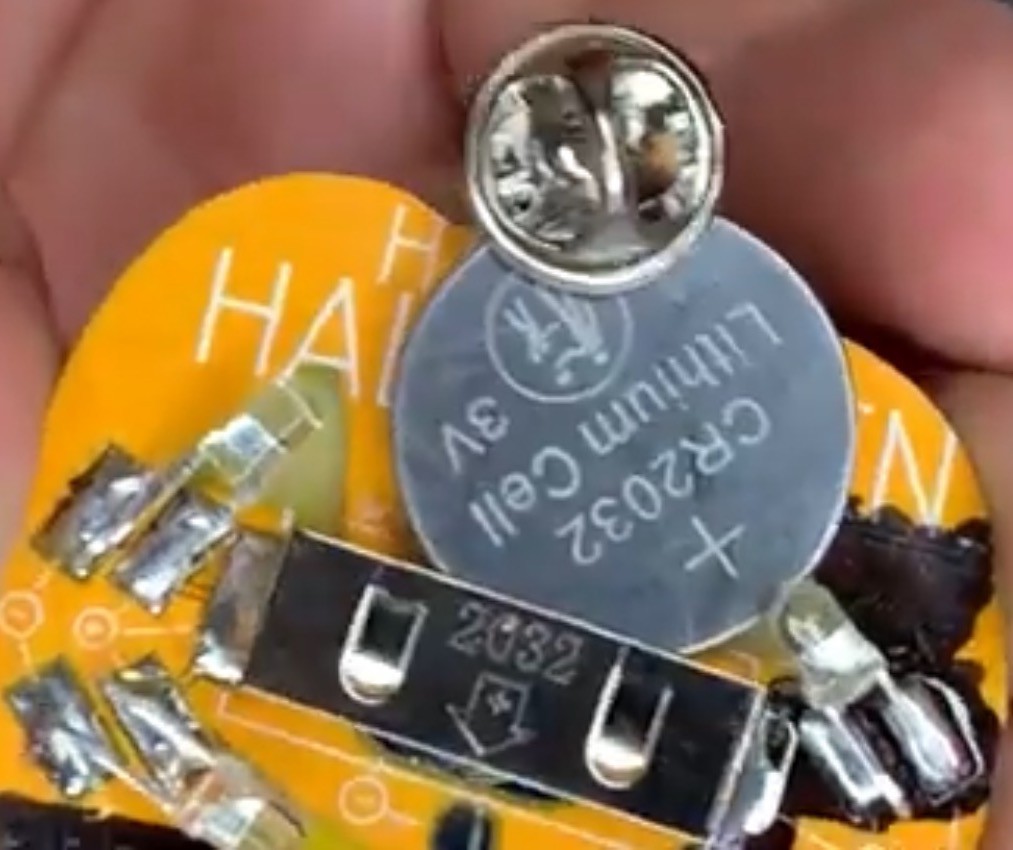
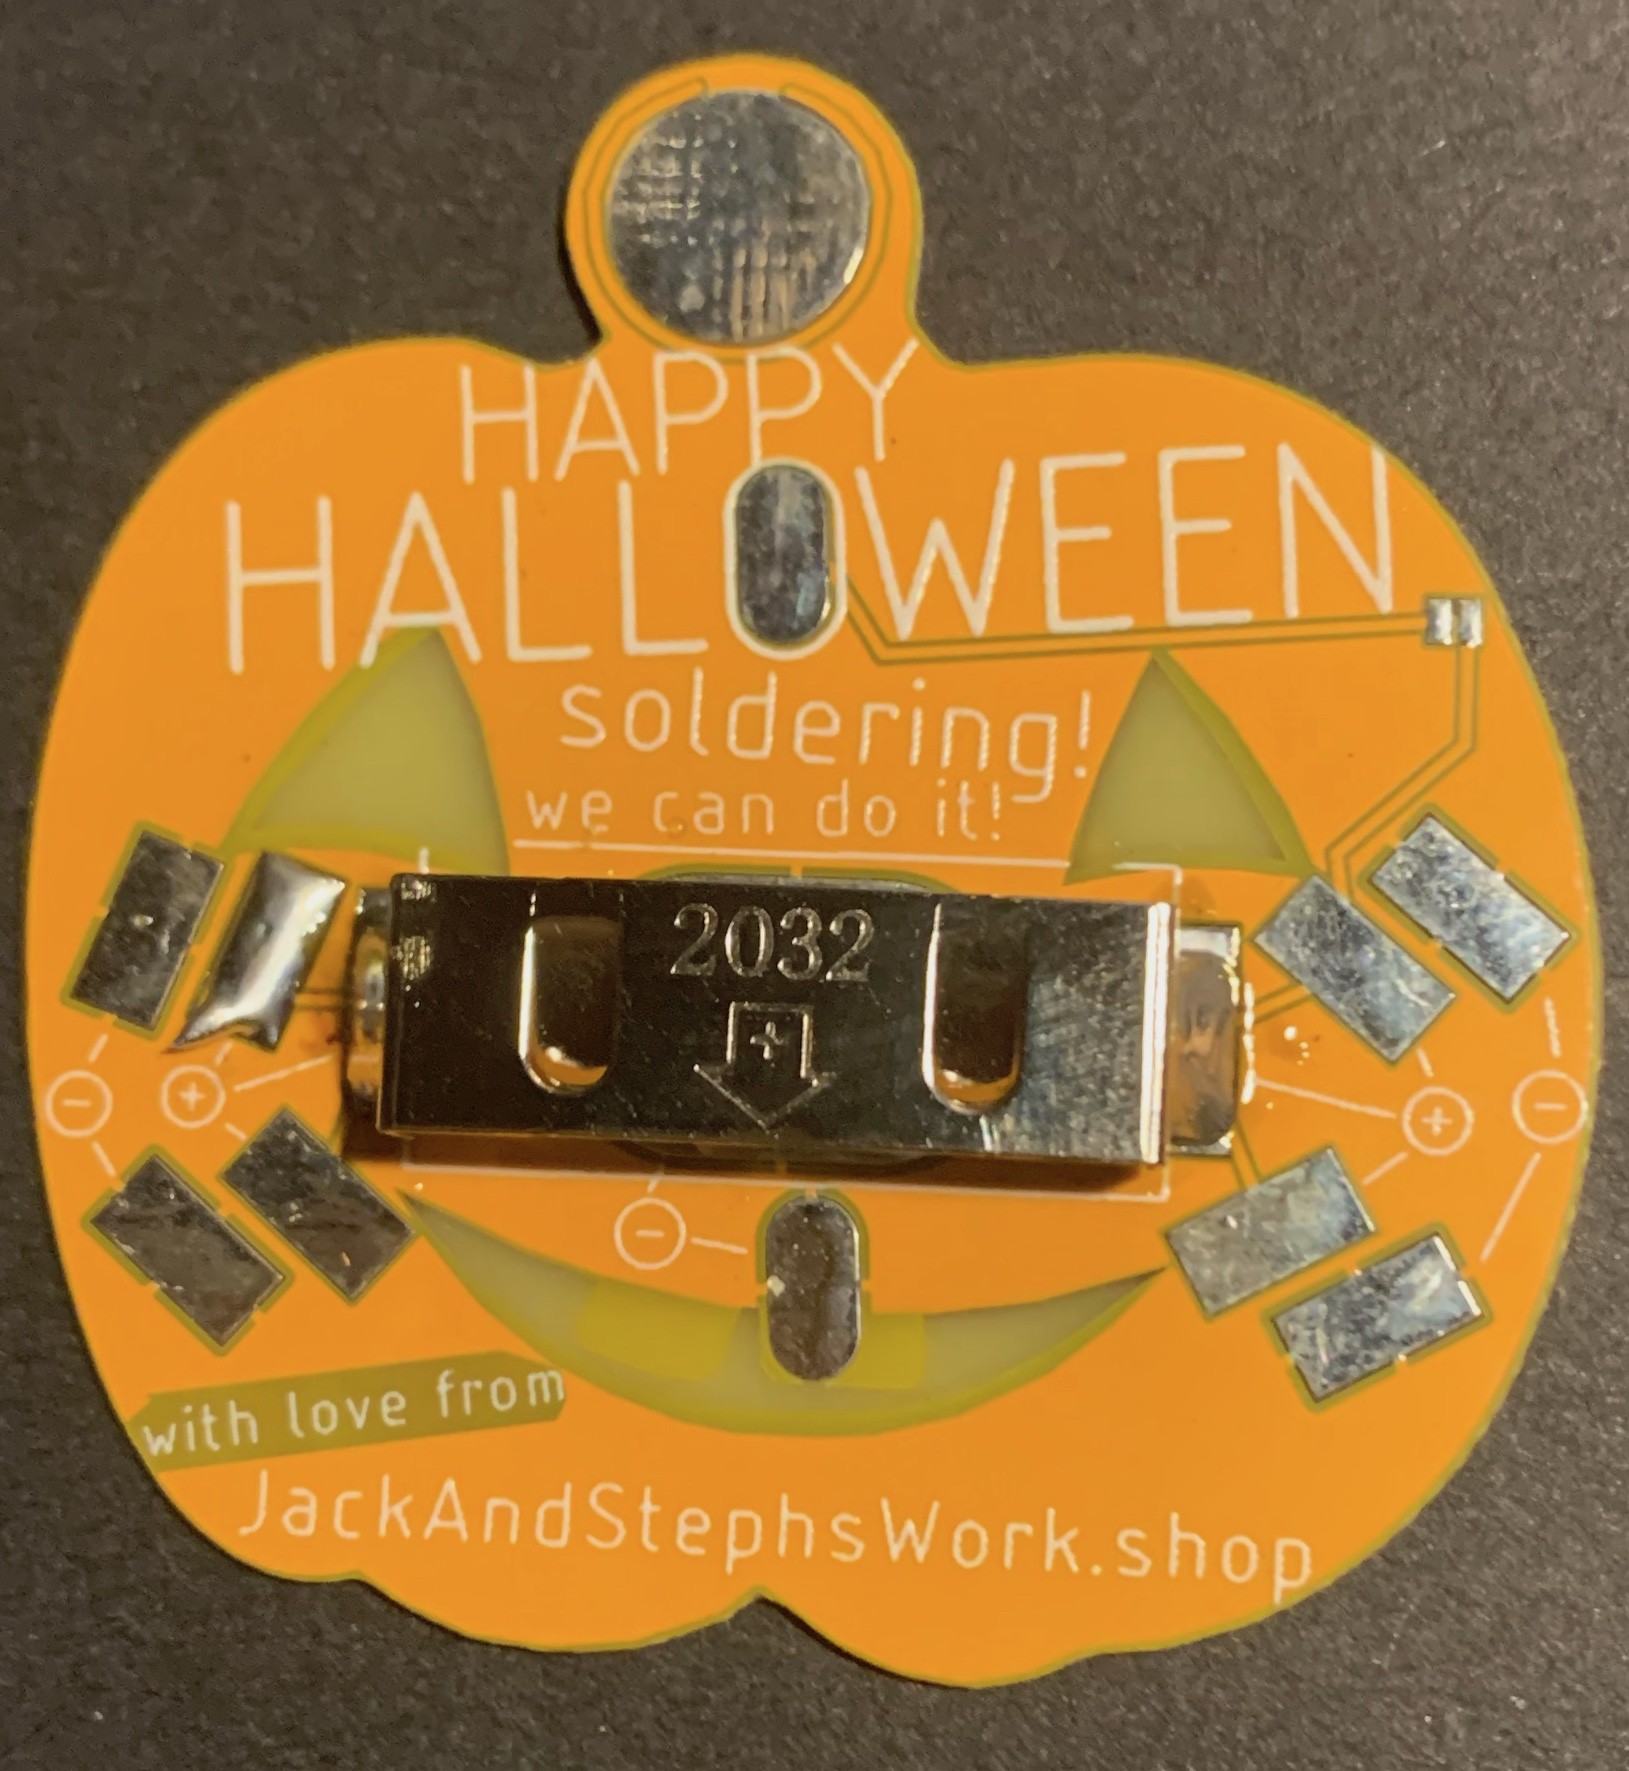
Since I left out a switch of any kind, the best (and only) way to turn off the pin is by disconnecting the battery. Here's where the pinback serves double duty. By holding the battery in place, the pinback forms a rudimentary switch, conveniently allowing the user to slide the battery up and down to turn the pin on and off without having to remove and possibly lose the battery:
![]()
The battery itself does double duty as well by reflecting the LED light off its mirror-finish edges, enhancing the glow around the edge of the pumpkin:
![]()
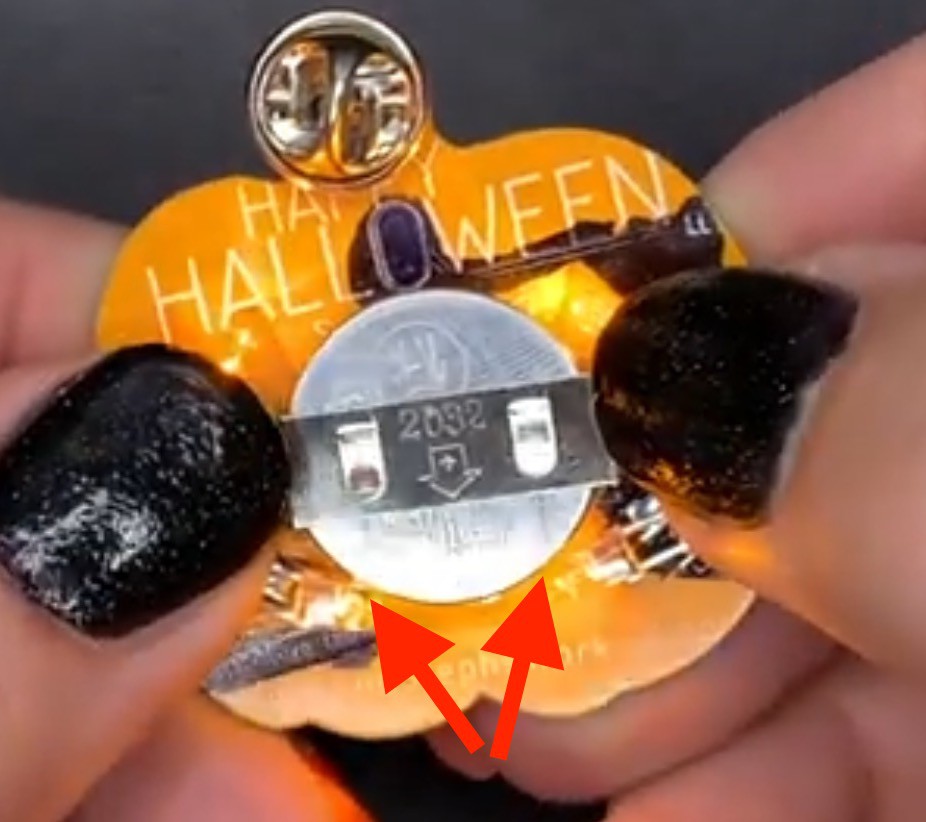
Even the LEDs do double duty. Since the CR2032 battery is held in by friction and nothing else, the bottom two LEDs form a physical barrier which ensures the battery cannot slip out the bottom of its holder:
![]()
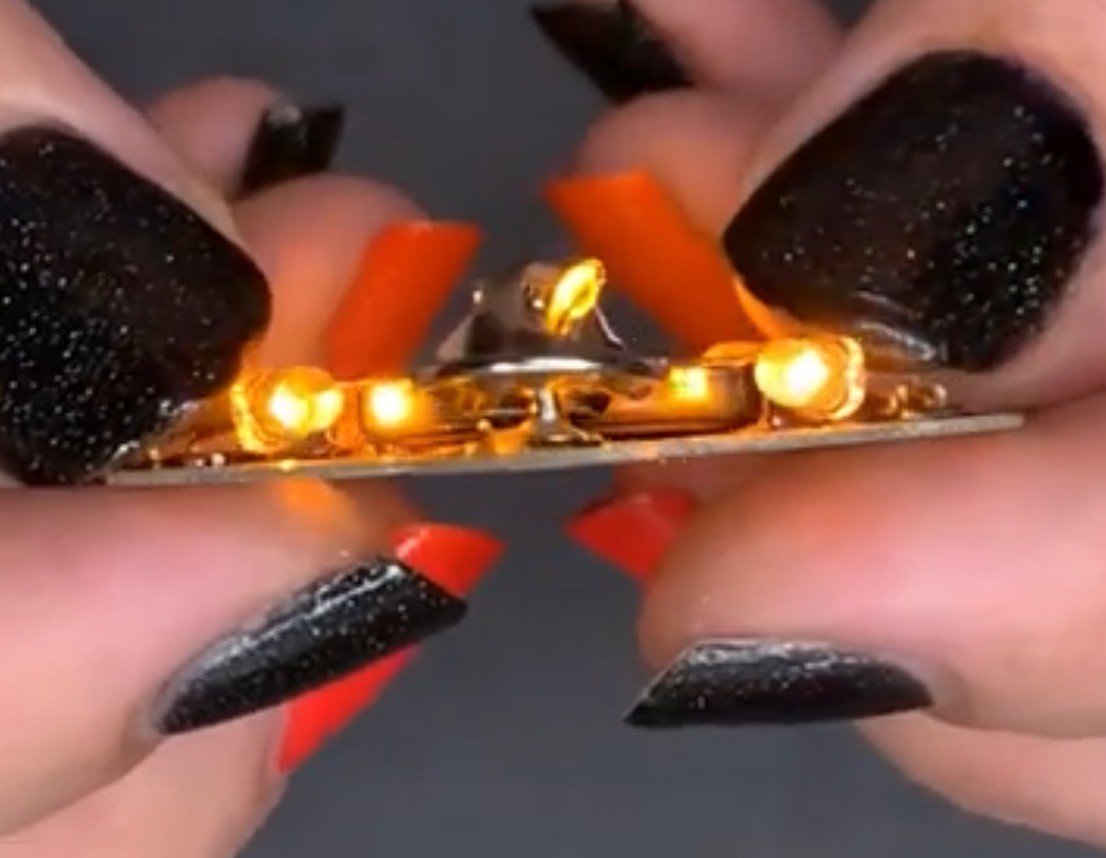
Finally, the entire pin does double duty! By folding the LEDs to point upwards, the pin can quickly be converted to a safe, flame-free jack-o-lantern light!
-
Flaws
10/02/2023 at 06:52 • 0 commentsI'm really happy with the way this pin turned out. However as with any project there's a few things I'd change in the next version:
1. Light Leaks
![]()
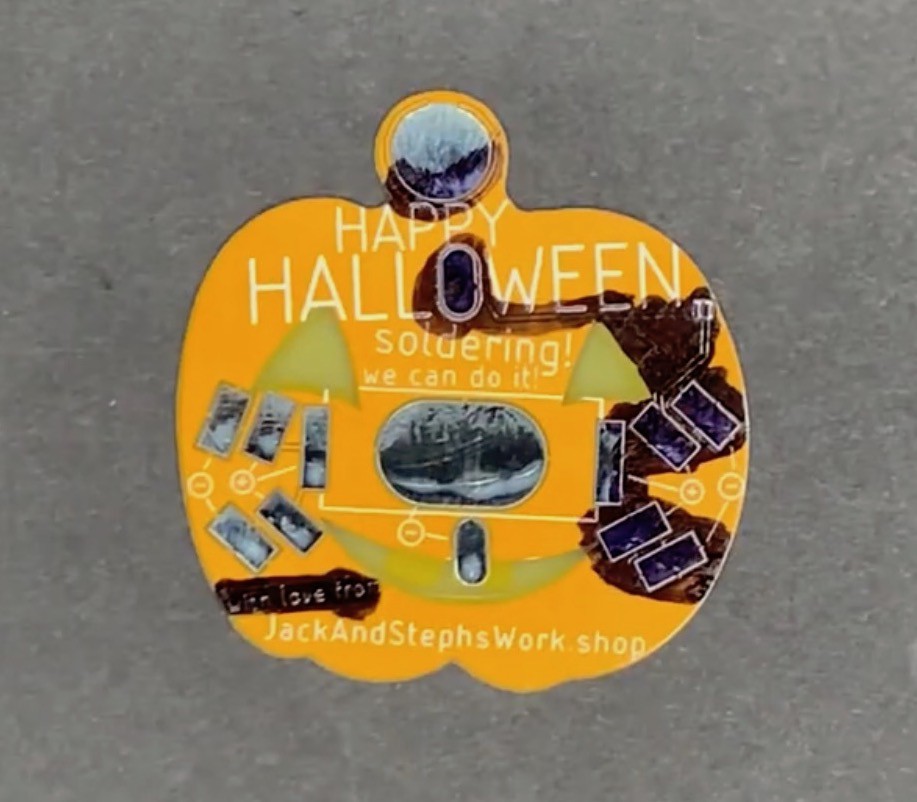
The front of the design has sections covered by soldermask but not covered by copper. As a result, the circuit on the backside is visible through the front. The defect is easily remedied by coating these areas on the backside with a black marker, essentially creating a final layer to the PCB. It works, but it's unsightly. I simply plan on telling everyone that each pin is signed by the artist, and that my signature looks like this:
![]()
2. The Backup Battery Holder
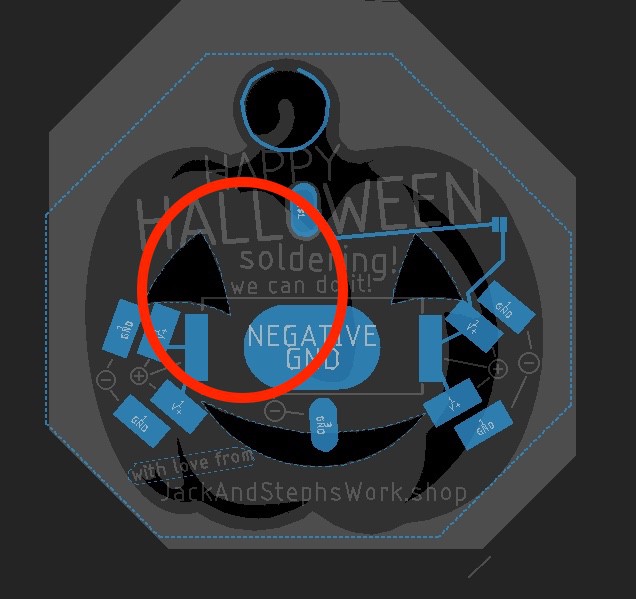
In the event that I have to use the backup type of battery holder, I'll also need to use a bodge wire because I'm missing a trace to the left side LED's here:
![]()
3. Brightness Over Time
I don't even really consider this a flaw, but some people might so I'll mention it here. Because this pin has no current limiting resistors, the brightness of the LEDs will fall according to the discharge curve of the lithium coin cell battery. In practice, this means that the lights are very bright for the first few hours of operation, pretty bright for about 24 hours, and then pretty dim for another 24 hours.
-
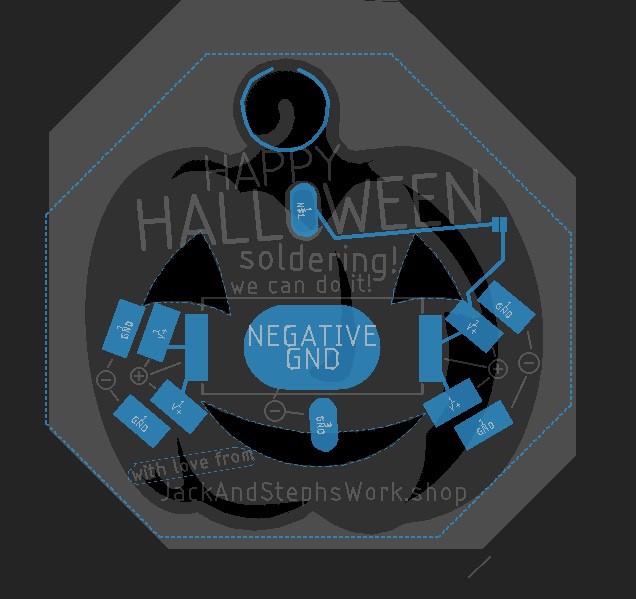
Part Selection
10/02/2023 at 05:57 • 0 commentsA fascinating aspect of PCB design is the need to find every part twice. For each part, the designer has to find both the physical object (available and in stock somewhere), and a digital representation of that part in the form of a library item inside the PCB design software.
Of course, it is possible to create your own part in your own library but finding an existing part is much, much easier. I downloaded the library of parts that Sparkfun provides here, which is large enough to cover most needs while still being small enough that you can actually find what you are looking for.
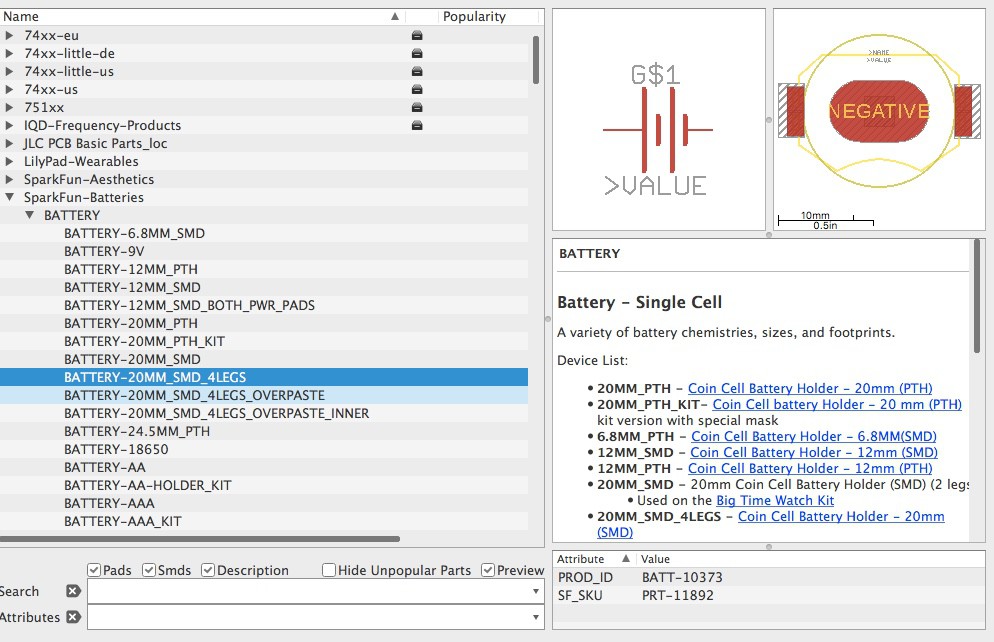
I knew I wanted to use a coin cell battery for size and weight reasons. I chose the CR2032 because it's the most common size, used in everything from AirTags to Tamagotchis.
The CR2032 has a diameter of 20mm. Here's the section of the Sparkfun library covering battery holders, which lists six options for 20mm holders:
![]()
Sparkfun carries all these items in their store, which makes matching the real part with it's library part easy, but there's no requirement to buy from Sparkfun. The same component made by different manufacturers will often have compatible footprints, as interchangeability is an important design consideration.
After basing my design around a CR2032 holder footprint in the Sparkfun library, I bought a large batch of generic looking battery holders from a random retailer online. When they arrived, i was relieved to discover they fit just fine on the footprint i chose. It's likely that many straps across manufacturers will fit the footprint. If you're not sure if a part will fit, you can always check the dimensions listed in the datasheet against the dimensions of the footprint.
![]()
![]()
The other parts on the Flickering Pumpkin Pin require even less precision. The LEDs are meant to be through-hole mounted, but I didn't want to mar the artwork on the front surface, so instead the LEDs are laid sideways and soldered to smd pads. You can source them anywhere.
The only other part that needs to be soldered is the tie pin at the very top. I admit I looked in the library for a pre-made pin footprint, but didn't find one. Instead, I just made a 5mm circle on the "bottom stop" layer of the PCB, which prevents solder mask from being applied over the copper underneath. The pin itself is smaller than 5mm, but I chose that size for maximum compatibility- if some pins out there happen to have a wider base, they should still fit.
Speaking of compatibility, sharp eyed readers might have noticed a couple unused pads on the pumpkin pin. These pads allow a totally different type of battery holder (plastic) to be connected, in the event that the preferred holder (metal) is unavailable.
-
Prior Art
10/02/2023 at 01:47 • 0 commentsThere are plenty of existing pumpkin-based pins, badges, kits and projects. Here are just a few of them:
- Pumpkin Witch
- Pumpkin Solder kit
- Jack-O-lantern
- Halloween Pumpkin Pin Badge
- Hallowe'en Pumpkin Soldering Kit
- LED Pumpkin Kit
In these examples, some flicker and some don't. Some are wearable and some aren't. Some employ advanced hardware like microcontrollers, while others are simple through-hole soldering jobs. Some are thin, and some are thick.
I want a feature set that's not fully represented in any of these options, which is why I've designed yet another one!