-
Instruction book Final Demo
05/23/2024 at 09:10 • 0 commentssee the files
-
Final Code
01/12/2024 at 15:17 • 0 commentsFor the screen and the touch sensor:
#include <Wire.h>
#include <LiquidCrystal.h>

const int rs = 15;
const int en = 13;
const int d4 = 32;
const int d5 = 33;
const int d6 = 25;
const int d7 = 26;
const int touchPin = 17;
LiquidCrystal lcd(rs, en, d4, d5, d6, d7);

void setup() {
  lcd.begin(8, 2);
  pinMode(touchPin, INPUT);
  Serial.begin(115200);
  lcd.clear();
}

void loop() {
  if (digitalRead(touchPin) == HIGH) {
    Serial.println("touch detected");
    lcd.clear();
  lcd.setCursor(0, 0);
  lcd.print(getRandomMessage());
  lcd.setCursor(0, 1);
  lcd.print("UwU");
  delay(3,000);
    lcd.clear();
    }
}

bool screenOn = false;

String getRandomMessage() {
  String messages[] = {
    "Go ahead",
    "fuck it.",
    "WTF?!",
    "OOPS",
    "Possibly",
    "Fate.",
    "Nauwr",
    "Shut up",
    "RIP",
    "Nope"
  };

  int index = random(10);
  return messages[index];
}
For the LEDs:
const int redPin = 13; const int bluePin = 12; const int greenPin = 15; void setup() { pinMode(redPin, OUTPUT); pinMode(bluePin, OUTPUT); pinMode(greenPin, OUTPUT); digitalWrite(redPin, LOW); digitalWrite(bluePin, LOW); digitalWrite(greenPin, LOW); Serial.begin(115200); } void loop() { sequentialLEDs(); } void sequentialLEDs() { // Red LED on digitalWrite(redPin, HIGH); delay(500); digitalWrite(redPin, LOW); // Blue LED on digitalWrite(bluePin, HIGH); delay(500); digitalWrite(bluePin, LOW); // Green LED on digitalWrite(greenPin, HIGH); delay(500); digitalWrite(greenPin, LOW); } -
Instruction book - 5th Log
01/12/2024 at 14:57 • 0 commentsFinal assembling and adjusting
see videos in the files "Last test before finition
Final aesthetic touches
We decided to make a book cover to make the book more aesthetically pleasing.
Step 1 : trace and baguettes
![]()
Step 2 : glue fabric
![]()
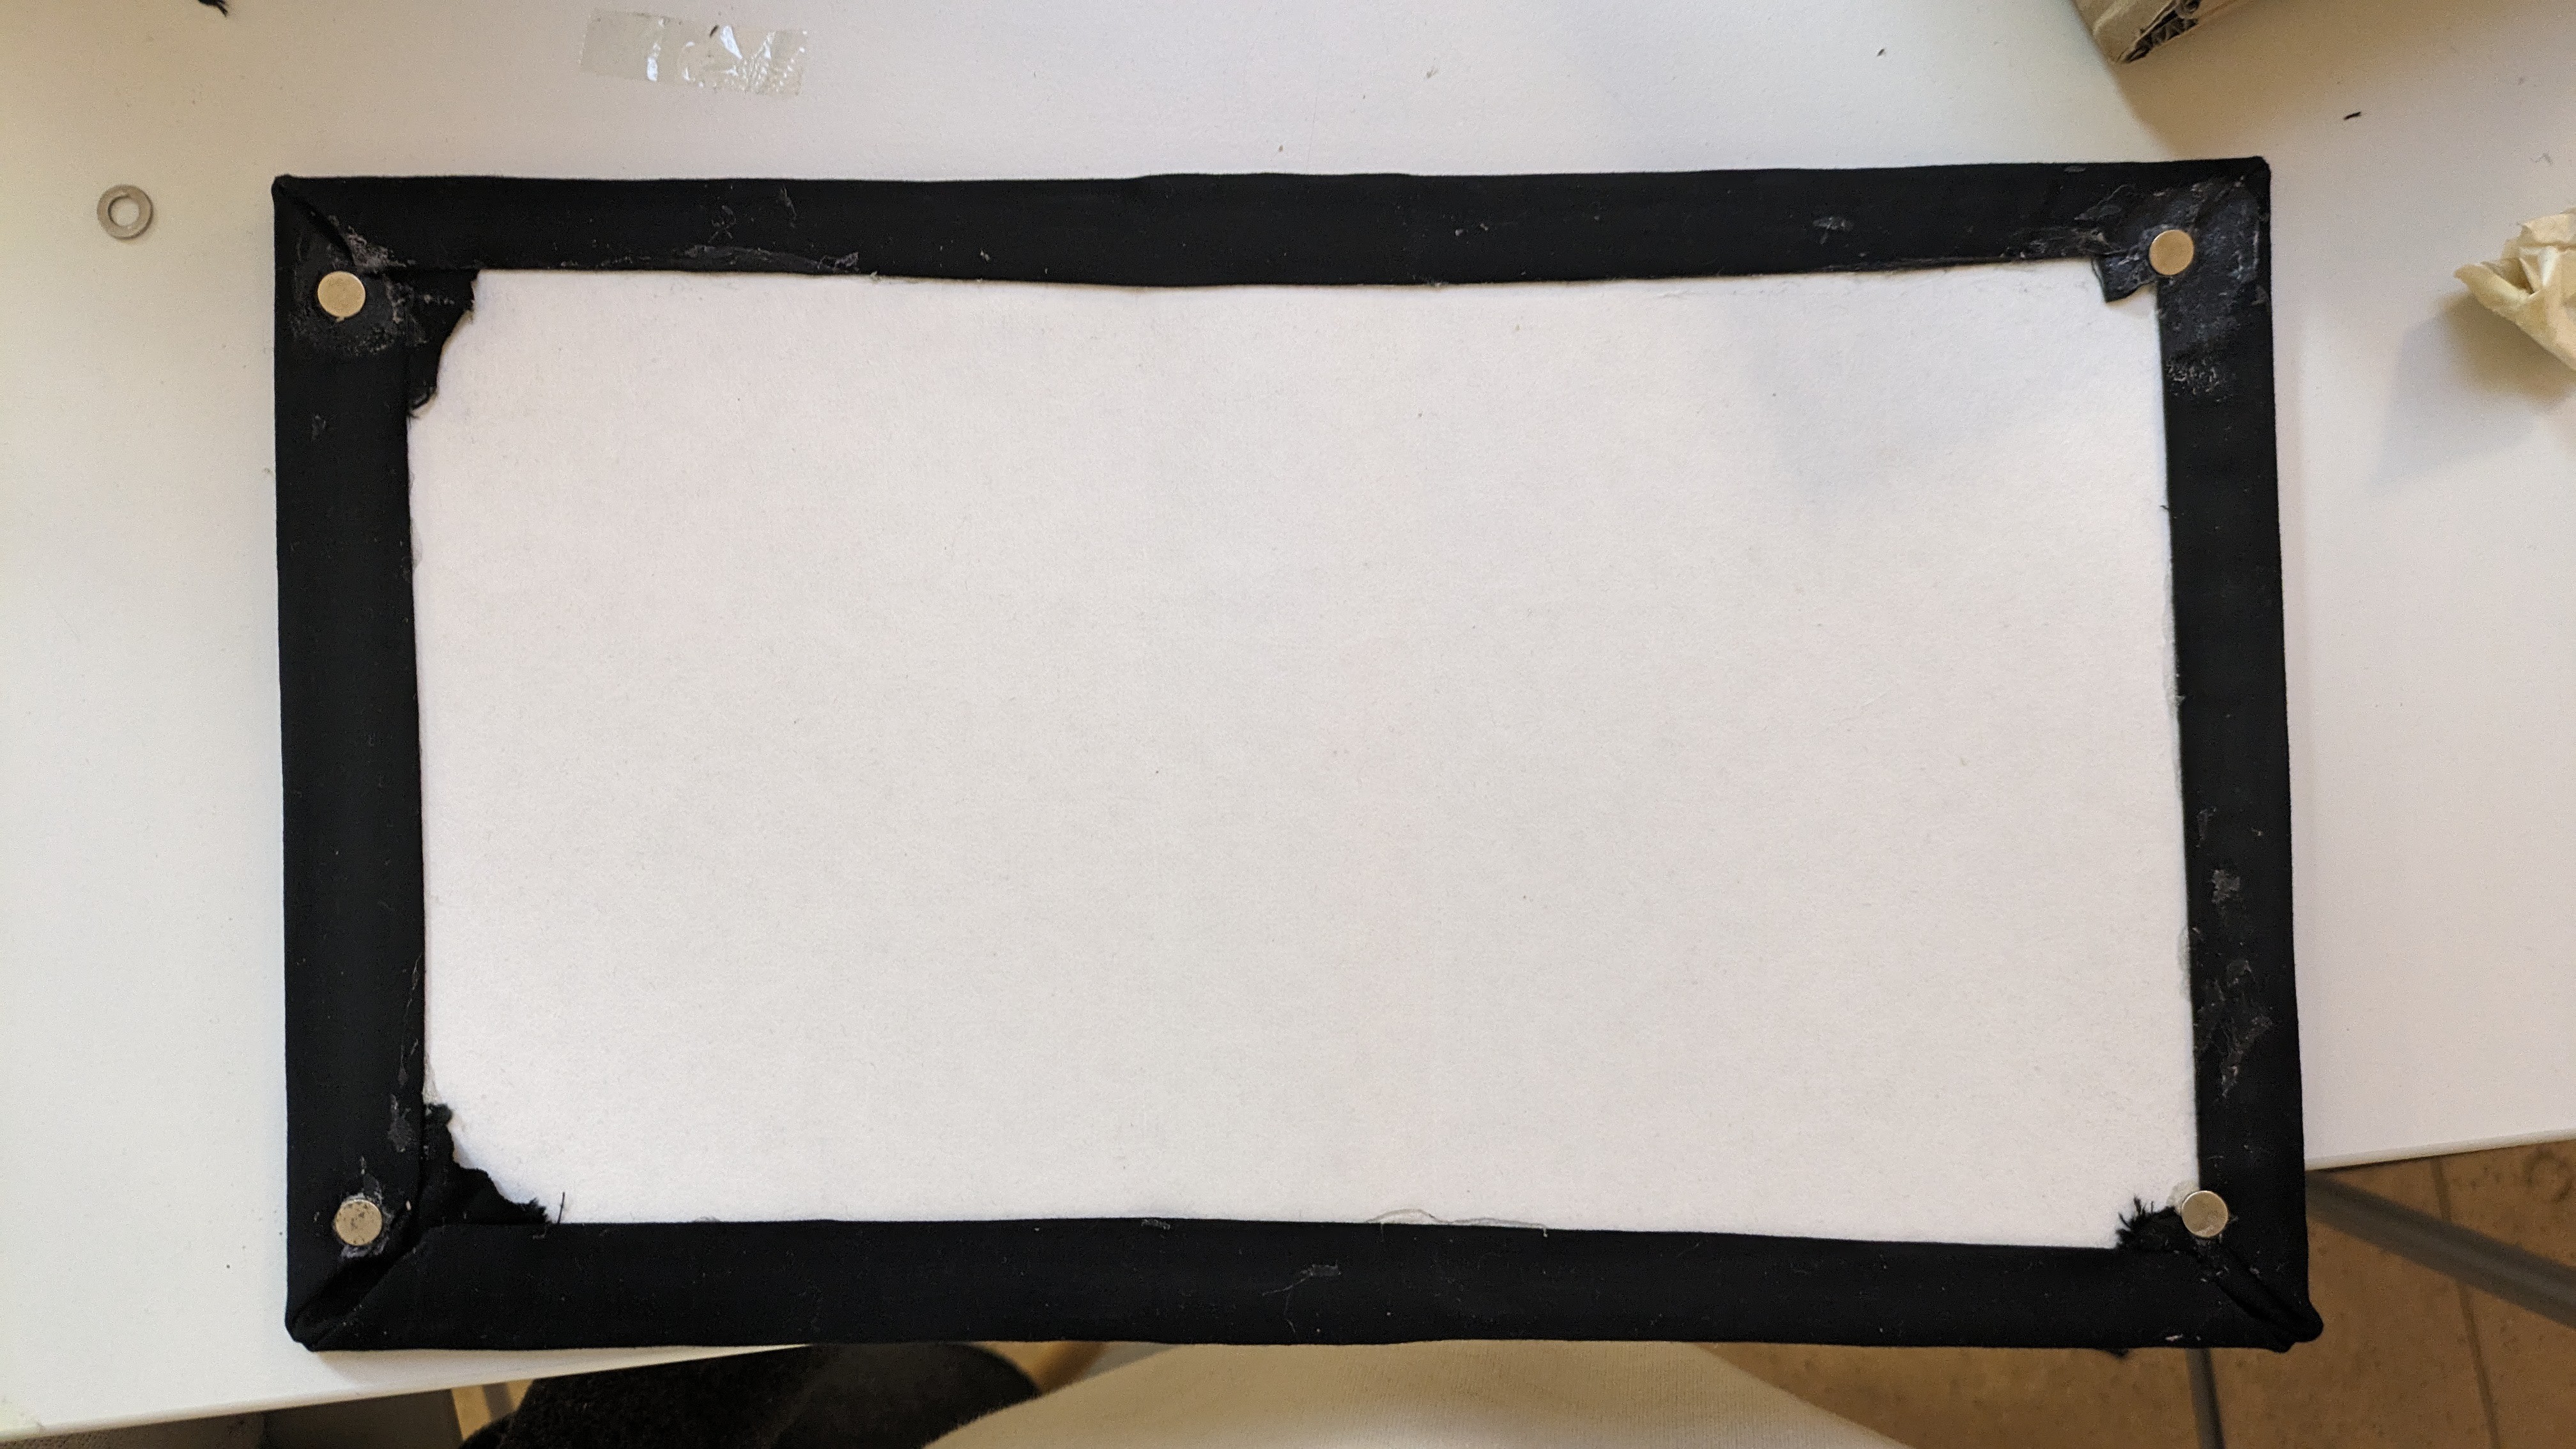
Step 3 : glue magnets
![]()
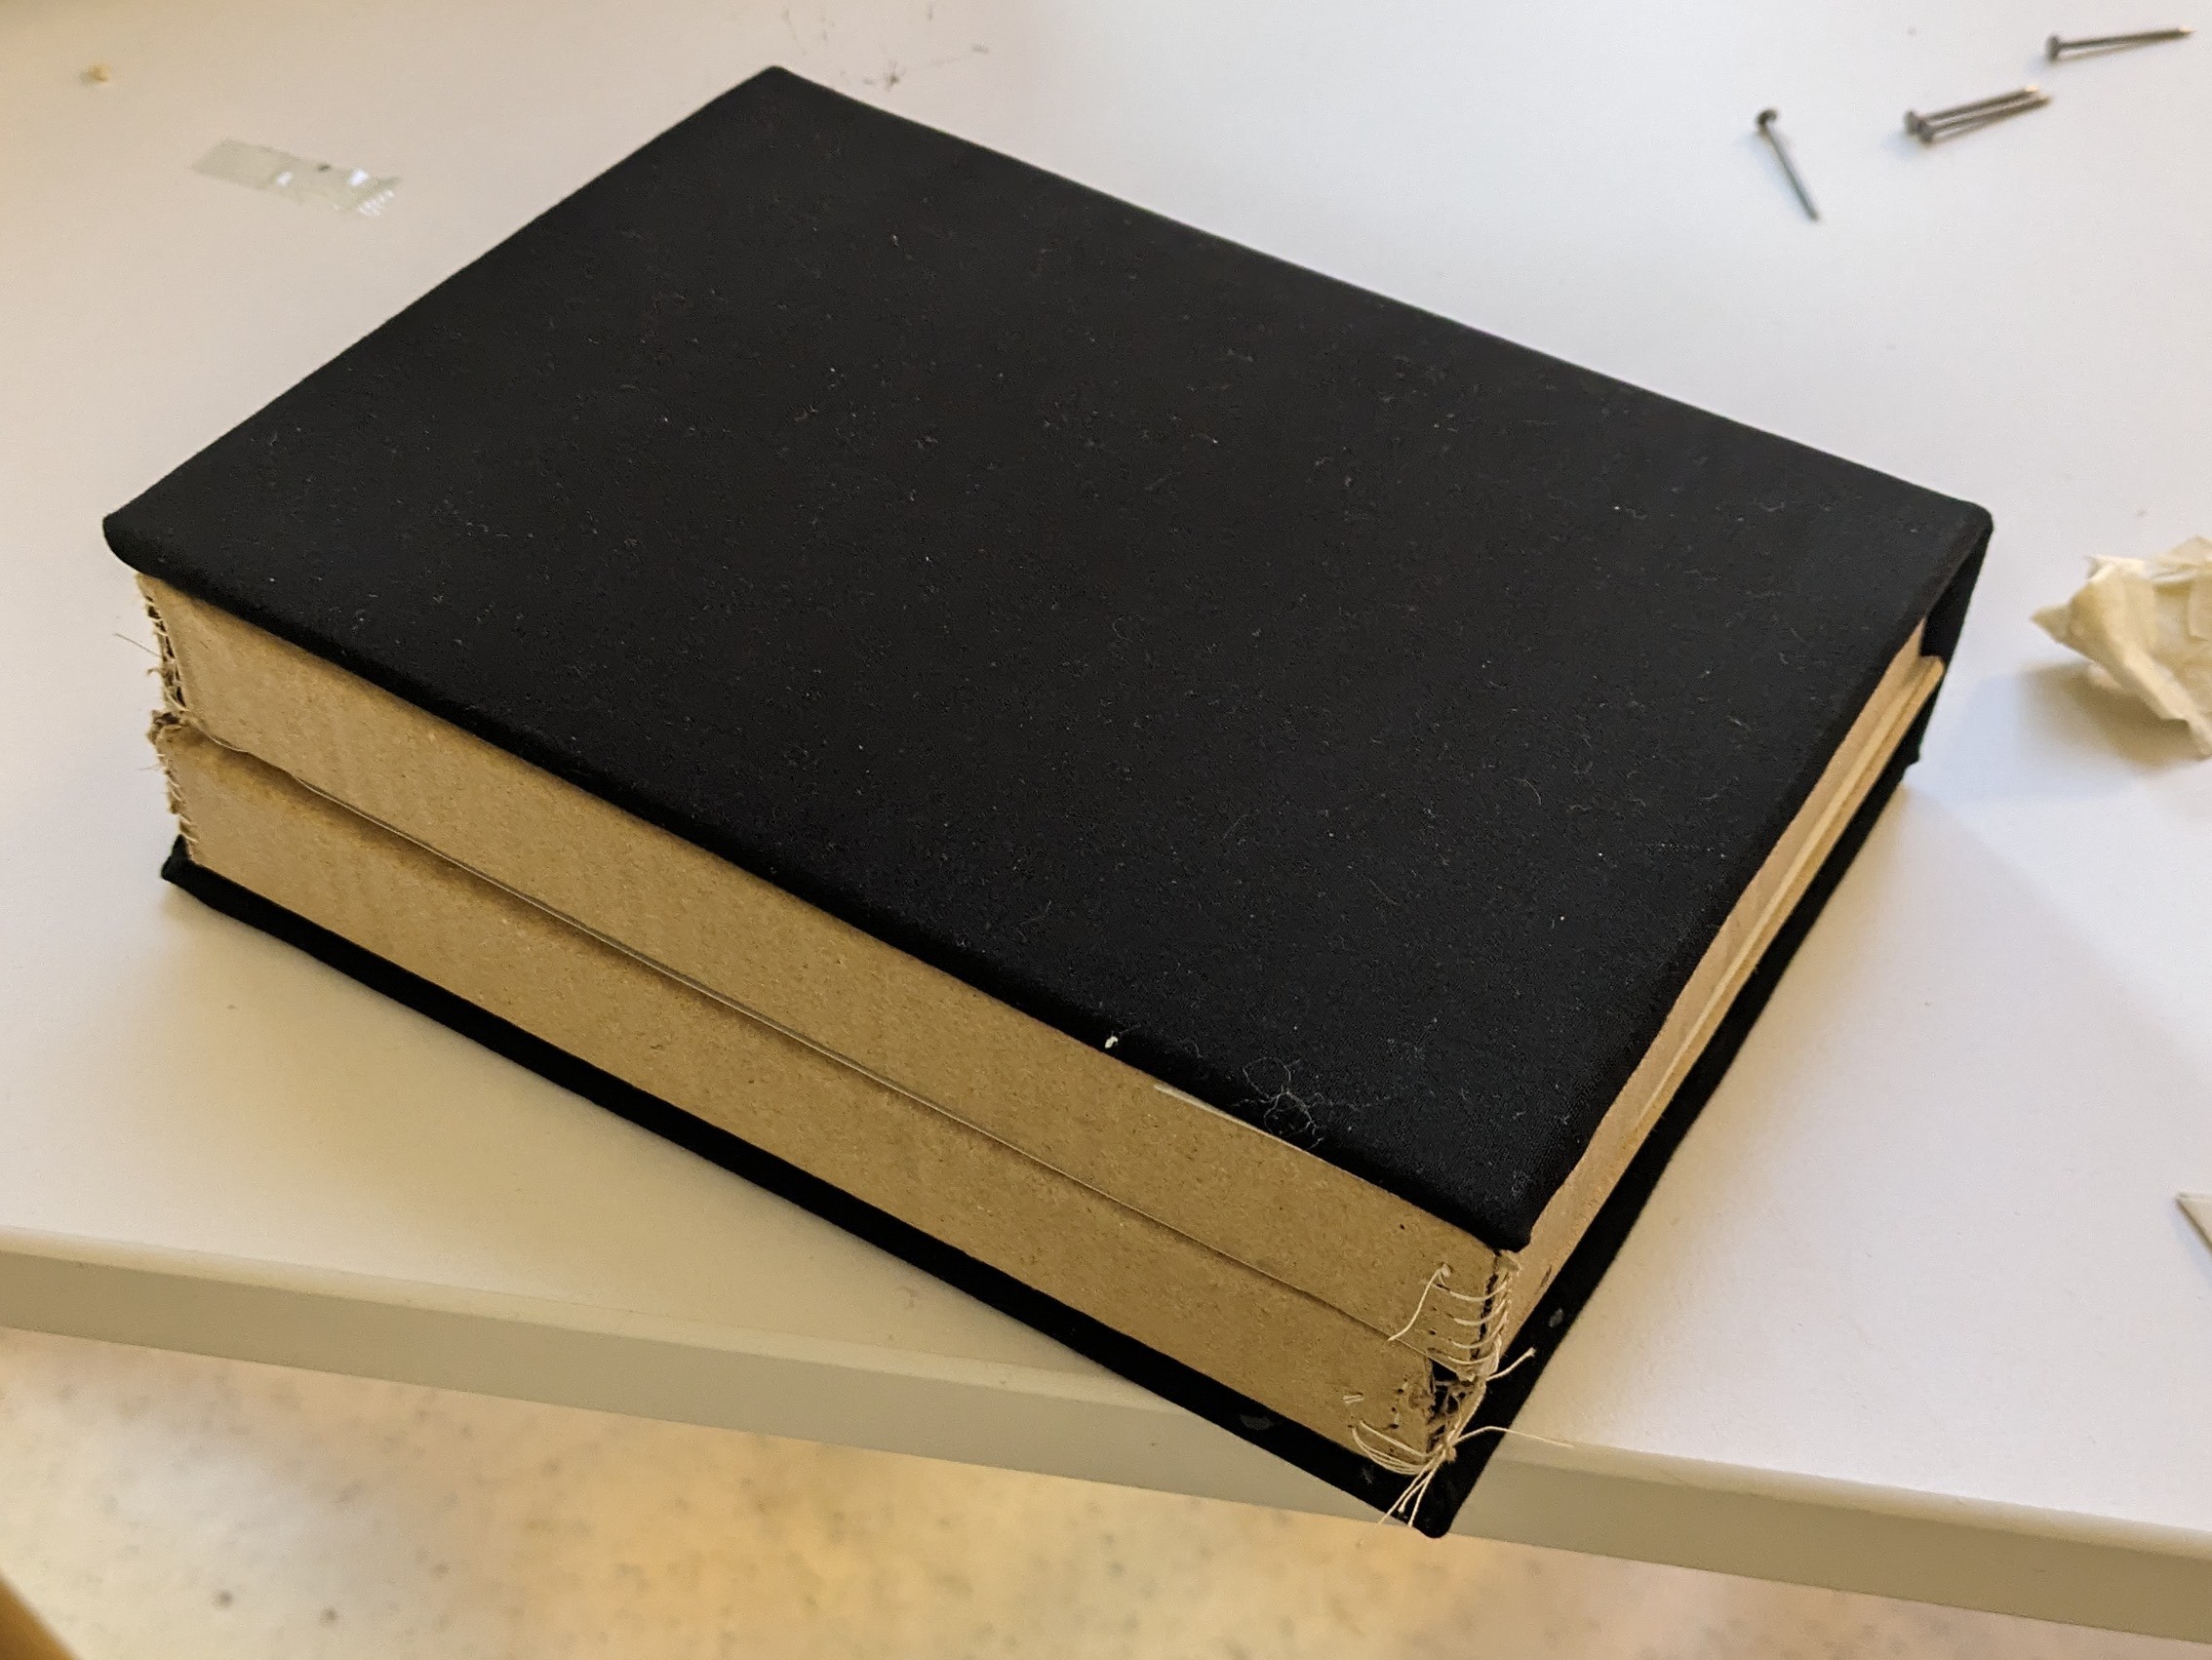
Step 4 : cover
![]()
![]()
-
2023-12-21
12/21/2023 at 11:44 • 0 commentsWe successfully managed to display "Hello!" on our LCD screen, which is connected to the ESP32.
Here is the code:
#include <LiquidCrystal.h>

// Pin numbers for the LCD
const int rs = 15;
const int en = 13;
const int d4 = 32;
const int d5 = 33;
const int d6 = 25;
const int d7 = 26;

// Create a LiquidCrystal object
LiquidCrystal lcd(rs, en, d4, d5, d6, d7);

void setup() {
  // Initializing the LCD with its number of columns and rows, knowing ours is a 0802A
  lcd.begin(8, 2);
}

void loop() {
  lcd.clear();          // Clear the LCD
  lcd.print("Hello!");   // Print a message
  delay(1000);           // Wait for a second
}
These are our wirings:
![]()
And this is the display:
![]()
-
2023-12-14
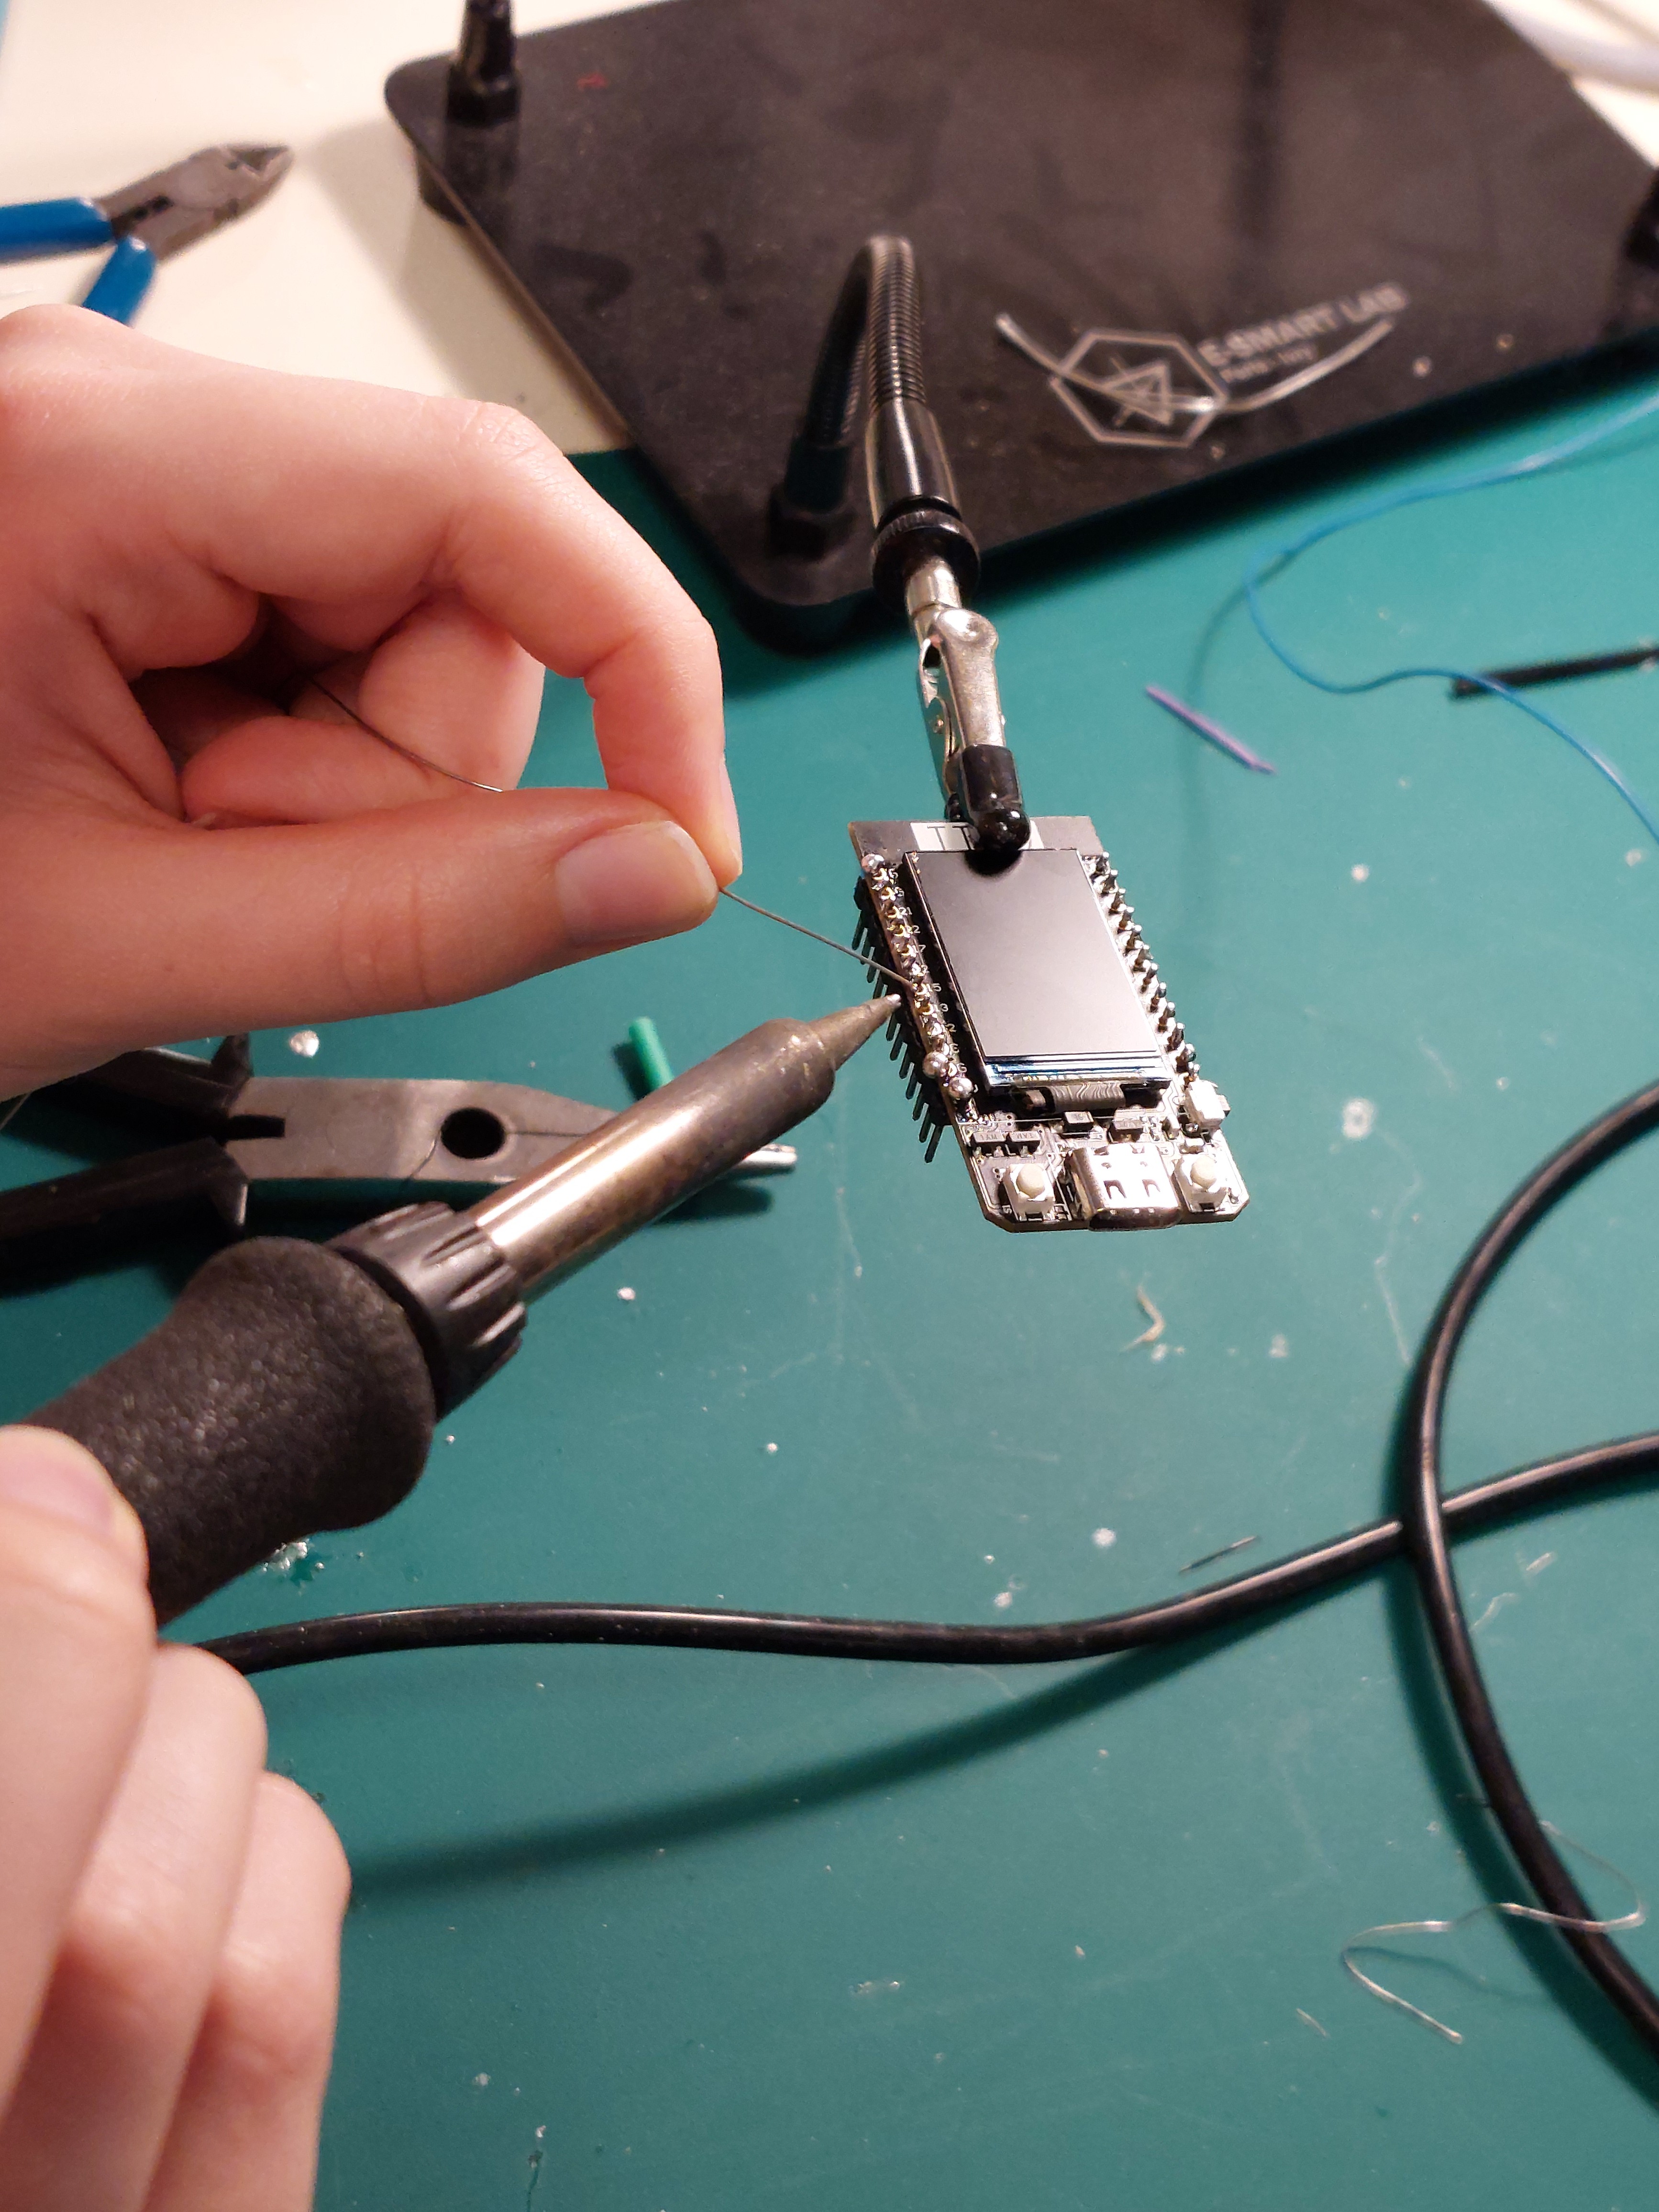
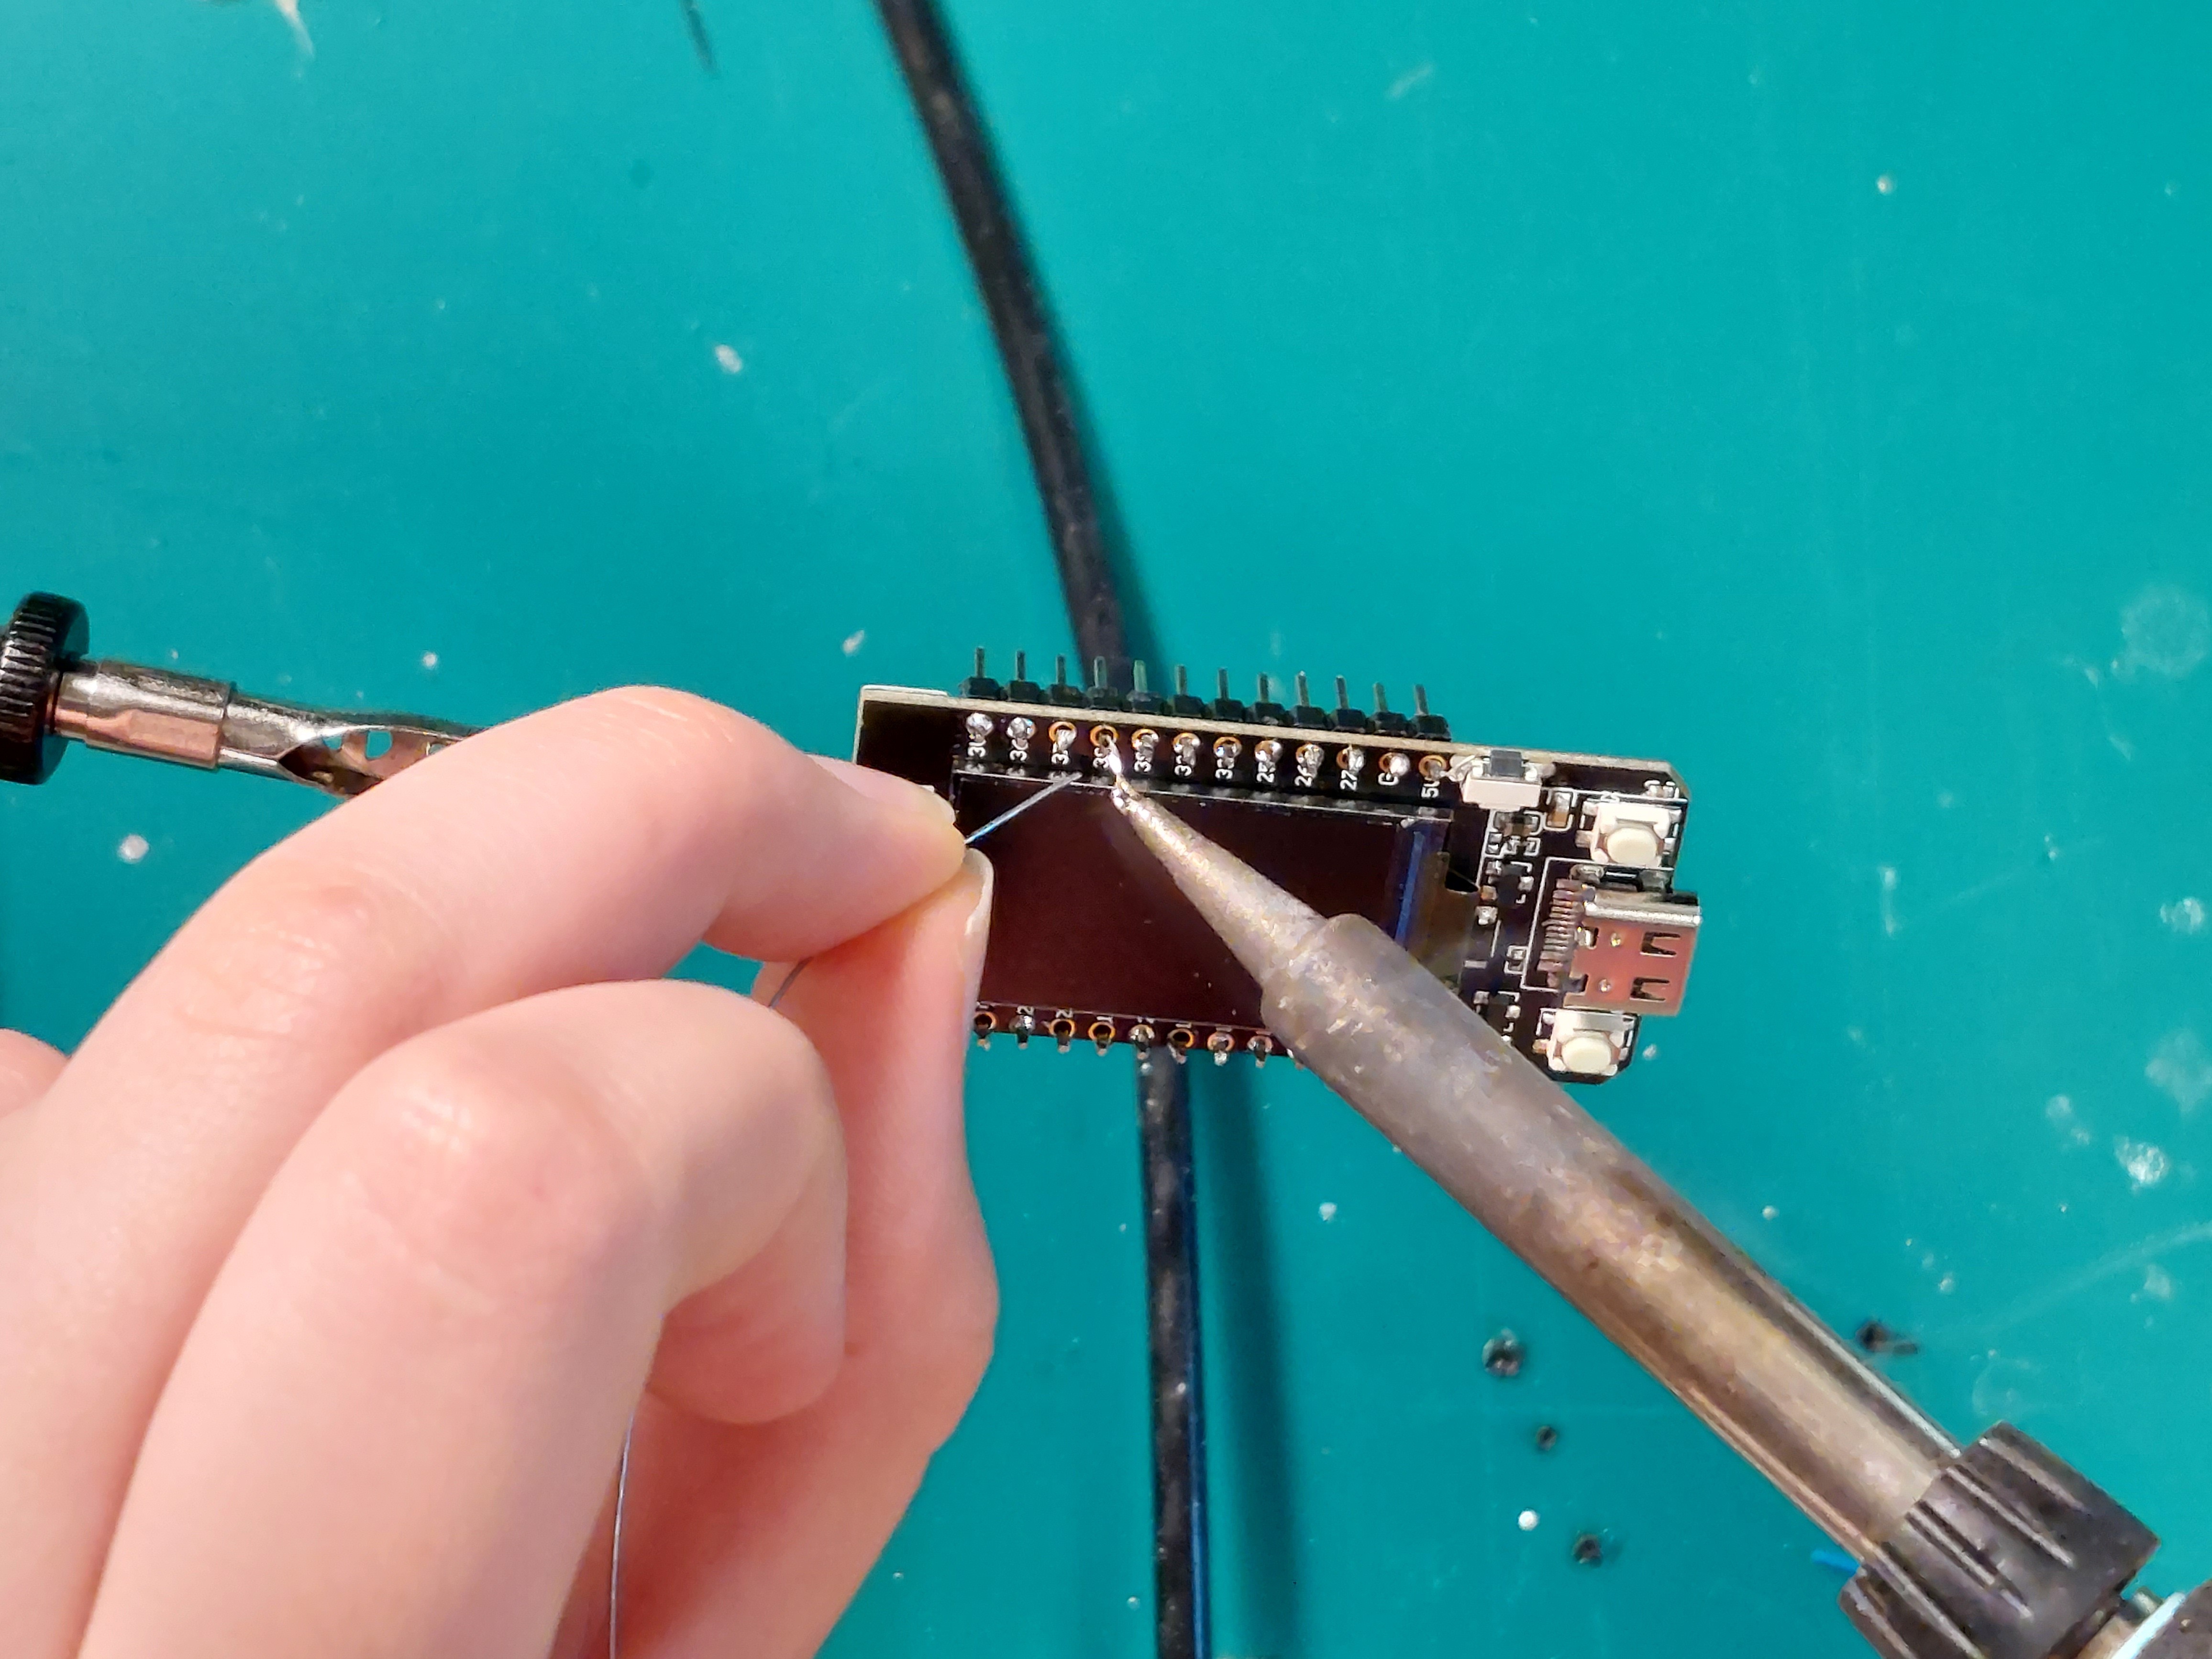
12/14/2023 at 10:52 • 0 commentsToday, we soldered the pins of the ESP32, so that the circuit can actually properly work.
![]()
![]()
-
2023-12-07
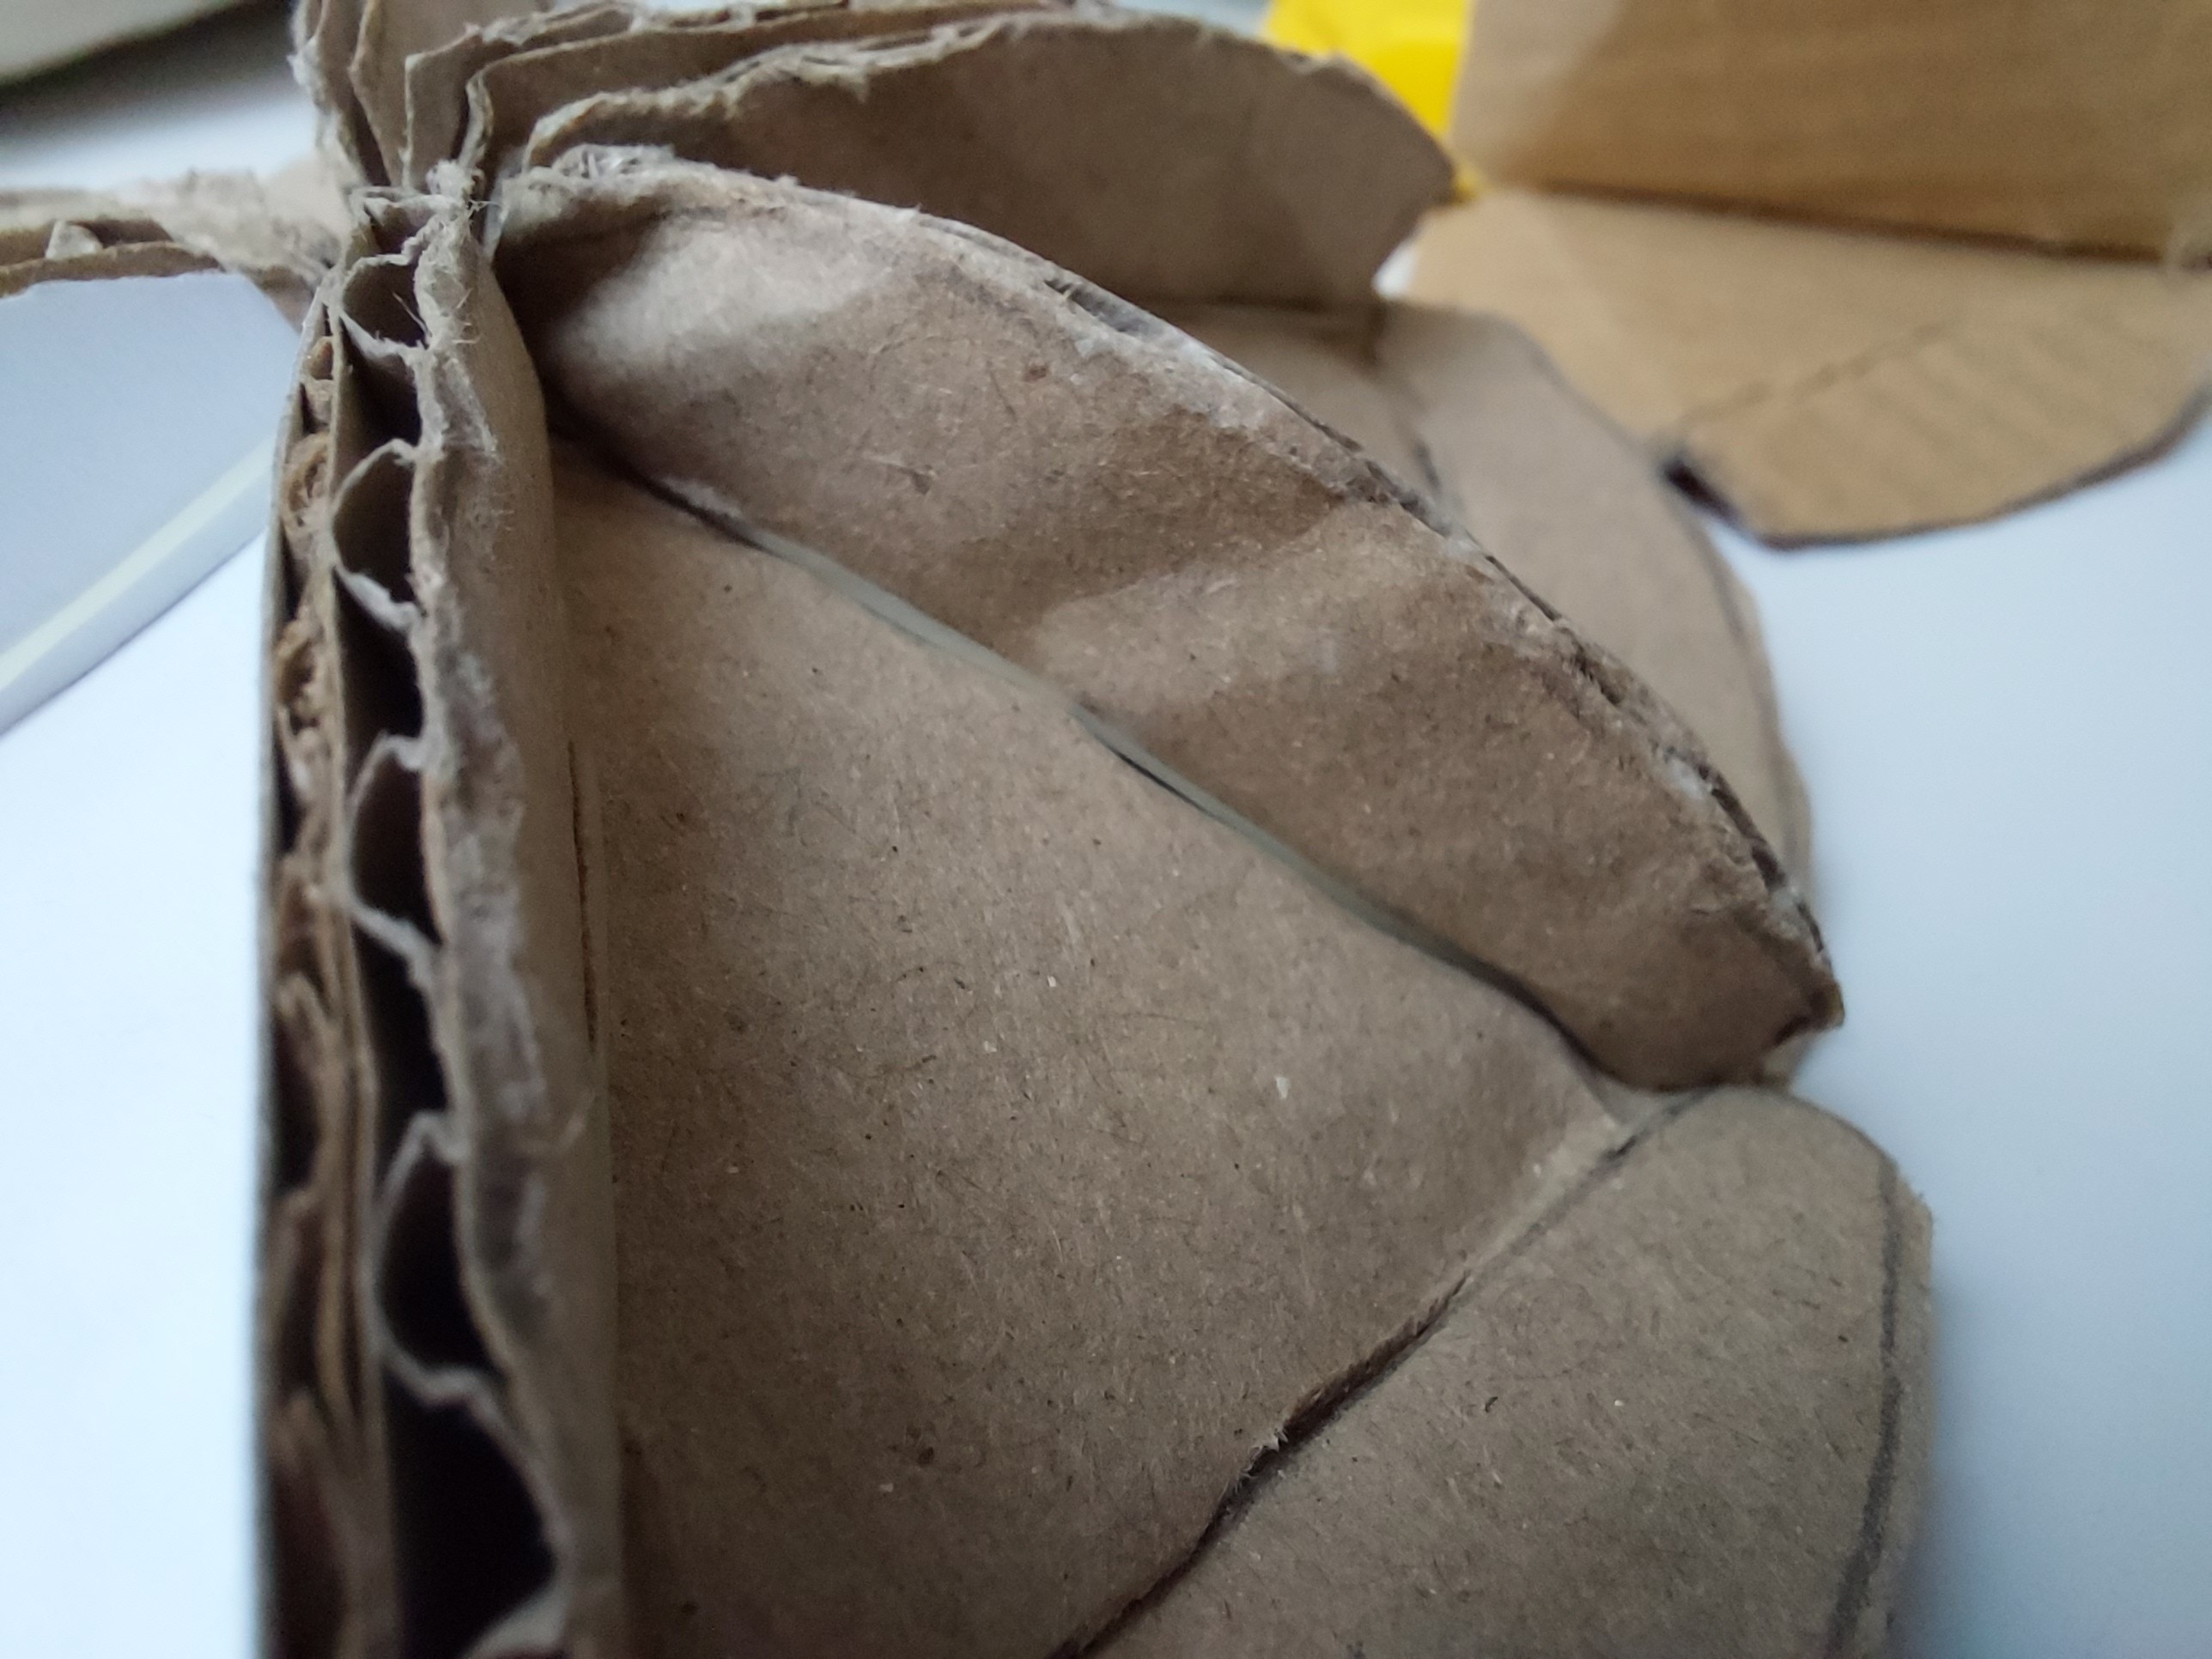
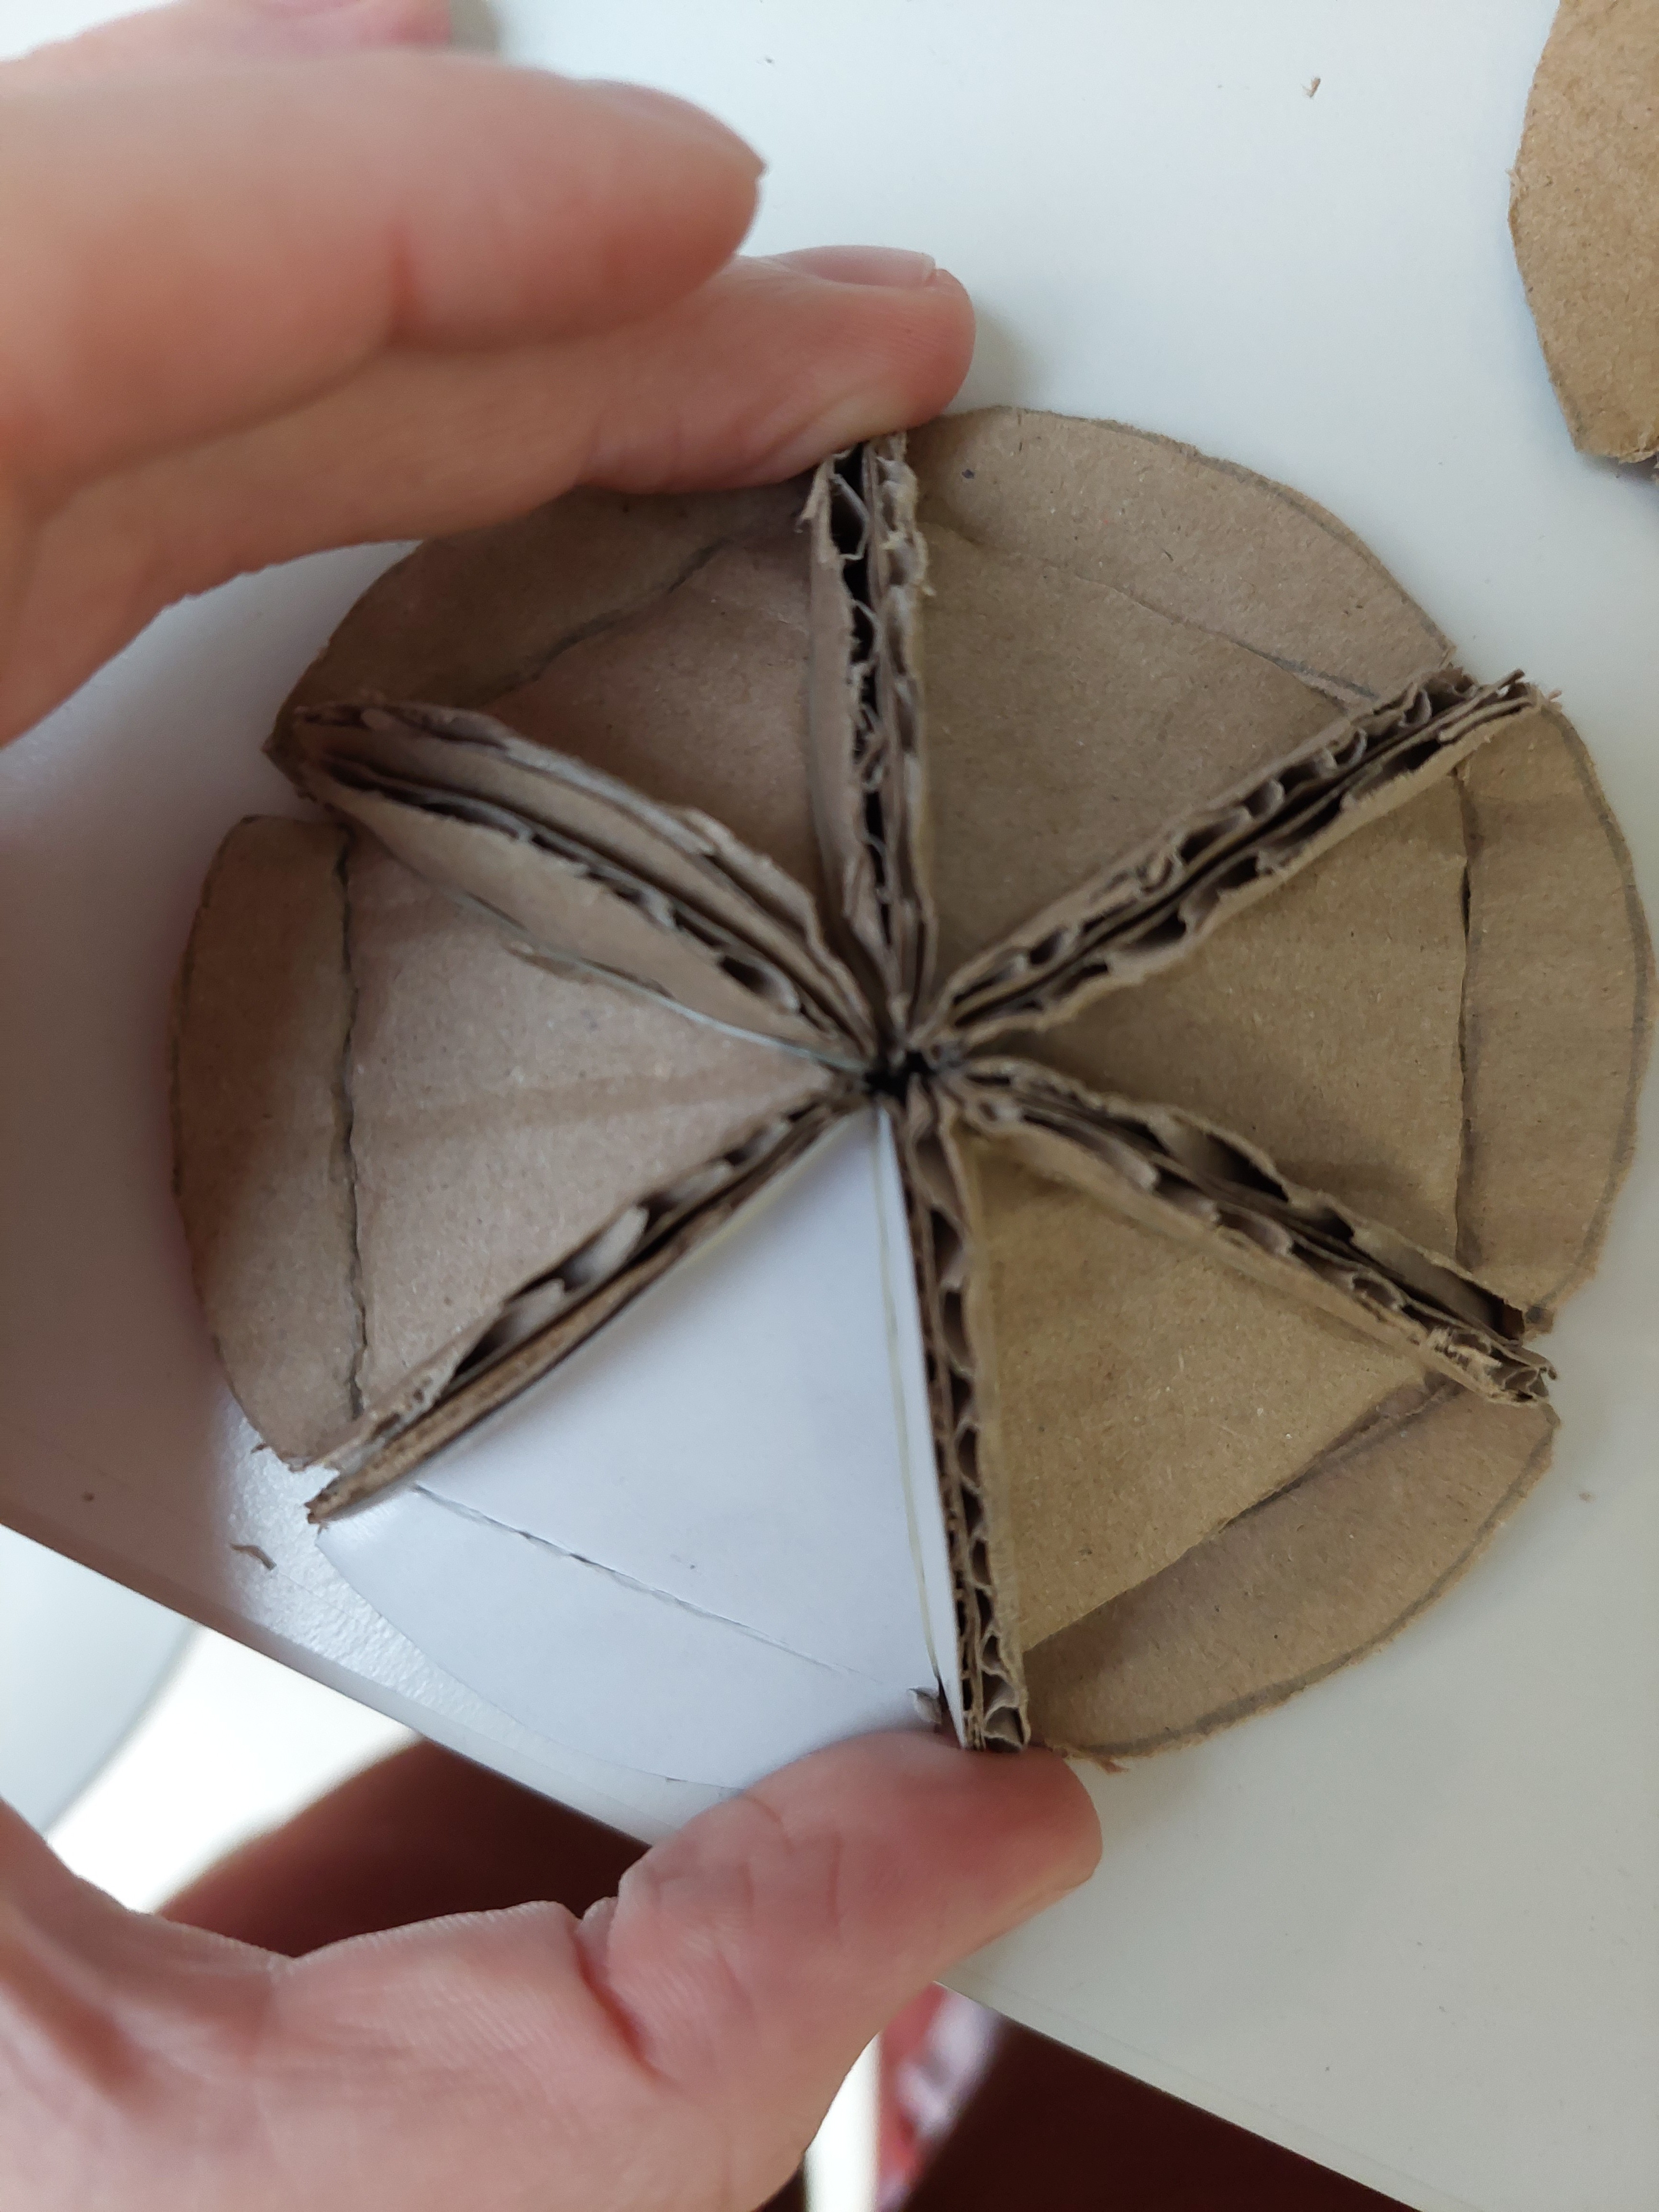
12/07/2023 at 10:56 • 0 commentsToday, we finished cutting all the parts for our first dome and tried to put them together using orthodontics latex elastics.
How we put the elastics:
![]()
Hexagons:
![]()
![]()
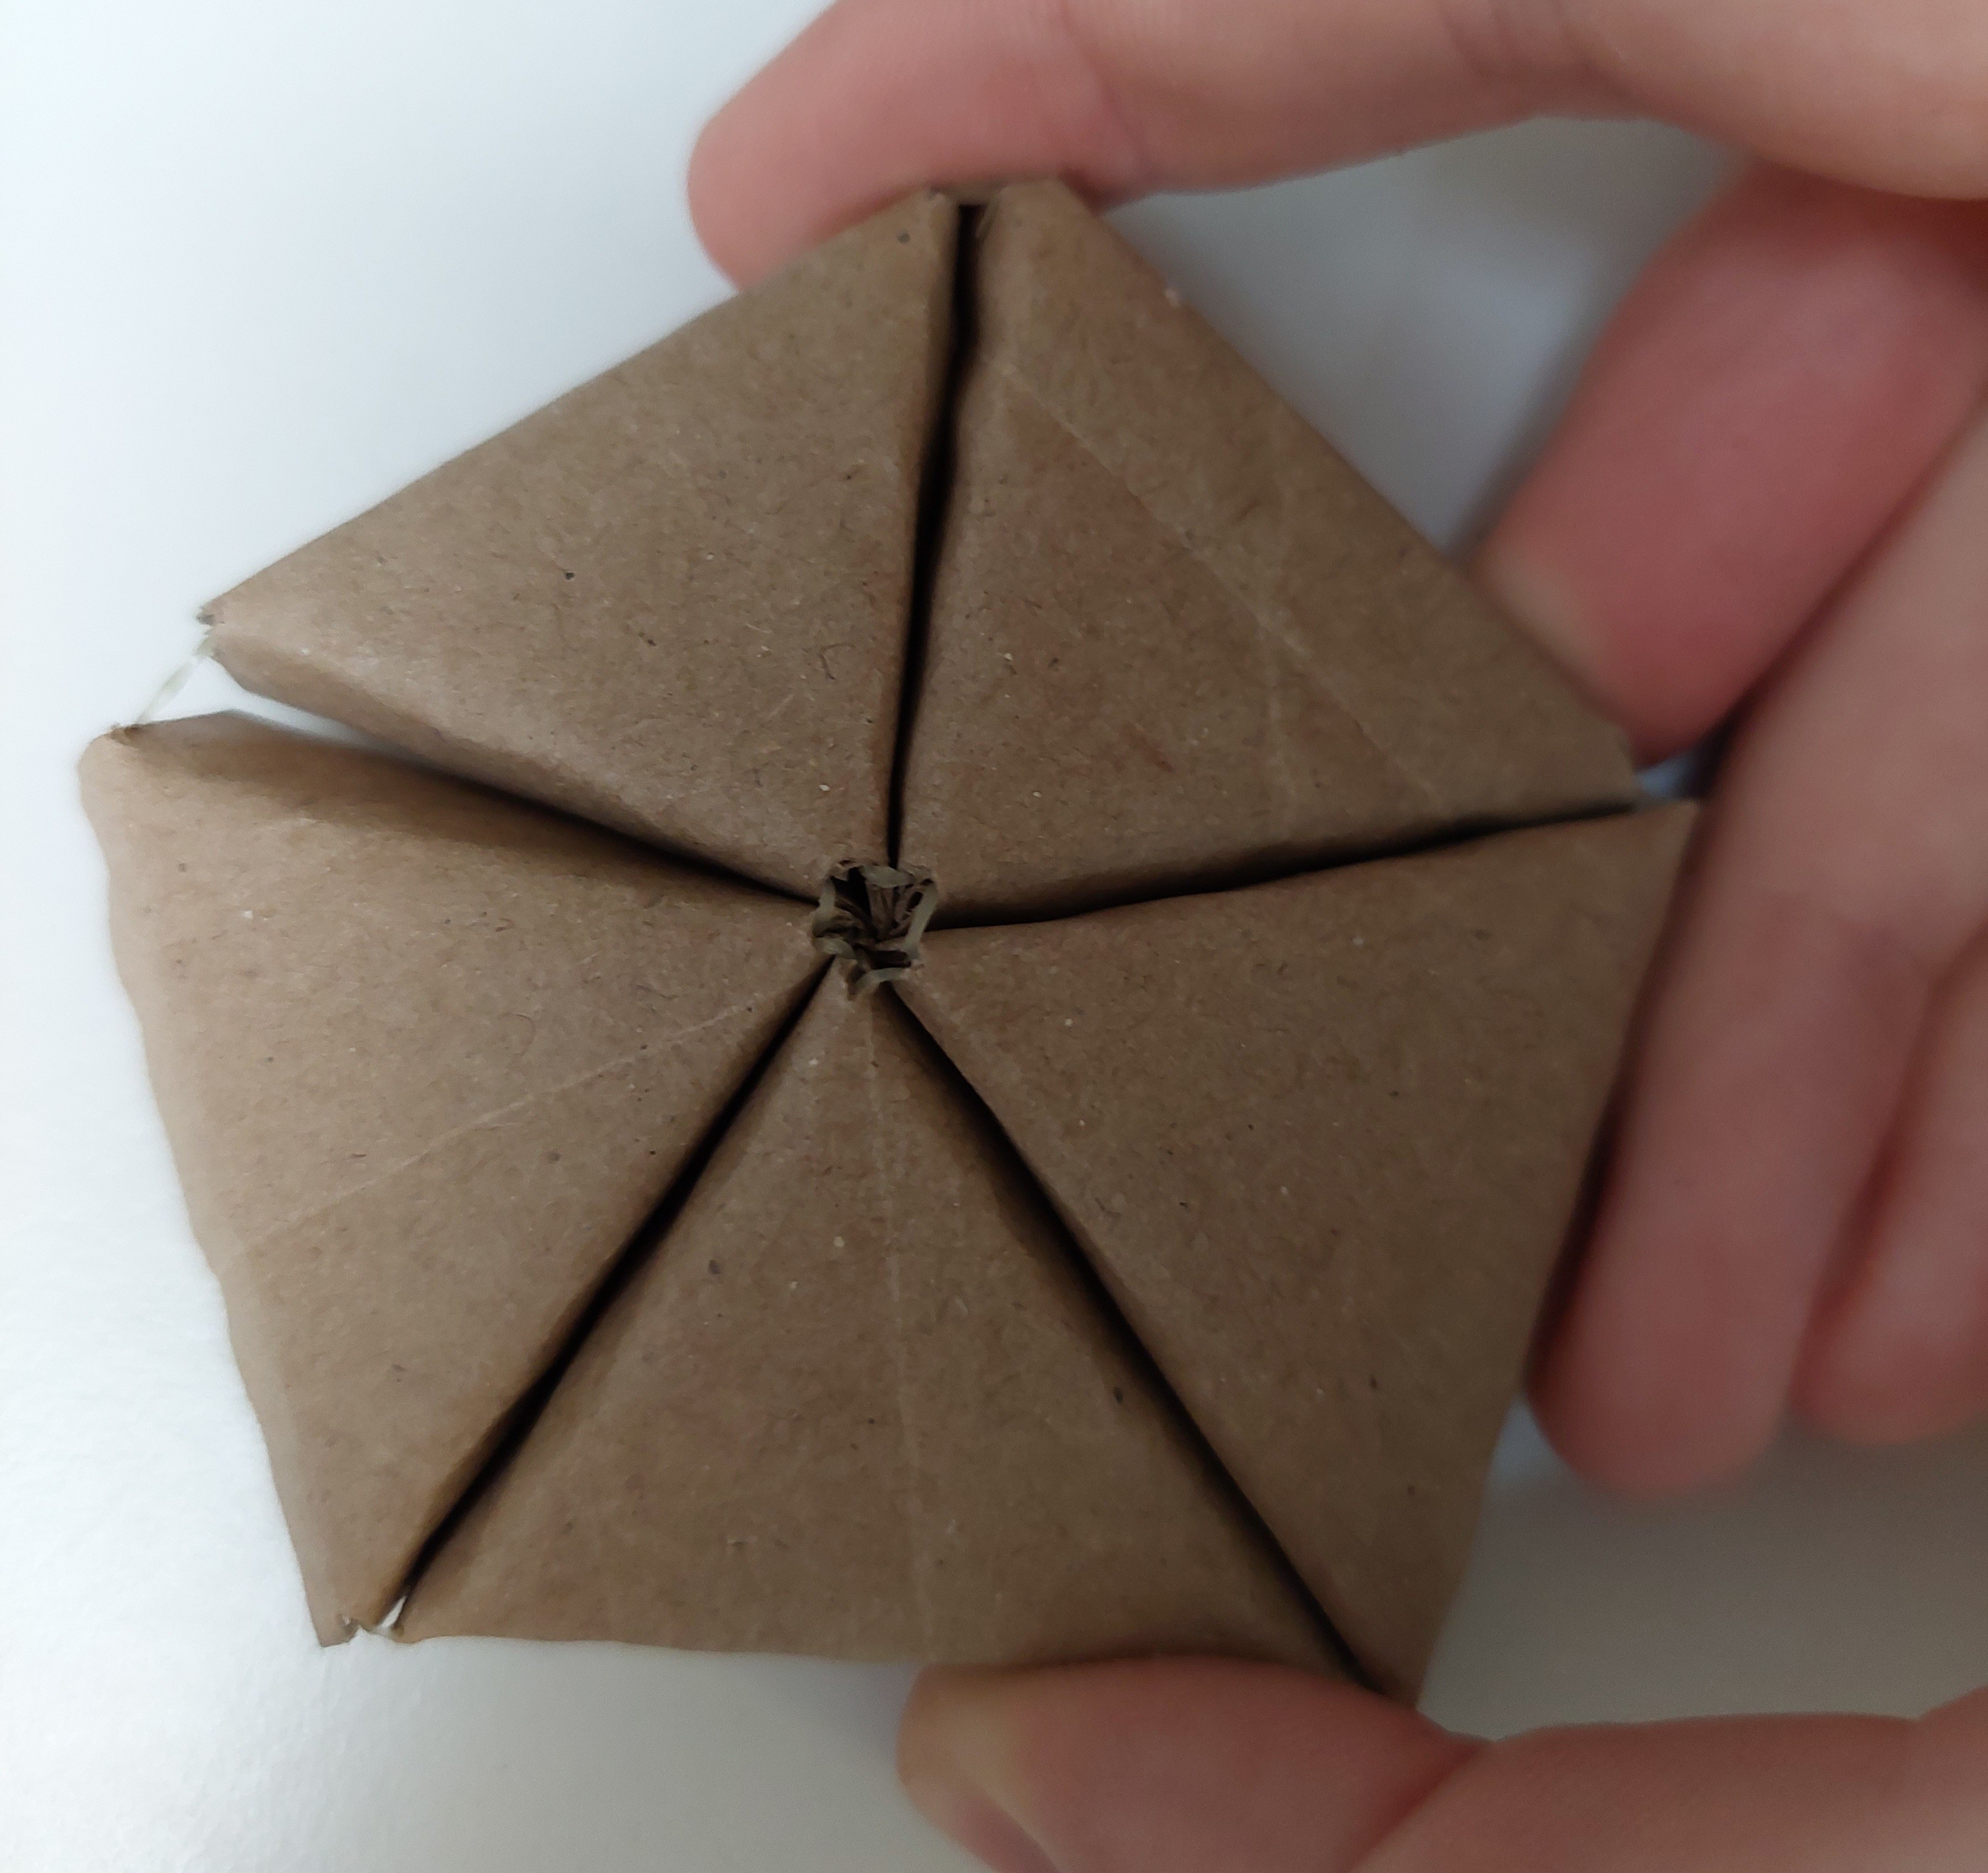
Pentagons:
![]()
When we assemble them:
![]()
![]()
After that, we decided that the elastics would stay on better if we cutted nocks at the peaks of each triangle.
We also came to the conclusion that the strips would be on the outside rather than inside because, as cardboard is a steady material, it doesn't stay in place is the strips are inside and we're afraid the elastics will just suddenly pop out.
We'll probably paint the ball so that its surface is uniform.
-
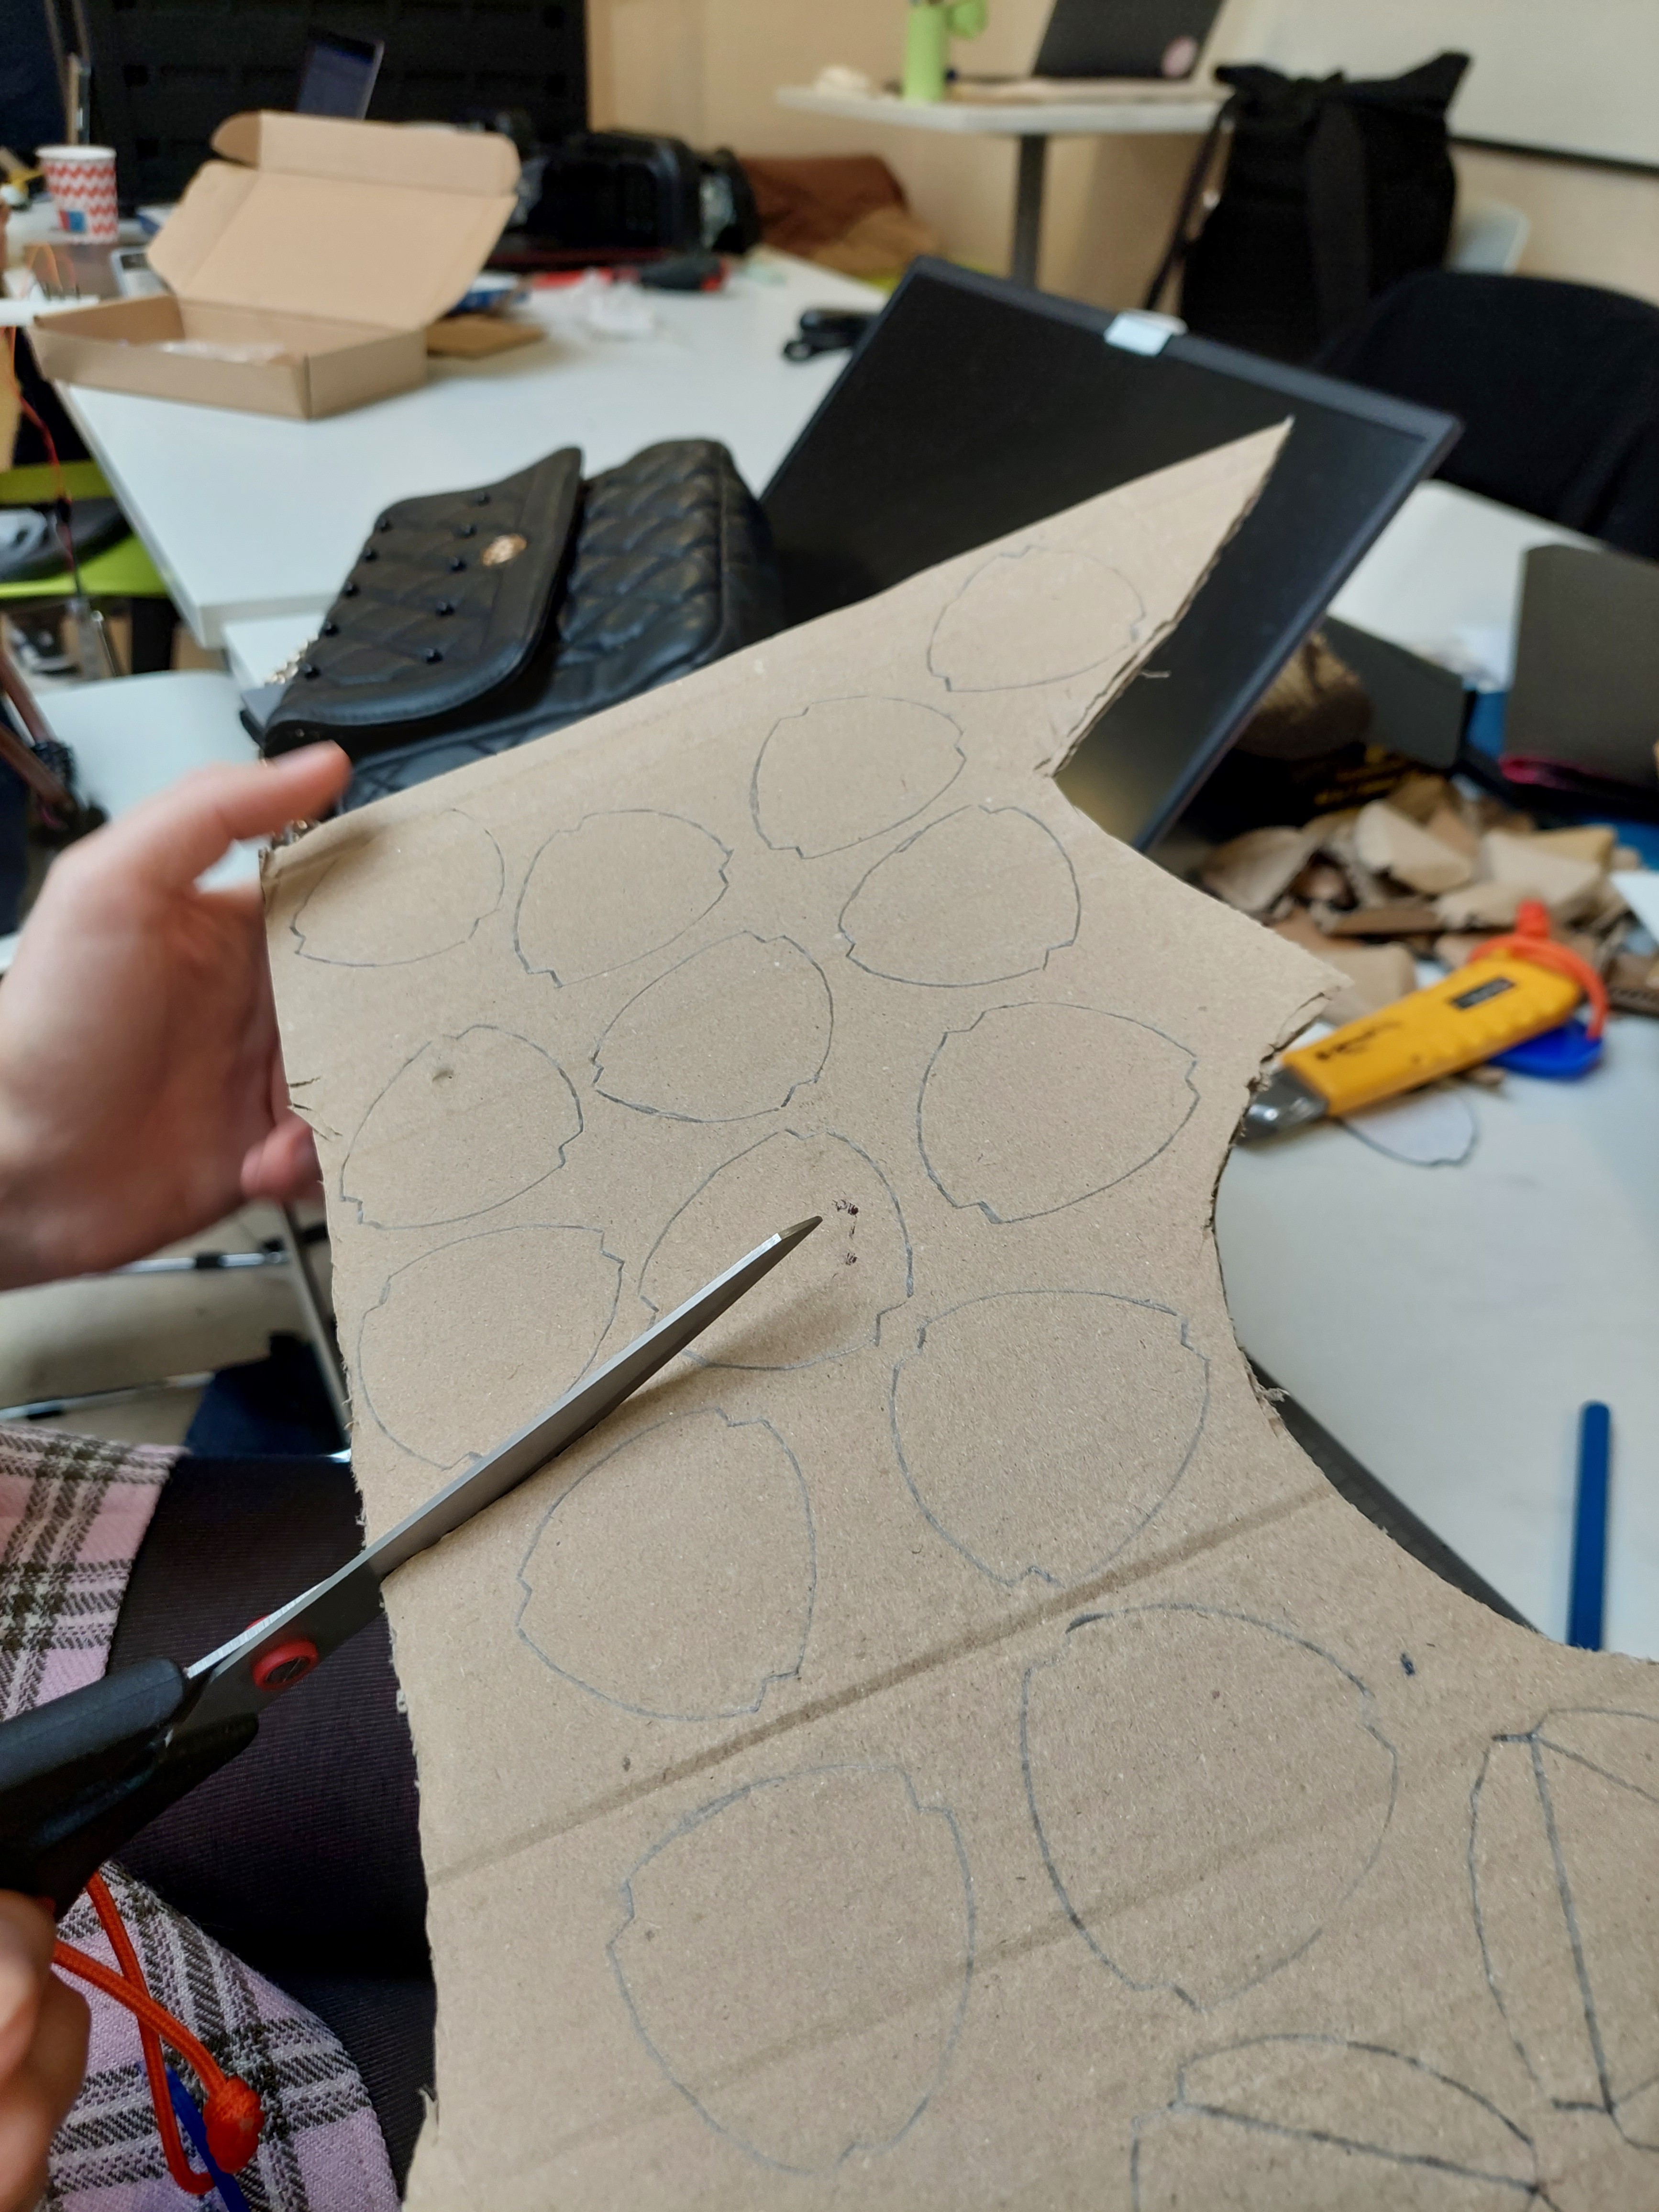
2023-11-30
11/30/2023 at 13:34 • 0 commentsToday, we mainly worked on the conception of the ball.
We want to choose cardboard as our material and fix it with horse elastics.
![]()
![]()
![]()
Our inspiration:
![]()
"MERCI" by Adrien Ciejack and Capucine Théry
-
Instruction book - 4th Log
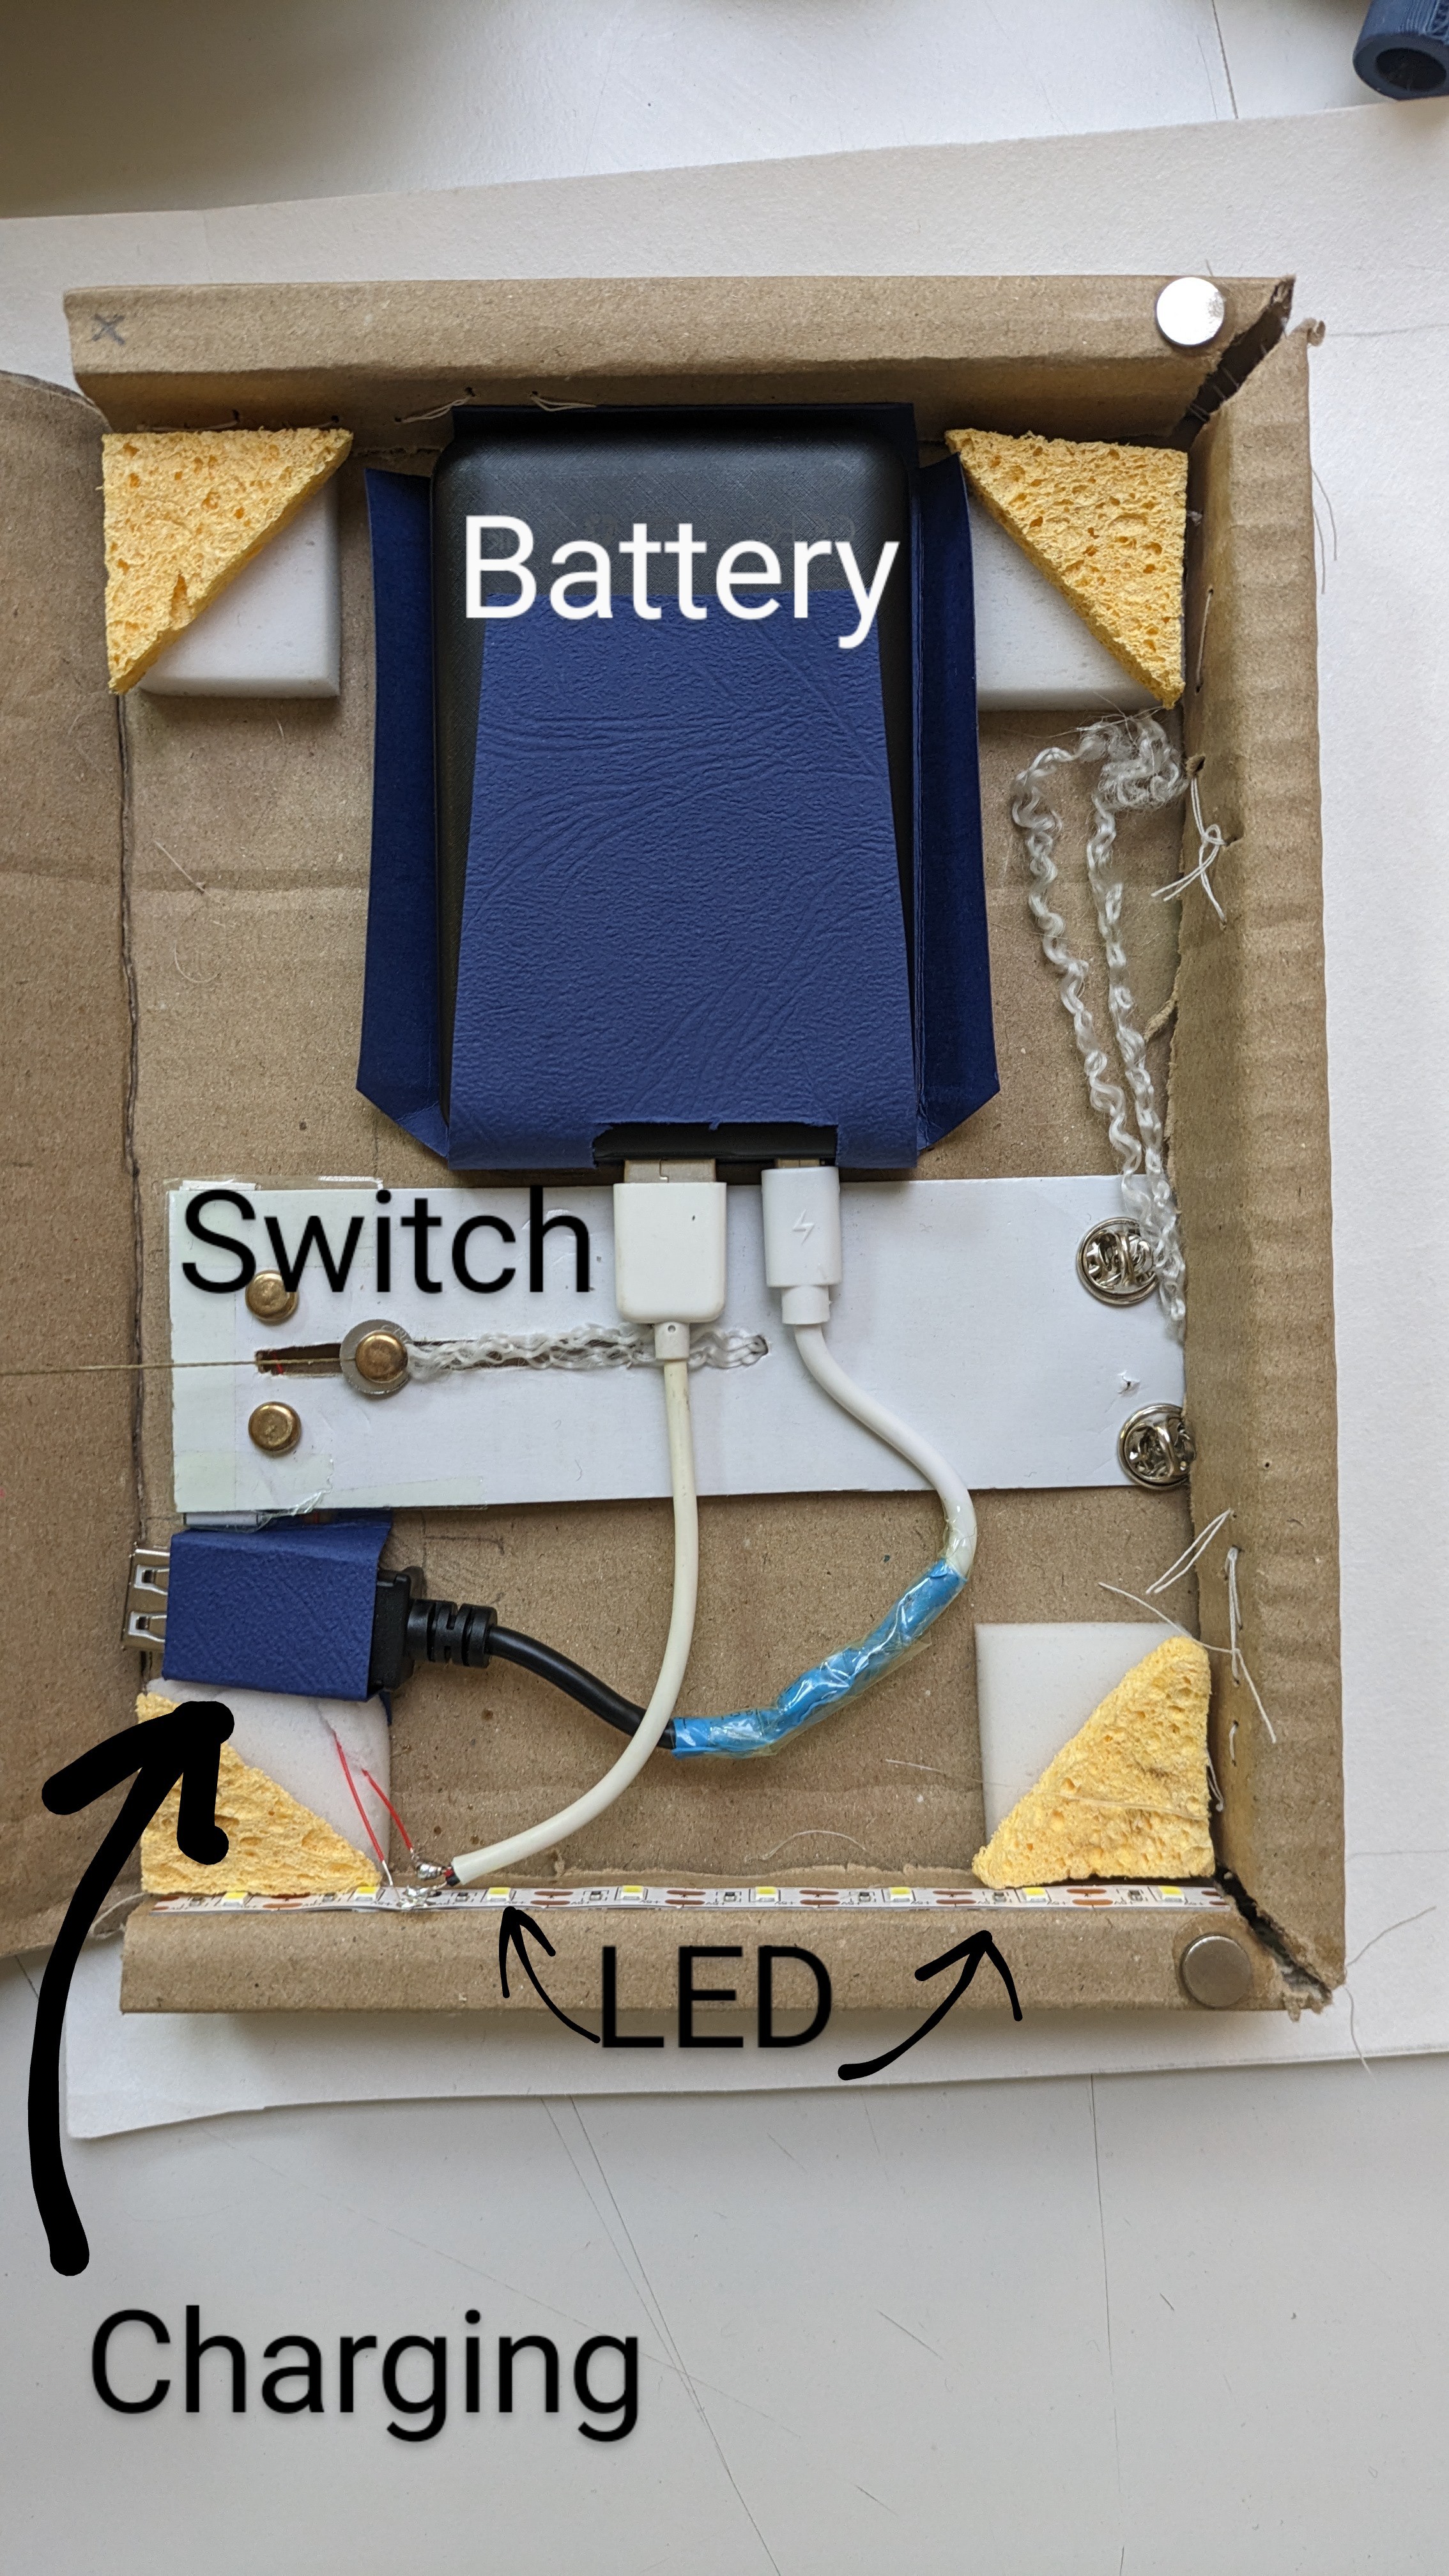
11/30/2023 at 10:35 • 0 commentsHow to incorporate the rechargeable battery:
Theoretical approach:
![]()
Testing
Wire the rechargeable battery to test if the LEDs shine bright.
------------------------- see the Battery Test video in the files -------------------------
Practical application
![]()
Cables needed (half : cable + port) :
- 3 USB Male
- 1 USB female
- 1 micro USB
Other components :
- Cardboard
- LED strip lights
- sliding switch (explained in the previous log)
- support (here is hard dry sponge but can be cork or anything)
- pins support, to hold the switch in place
Notice:
We removed the spring from the sliding switch because it was too strong.
So we used some elastic string instead.
-
Instruction book - 3rd Log
11/30/2023 at 10:03 • 0 comments![]()
![]()
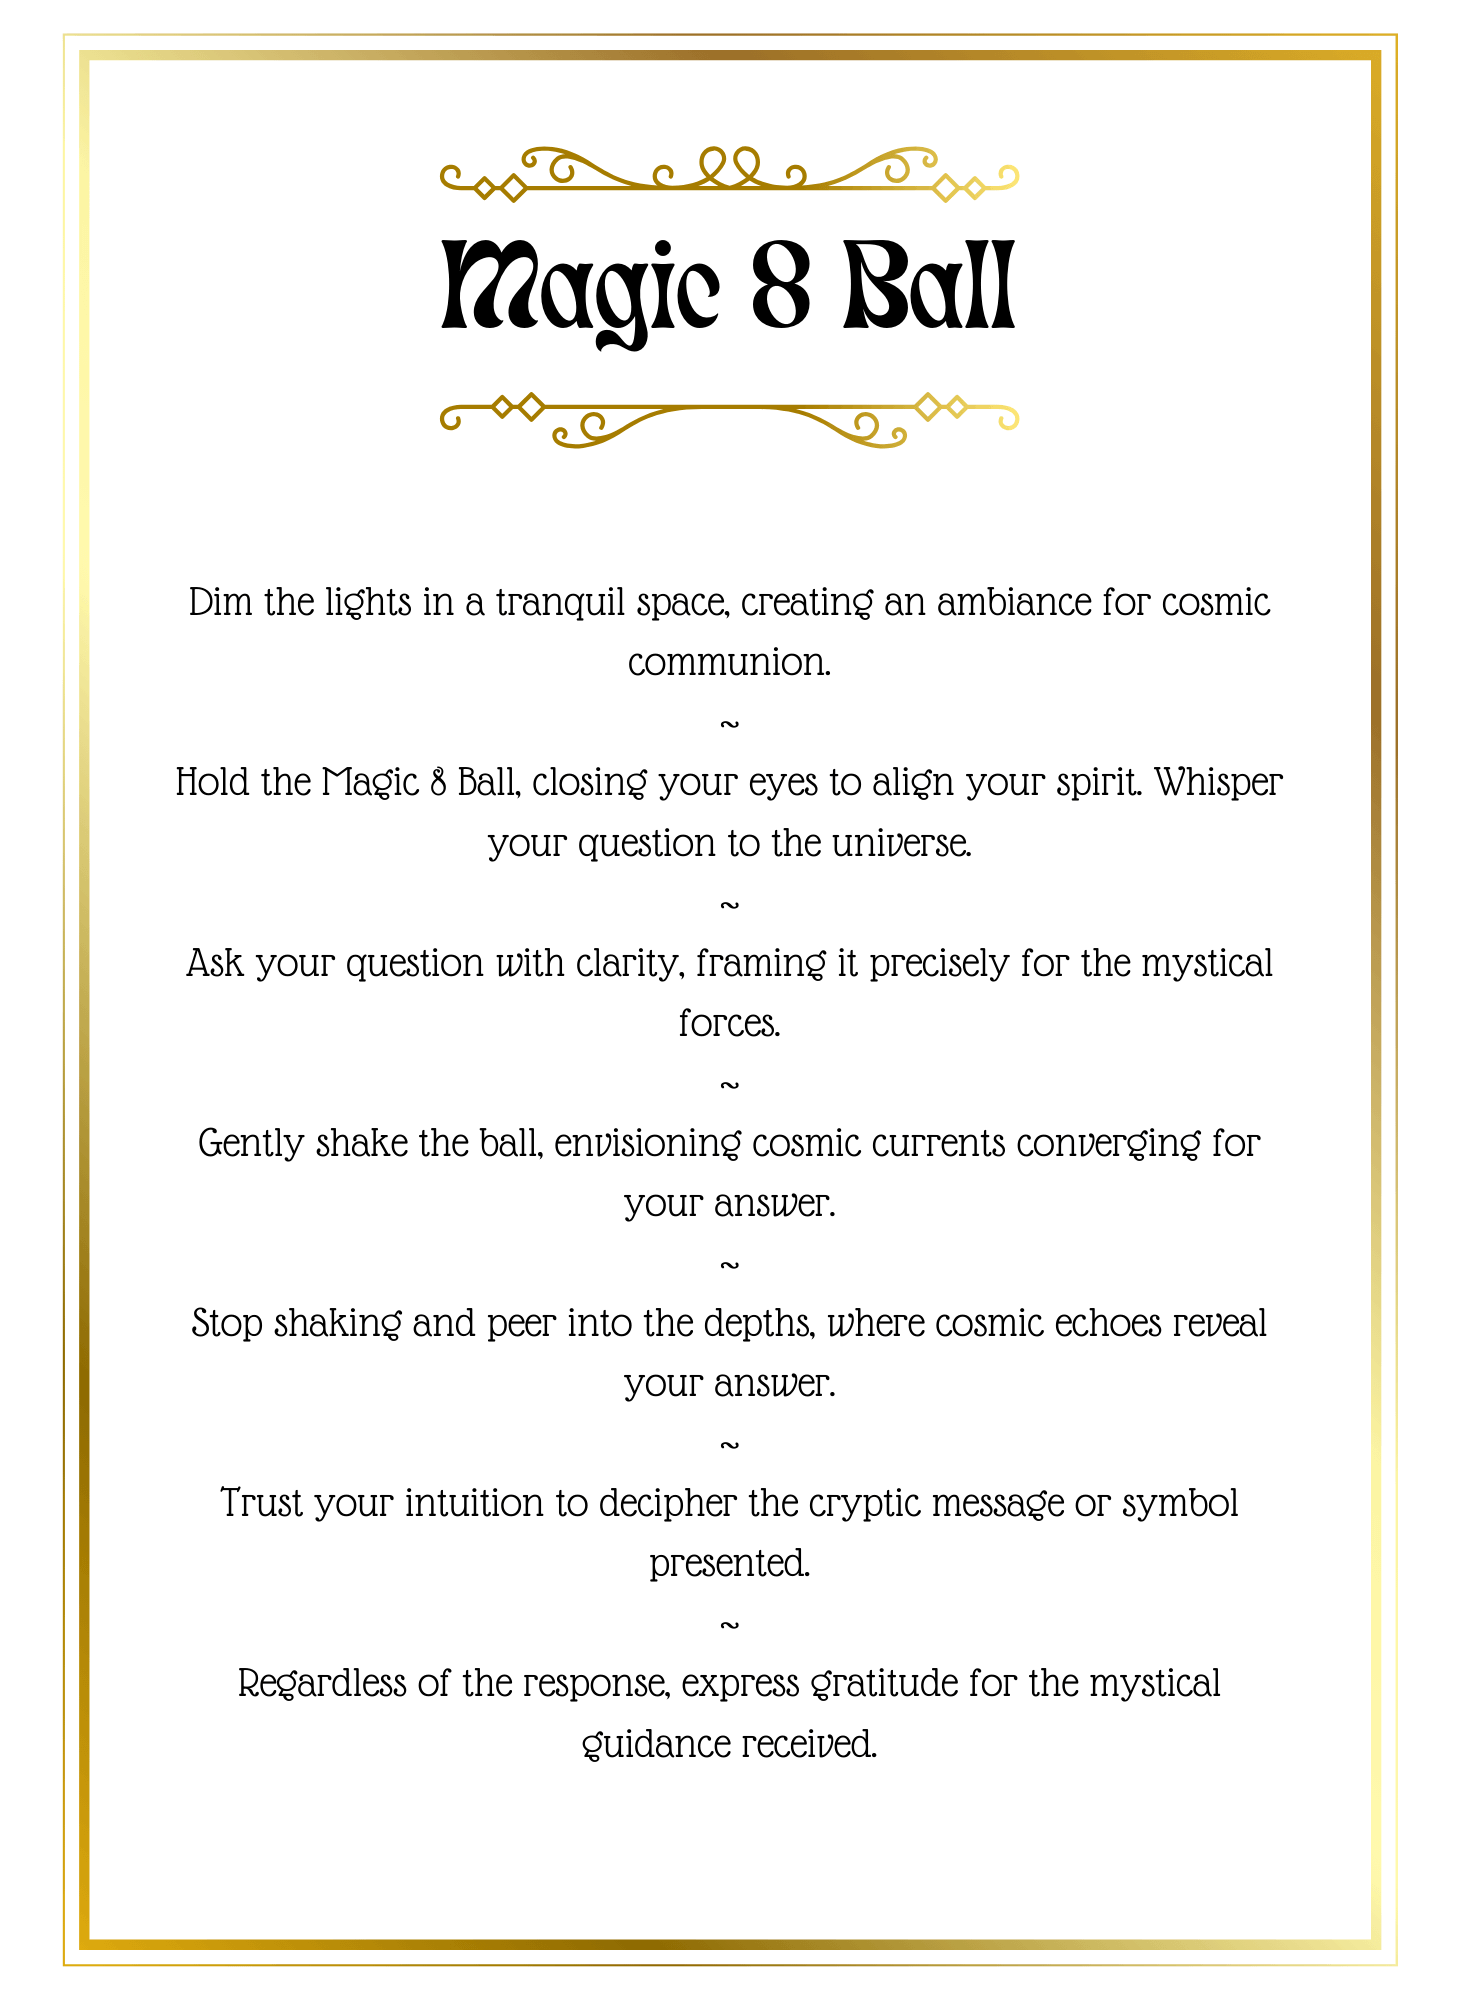
Sketch of the Instruction page:
![]()
Sent to cut in the laser cutter machine
-
2023-11-23
11/23/2023 at 09:16 • 0 commentsWe uploaded the following videos on our feed:
- Sliding switch to light up the LEDs when we open the instructions book.
- Testing the code for the loading LEDs of the Magic 8 Ball.
We wrote the code (working) for the loading LEDs of the ball :
const int touchPin = 33;
const int redPin = 13;
const int bluePin = 2;
const int greenPin = 15;
void setup() {

  pinMode(touchPin, INPUT);
  pinMode(redPin, OUTPUT);
  pinMode(bluePin, OUTPUT);
  pinMode(greenPin, OUTPUT);
  digitalWrite(redPin, LOW);
  digitalWrite(bluePin, LOW);
  digitalWrite(greenPin, LOW);
  Serial.begin(115200);
}

void loop() {
  int touchValue = touchRead(touchPin);

  if (touchValue < 1000) {
  }
}

void sequentialLEDs() {
  digitalWrite(redPin, HIGH);
  delay(500);
  digitalWrite(redPin, LOW);

  digitalWrite(bluePin, HIGH);
  delay(500);
  digitalWrite(bluePin, LOW);

  digitalWrite(greenPin, HIGH);
  delay(500);
  digitalWrite(greenPin, LOW);
}
As a reminder, it will be used when the answer to the question asked by the user will be uploading, symbolised by the lights lighting up in a row.
We also looked for the materials that we don't have yet, such as the ball, the magnets, etc. Everything that isn't electronic.