-
1General build
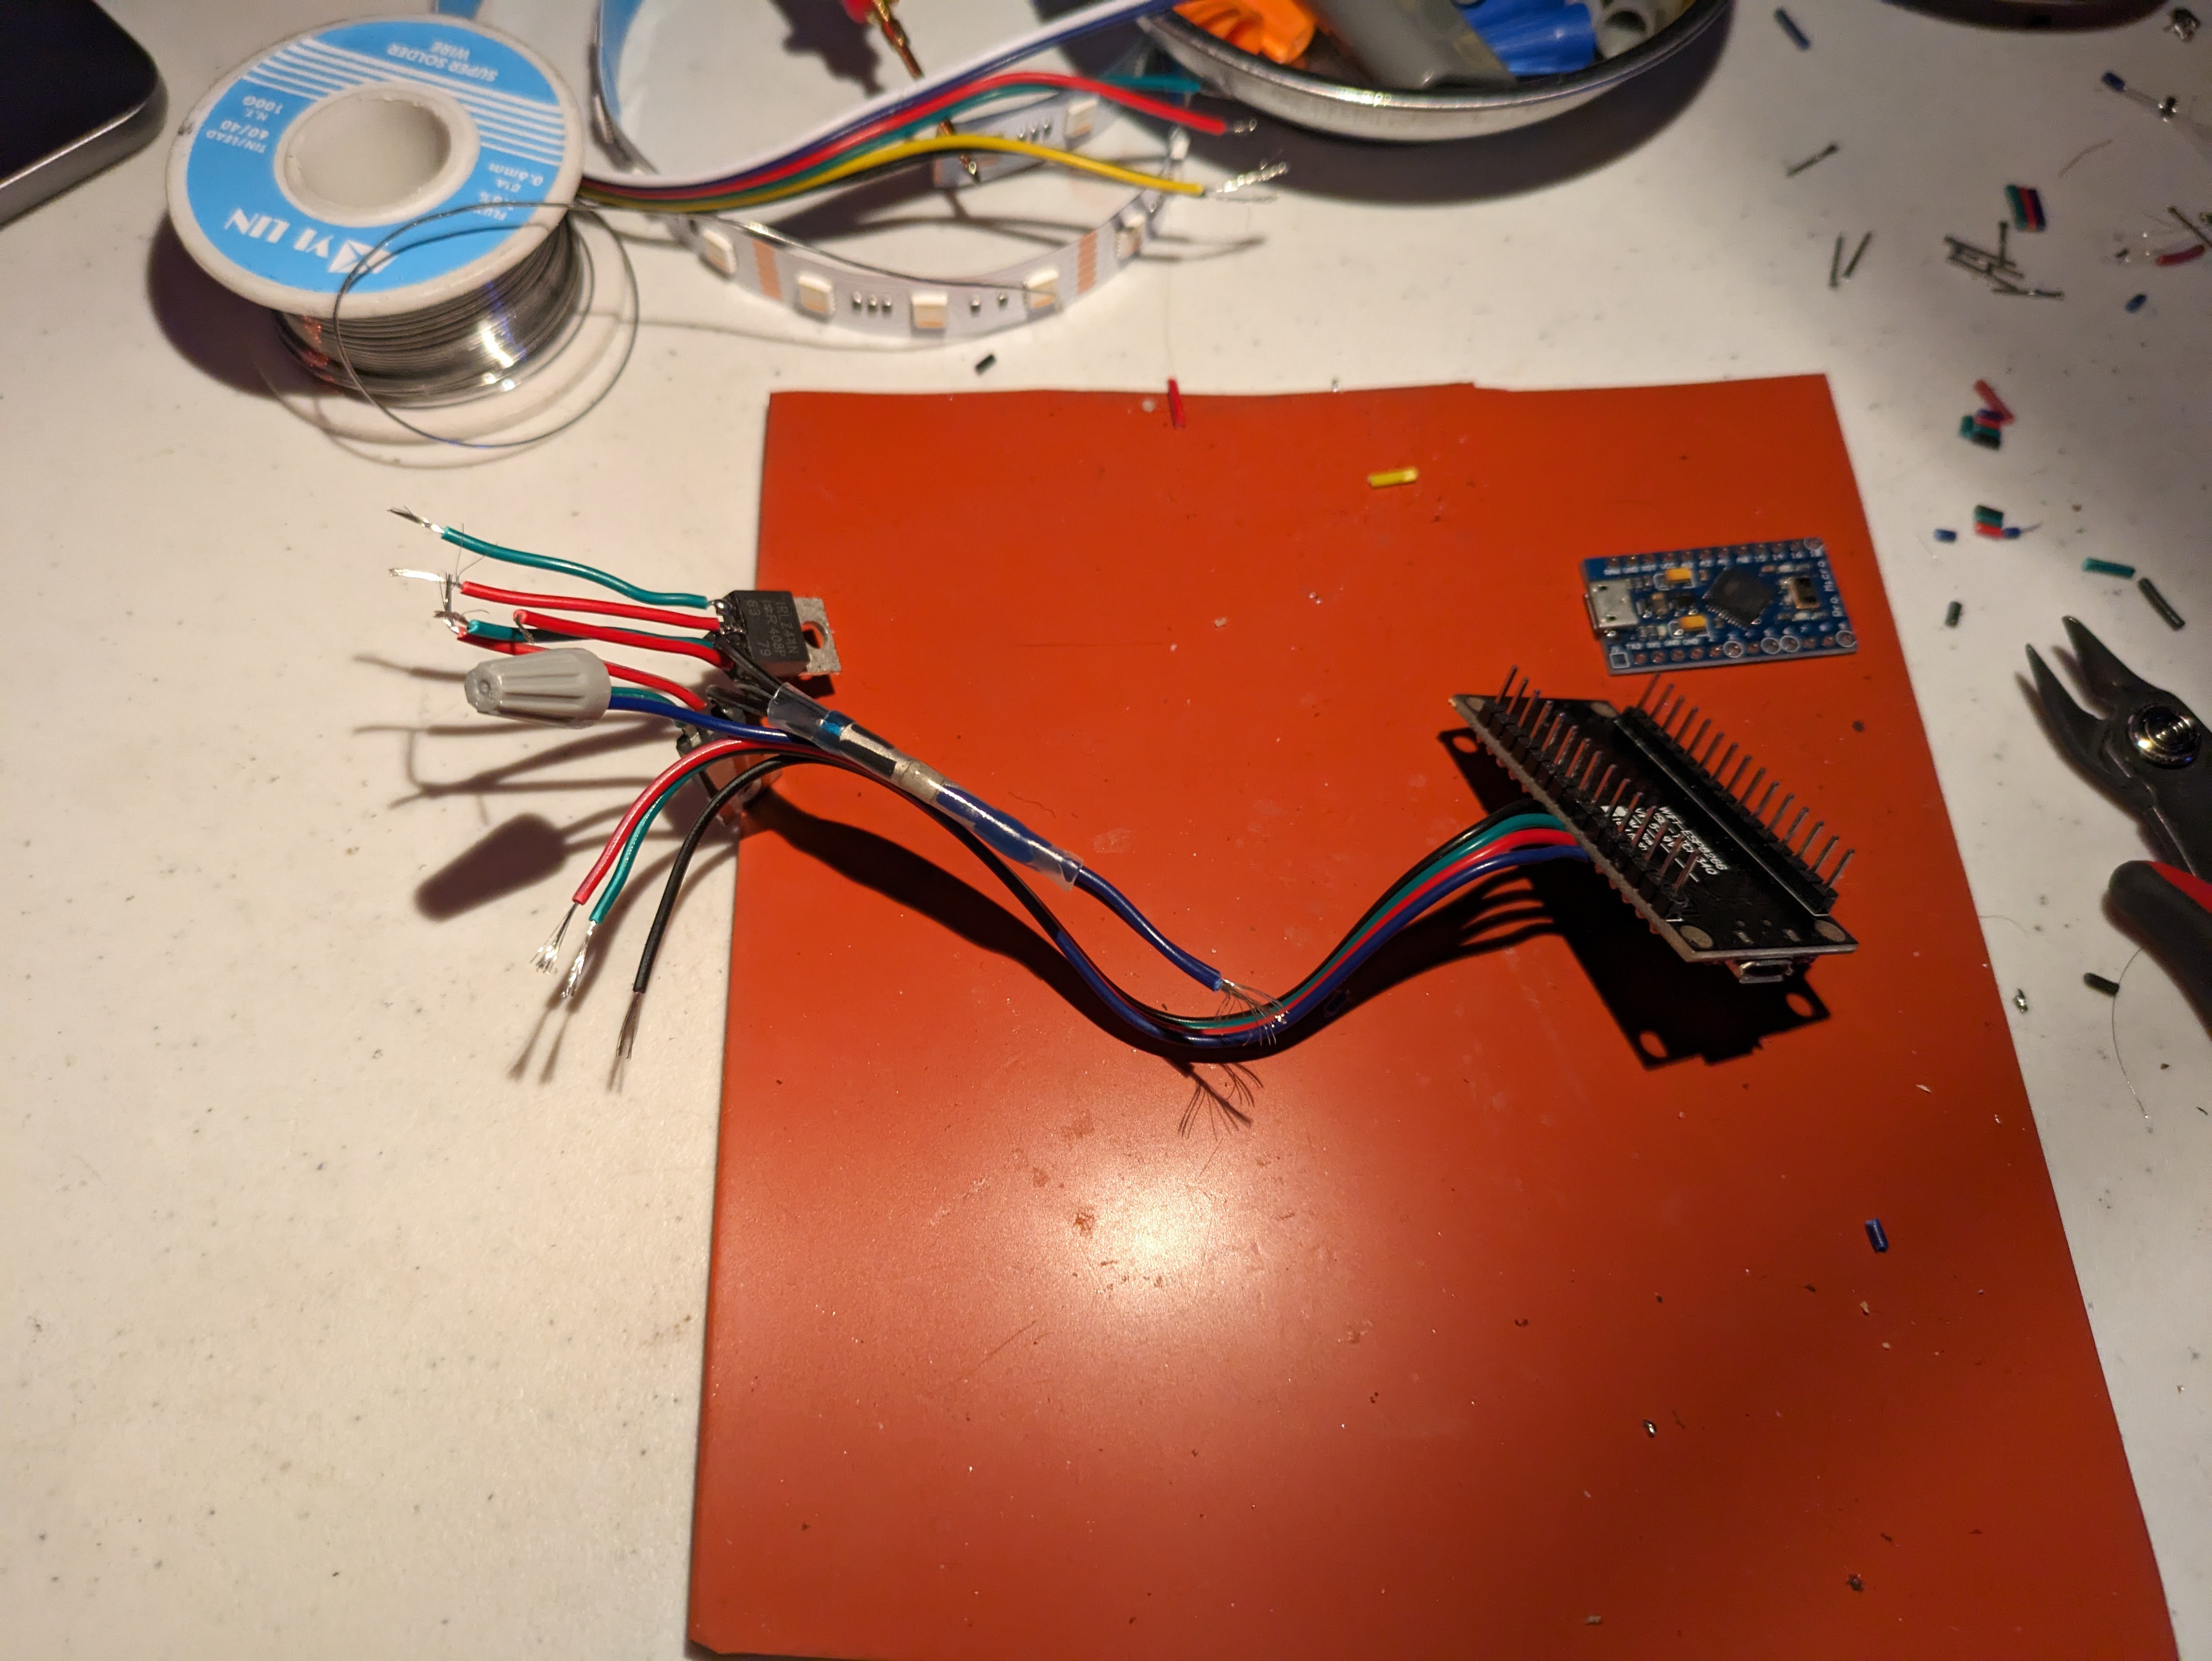
The way I wrote the code was to make it possible to test values live for fine tuning. It should work fine with any board with a few I/O pins, and a few MOSFETs to drive the higher voltage and current LED tape. Likely the effect would work with just single LEDs on each pin for smaller applications.
This effect is optimized for seeing the light from the fire, not trying to create the image of the fire itself.
![Wemos and Mosfets Wemos and Mosfets]()
soldering heat shrink speeds things up -
2The dirty details
To decrease the amount of light coming out of the distressed openings in the side of the can, and provide more light through the top for illumination of the performers, I made a quick diffuser and base with the cheapest found materials.
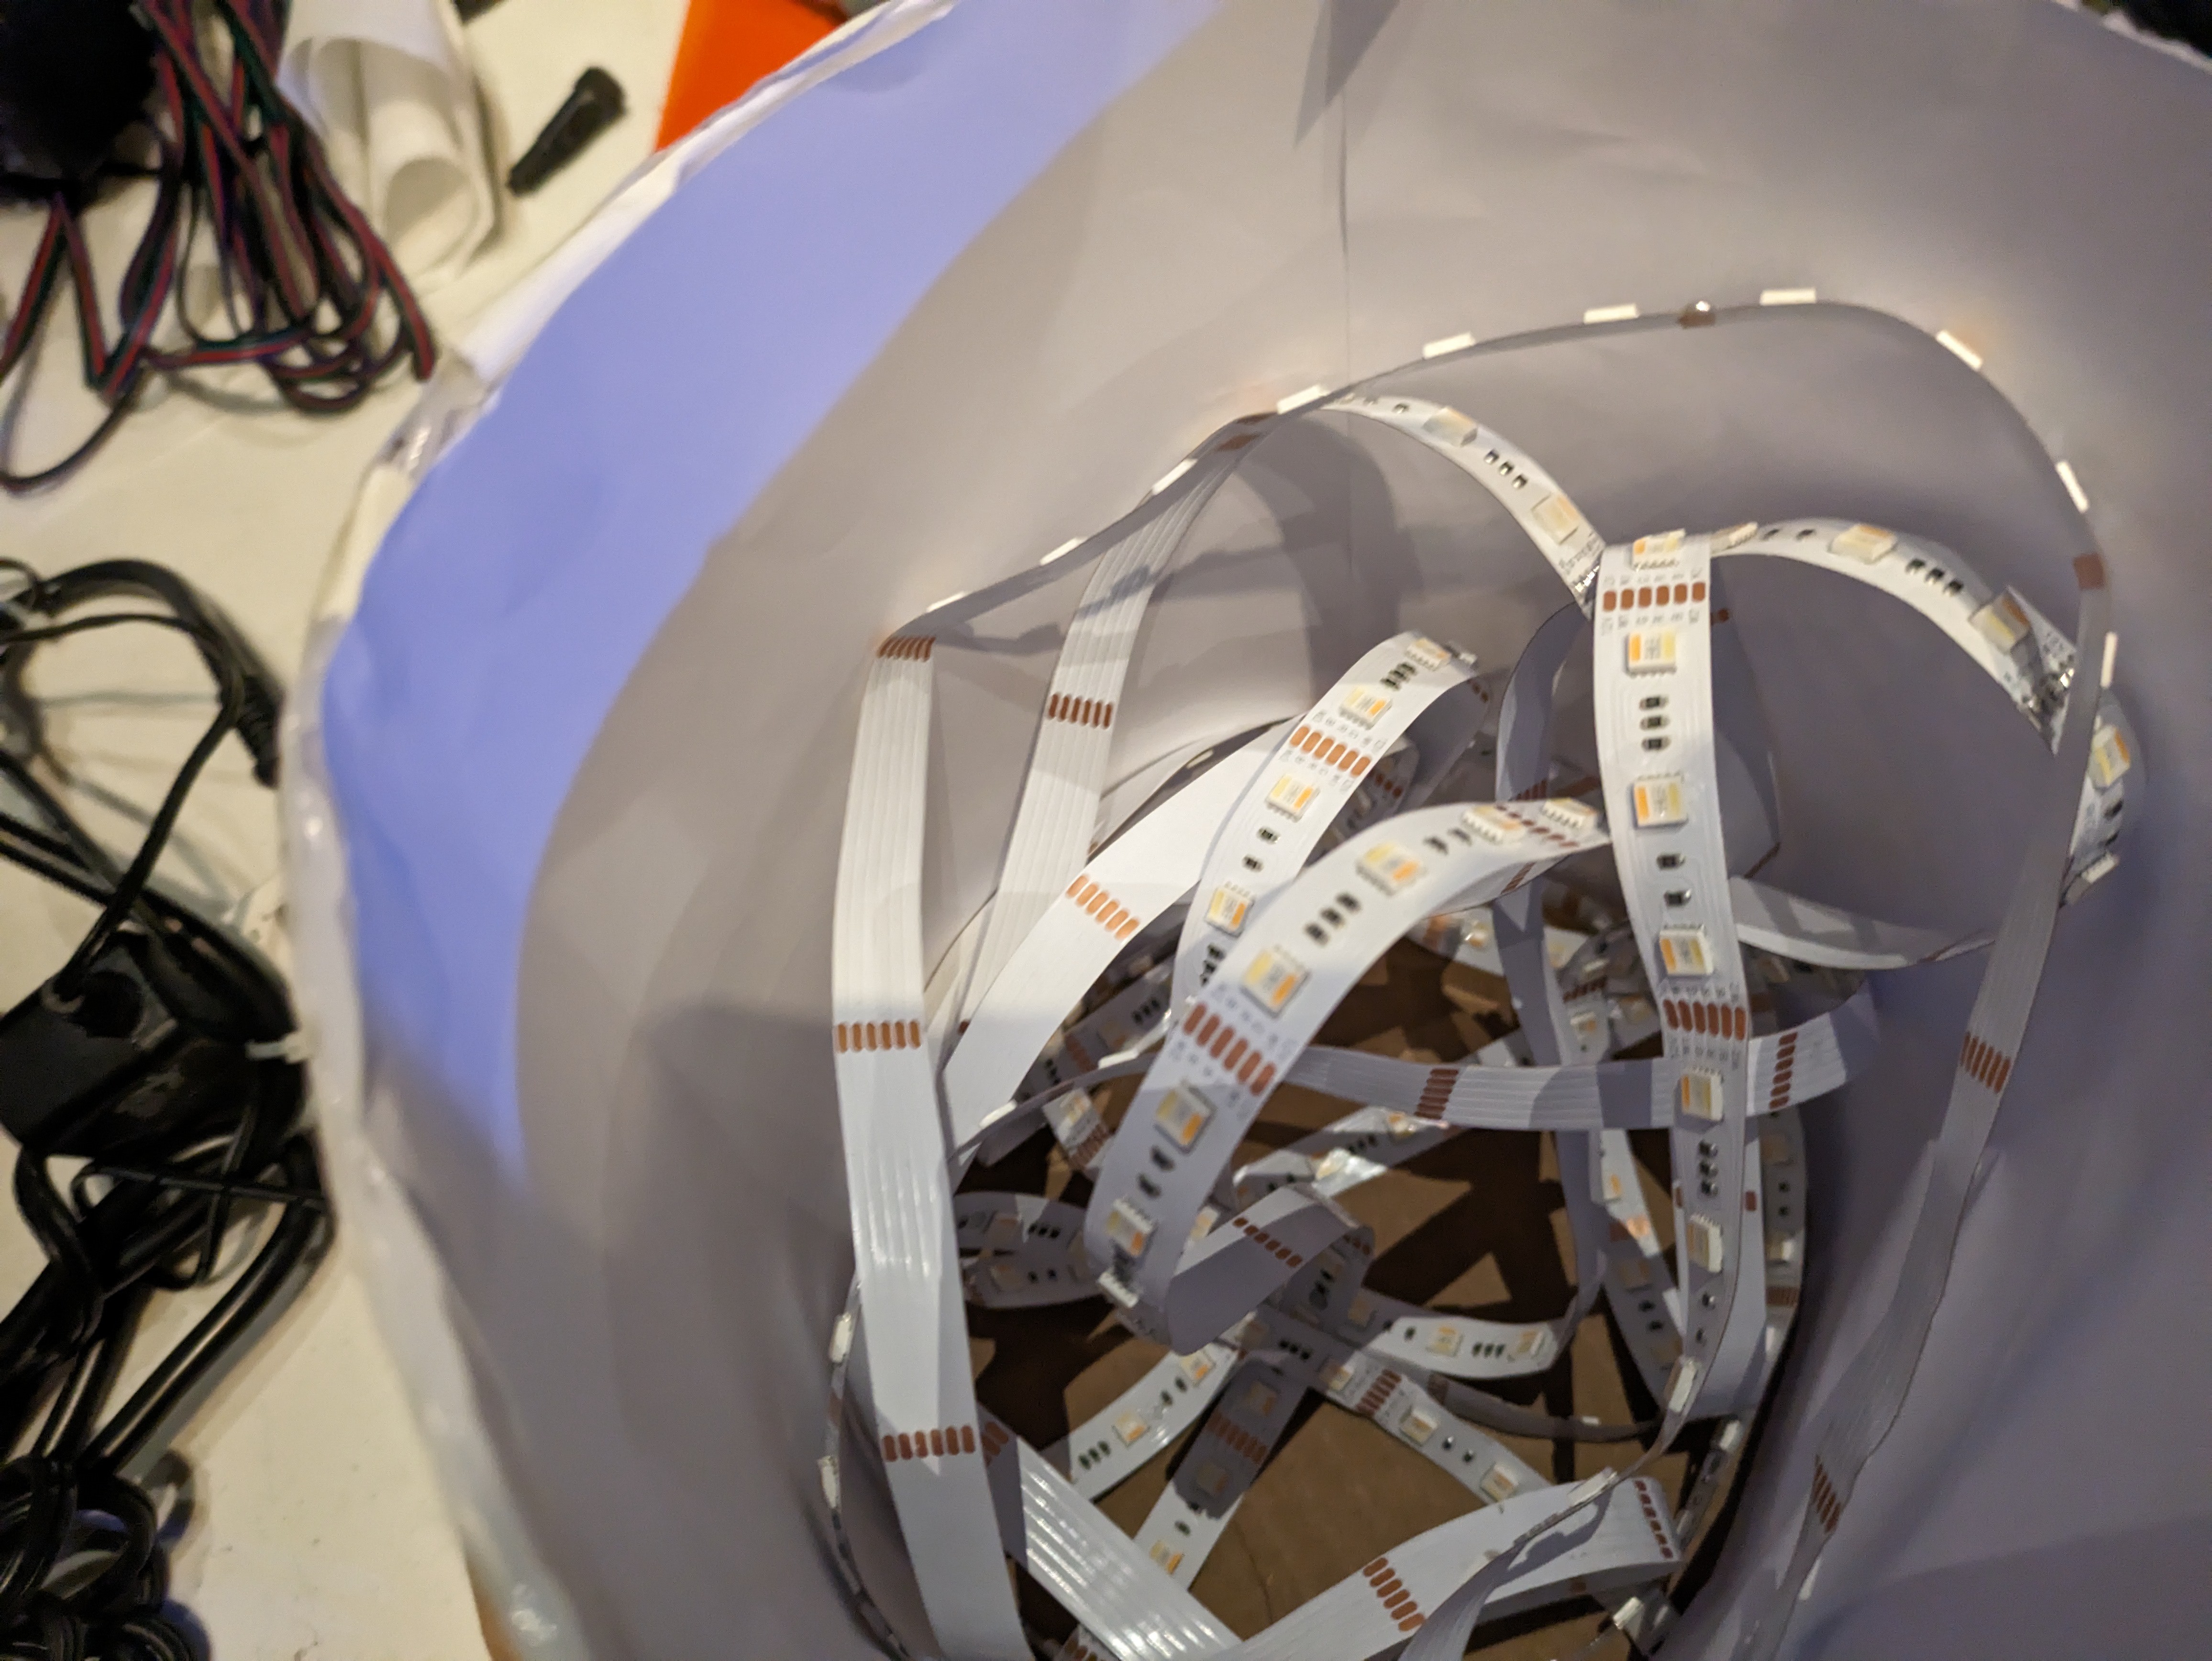
Working with the lighting designer I added sheets of printer paper around the LED tape to control the light. After discovering that two layers of paper helped significantly I proceeded to imagine how to create it. Took 2 pieces of printer paper and taped them longways into a cylinder. Pulled out my handy, quick heating, battery powered hot glue gun and sloppily added a rim of glue around the top and bottom of the cylinder to add structure so the cylinder couldn't fold. also put some squiggly streaks up and down the sides for some more structure.
Cut a piece of cardboard that would fit into the can and glued the cylinder to it. Added an additional loose ring of paper inside the cylinder.
![cylinder cylinder]()
You can see the mess of paper, cardboard, gaff tape, and hot glue Used tie line and zip ties to secure the circuit and power supplies to the cardboard base. I then just haphazardly tucked the spools worth of LED tape into the cylinder, making sure some of the segments pointed up, but counting on sloppy chaos hoping it would prevent any patterns or symmetry.
![]()
-
3Theatrical Lighting Control
There are a few ways I could have added overall intensity or other parameter control from the lighting console. Again, due to the speed of implementation starting a couple days before having an audience, there wasn't time, nor really need, to implement anything. The deck electrician generously ran 2 circuits to the scenery for me, and we put a relay card in the ETC dimmer rack for the circuits. One circuit was parked to output full power at all times and was driving the power supply for just the Wemos circuit. This prevented the mcu startup moment when all the I/O flash full (which looked terrible having the green hooked up). I made sure the onboard LED was turned on during the setup segment of the Arduino code so the deck electrician could tell the circuit was live when it was set for the 3rd act. The second circuit was connected to the power supply for the LED tape. This one would allow the lighting designer and lighting console programmer to turn on or off the fire if needed.
I have attempted to use sACN with esp8266 chips during prior productions, it is fraught with problems. The more universes of data you use the more difficulty the chip has keeping up. Additionally there appear to be some low level network based interrupts that can cause random flashing. Even if there was time I likely wouldn't have gone this route.
I could have put a typical DMX512 LED tape controller in line with the tape supply to provide intensity control, which is likely the route I would take if there had been time to refine the design more.
Flickering fire for the opera
Quick and dirty scramble to put a fire effect in a trash can for Act 3.
 David O. Smith


Discussions
Become a Hackaday.io Member
Create an account to leave a comment. Already have an account? Log In.