 levent erenler
-
1STEP 1 : 3D PRINT
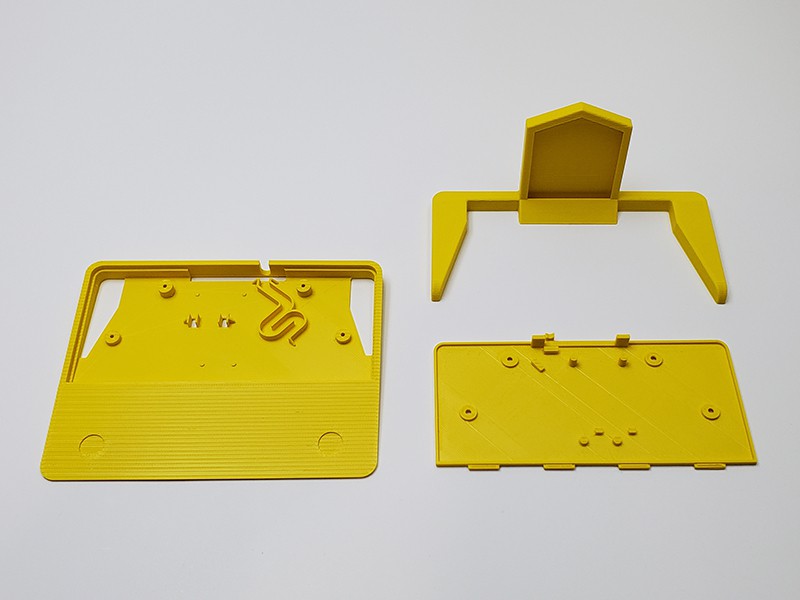
All STL files are located in here. An FDM 3D printer is required for files that begin with "FDM". An SLA 3D printer is required for files that begin with "SLA".
It is easy to print with PLA, however I recommend printing a heat-resistant filament like PETG or ABS for the bottom lid.

FDM printed body parts Preferring a translucent resin for hands will give better results for hand lights.

SLA printed parts 
Tracks printed with NinjaFlex 85A TPU -
2STEP 2 : PREPARE PARTS
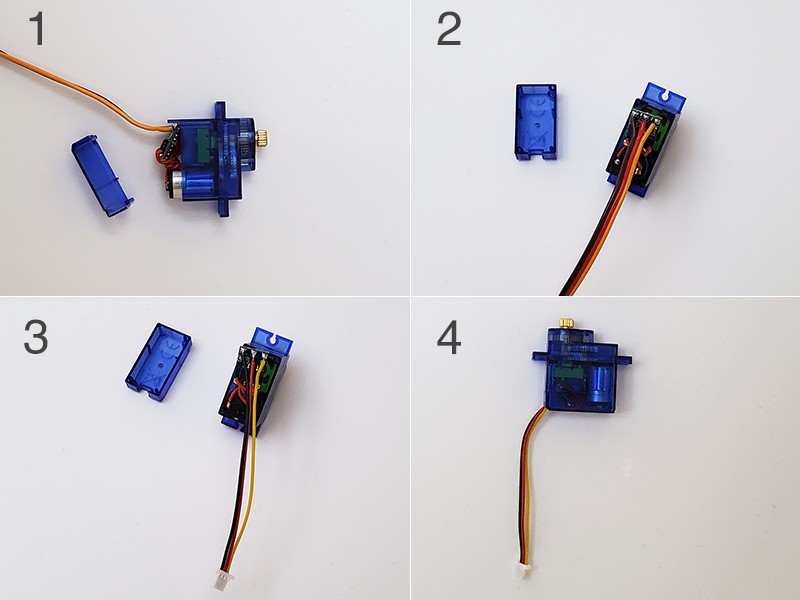
Customize servo
1) Remove bottom lid.
2) Desolder cables.
3) Solder 3 pin 1.0 mm pitch 60mm length cable.
4) Close bottom cover.![]()
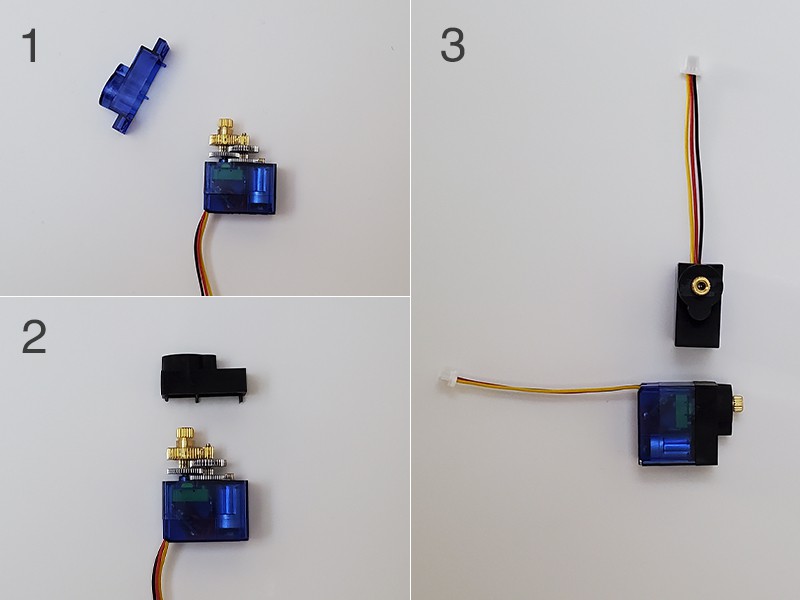
1) Remove top cover
2) Secure SLA printed cover with screws
3) Servo customization completed![]()
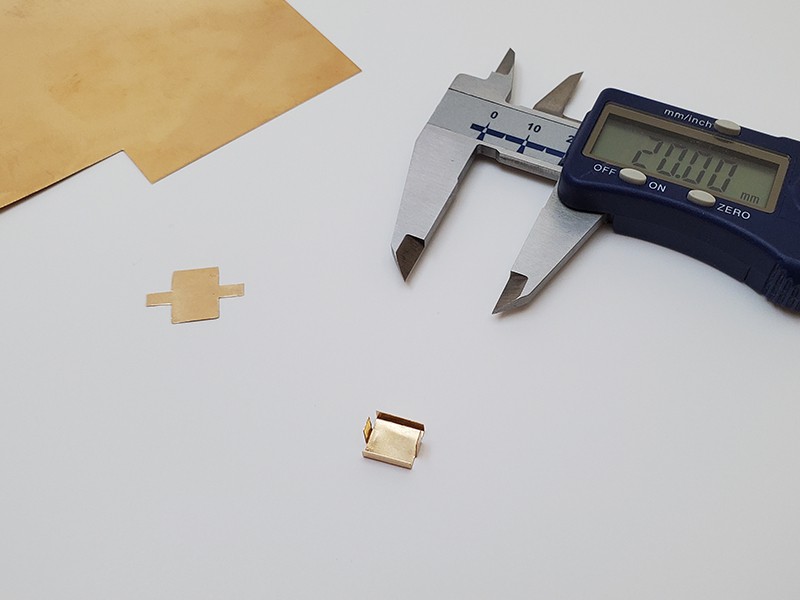
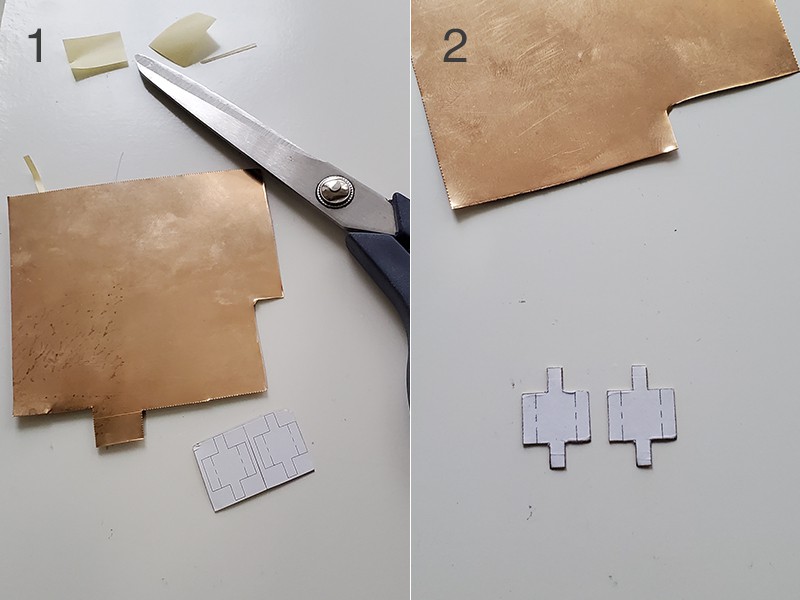
Charge Connectors
* Print attached connector drawing with 1:1 scale
* Paste printed paper to Phosphor Bronze sheet with double sided tape
* Cut from outer edges
* Bend edges as shown
* Remove tape and paper![]()
![]()
![]()
-
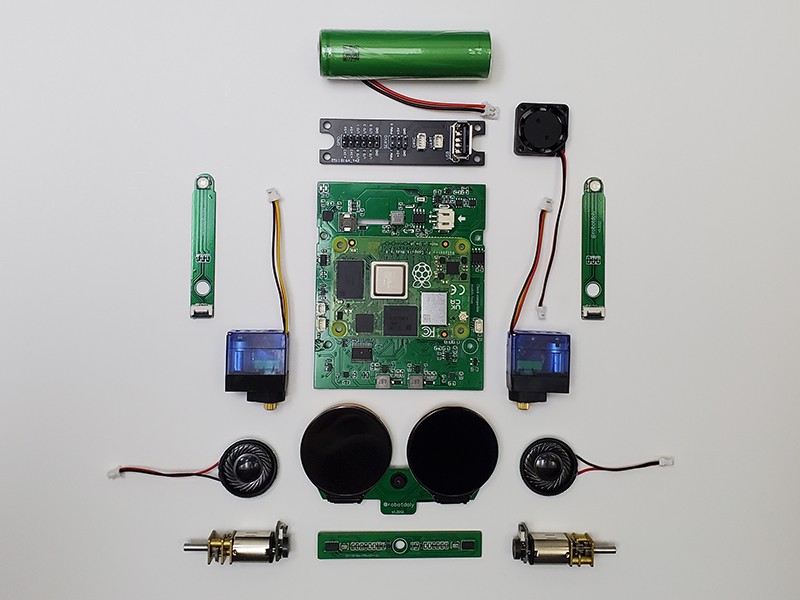
3STEP 3 : ELECTRICAL PARTS
![]()
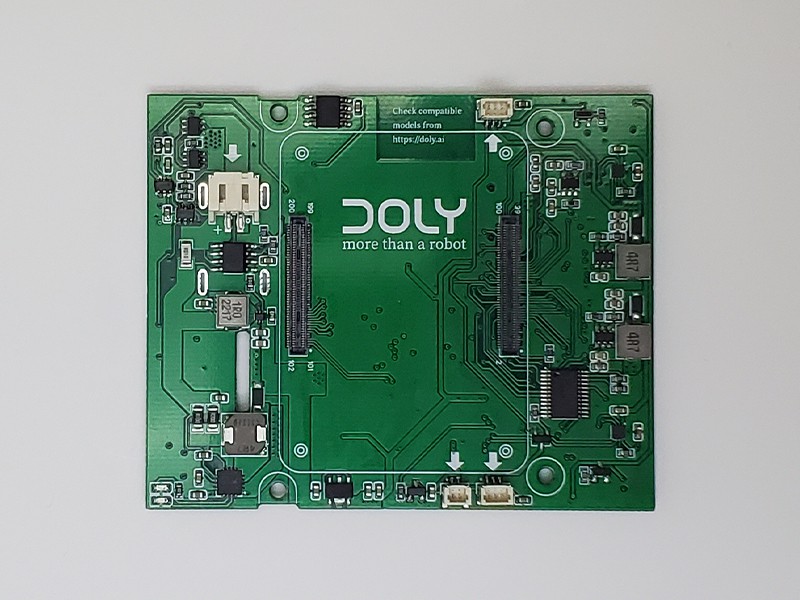
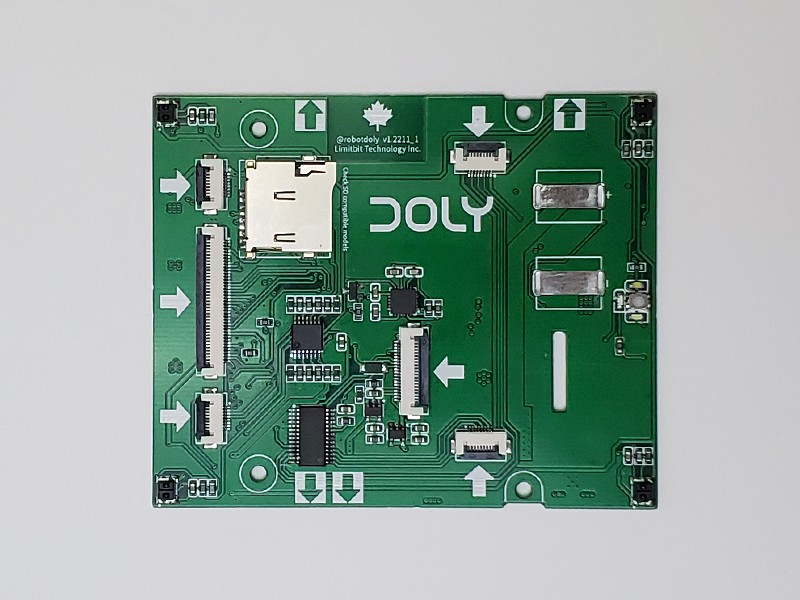
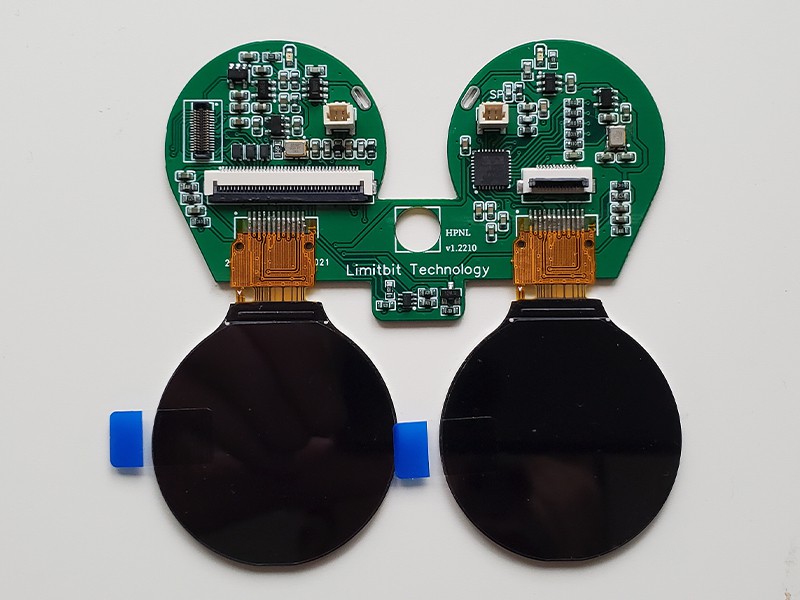
PCB Design
Designing electronics was not easy due to chip shortages. There is a high chance that you can find listed electronics. However, sometimes you will find components with a different package. If you would like to do it by yourself, you can access the schematics, Gerber files and BOM files from link.
![]()
![]()
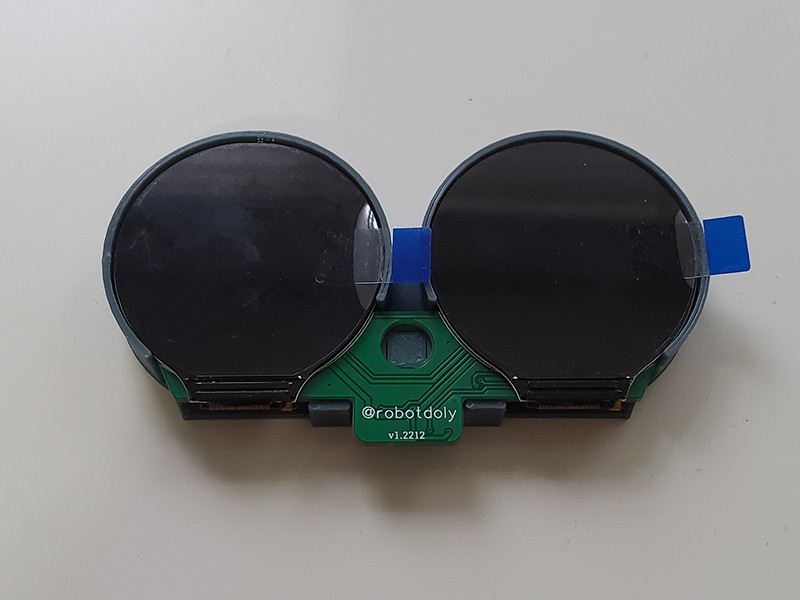
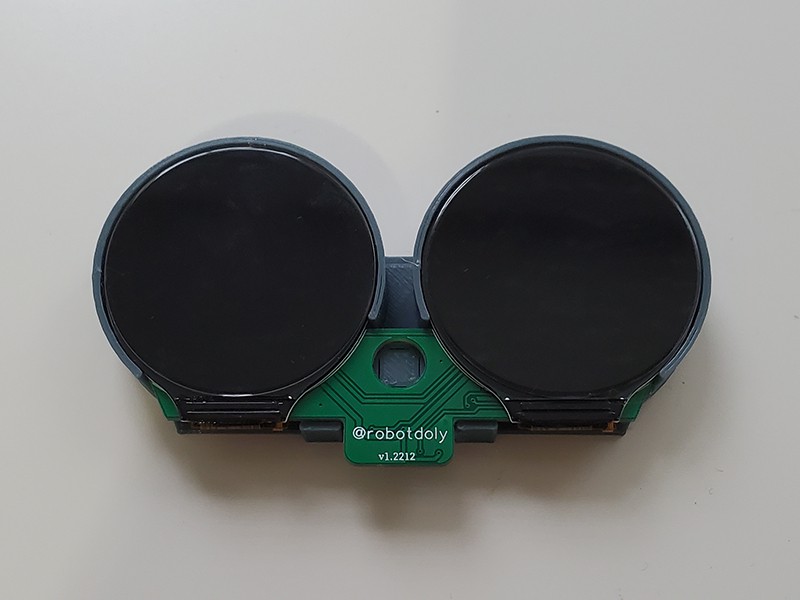
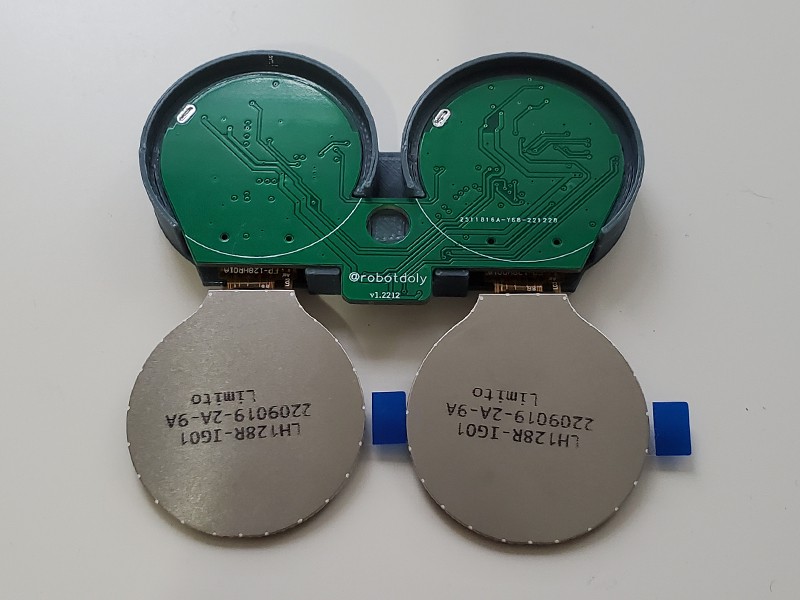
After electronic components are placed on PCB you have to align LCD to Eye PCB with help of 3D printed aligner which is located at link as "LCD_aligner.STL".
* Place eye PCB into aligner as shown.
* Bond LCD to PCB with a double sided tape.
* Remove LCD cover plastics.
* Apply screen protector glass.![]()
![]()
![]()
![]()
-
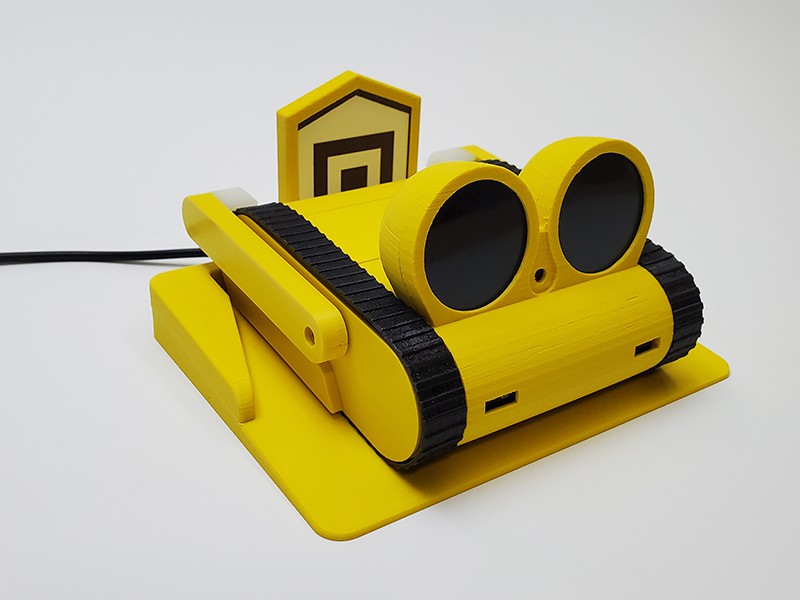
4STEP 4 : ASSEMBLY
This video series will show you how to assemble the DIY Doly robot.
-
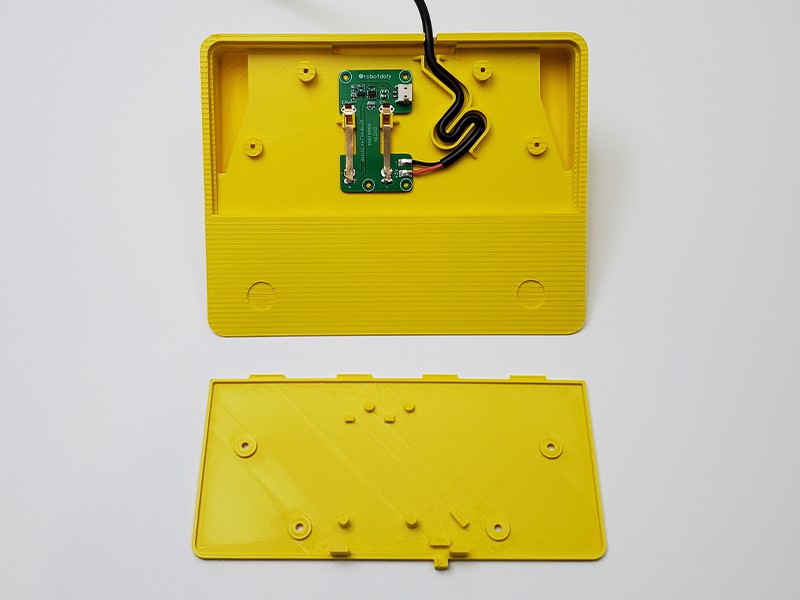
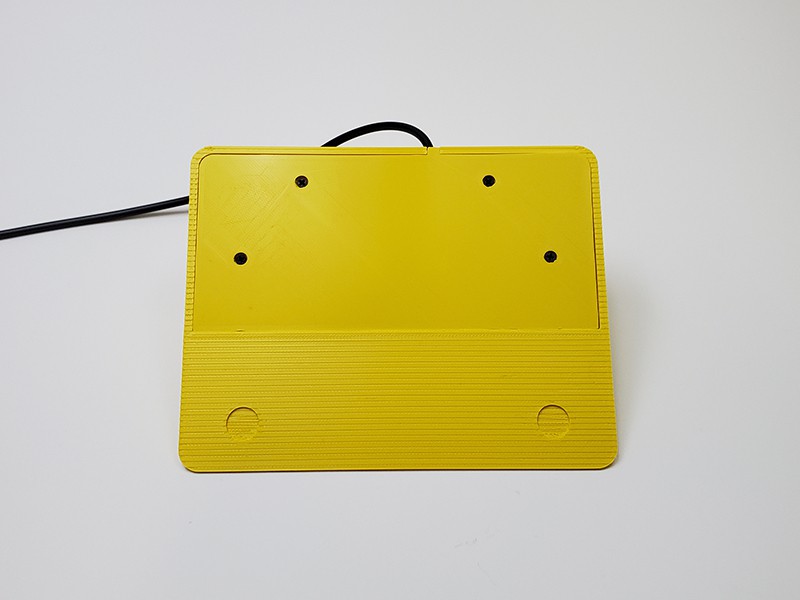
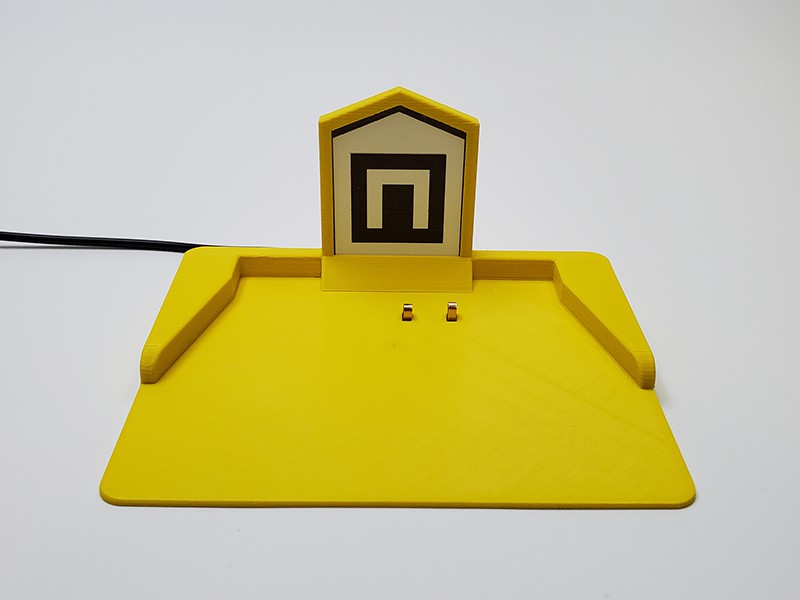
5STEP 5 : CHARGER
3D Print Parts
![]()
Charger Assemble
Once you have printed the 3D parts, you will need to assemble the charger board. The schematics and component list (BOM) are located at this link.When all 3D printed parts are ready,
- Apply glue carefully to both the top and bottom surfaces.
- Make sure the glue is kept away from the edges.
- Ensure that the part is aligned properly.
- Secure the top side to the bottom side.
- Install the charger module and secure the bottom lid with four screws after a few minutes.
![]()
![]()
![]()
![]()


Discussions
Become a Hackaday.io Member
Create an account to leave a comment. Already have an account? Log In.