-
1Acquire necessary components
![]()
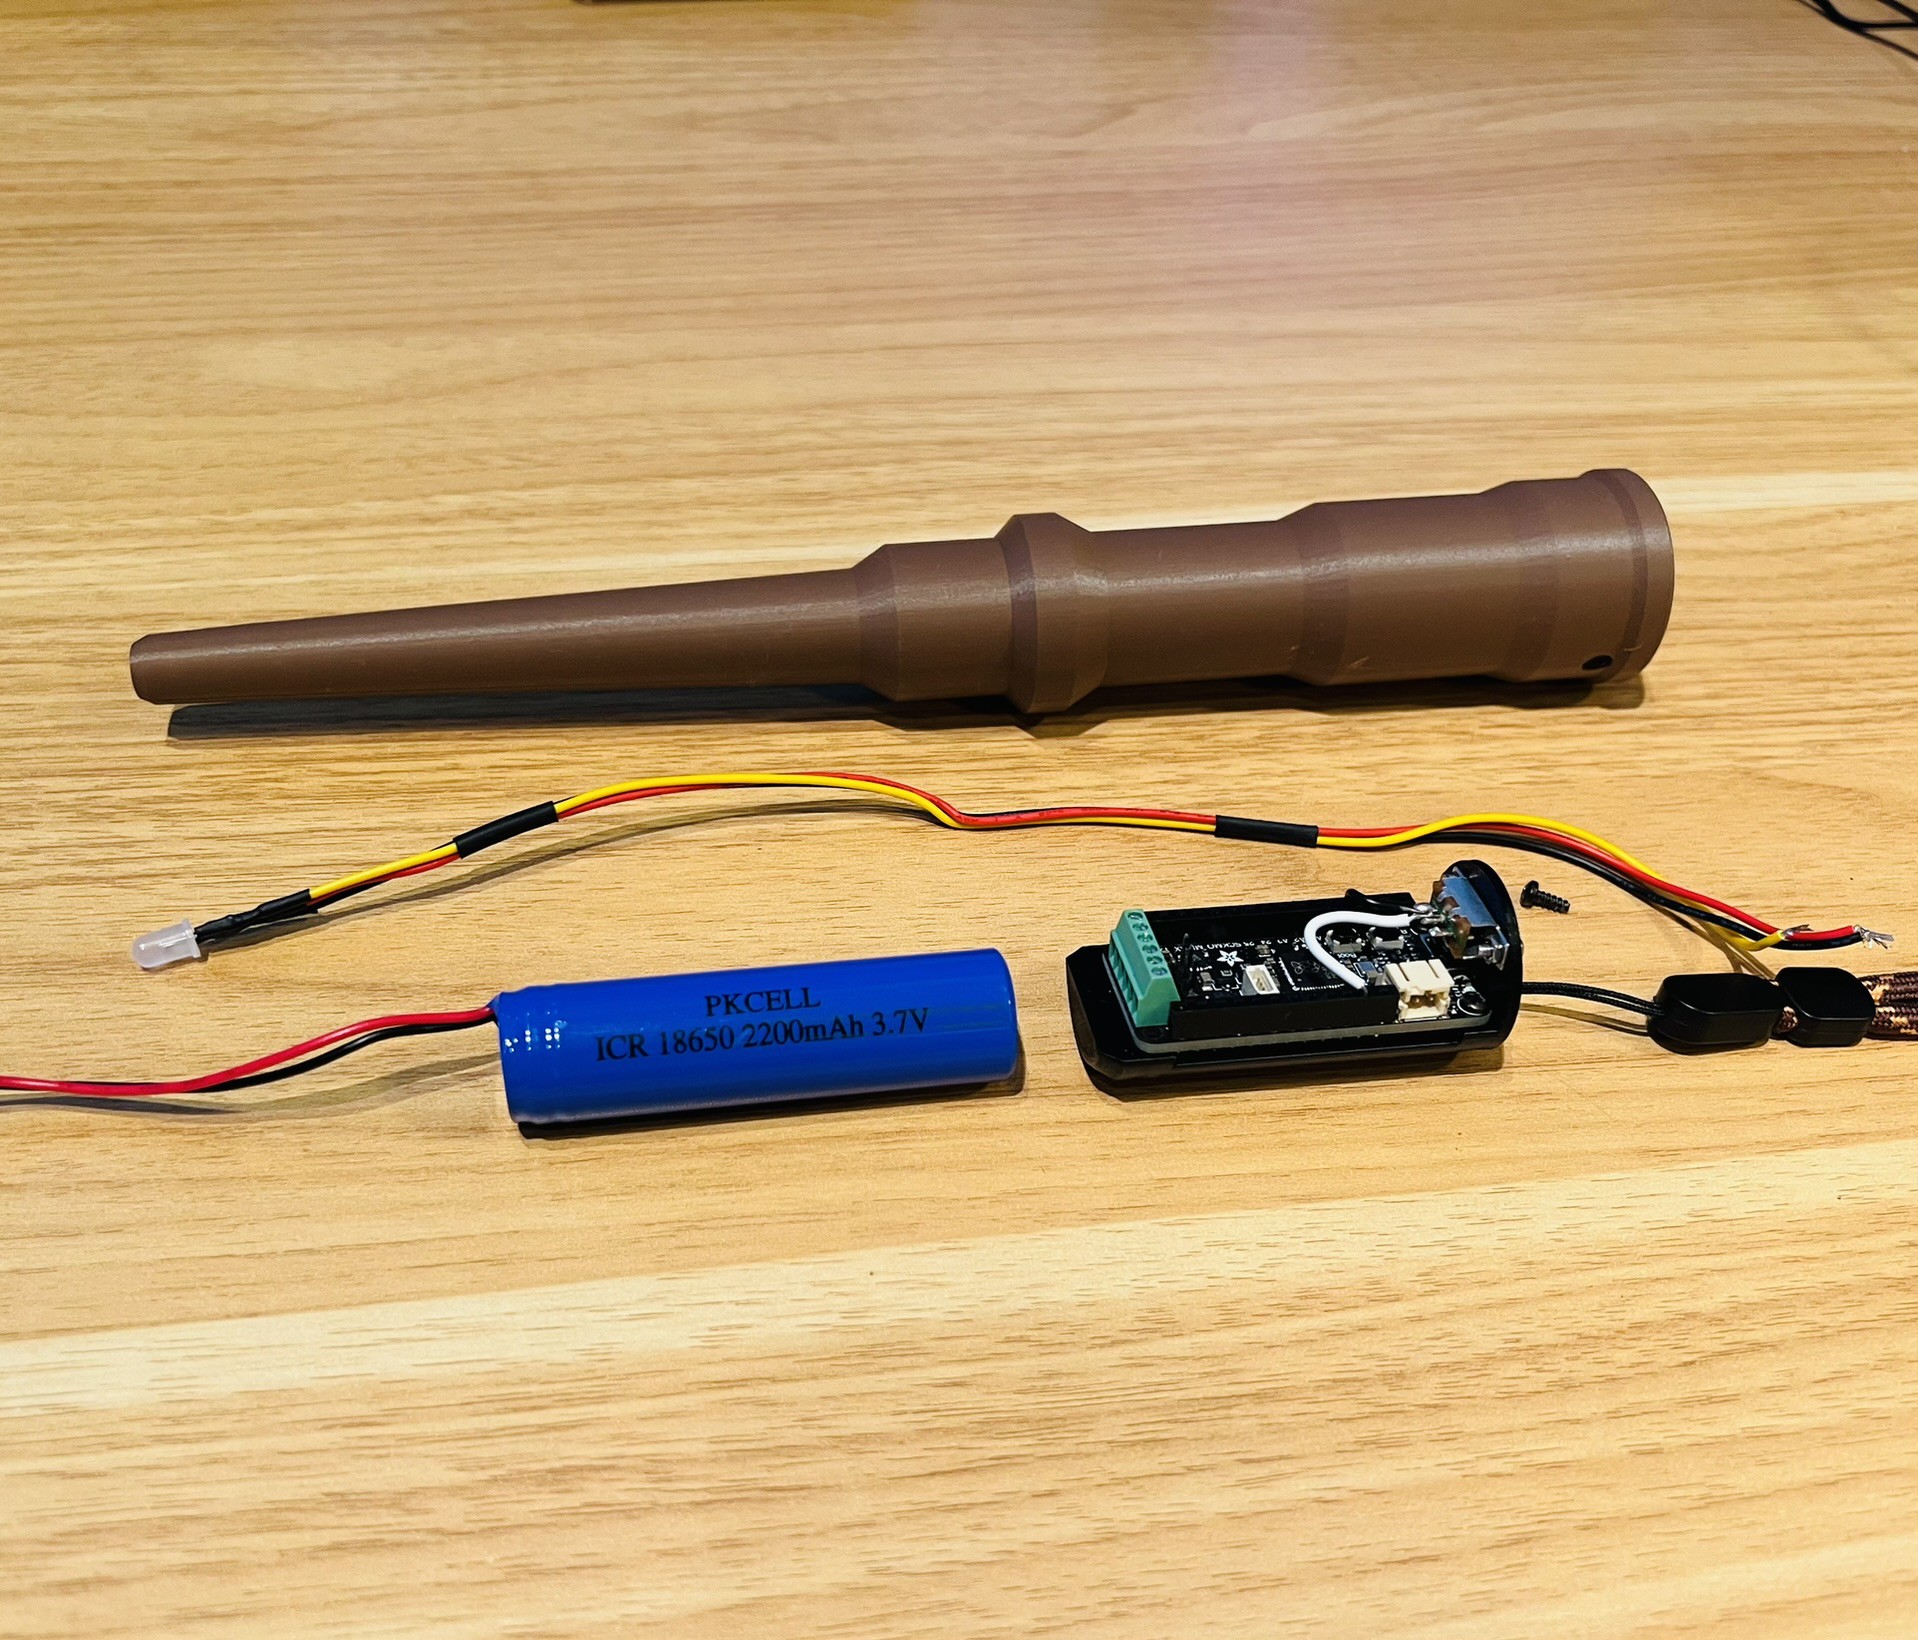
As mentioned in the project overview above, there are a few necessary components that need to be first acquired before getting started. See below list for ordering.
- Adafruit RP2040 Prop-Maker Feather with I2S Audio Amplifier (Adafruit)
- Lithium Ion Cylindrical Battery - 3.7v 2200mAh (Adafruit)
- NeoPixel Diffused 5mm Through-Hole LED (Adafruit)
- E-Switch EG1201 Panel Mount Slide Switch (Mouser)
- (2) M2 screws with nuts for slide switch (Amazon or hardware store)
- (2) M2.5 screws for Feather (Amazon or hardware store)
- (optional) Wrist Strap for carrier (Amazon or borrow from Wii)
- Around 300mm of wire for connecting Neopixel to feather
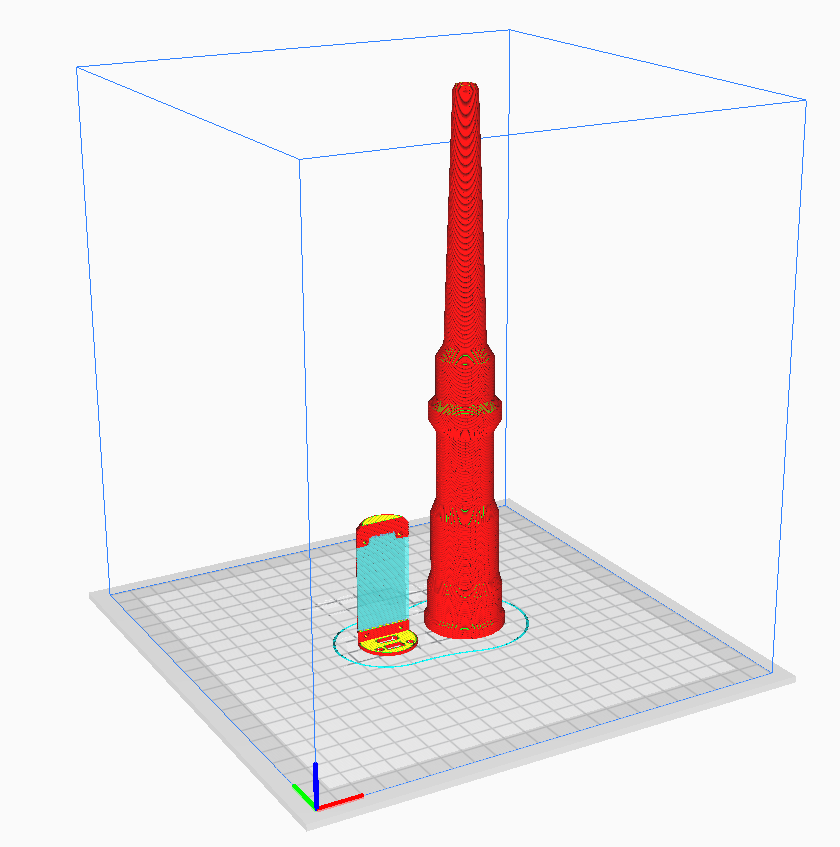
Two components also need to be 3D printed for this project: the wand and the carrier. You can probably print both on one bed but I would recommend printing the carrier first since it does require supports and then print the wand after which does not require any supports.
Feel free to get artistic with your filament color to match the vibe of your character! Also, since I think the design of the wand is a heavily user configurable area of this project, I have provided the FreeCAD design files for the CAD assembly in the project attachments. Go crazy with your wand style (within the packaging constraints of the wand internals) or be like me and design something that looks like a generic consumer appliance!
-
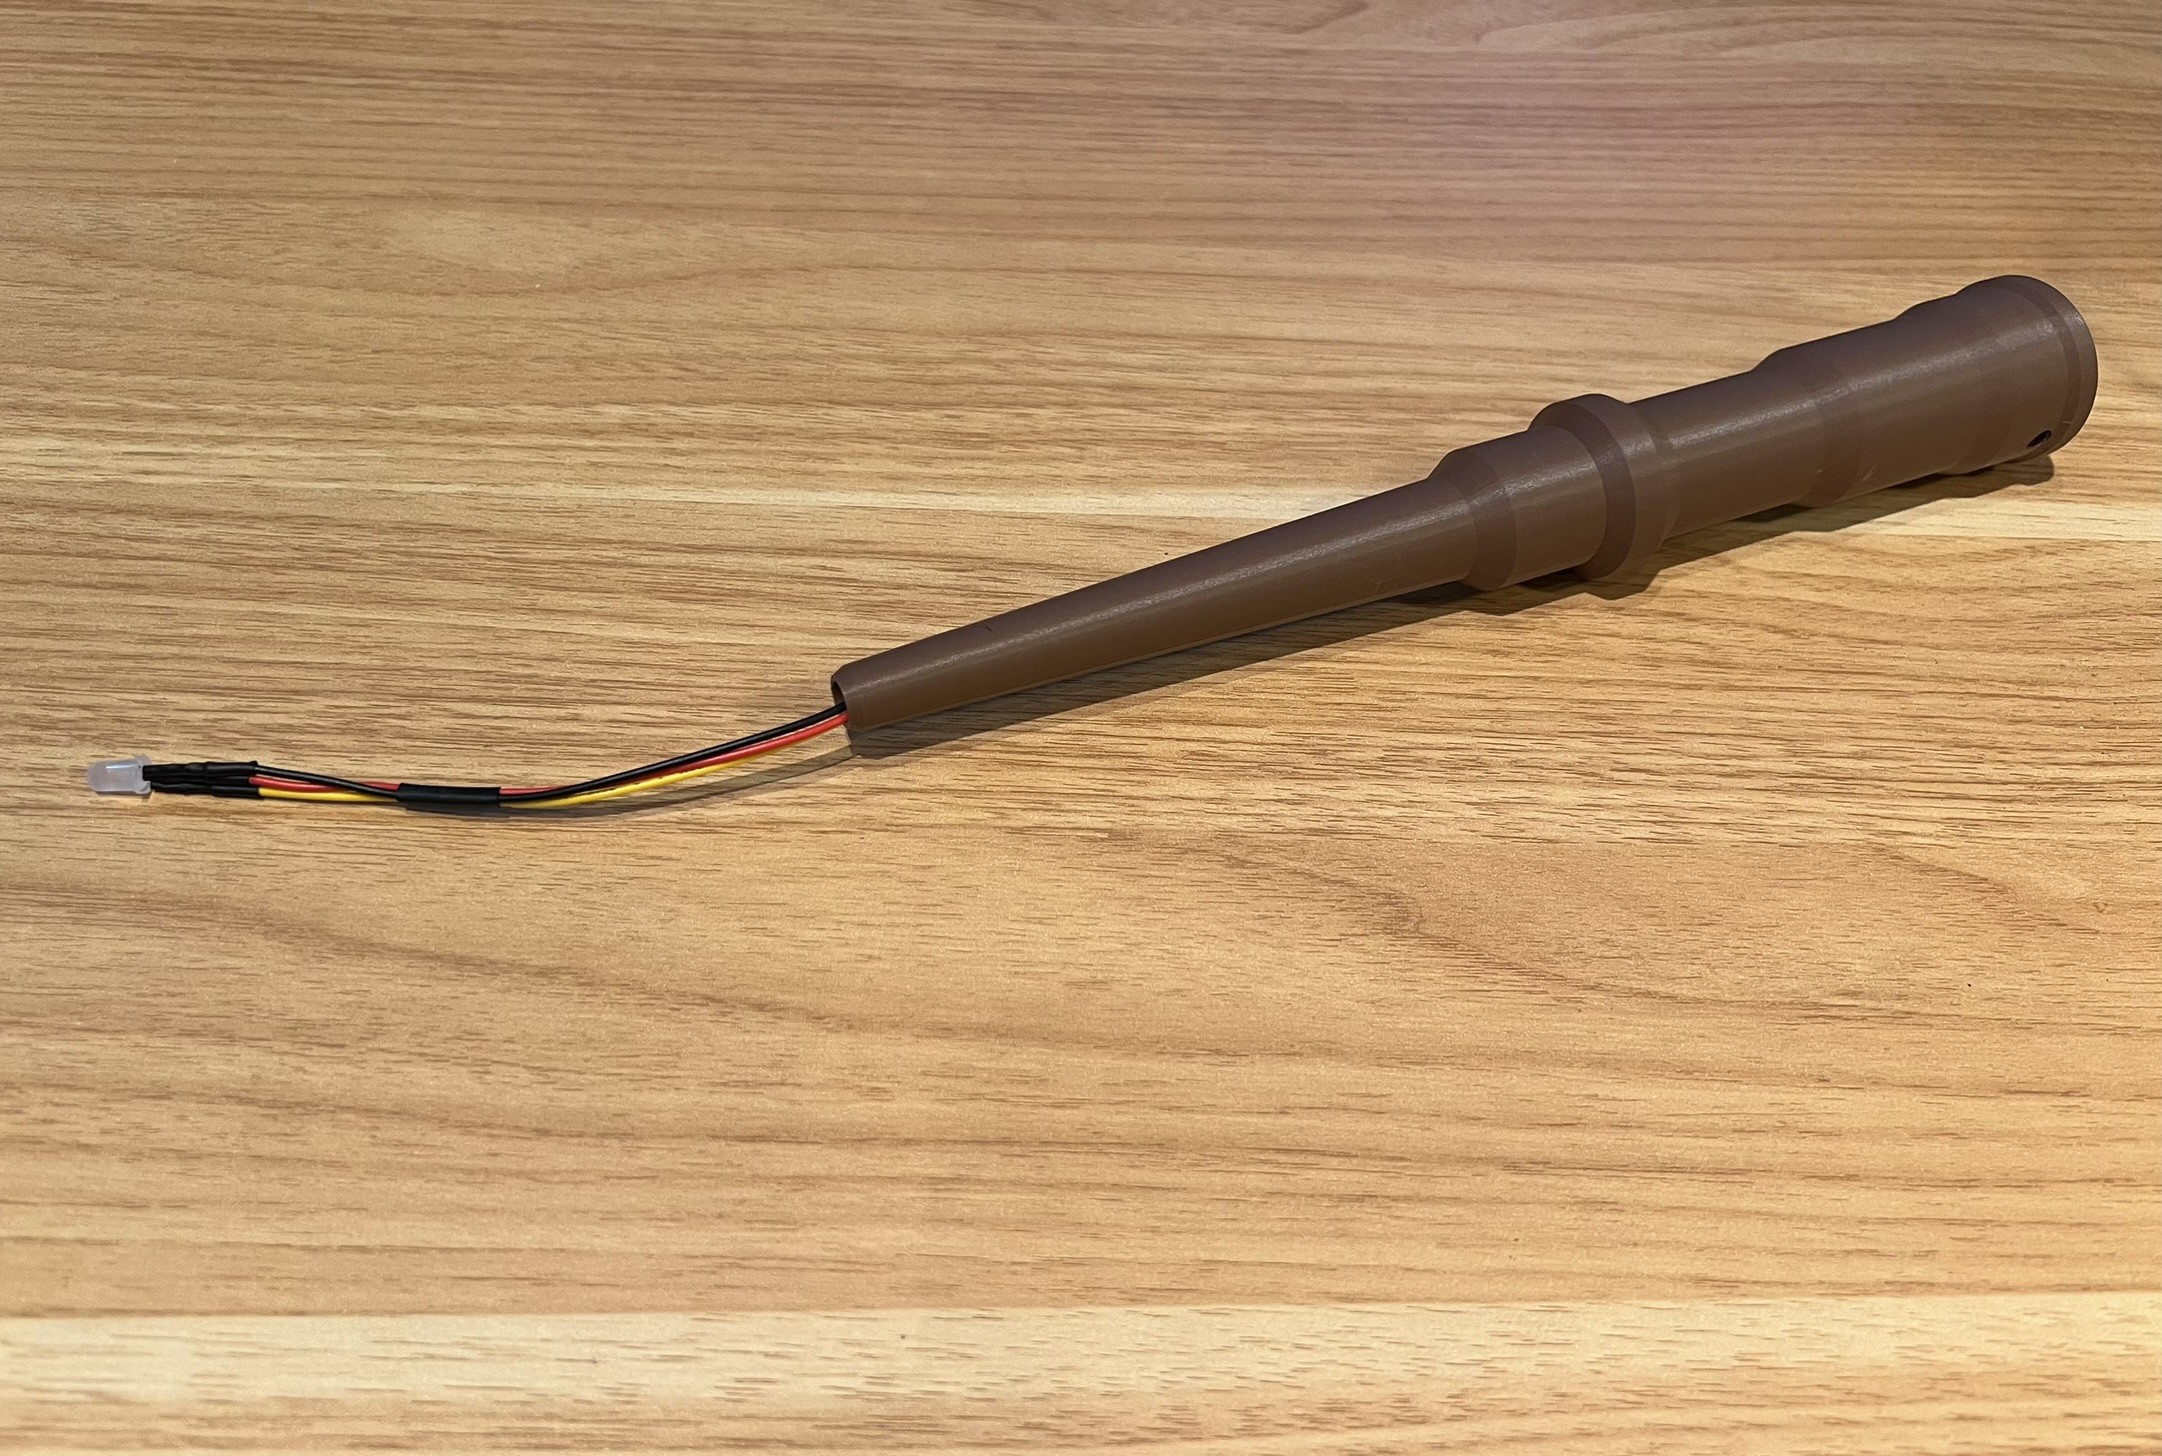
2Solder wires to Neopixel and route through wand shaft
![]()
-
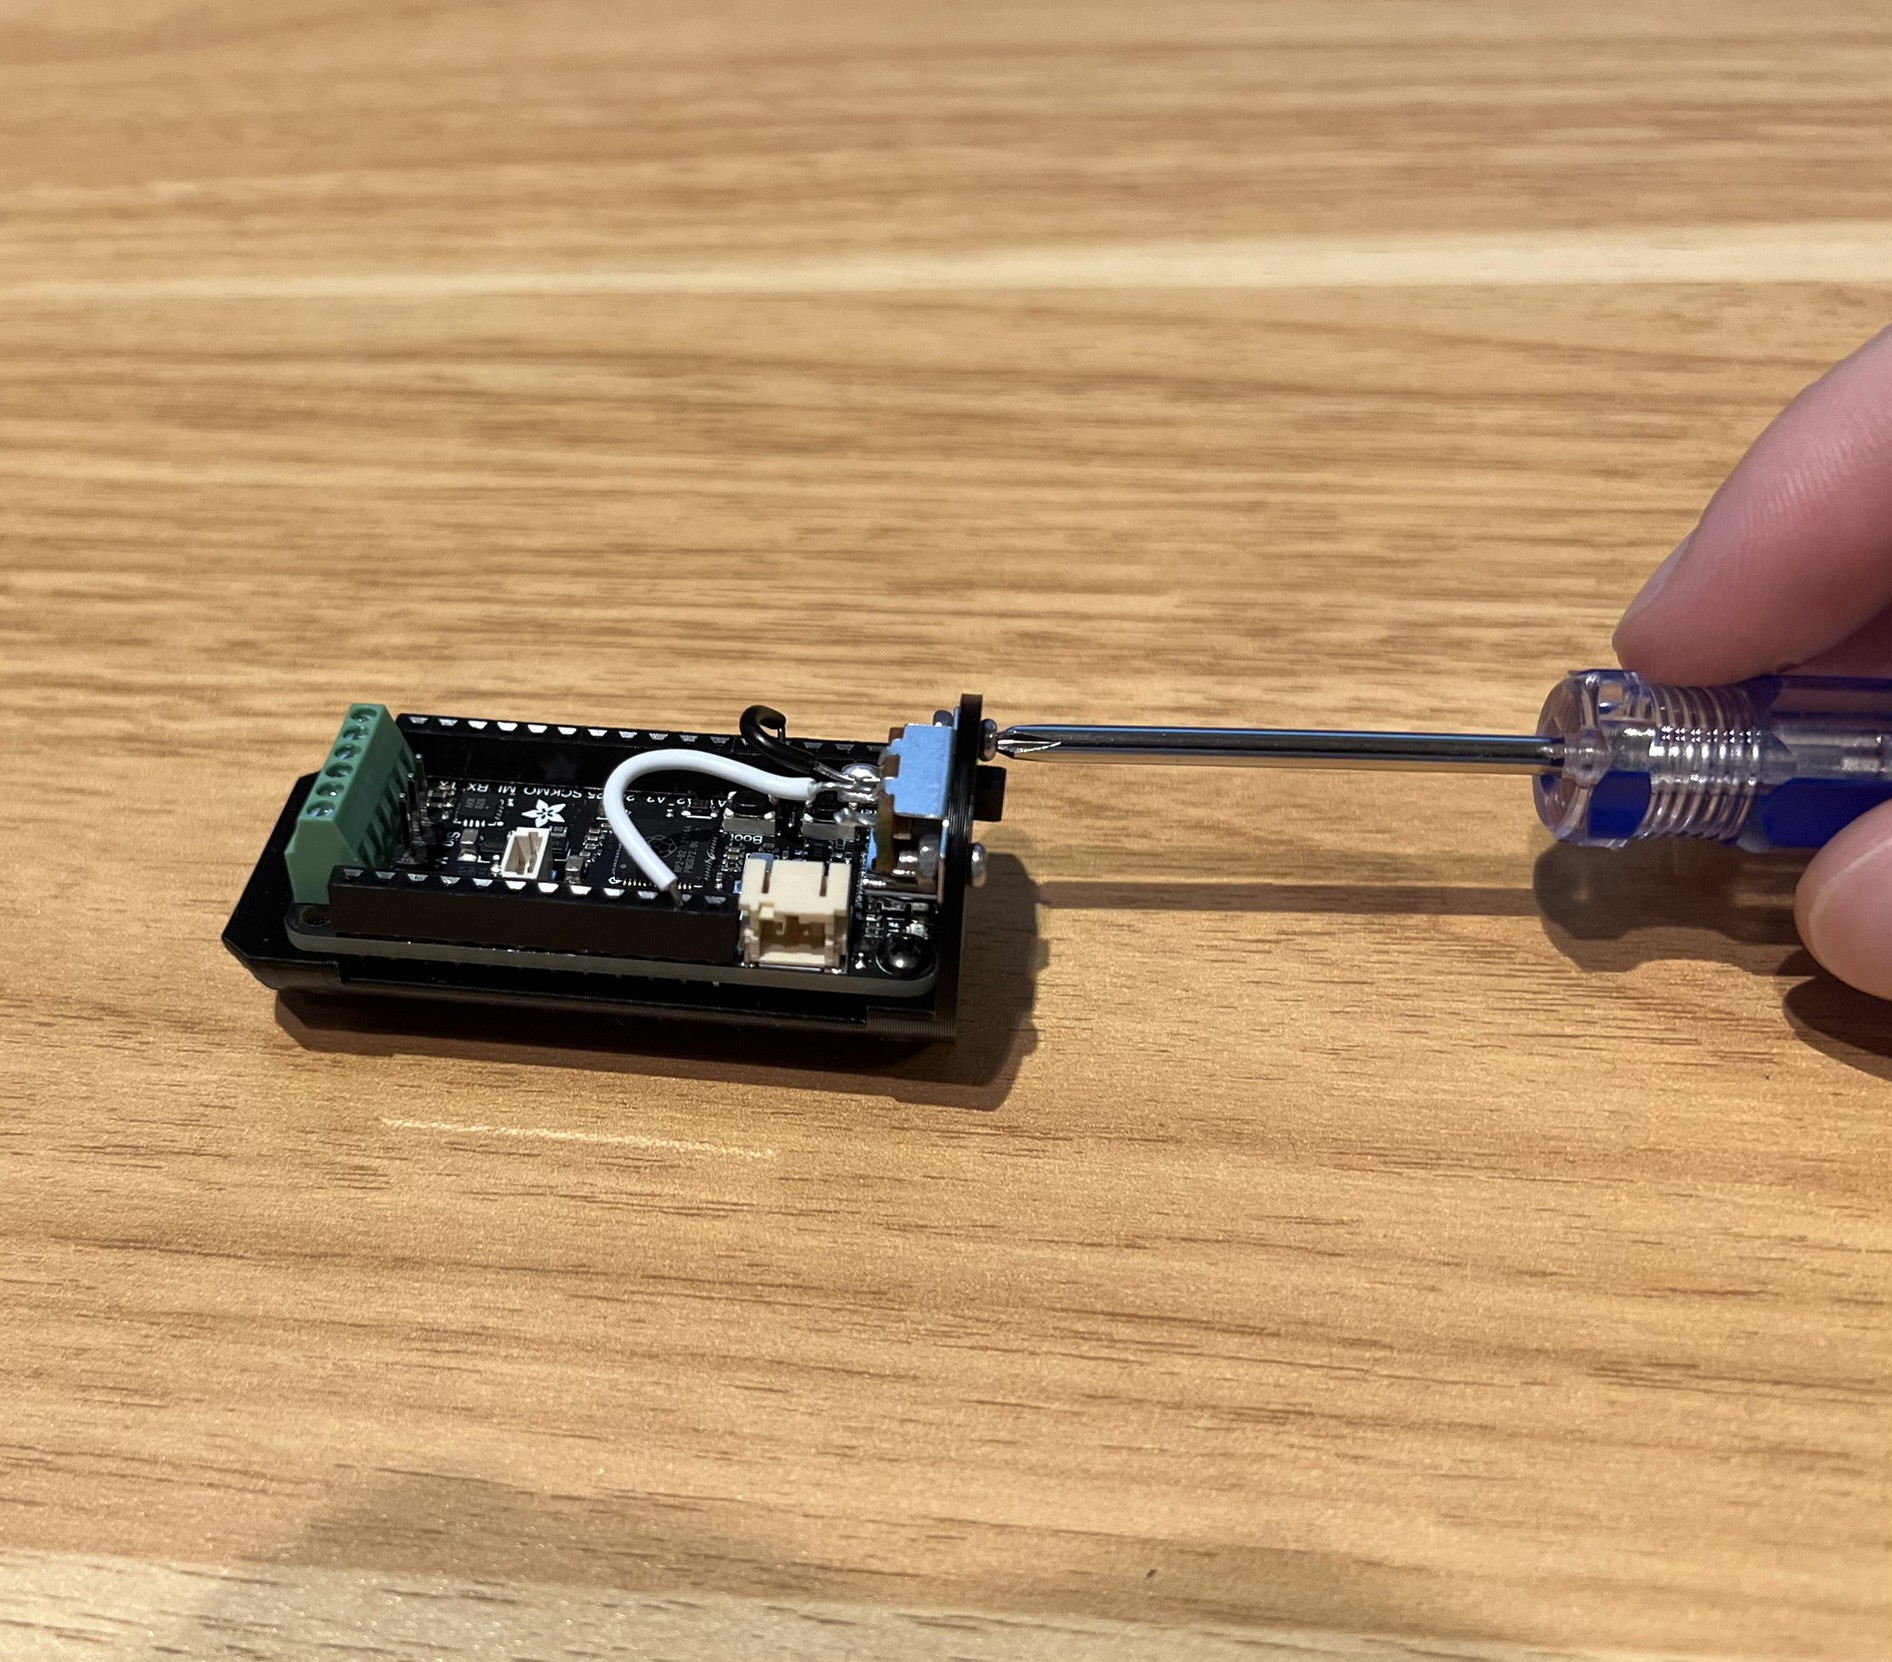
3Mount feather to carrier with M2.5 screws
![]()
-
4Mount power slide switch to carrier with M2 screws/nuts and wire to feather (connect to EN and GND pins)
![]()
-
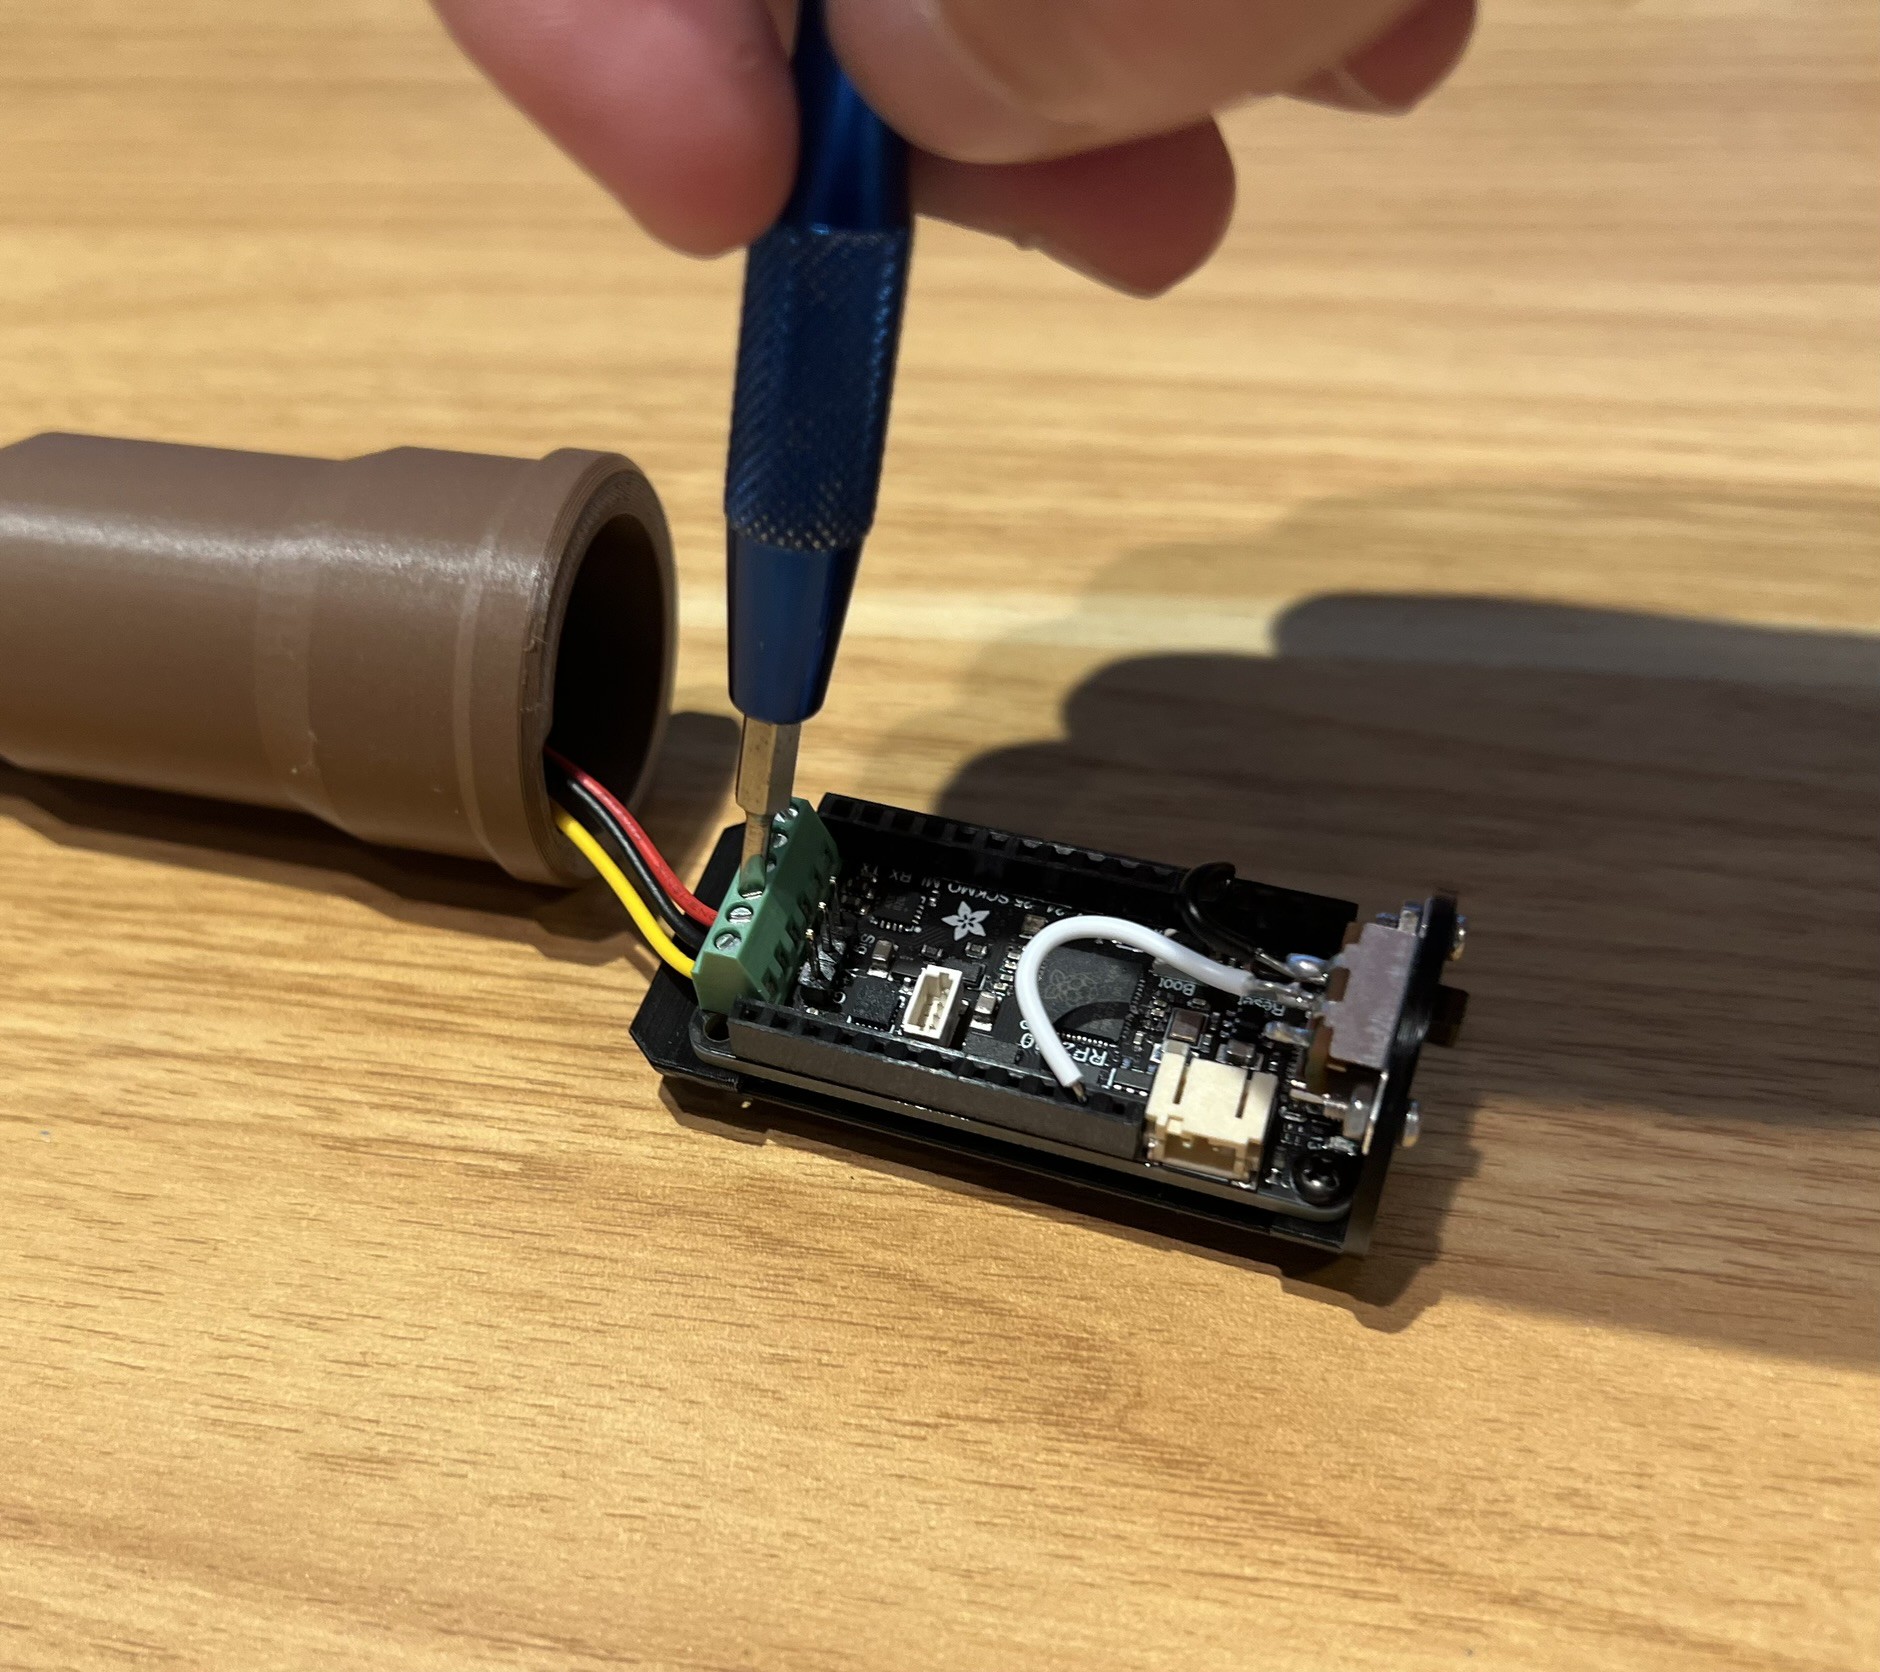
5Connect Neopixel wires to feather
![]()
-
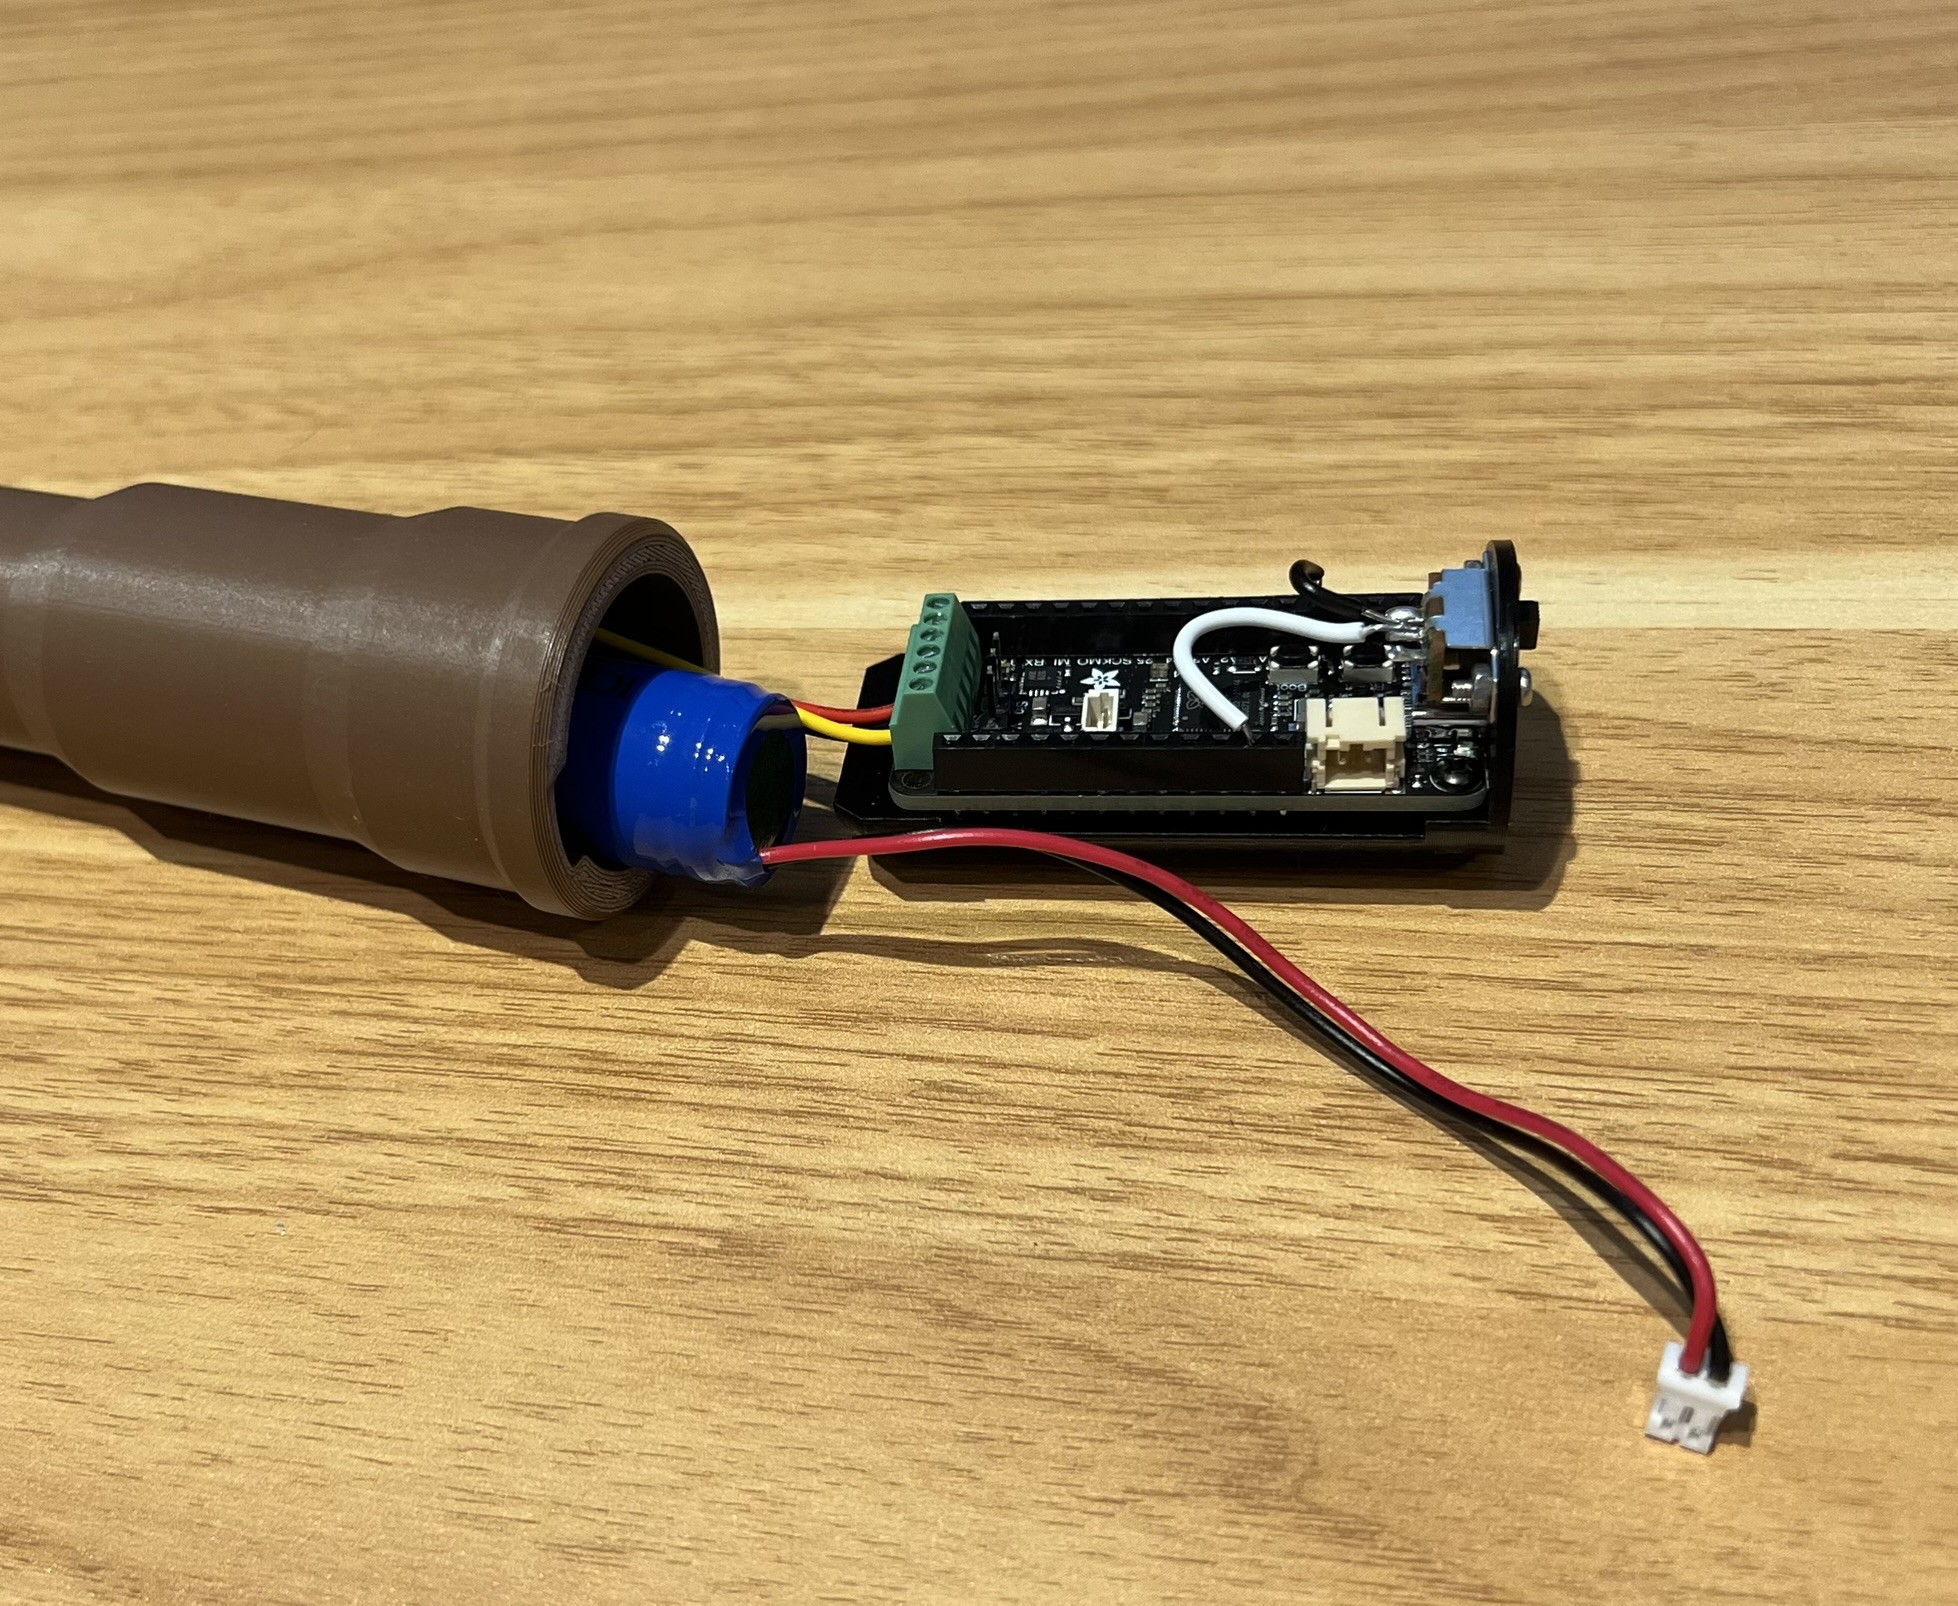
6Insert battery into wand and connect to feather
![]()
-
7Squish everything together
![]()
-
8Install last screw...
![]()
-
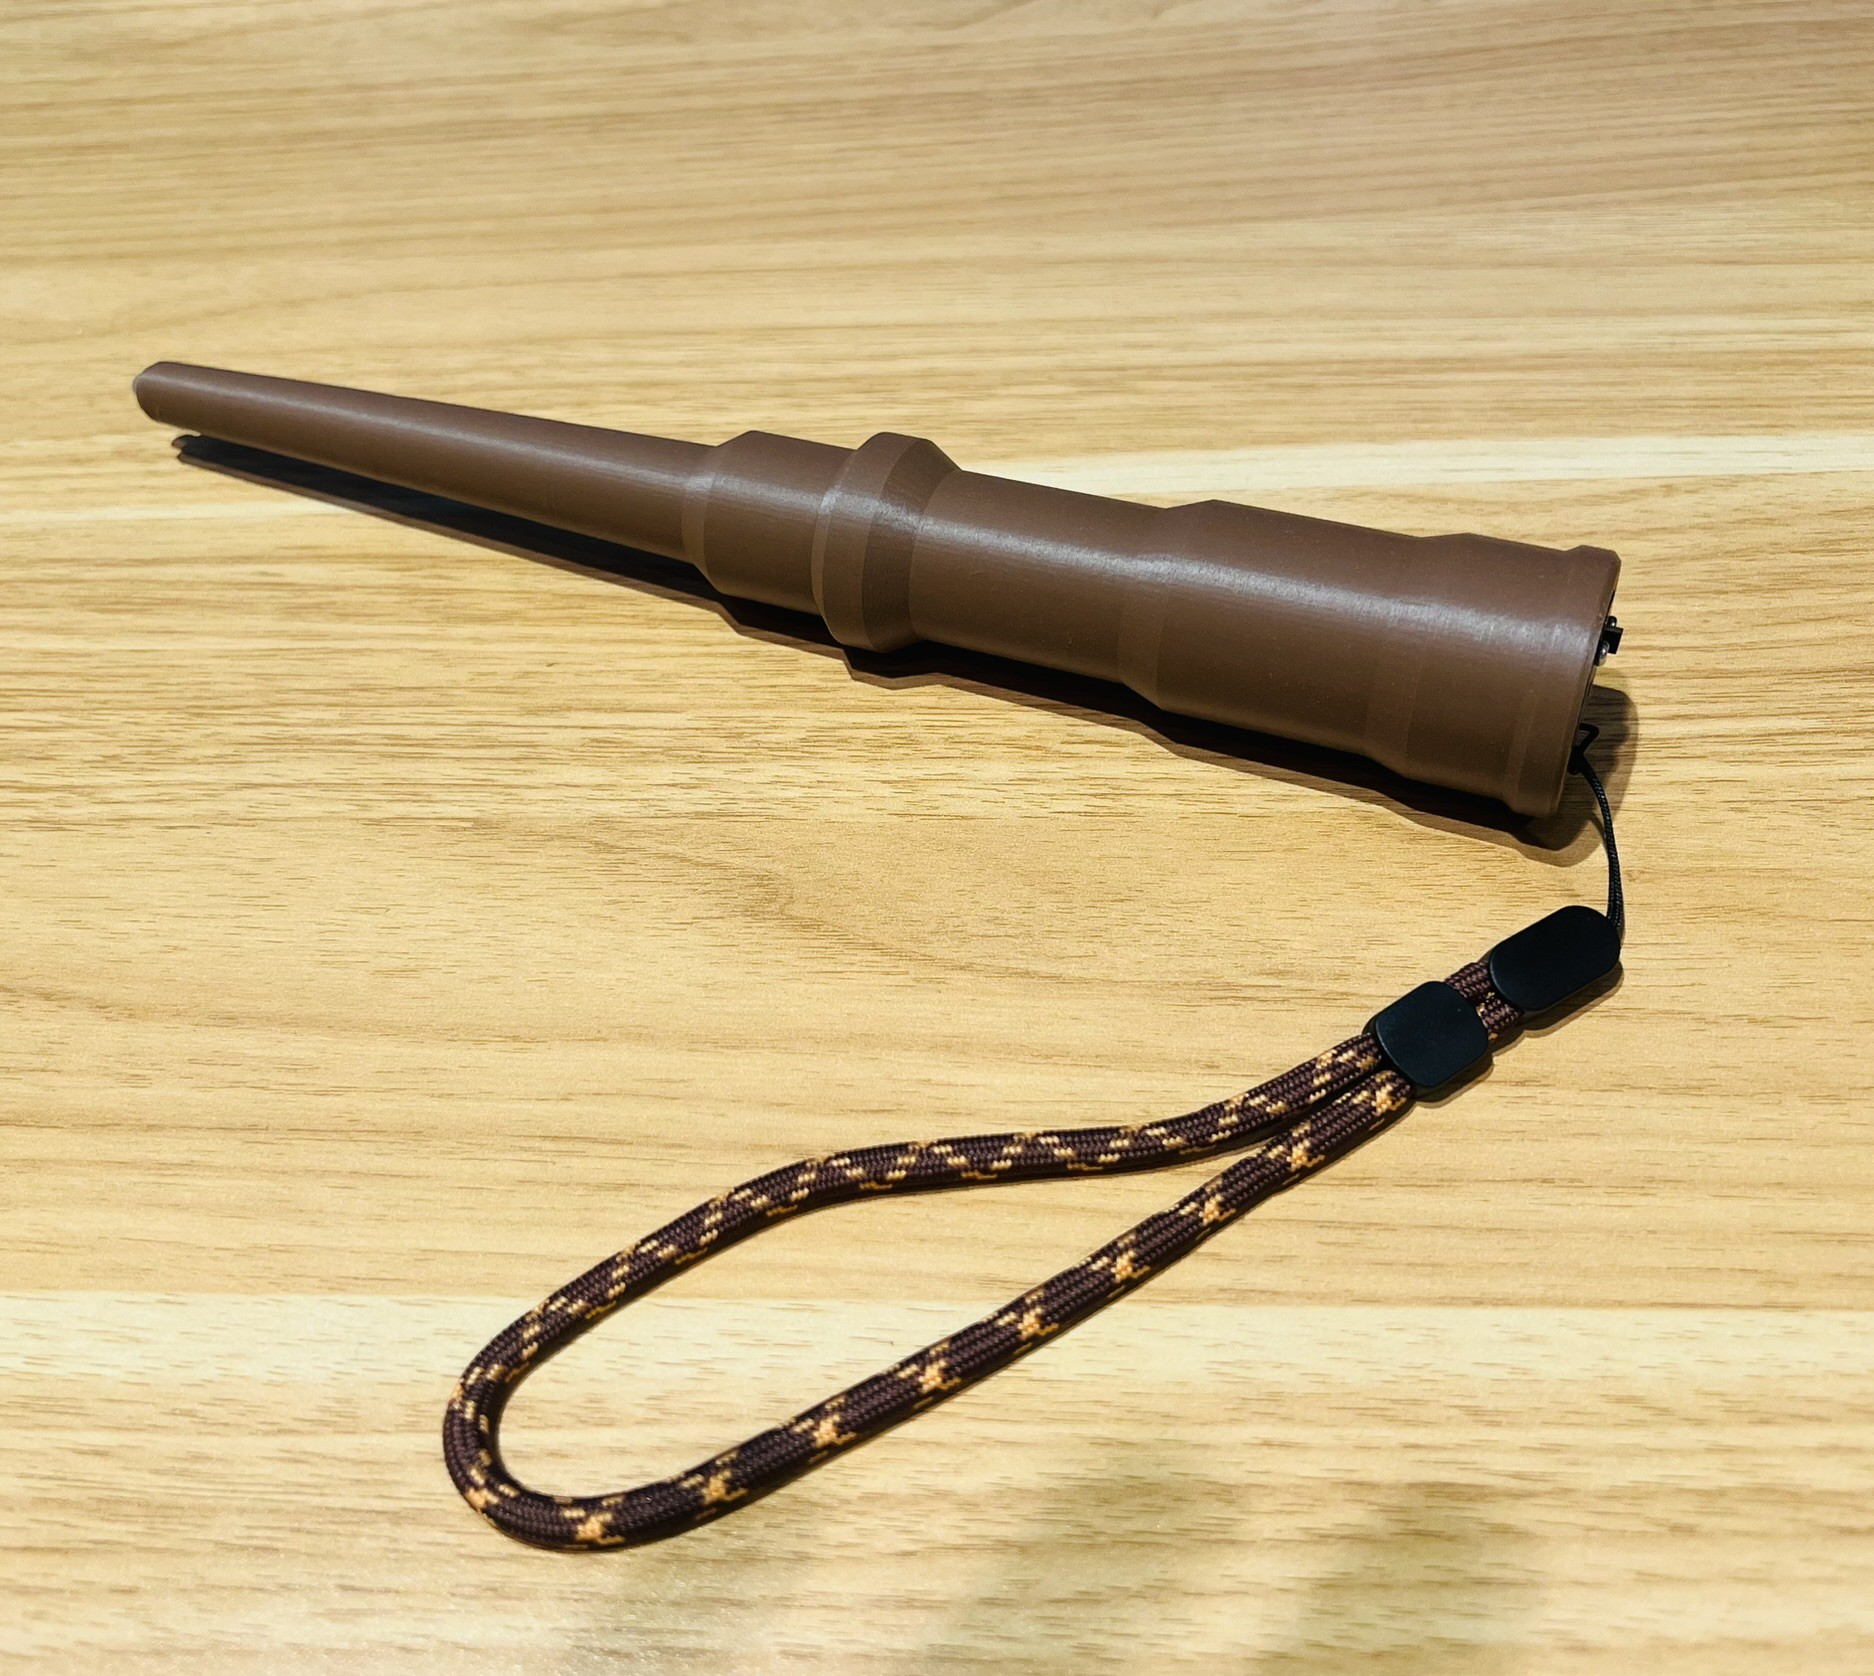
9(optional): Install wrist strap
![]()
-
10Program feather with Arduino sketch and start casting spells!
![]()
Electronic Harry Potter Wand
Using my Ravenclaw skills, I decided to conjure up a custom electronic wand using the Adafruit RP2040 Prop-Maker Feather!
 Mike Kushnerik



Discussions
Become a Hackaday.io Member
Create an account to leave a comment. Already have an account? Log In.