 Michael Gardi
As with my previous MacroPad, I laser cut a piece of 3 mm acrylic (red) to fit into the top panel. This makes a big difference in reducing the grating feel/noise when pushing in a Tile Holder Button. Mount the laser cut button guide into the top piece of the MacroPad base with a little CA glue as pictured below.

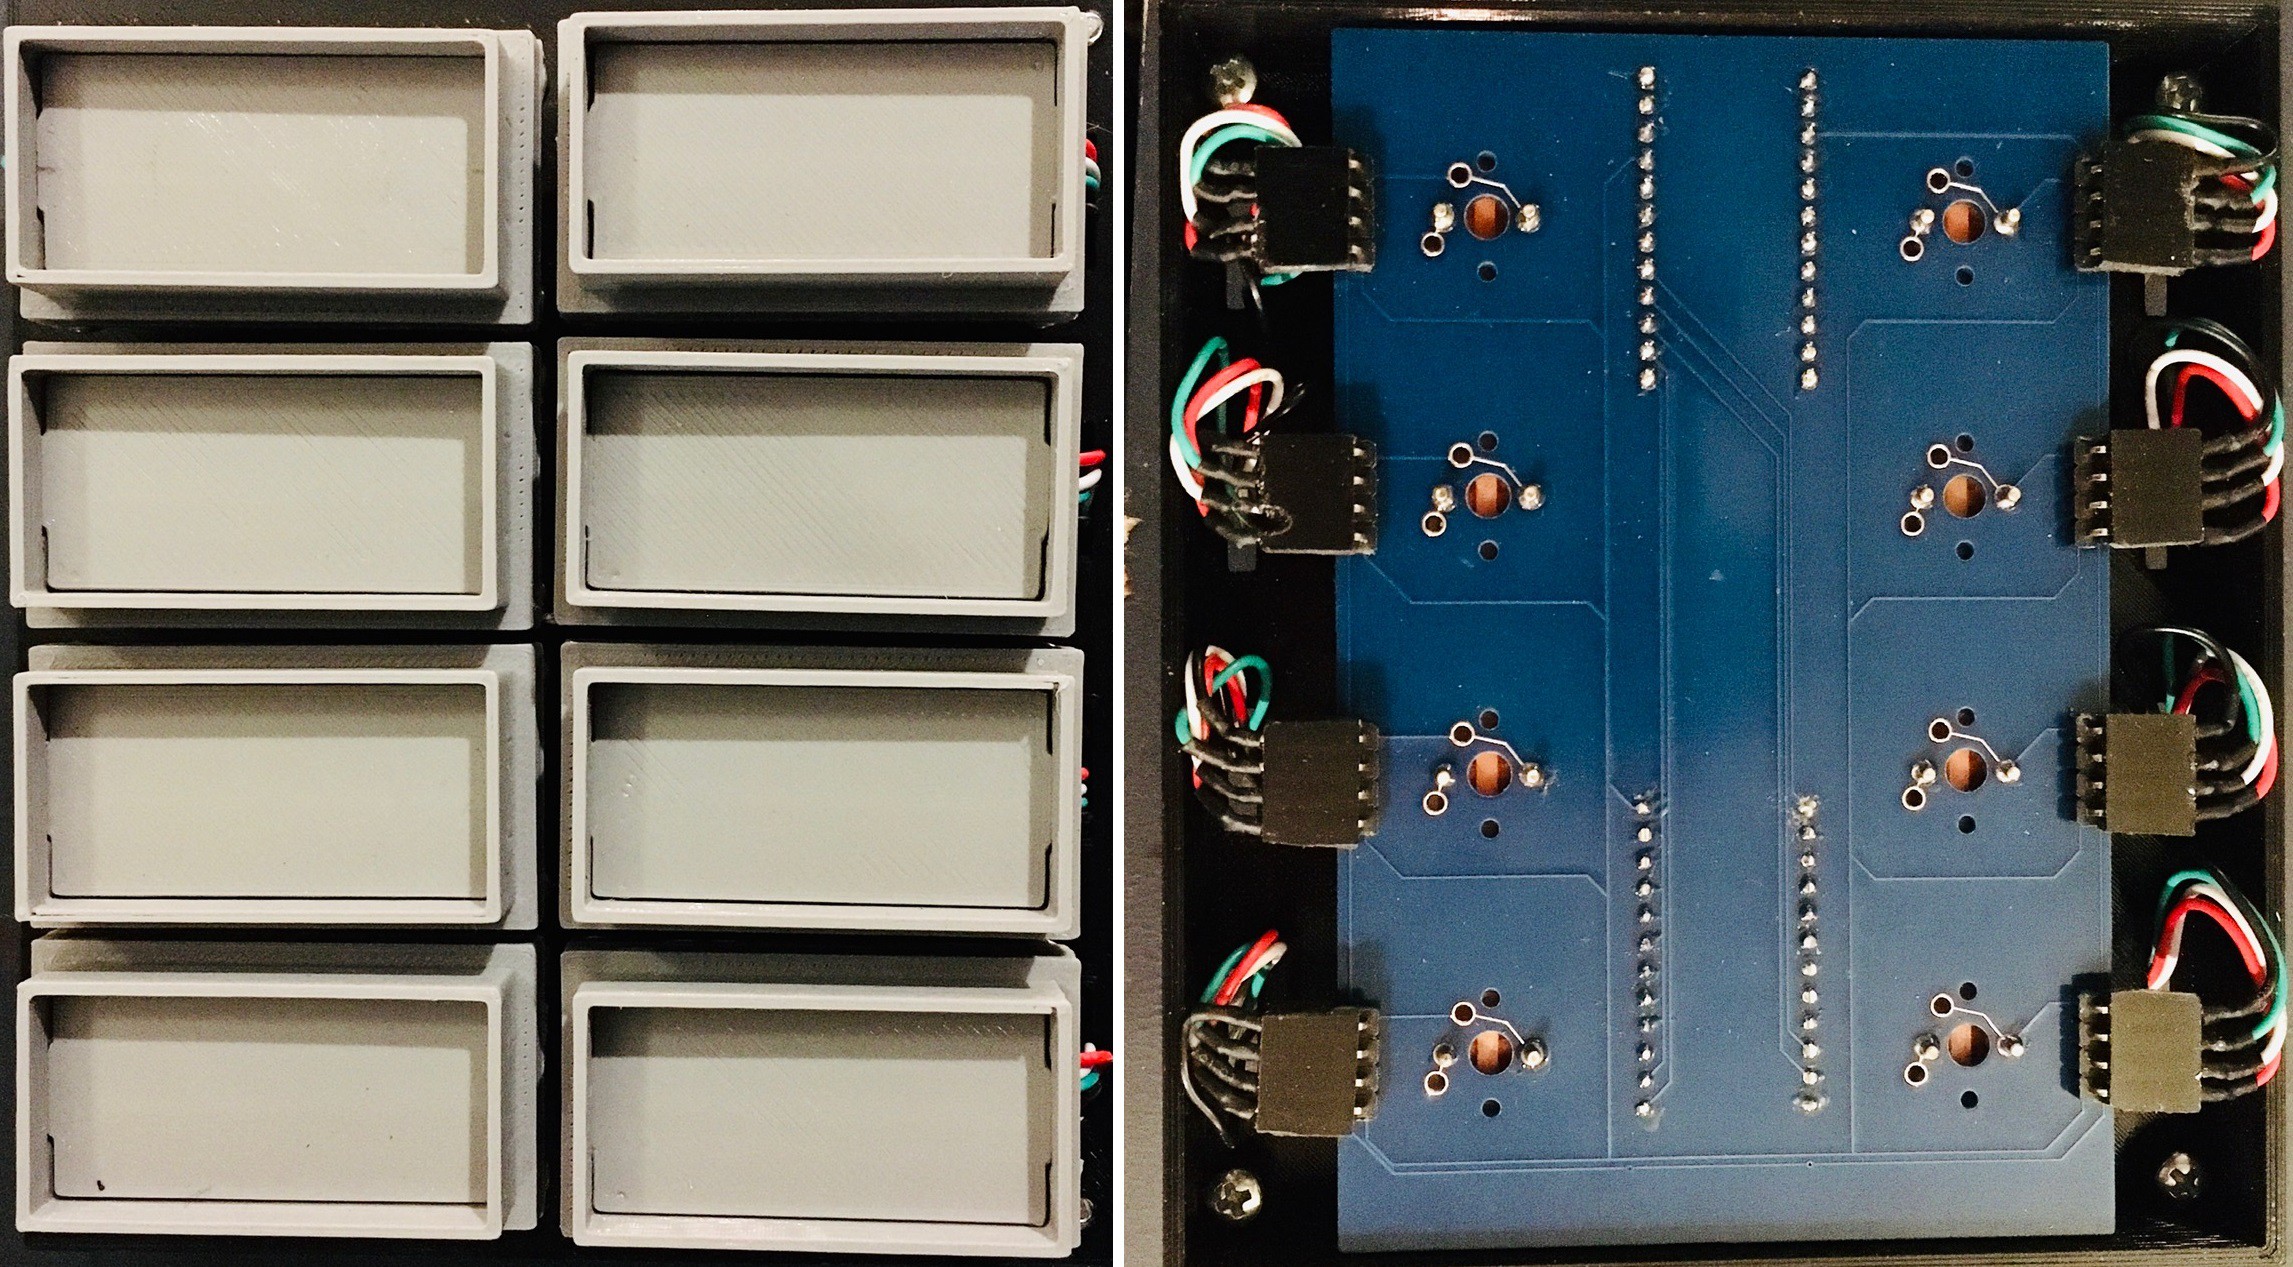
To the bottom part of the MacroPad base I glued in some caps that slide on top of the Fubata switches and hold the stabilizer wires in place for the buttons.
Then I installed the Tile Holder Buttons. Push the wires down the slot beside the switch. It's a little tricky sliding the stabilizer wires into their holes as you press the button in place on top of the switch. I used a pair of tweezers to guide the wires and got better with each one.
It's easiest if you work from back to front.
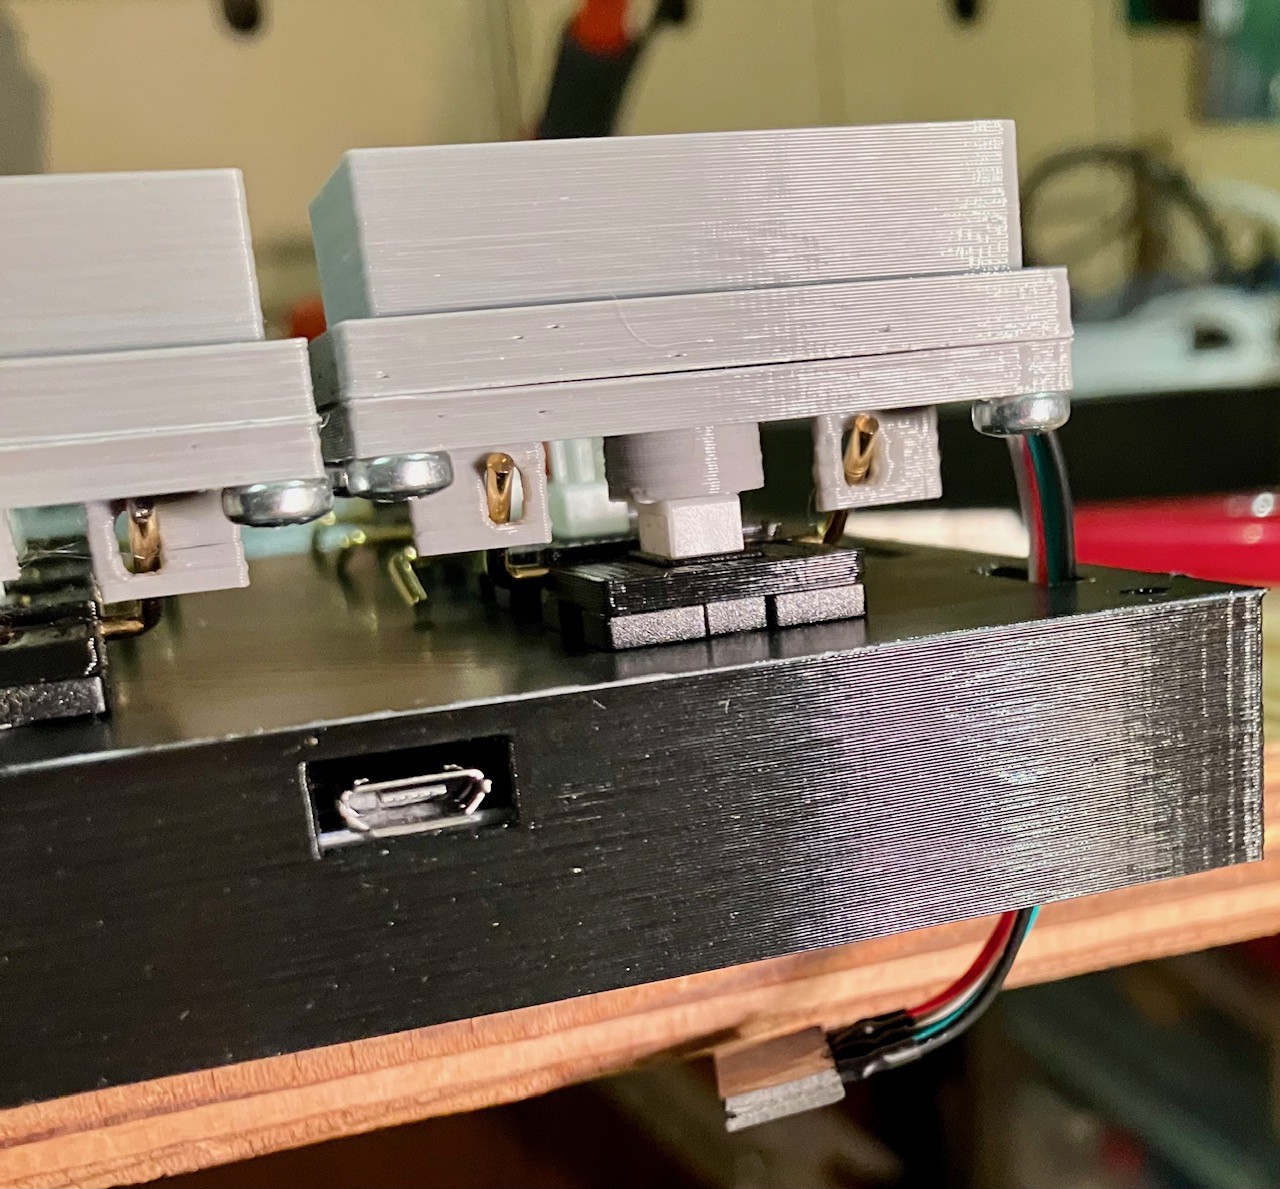
When all of the Tile Holder Buttons are in place , flip the base and plug in the wire connectors. The black wires should be at the top.
Then I attached the top of the base over the buttons with 4 M3 x 6 mm bolts and added some rubber feet.
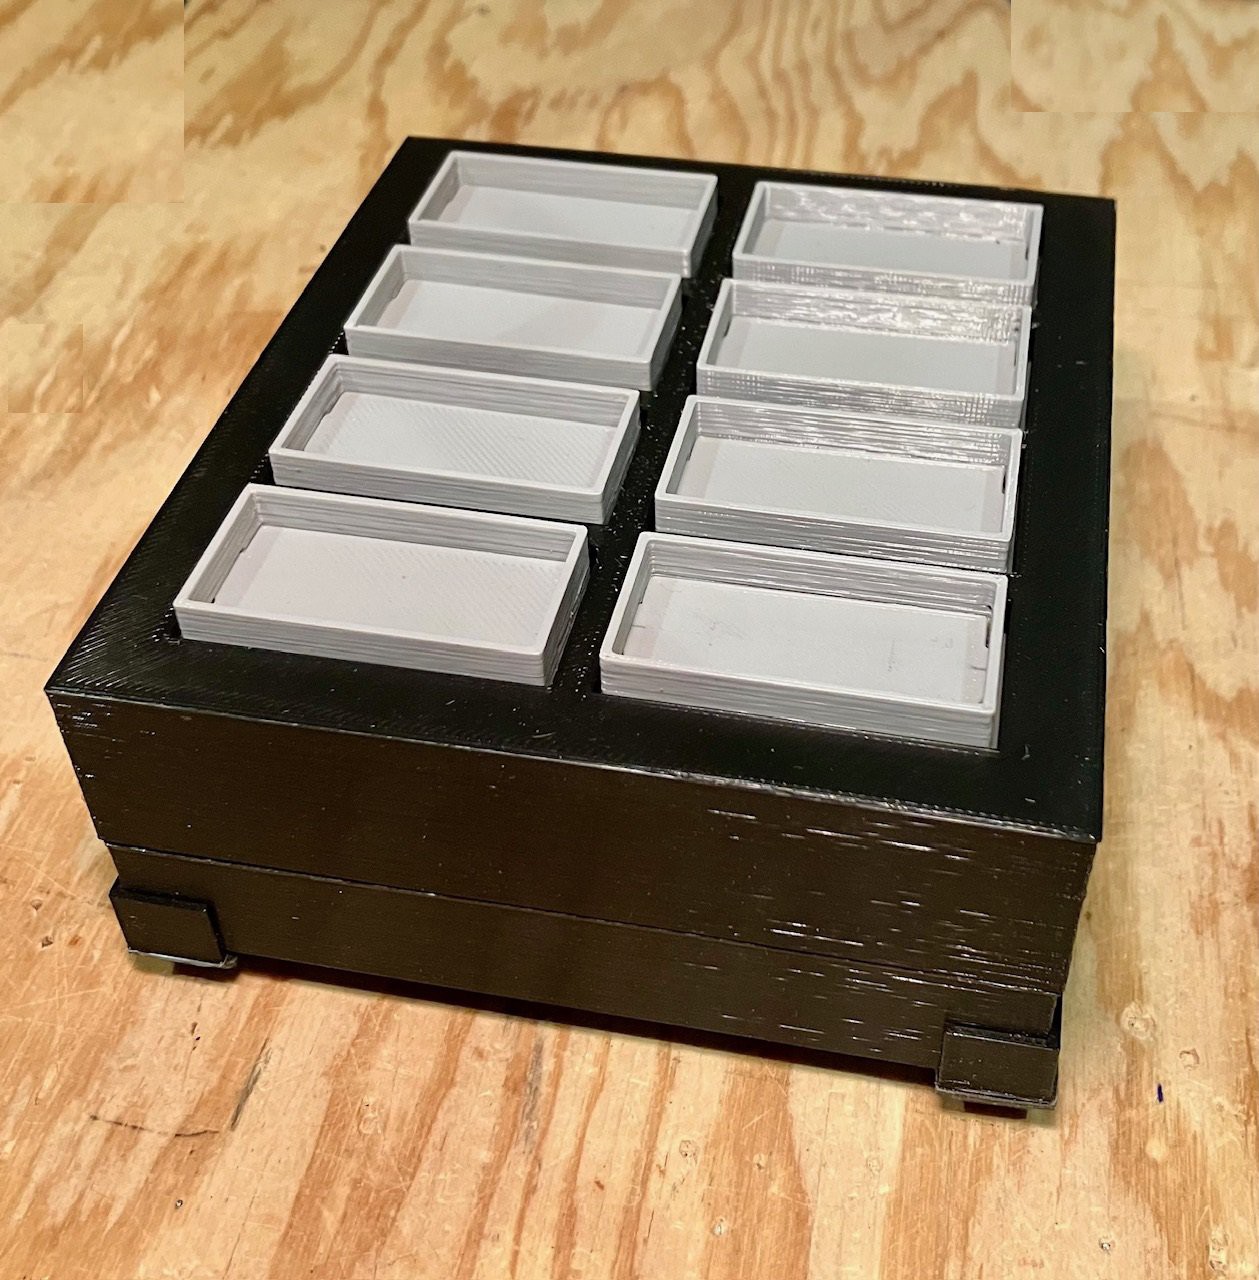
That's it. Ready for some tiles and testing.
Discussions
Become a Hackaday.io Member
Create an account to leave a comment. Already have an account? Log In.