 makeTVee
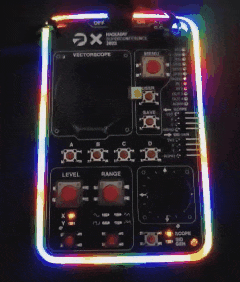
To add some blinky lights to the 2023 Supercon badge, I prepared a resin printed frame based on the Gerber files before the event and hand-soldered 280 WS2812B-1010 LEDs into this frame during the con.
Adding 280 WS2812B-1010 addressable LEDs to a frame diffuser and hand-soldering them during the con.
Already have an account? Log in.
To make the experience fit your profile, pick a username and tell us what interests you.
To add some blinky lights to the 2023 Supercon badge, I prepared a resin printed frame based on the Gerber files before the event and hand-soldered 280 WS2812B-1010 LEDs into this frame during the con.
frame_led.stlStandard Tesselated Geometry - 3.05 MB - 11/20/2023 at 19:08 |
|
This is my badge hack for the 2023 Supercon badge.
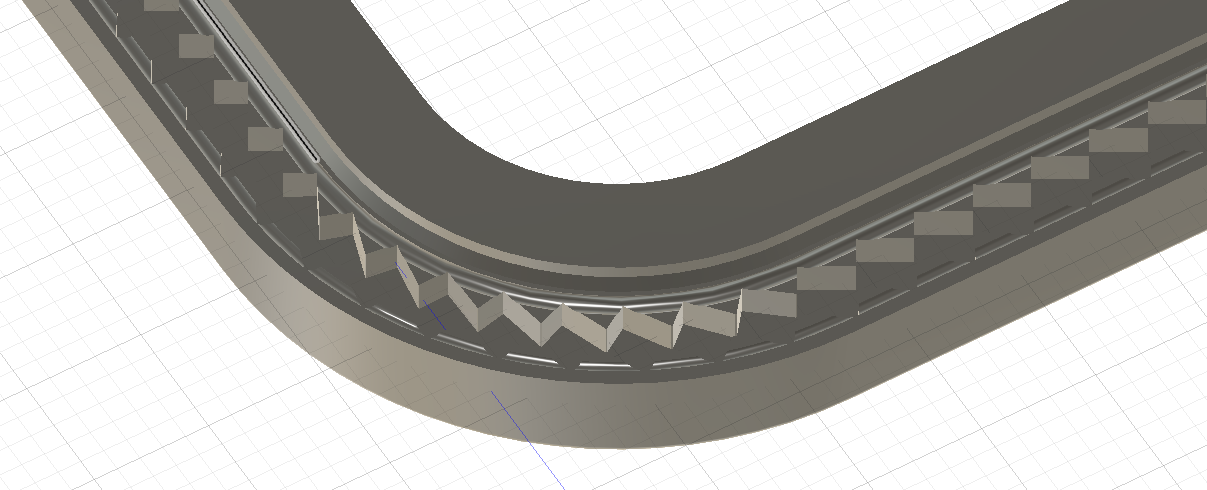
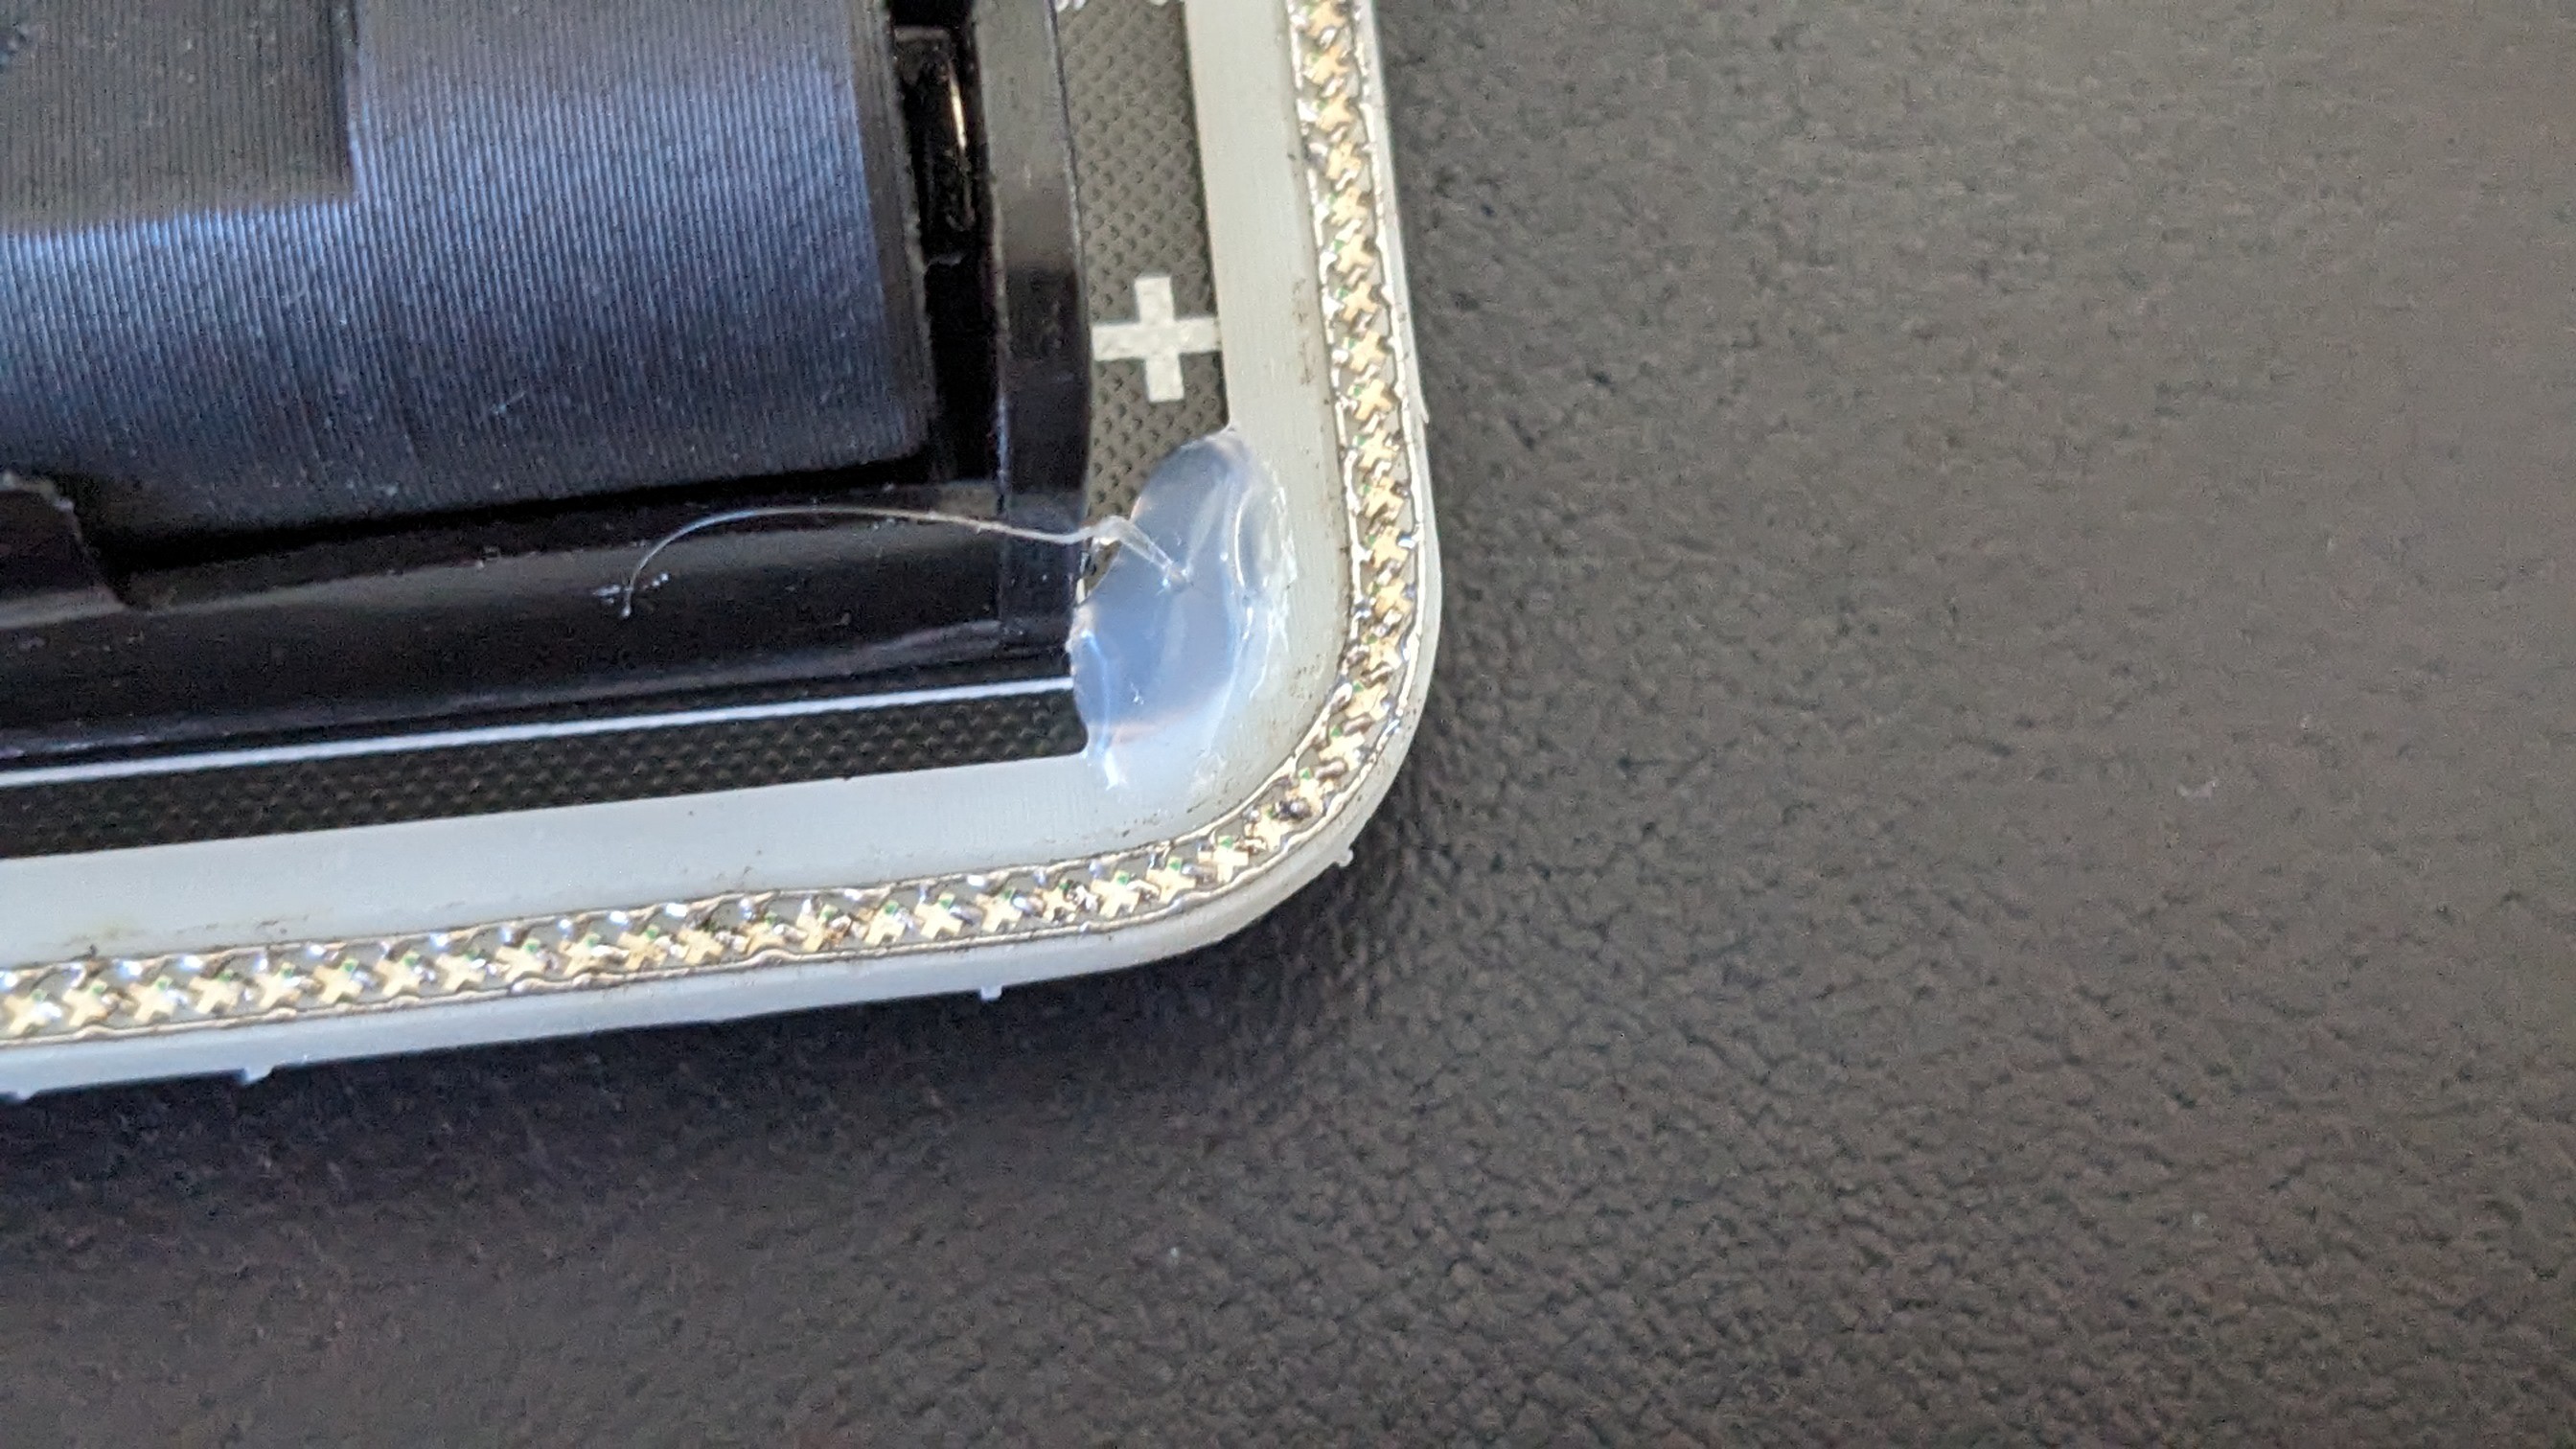
Before the con, I designed a LED frame in Fusion360 for resin printing based on the published Gerber-Files.
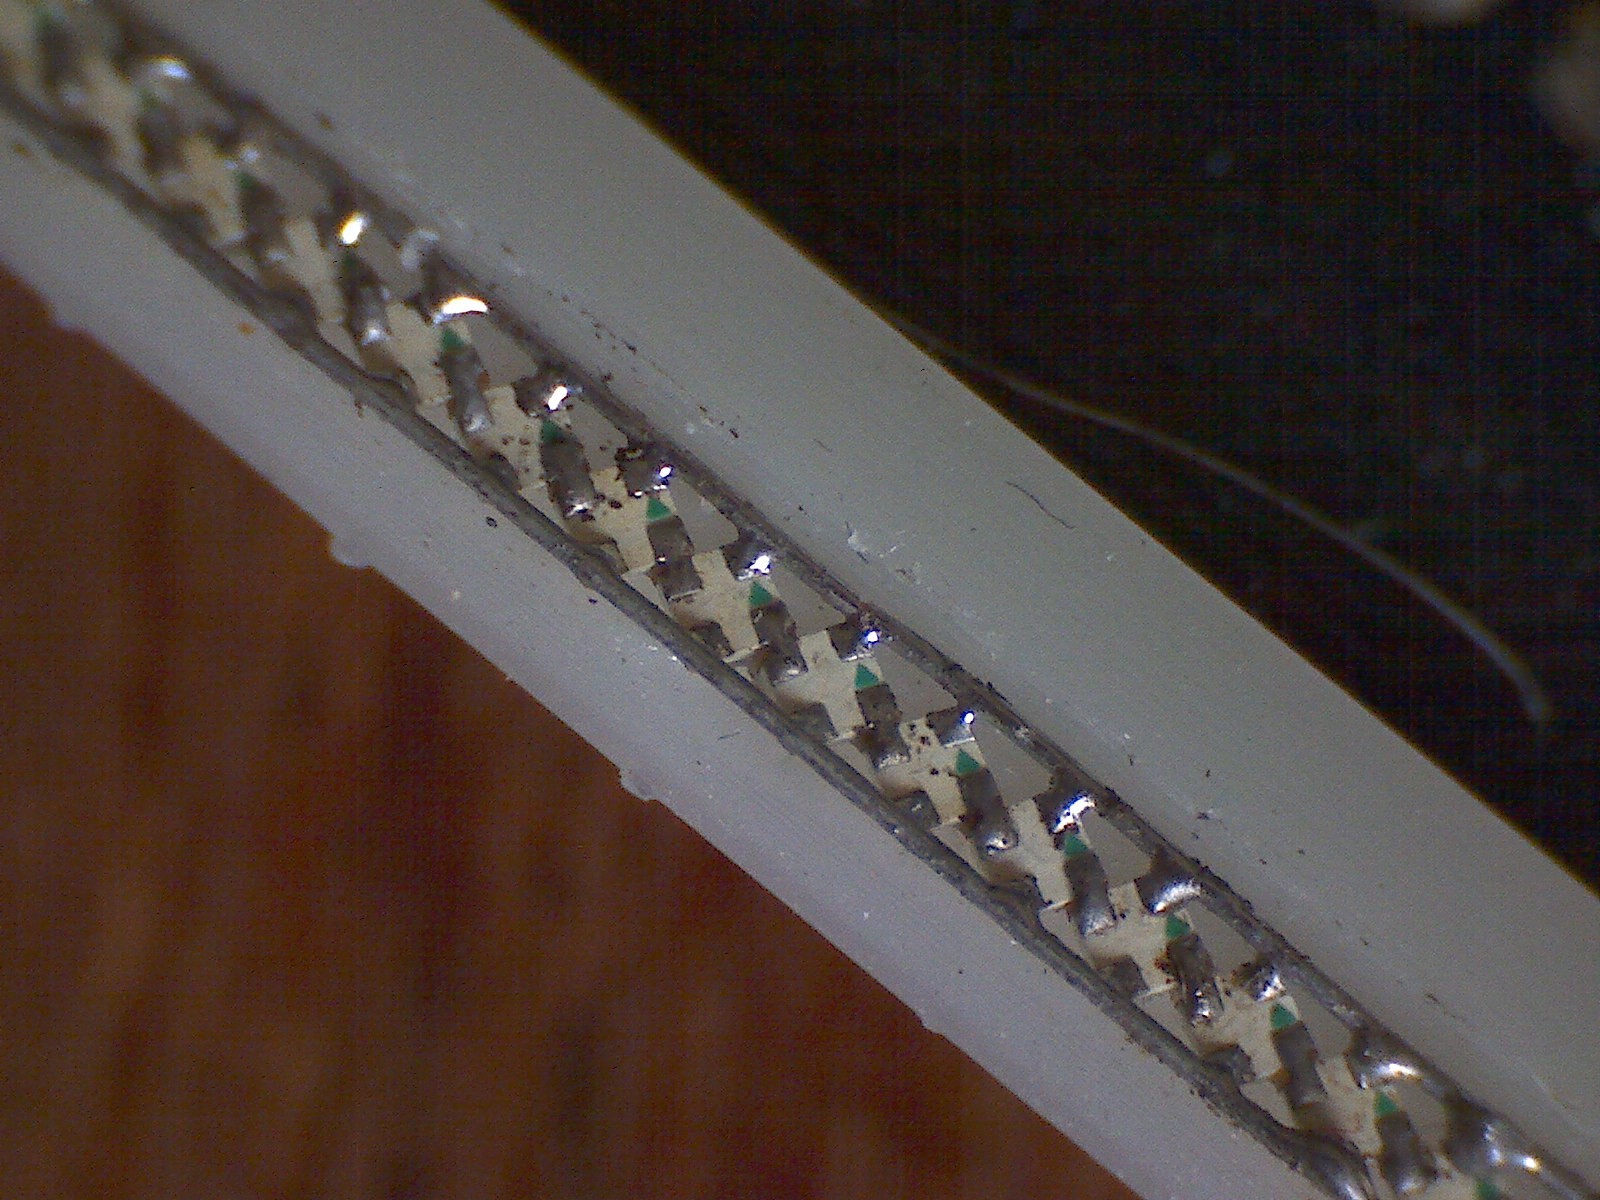
This frame has space for 280 WS2812B LEDs in 1010 package (1x1mm). There are cut outs for the on/off switch and the Pi Pico.
The holes for the LEDs are rotated by 55° to make soldering easier when bridging DIN and DOUT. GND and VCC can be bridged with wires.
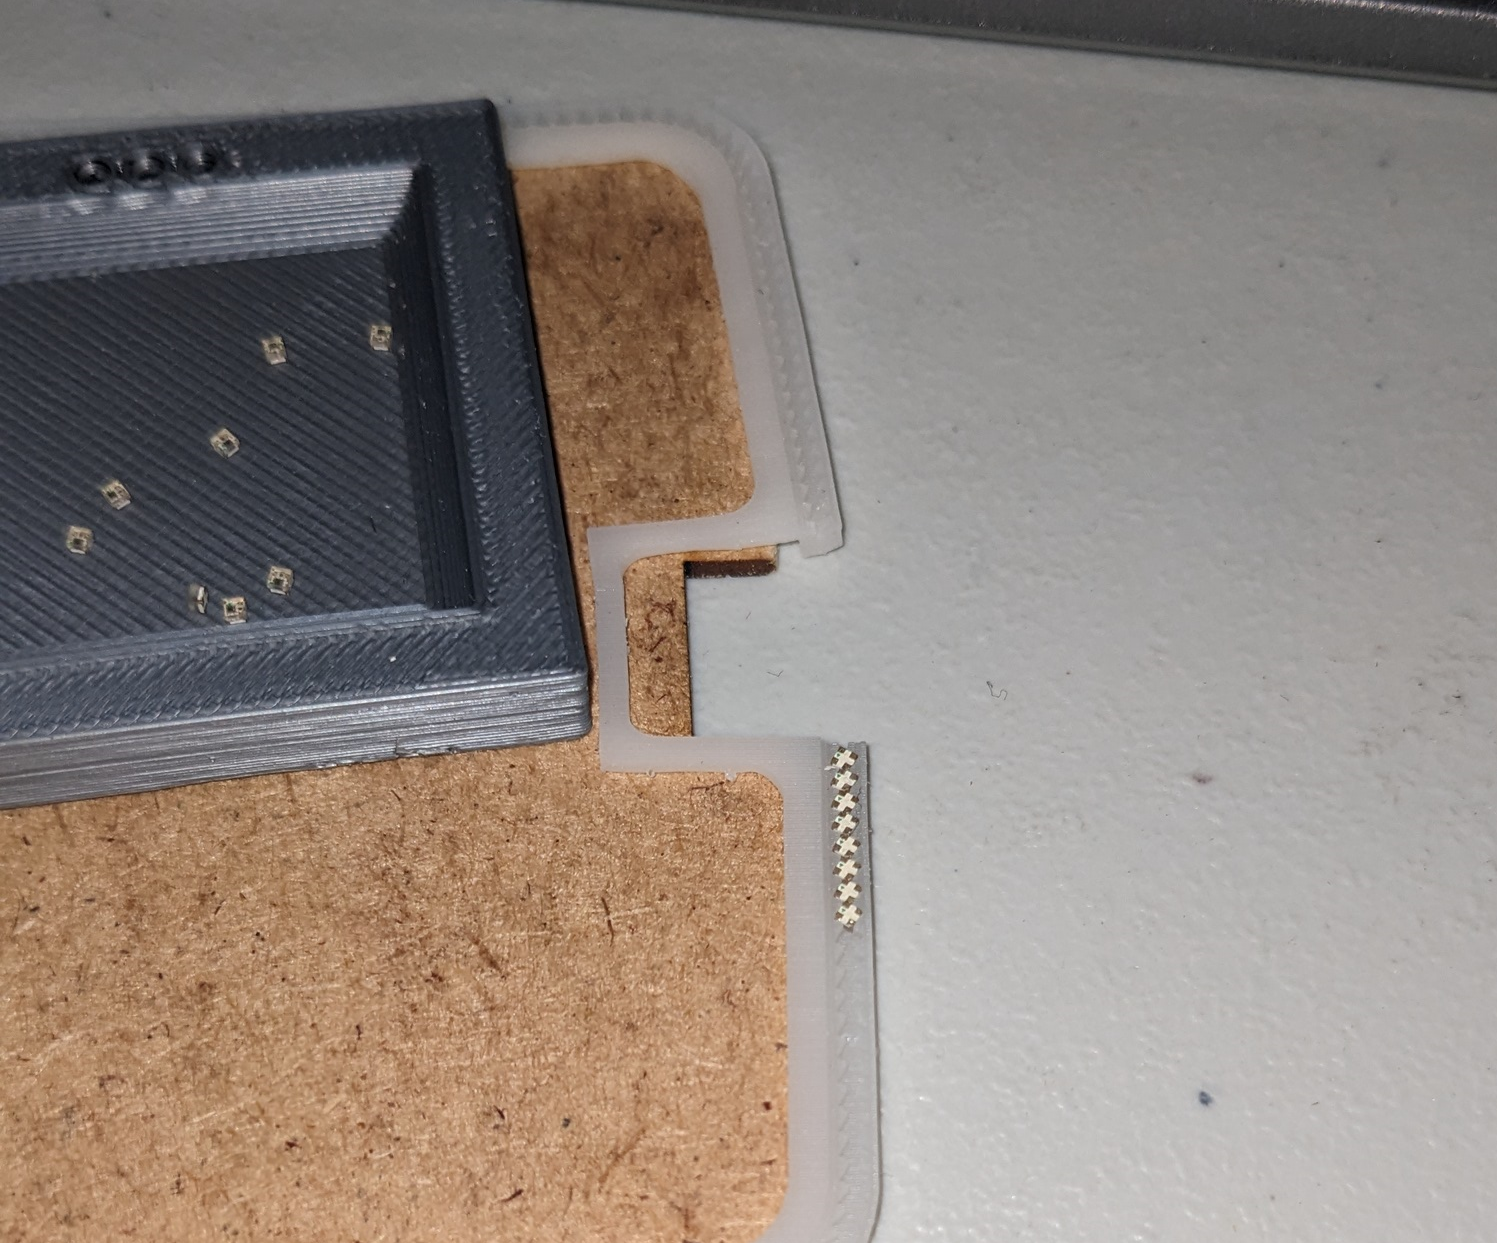
One day before leaving to LA, I printed the frame on a resin printer. with white resin. Had some issues with warping, so the frame is slightly shorter on one side. Also laser cut a MDF dummy for holding the frame during transport and assembly. Placing the LEDs and hand-soldering happened during the con on Friday and Saturday.
Used a PINECIL USB-C soldering iron with the smalles tip available and 3.5x magnifying glasses. The bridging of GND and VCC was done with a 30 Gauge wire from a roll.
First successful light-up was on Saturday evening after 1.5 days of soldering.
Some close-ups under the microscope made after the con.
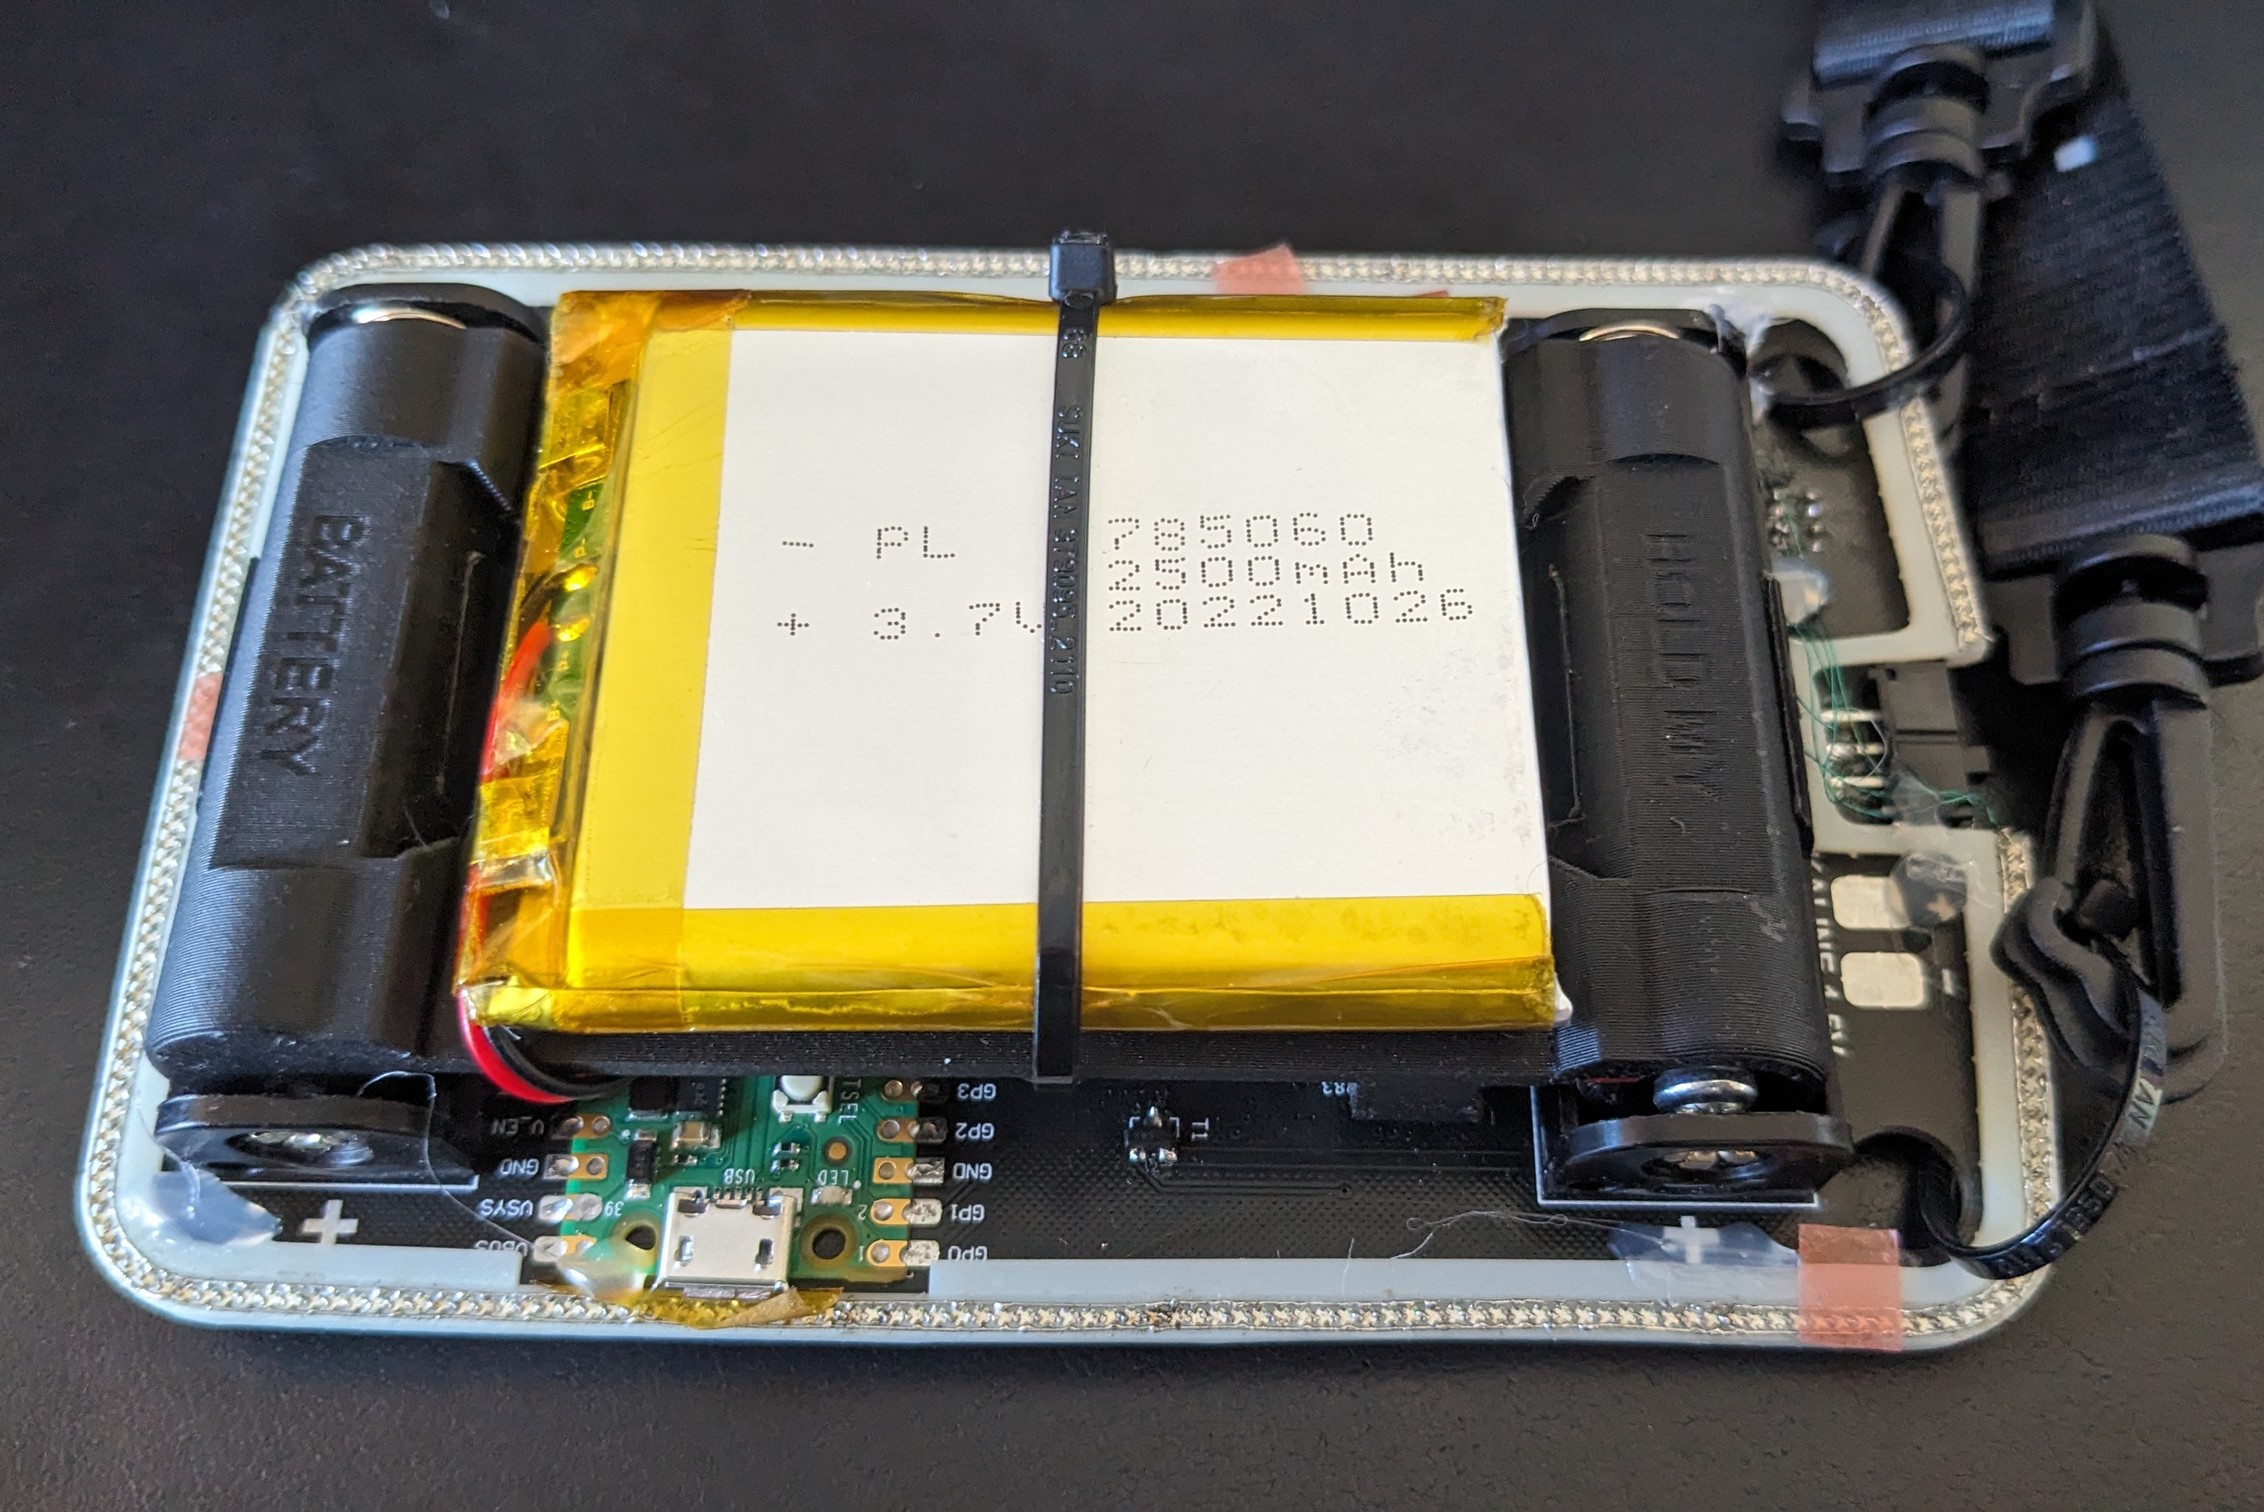
The first LED is connected to GPIO28 of the Pico. Animations are now running in Micropython using this lib and the original firmware from Supercon. Had to increase the OS update frequency to get proper anmiation update rate. Brightness of the LEDs is around 25%, but because of the high density, this is already super bright..
Also, I designed a LiPo battery holder for the badge to handle the current for the LEDs. The files for the battery holder are published at printables.com.

Looks really nice. Congratulations, especially on the steady hand for soldering those 1010.
I have a question about the power requirement. You write you drive the LED at 25%. At full brightness, they draw 60mA. So your 280 leds at 25% should draw 4.2A (if all would be white, worst case). Do you use a LiPo that is rated at 2C continuous discharge? I assume you delive the leds power directly from the lipo, unregulated?

Output current of these 1010 LEDs is 5mA per channel. And of course, I never do full white. Will do some current measurements soon.


 Gerben
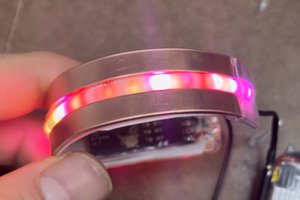
 Daniel Young
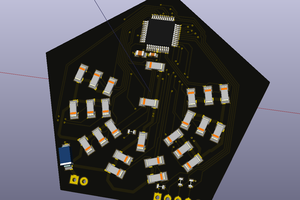
 Josh Valdes
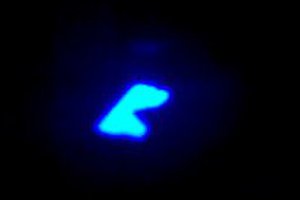
 jay-t
jay-t
Very, very impressive.
Ever get around to those current measurements?