-
1Step 1
I'm building a sauna in my shed. I've had a desire to build a sauna for a long time, but I never got around to it. I'm living in a rented house, but the shed is basically free for me to use, since I've made lots of repairs etc to it.
My partner doesn't really like sauna's that much, so this sauna is basically going to be a one-person sauna. However, making a bigger sauna takes the same steps, but uses more material, a bigger heater, and probably also a dedicated 3-phase power connection. Whereas mine can just be connected to a normal power socket that can deliver up to 3 KW, more than enough for the 4 cubic metre sauna that I'm building.
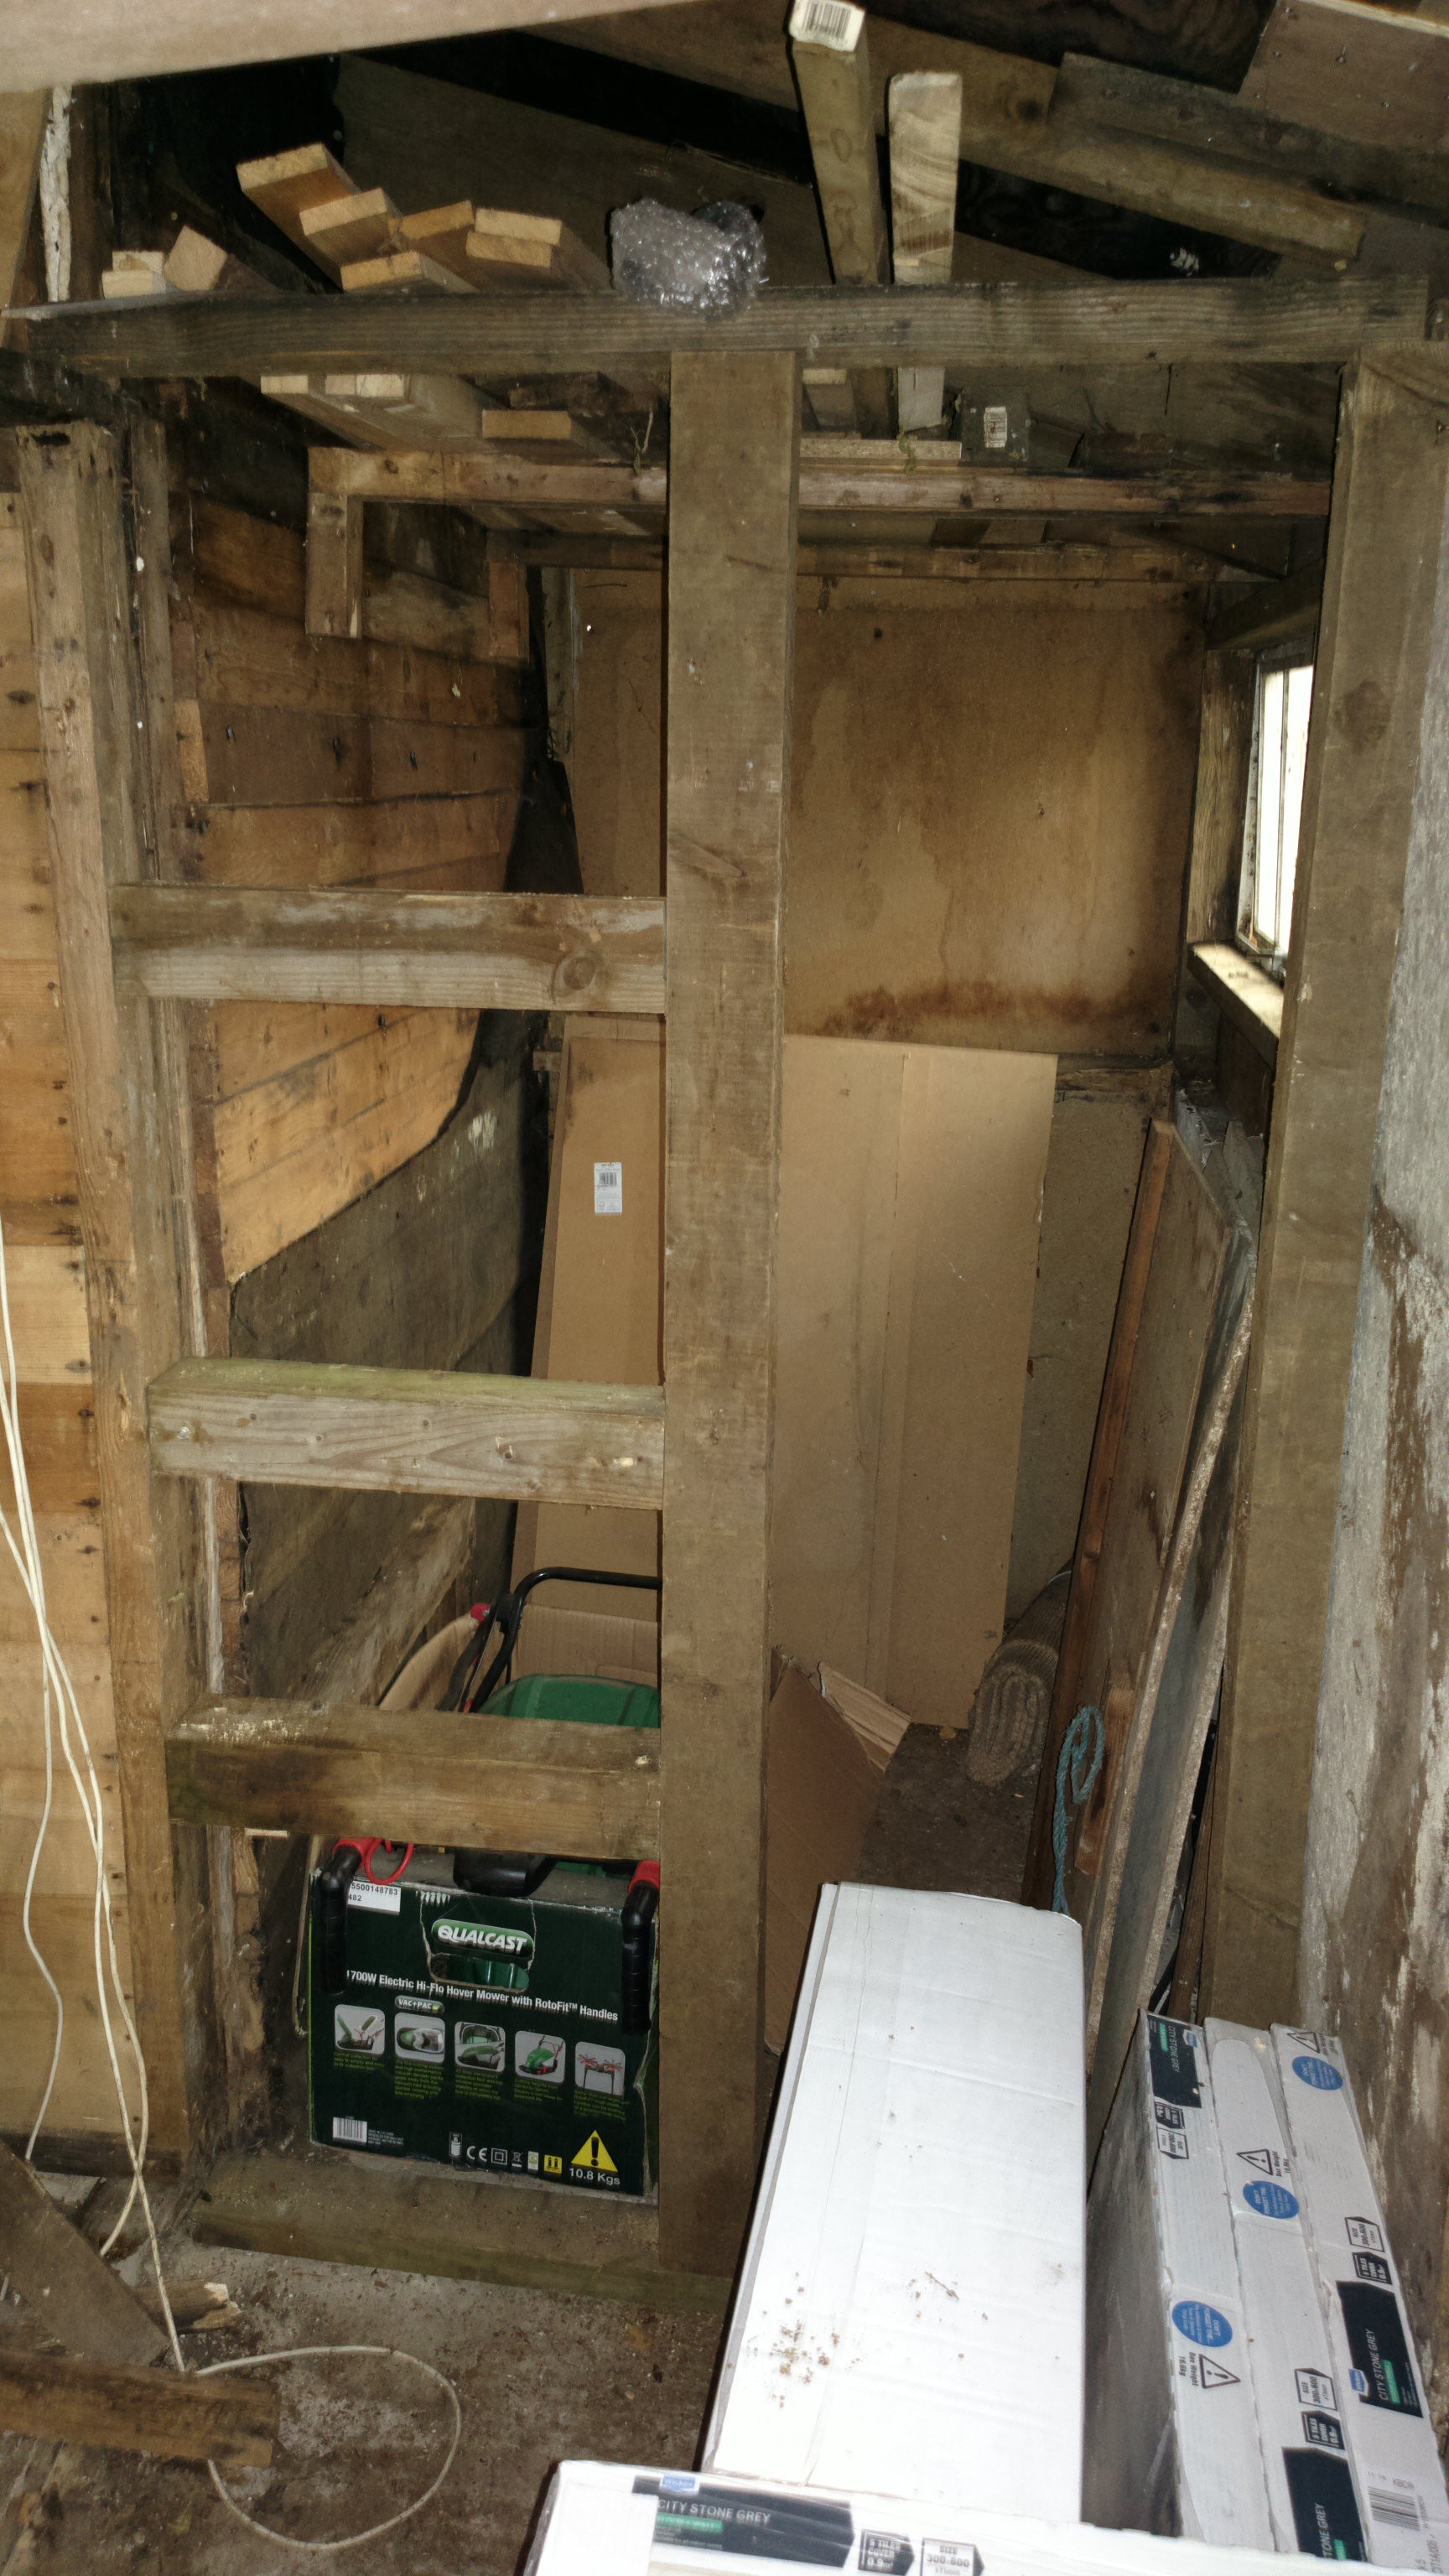
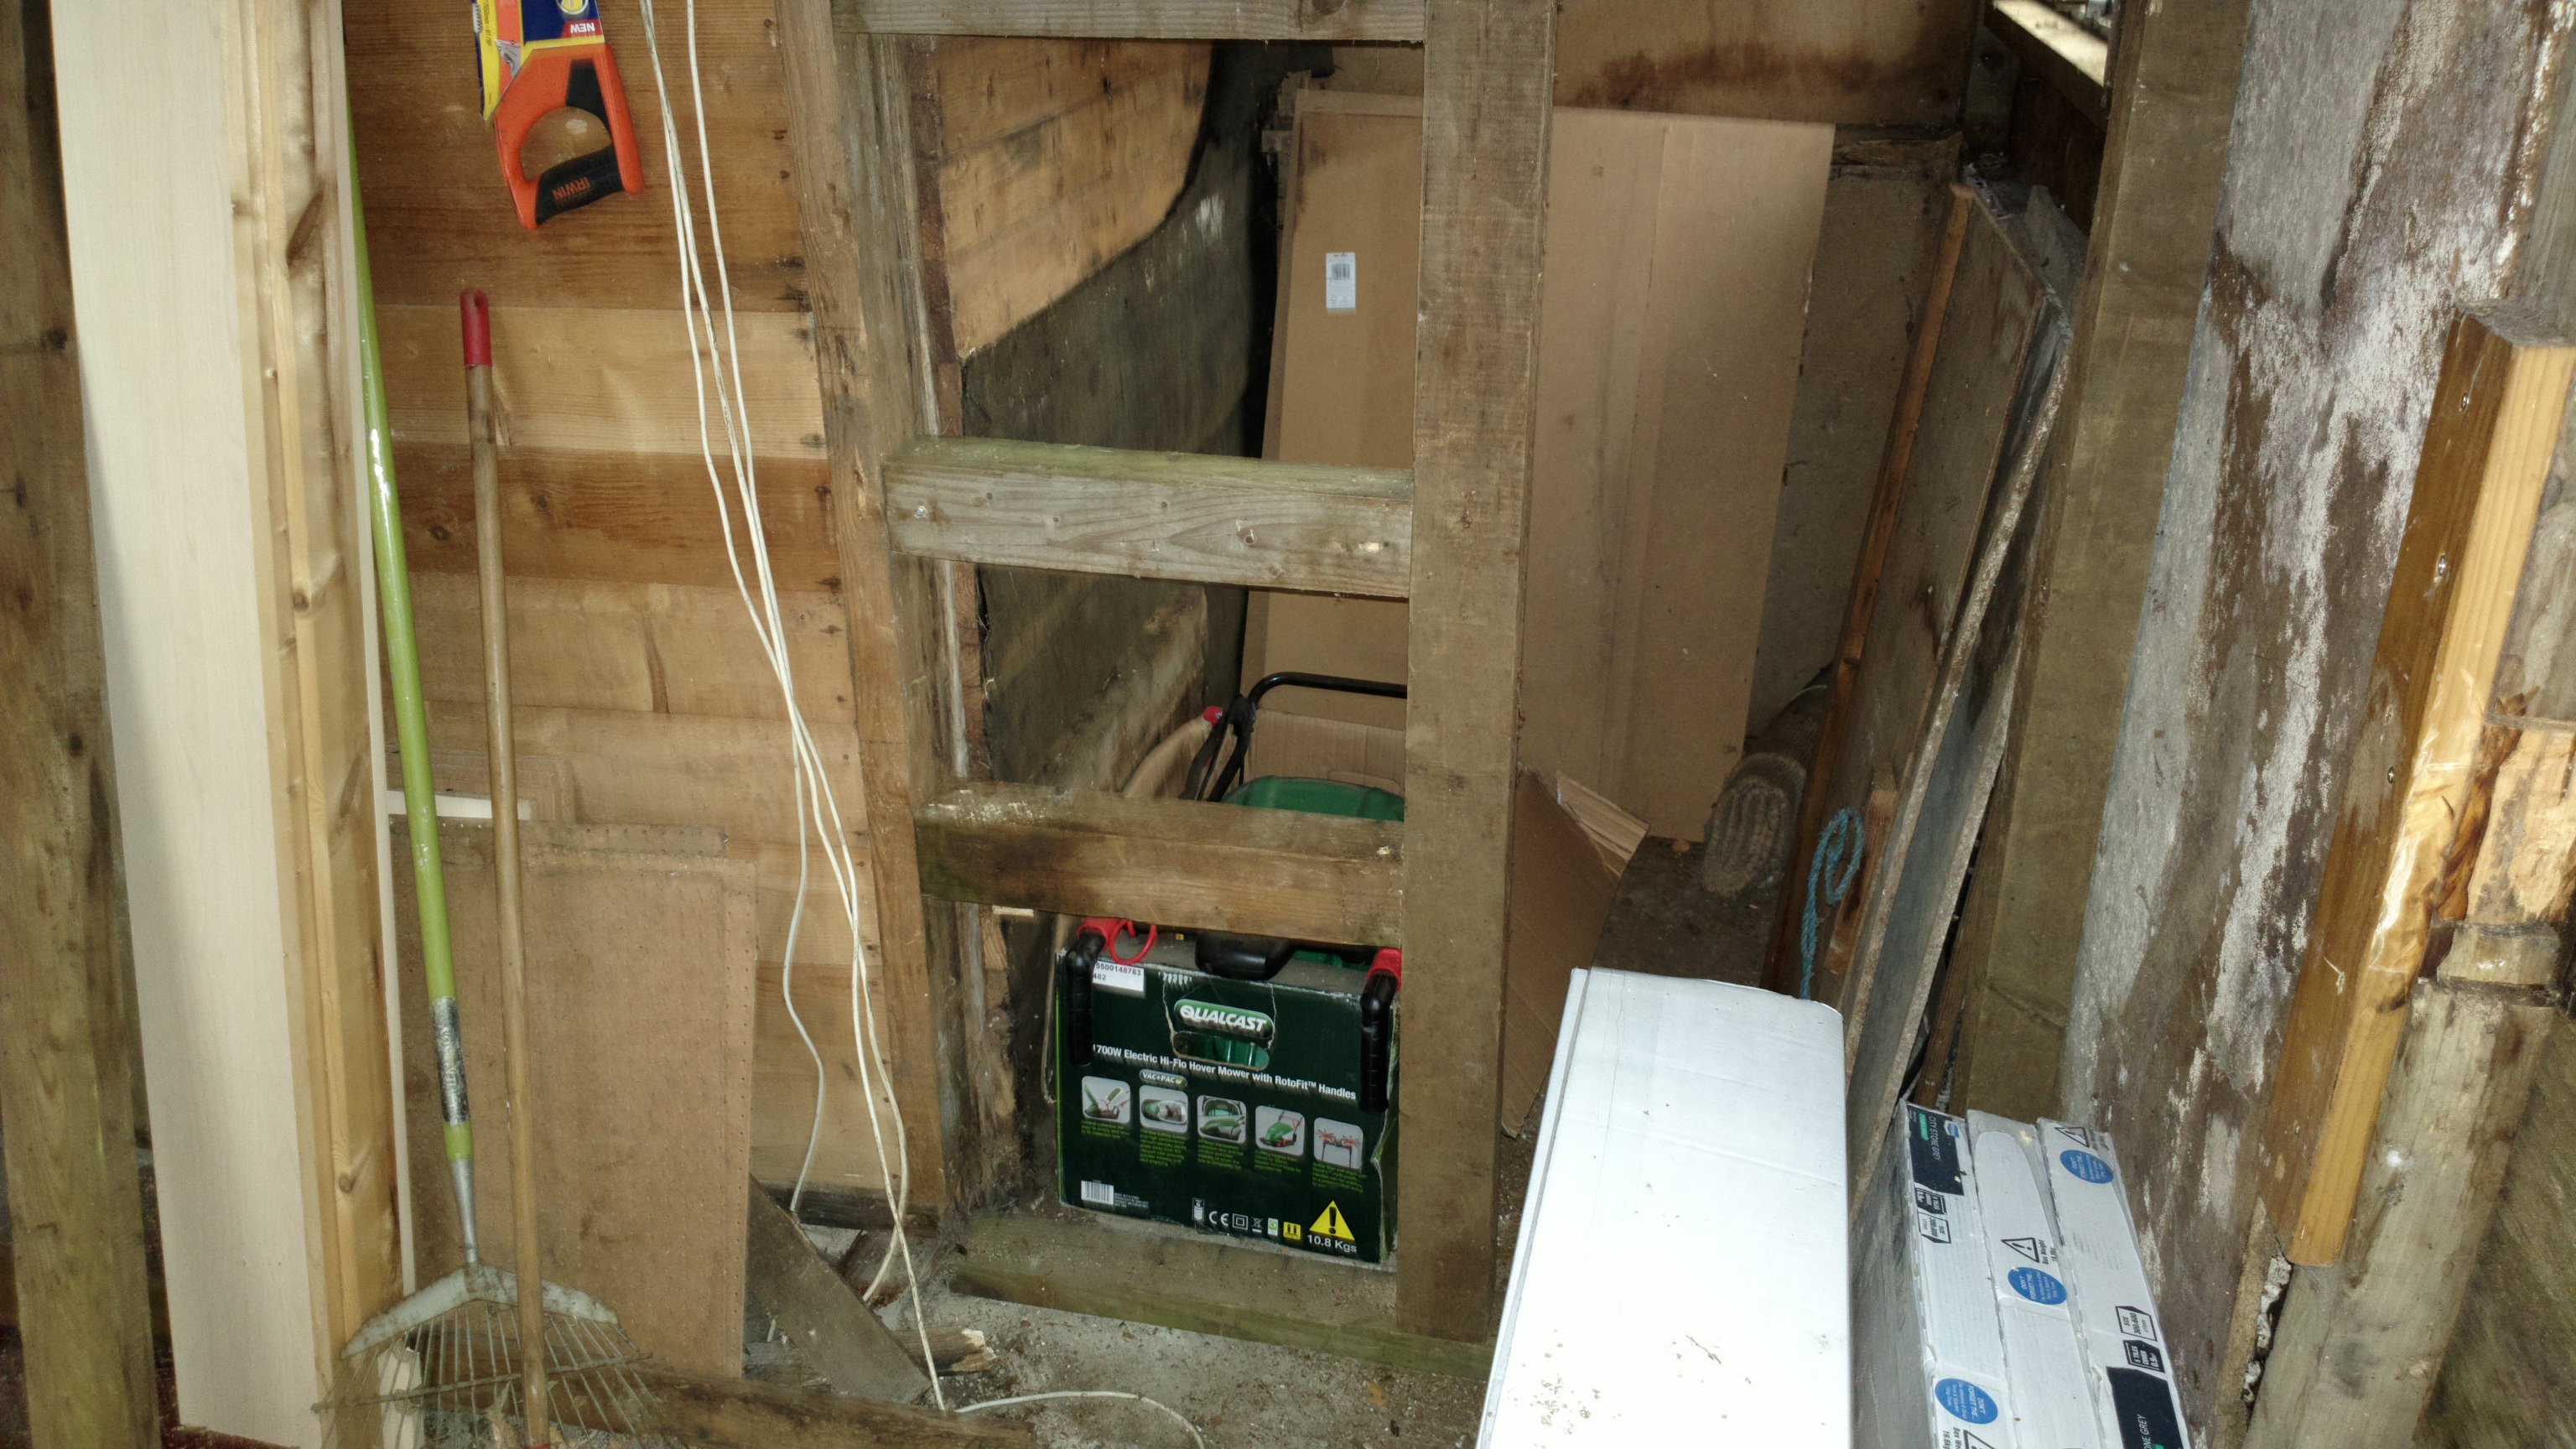
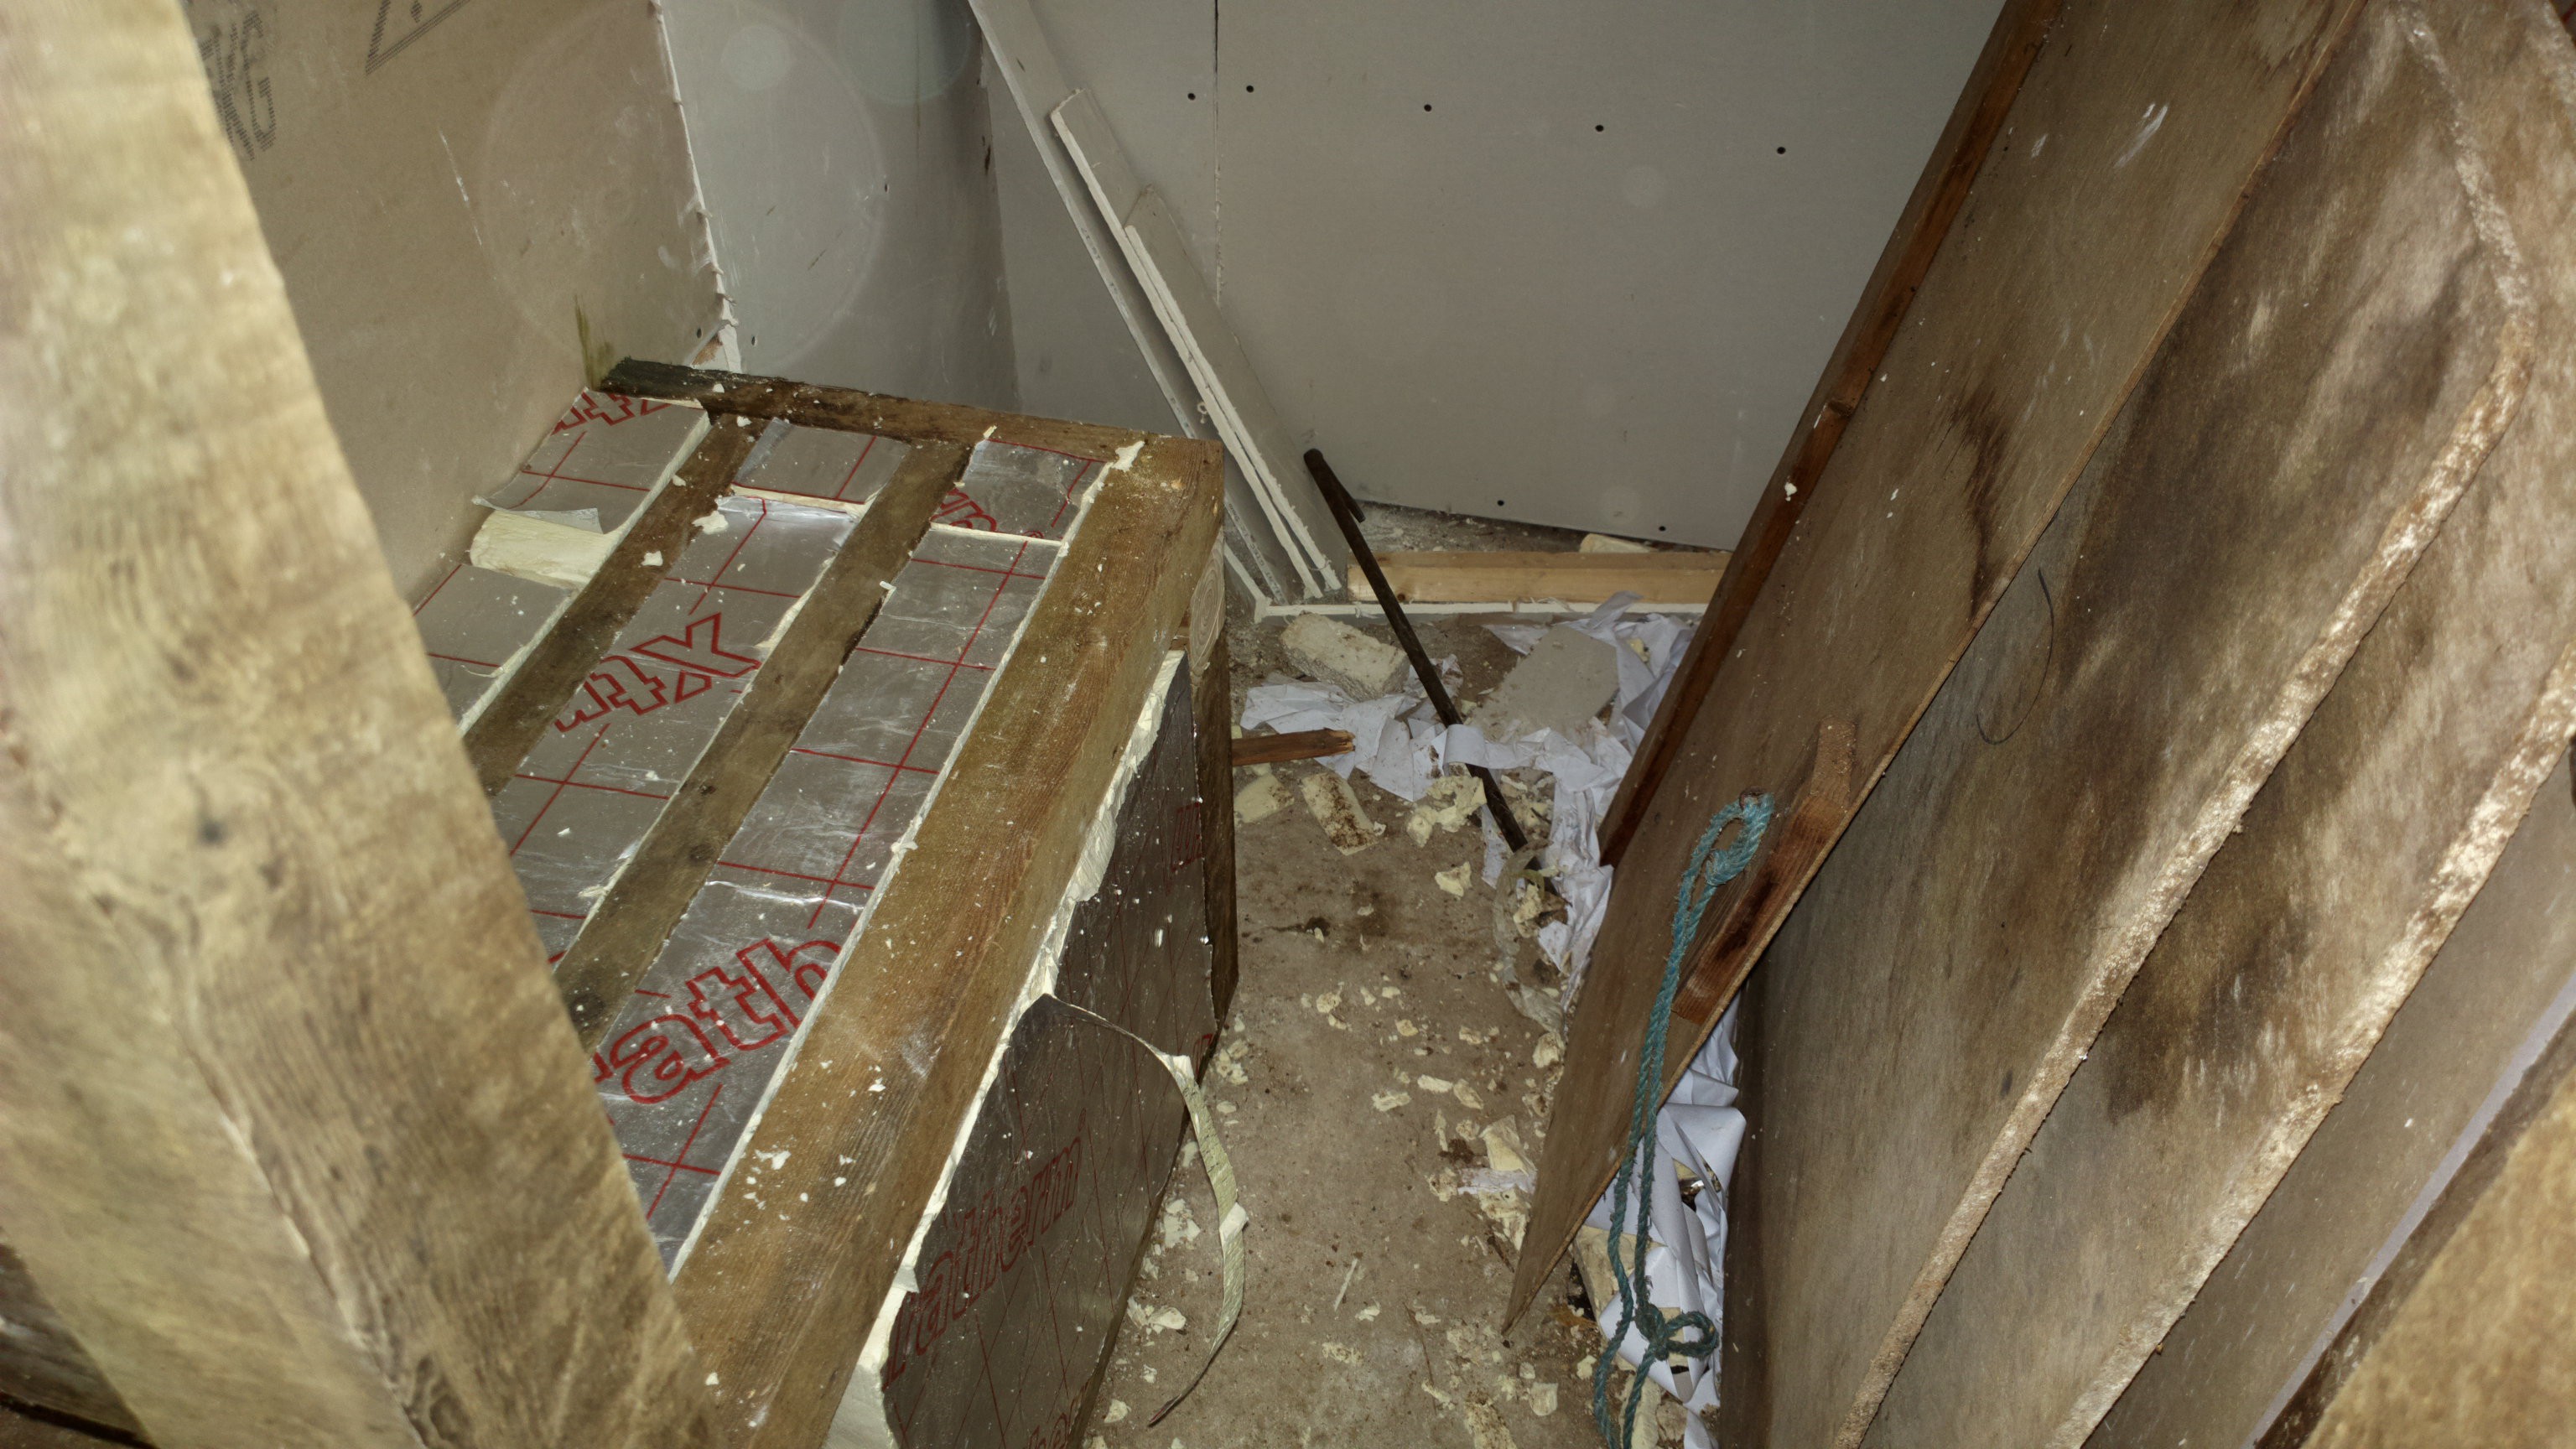
I've started the sauna by adding a divider in my shed.
![]()
![]()
The box left below with the label "Qualcast" is going to determine the size of the sauna bench: it's my lawnmower. I thought that I might as well use that space underneath the bench for something useful!
Within the sauna, all the wood that comes in contact with hot air and water vapour needs to be untreated due to health issues, but the construction timber of the walls will be covered with aluminium foil later on so I'm just using whatever I had available. In this case, 10X10 cm (4x4") wooden beams.
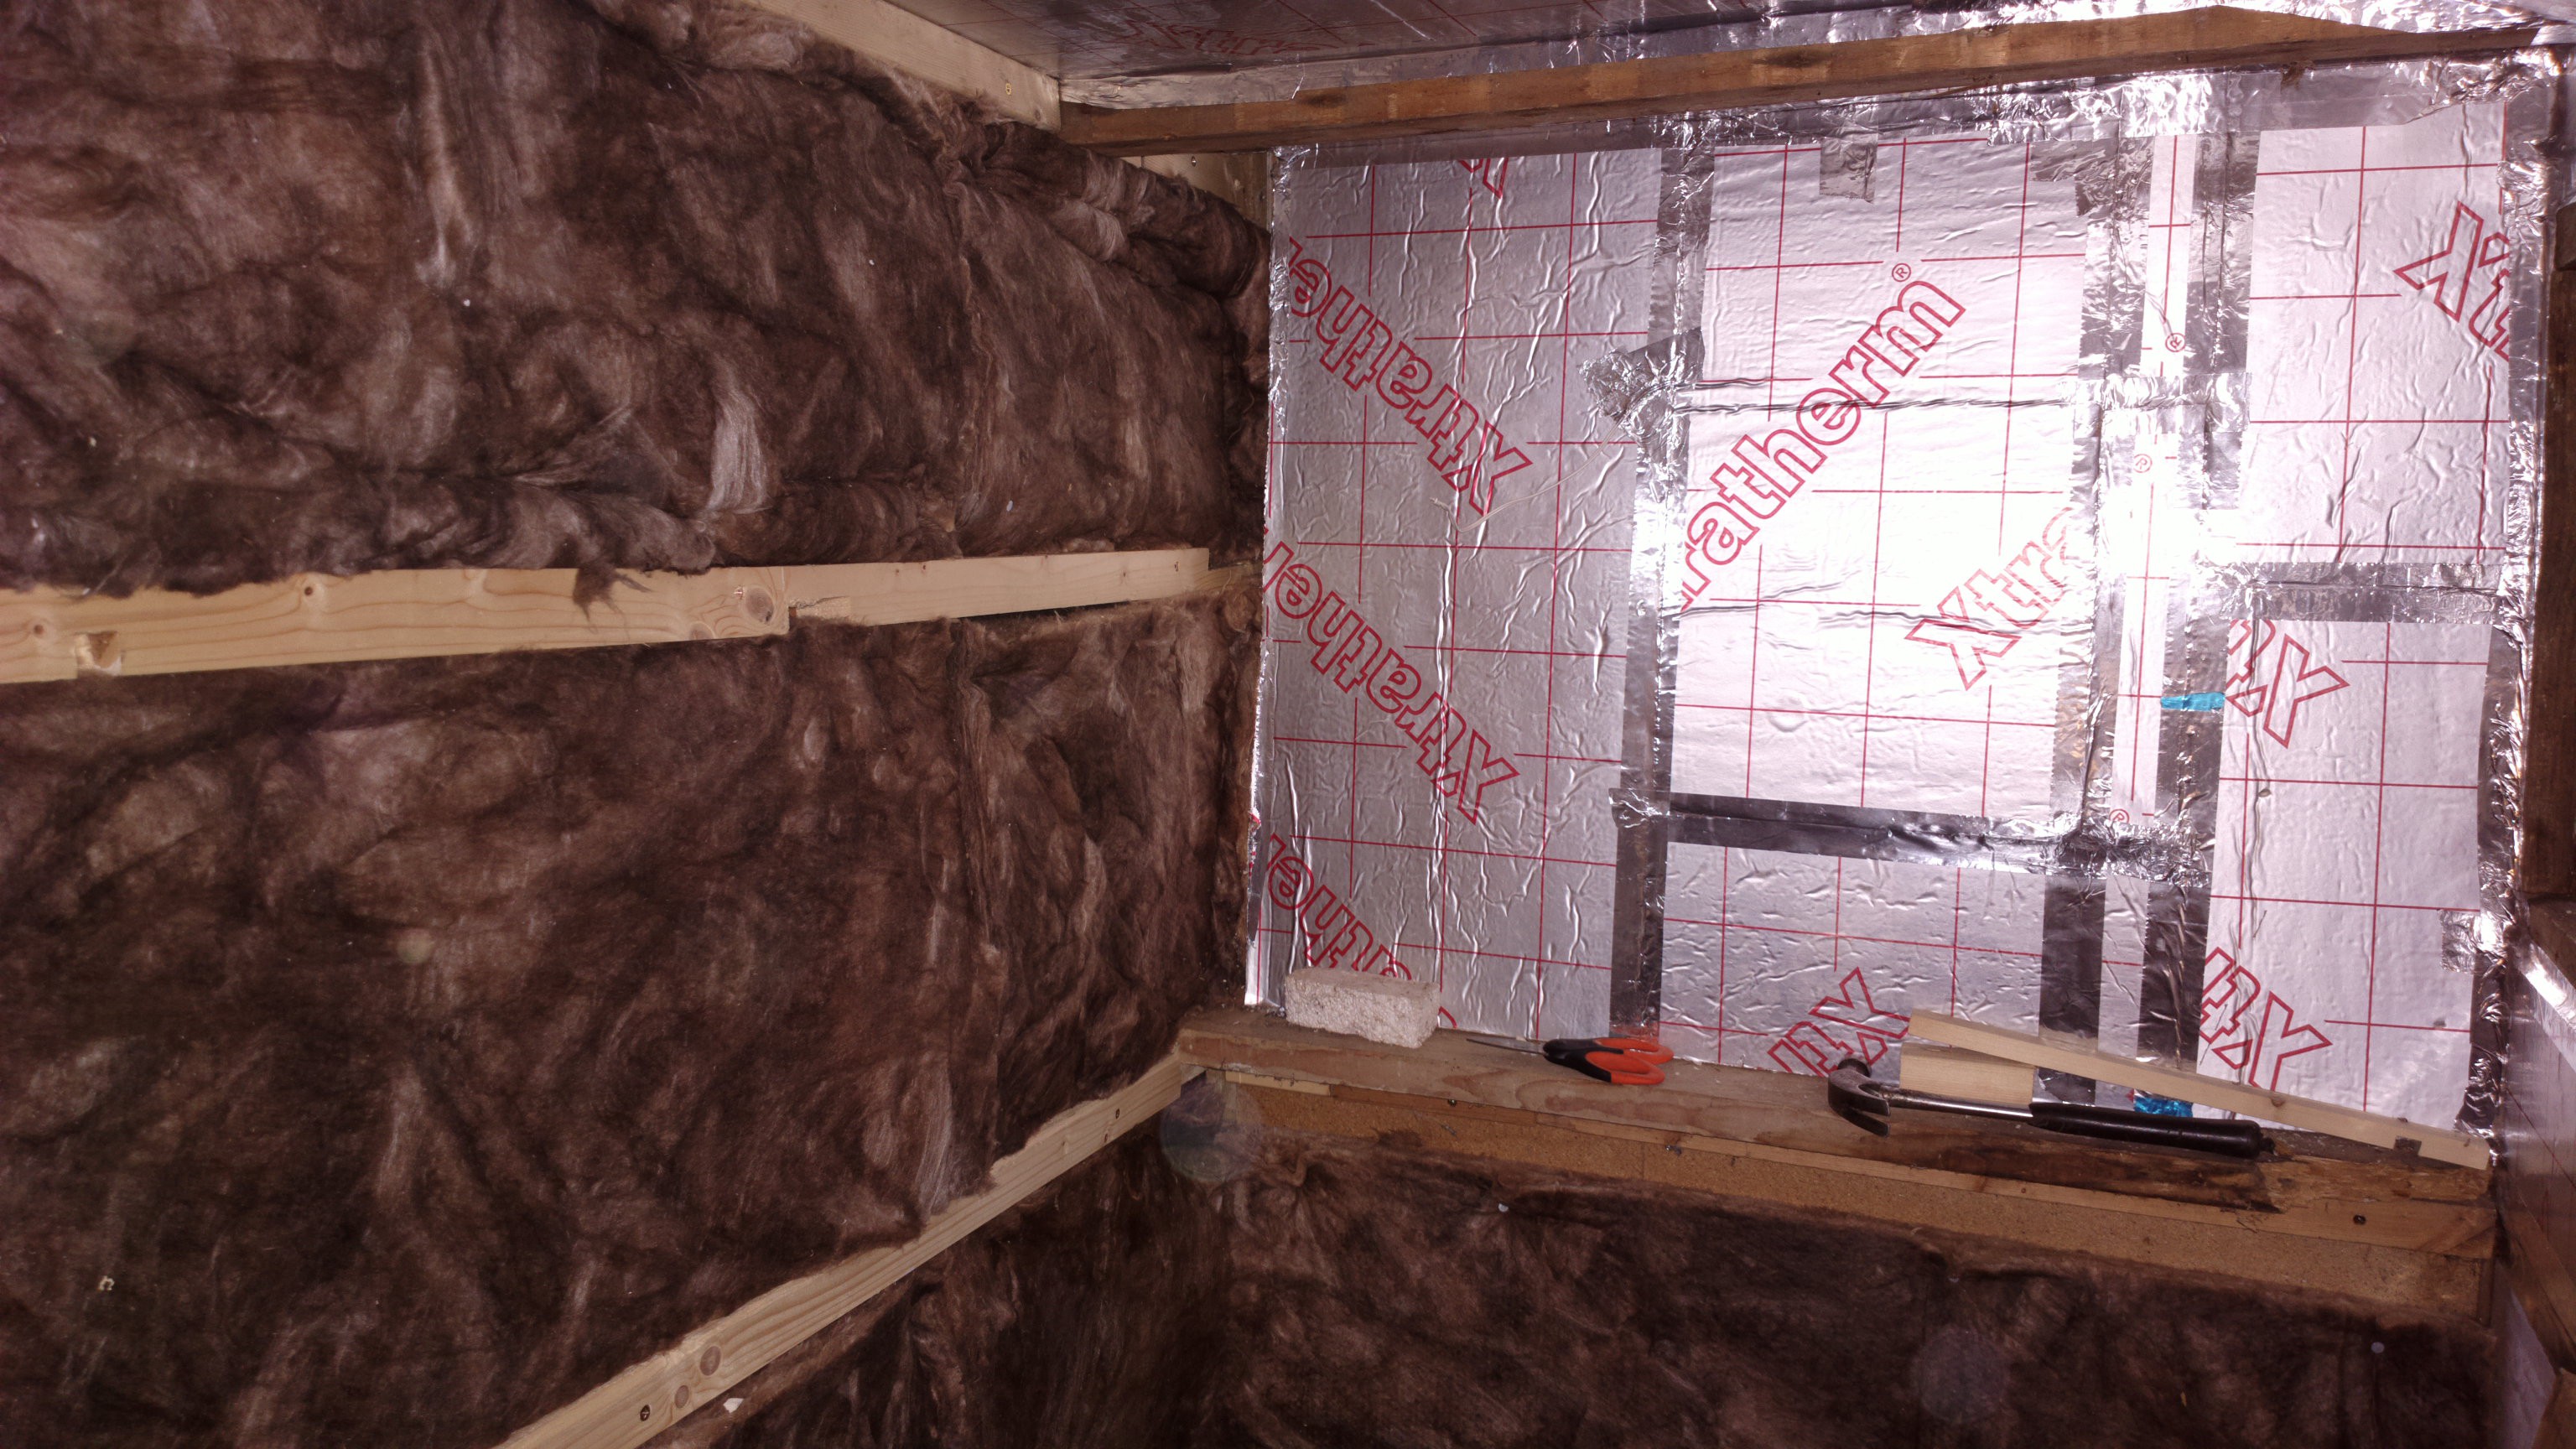
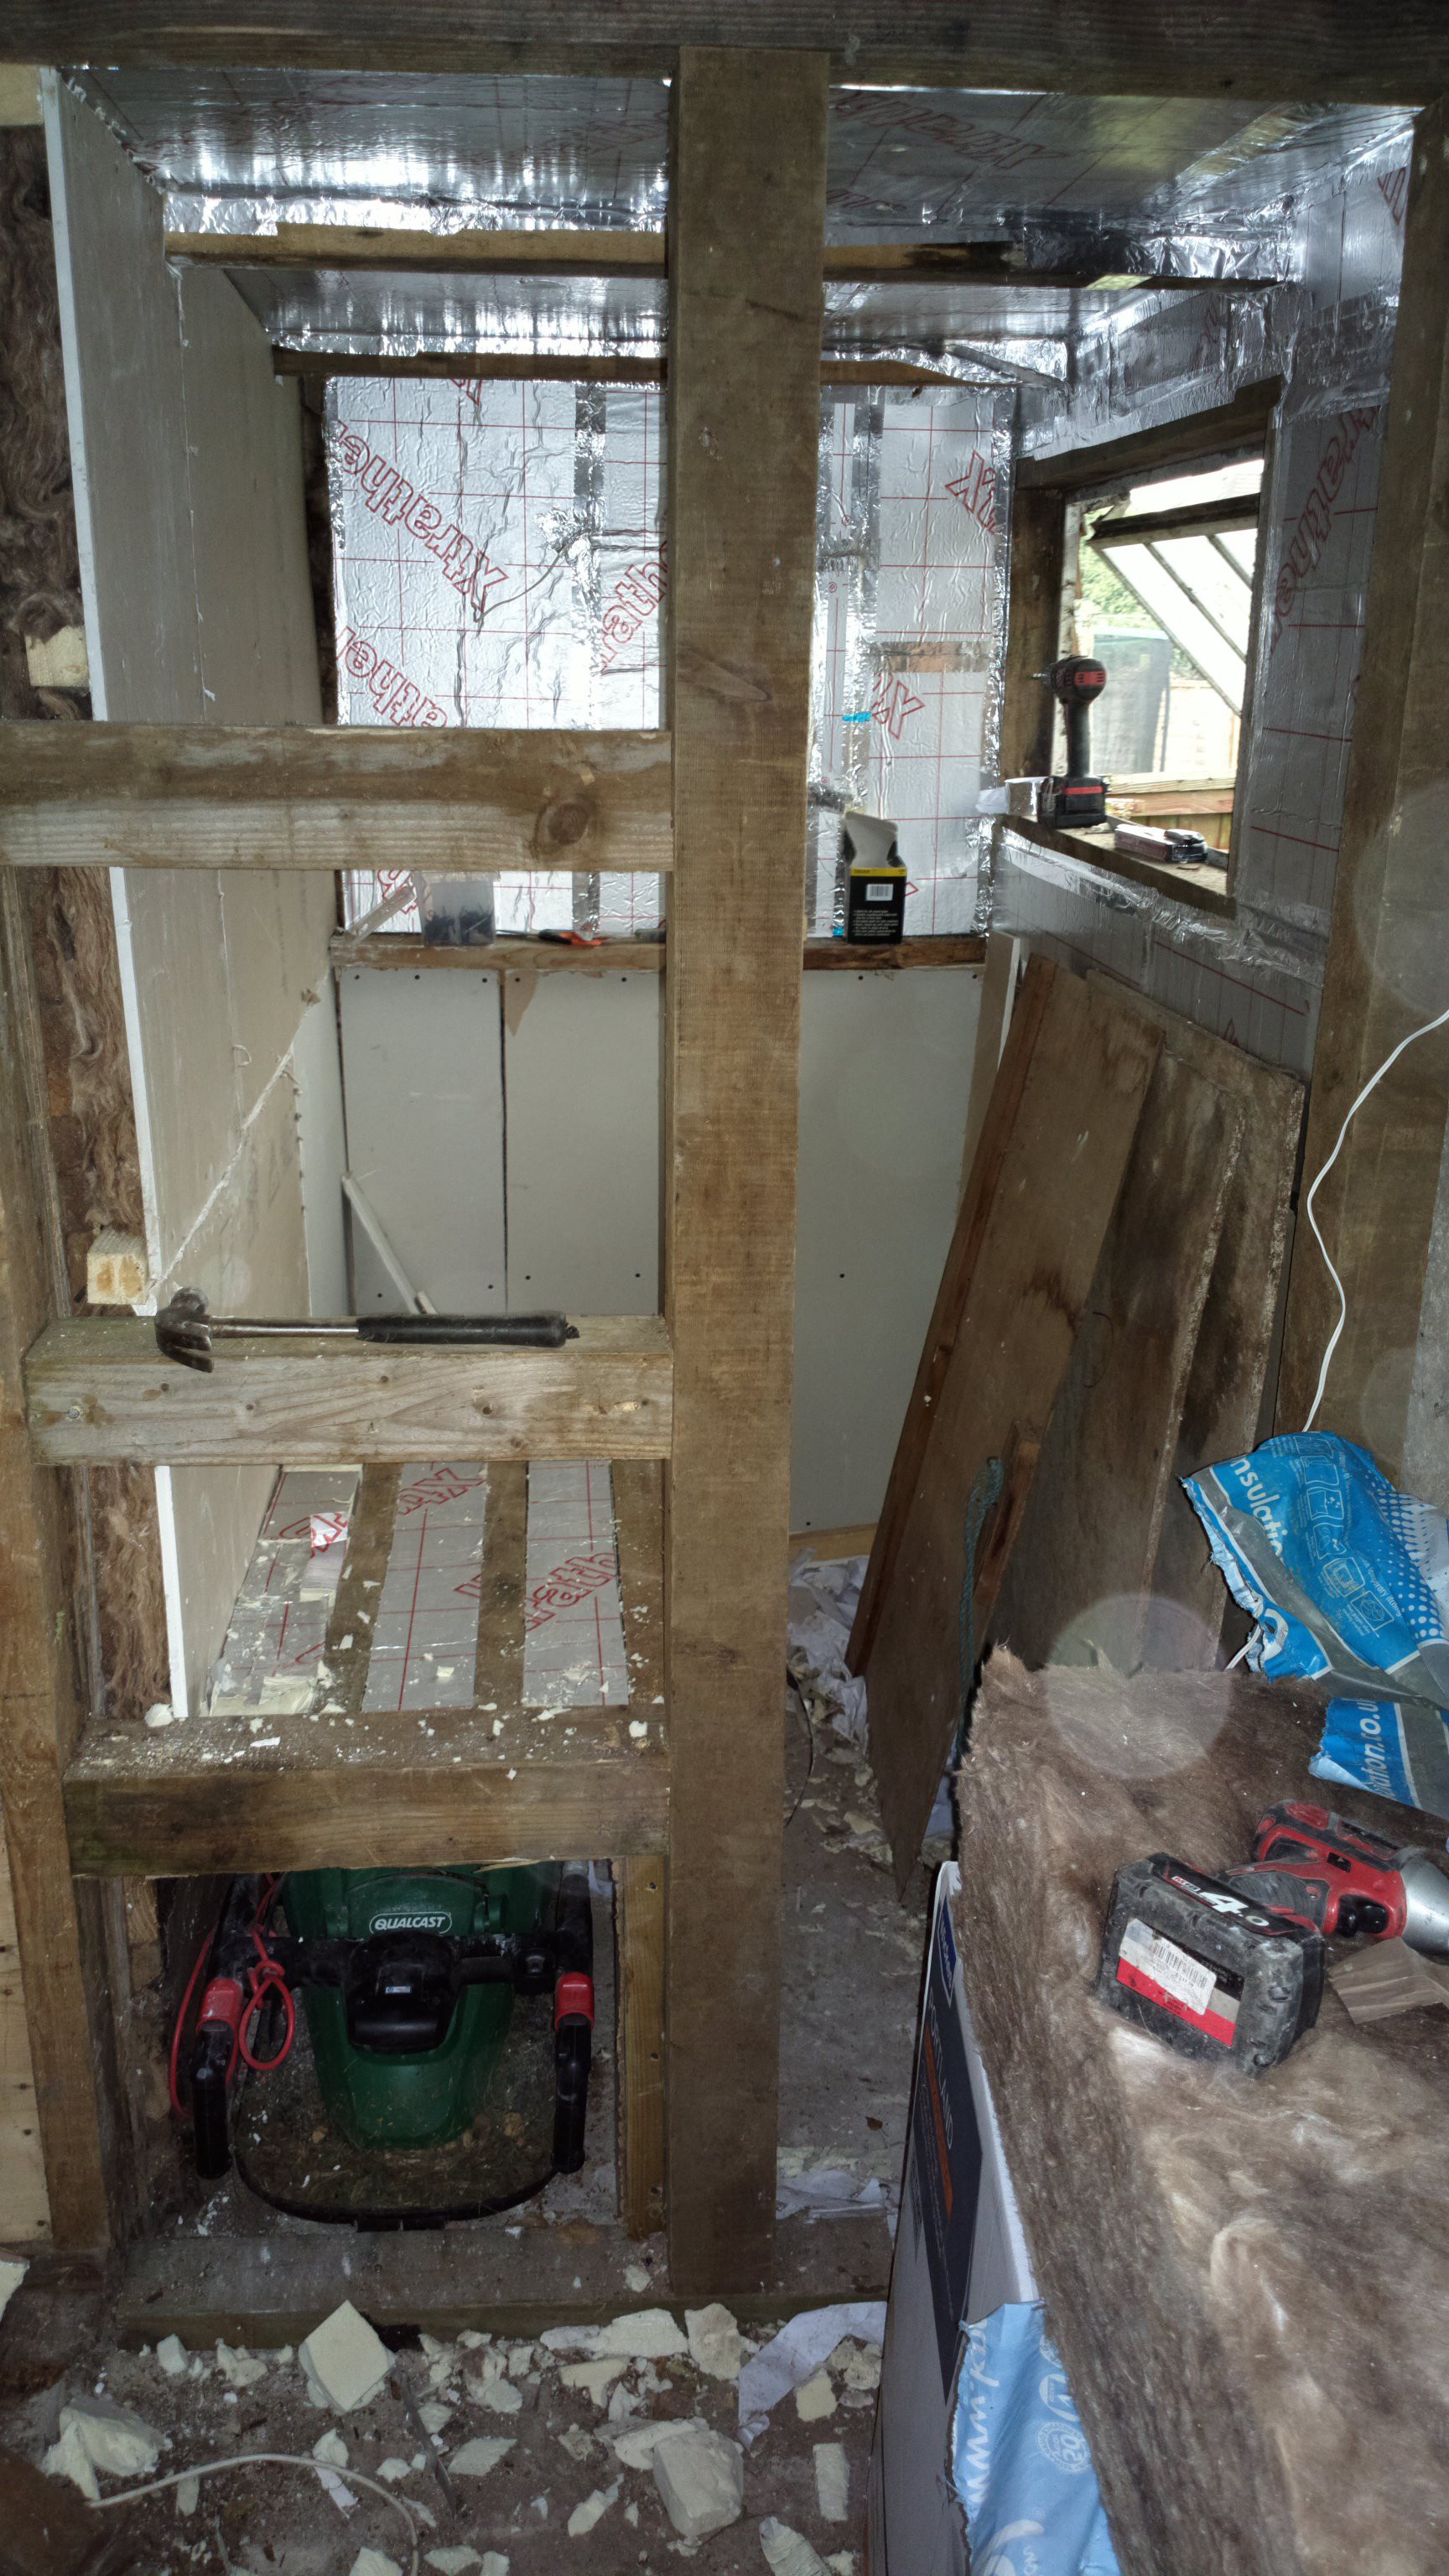
Then I clad all the walls in isolation material: I picked up some free rock-wool and Xtratherm from freecycle. I love getting stuff for free, but it often requires some patience. The rockwool for instance was already gathered more than half a year ago.
![]()
The Xtraterm is a thick hard foam, 10 cm thick, covered in aluminium foil. The rock wool is inserted between 30 mm wooden beams.
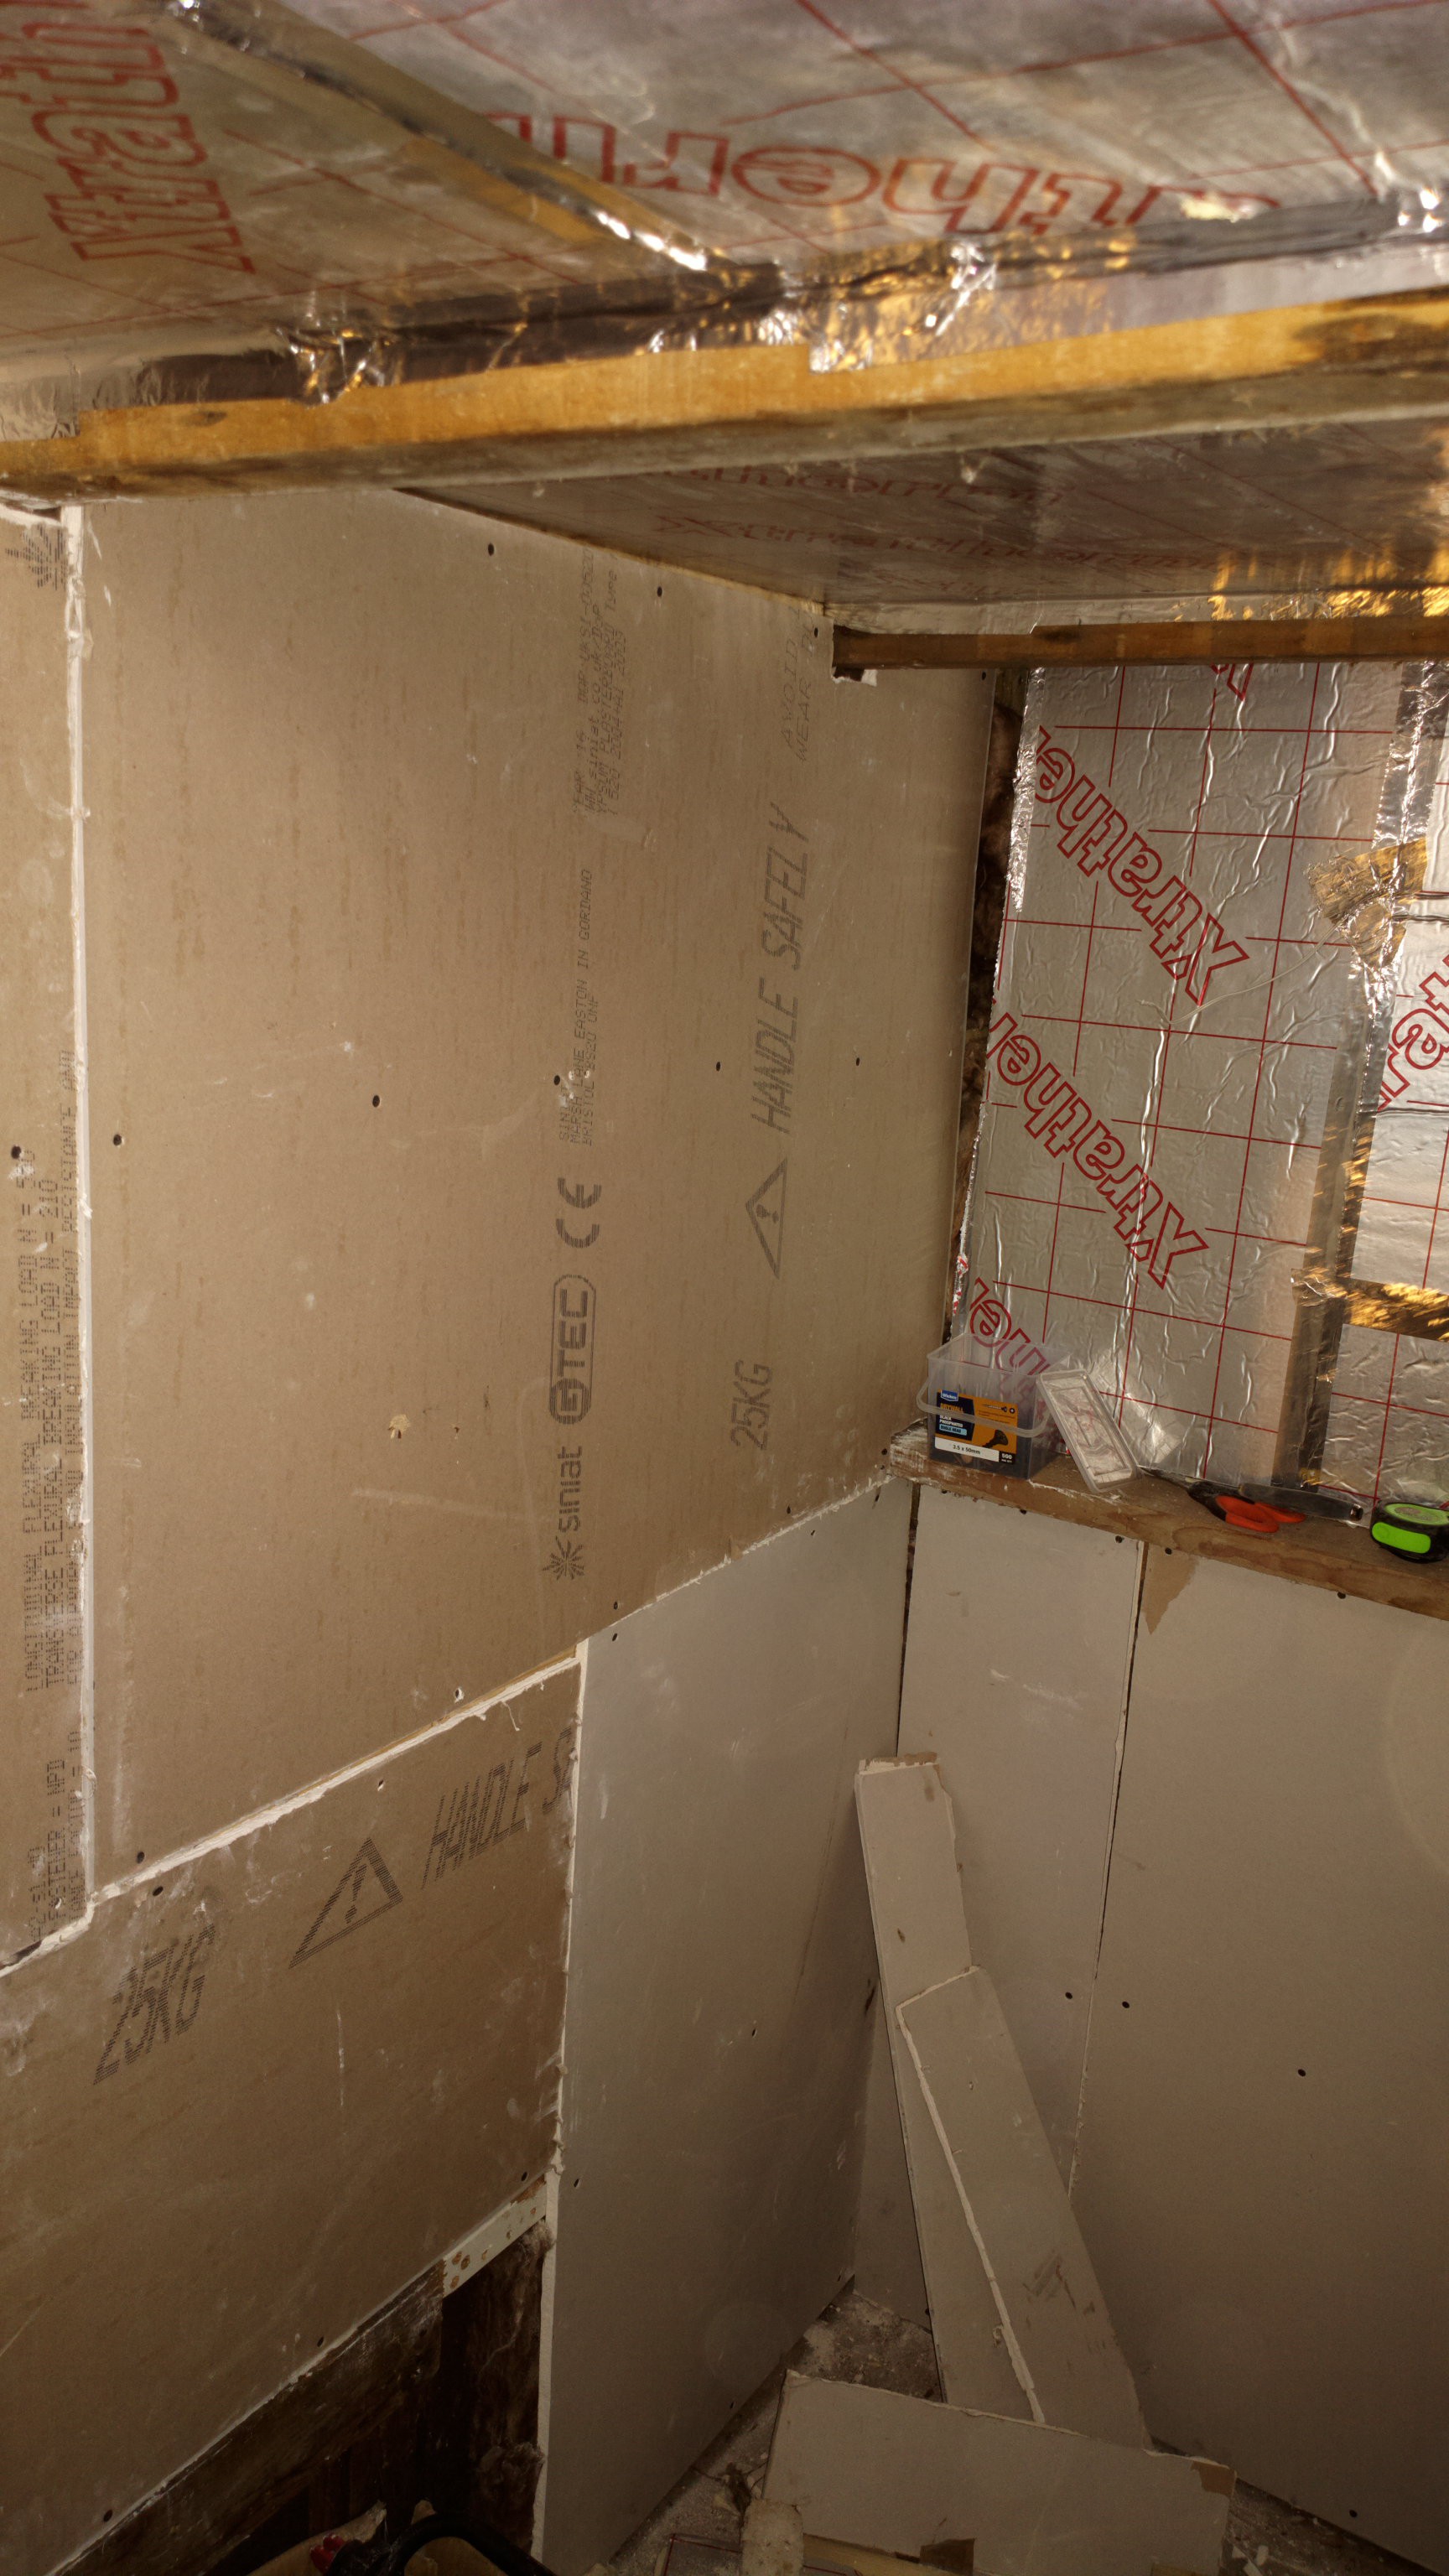
Then everything was clad in gypsum board, that I also got for free from freecycle.
![]()
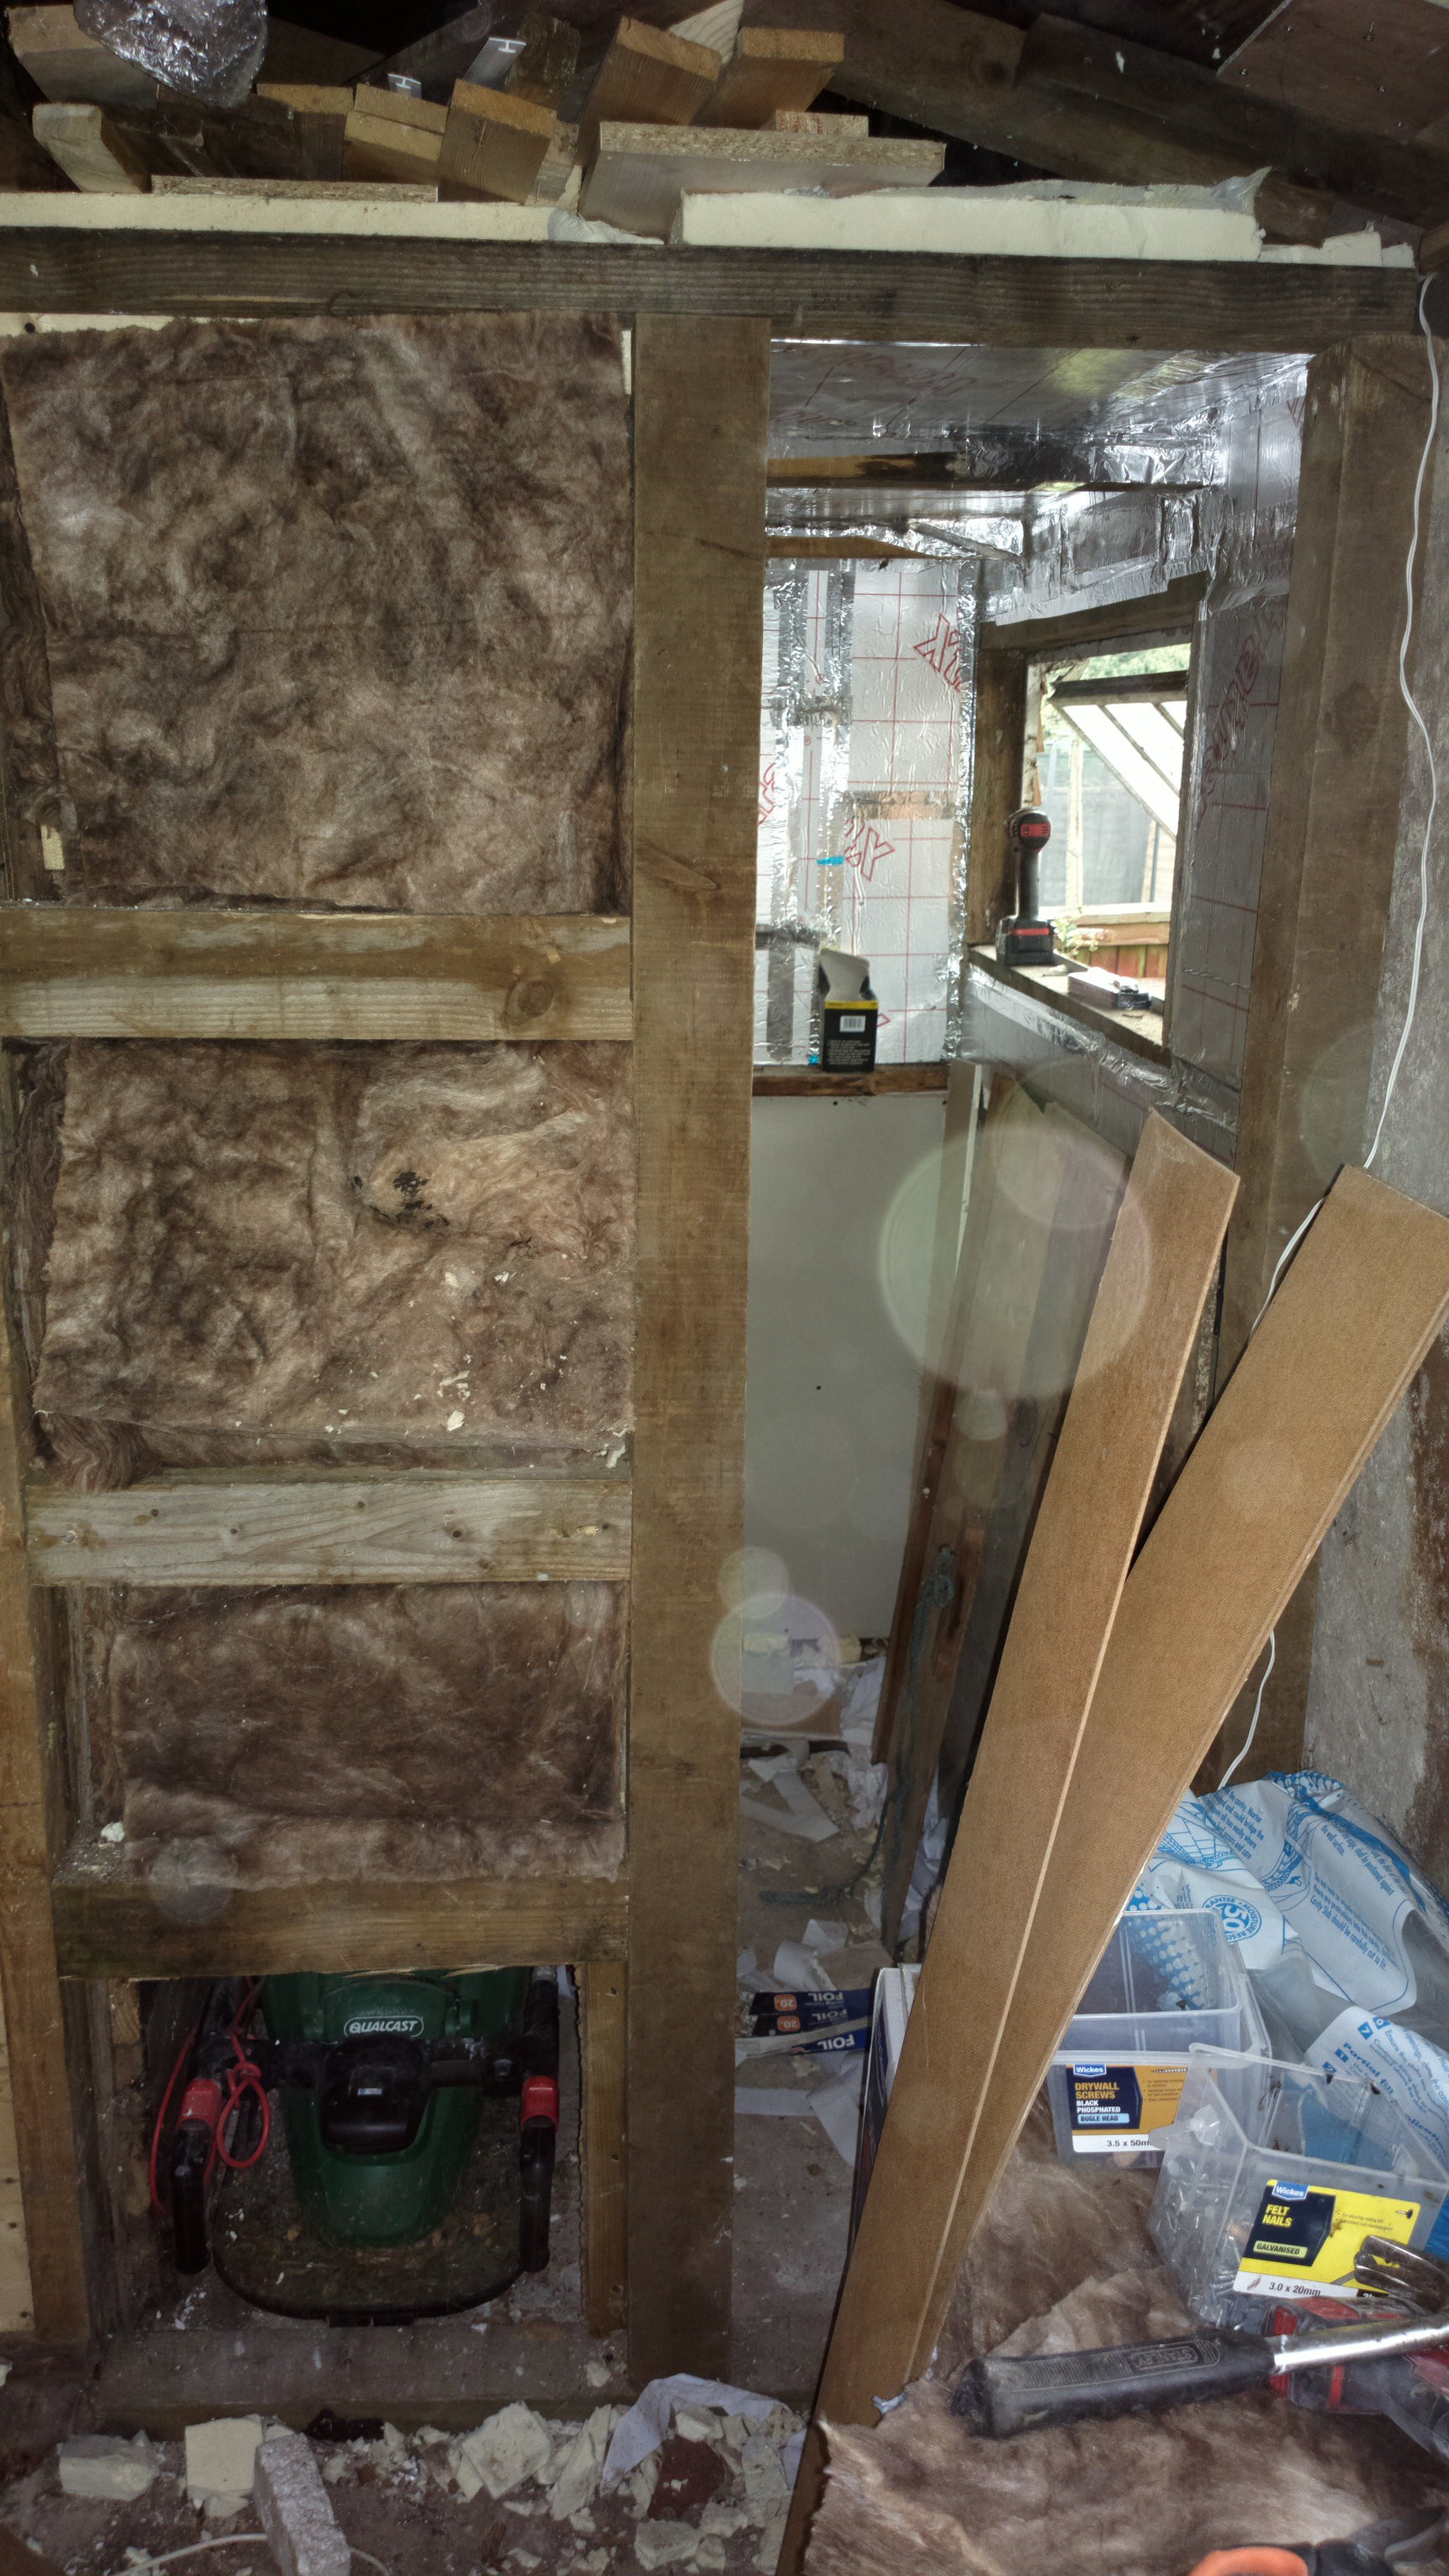
A close up of the bench, using 10 cm wooden beams: you could seat an elephant on there! Between the beams more Xtratherm insulation.
![]()
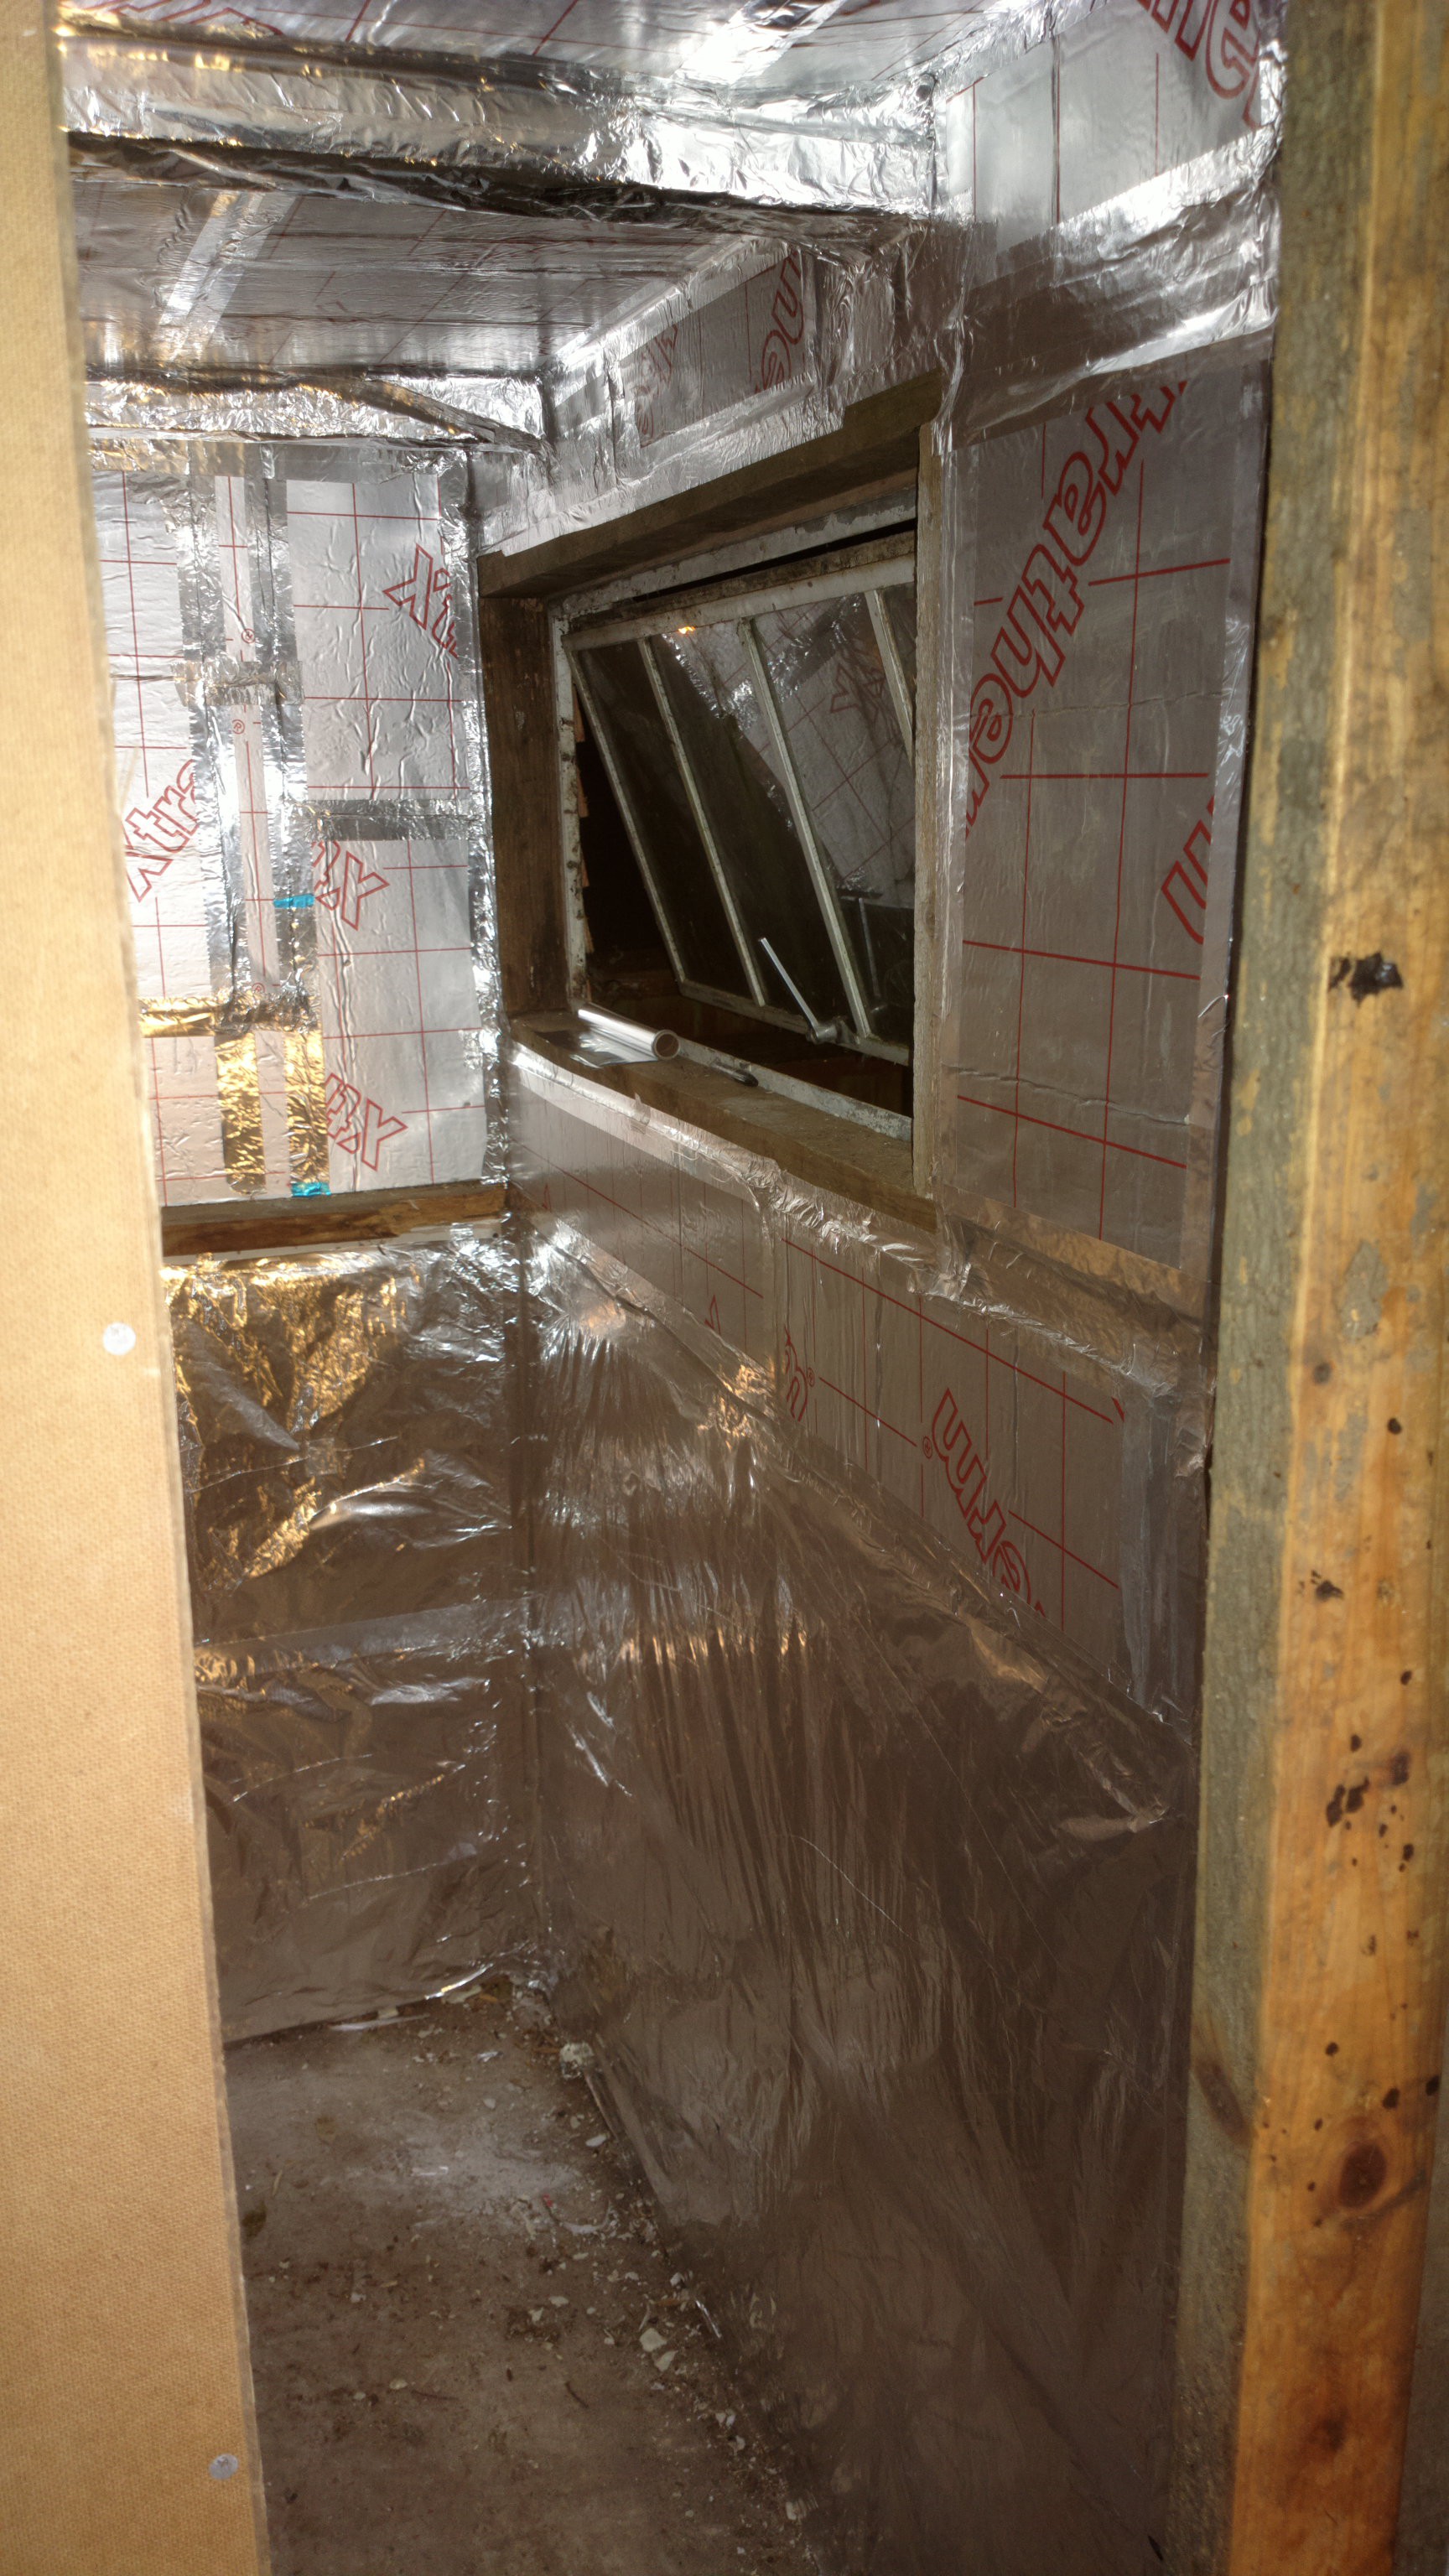
View through the dividing wall
![]()
Adding isolation material here too:
![]()
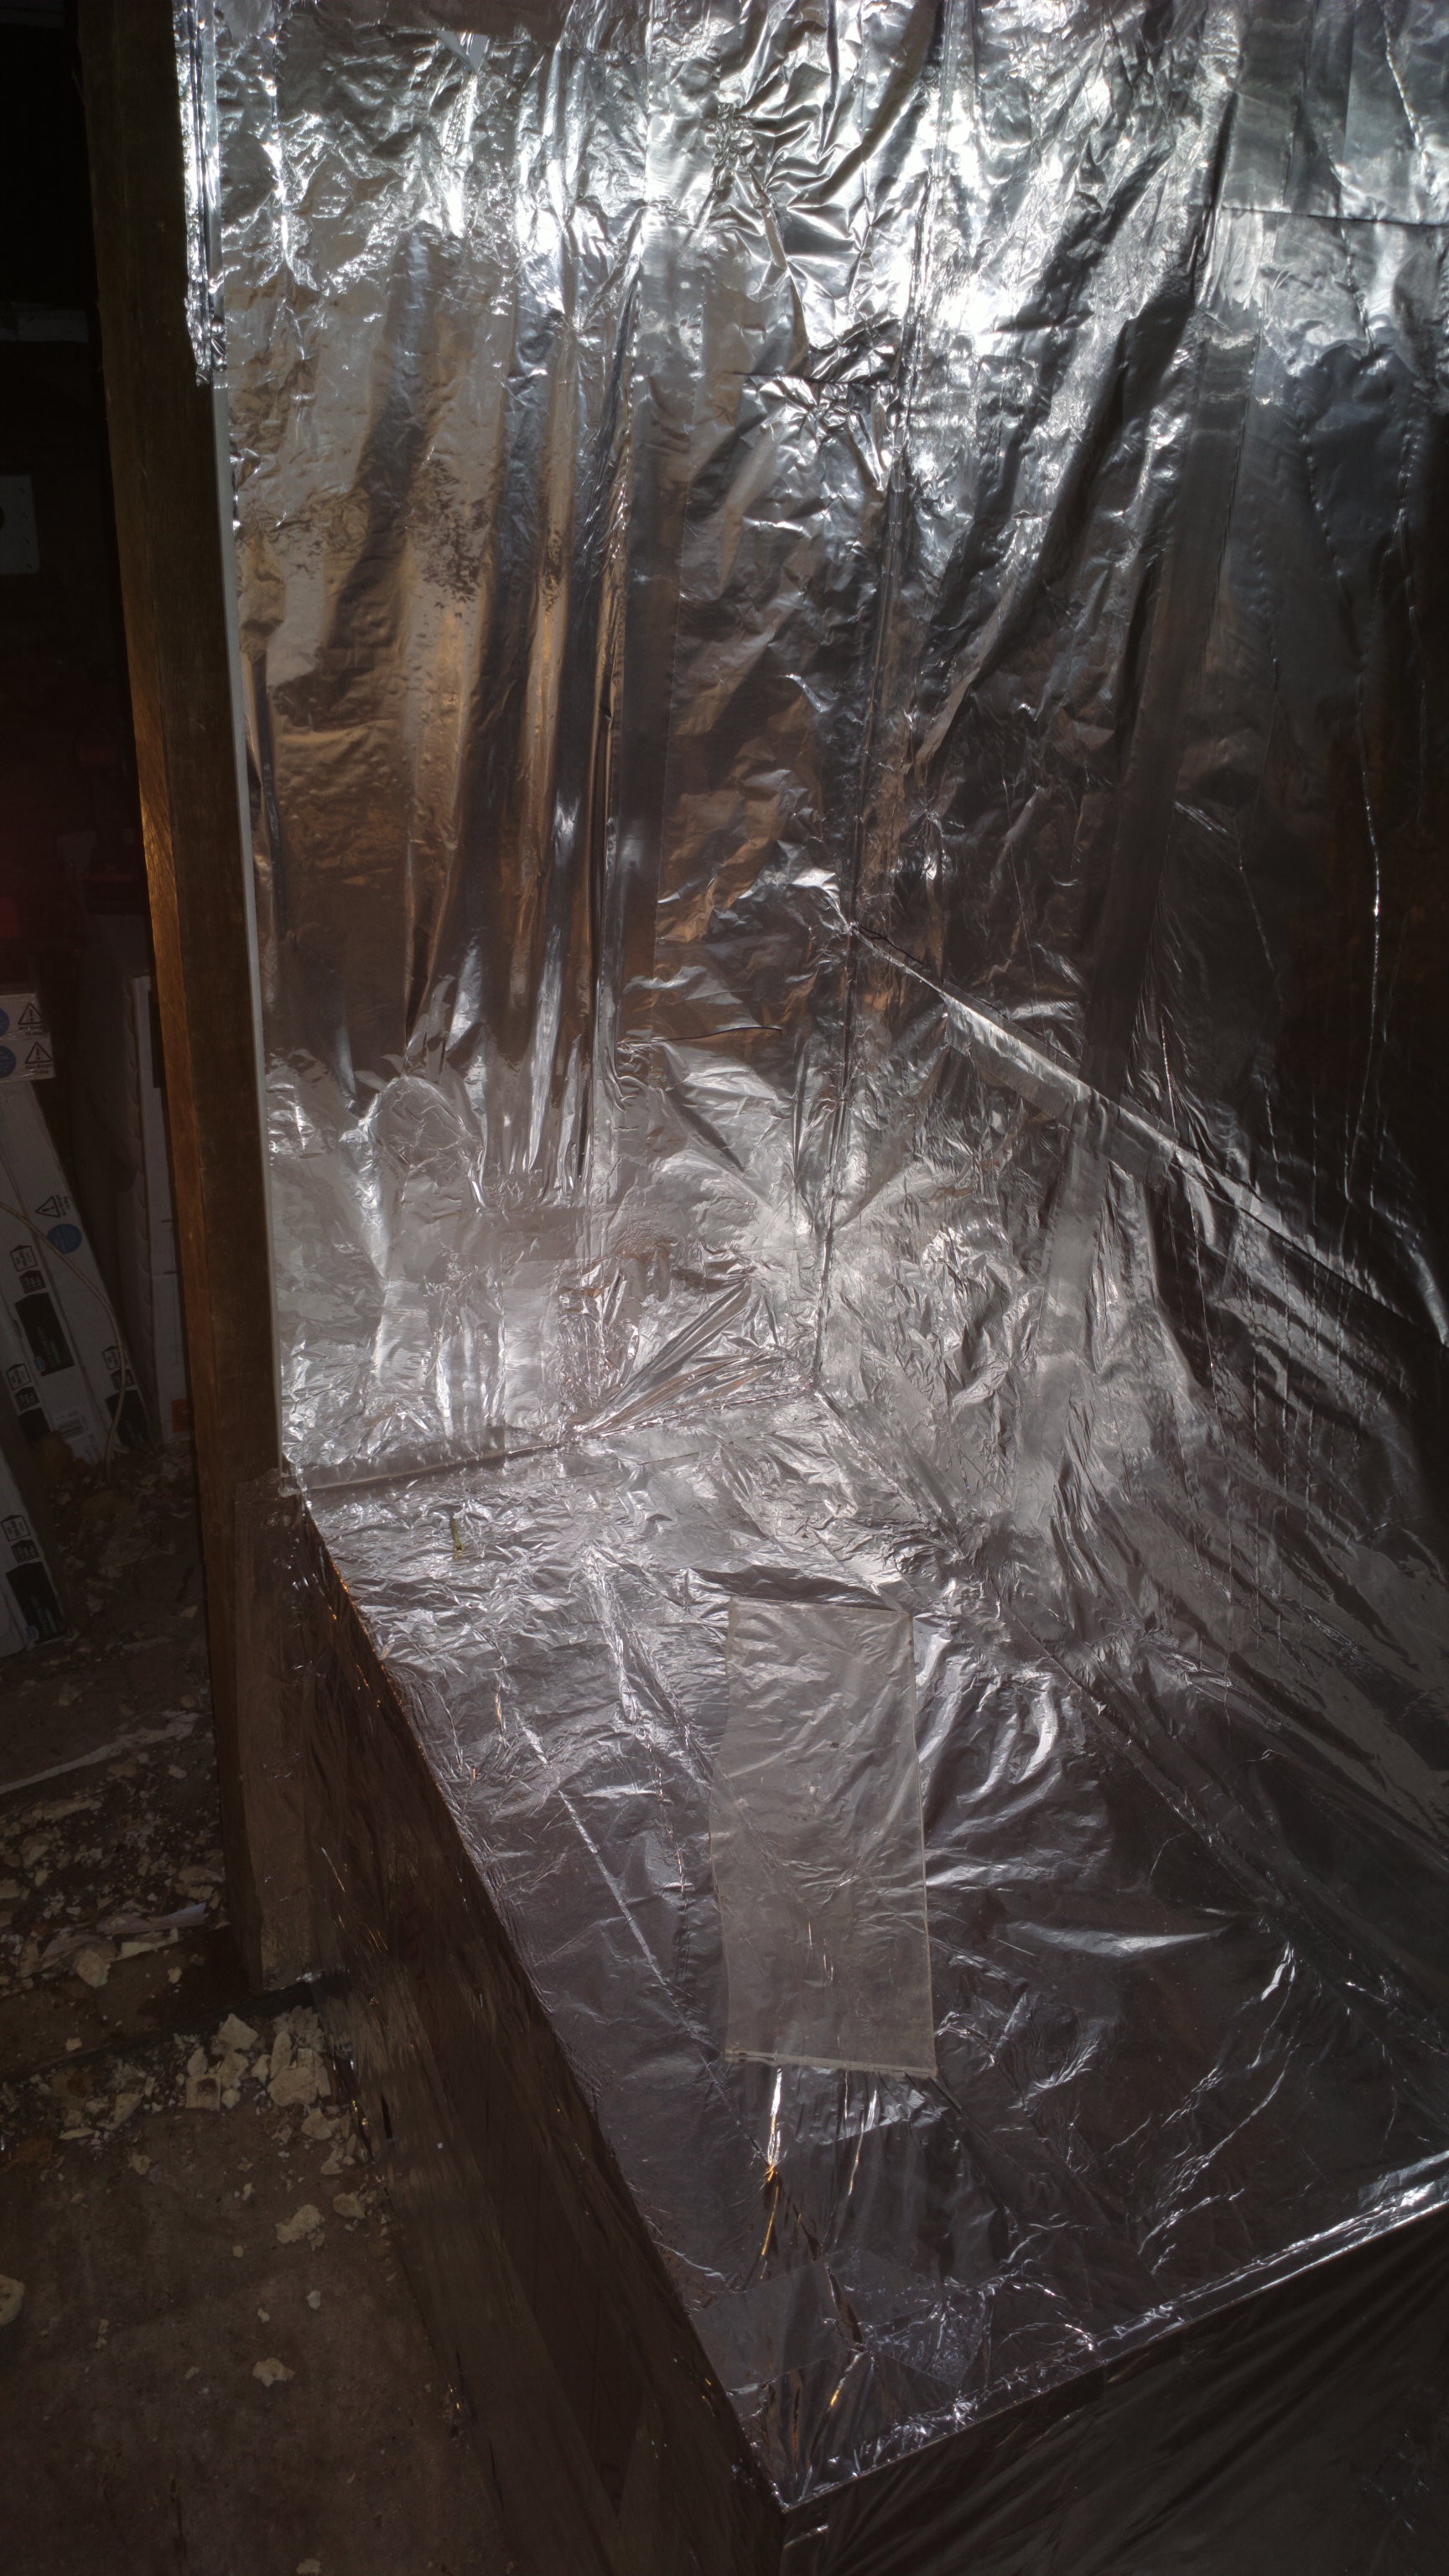
And adding aluminium foil to all the walls. I'm just using household aluminium foil and aluminium tape you can get from a DIY shop to tape all the seams. All material that is treated needs to be shielded from water vapour. Later the aluminium foil will be boarded off with cedar wood. Cedar wood has natural oils that protect it from bacterial and fungal decay, smells really good, and does not shrink or grow much due to temperature changes.
![]()
![]()
![]()
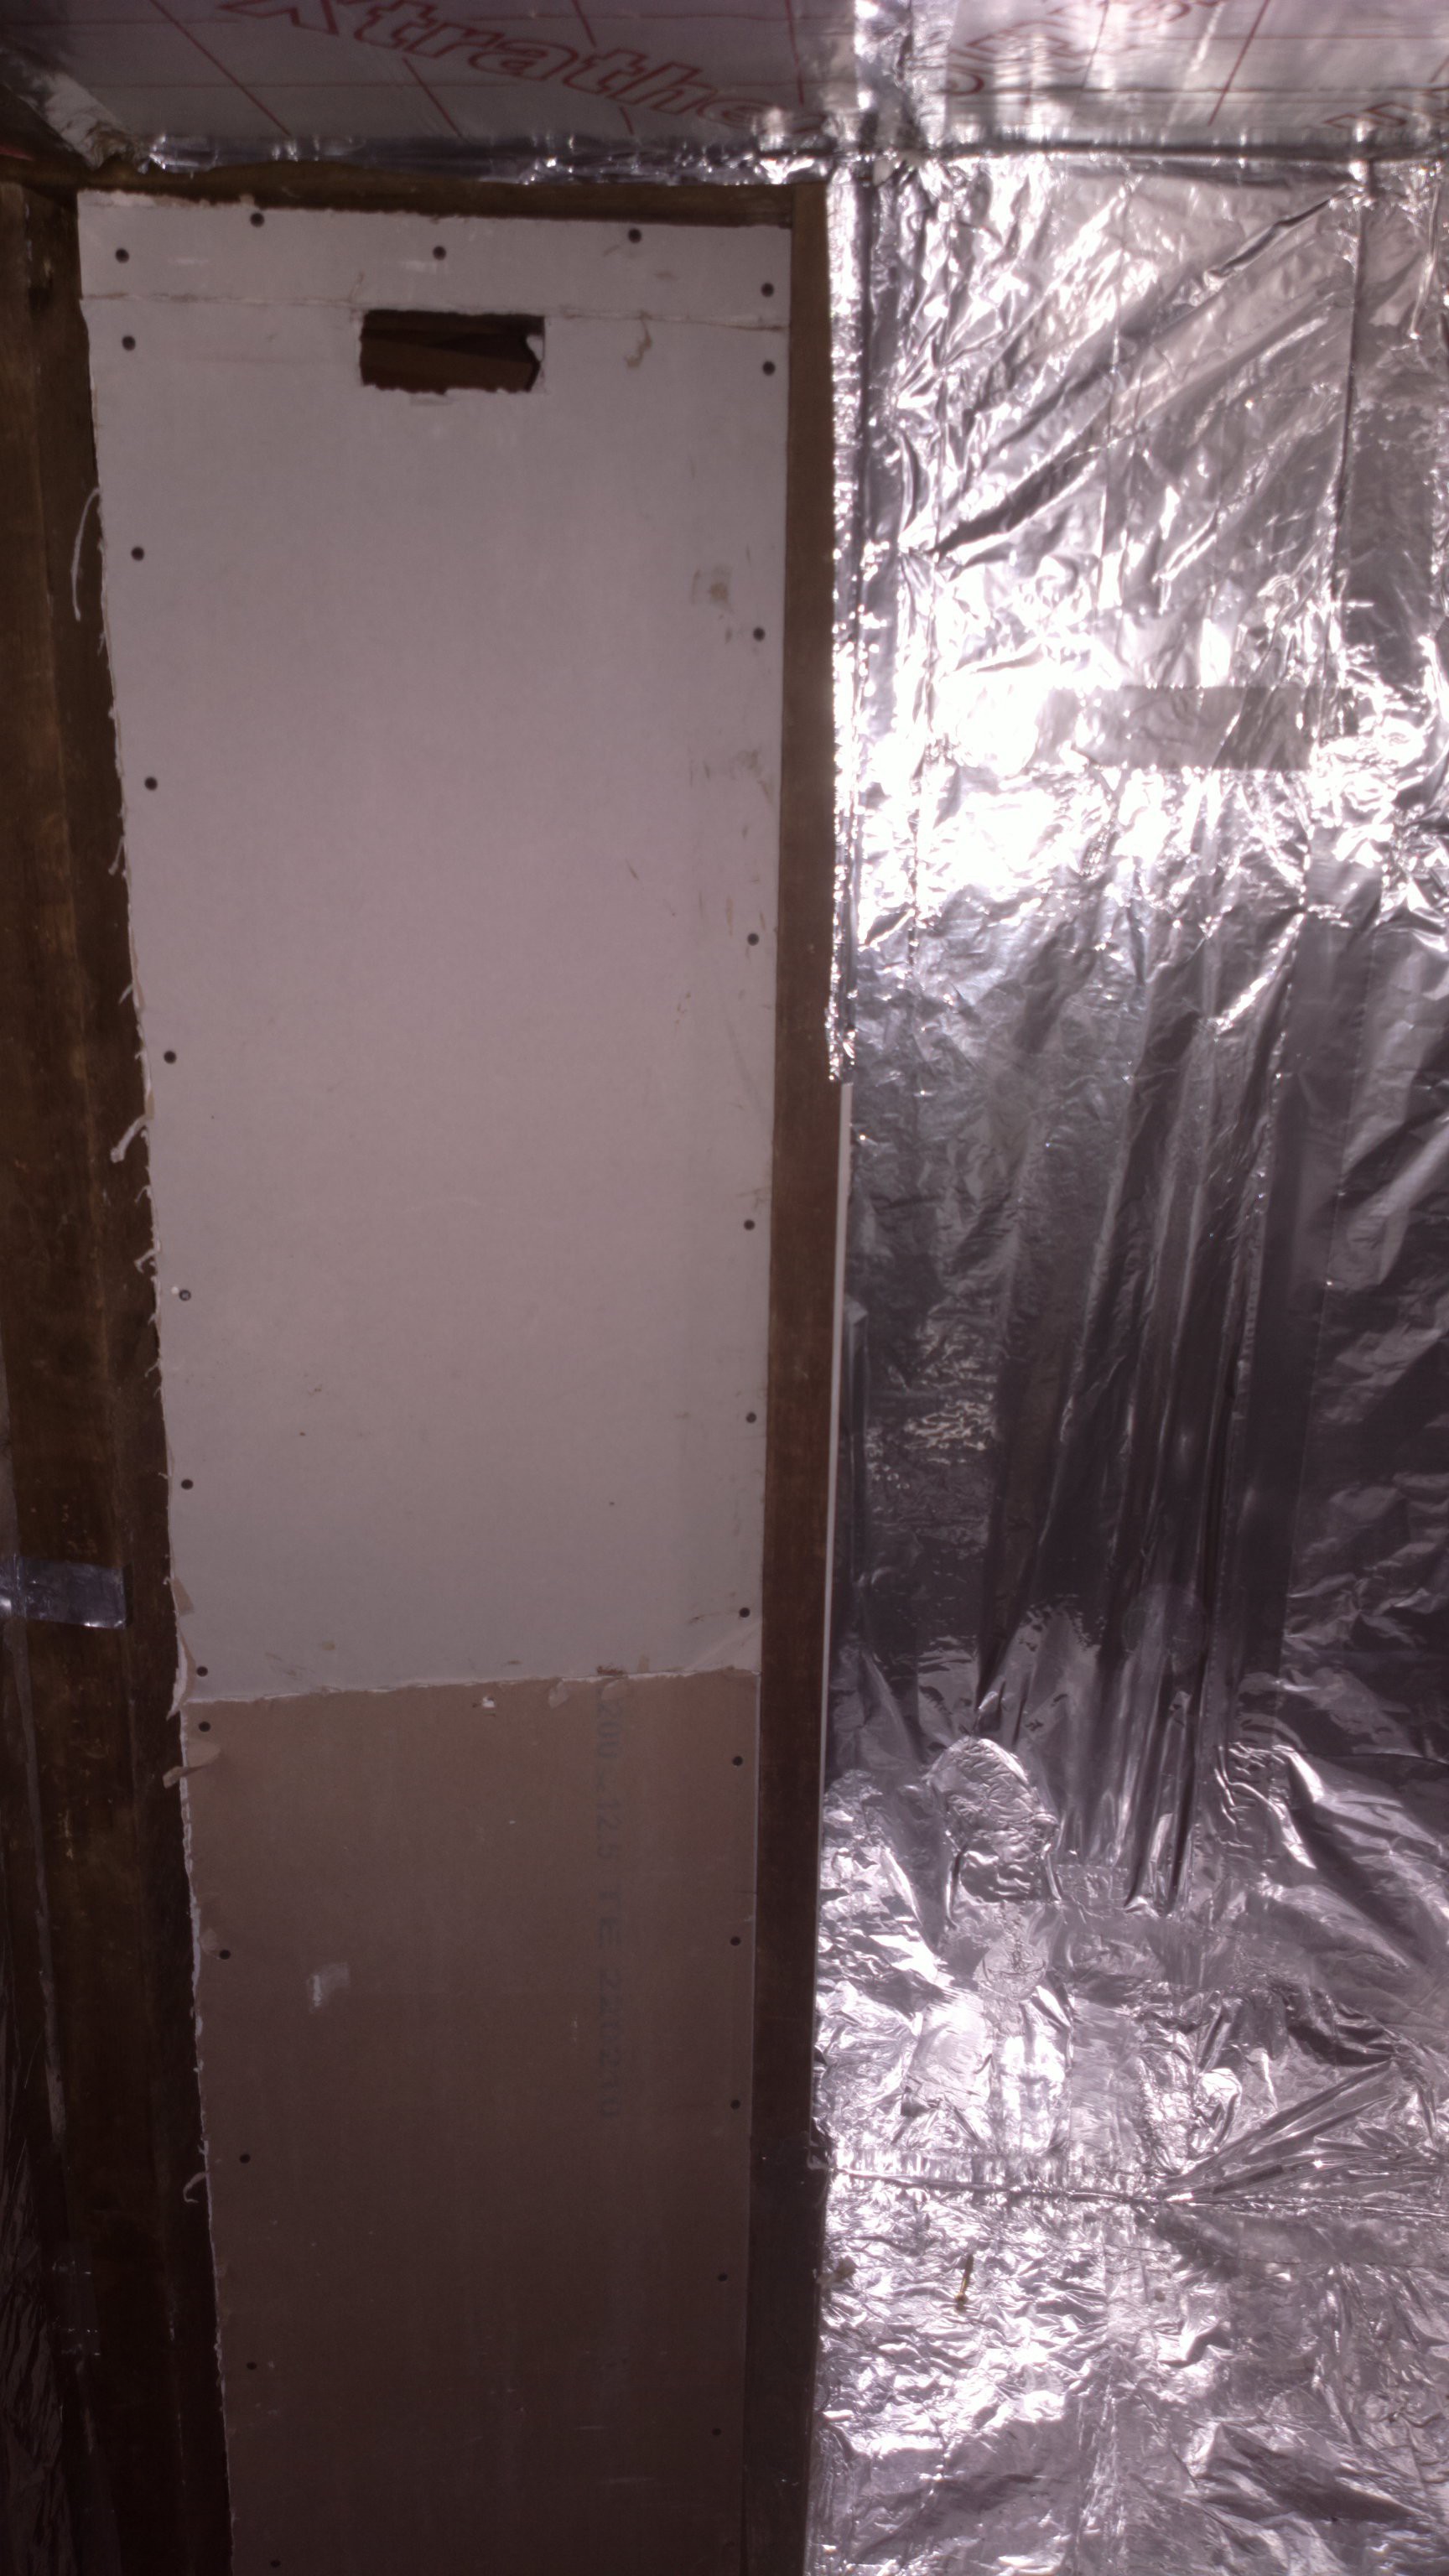
What's left is a door. Of course the door is also isolated.
![]()
![]()
Cost so far: maybe $10 for the aluminium tape and aluminium foil. The rest was stuff I got off freecycle for free. Isolation and building material is often left over, and after a building project is done people don't know what to do with it.
-
2Step 2
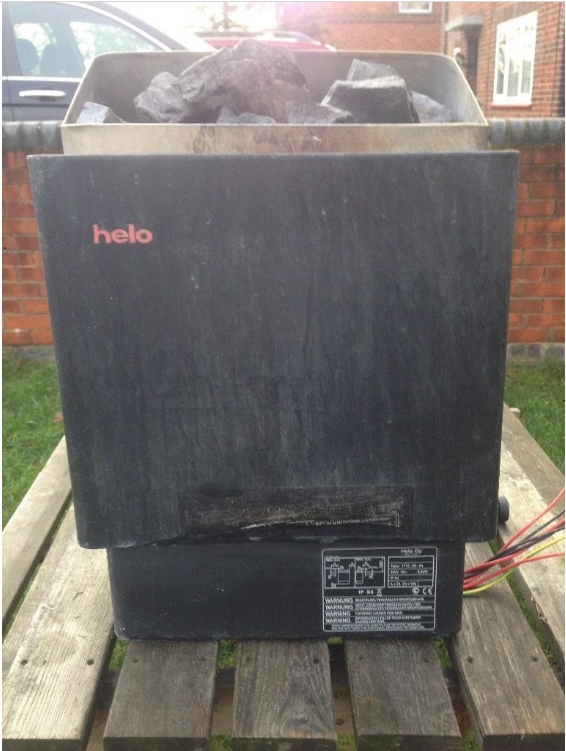
I got a sauna stove from an online auction site. It's a 6 KW, 3 Phase version from a Finnish brand called Helo. I paid £20 for it, which is great.
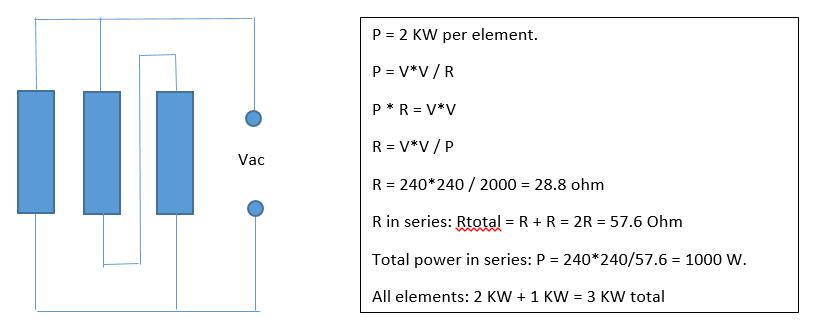
Since this is a 3 phase stove there are 3 resistive heater elements in this stove, and you can wire them up in star or triangle. Each element is a 2 KW heater (simply speaking: a big resistor). Given that I want to use my heater on a normal single phase power socket, the current is limited to 13A at 240 V, or in other words: just over 3 KW. So I can't use all 3 elements at the same time.. Or can I??? (continued below).
The sauna stove has got rocks, over which water can be poured to get steam.
![]()
With this type of stove there would be two options: using only one of the heater elements and only having 2 KW, and ignoring the other two. That would be fine, because my sauna only has roughly 4 cubic metre of volume.
Another option is to use all three heater elements, but connect two in series.
![]()
This means that the middle and right element are each only running on 500 W, but hey, I can't use the full 6 KW anyway!
Unfortunately, I found out that one of the elements is faulty by checking with a multimeter. So I'm going to use only one element and have a 2 KW stove, with one element going spare. I could buy a new element, but those are £50, twice as much as what I paid for the stove! So I guess I'll just stick to 2 KW.
-
3Step 3
Some stoves come with temperature control, but mine didn't. There are dedicated sauna control panels with a timer and temperature control, but they cost upwards of £95. It should be possible to cobble one up myself for less.
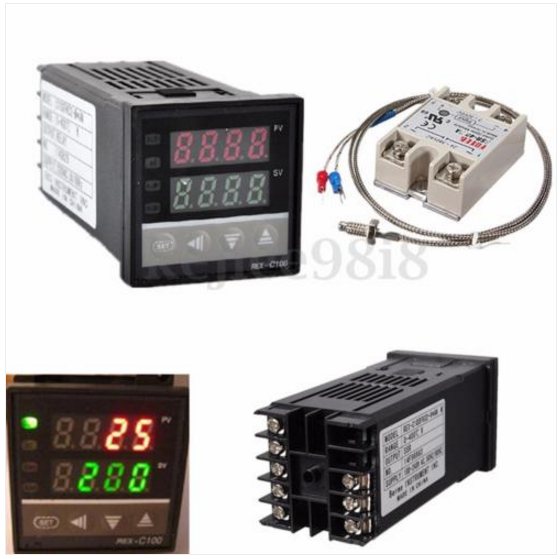
So I bought this from ebay for £12:
![]()
http://www.ebay.co.uk/itm/131720388818?_trksid=p2057872.m2749.l2649&ssPageName=STRK:MEBIDX:IT
100-240V Digital PID Temperature Controller + max.40A SSR + K Thermocouple Probe
It comes with a K-type thermocouple with 1 meter of cable. The thermal controller is a PID type, which means that you can measure the thermometer, and integrate, differentiate and amplify the signal in order to control a heating loop.
The thermo sensor will be mounted in a top corner of the sauna.
Given the simple process we've got here, with some difficulty deciphering the chinglish manual I've managed to disable the D action, because that amplifies noise, and set the integrating action to 10 seconds. There were plenty of options that I couldn't decipher, but I didn't really need to because it works as it is.
The thermal monitor came delivered with a 40A SSR (Solid State Relay). Often you have to take those hefty specs with a grain of salt, and indeed, also in this case there are lots of counterfeit SSRs around, that can only deliver up to half the rated current.
http://www.instructables.com/id/The-inner-workings-of-Counterfeit-FOTEK-SSRs/
Luckily I only need up to 13A so even if my SSR can deliver up to 20A I'm still fine.
The manual of the temperature regulator is not great, to say the least, but I've managed to descipher that with the Sv parameter you can set the temperature.
When I hooked everything up to 230 VAC I felt a tell-tale tingling/itching when I touched the metal shielding of the temperature sensor. Measuring the difference between earth and the shielding I measured 85 VAC. Not ideal! There should be an extra connector on the temperature regulator to connect earth, especially if you're sending a sensor with a metal shield that is connected to somewhere in the circuit.
-
4Step 4
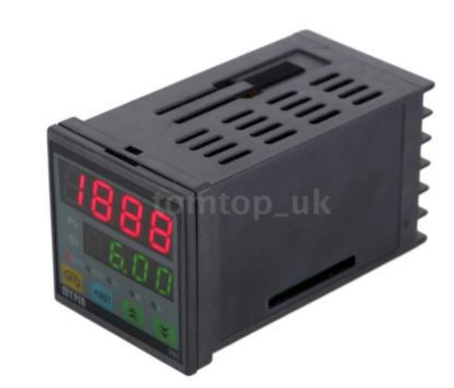
I've bought this countdown timer from ebay for £17:
90-260V AC/DC Dual 4 Digits LED Timer Countdown Time Counter 1 Alarm Relay S3G8
http://www.ebay.co.uk/itm/141886695028?_trksid=p2057872.m2749.l2649&ssPageName=STRK:MEBIDX:IT
![]()
I could have bought a cheaper countdown timer to switch the 10V SSR control signal for £3.37:
DC 12V/24V Trigger Delay Off Countdown LED Display Timing Timer Relay Module
![]()
but then I'd have to also buy a power supply for this, which adds to the cost and time, I would have had to buy a transparent mounting box to see the display, and also, I like that the countdown timer looks vaguely similar to the thermocontroller, to give it some penache.
The idea is that the countdown timer will be used when I'm pre-heating the sauna. In the situation where I'm so forgetful that I preheat the sauna but then completely forget about it, I want the sauna to switch off after two hours.
So the output of the countdown timer will be used to power the thermocontroller, which is in charge of the SSR. Once the countdown has reached zero, thermocontroller will be switched off. Pretty straightforward stuff.
DIY electrically heated sauna
I'm building a sauna as cheaply as possible, and the only item I won't be building myself is the heater. It will have regulated temperature.


Discussions
Become a Hackaday.io Member
Create an account to leave a comment. Already have an account? Log In.