 The Young Maker
-
1Supplies
For this project, expertise in SMD soldering is crucial, and it's essential to procure all the components listed in the included BOM (Bill of Materials) below. In addition to basic soldering tools, custom PCBs, and the 3D printed parts, you'll also need access to a computer for flashing firmware onto your TinyNAS. You will also need three SD cards (You can find some HERE) and a ribbon cable (You can find it HERE).
-
2Order The PCBs
As the PCBs constitute the primary components of this build, you have the flexibility to order them from your preferred PCB manufacturer. Notably, this project is proudly sponsored by JLCPCB. If you've never ordered PCBs before, I encourage you to explore JLC's services using the link provided:
For the PCBs to fit, they need to be 0.8mm thick to ensure a proper fit.
To further clarify, there are a total of 8 PCBs in this project, comprising 4 different types. Here's the breakdown of the number of PCBs needed for each type:
- Gerber_Main_PCB.zip = 1
- Gerber_PCB_Pads_NAS.zip = 1
- Gerber_PCB_Pads_SD_Card.zip = 3
- Gerber_PCB_SD_Cards.zip = 3
Note: When placing an order for the PCBs, they are automatically provided in a 5-pack by default. Hence, there is no need to order them multiple times (e.g., three times).
You can access the Gerber files on my GitHub repository:
-
3Print Or Order The 3D Parts
For this project, you'll need 12 essential 3D printed parts. If you don't have a 3D printer, don't worry! Simply order them from JLCPCB's site site, with prices starting at just $1. For the best visual appeal, I recommend opting for the 'Imagine Black' color option.
Here's the breakdown of the quantity required for each part:
- DIY TinyNAS Body With Logo.stl = 1
- DIY TinyNAS Bottom.stl = 1
- DIY TinyNAS Backplate.stl = 1
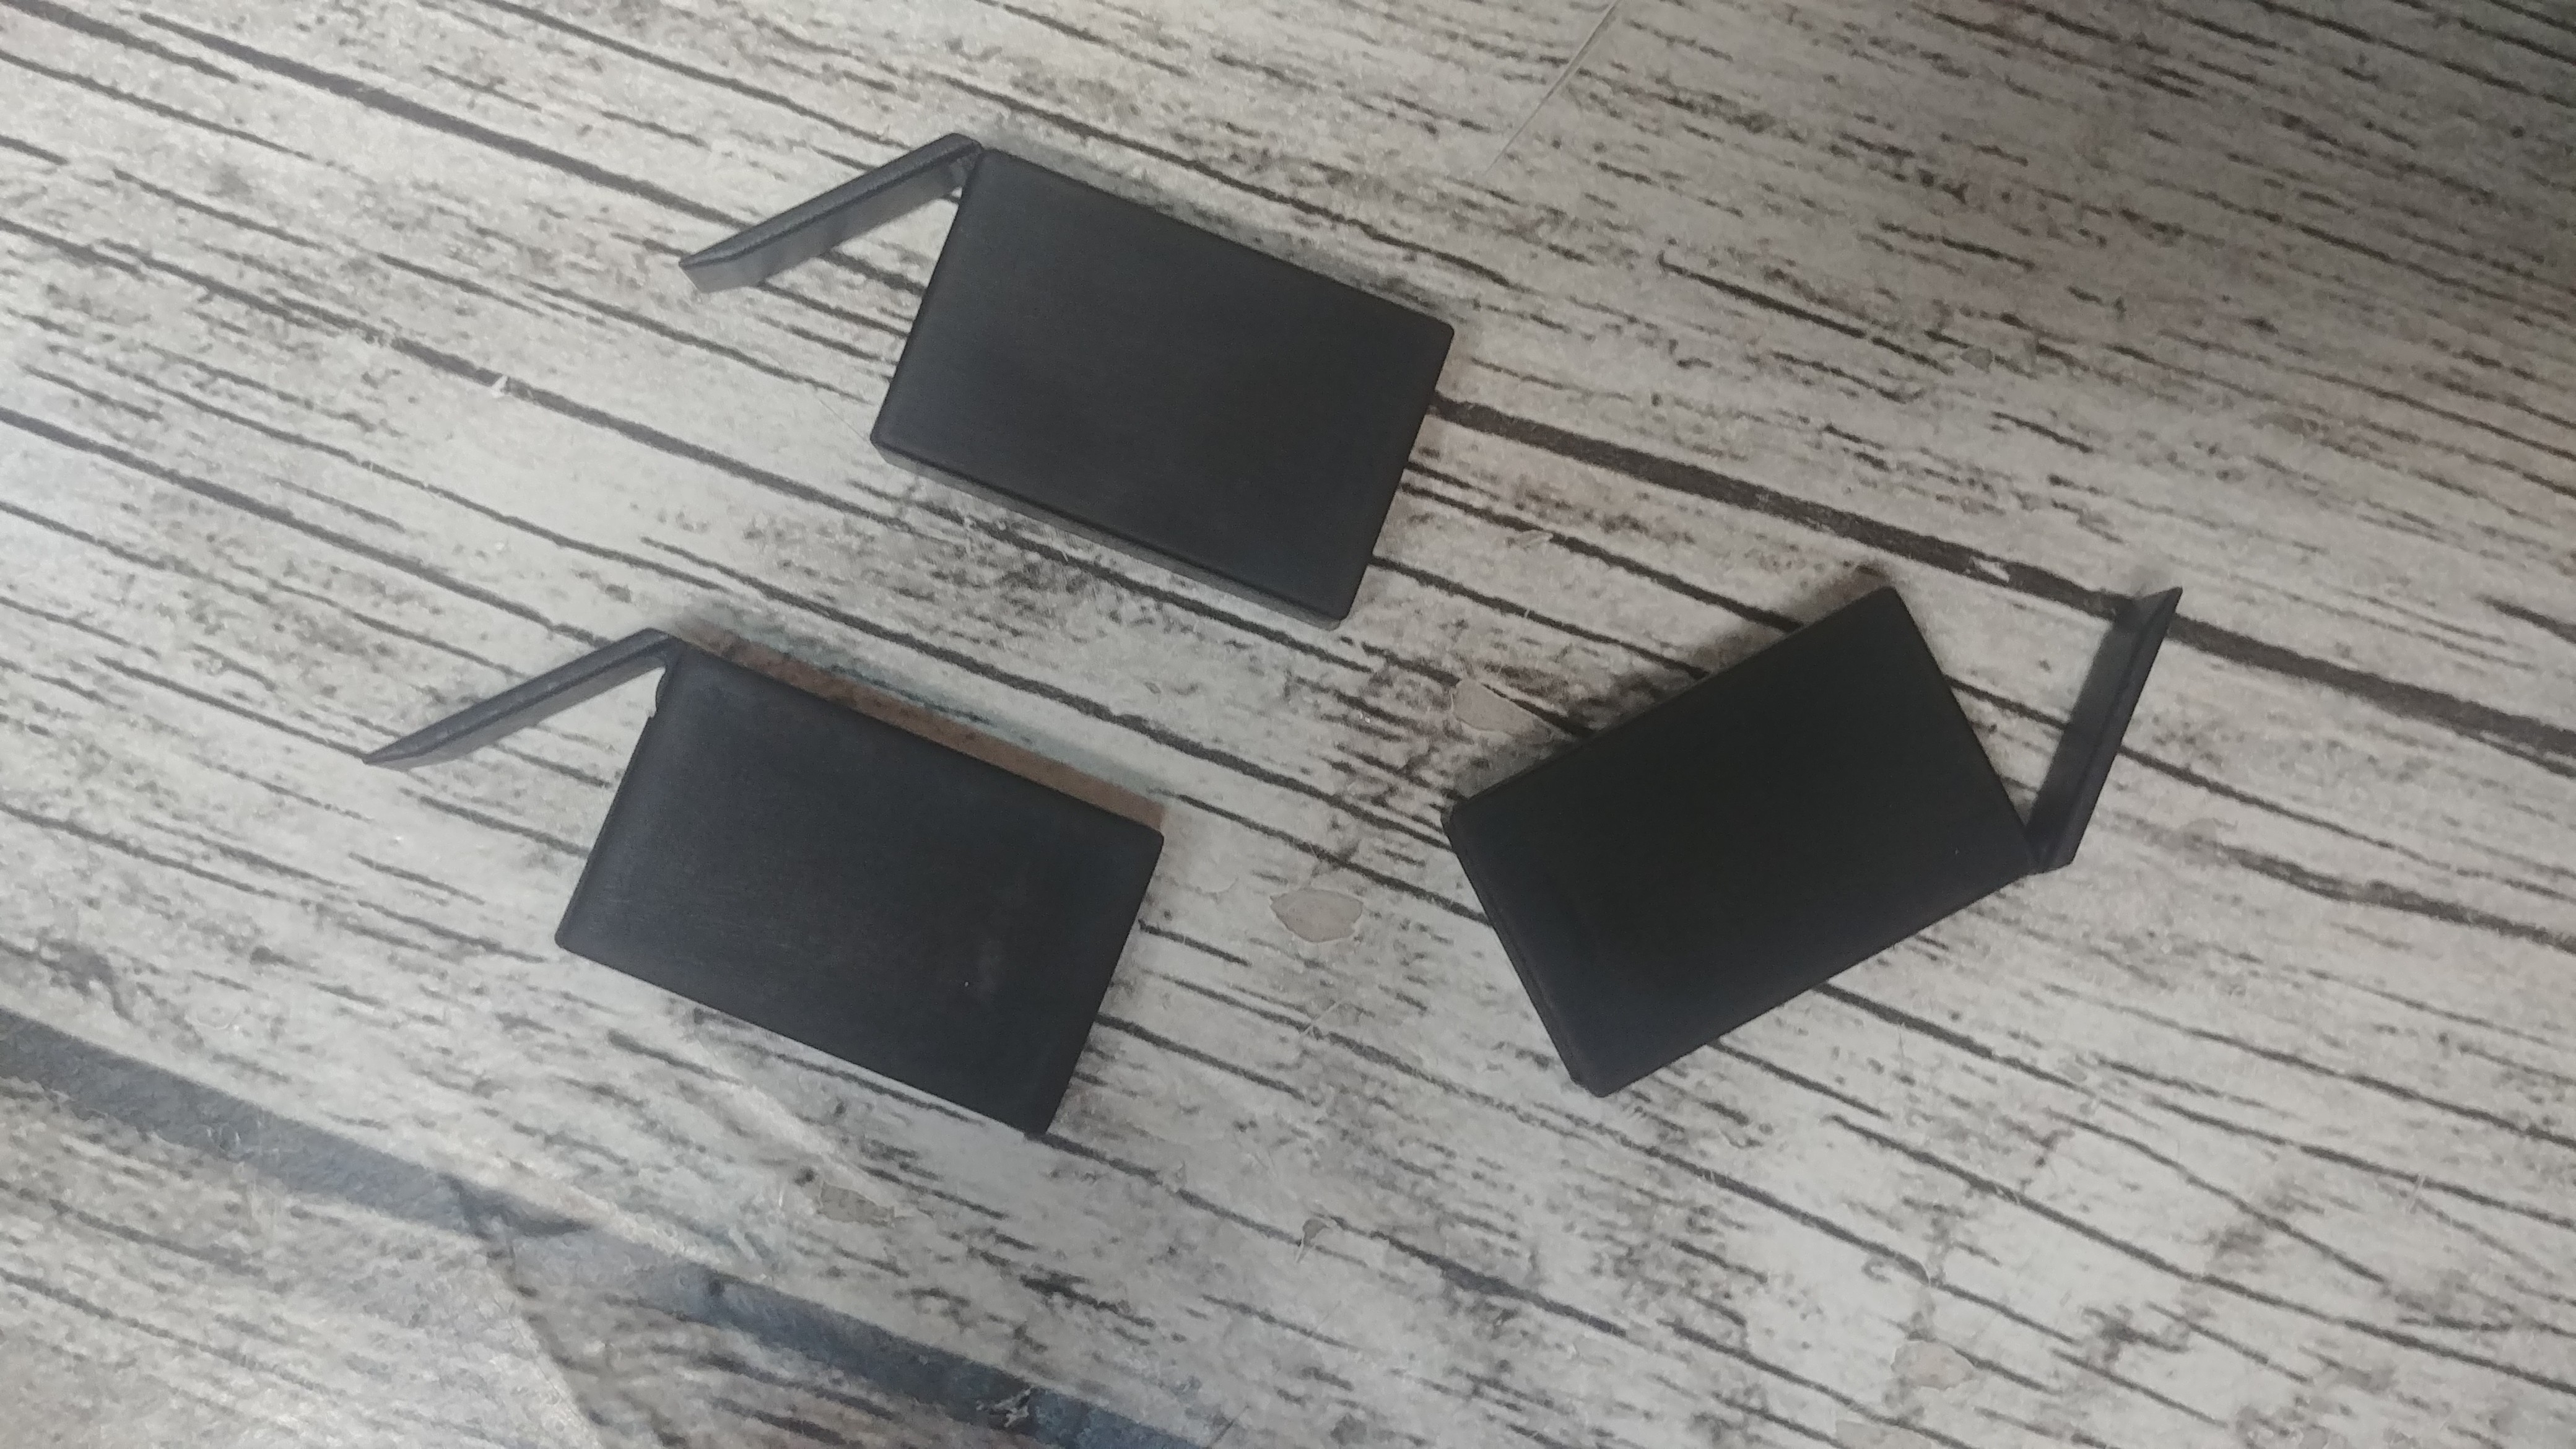
- SD Enclosure Body.stl = 3
- SD Enclosure Lever.stl = 3
- SD Enclosure Lid.stl = 3
You can access the 3D files on my GitHub repository:
-
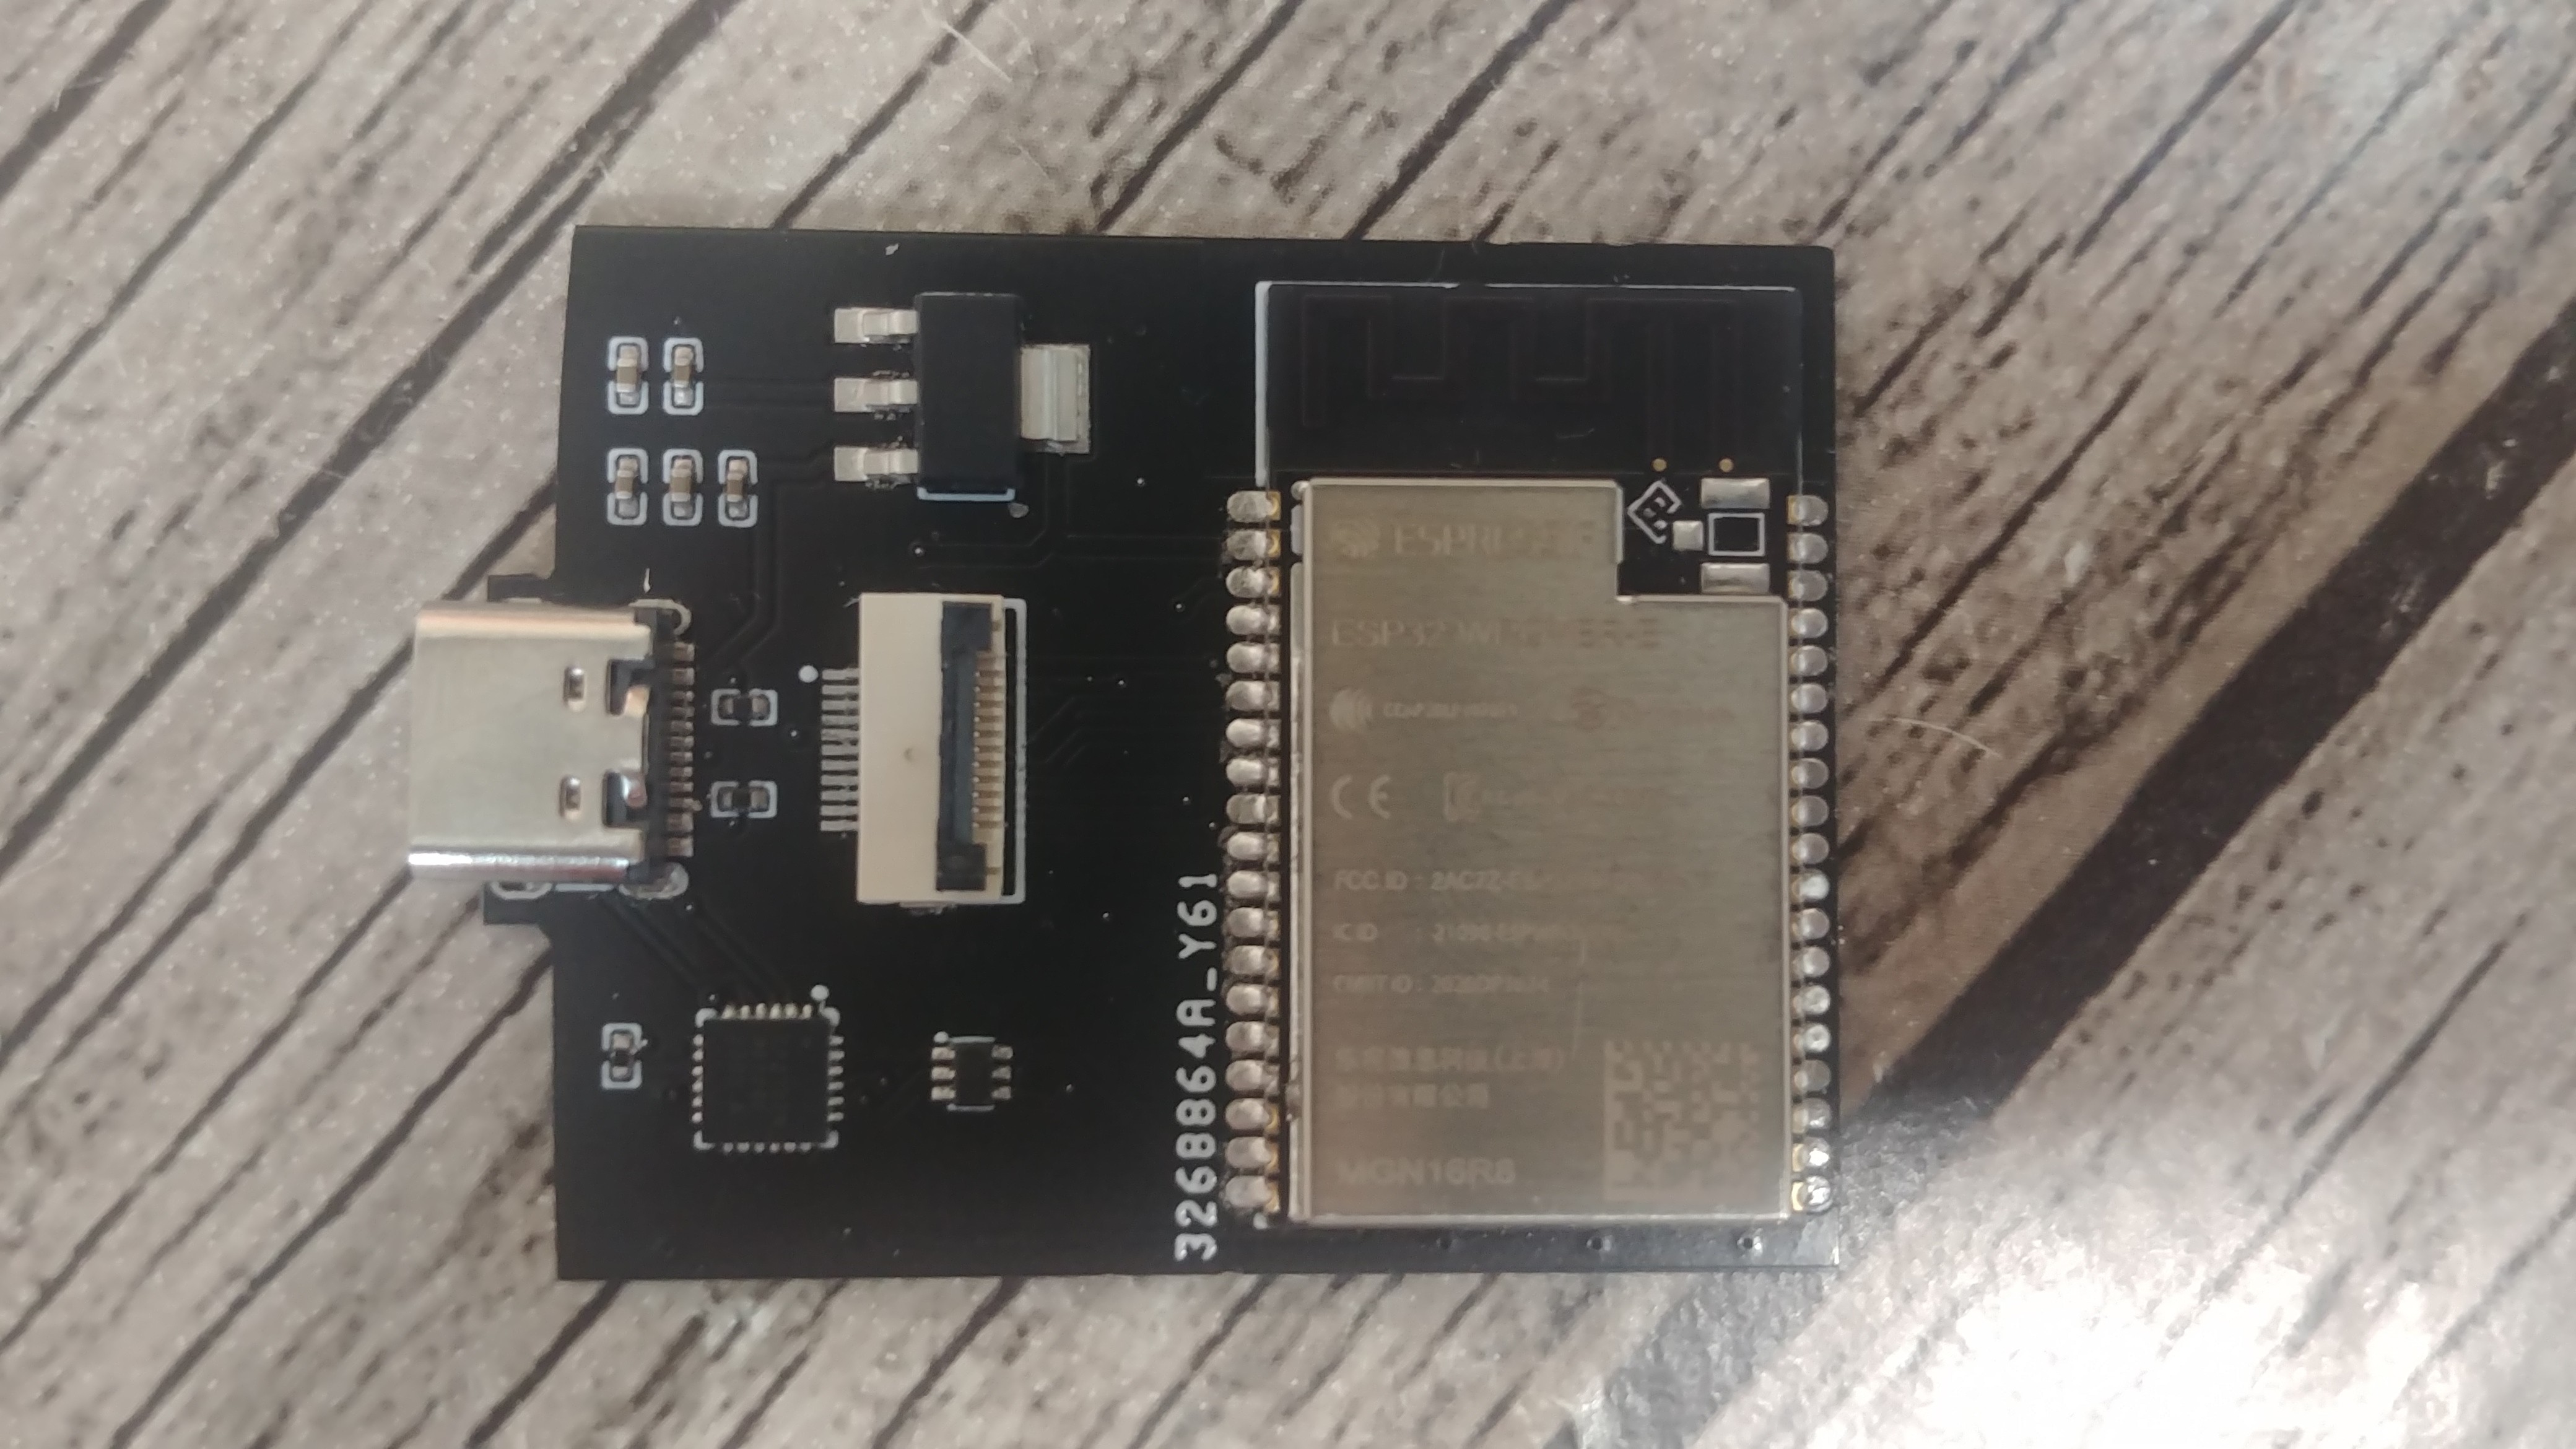
4Solder The Components Onto The PCB
This step is relatively straightforward. Begin by preparing all the necessary components for soldering and then proceed to solder them onto your PCB one by one.
It took me approximately 1 hour and 30 minutes to solder all the boards.
For your convenience in component placement, I've provided IBOM files (HTML files) on my GitHub. These files can be found HERE. They offer guidance on where to place each component during the soldering process.
-
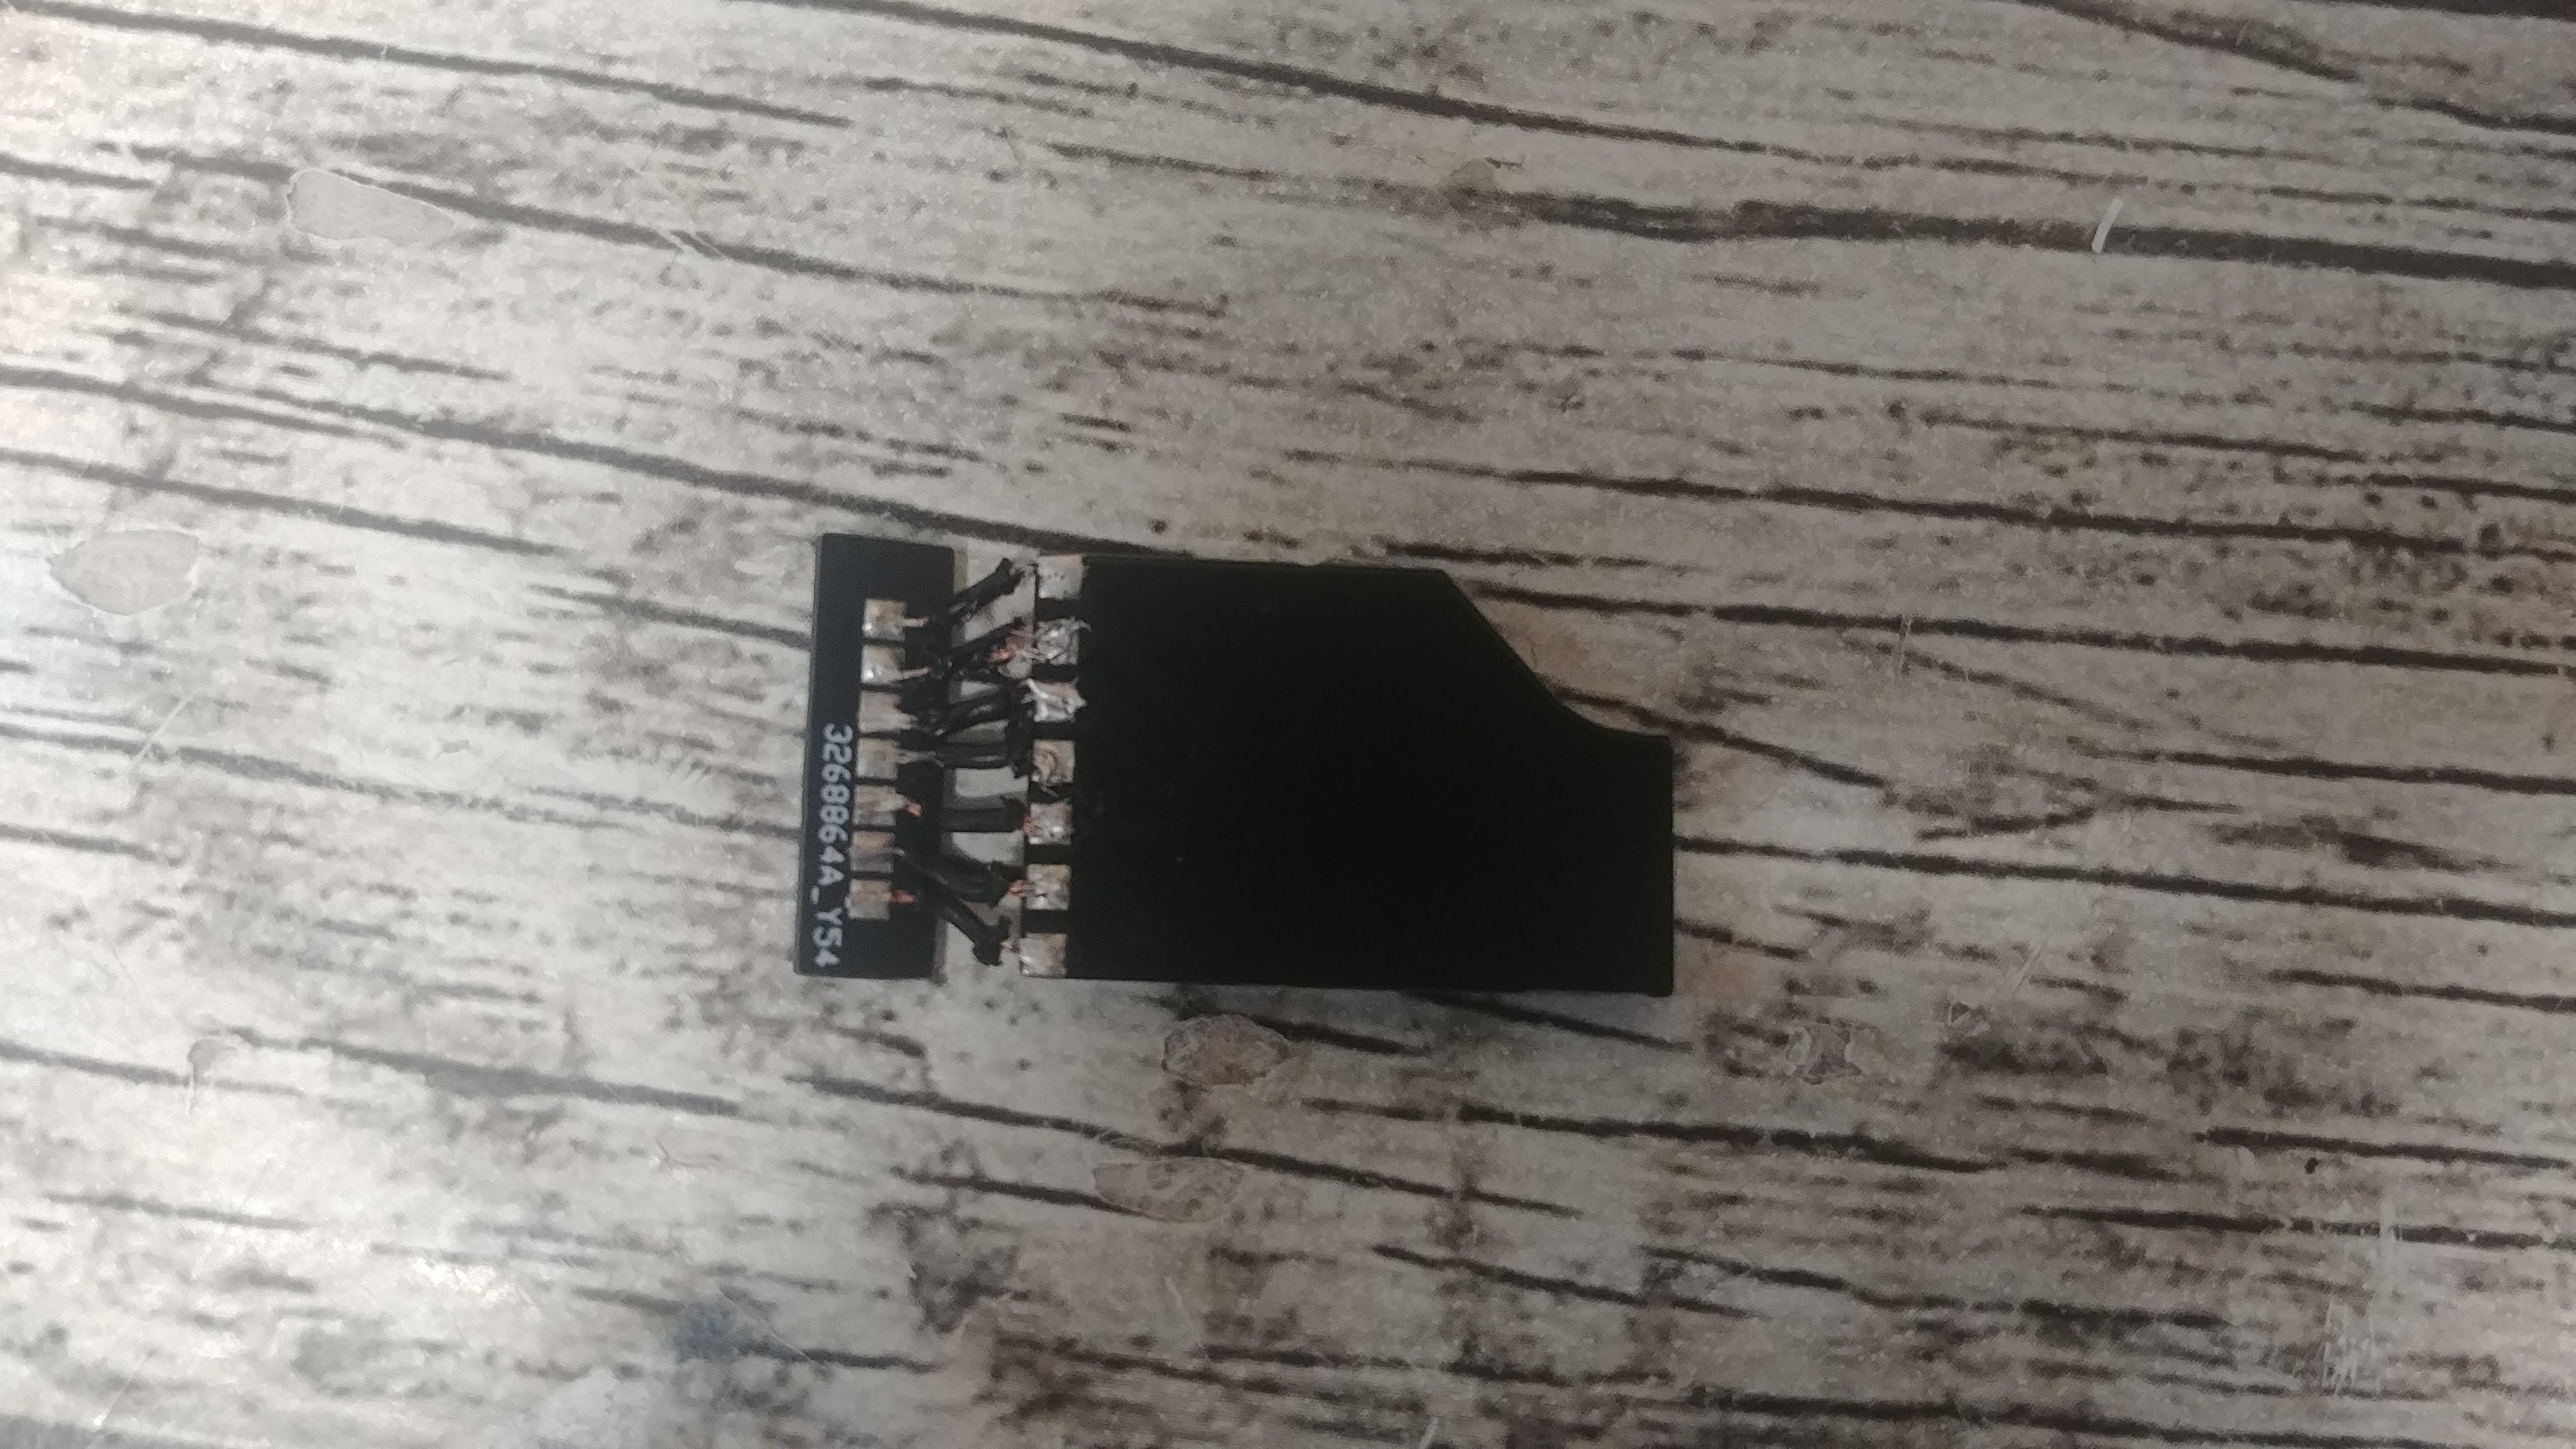
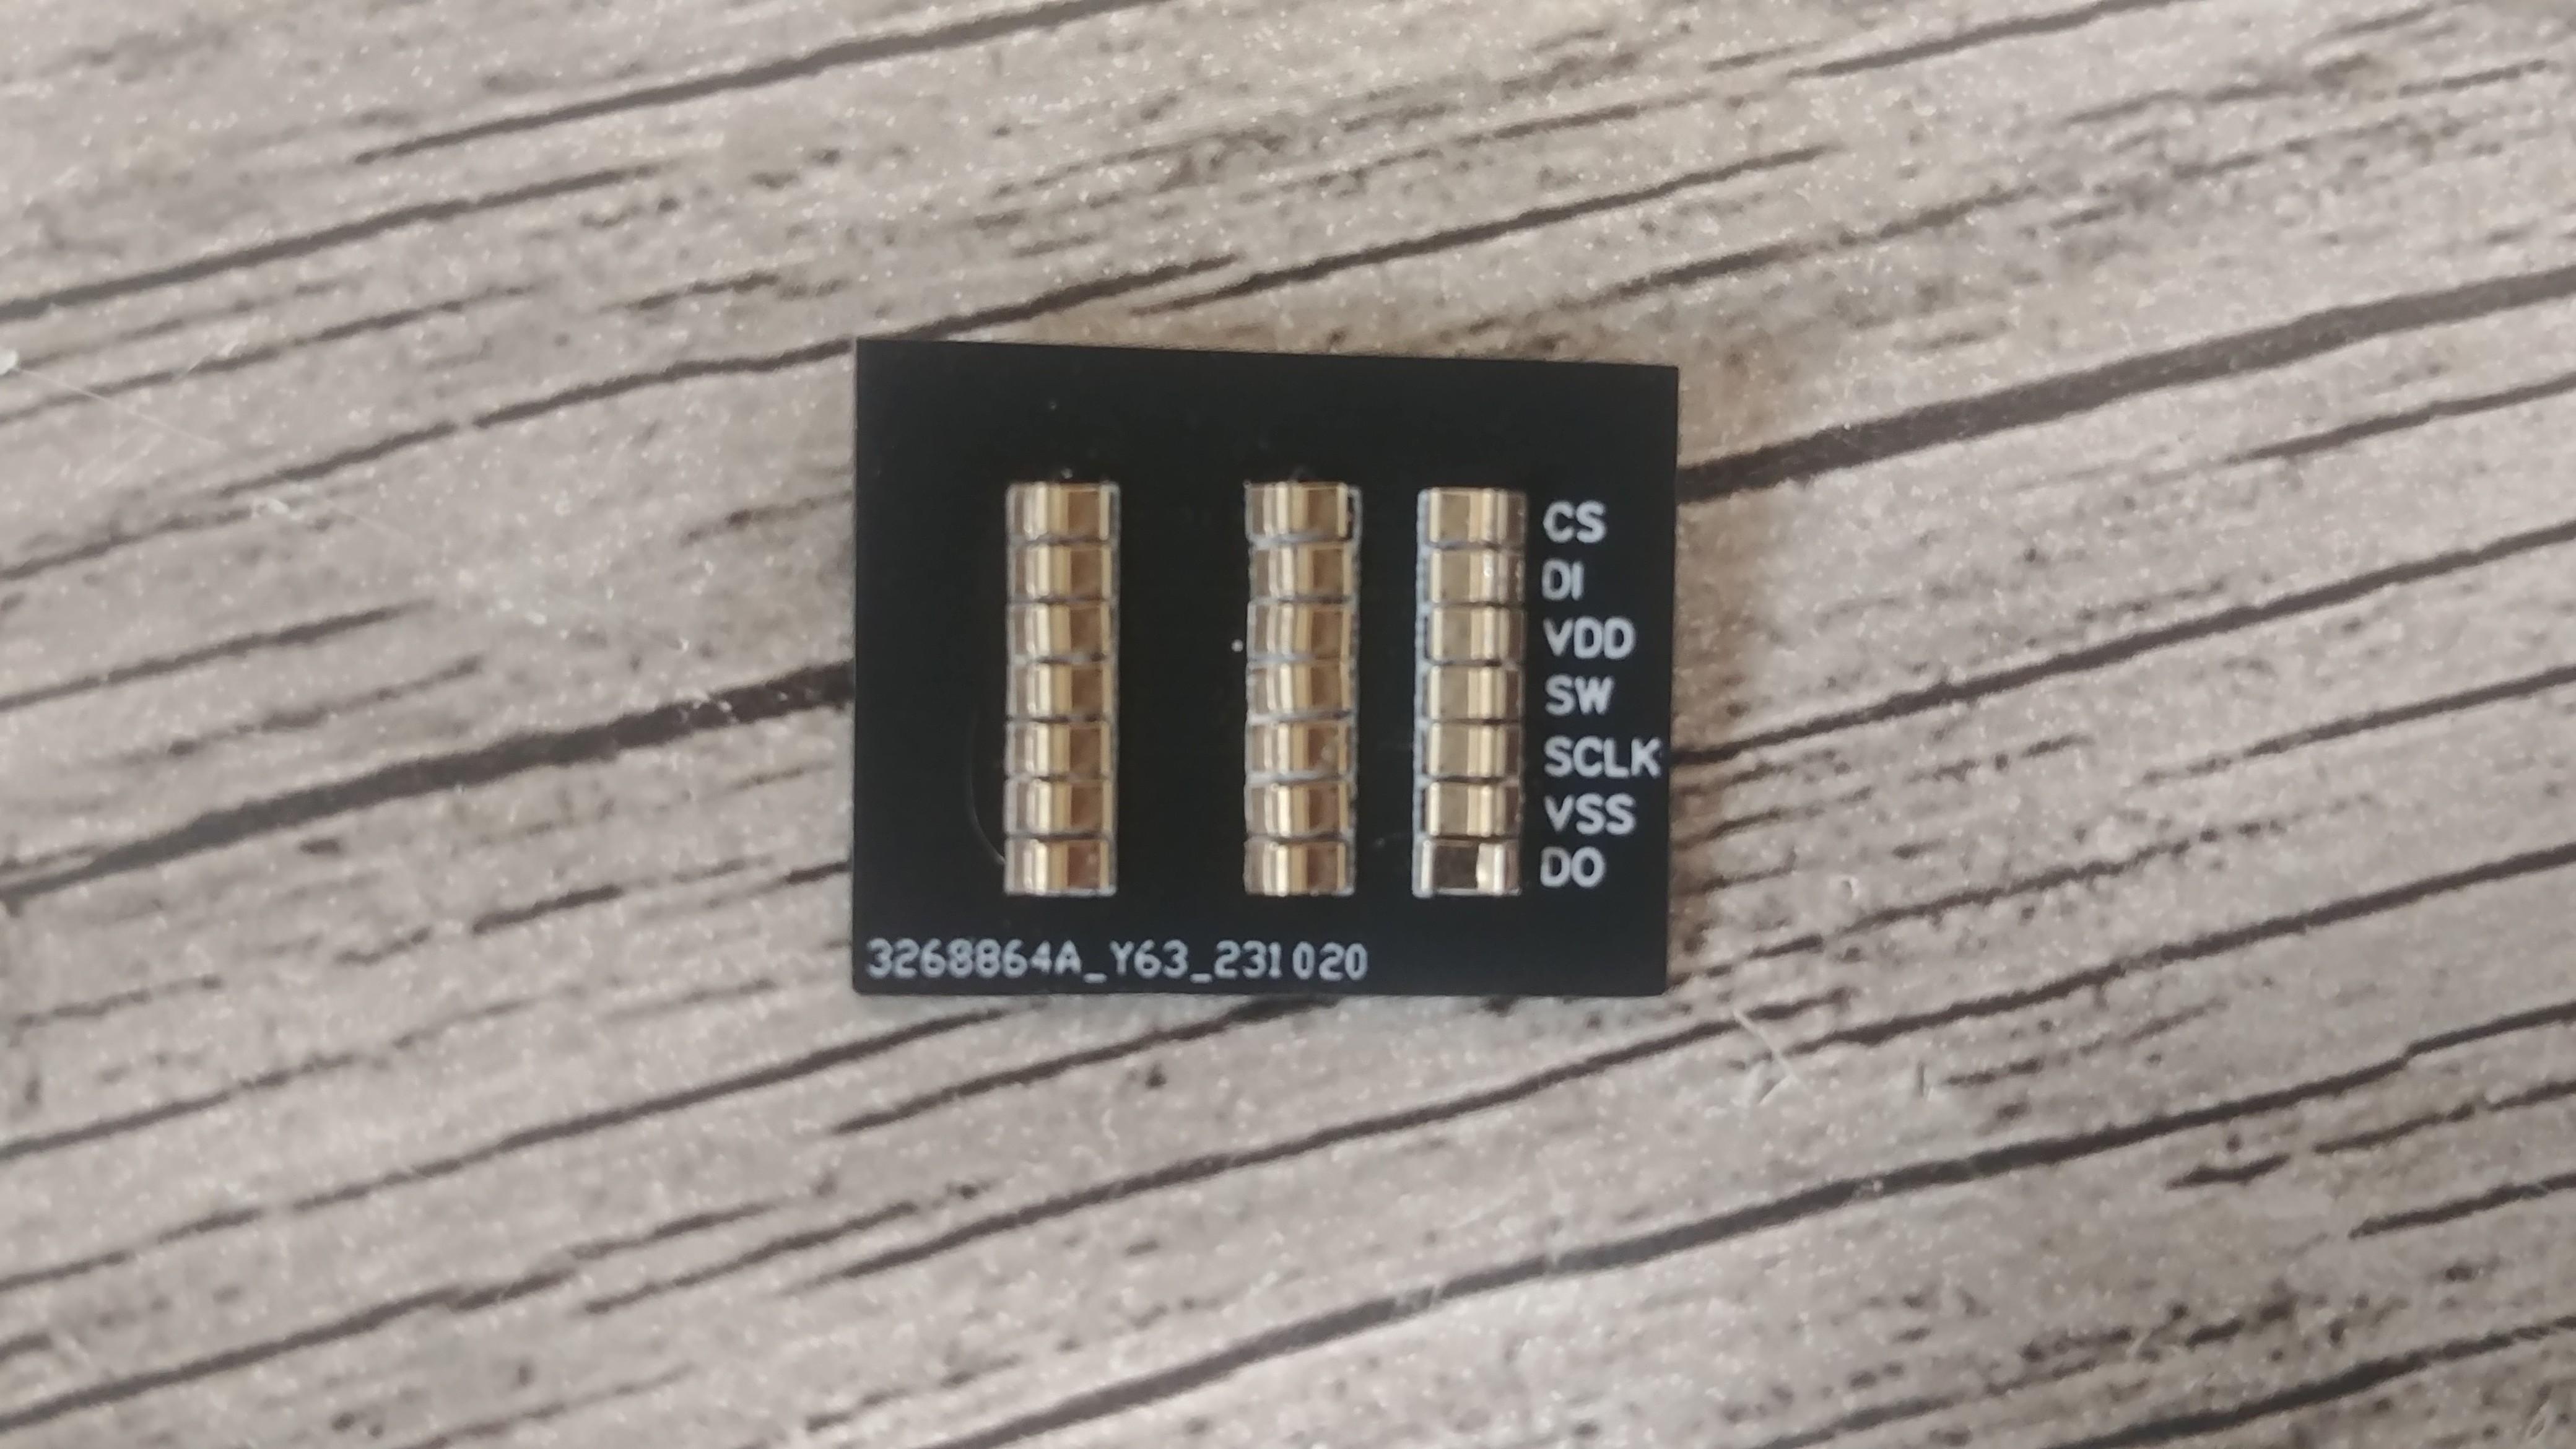
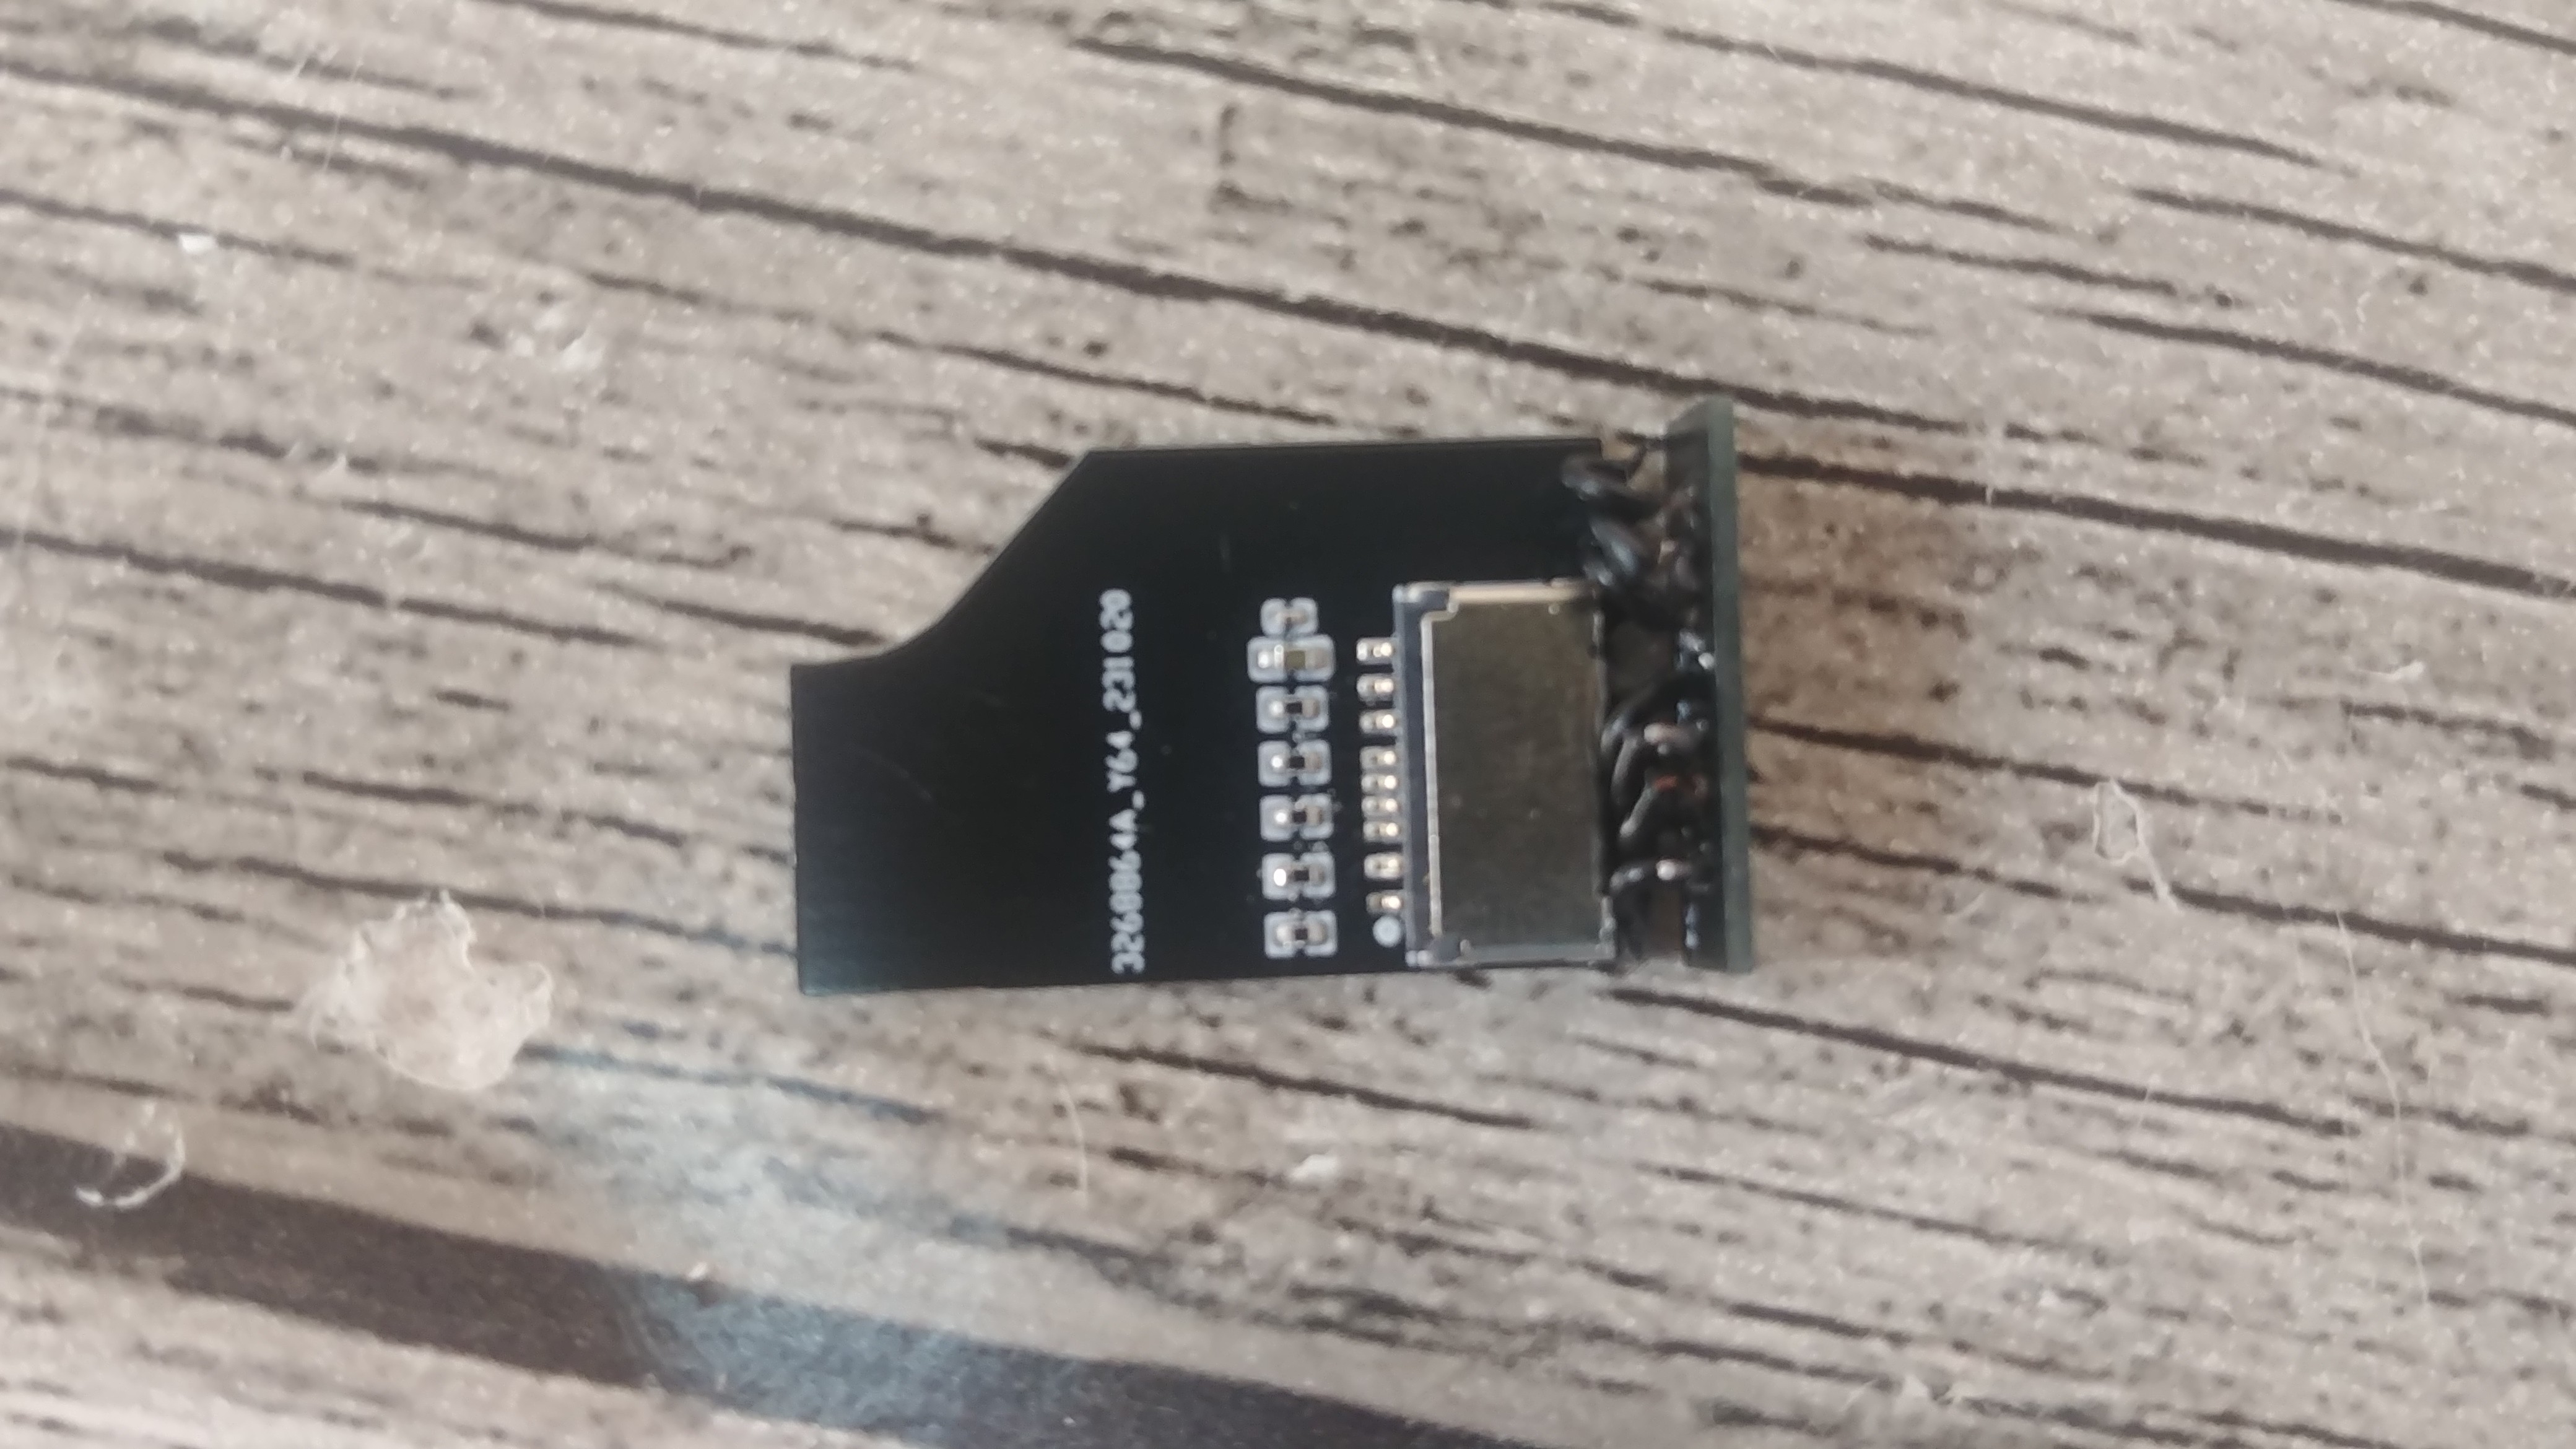
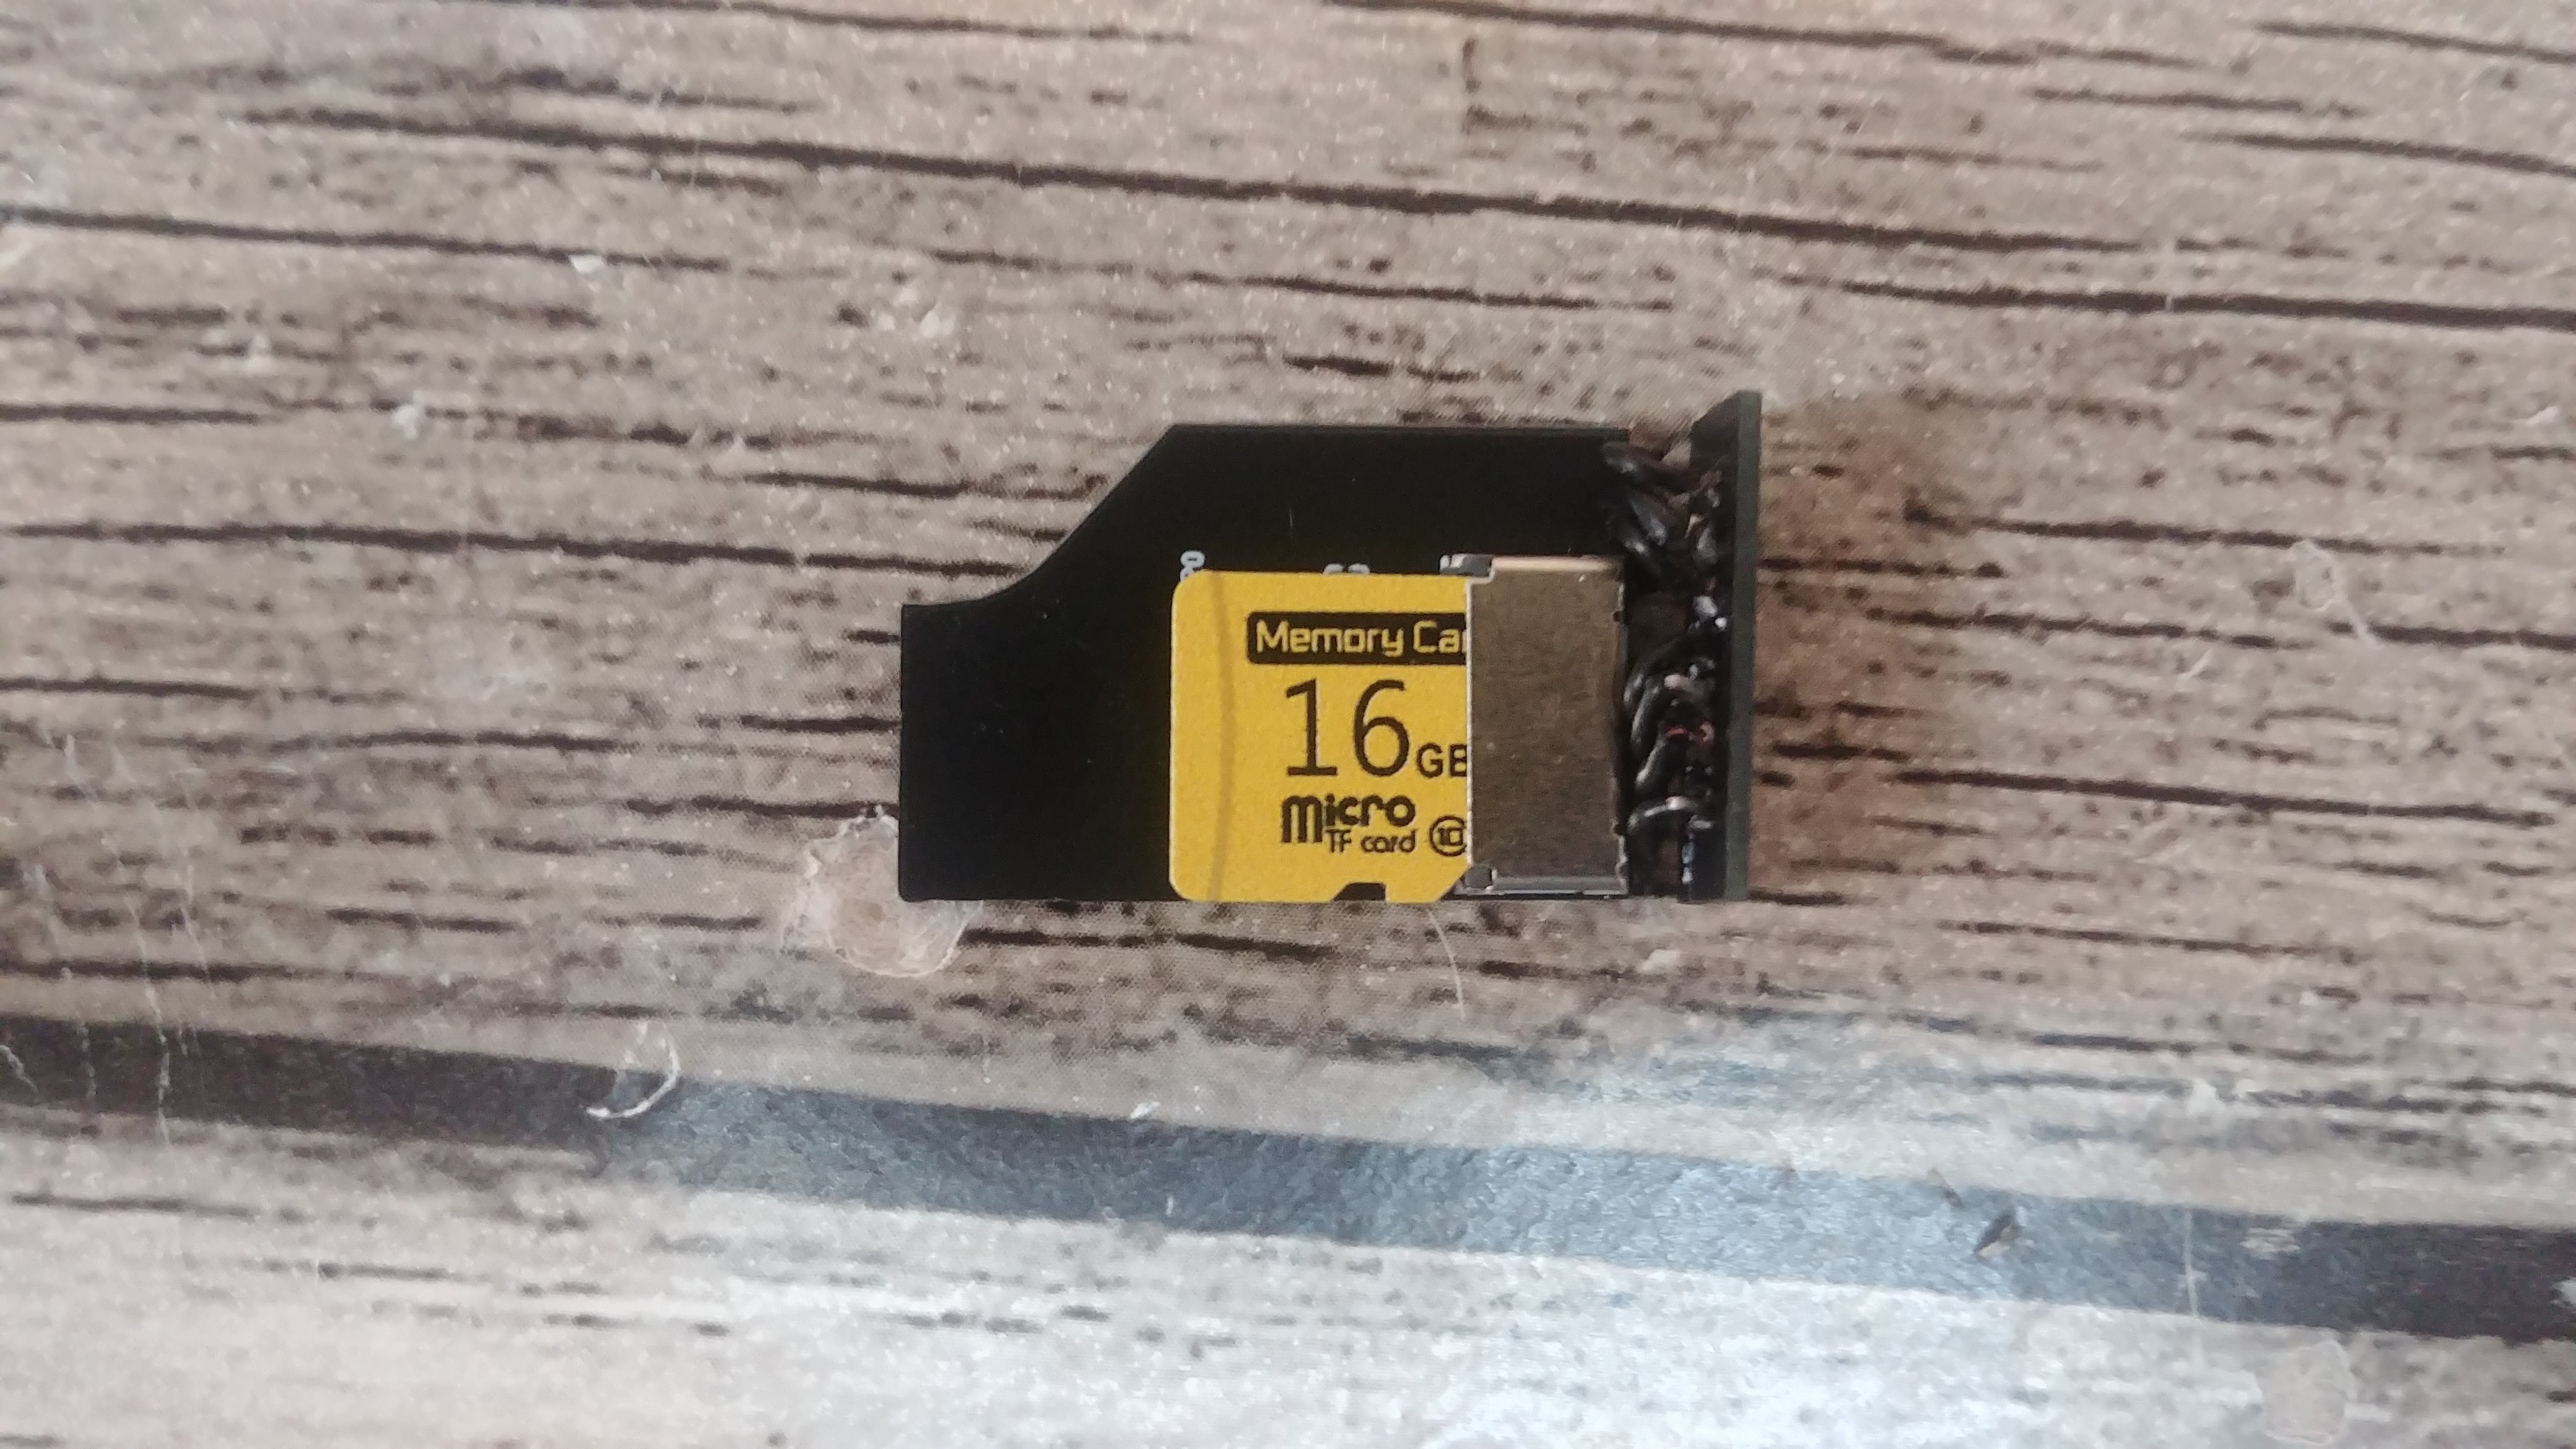
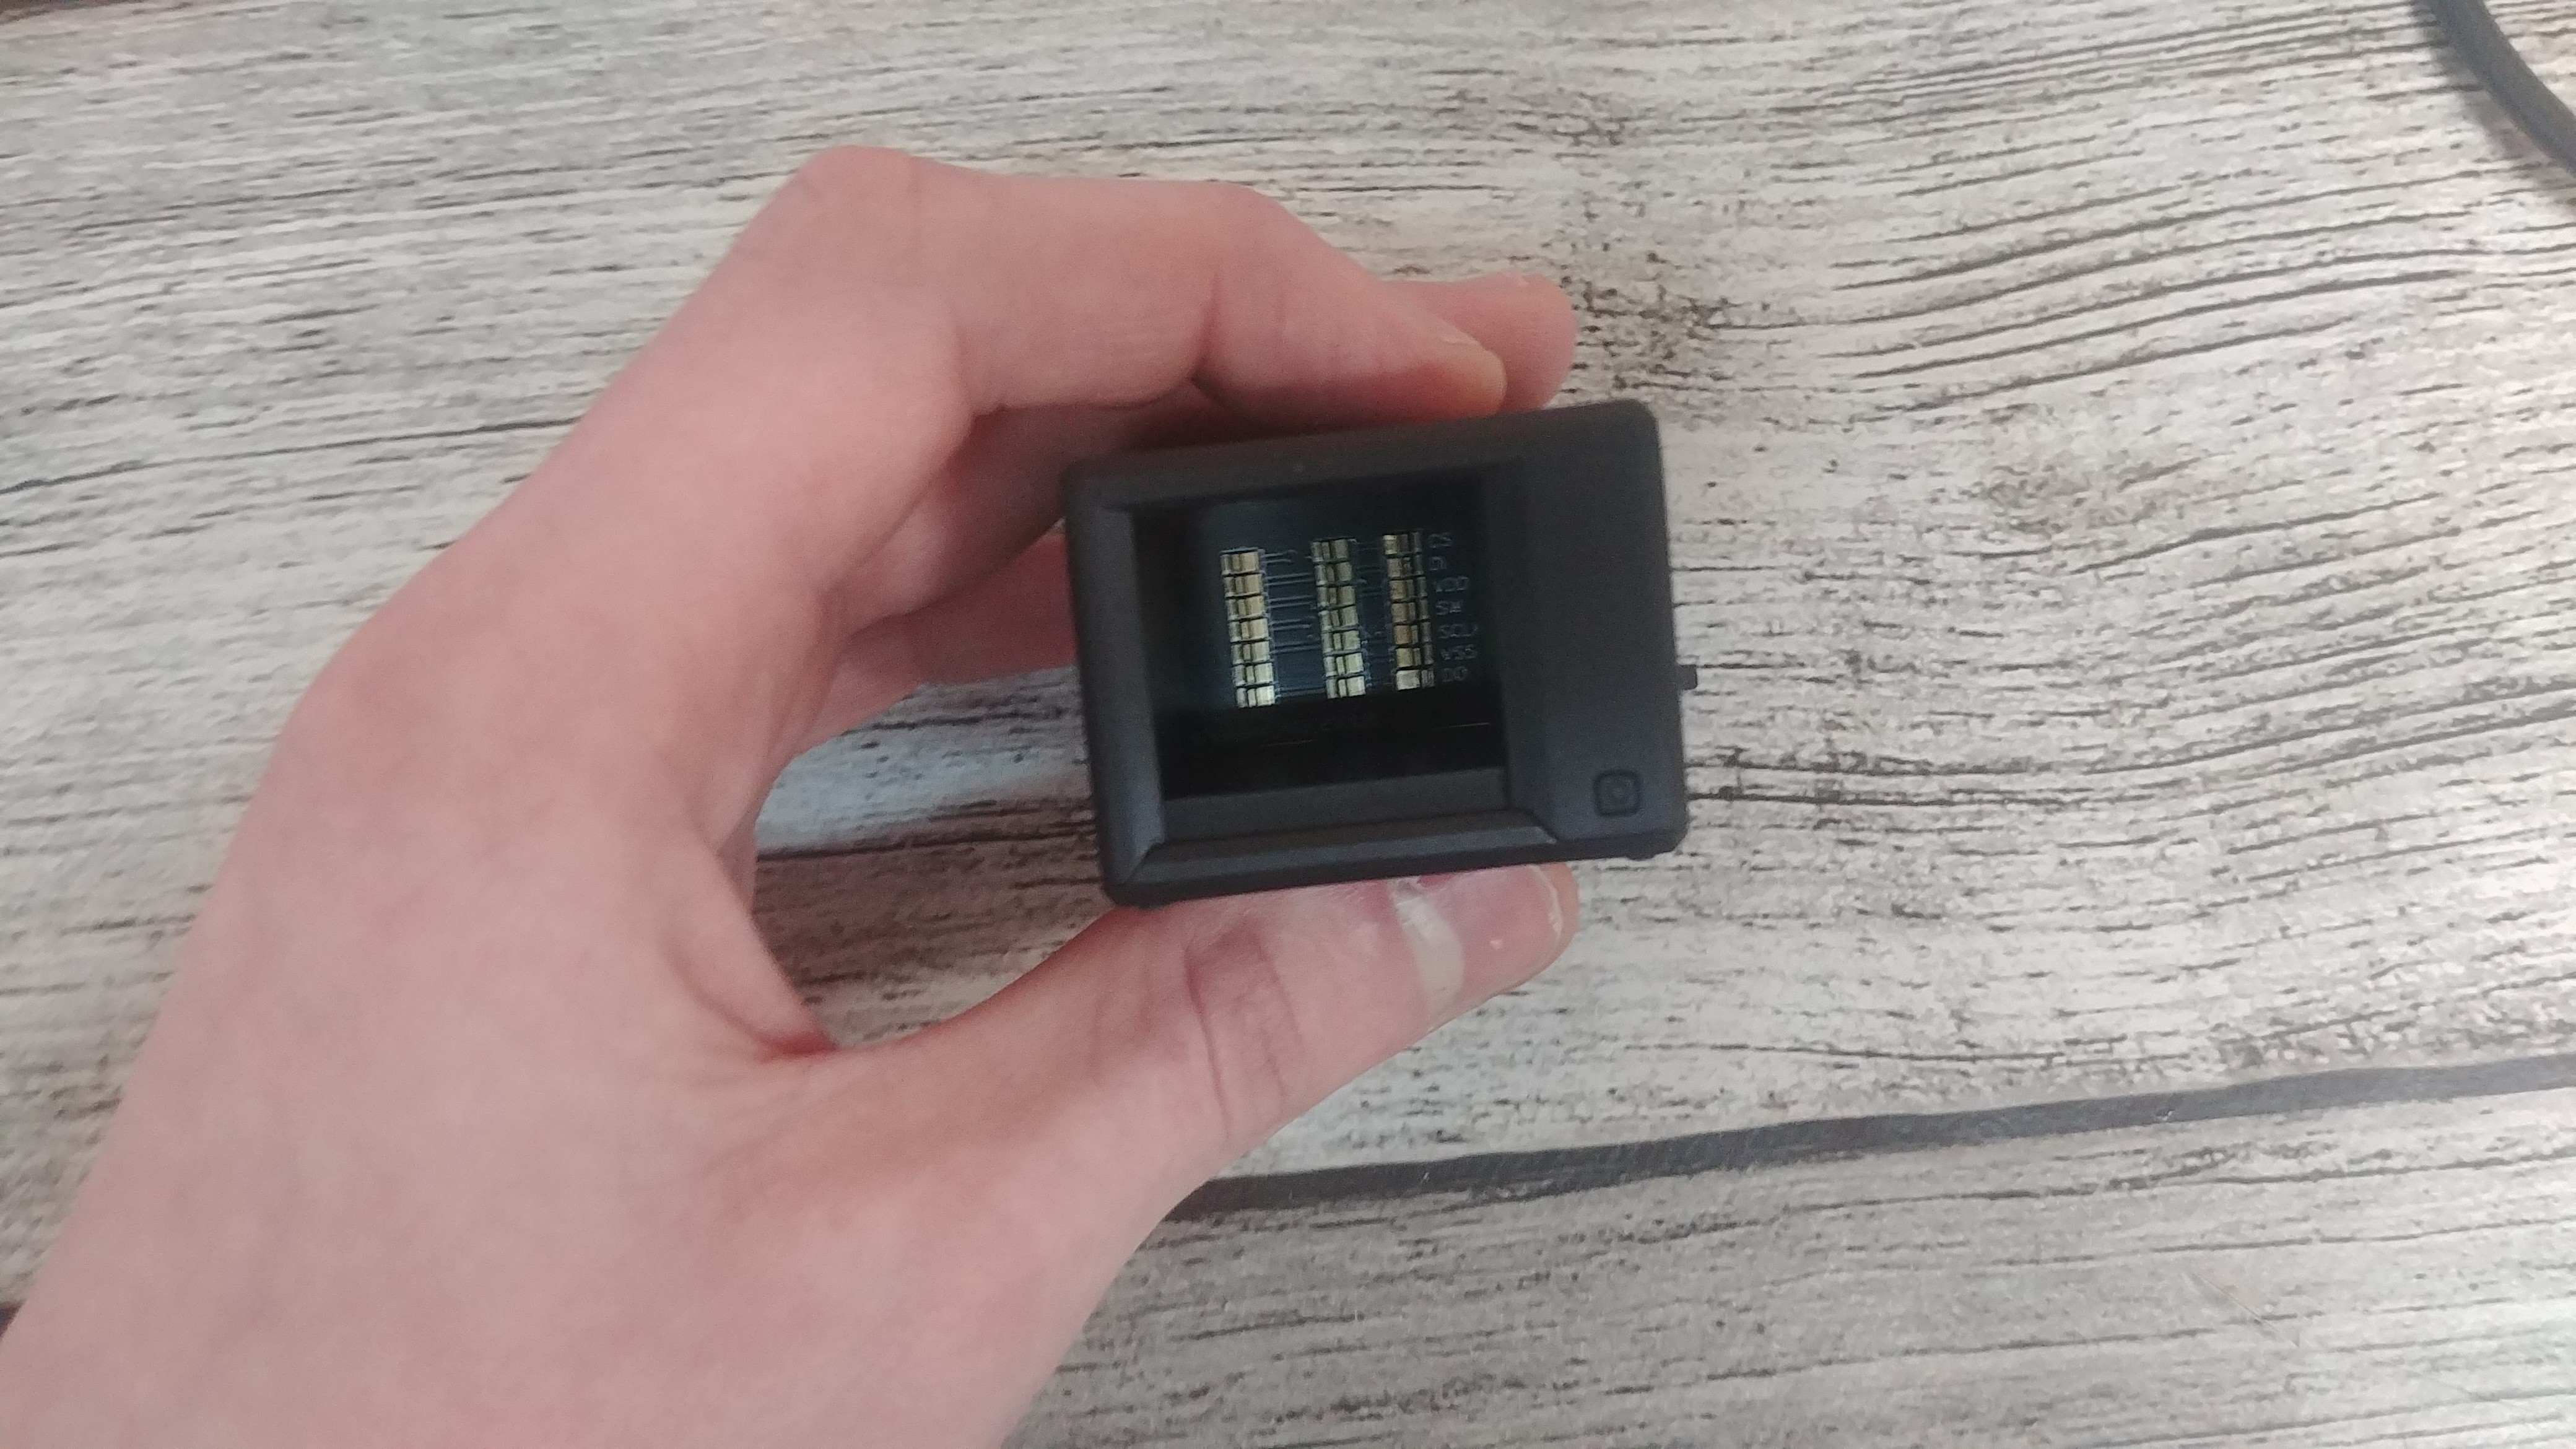
5Solder The SD Cards PCBs
In this step, the task is to connect the seven pads on the smallest PCB to the corresponding seven pads on the SD card PCB using small wires. Follow the guidance provided in the included image and repeat this process 3 times.
![]()
-
6Check For Shorts
Ensuring the integrity of your TinyNAS is crucial before connecting it to your computer. Chips of this size often come with potential soldering defects, such as pin bridging or, more critically, short circuits between VCC (5V from USB) and ground. To verify the quality of your TinyNAS soldering, it is advisable to conduct a thorough check for shorts. A best practice is to insert it into a protected power supply, such as a dedicated lab bench power supply, before connecting it to your computer. This precautionary measure helps safeguard against potential issues during the initial power-up.
![]()
-
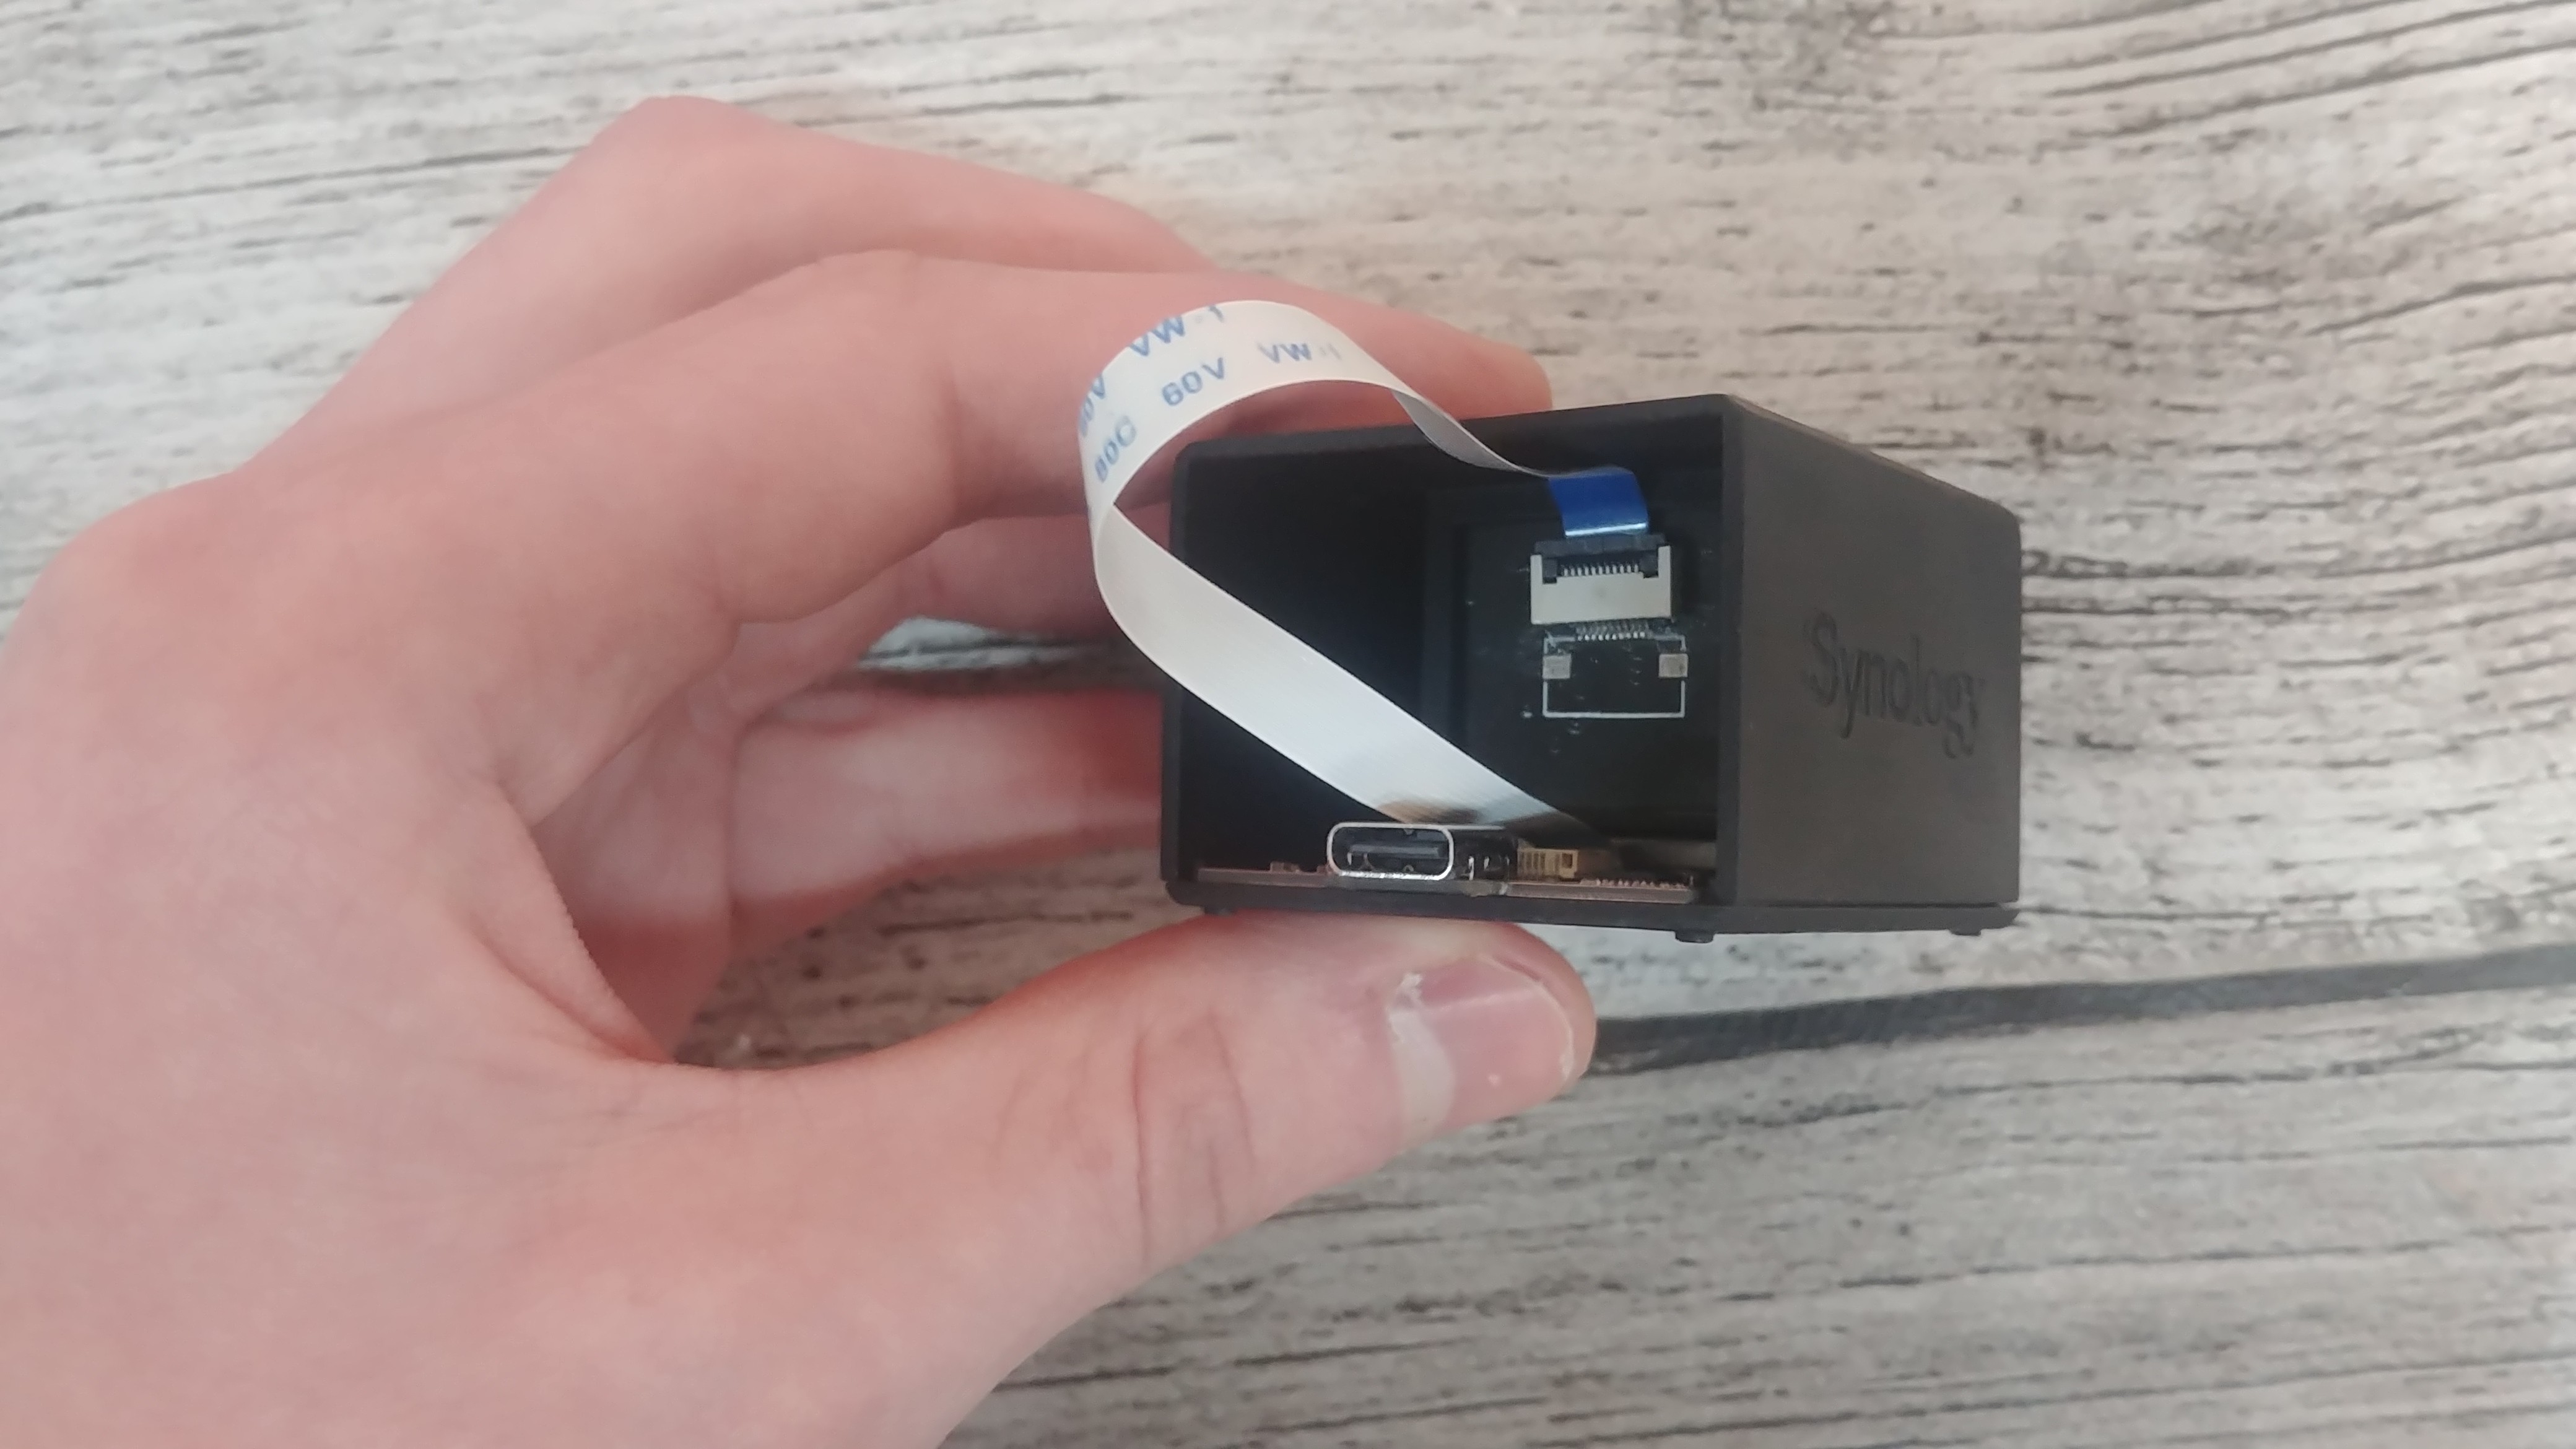
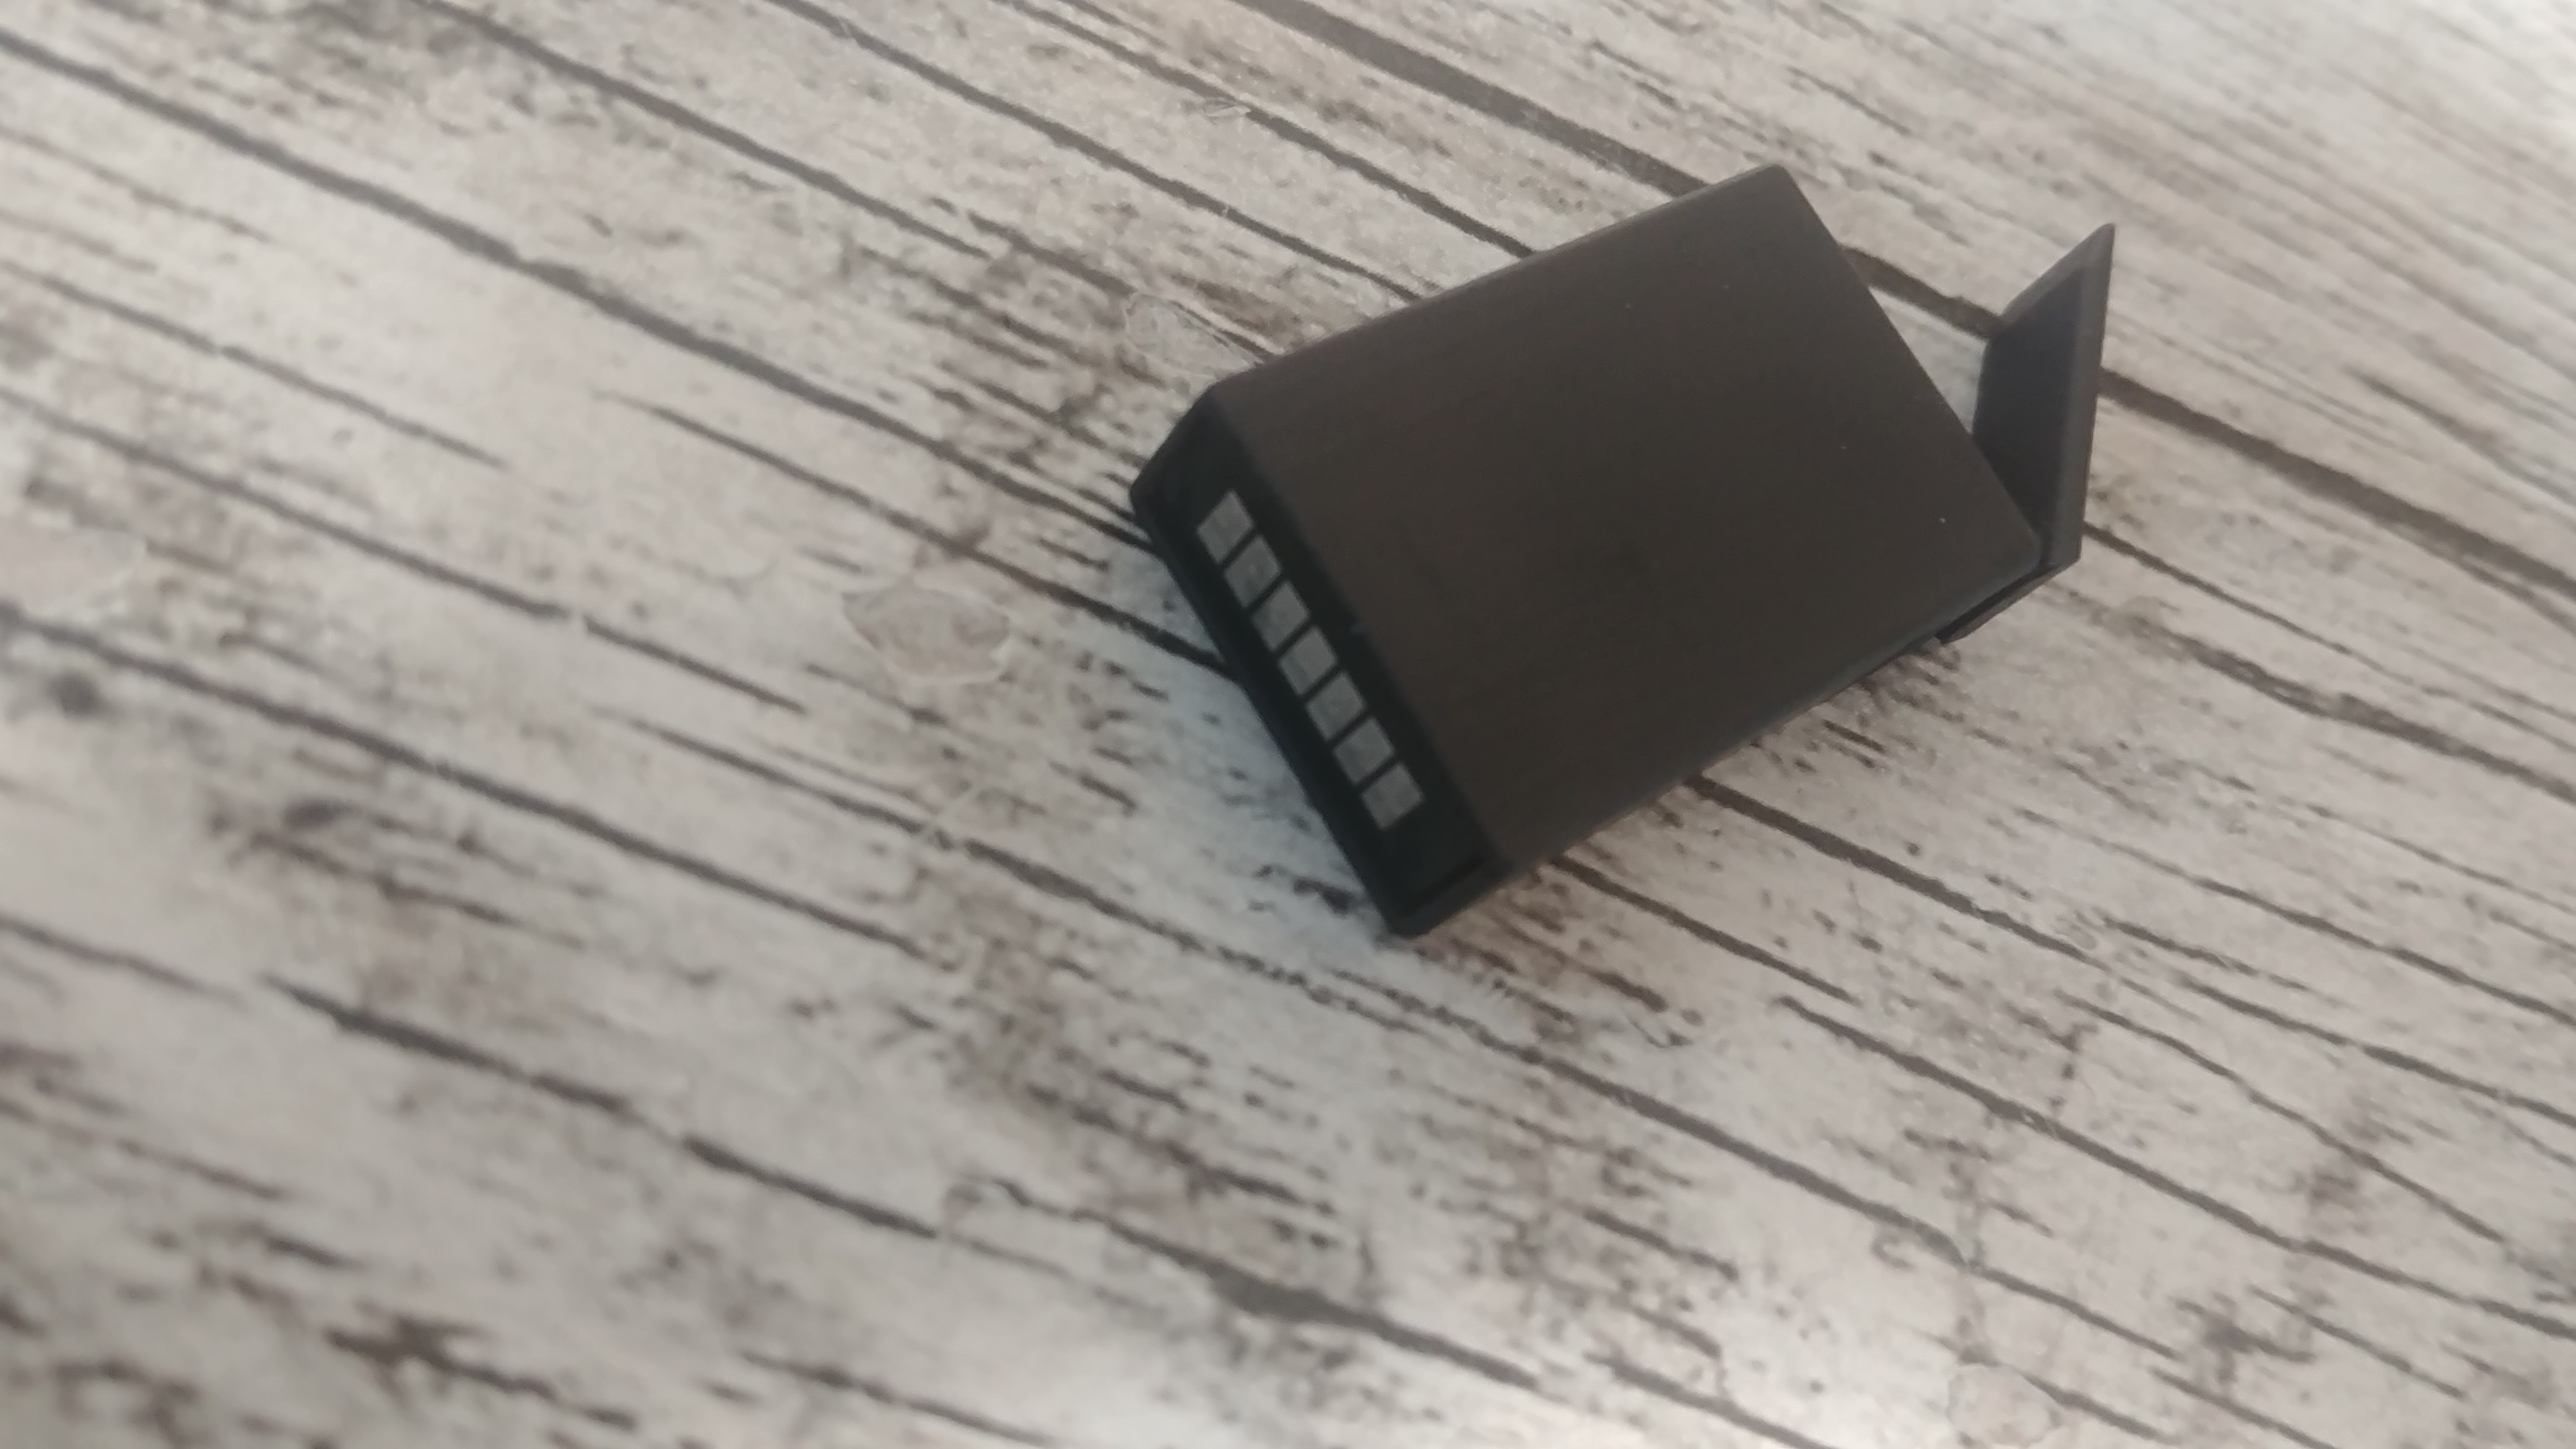
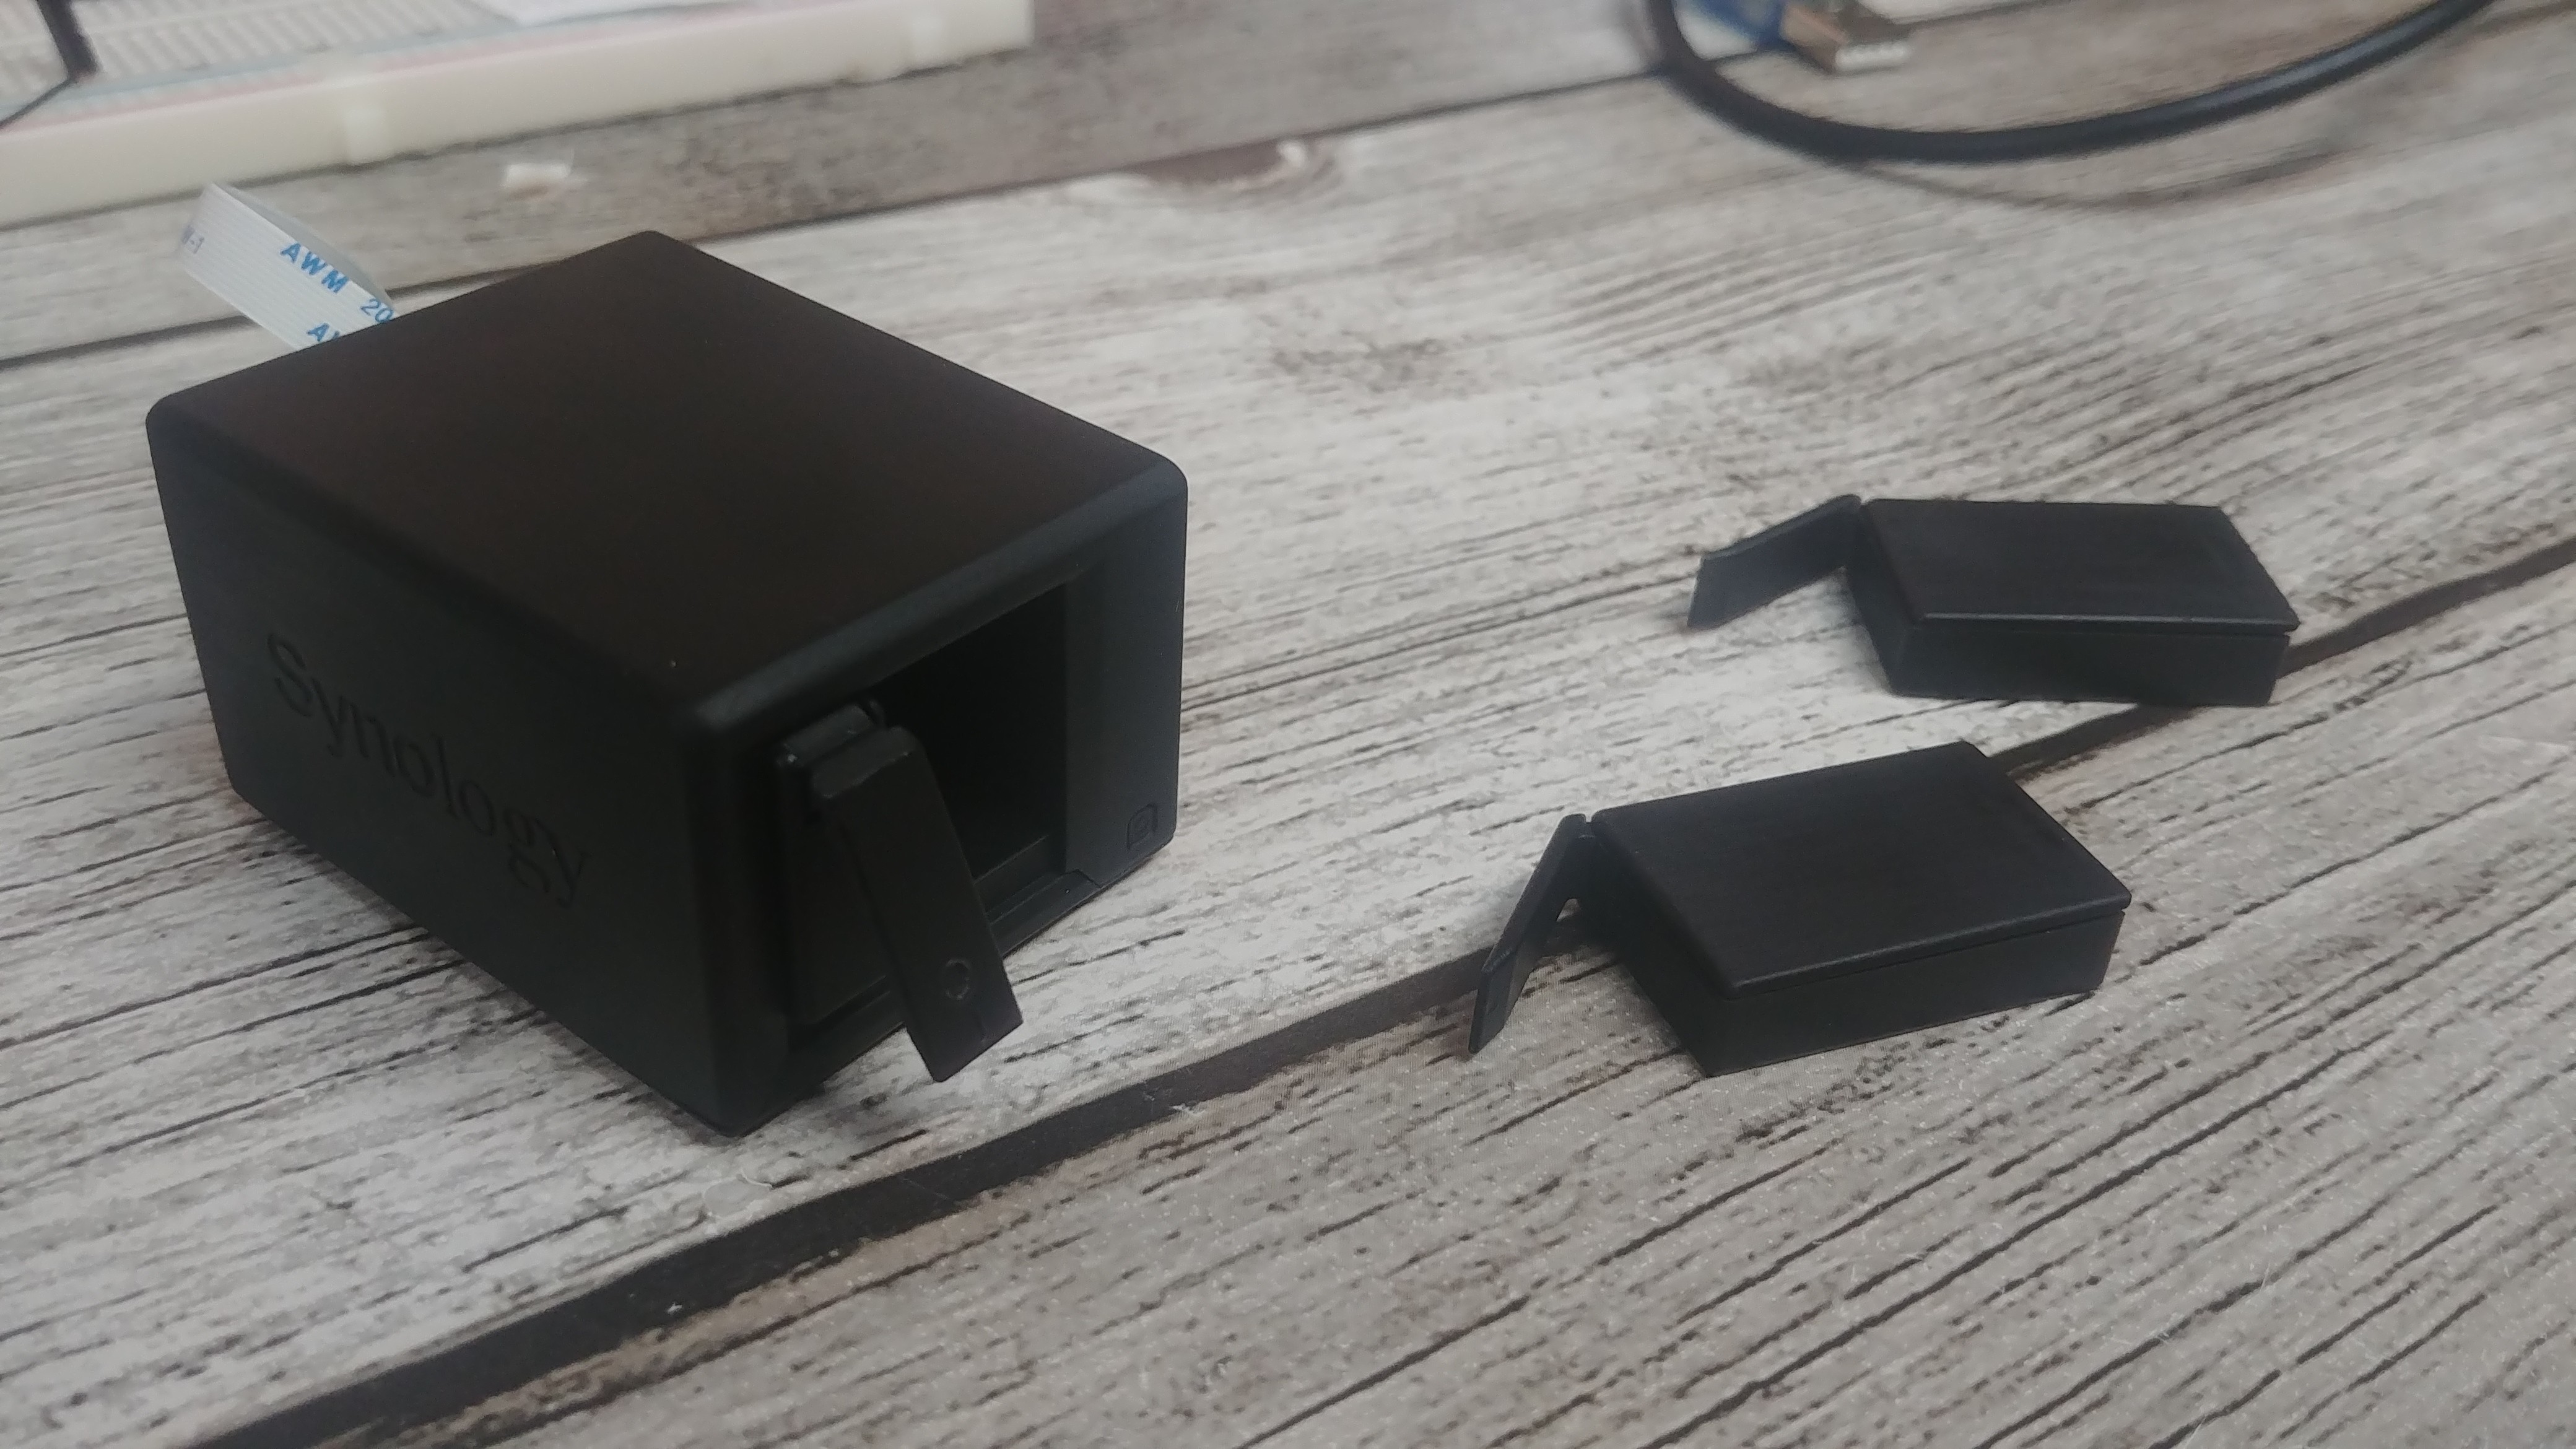
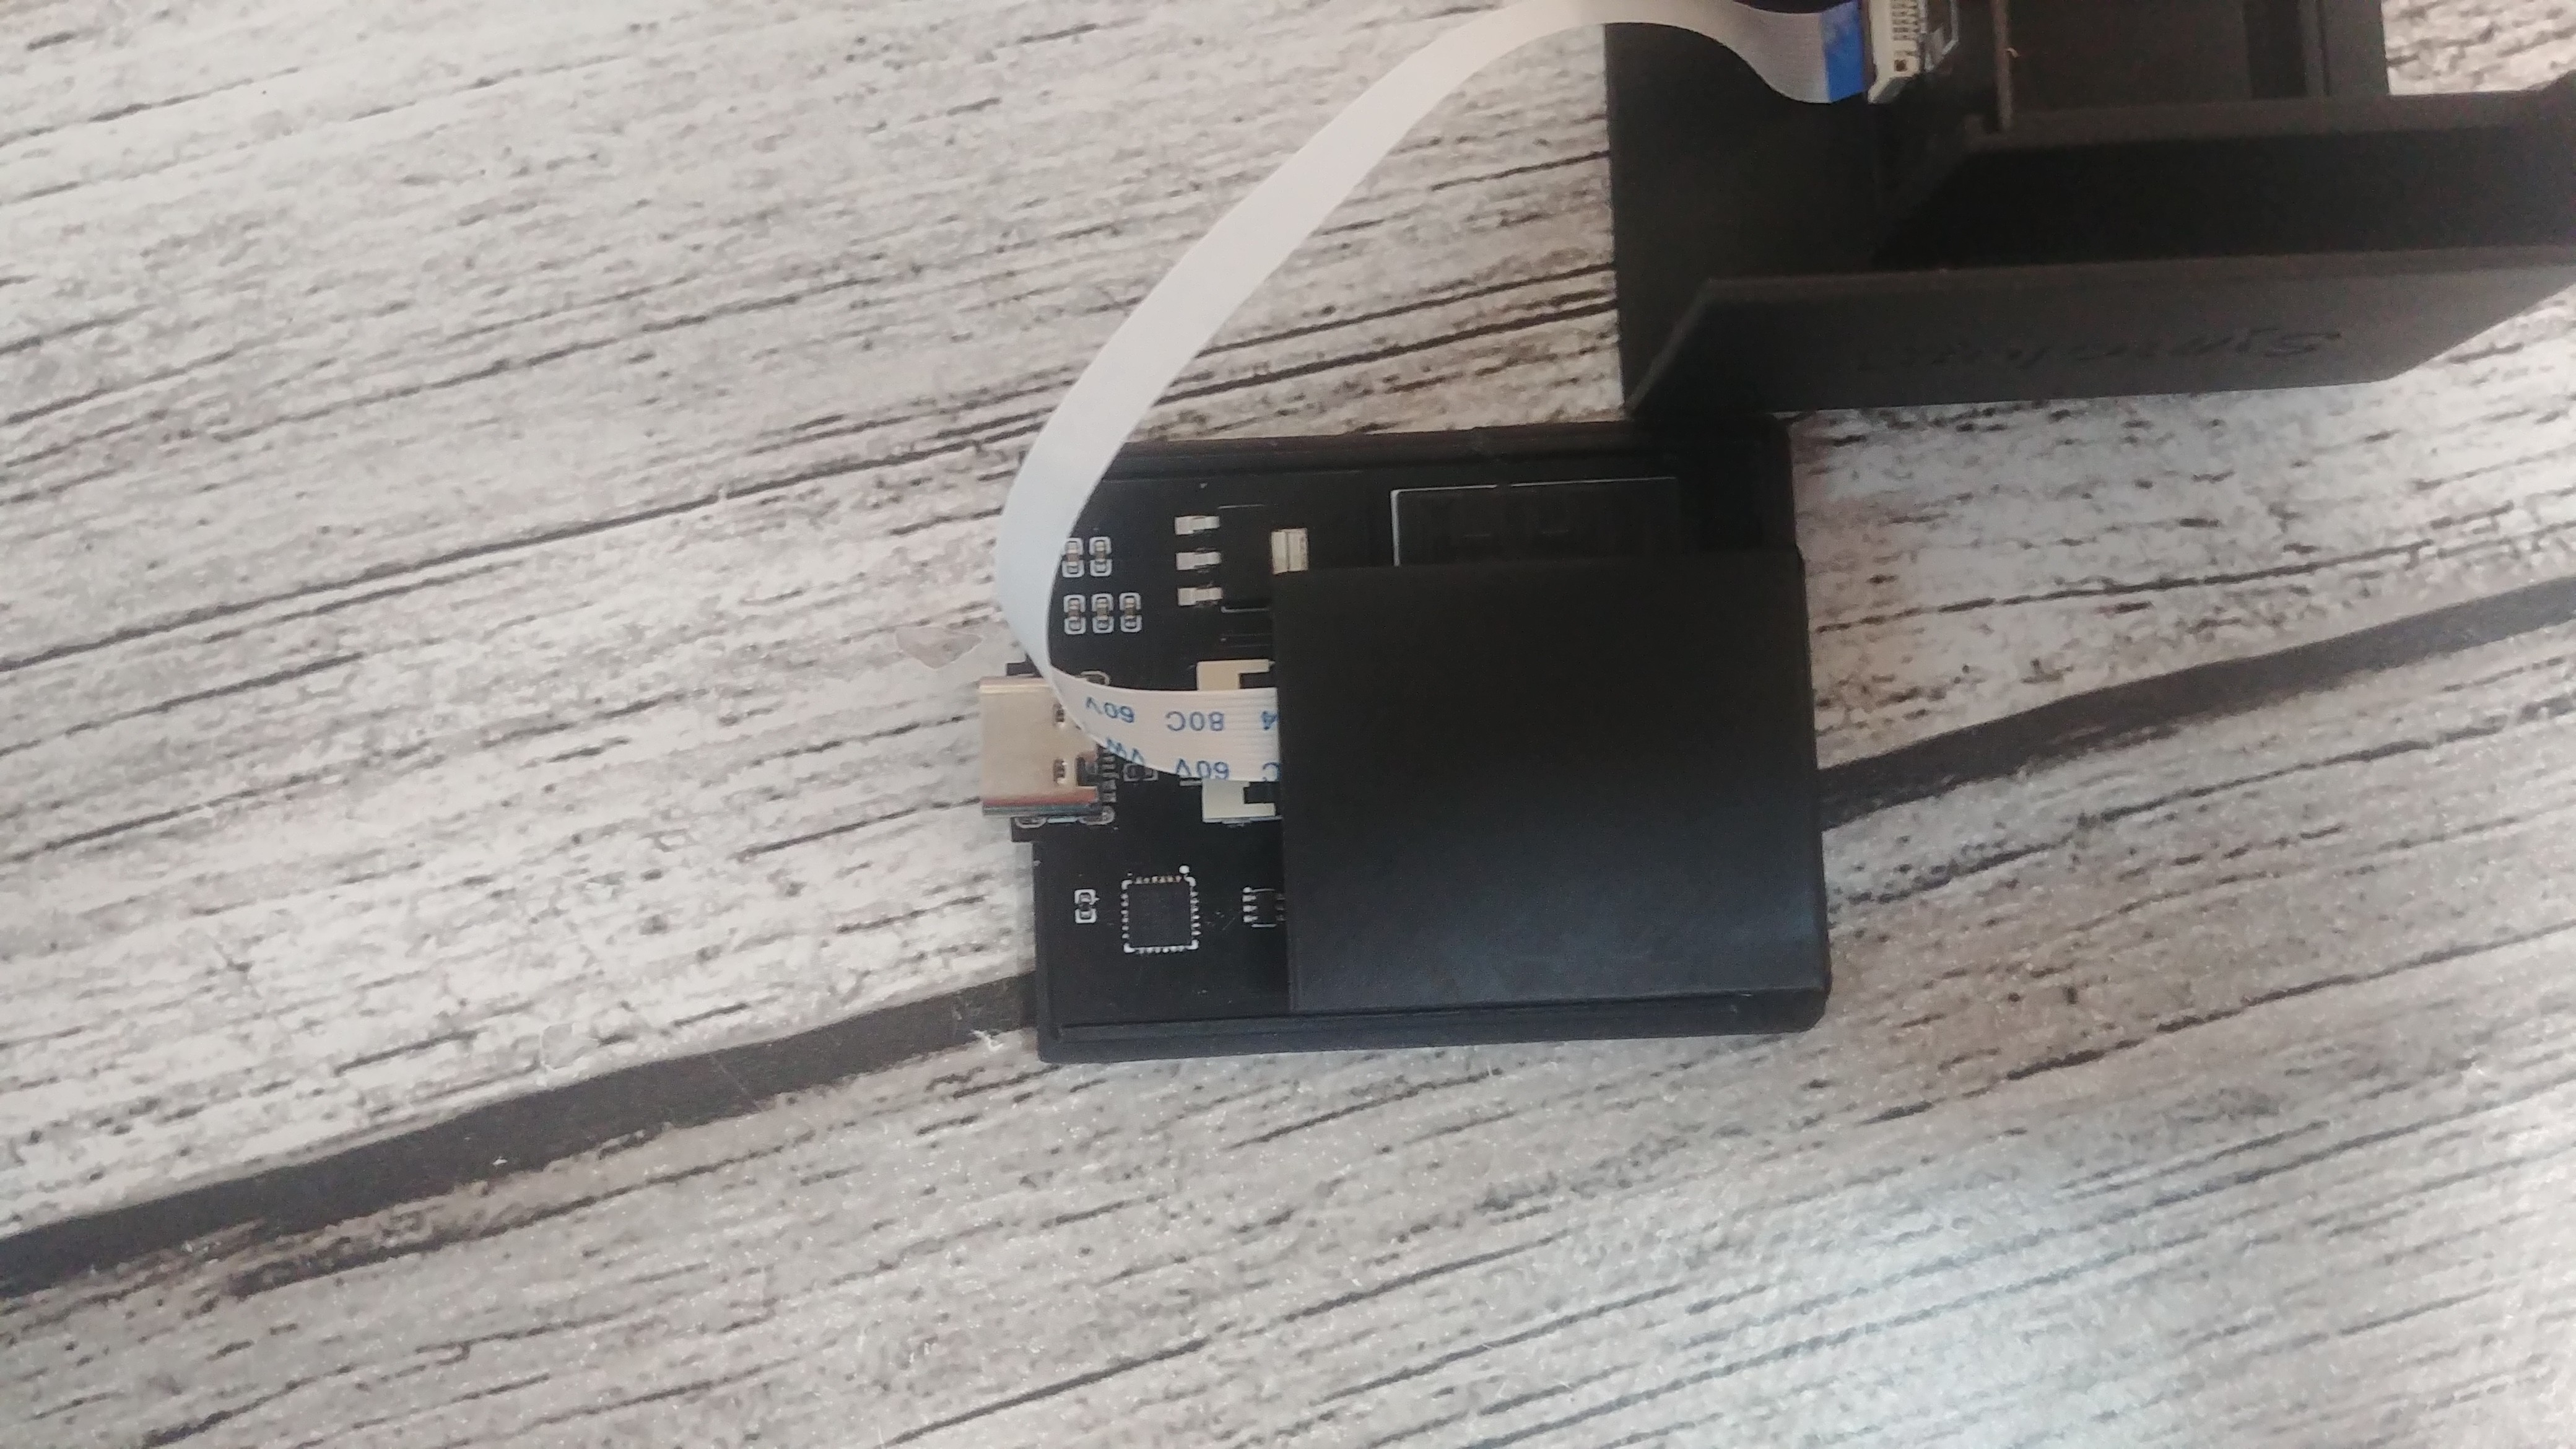
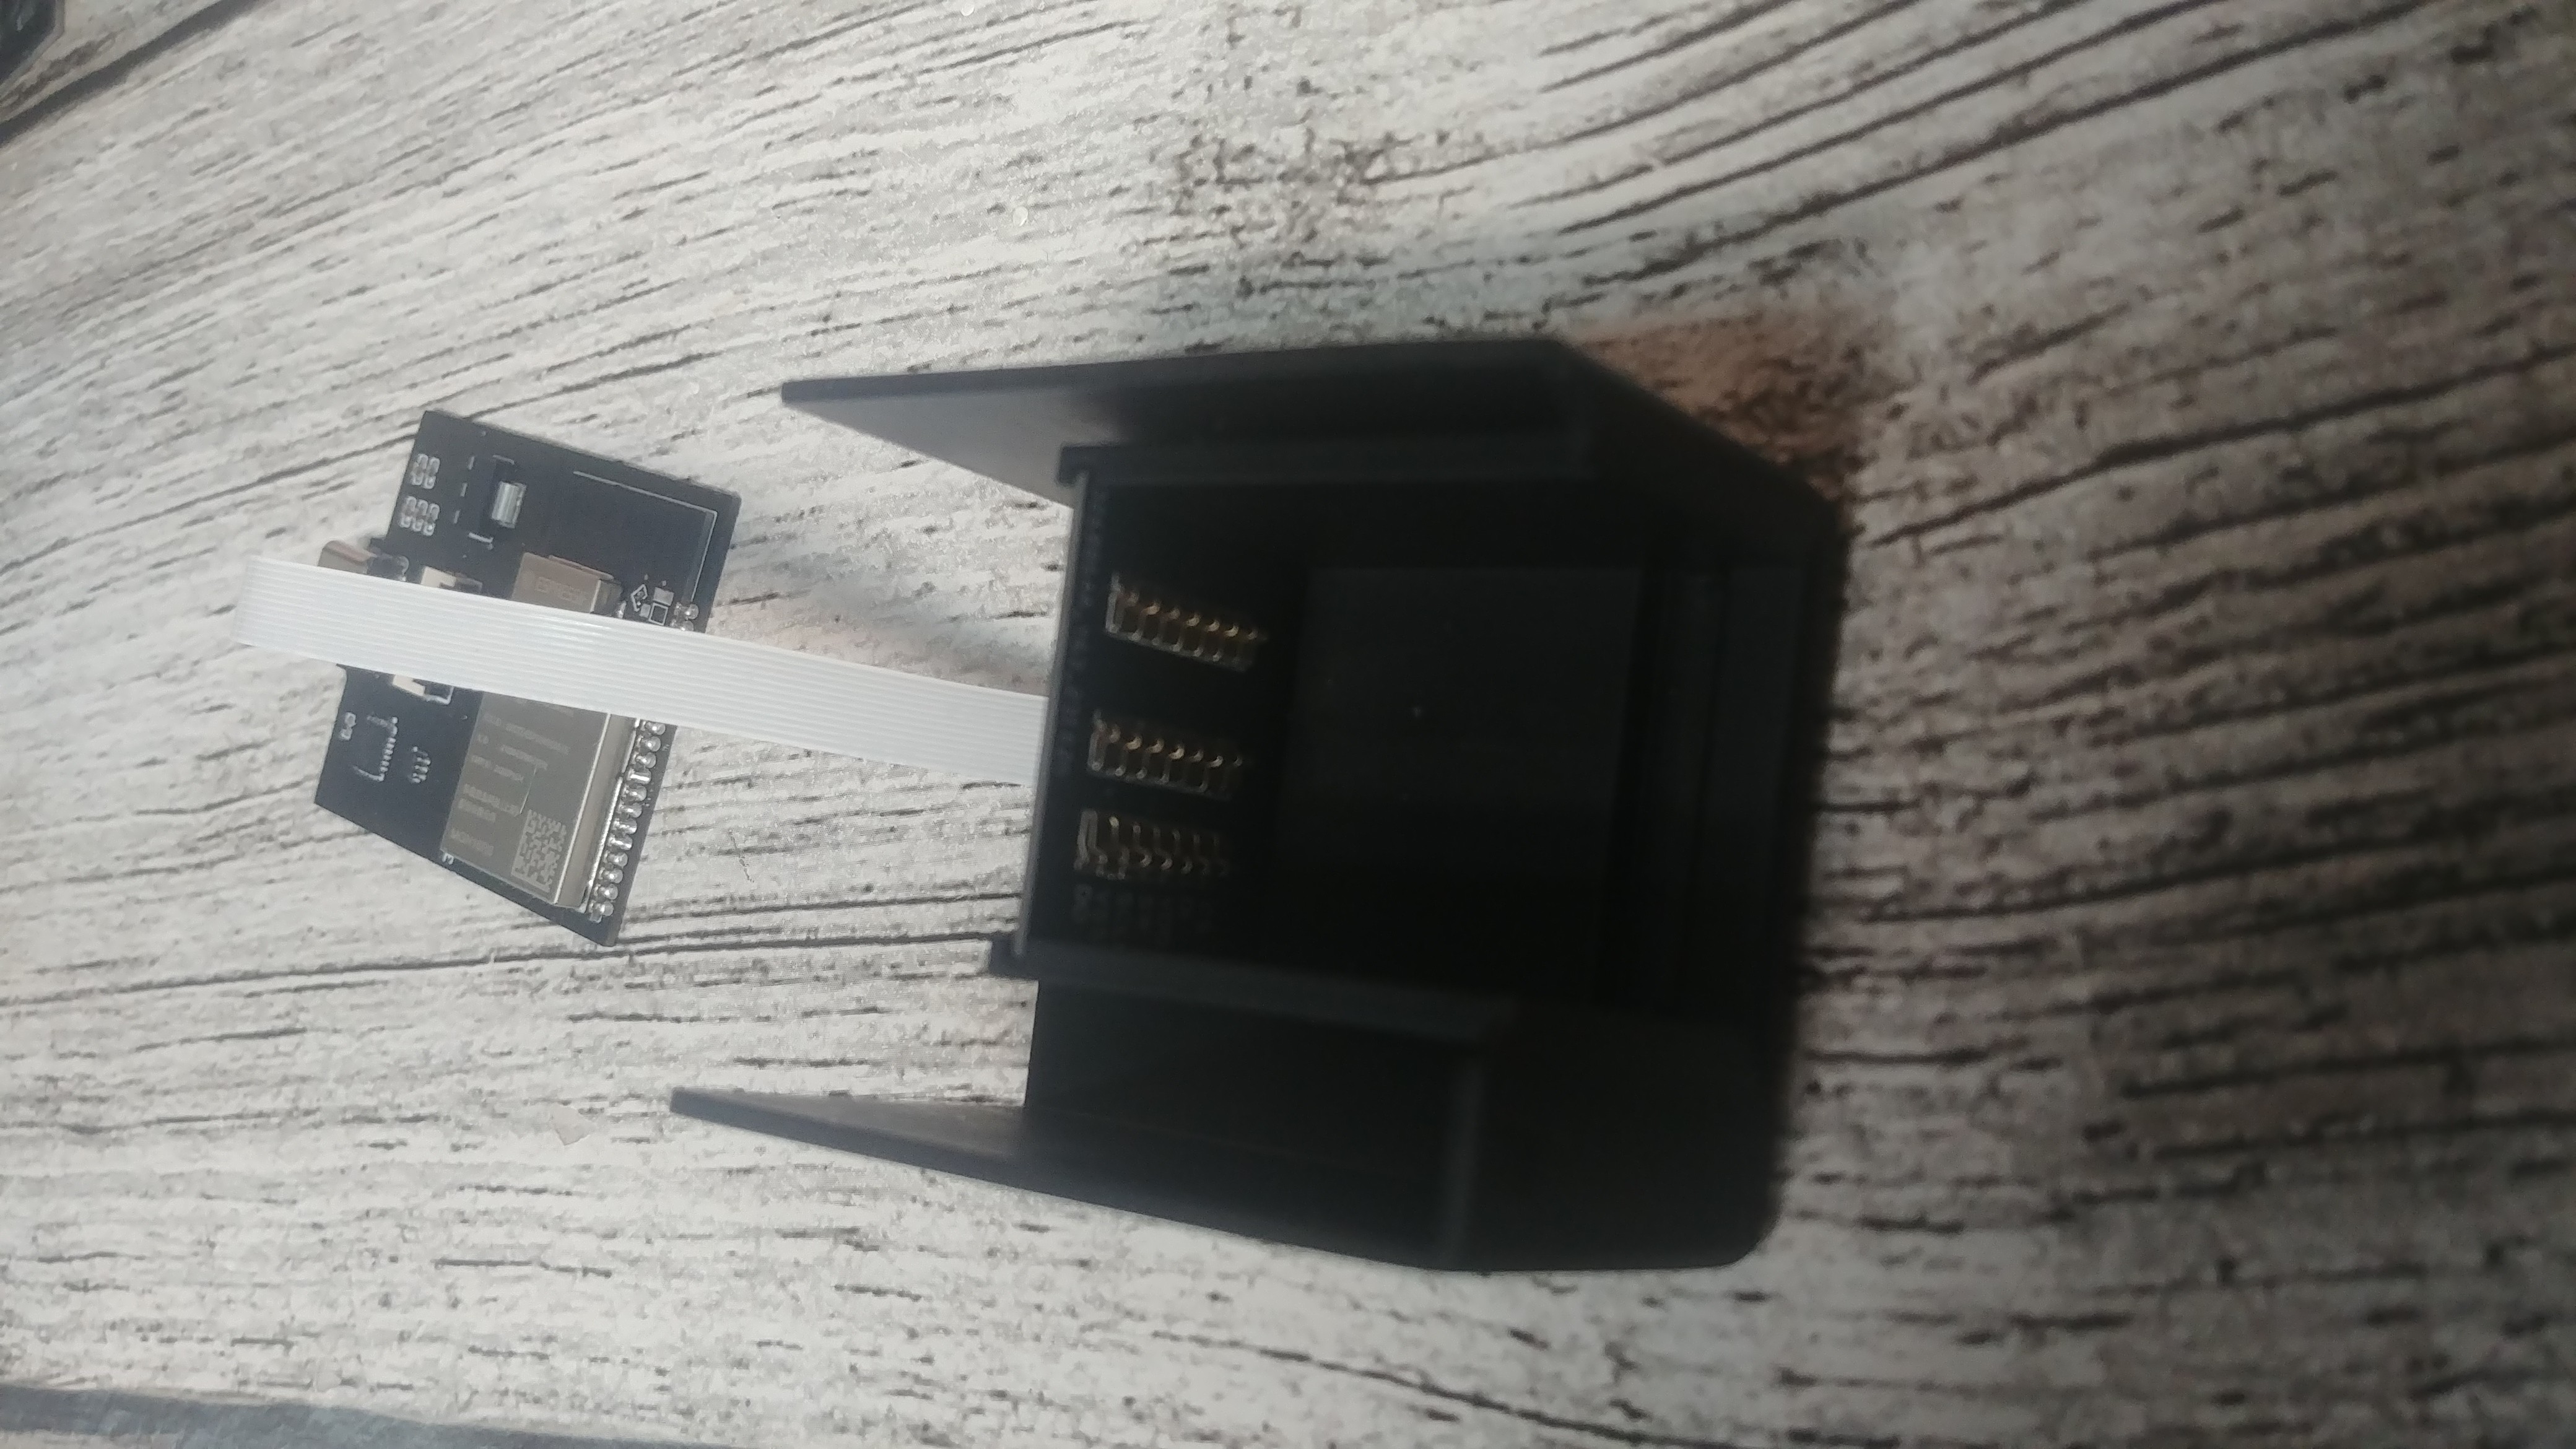
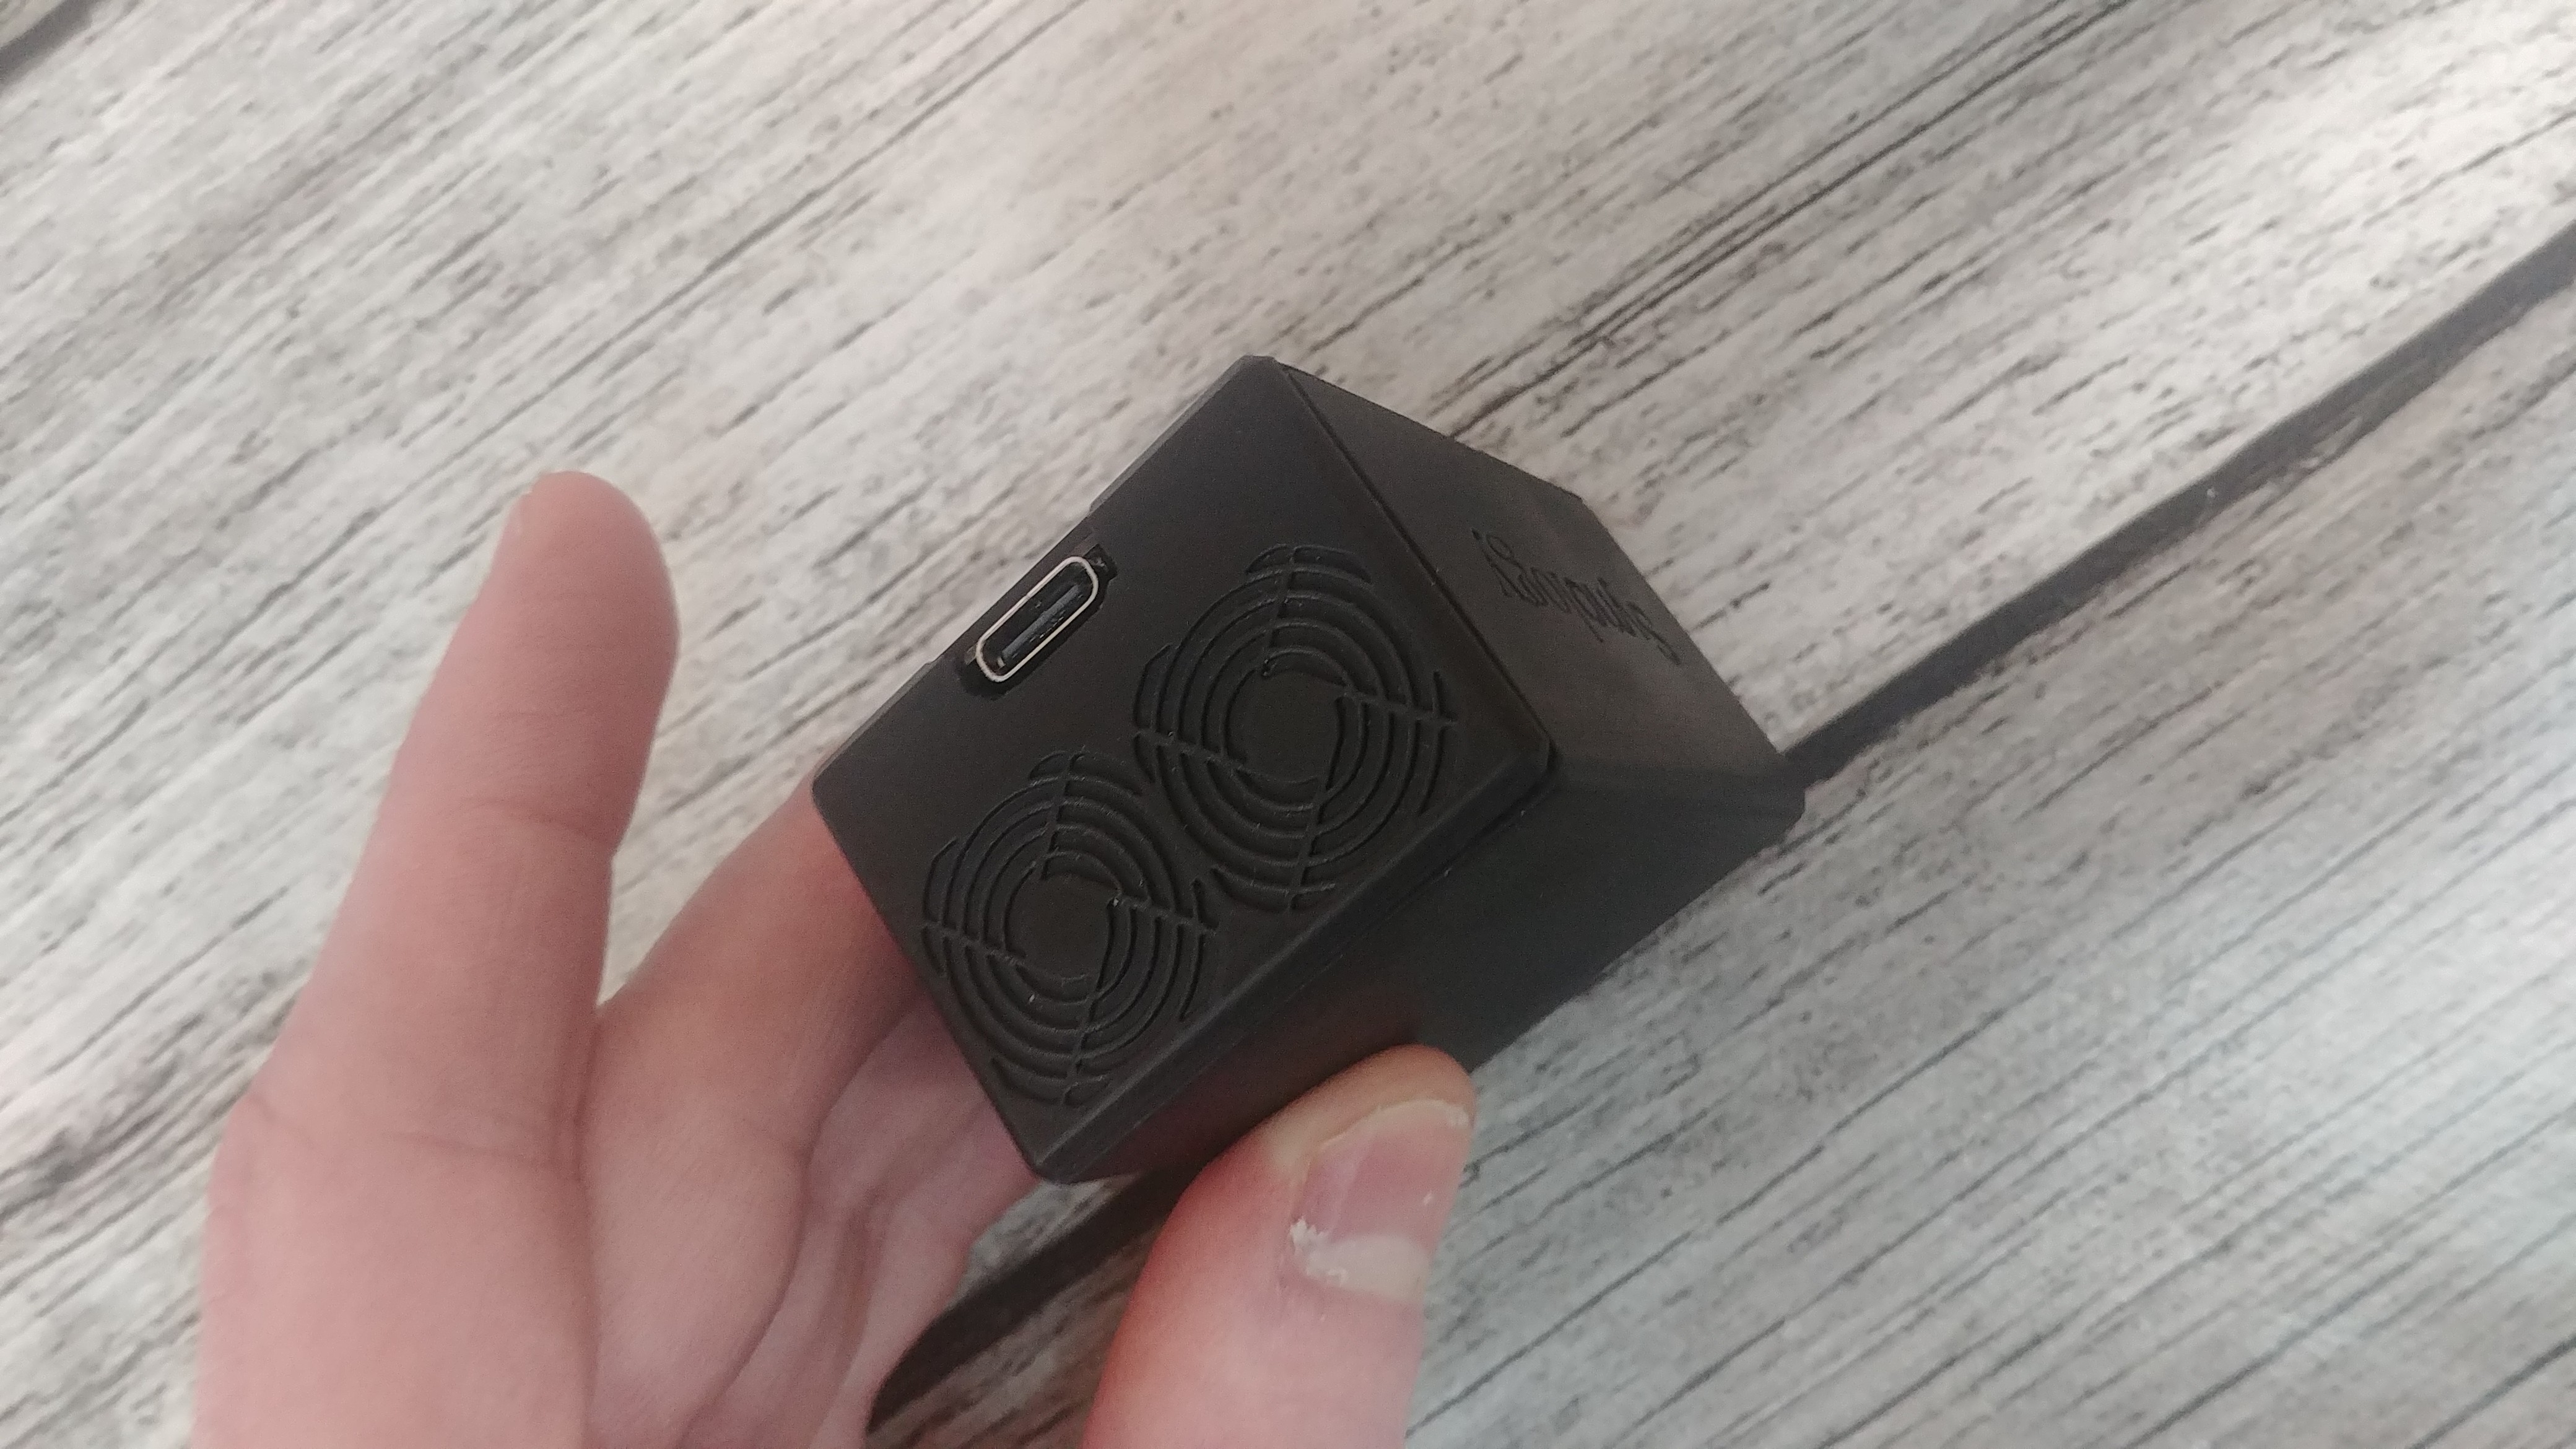
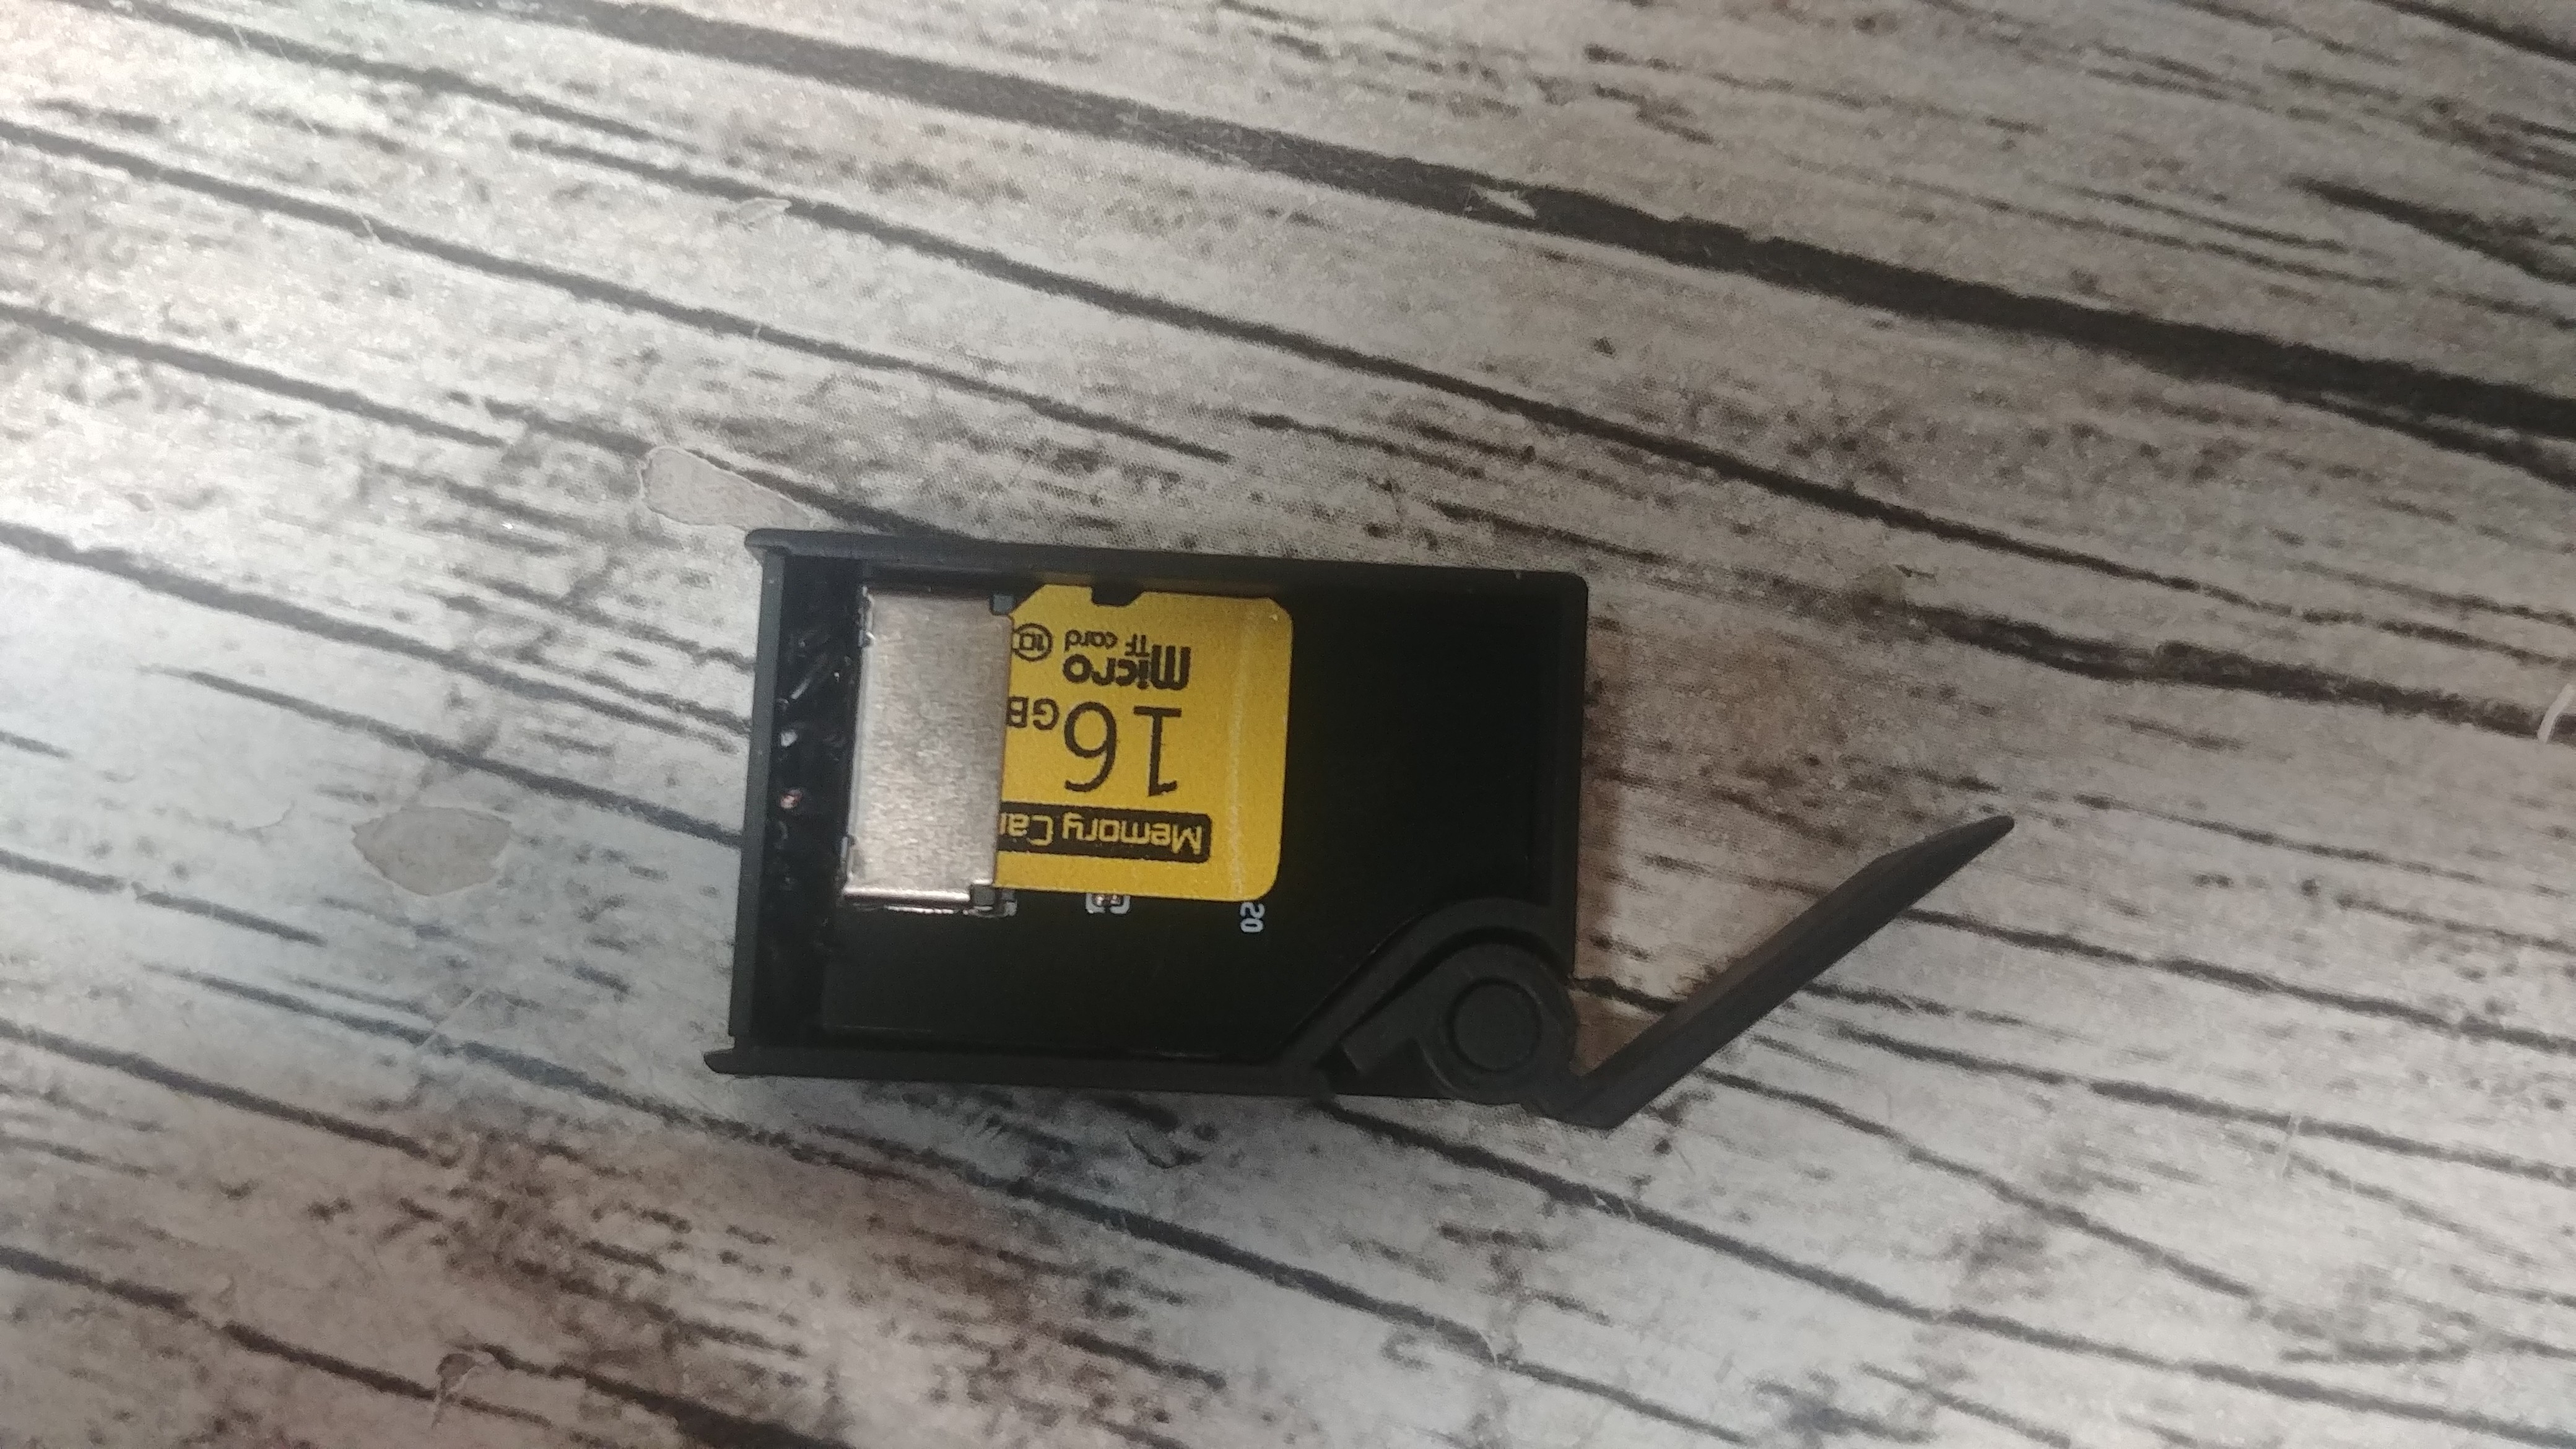
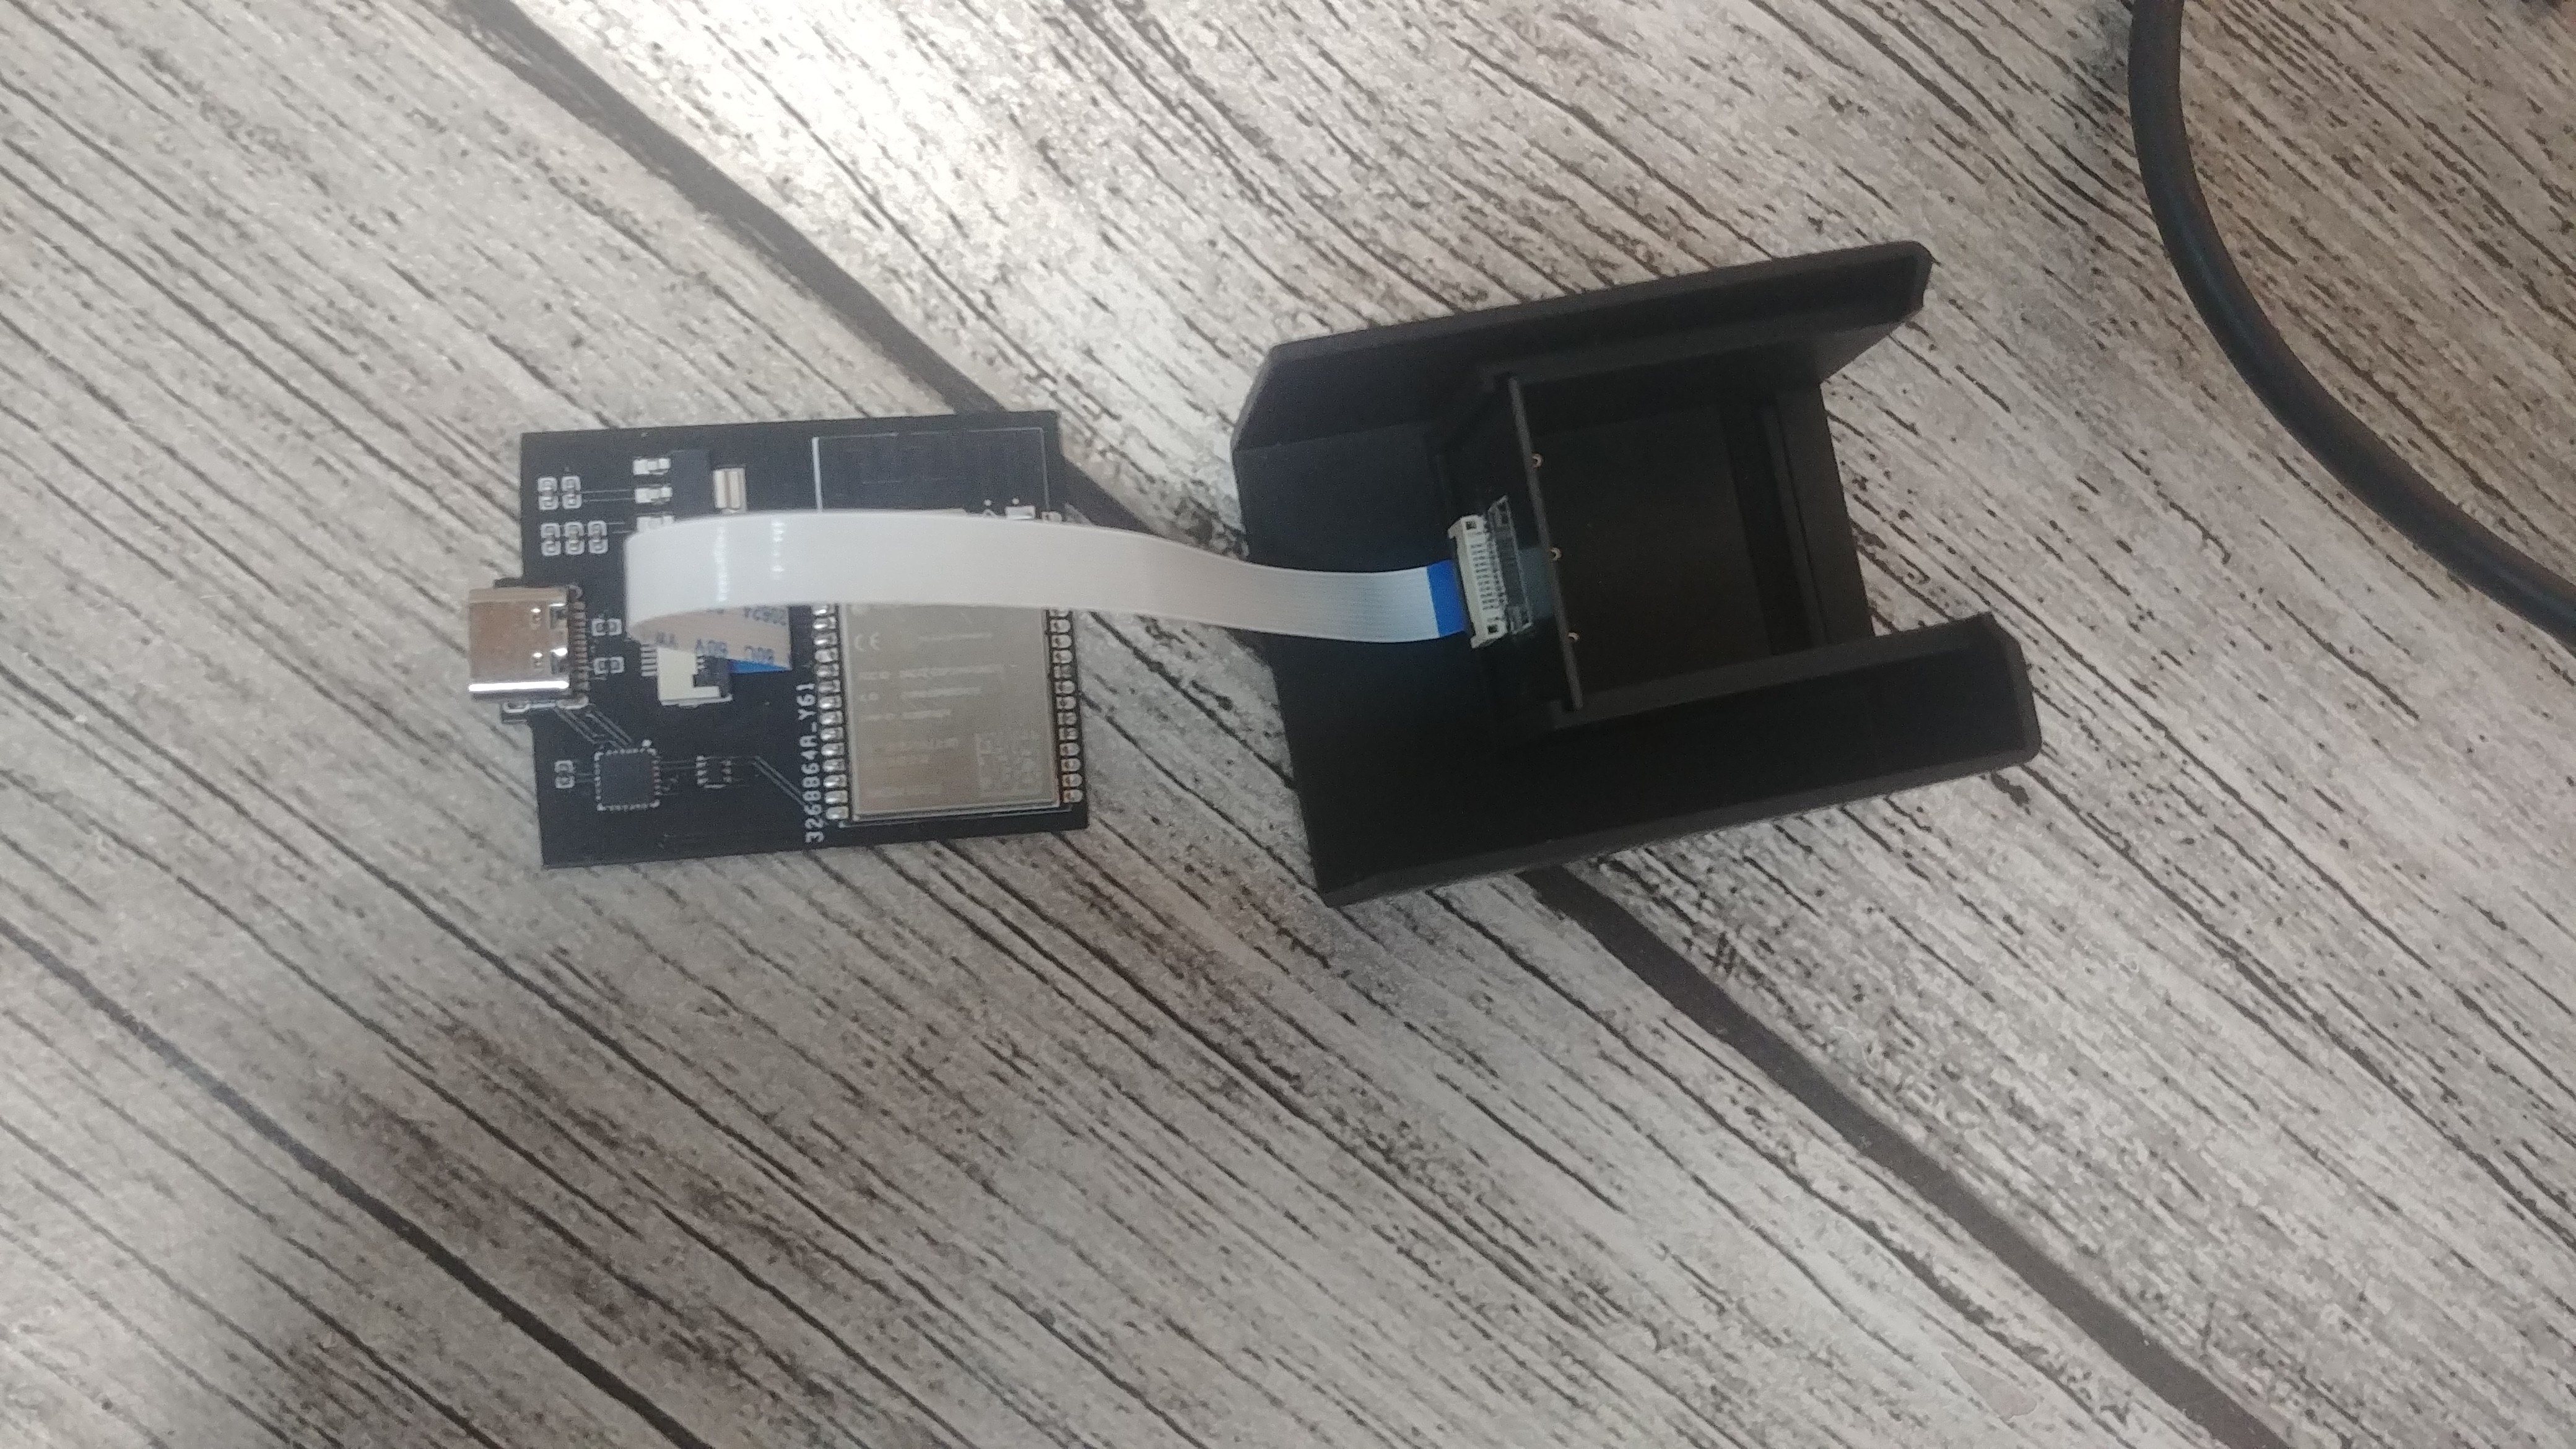
7Put All In The 3D Printed Parts
Now, it's time to position all the PCBs into their respective slots in the 3D printed parts. Refer to the provided pictures for guidance on proper placement. If needed, you can use a small amount of liquid glue for secure attachment, but be cautious not to apply excessive amounts.
![]()
![]()
![]()
![]()
![]()
![]()
![]()
![]()
![]()
![]()
![]()
![]()
![]()
![]()
![]()
![]()
![]()
-
8Backend Programming Via Arduino IDE
To flash the firmware for your TinyNAS, you'll need the Arduino IDE. Begin by installing the ESP32 from the board manager and selecting the TTGO T7 V1.4 Mini32 as your target board.
Once all the options are correctly configured, connect your TinyNAS to your computer using a USB-C cable. Click "Compile and Upload," and the firmware will be downloaded to the board.
Arduino Code:
The source code for the backend server can be found HERE.
WiFi Setup Notes:
Notably, WiFi, admin, and mDNS settings are loaded from the SD card. Therefore, there's no need to make changes in the Arduino source code to set up your TinyNAS. Refer to the SD card section below for further details.
-
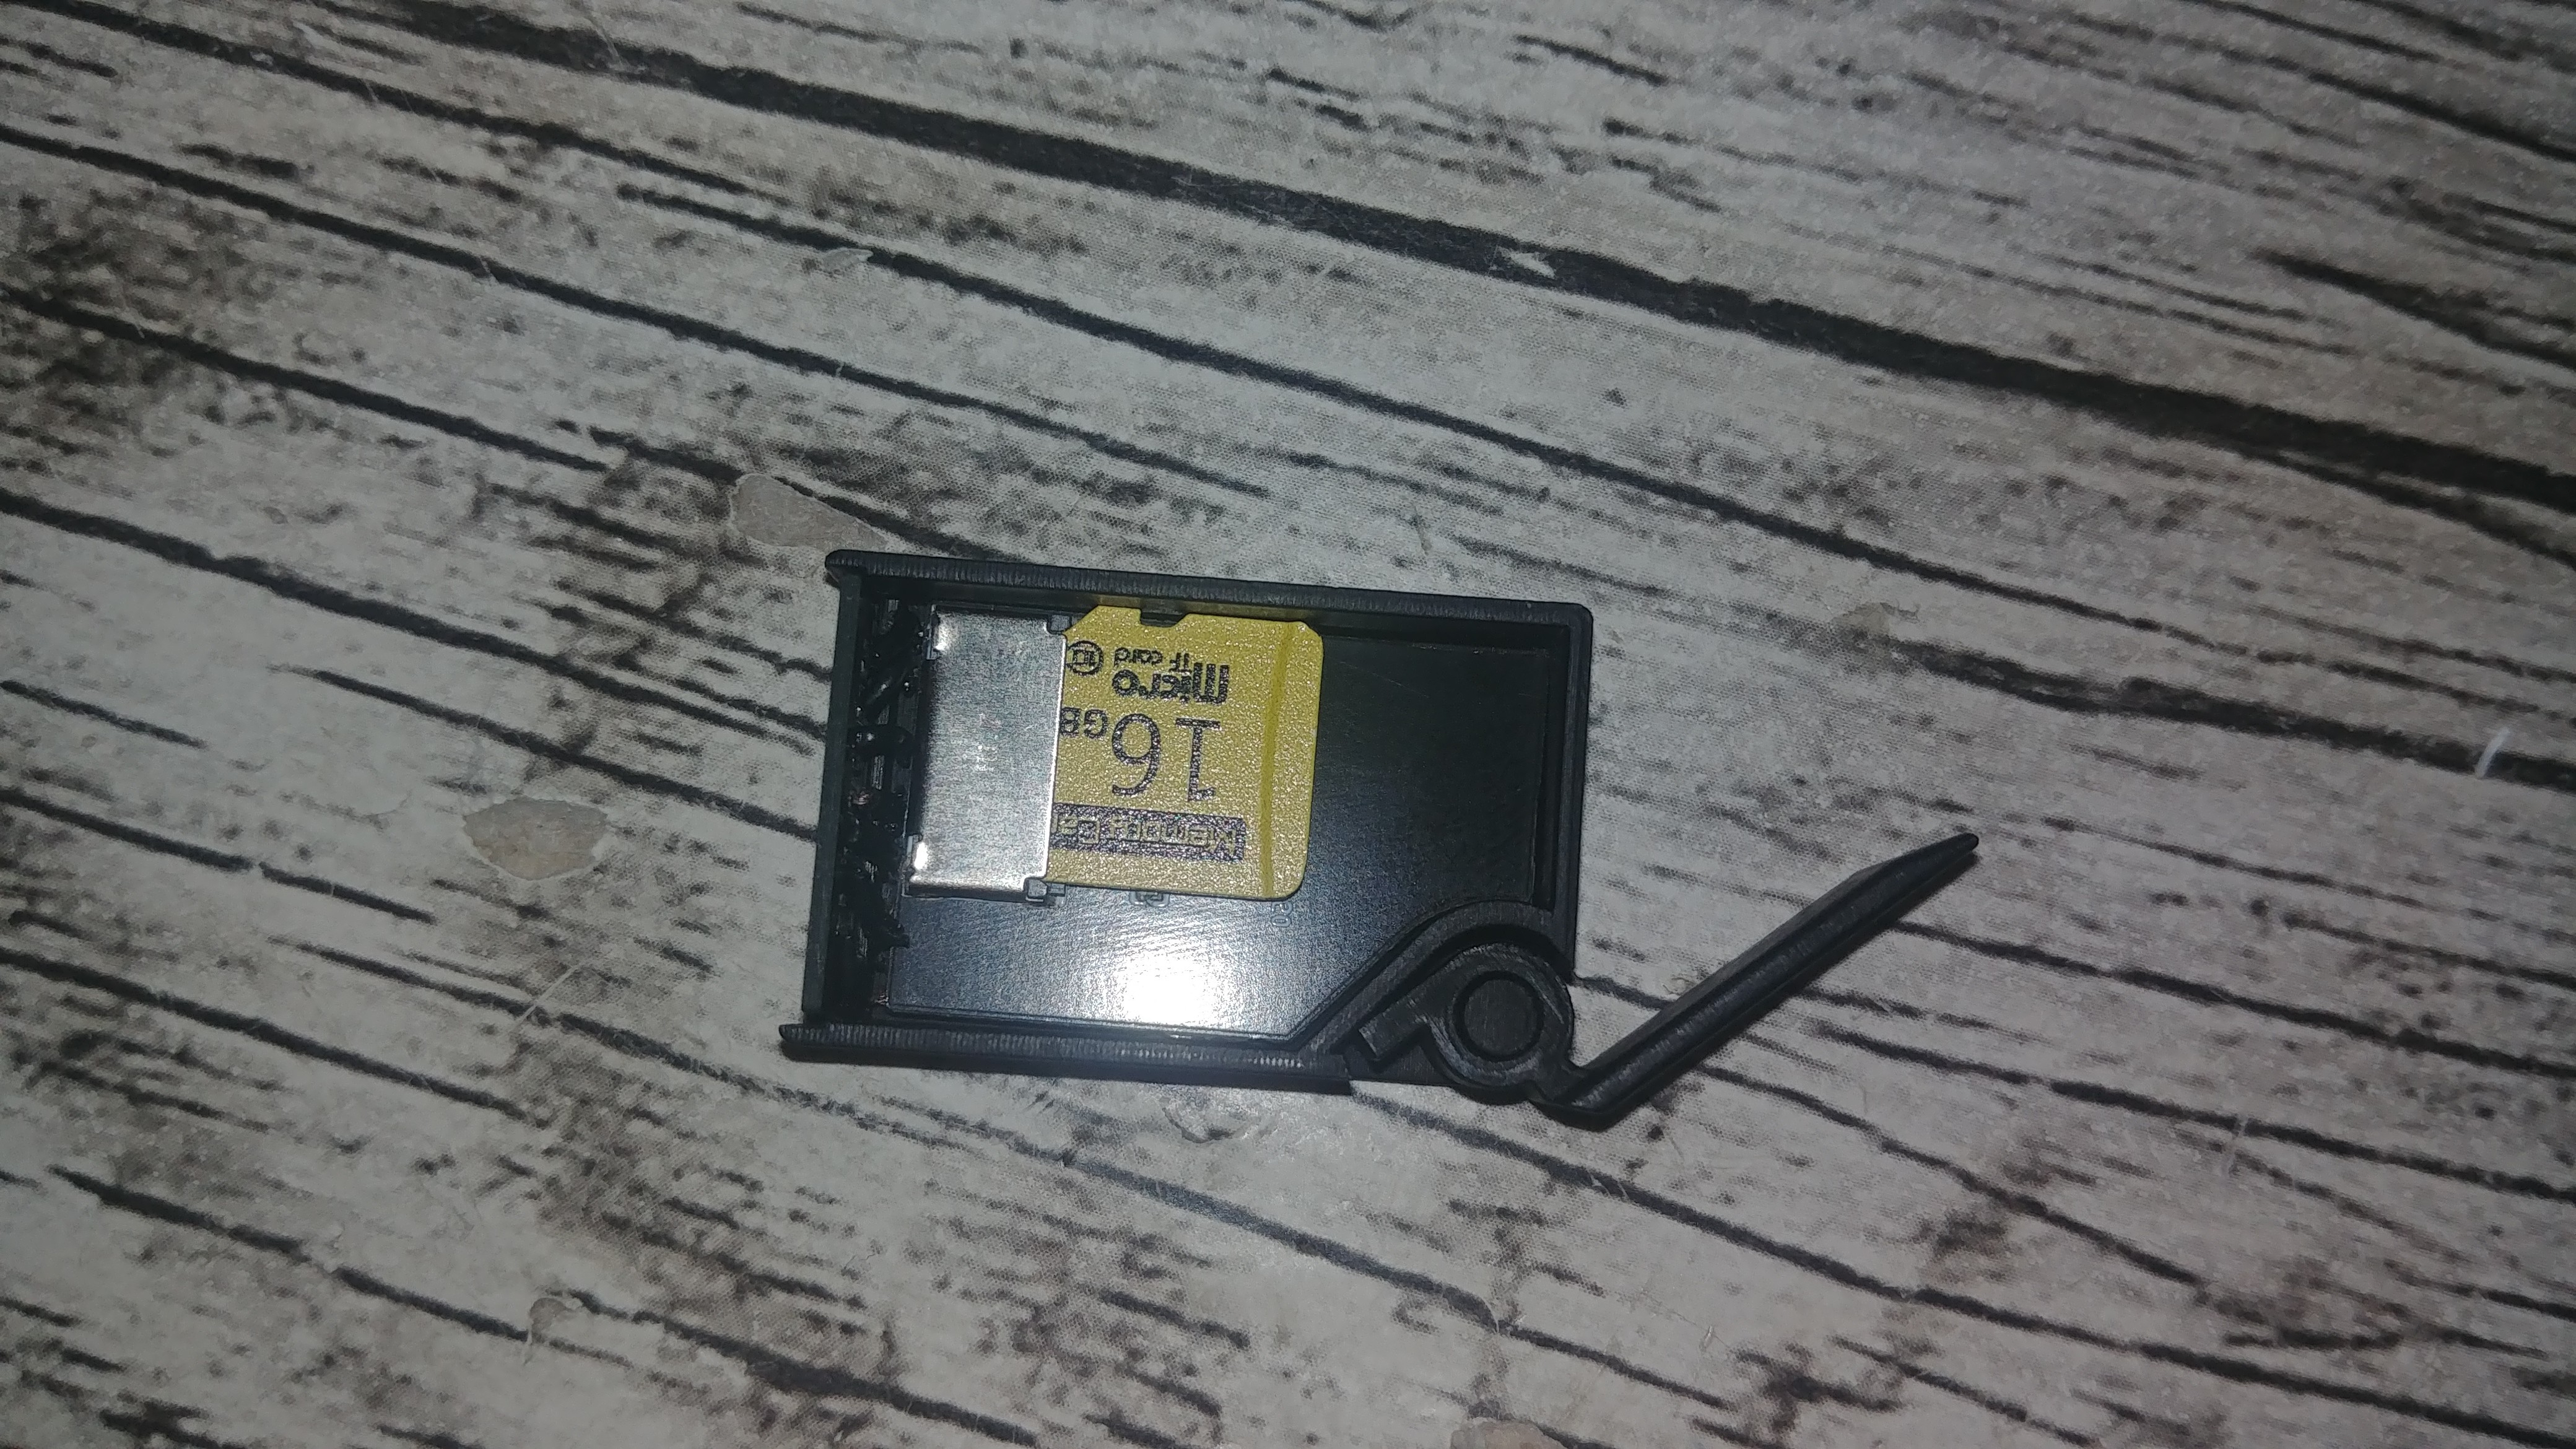
9Preparing & Installing Front-End To SD Card
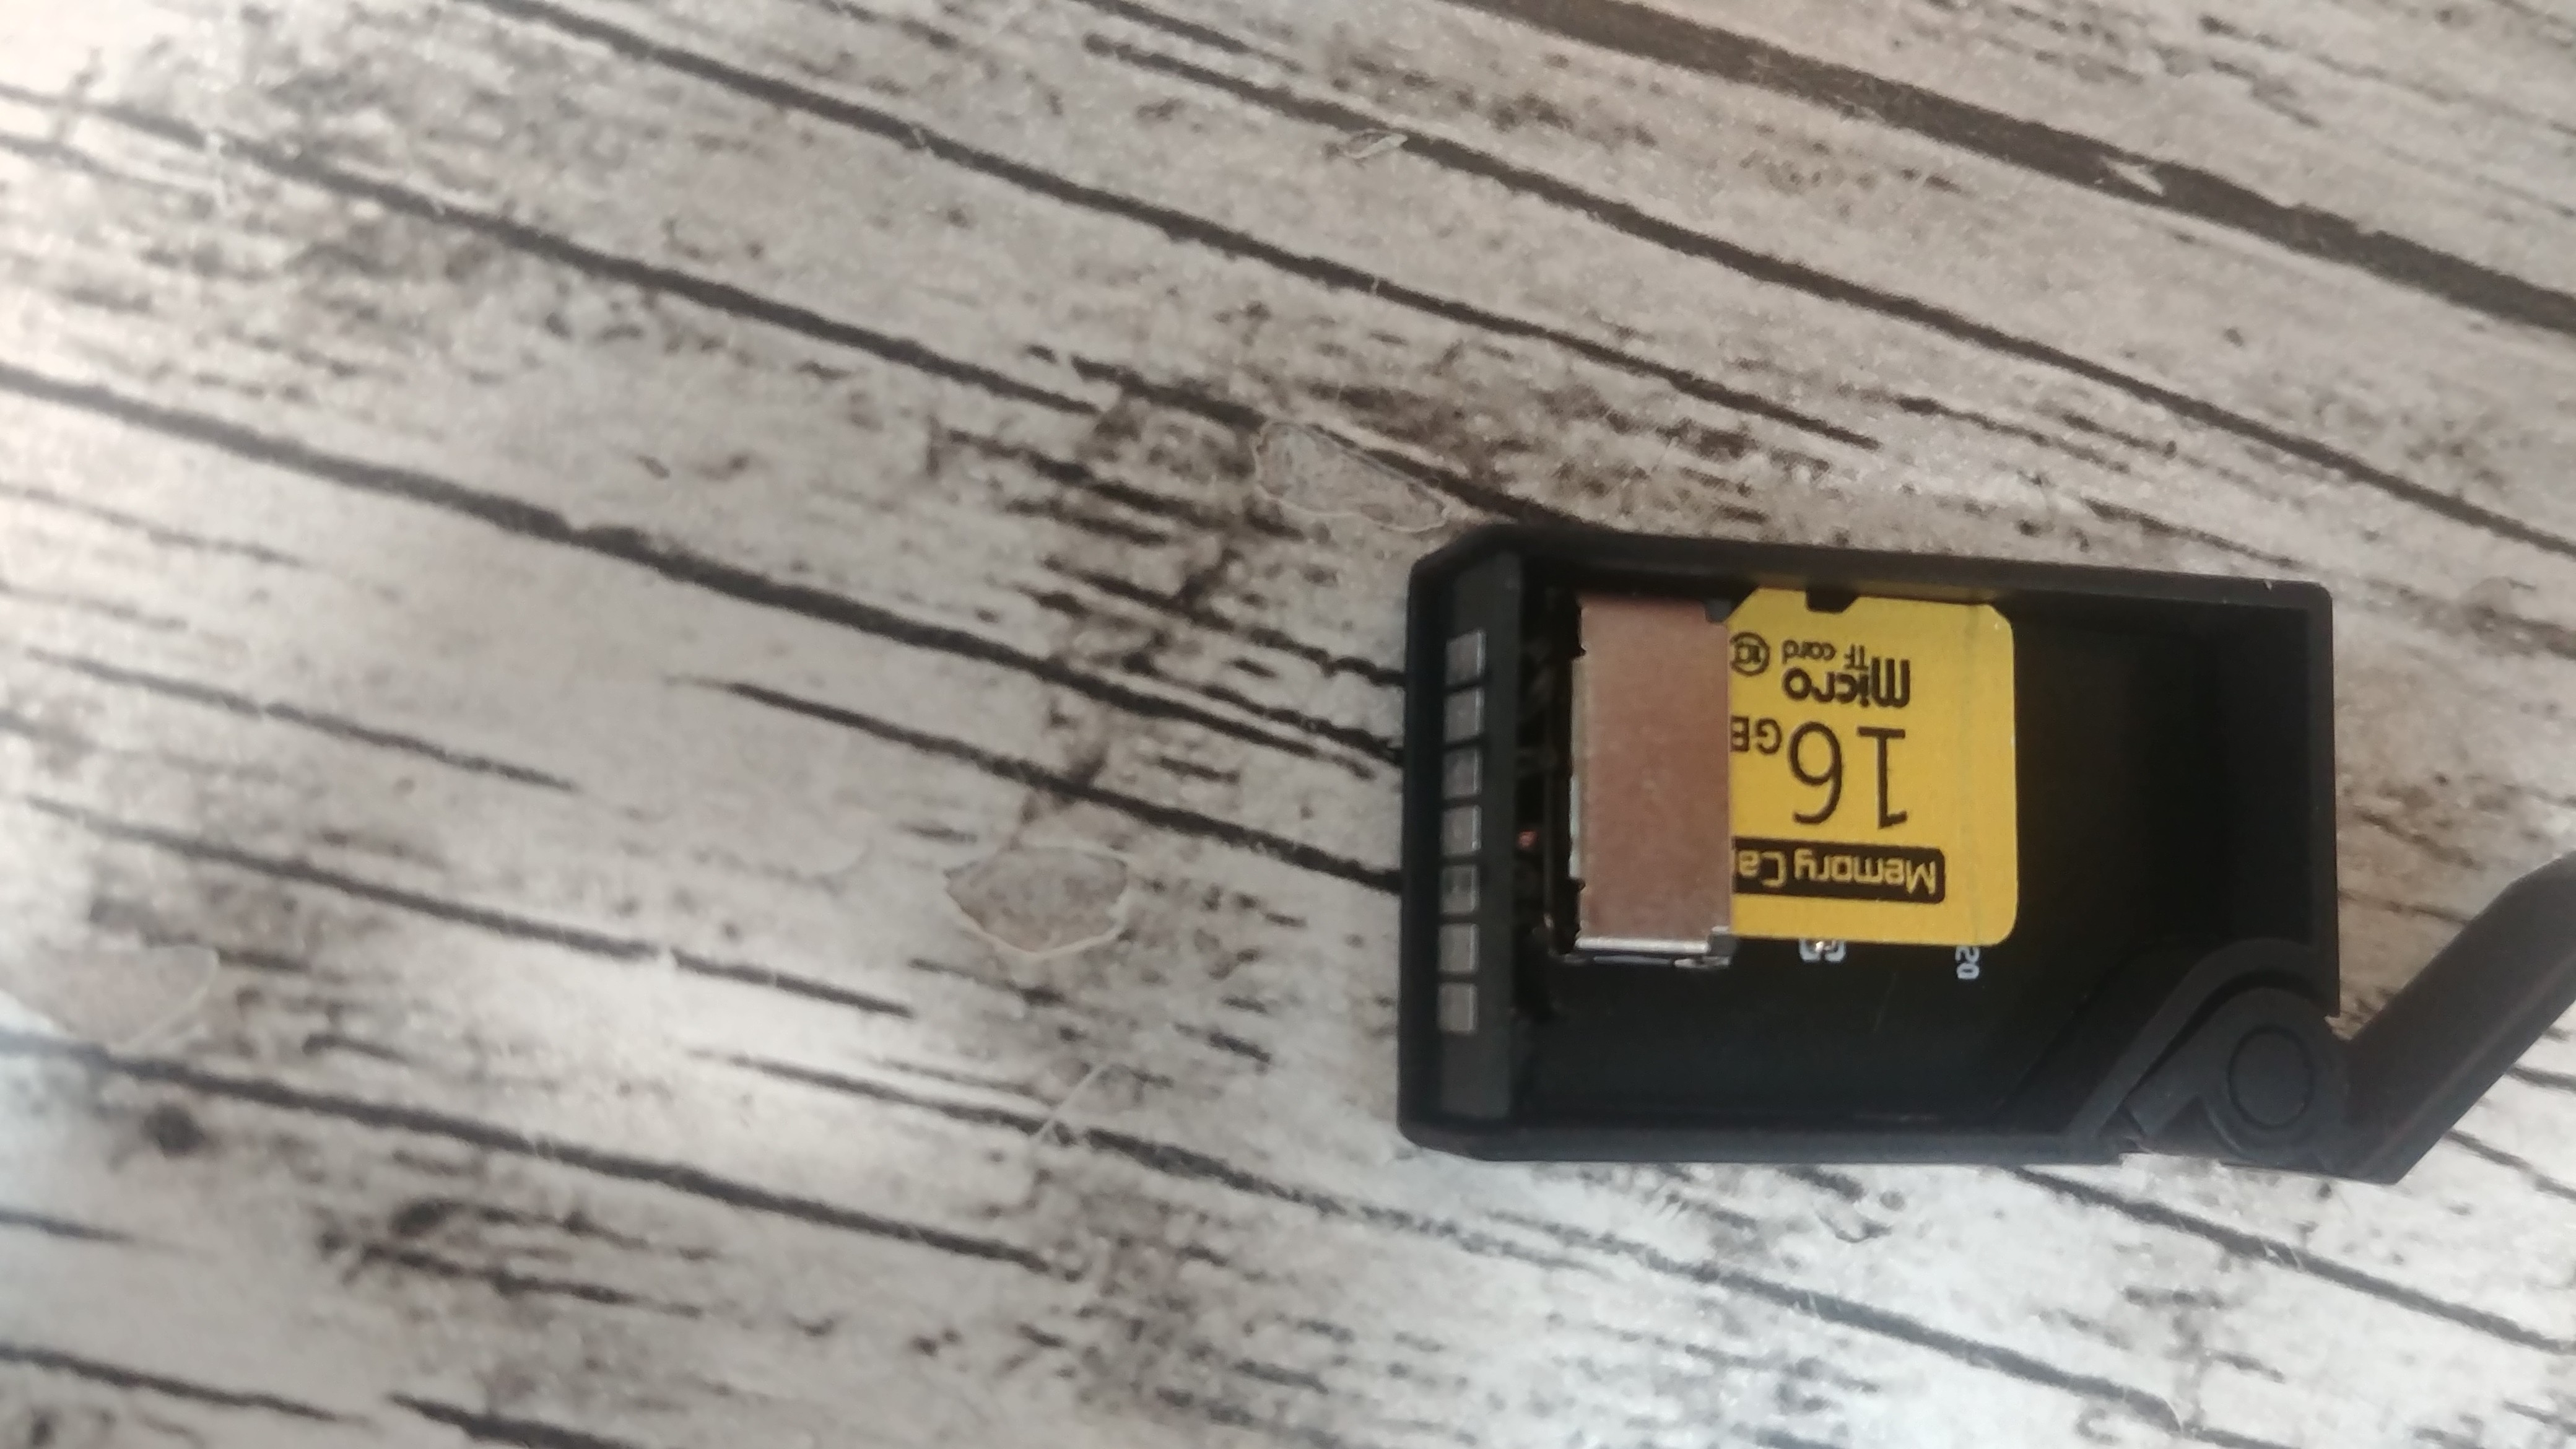
For the SD card, you need a SD card formatted in FAT file system to make this work, as the ESP32 can only access the SD card in FAT file system.
In my case, I am using three 16GB micro SD card with FAT file system from Aliexpress.
Download and copy everything from the SD Card Files folder to your SD card and follow the instructions below to setup your TinyNAS with a few clicks.
- Navigate into the cfg/ folder
- Edit wifi.txt with first line as your home's WiFi SSID and 2nd line password
- Edit admin.txt with first line as your admin username and 2nd line the admin password
- Edit mdns.txt and modify it to something you want. For example, the default "tinynas" will allow you to access your TinyNAS using "http://tinynas.local" later in your mDNS supported web browser.
After you are done setting it up, you can start replacing the html files in the SD card. For example, you might want to swap out the index.html to something you write for your home homepage, or delete unwanted demo folders. However, these folders are reserved and shell not be deleted or renamed.
Reserved Folders
- /www/ - The web root, do not remove this
- /www/admin/ - The admin web root, required for admin functions
- /www/store/ - The private storage folder, can only accessible via Web File Manager after login and will not be served as static web files
Lastly, insert your micro SD card into your TinyNAS SD PCB and you are ready to get it running!
Notes
The mDNS name must be unique if you have multiple TinyNAS in the same network
-
10Insert Your TinyNAS Into A Power Supply
To initiate your web server, simply connect your TinyNAS to a power supply. If connected to your computer's USB port, you'll observe it providing debug information on Serial @ 115200 baudrate.
Towards the end of the debug information, you'll discover the reported IP address of your TinyNAS. In my instance, it's 192.168.0.114. You can connect directly to it using either mDNS or the IP address by entering the following link in your browser:
or
Upon doing so, your homepage will be displayed.
Diy Small But Powerful ESP32 NAS
TinyNAS serves as a web server that connects to your home WiFi and act like a NAS.


Discussions
Become a Hackaday.io Member
Create an account to leave a comment. Already have an account? Log In.