 Supplyframe DesignLab
-
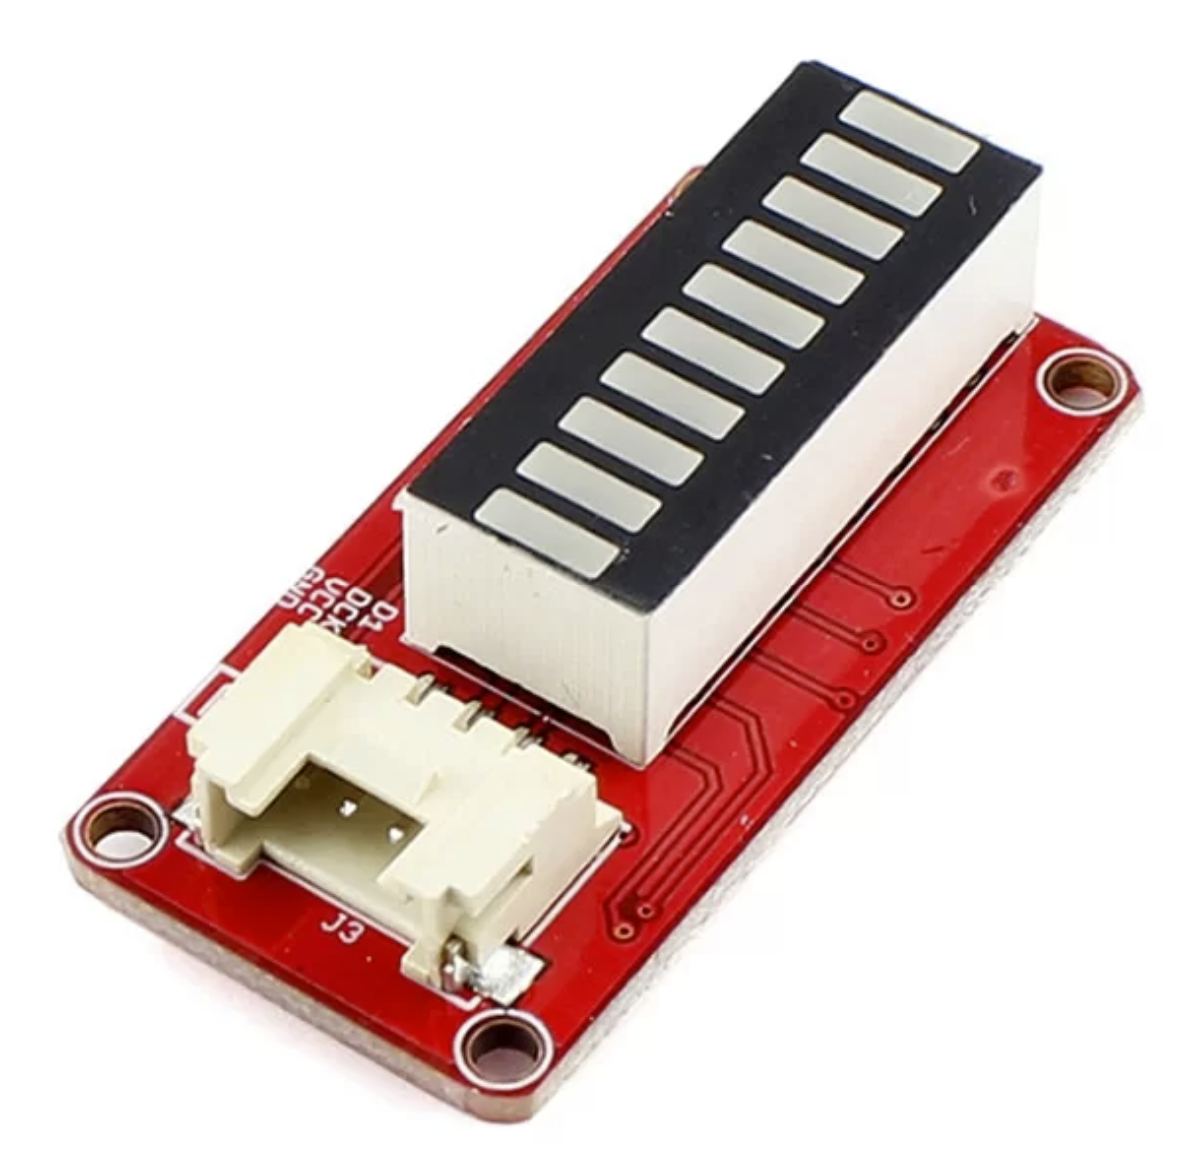
1Intputs and outputs
In a nutshell, inputs are what the system receives, outputs are what the system communicates to us or to another system. So an input can be a microphone, an output can be a speaker. It is not as simple as that (some components are both inputs and outputs) but for now, this will do.
Let's see quickly what inputs and outputs we have available for the workshop. Each part has a link that takes you directly to the product page. Be sure to find the "Wiki" section for sample code and more information:
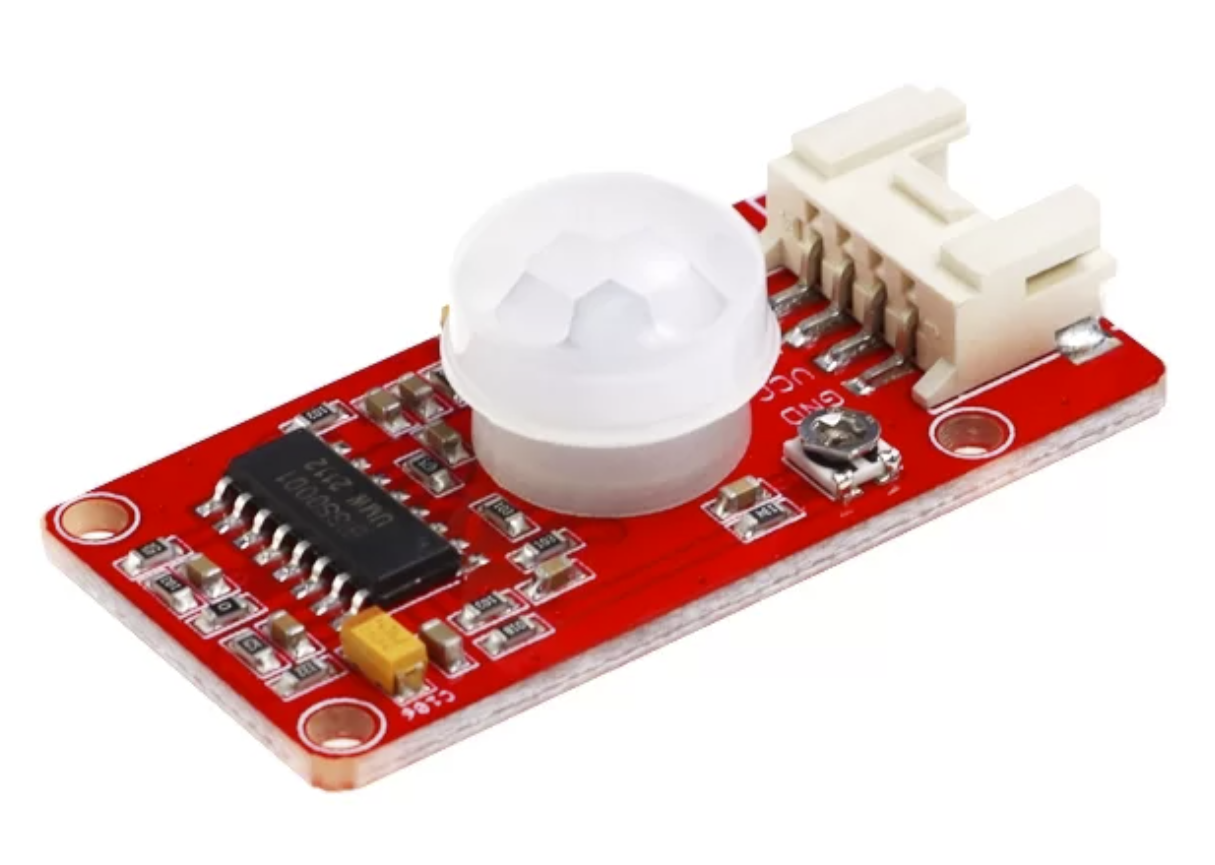
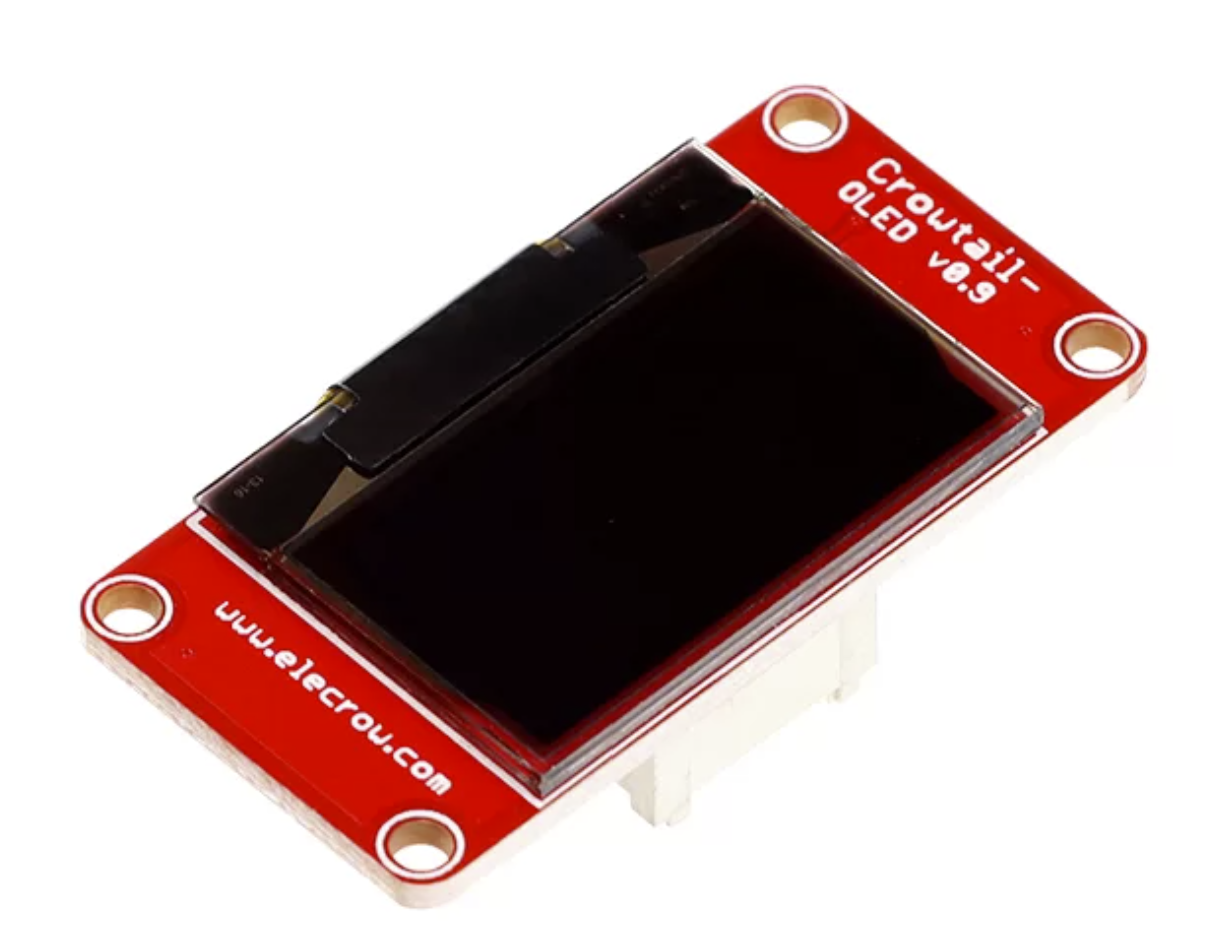
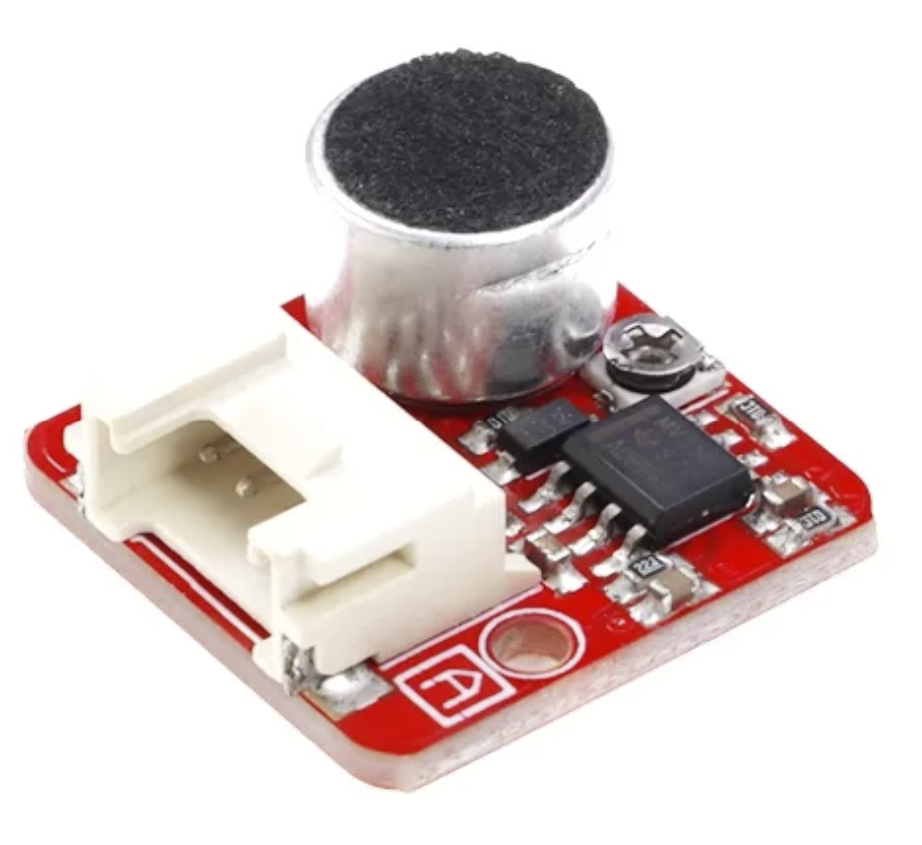
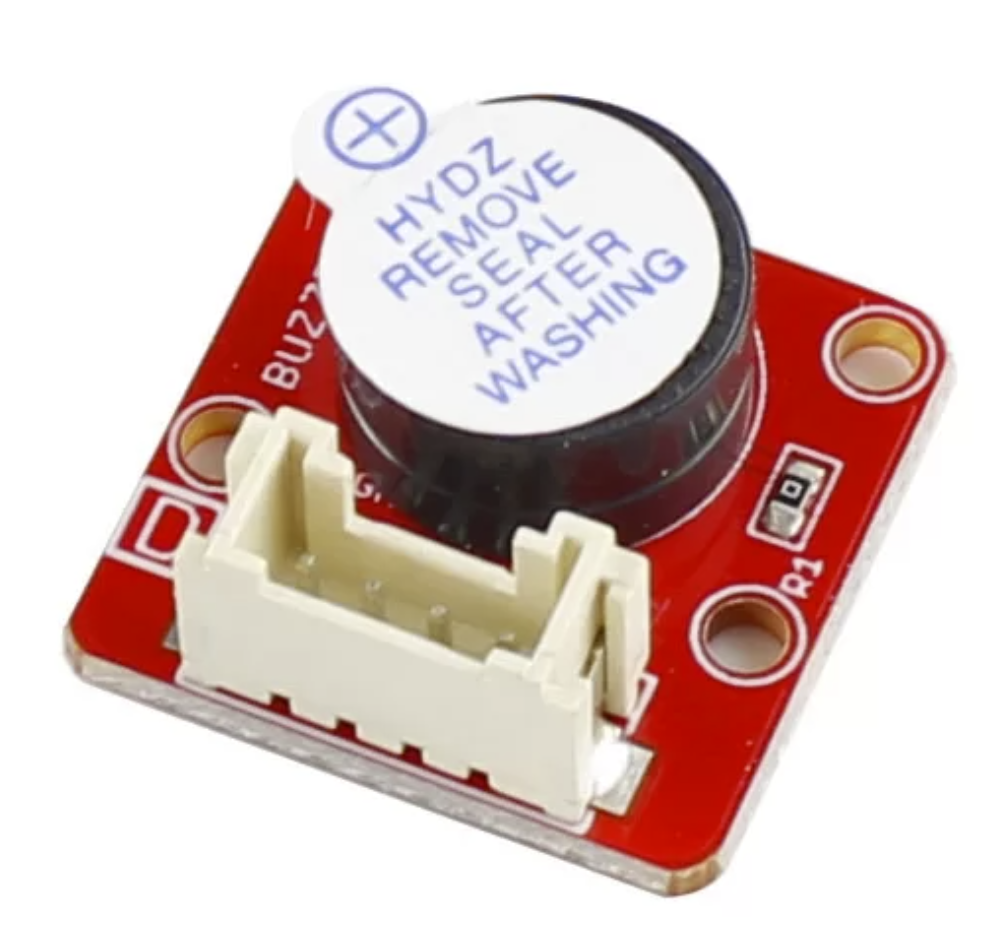
INPUTS AND OUTPUTS
-
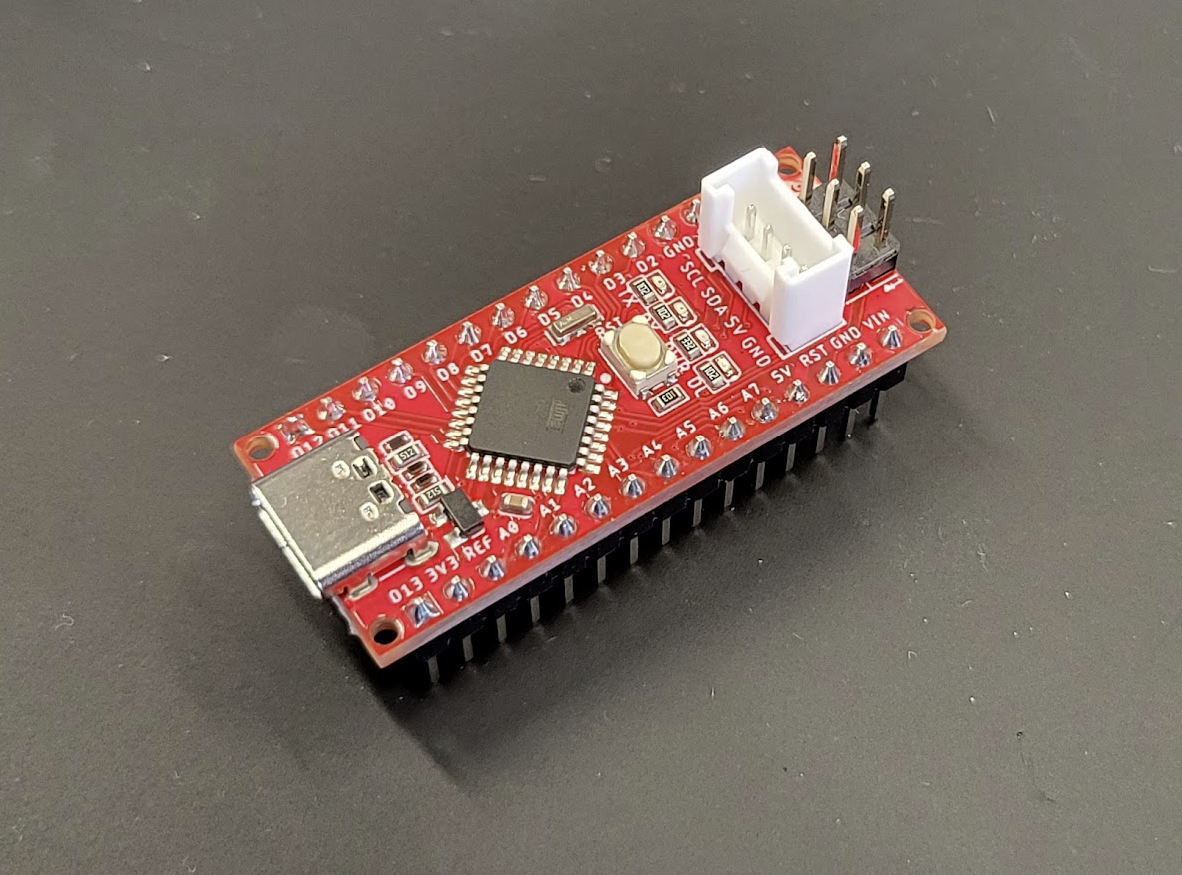
2Getting to know the Seeeduino Nano
Seeeduino Nanos are a clone version of the original Arduino Nano. Arduino is a big proponent of Open Source Hardware, and they made many of their designs available for others to use, following certain guidelines.
The Seeeduino Nano has a very similar design, with some additions. It has the same pin layout, an ATMega328P Microchip Microprocessor, and a USB C port.
-
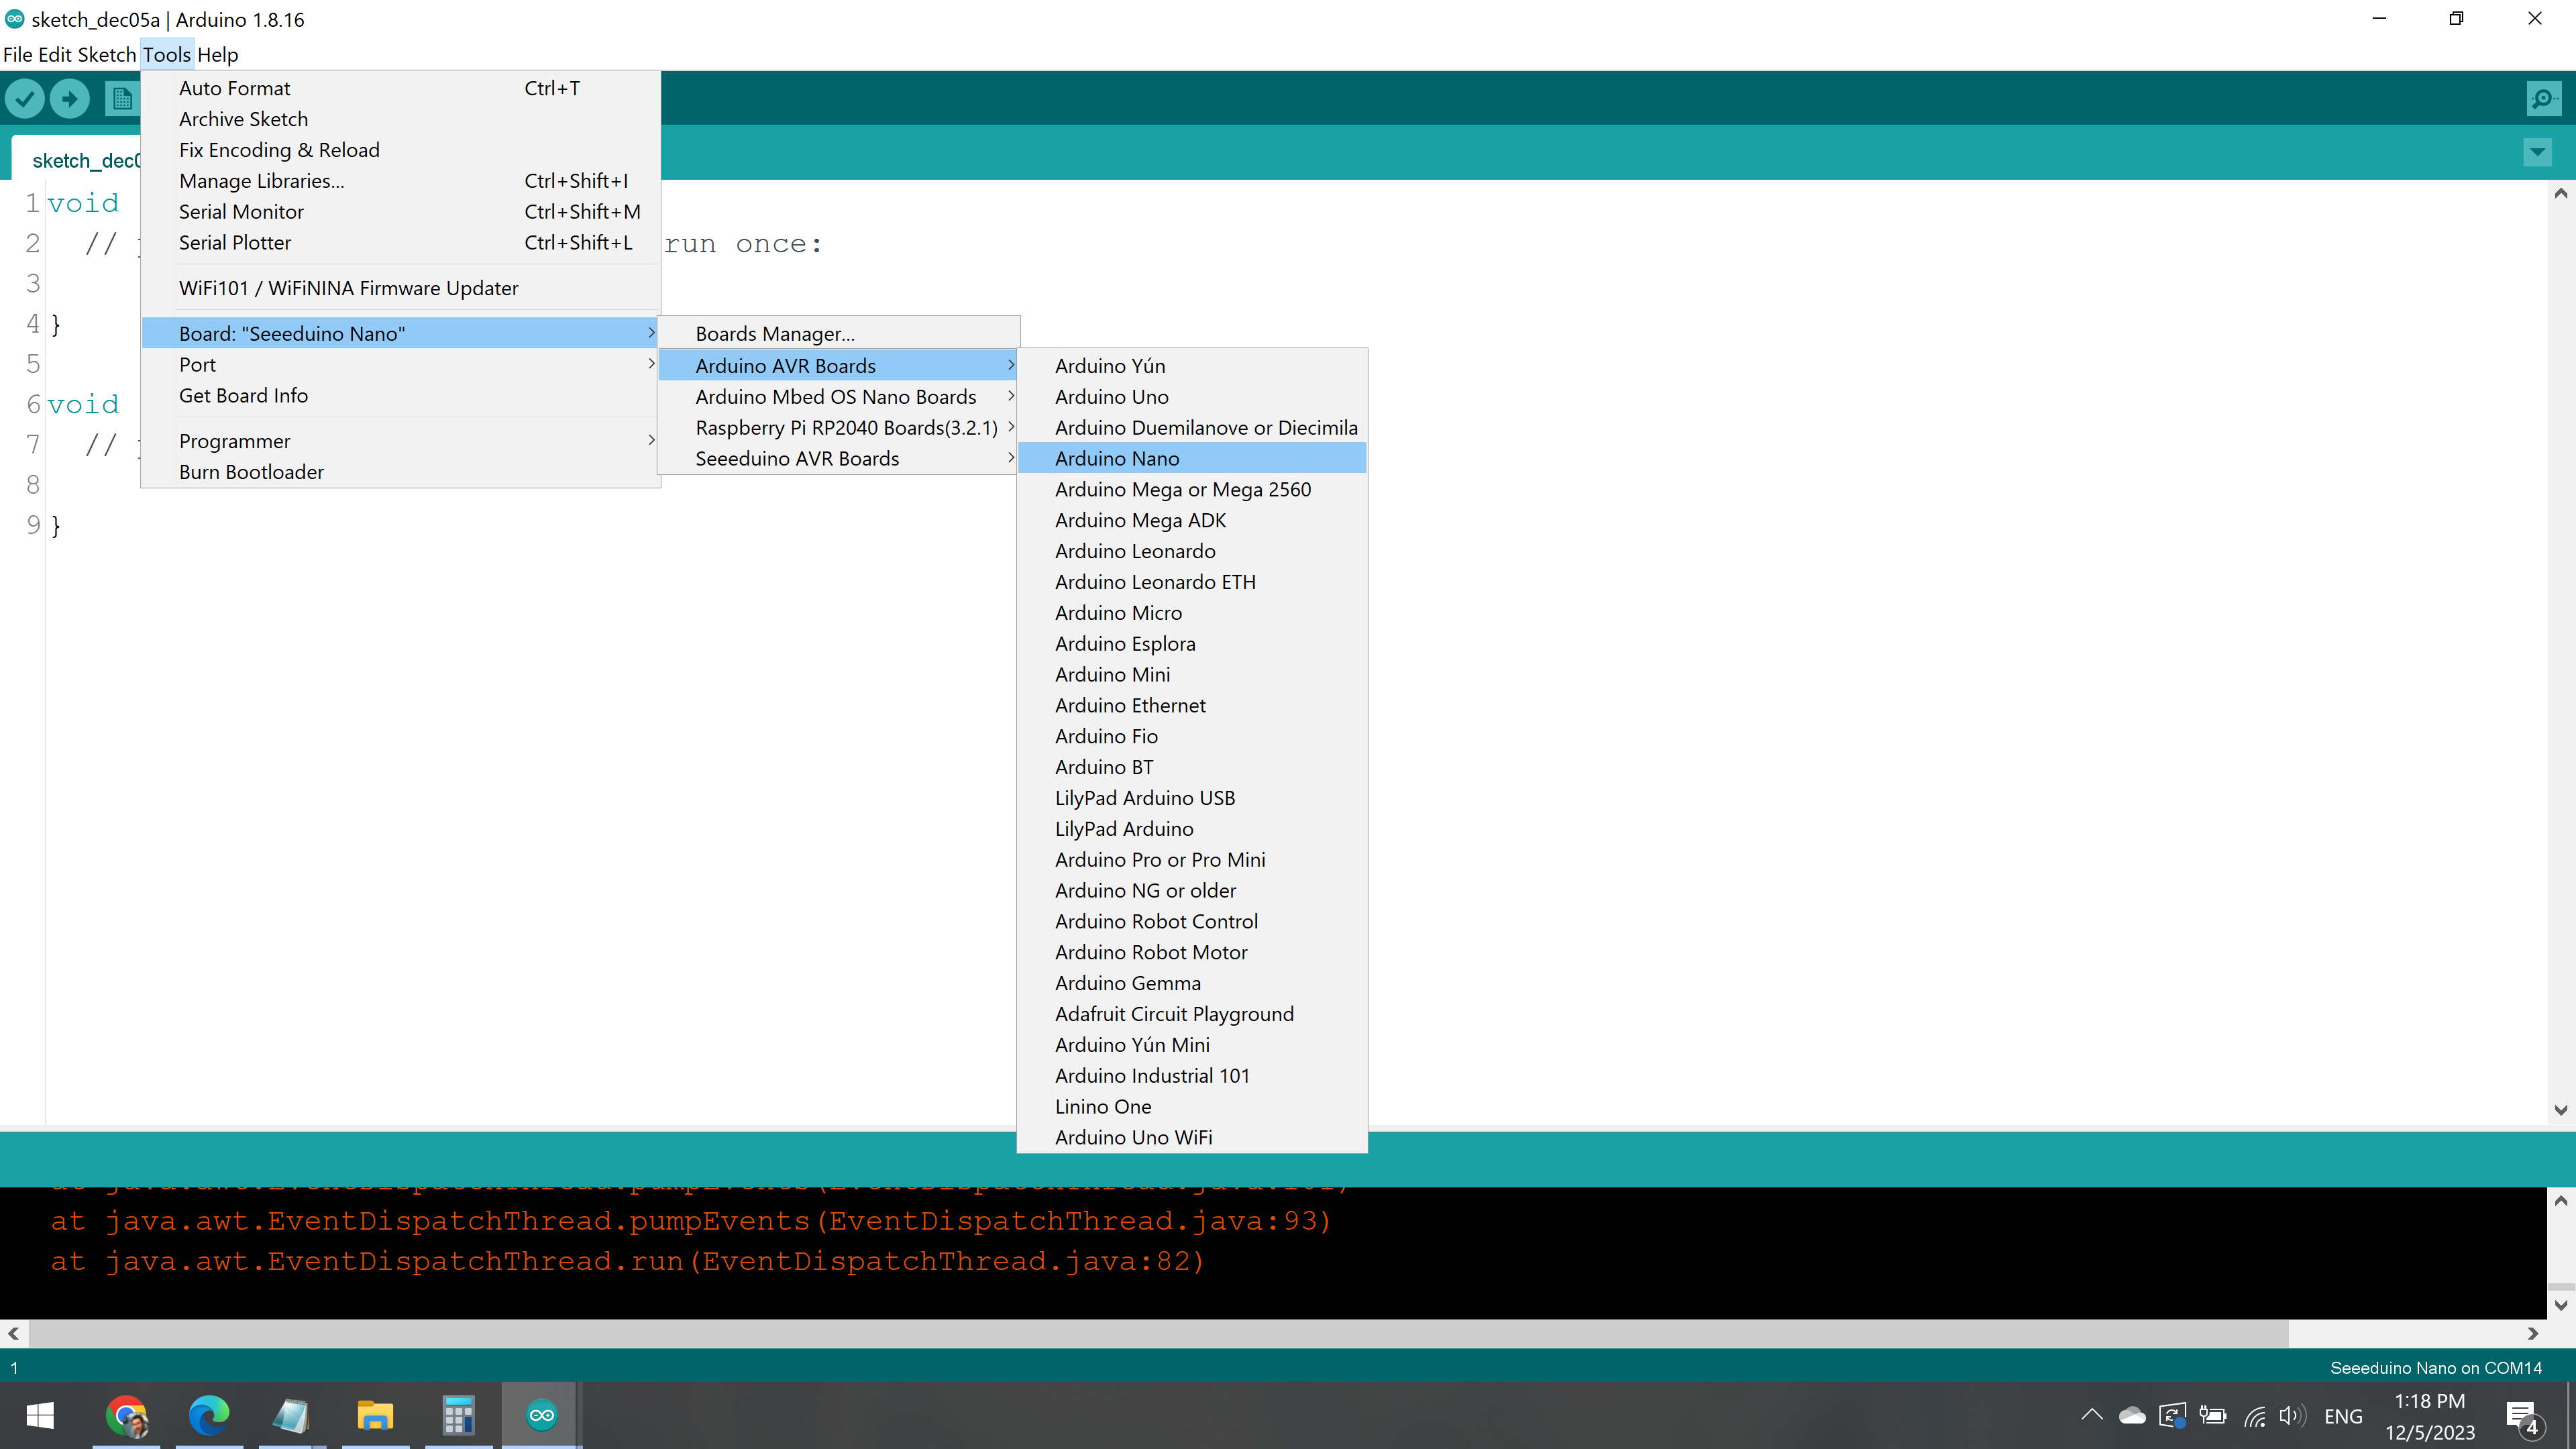
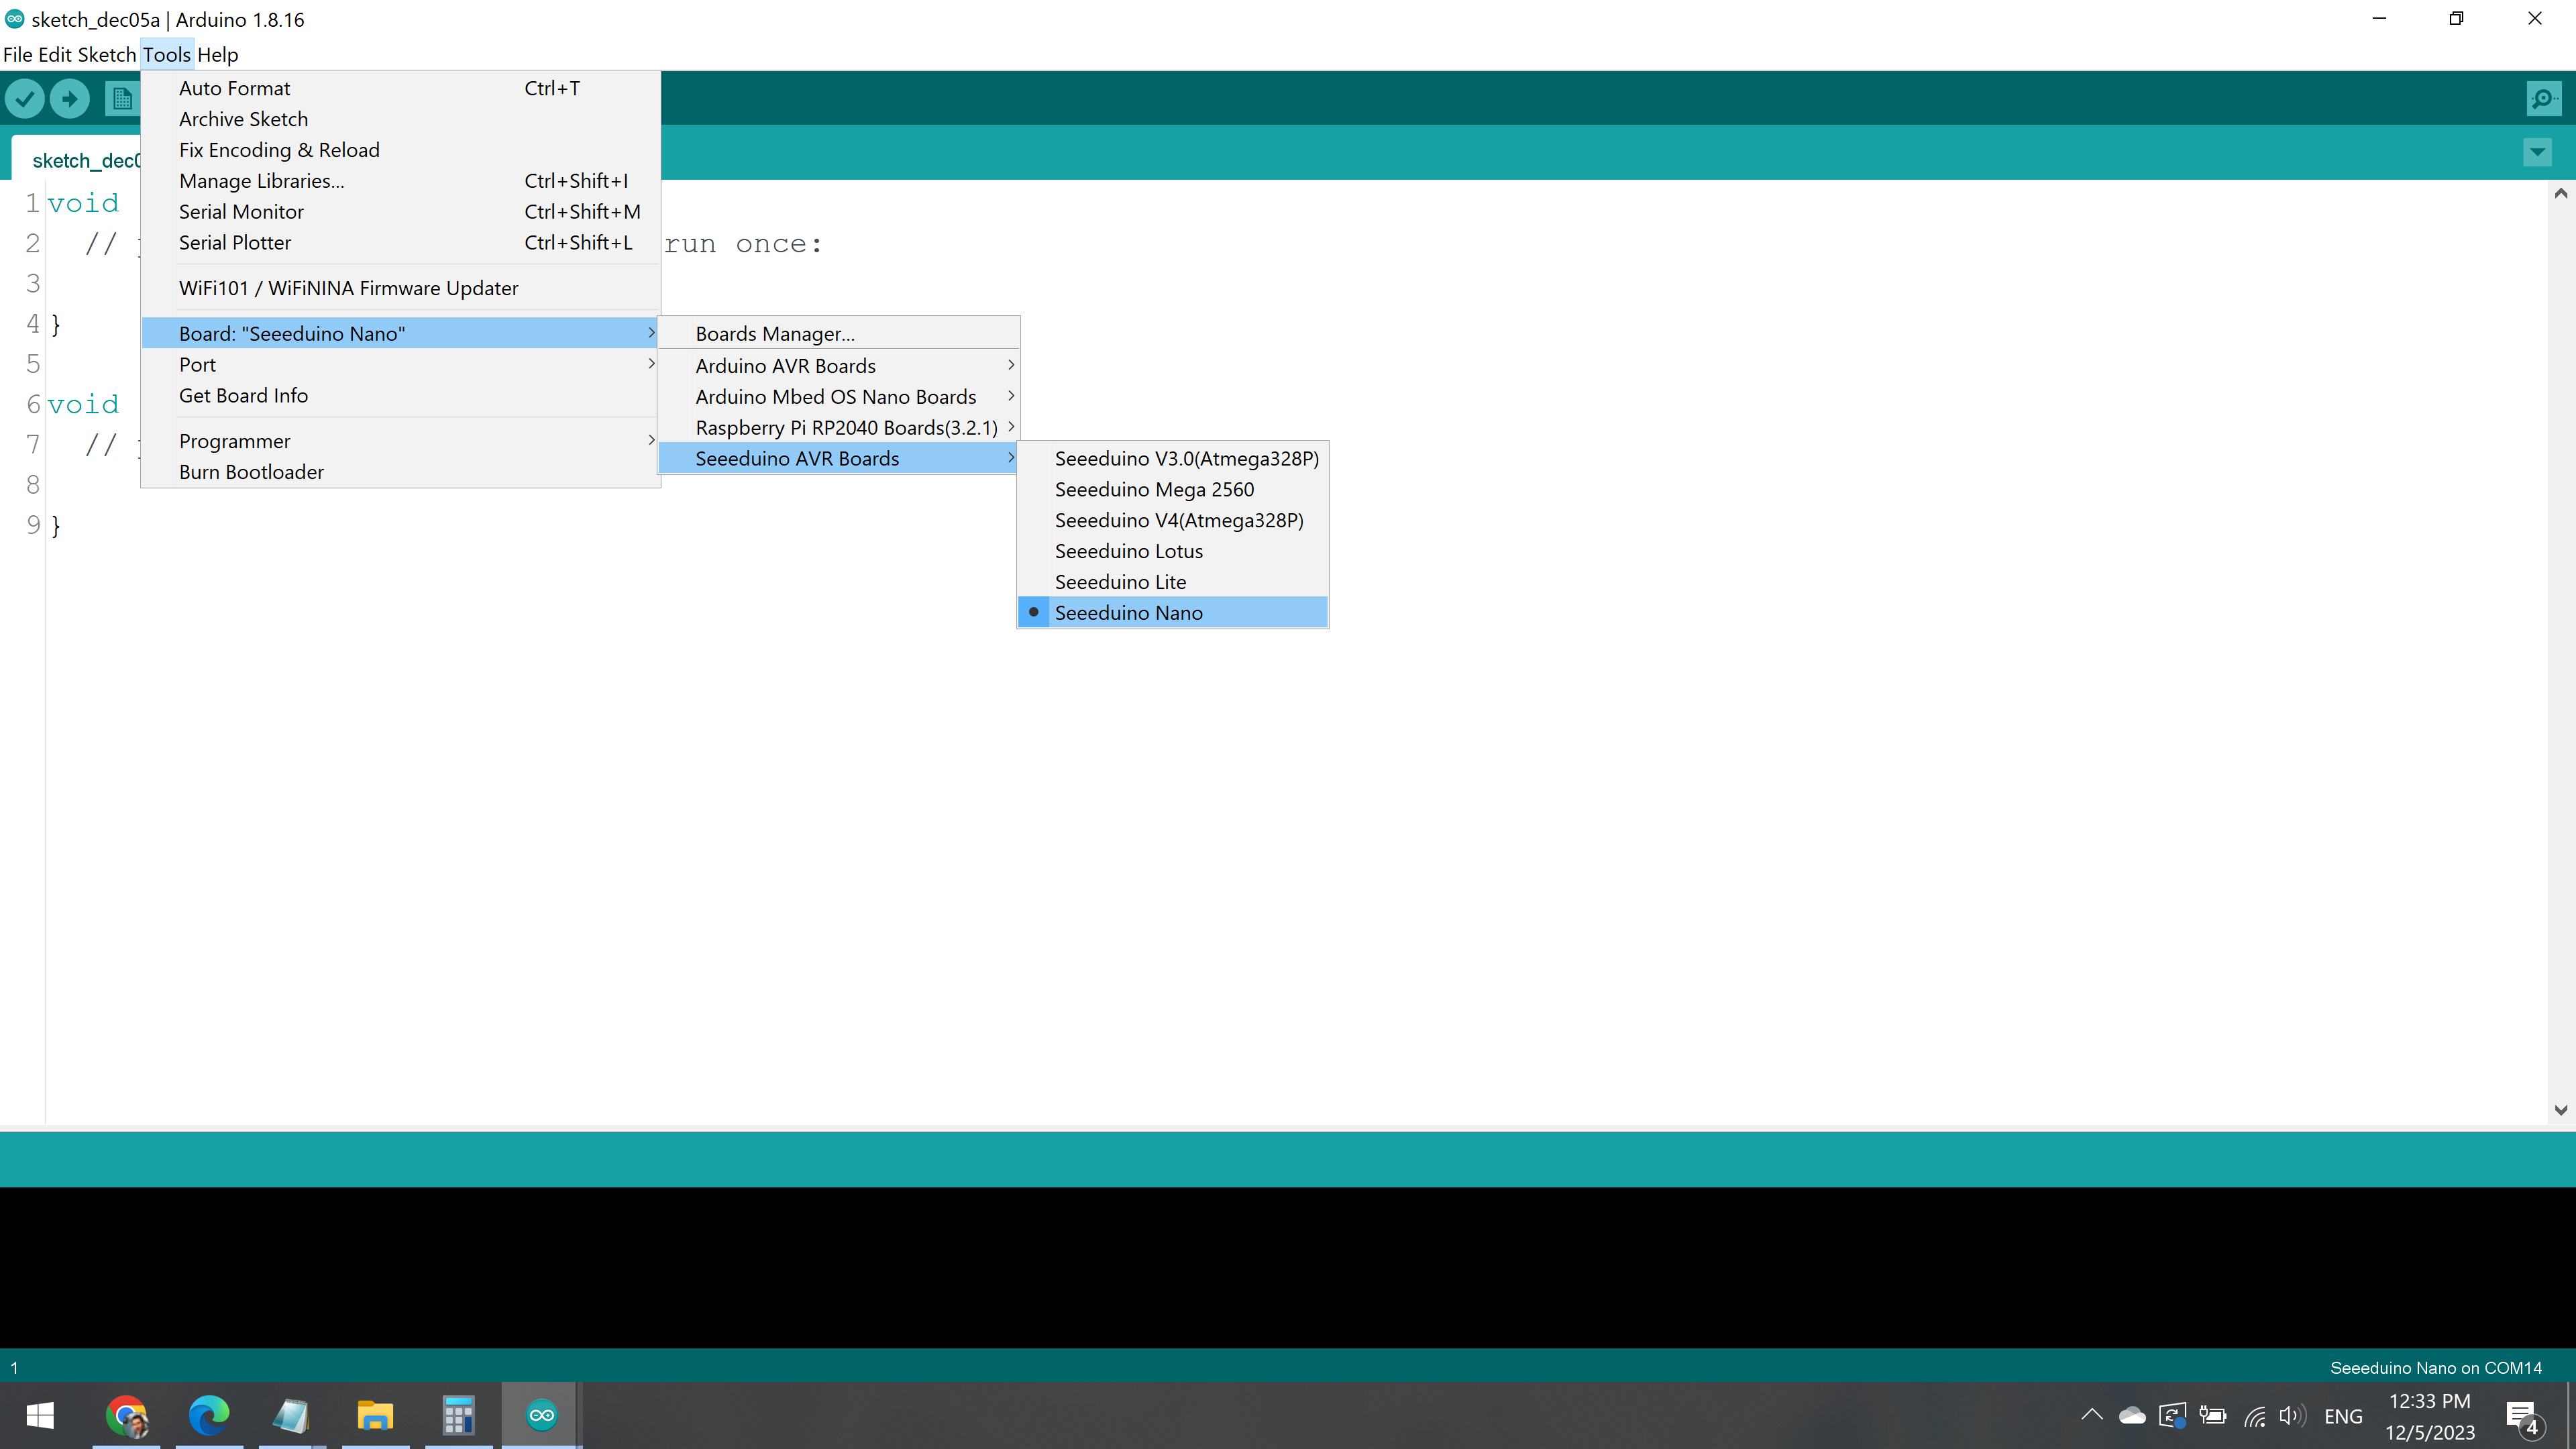
3Adding Seeeduino Nano to Arduino IDE
Try selecting Arduino Nano as your board and see if it works.
If it does, great. If not, you will need to get the Seeeduino AVR Menu.
You'll need to do a couple of things to install it.
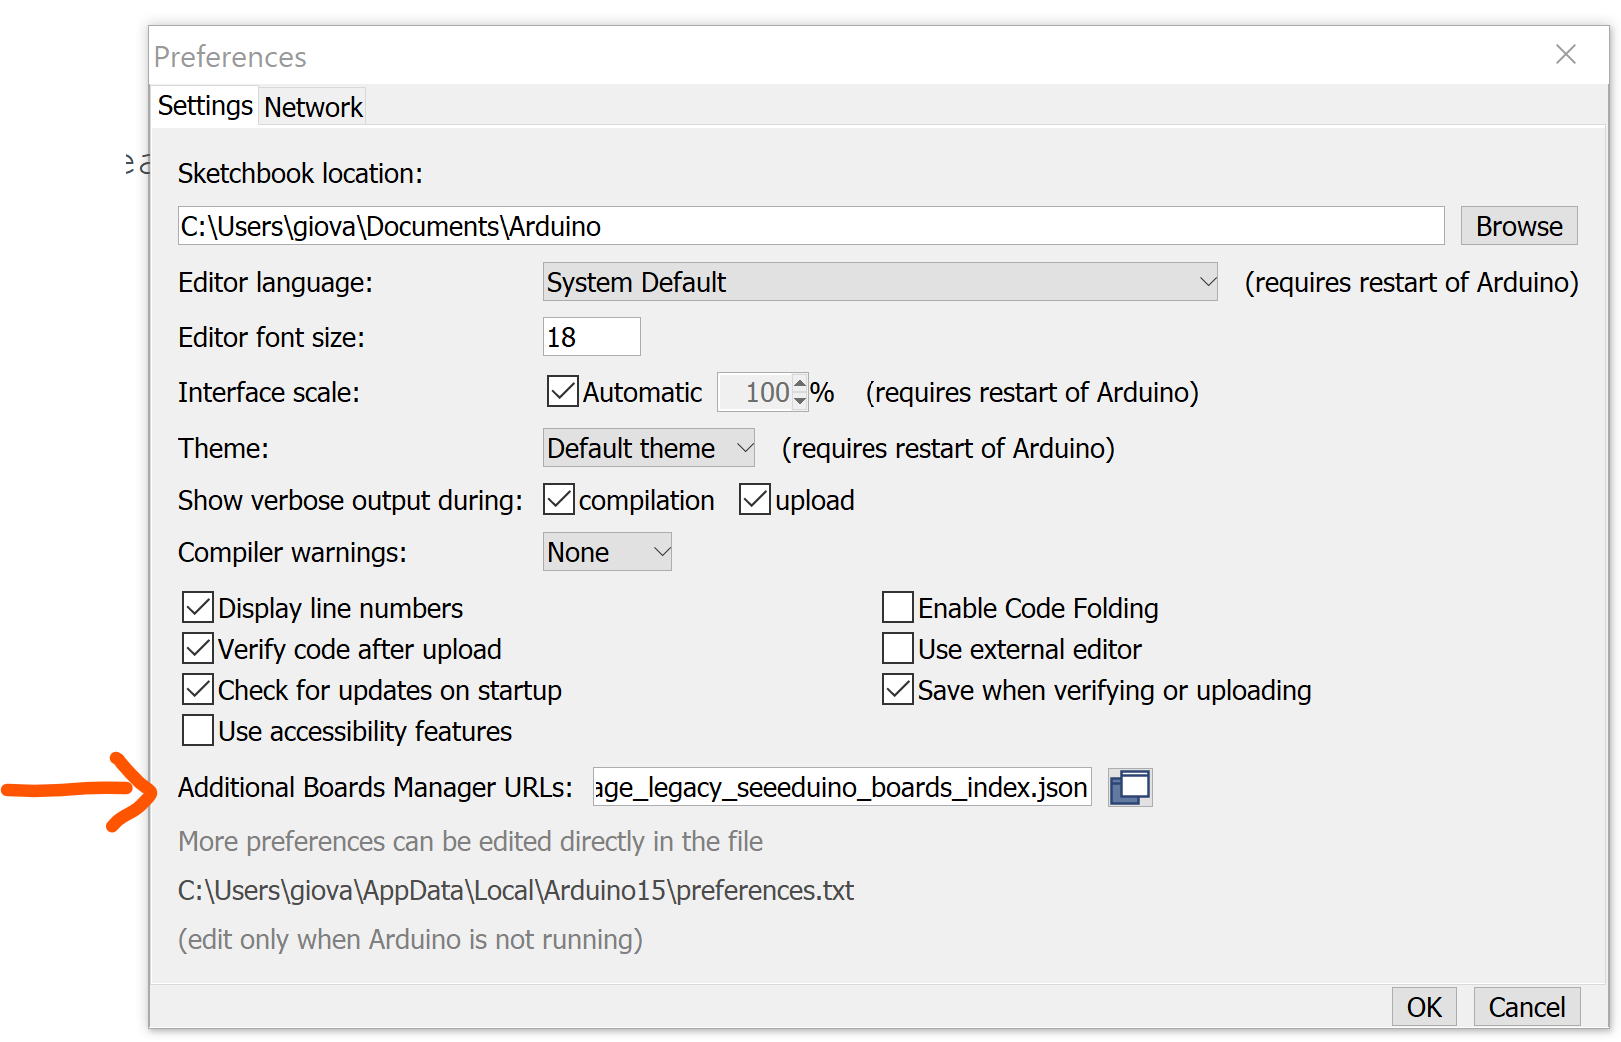
First, go to:
File > Preferences > Additional Boards Manager > and enter the following JSON link:
Then, close the menu hitting Ok.
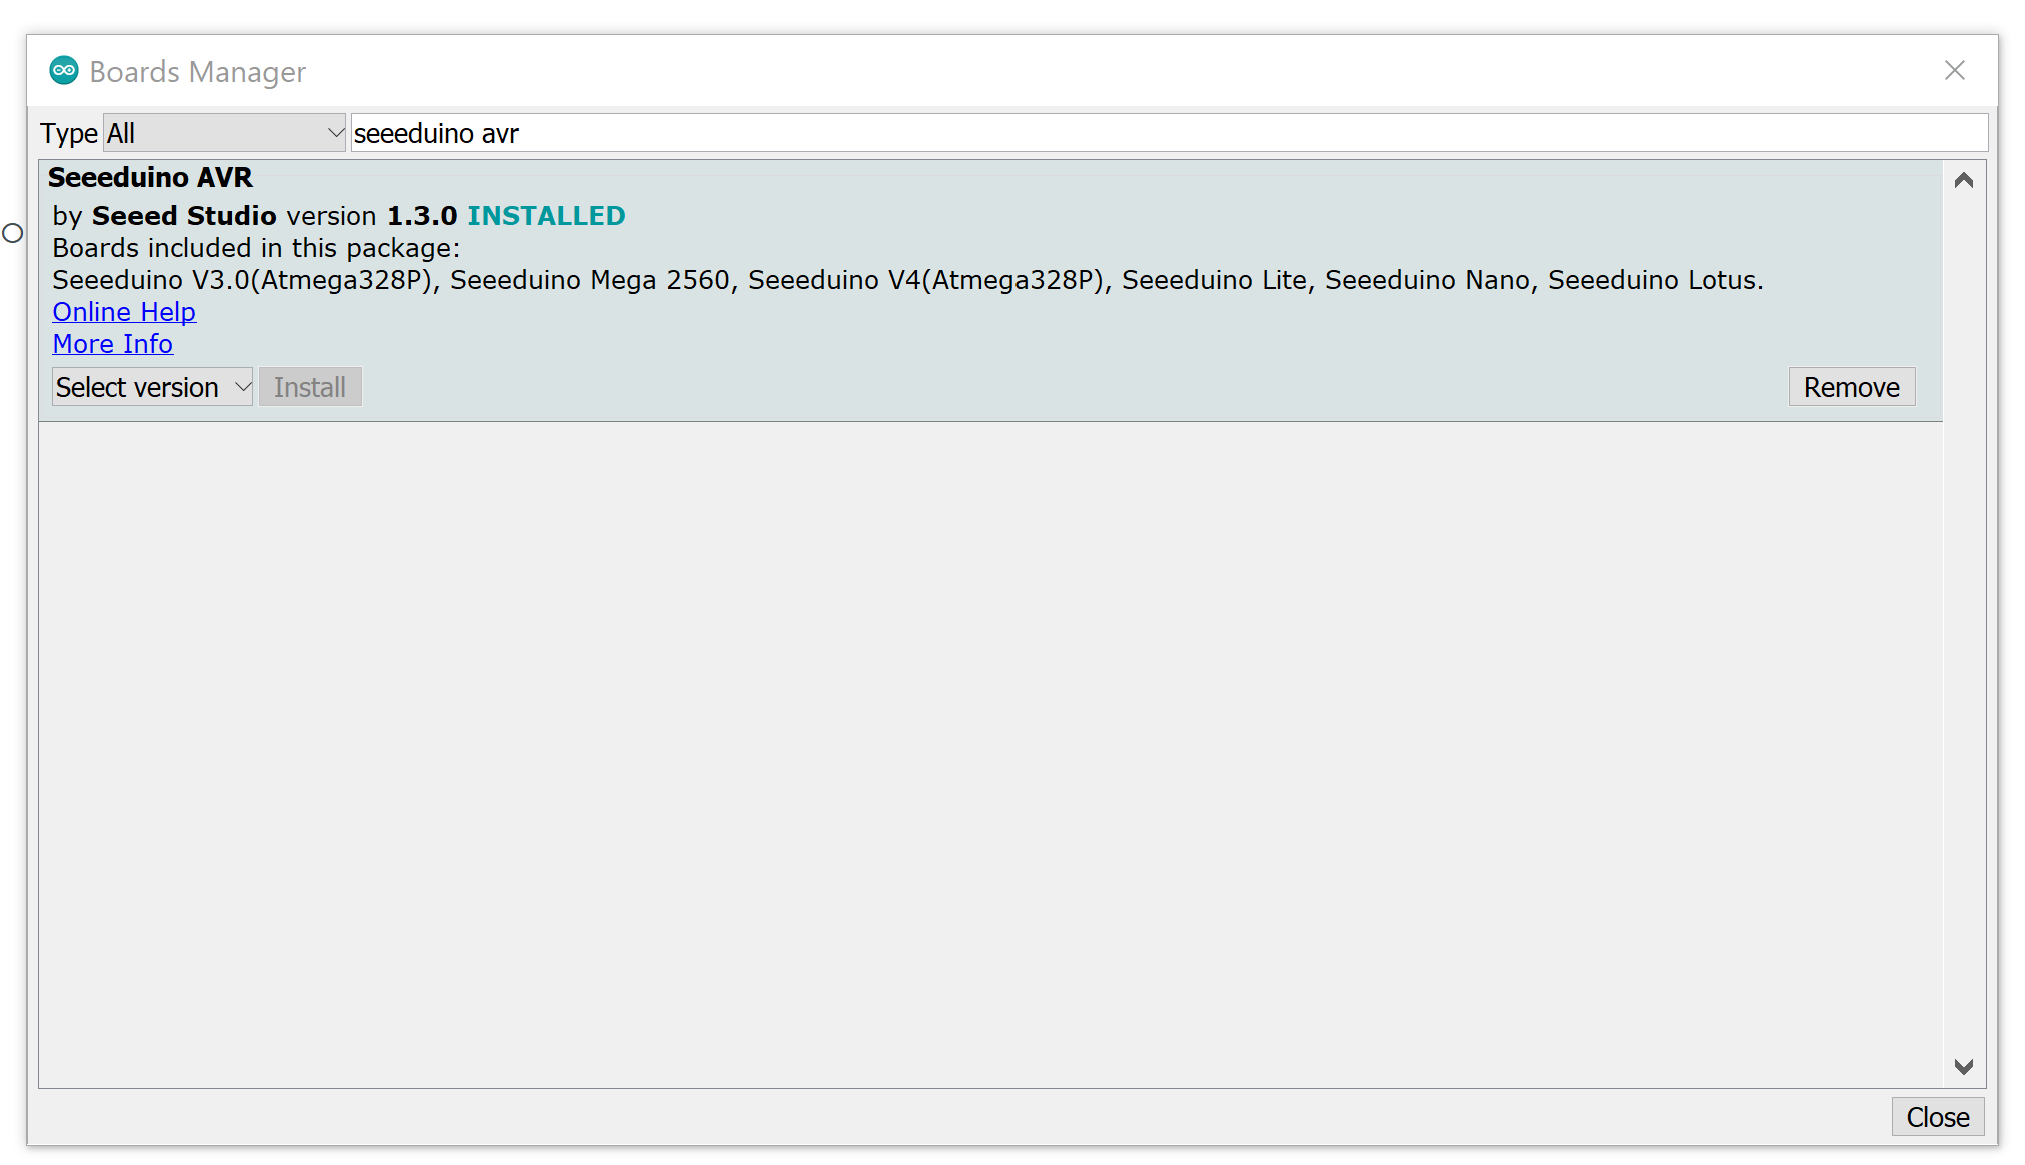
Now, go to Tools > Board > Boards Manager. Search for "Seeeduino AVR" and install.
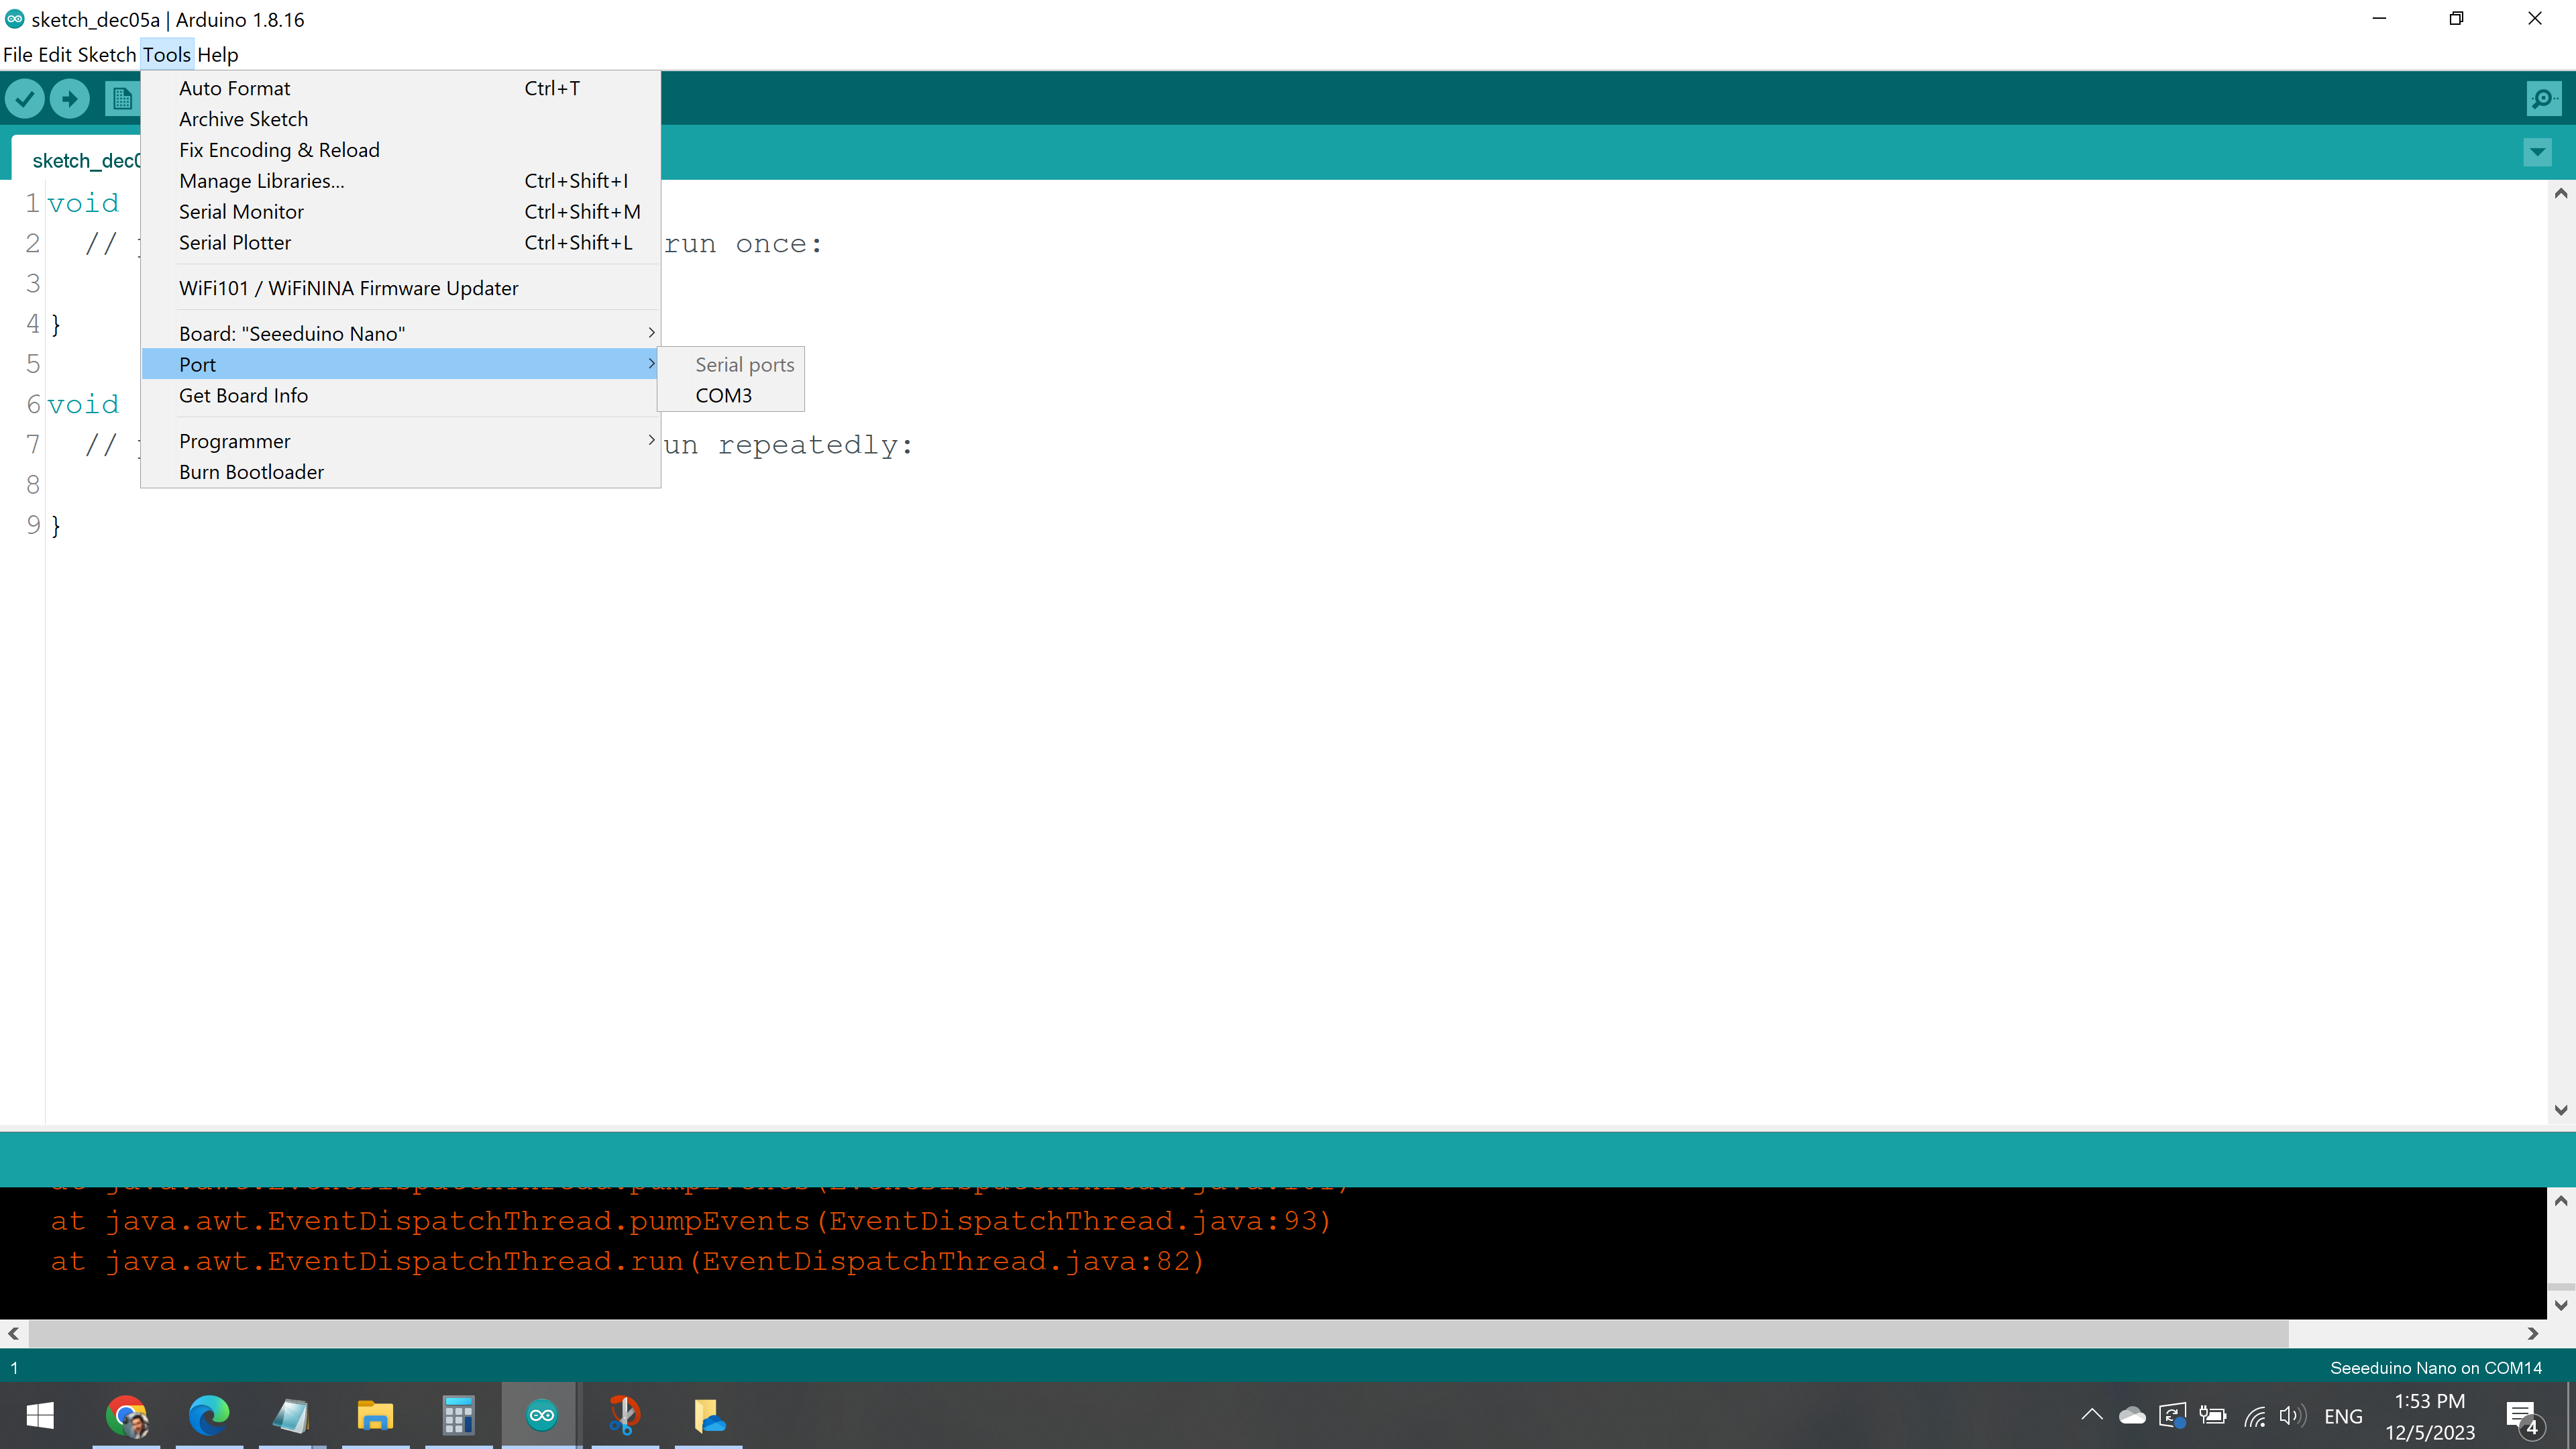
If your board does not show up when trying to connect, check the port!
-
4Arduino Libraries
Libraries essentially are "canned" code for specific operations. They help your Arduino learn new skills. There are two ways to get libraries:
Include library from Sketch > Include Library > Manage Libraries, or
Download a library and use "Add ZIP Library".
We have two libraries available in the Files section for this project.
Sensors kits from places such as Adafruit, Sparkfun, Elecrow, or Seeed often come with their libraries ready for you. That's faster than trying to code from scratch!
-
5Sample code
This is the code for the PIR - Buzzer miniproject. All the rest of the code can be downloaded from the "Files" section. If you have te PIR - Buzzer mini project, you can also copy this code and paste it to your Arduino sketch. Yes, just copy and paste and you are good to go!
const int pirPin = 2; // set the pir to pin D2
const int buzzerPin = 4; // set the buzzer to pin D4

void setup()
{
  Serial.begin(9600);   // start the serial monitor
  pinMode(pirPin, INPUT);   // initialize the pushbutton pin as an input
  pinMode(buzzerPin,OUTPUT);  // initialize the pushbutton pin as an input
}

void loop()
{
  if(motionDetected()) // if motionDetected function is true
  {
    Serial.println("motion Detected");
    turnOnBuzzer();}
  else{
    Serial.println("no Motion");
    turnOffBuzzer();
  }
}

void turnOnBuzzer()
{
  digitalWrite(buzzerPin,HIGH);
}
void turnOffBuzzer()
{
  digitalWrite(buzzerPin,LOW);
}

/***************************************************************/
/*Function: Detect whether anyone moves in it's detecting range*/
/*Return:-boolean, true is motion detected.*/

boolean motionDetected()
{
  int sensorValue = digitalRead(pirPin);
  if(sensorValue == HIGH)   //if the sensor value is HIGH?
  {
    return true;  //yes,return true
  }
  else
  {
    return false;   //no,return false
  }
}
Introduction to Electronics - ATMega
Components and instructions to create your very first electronic product and learn about product design, hardware and firmware.


Discussions
Become a Hackaday.io Member
Create an account to leave a comment. Already have an account? Log In.