Timescale
-
Result and final thoughts
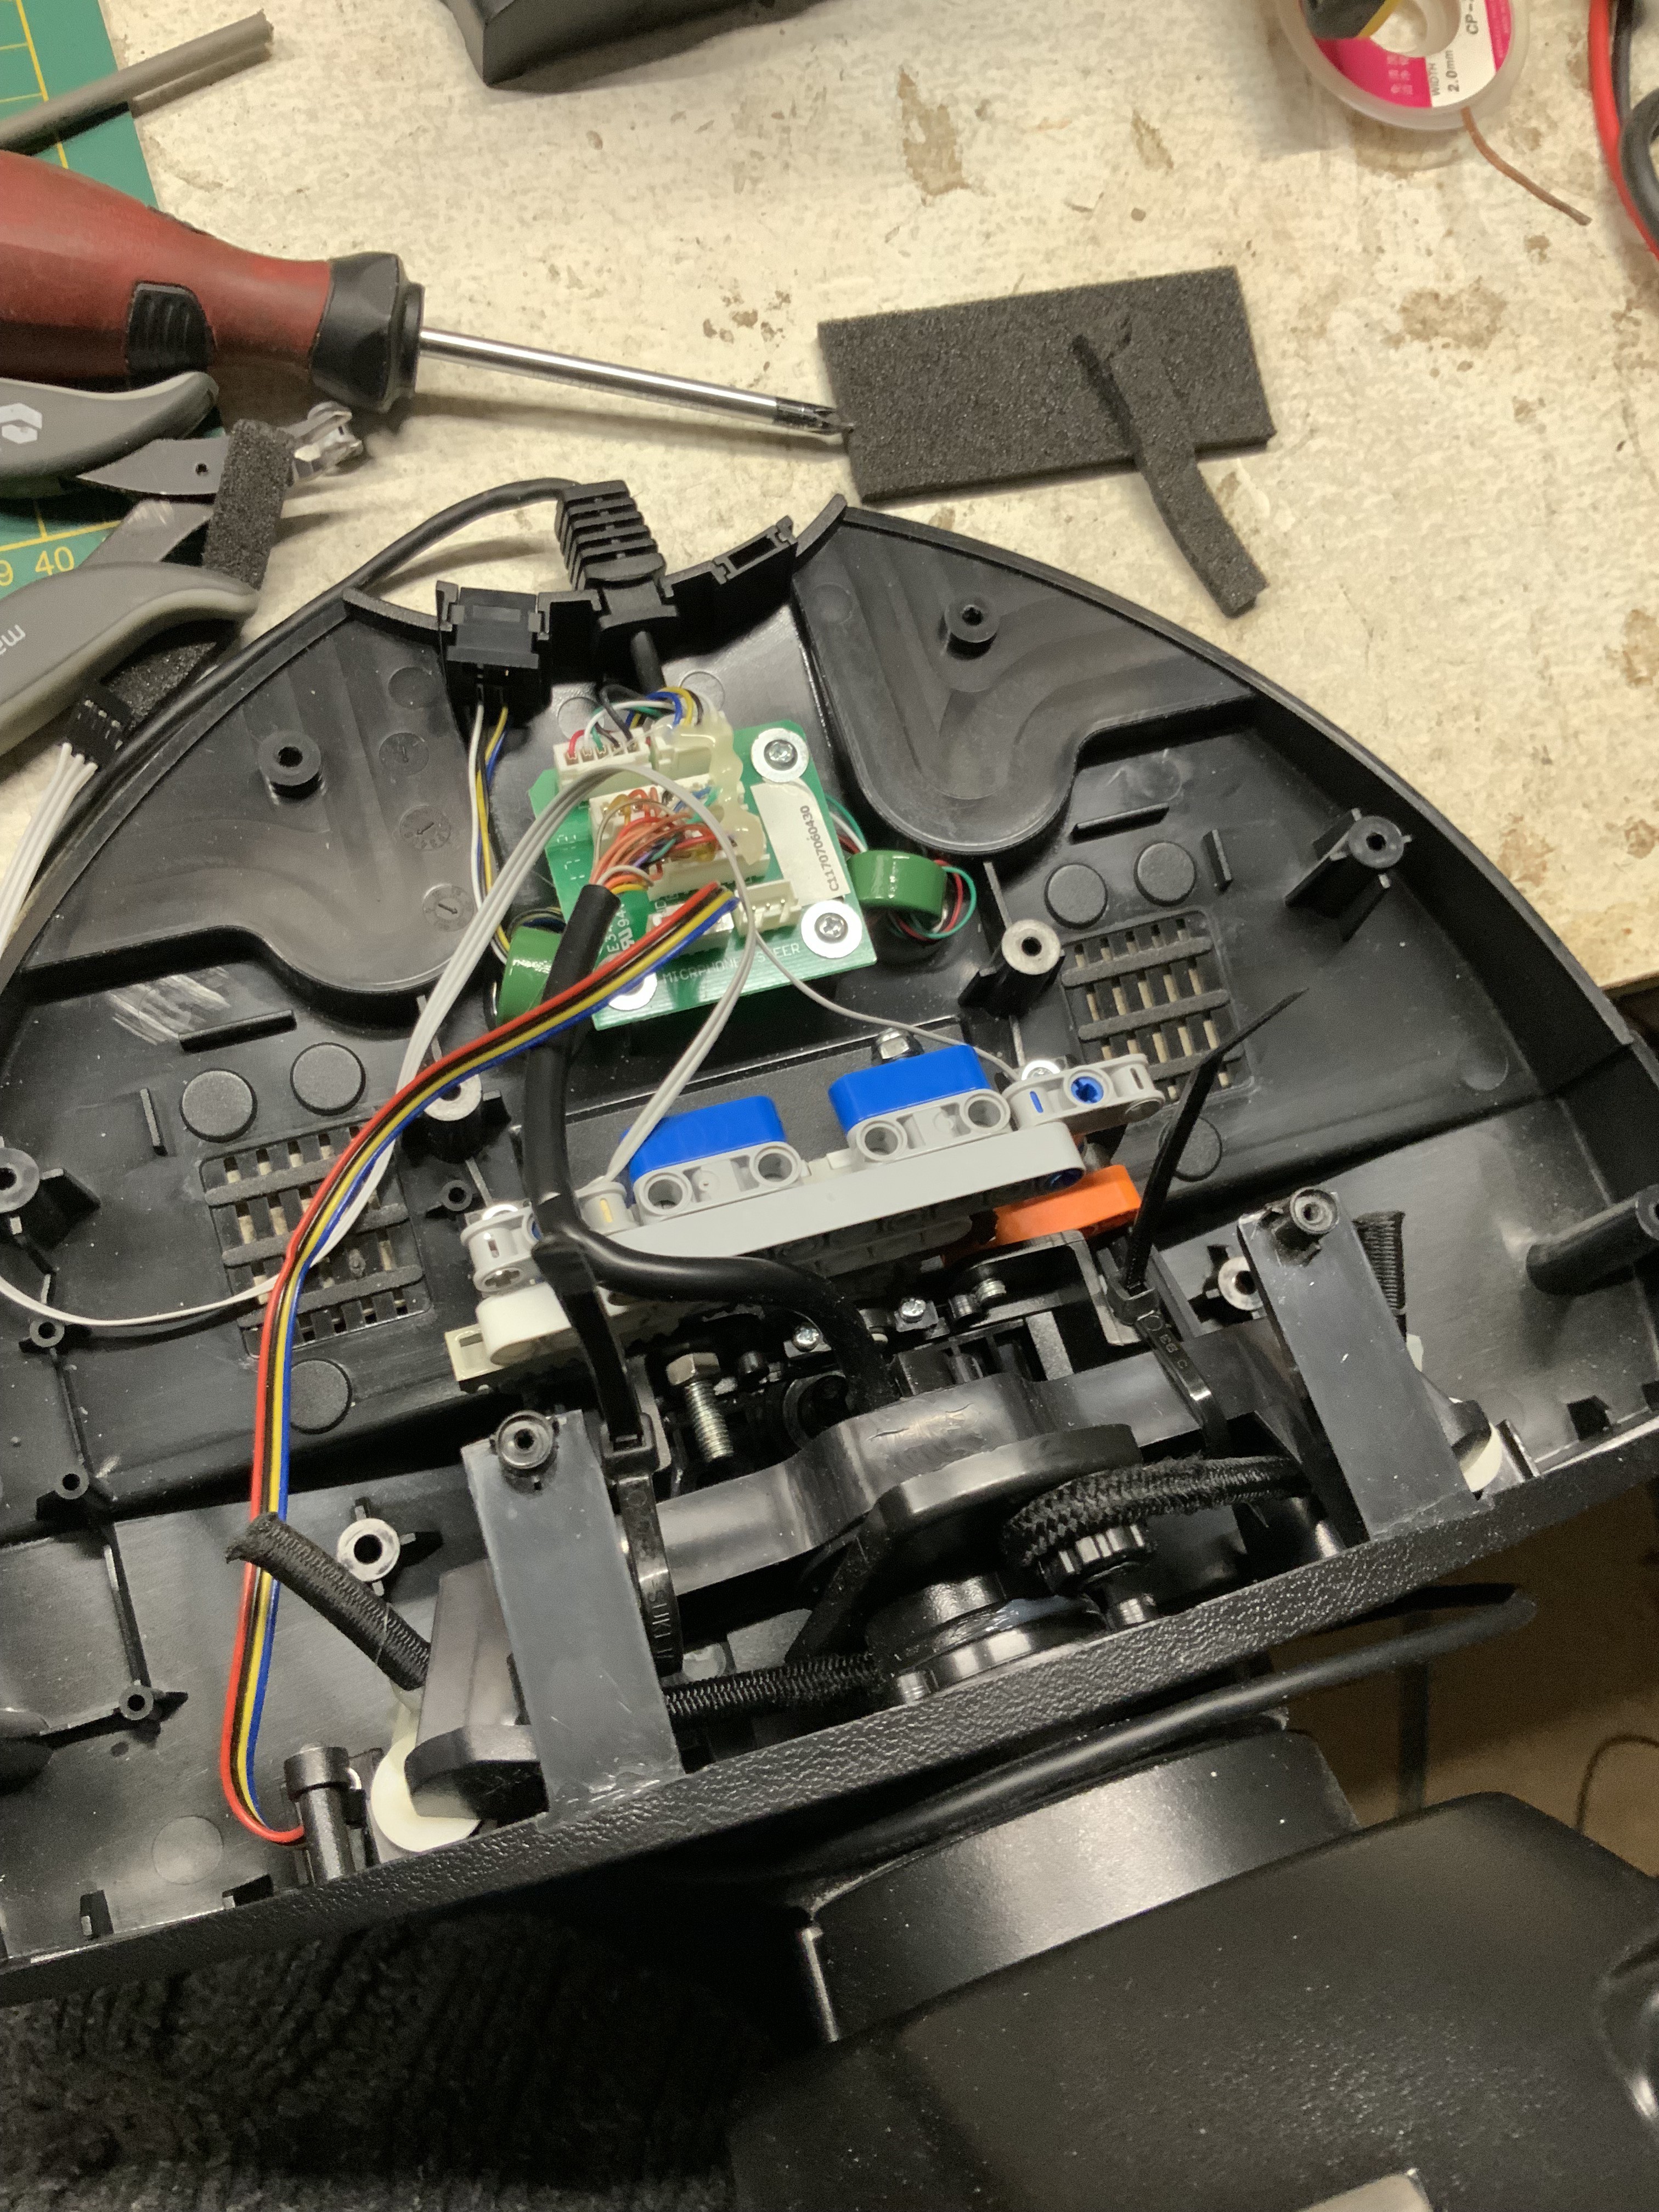
01/02/2024 at 14:56 • 0 commentsMy end product is this. A directly driven rack and pinion connected to the sliding potentiometer. It all fits very well, more than enough space, but the unit can be a lot more compact.
![]()
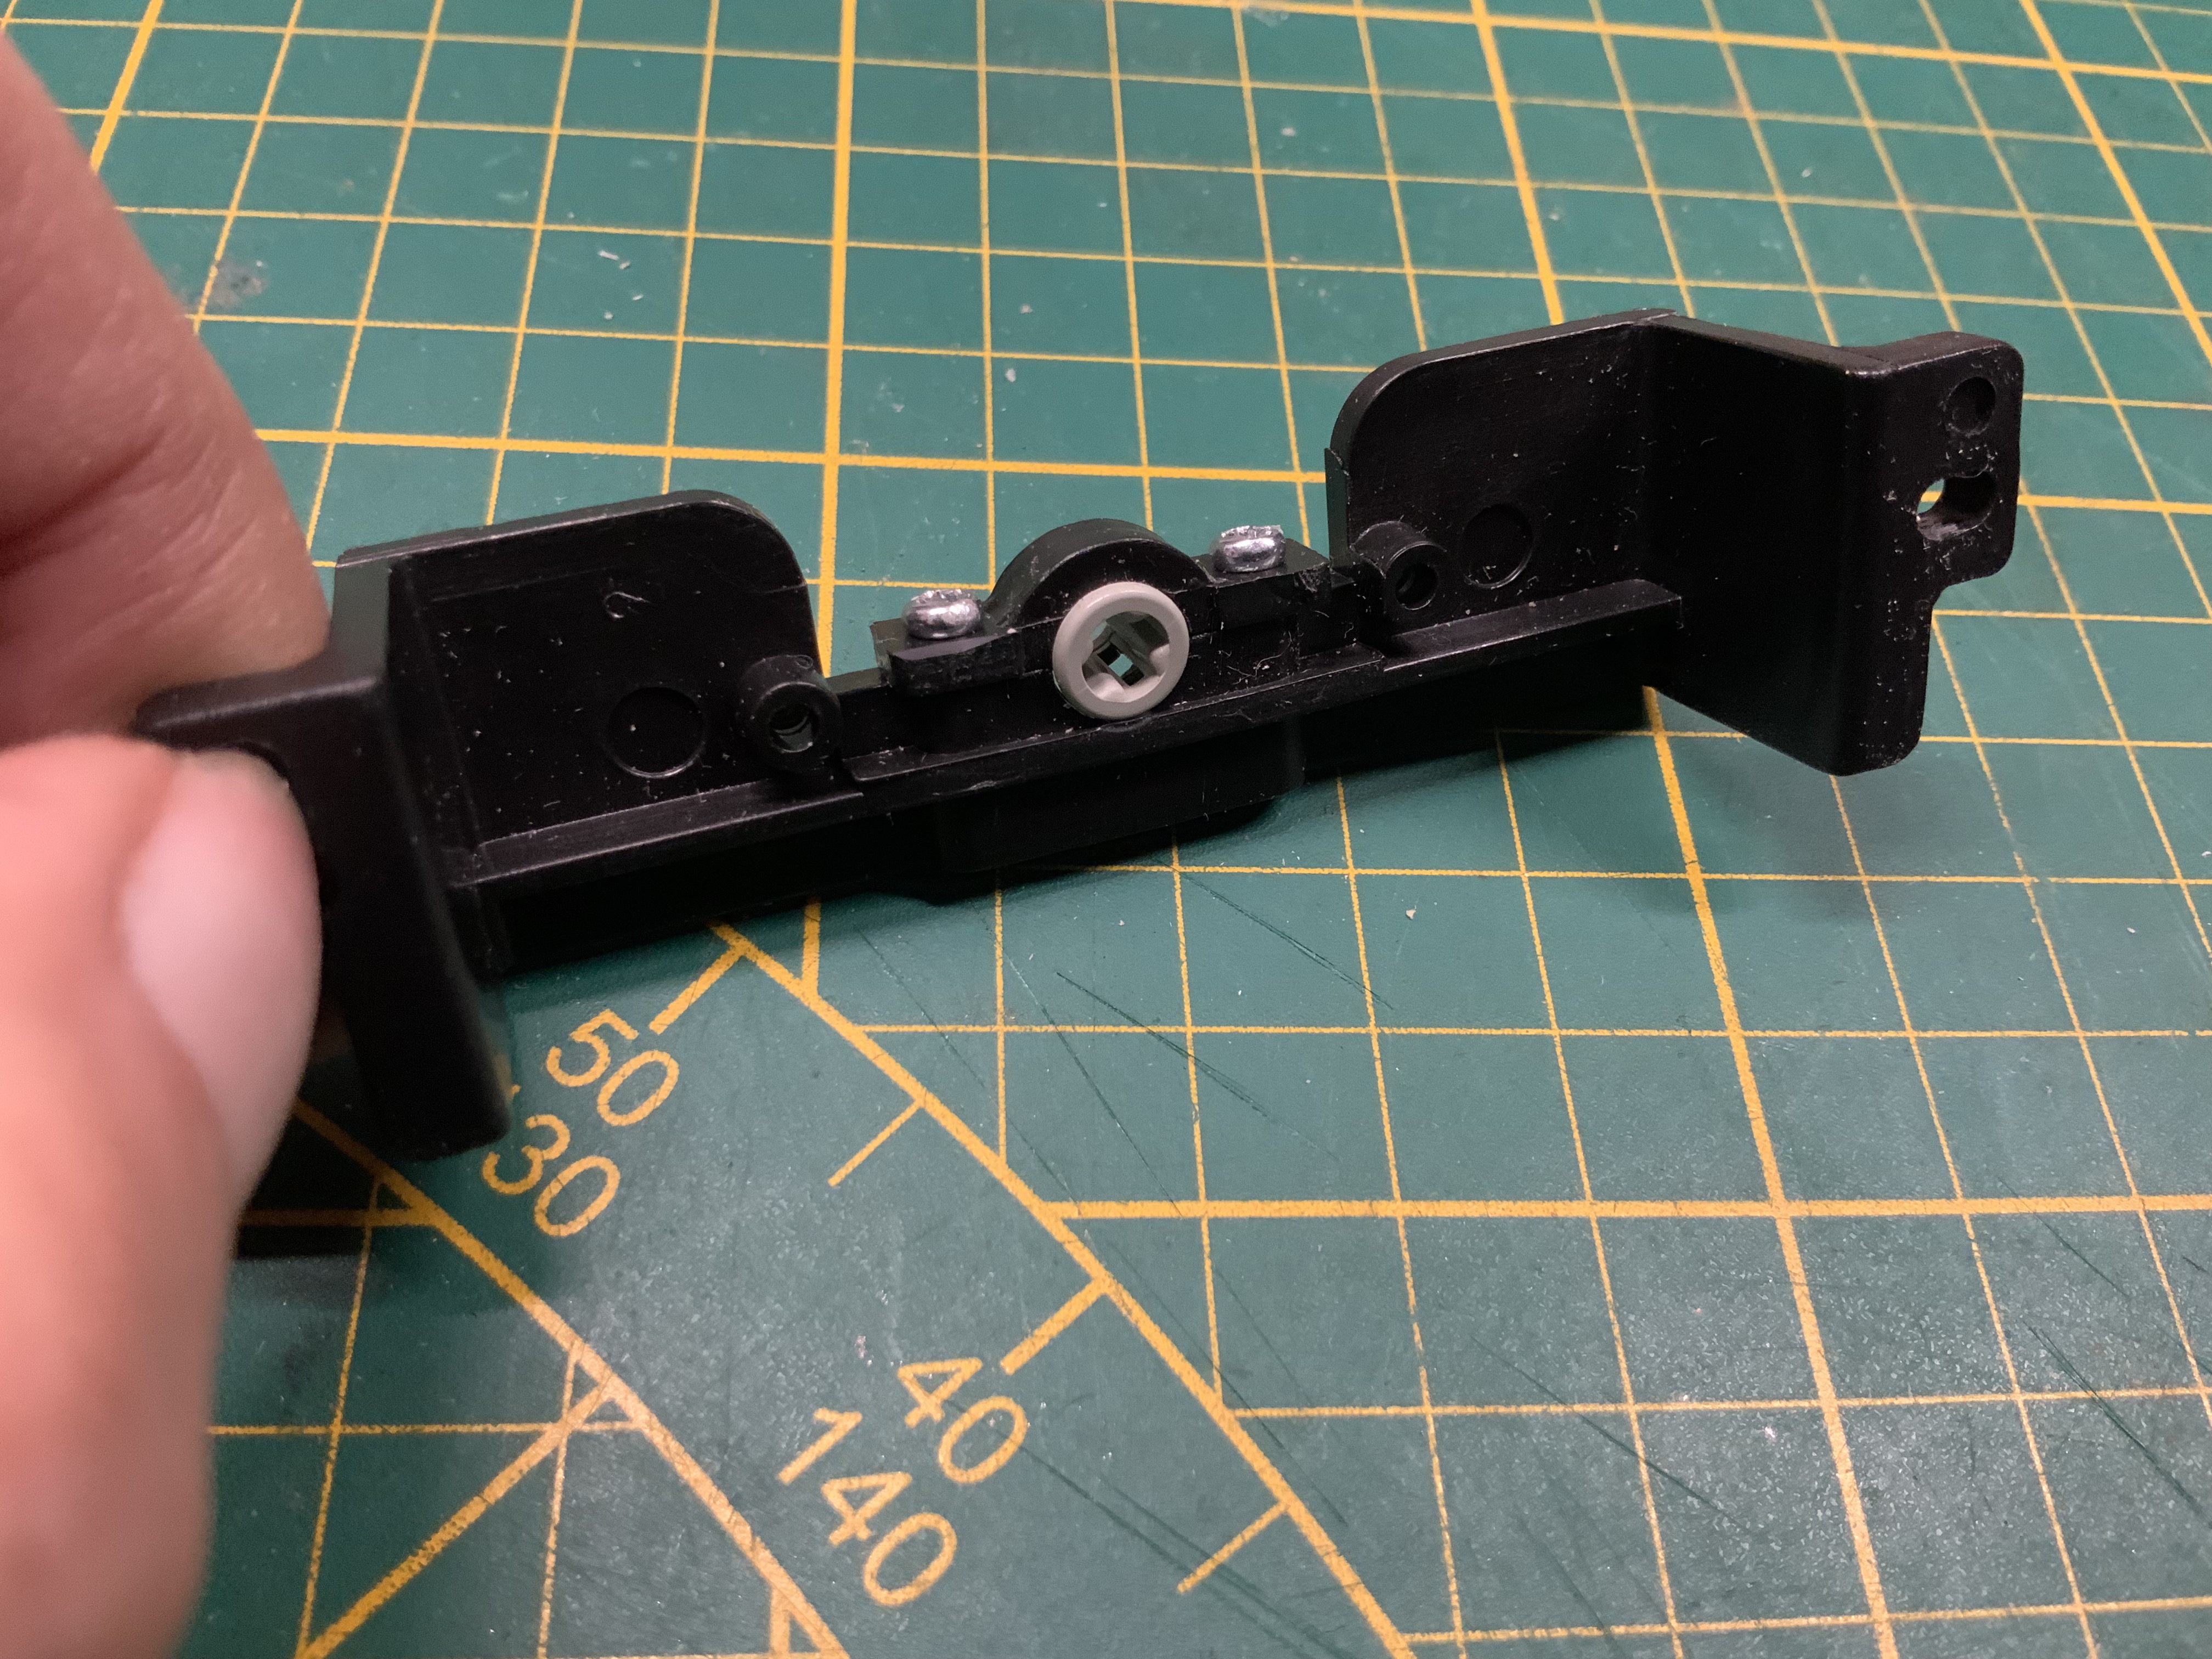
I already confessed to my little screw up, but luckily, the misalignment was about 1 to 1.5 gears and does not impact the performance very much it seems. The part I messed up is this one :
![]()
See how the Lego bushing fits into the original axle guide for the rotary potentiometer. It is the back plane of this part that receives the rack and pinion assembly. Without the universal joint and the stiffness of the bolted assembly, the whole experience is a lot more controlled and reactive. Of course if you want and the game allows it, you can make it as smoochy as you like.
In the end, this is a very effective and simple fix. You can fabricate this from about any material you have laying around I think. The Lego is nice for finding tolerances and trying new configurations and gear ratios, but the simplest method would be a wood or metal enclosure for the potentiometer and the sliding rack, bolted to this part which has the right ratio gear at the end of the shaft.
If you loosely use the configuration I have, the results should match up. This is a Lego pitch rack with a 40toothed gear attacked to a 60mm travel sliding potentiometer.
I have now played quite a few aggressive rounds of Dirt 3 and it still holds up!
-
Not pretty, but it works.
12/26/2023 at 21:00 • 0 commentsI got the new "direct drive" installed. It is quite crude and I did F*&k things up, but it works without much of a dead zone. Somehow I managed to misplace the mounting holes for which I used a Lego piece as a guide. Make sure it is level and centred and nothing can go wrong!!!
Well, that did go wrong. The assembly is now a bit tilted and off-centre. I had to adjust the position of the pod to get the zero position. What ya gonna do? At least there is far less play in the shaft, it seems sturdy and it is responsive. Good enough for me at this point in time.
Does it need improvements? yes it does, but not right now! In the end, it does remain a hack!
-
Tweak, break and redesign...
12/26/2023 at 13:40 • 0 commentsReinforcements
I made the assembly a whole lot sturdy by throwing more bricks at it which helped with rigidity a bit. The potentiometer is now relatively fixed in place and the pieces do not wiggle free any more (I think). How ever, due to the fit, there still is much play left to right and thanks to the universal joint, there Is a mechanical dead zone in the middle. These are not very problematic, but I would like to try and solve those issues.
Flexible shaft test
This was a very bad idea. One weak point and a part that introduces play is the universal joint. My idea was to use a rubber Lego shaft and use that as a universal joint, stiffening it at places where it needed no flex. Well, it flexed everywhere and the the joint area alone was enough to absorb just about the entire rotary movement.
Fixing in place
For making the assembly a bit more rigid, I used foam to secure it. This still gives some play, but mostly it fixes it in place quite securely. Still not ideal and at this point thought for version 2 started to creep in.Version 2
So I broke the universal joint. That is why prototyping with Lego is so nice, it shows you where the weak spots are. I fixed it with glue and tie wraps, but there are only so many bricks you can throw at the problem before a rethink is needed.
Luckily there is a simpler solution. Version 2 is going to be a direct from shaft connection that will require slight modification of some of the parts of the wheel itself.
You might have been wondering why it took this long to realise this was the more sturdy and elegant solution, but version 1 had one great advantage. It was easy to tinker with in place and it proved that concept was sound.
More details on version 2 in the next log.
Fixing a Thrustmaster 458 steering wheel with Lego
Using a linear slide potentiometer and Lego to fix faulty steering on a Thrustmaster 458 steering wheel.