Dirk-WIllem van Gulik
-
Day 2
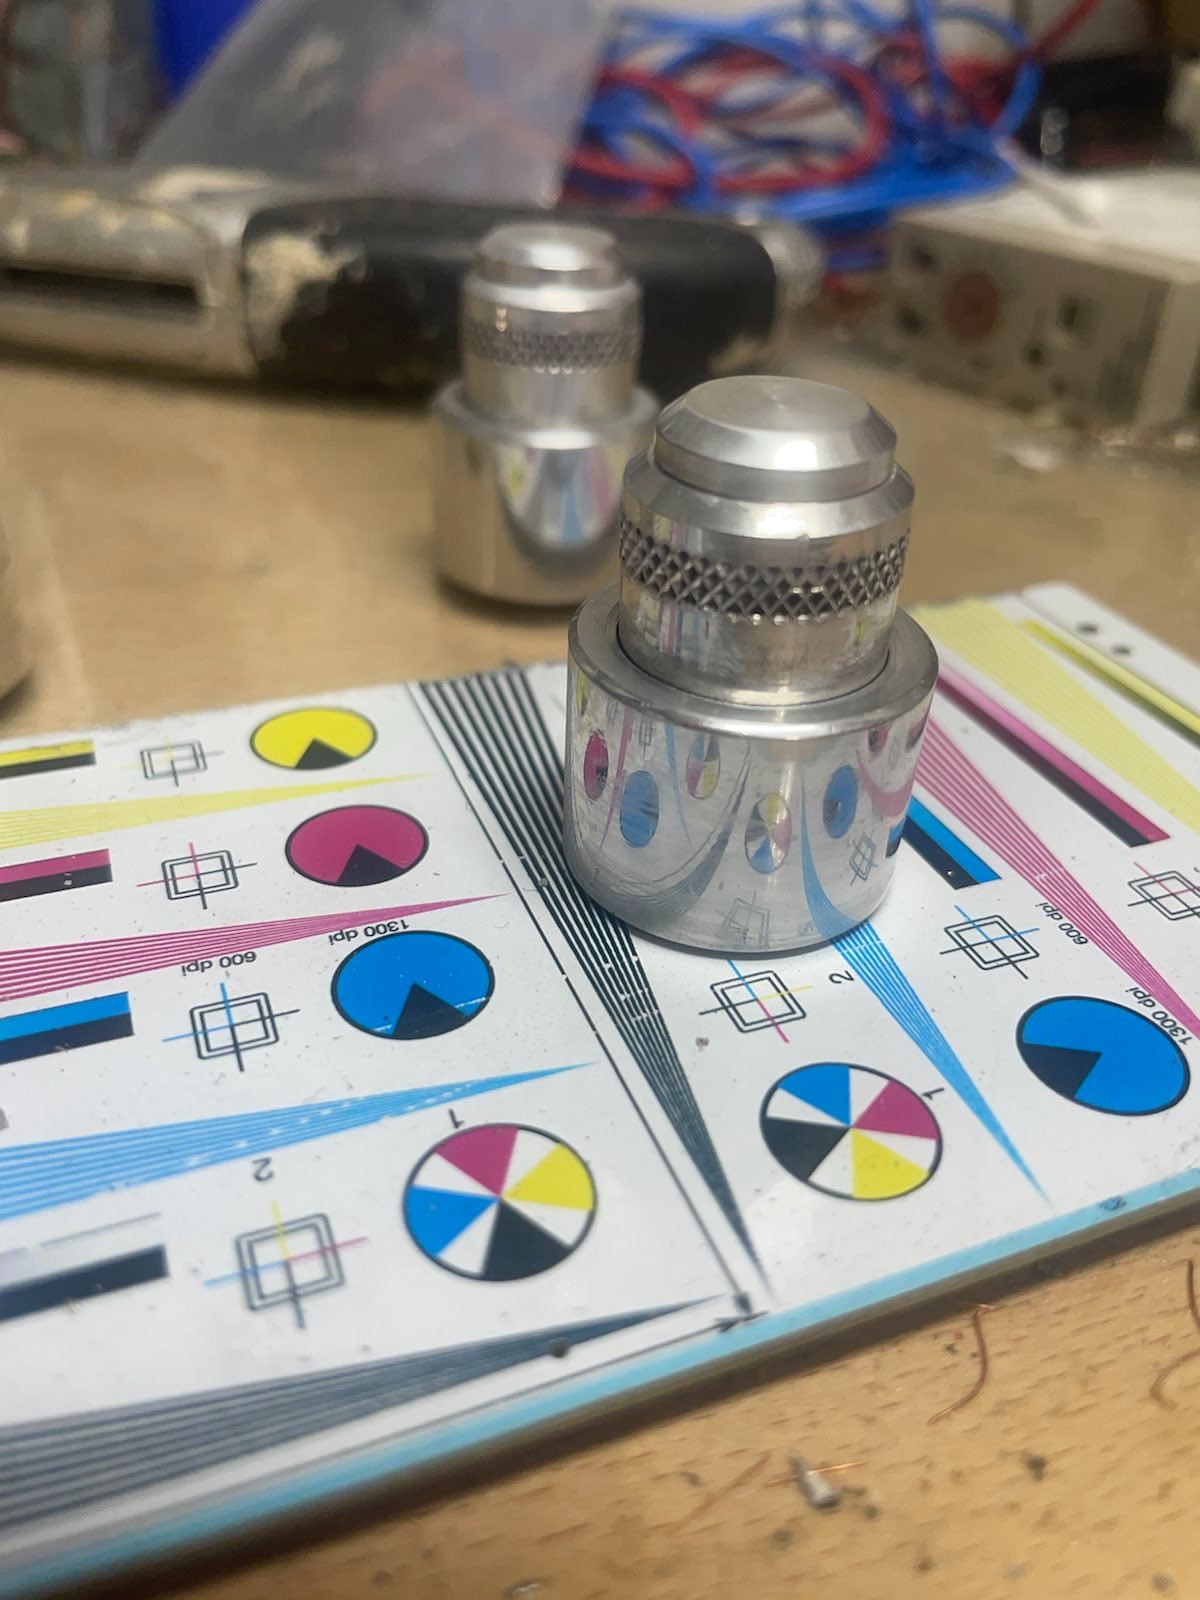
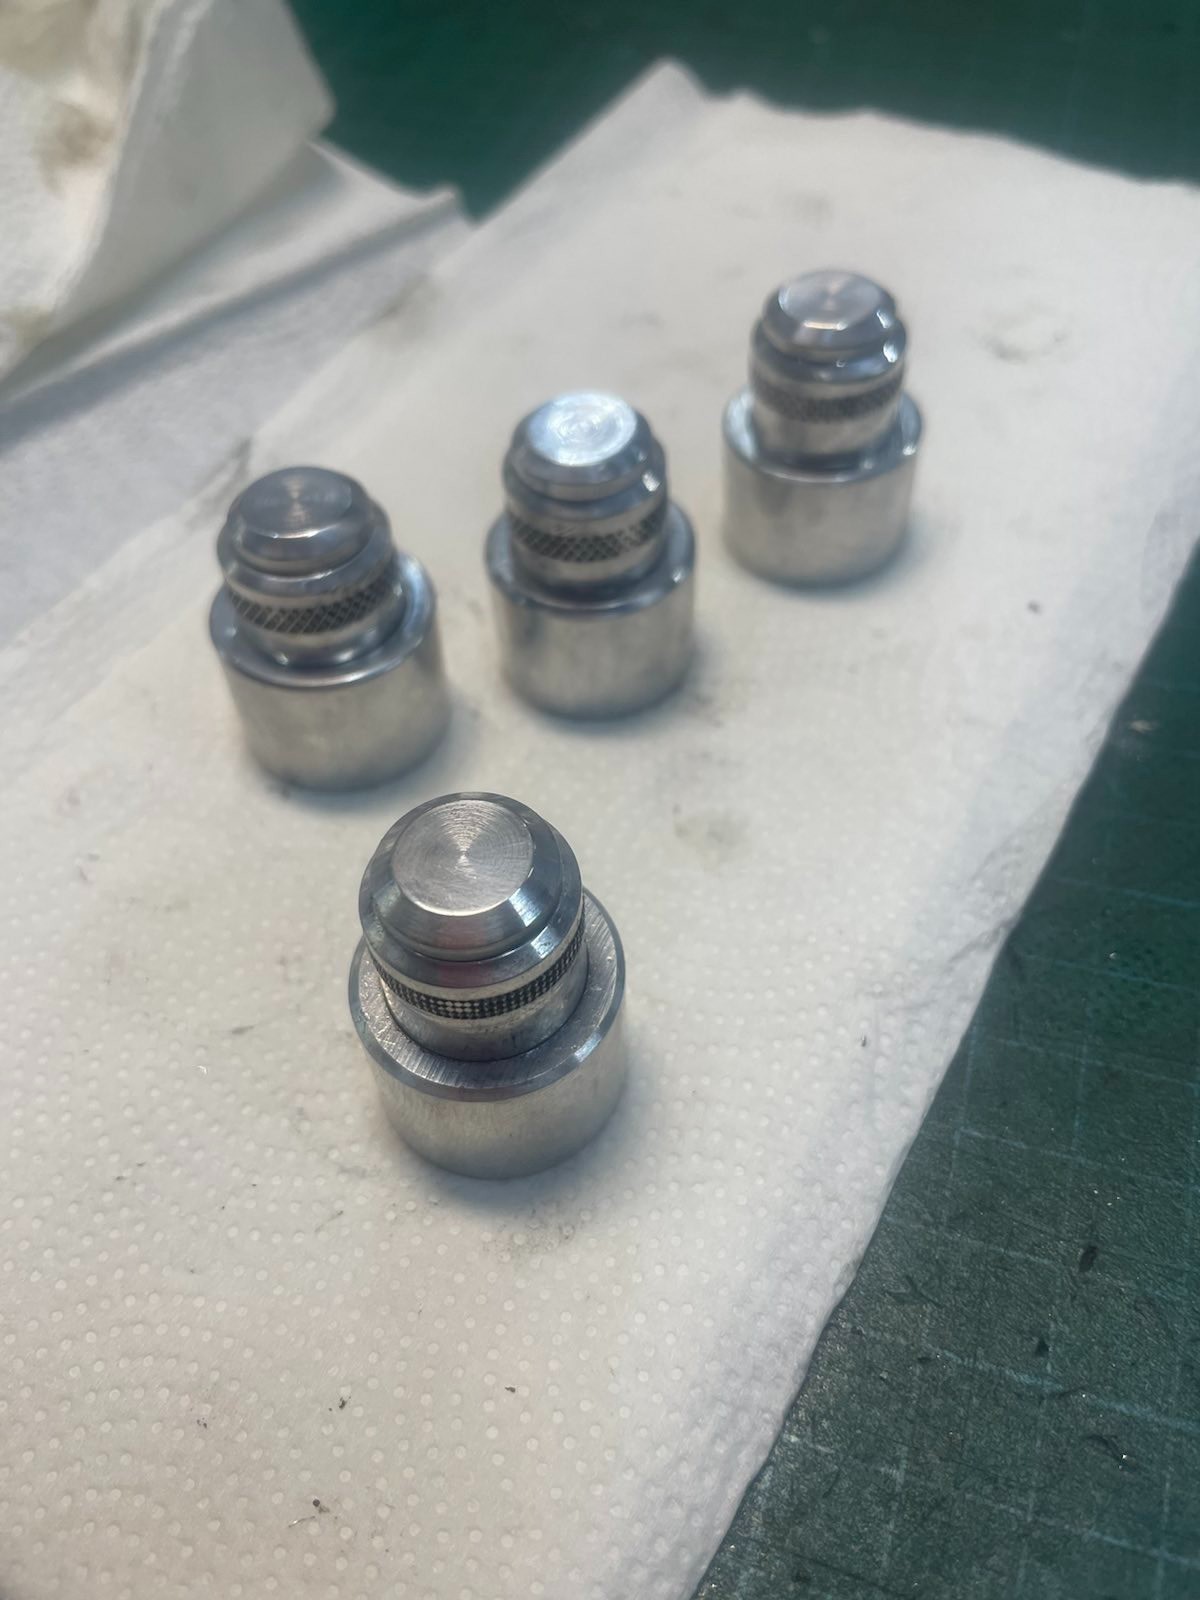
12/28/2023 at 21:20 • 0 commentsOnce all the parts were turned; assembly was mostly a matter of just fitting everything. I had however made the pins too long; so that needed a bit shortening. And the magnets had to be glued in.
![]()
![]()
-
Day one
12/28/2023 at 21:18 • 0 commentsNow at the Makerspace leiden we have a nice lathe. And there is usually plenty of scrap laying around. This time someone has donated some very tick aluminium pegs; one of these is just about the right amount of material.
First step is to determine the order. We want things to fit reasonably well so that nothing is wobbly (though the spring will help compensate just about anything).
We need to make three things; a the bottom 'cup' with a recess at the bottom for the magnet. The sliding middle thing ; which essentially is also a 'cup' for the spring. And the pin that goes through the middle with a flat top.
For the middle bit - it is somewhat critical to have the outer walls parallel to the inner wall that slides along the middle pin to prevent binding. The same applies to the inner walls of the bottom cup and the threaded hole in the bottom.
So we'll do those in one session; without taking it out of the three-claw chuck.
![]()
![]()
-
Getting started
12/28/2023 at 21:13 • 0 commentsNow given that Sensepeeks sells spare isolation rings and sliding covers for a reasonable price (a roll of low friction teflon, ptfe or hmwd tape is not exactly cheap) -- we'll try to keep the design such that these are still usable should we want to.
And secondly - as we have some disk magnets laying around - we'll want those to fit.
So that yield a quick design:
![]()
We have three parts; a Botton holder with an M8 thread and a bit of a hollow space for the magnet.
A sliding thingy in the middle with a ID=8.5 OD=10, L=25 spring under it; and then a mushroom shaped thing at the top that is fixed into the Bottom holder. The spring size is not critical; these springs happend to be in the bits&bobs bin at the MSL.
Contrary to the PCBIte originals - we make the sliding thingy a little wider than the top mushroom bit. This is that, unlike the original where you have a fair bit of grab-space thanks to the hight, so you have something to help you push down on.
And as we really like knurling - we'll need to find a reason to that.
Low profile PCBite PCB holders
Sensepeek.com their PCBite holders are wonderful -- but a bit high for your average SMD microscope. Let's make some low-profile ones !