-
1Disassembling the microwave
![]() Important! There is a high-voltage capacitor in the microwave that can be charged, so you need to be careful.
Important! There is a high-voltage capacitor in the microwave that can be charged, so you need to be careful. -
2Throw out the standard mechanical timer
-
3Using an electric jigsaw, cut out a window for a new display.
Not technologically, not neatly, but true DIY :)
-
4Glue the display onto the thermal glue
-
5Glue a piece of PVC on top of the display and screw the Arduino UNO
![]()
-
6Add a relay and connect the wires from the timer to the relay.
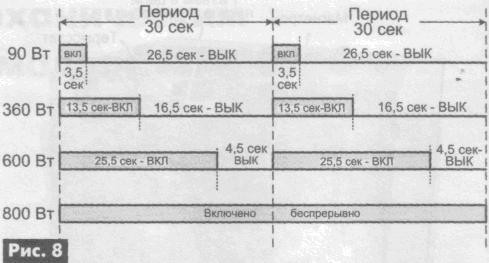
As a rule, a mechanical timer equipped with a power regulator has 4 wires. 2 of them are responsible for turning on the turntable, lamp and magnetron (for a common disconnector), 2 more are used to control only the magnetron.
The power adjustment on the mechanical timer is carried out by controlling the operating time of the magnetron.
![]()
Therefore, if you want to control the power of the microwave, you need to install 2 relays. One will be responsible for the general activation, the second will be responsible for controlling the magnetron.
I didn't need power control, so I closed the magnetron control contacts between each other and set the relay to short the wires of the general power supply.
-
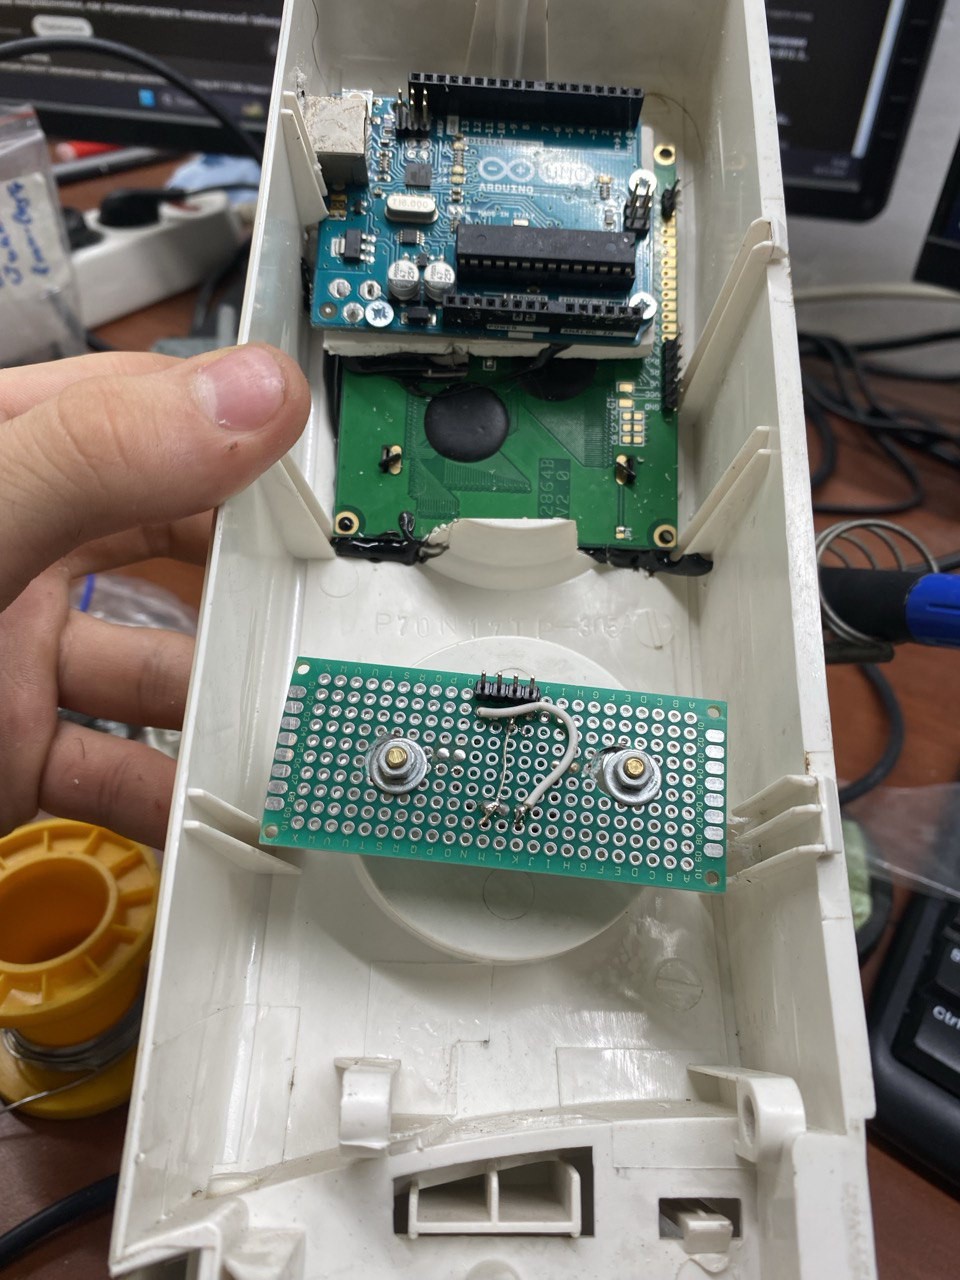
7Add the encoder to the old power control knob
![]()
I soldered the encoder to the breadboard and made holes in it that match the regular holes in the housing of the microwave oven. Using brass spacers, I set the optimal height so that the handle does not stick out of the case.
-
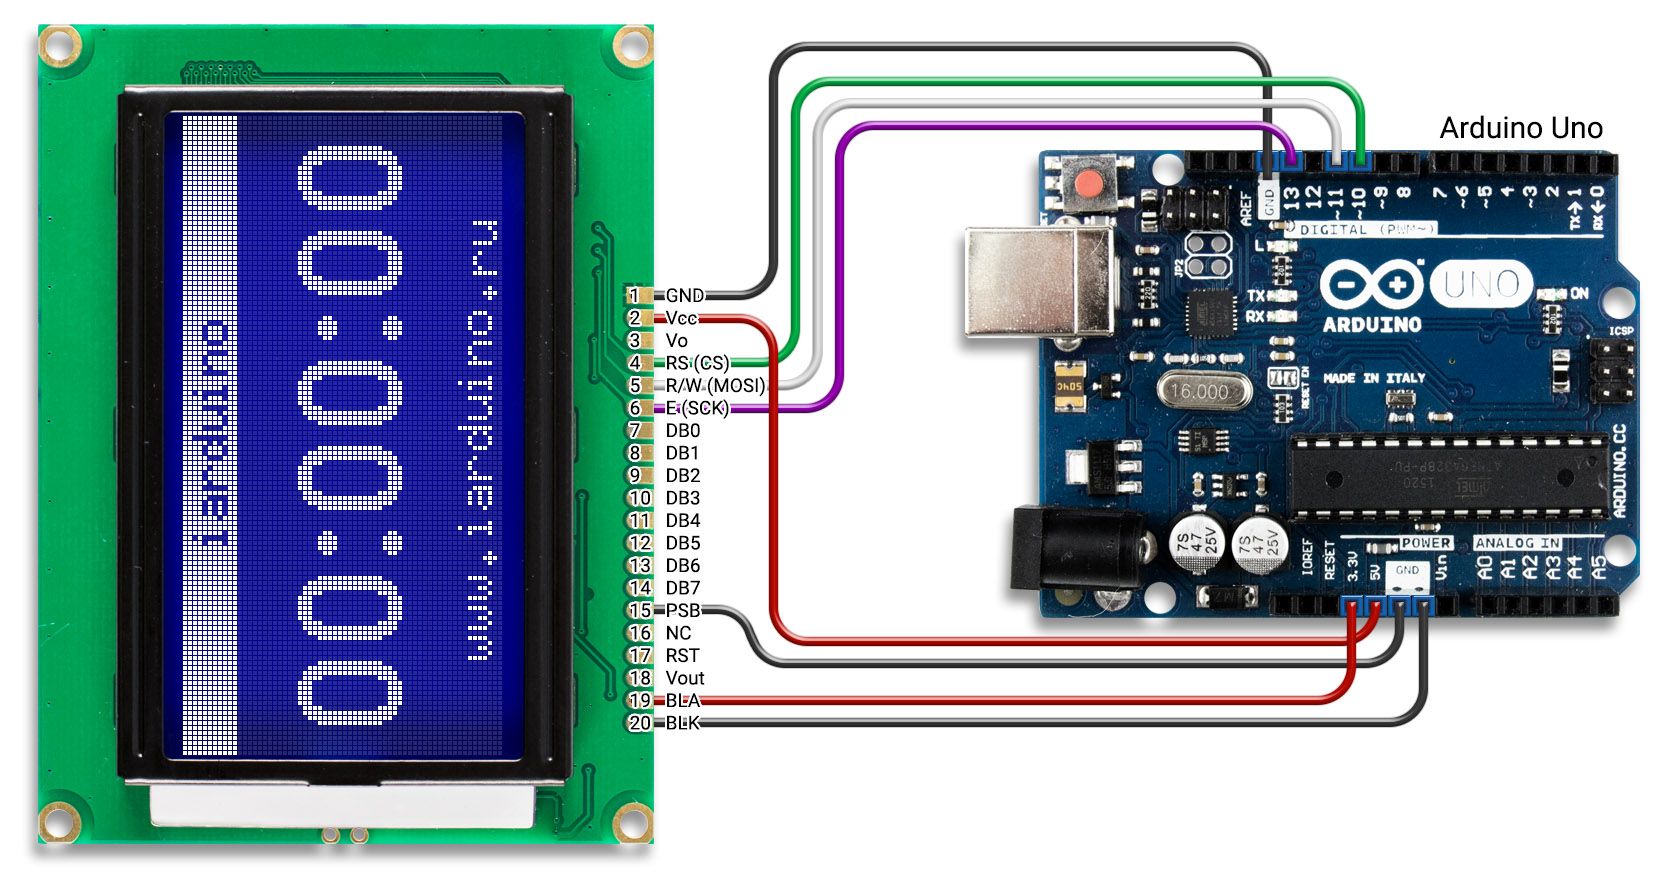
8Connect everything to the arduino
![Купить LCD 128x64 графический LCD12864Z, синяя подсветка (ST7920) Arduino/ESP/Raspberry Pi (Доставка РФ,СНГ)]()
-
9Add an endswitch
If you want the timer to stop when you open the microwave door, either add a separate endstop and connect it to the arduino, or use an optocoupler to connect one of the endstops that are already in the microwave.
-
10Assemble it
Hacking a mircrowave
A comic trash project to add an LCD display to a microwave in the best traditions of quick-and-dirty diy
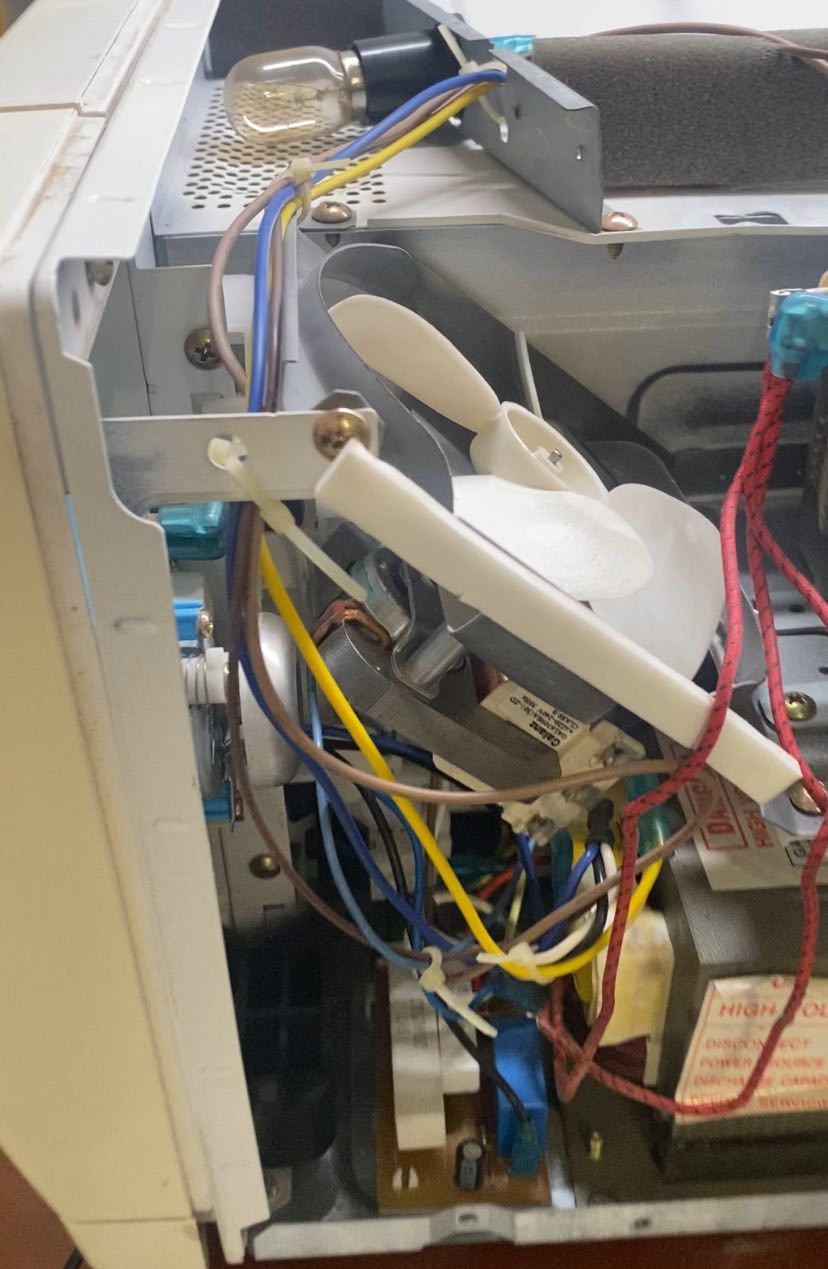 Important! There is a high-voltage capacitor in the microwave that can be charged, so you need to be careful.
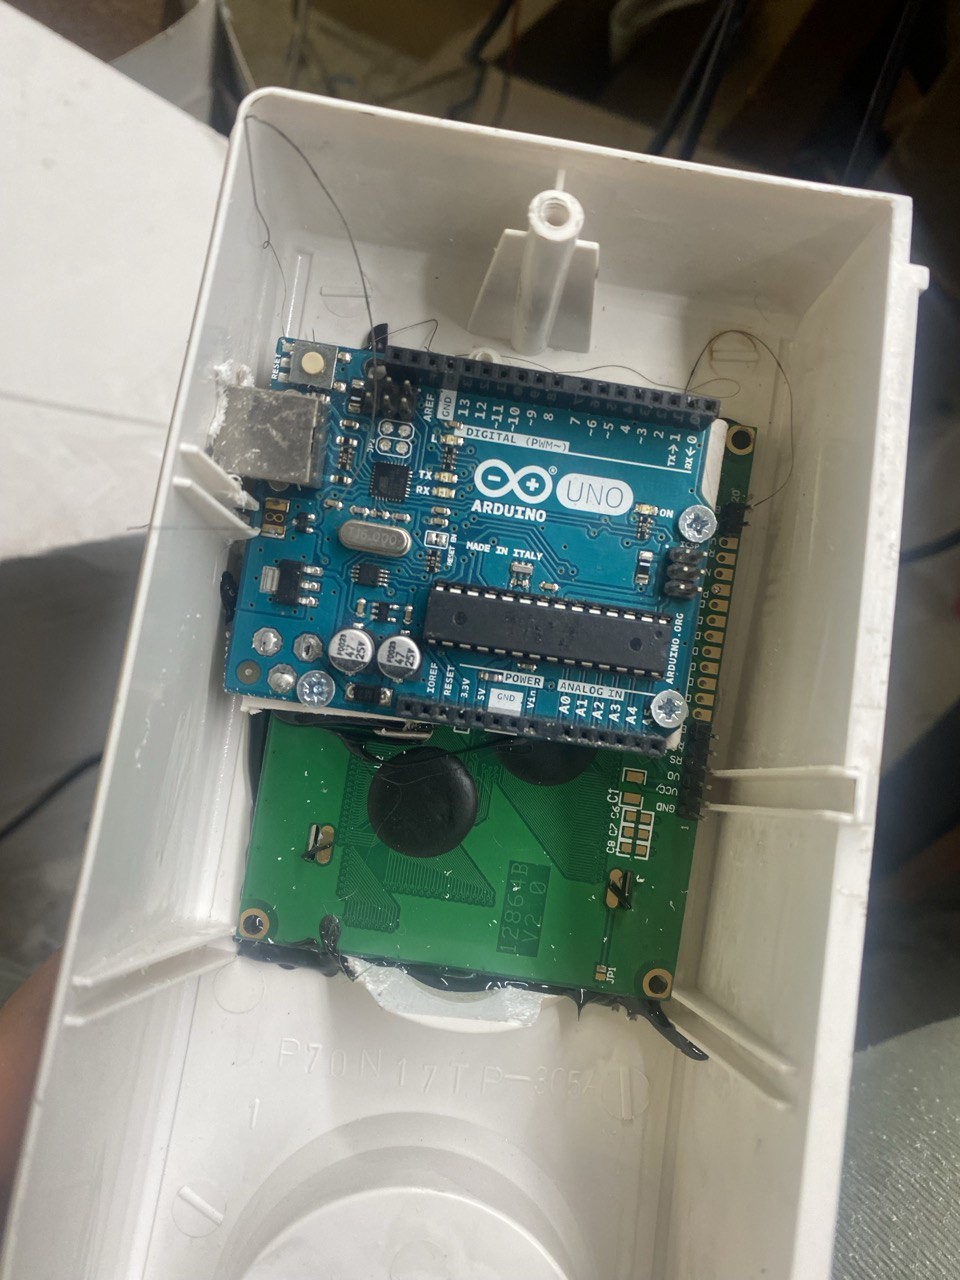
Discussions
Become a Hackaday.io Member
Create an account to leave a comment. Already have an account? Log In.