Close
0%
0%

Tensegrity Cloud Lamp

The lamp is inspired by a fusion of interactive art, technology, architectural tensegrity innovation structure, and nature-inspired.

Similar projects worth following
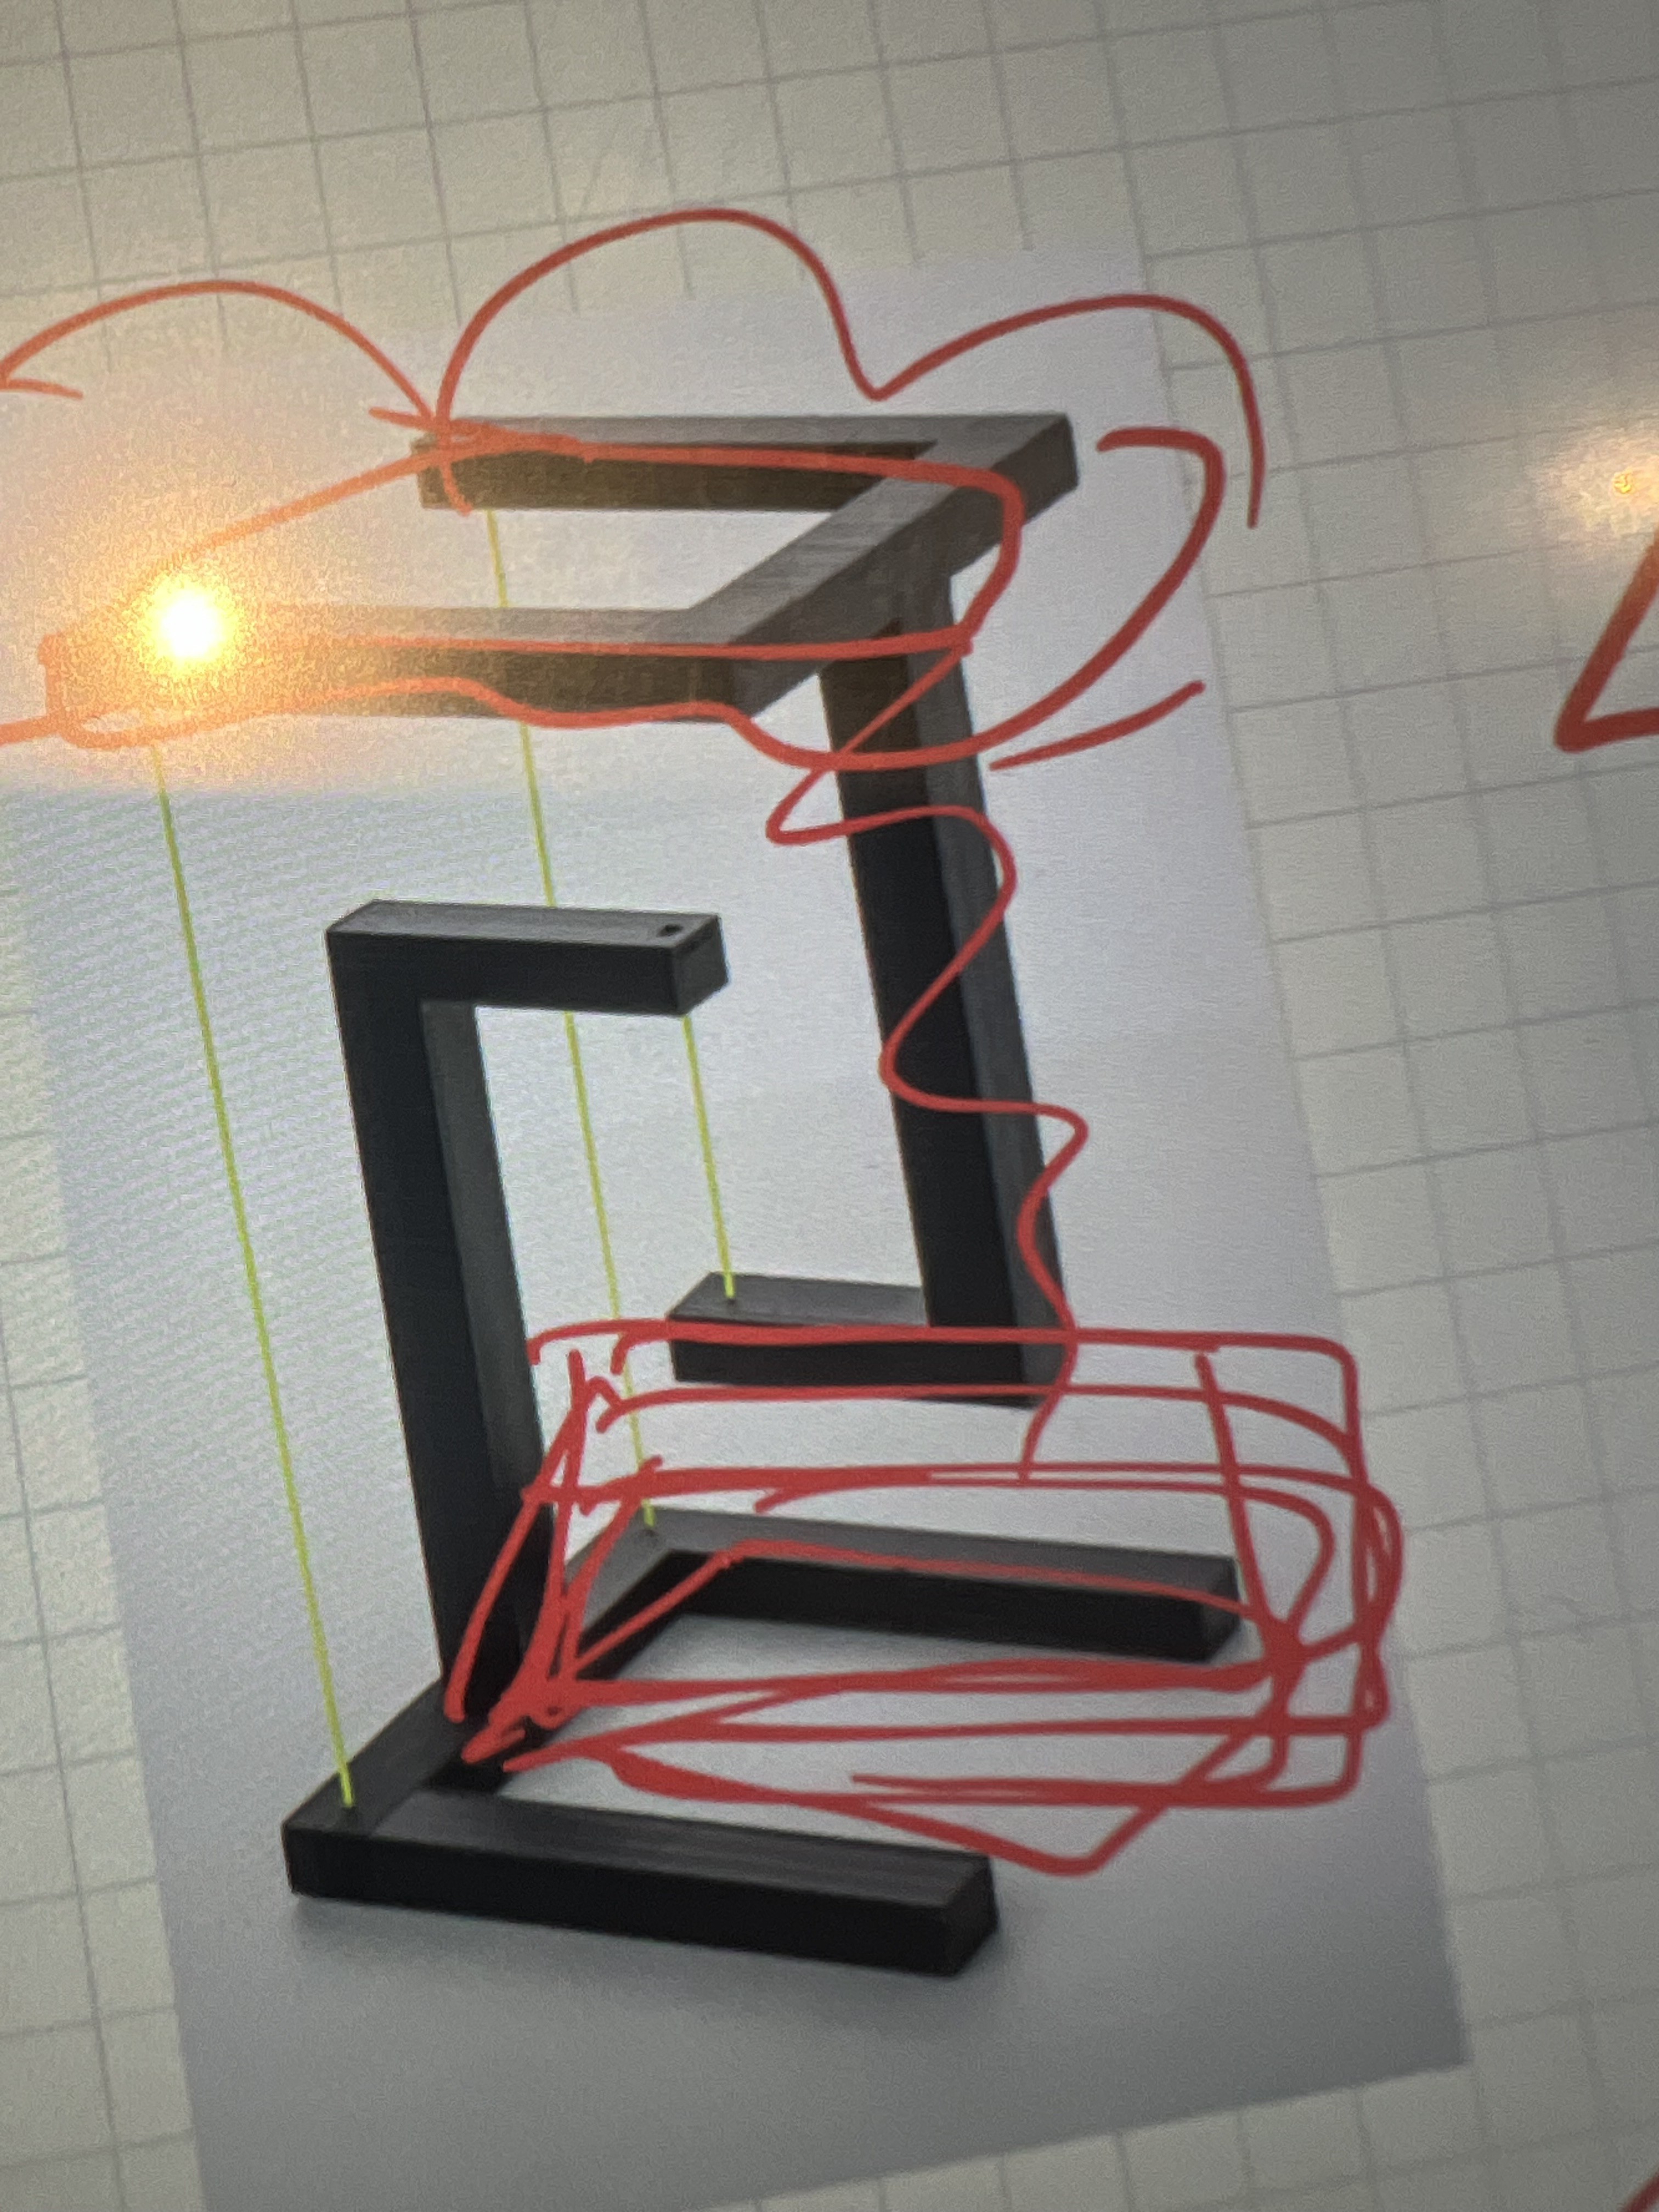
Initially, our project concept revolved around creating a levitating lamp powered by electromagnetic forces. However, as we delved deeper into our research, we stumbled upon a remarkable structure – the Tensegrity structure. Its almost magical appearance, seemingly suspended in mid-air, excite our curiosity and fascination. This discovery led us to pivot towards the idea of incorporating Tensegrity into our lamp design.

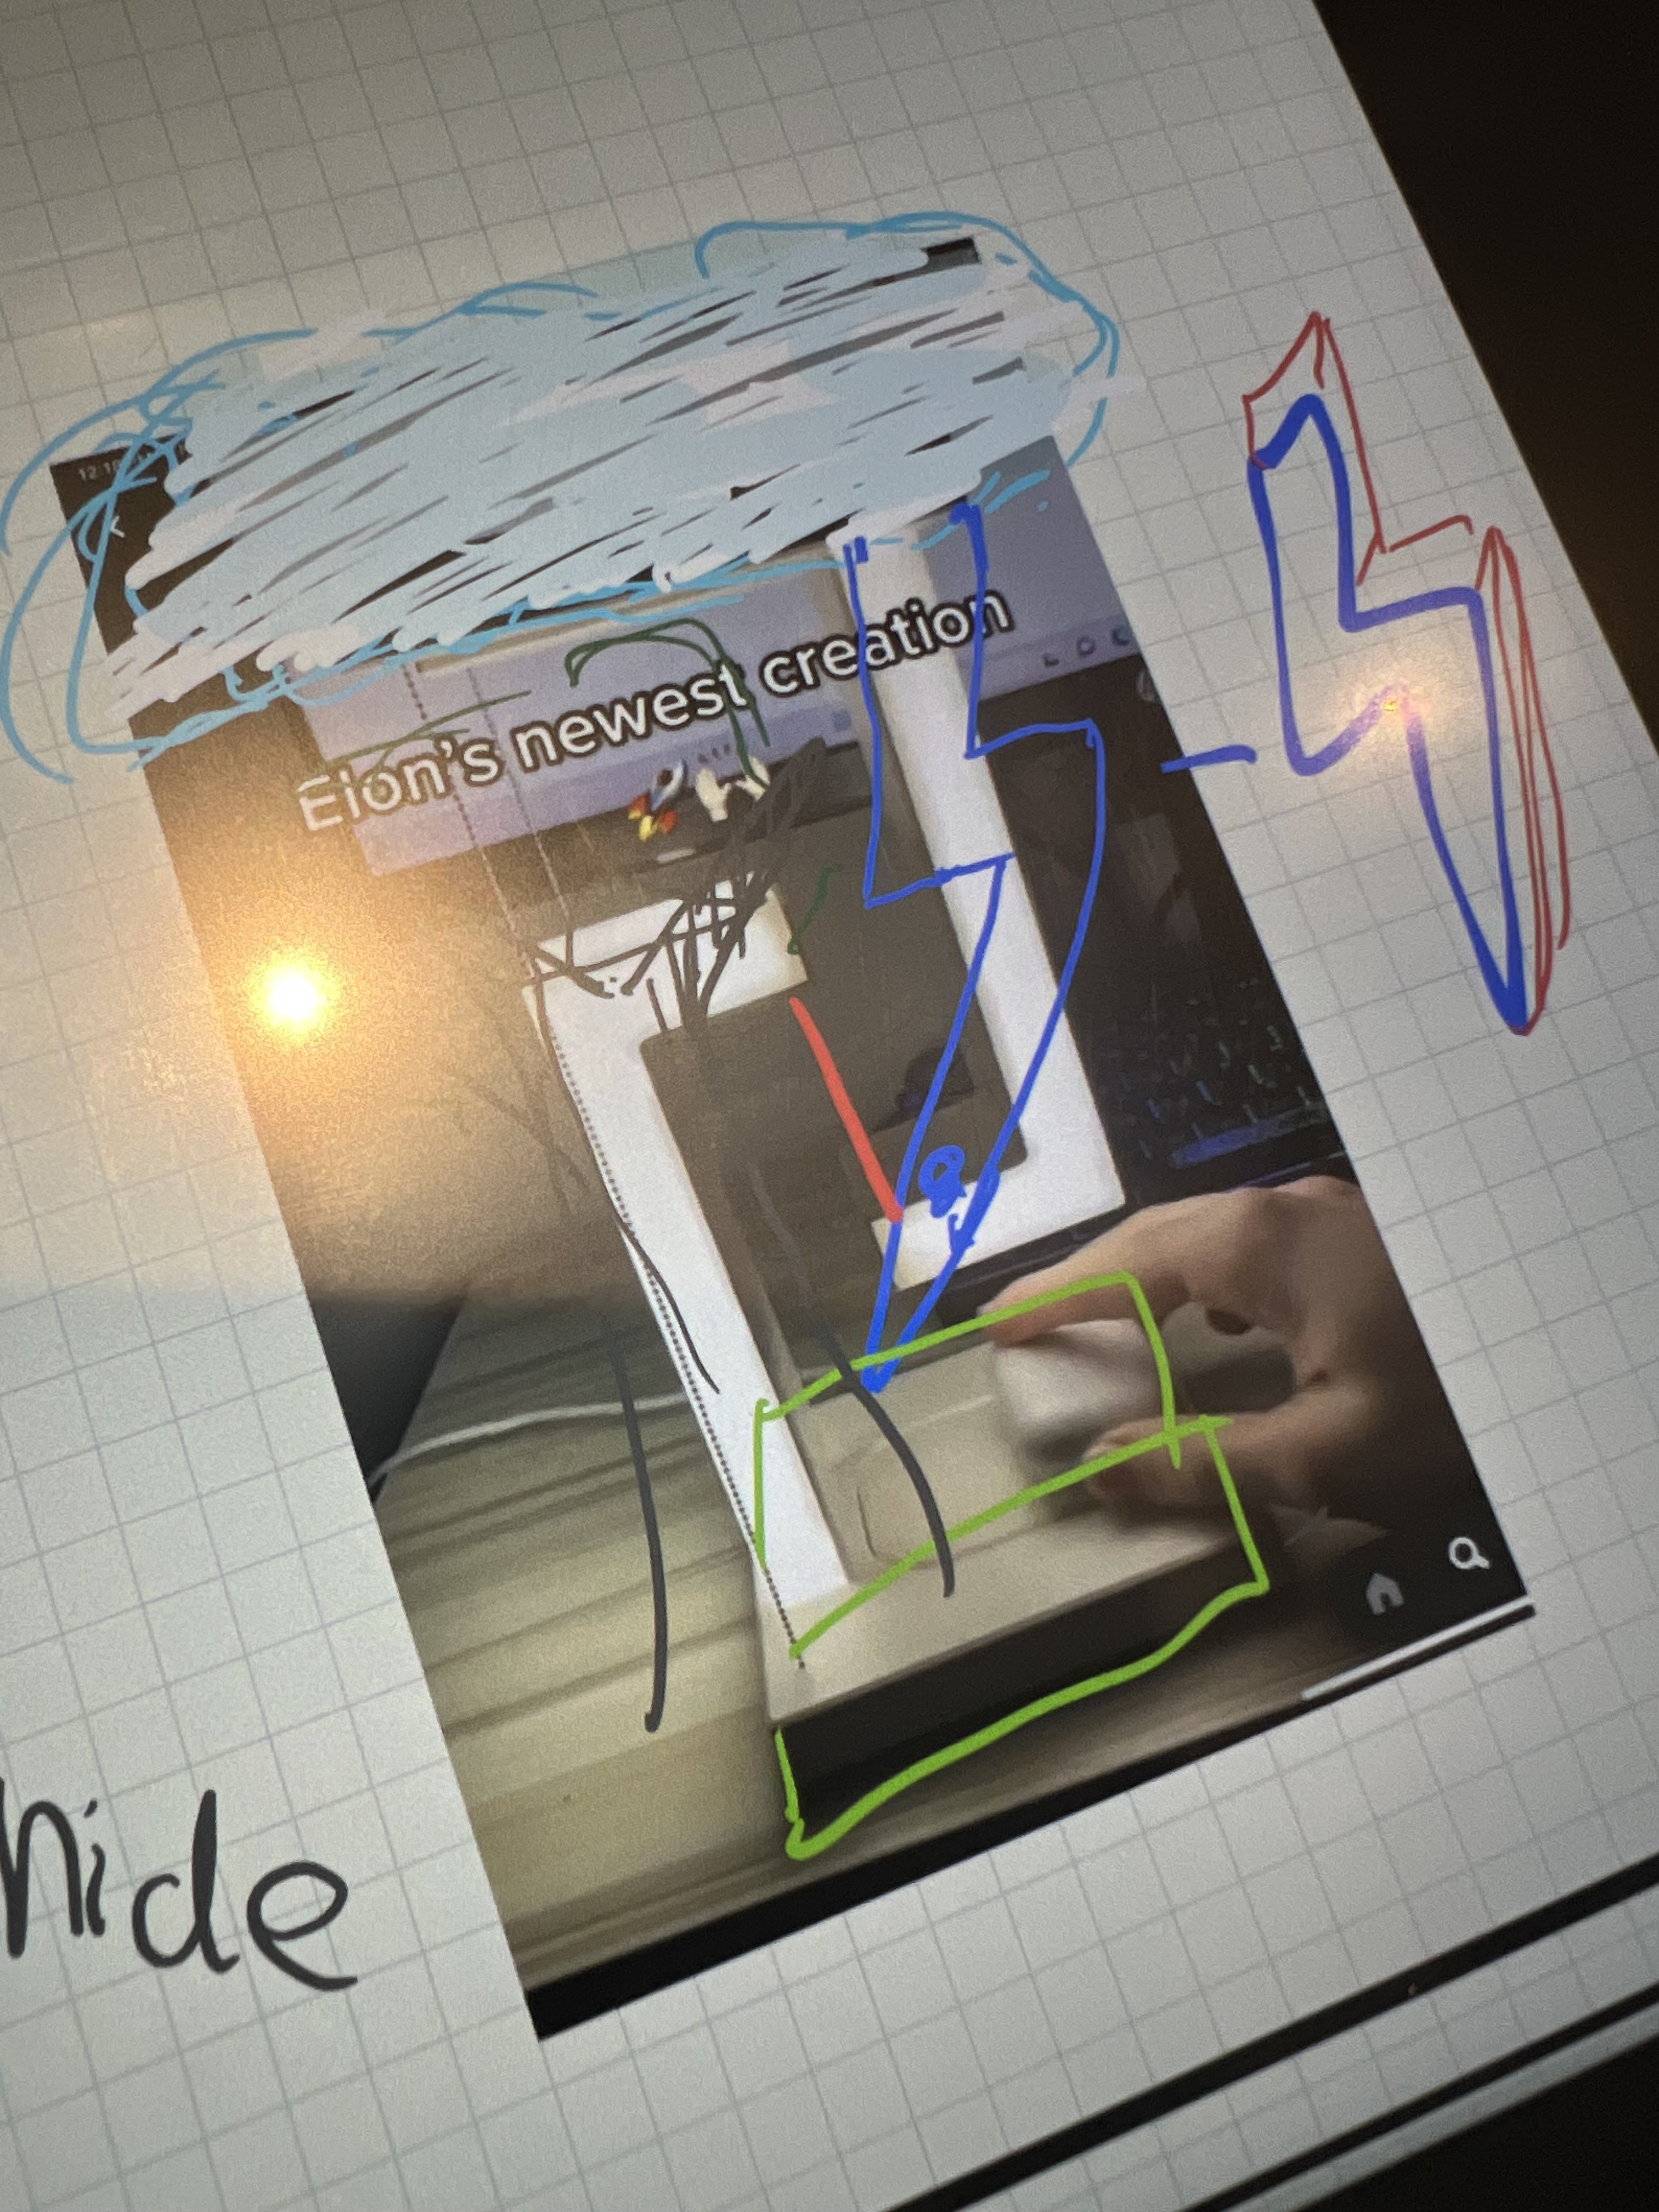
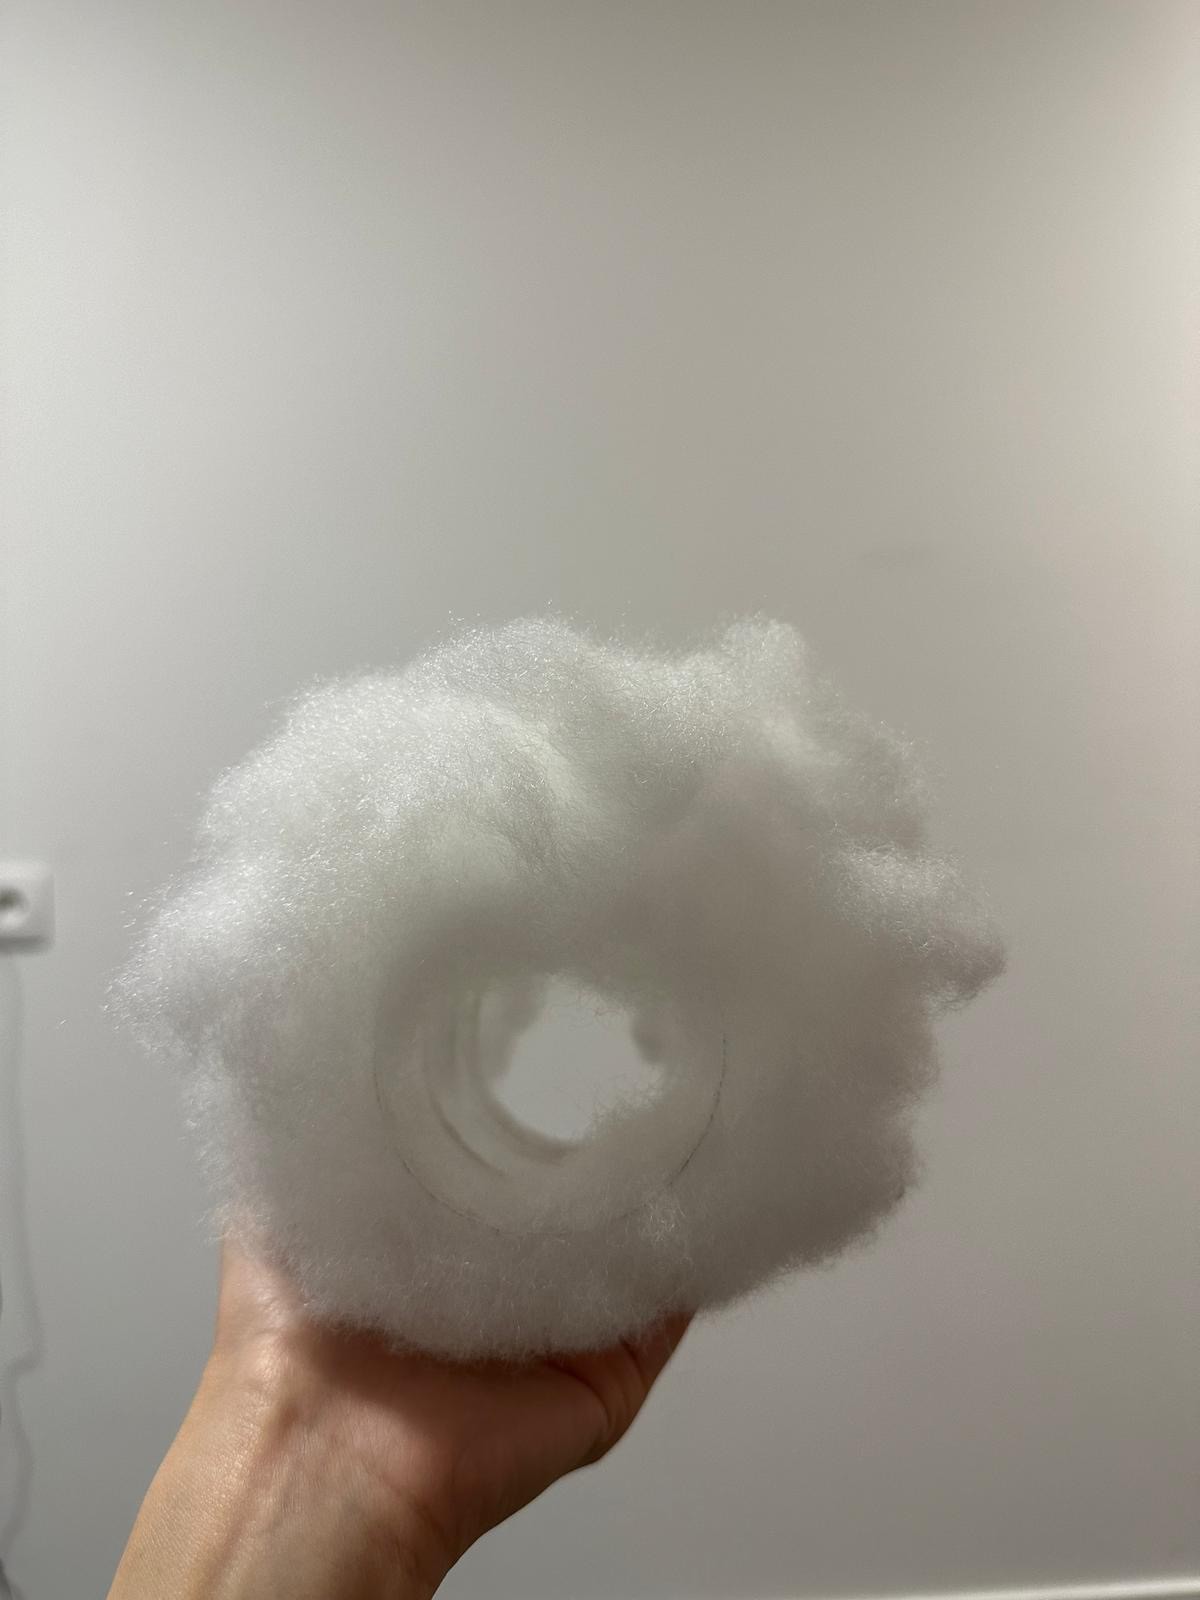
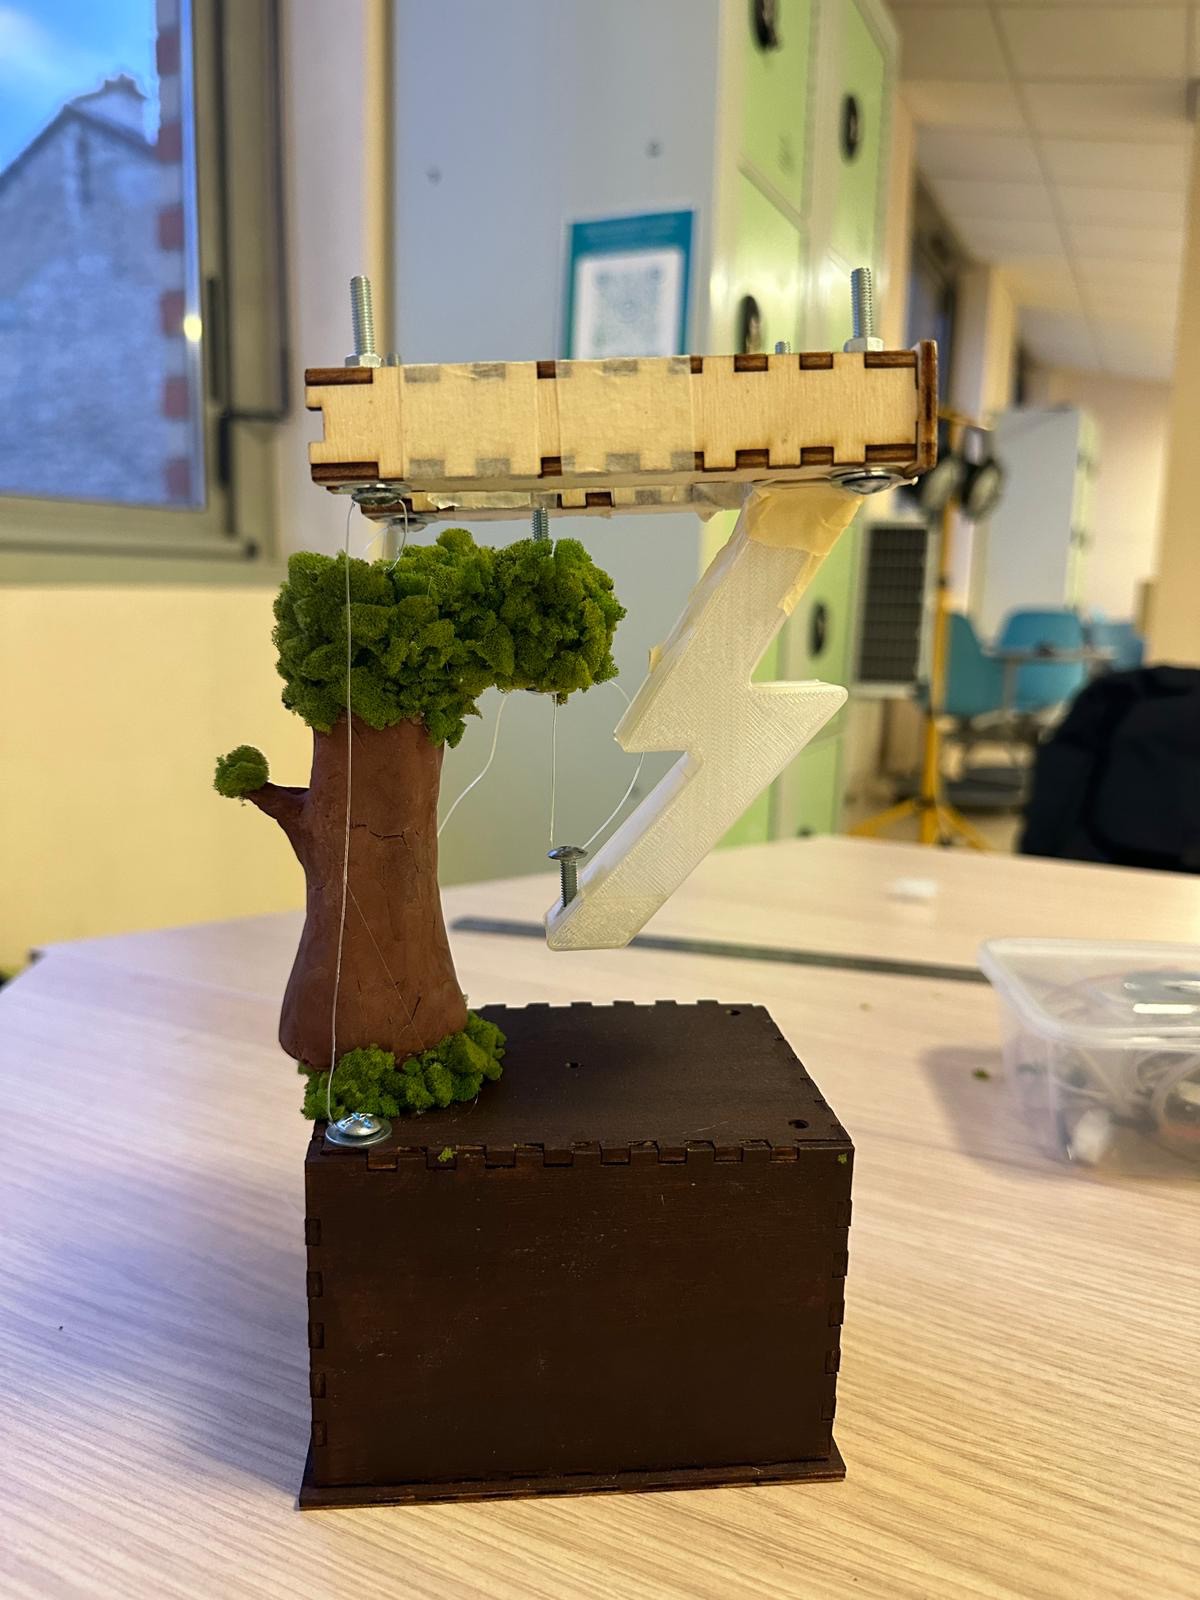
We've created an interactive experience that challenges perception, featuring dynamic sculptures resembling 3D-printed thunderbolts, floating clouds, and clay-molded trees, all held together by intricate Tensegrity structures. Audiences can touch, sound, interact, and be mesmerized by the captivating visual tricks these structures play. It's an immersive creativity that encourages everyone to rethink the possibilities of art, science, technology can work harmoniously creates a truly unique and inspiring experience.

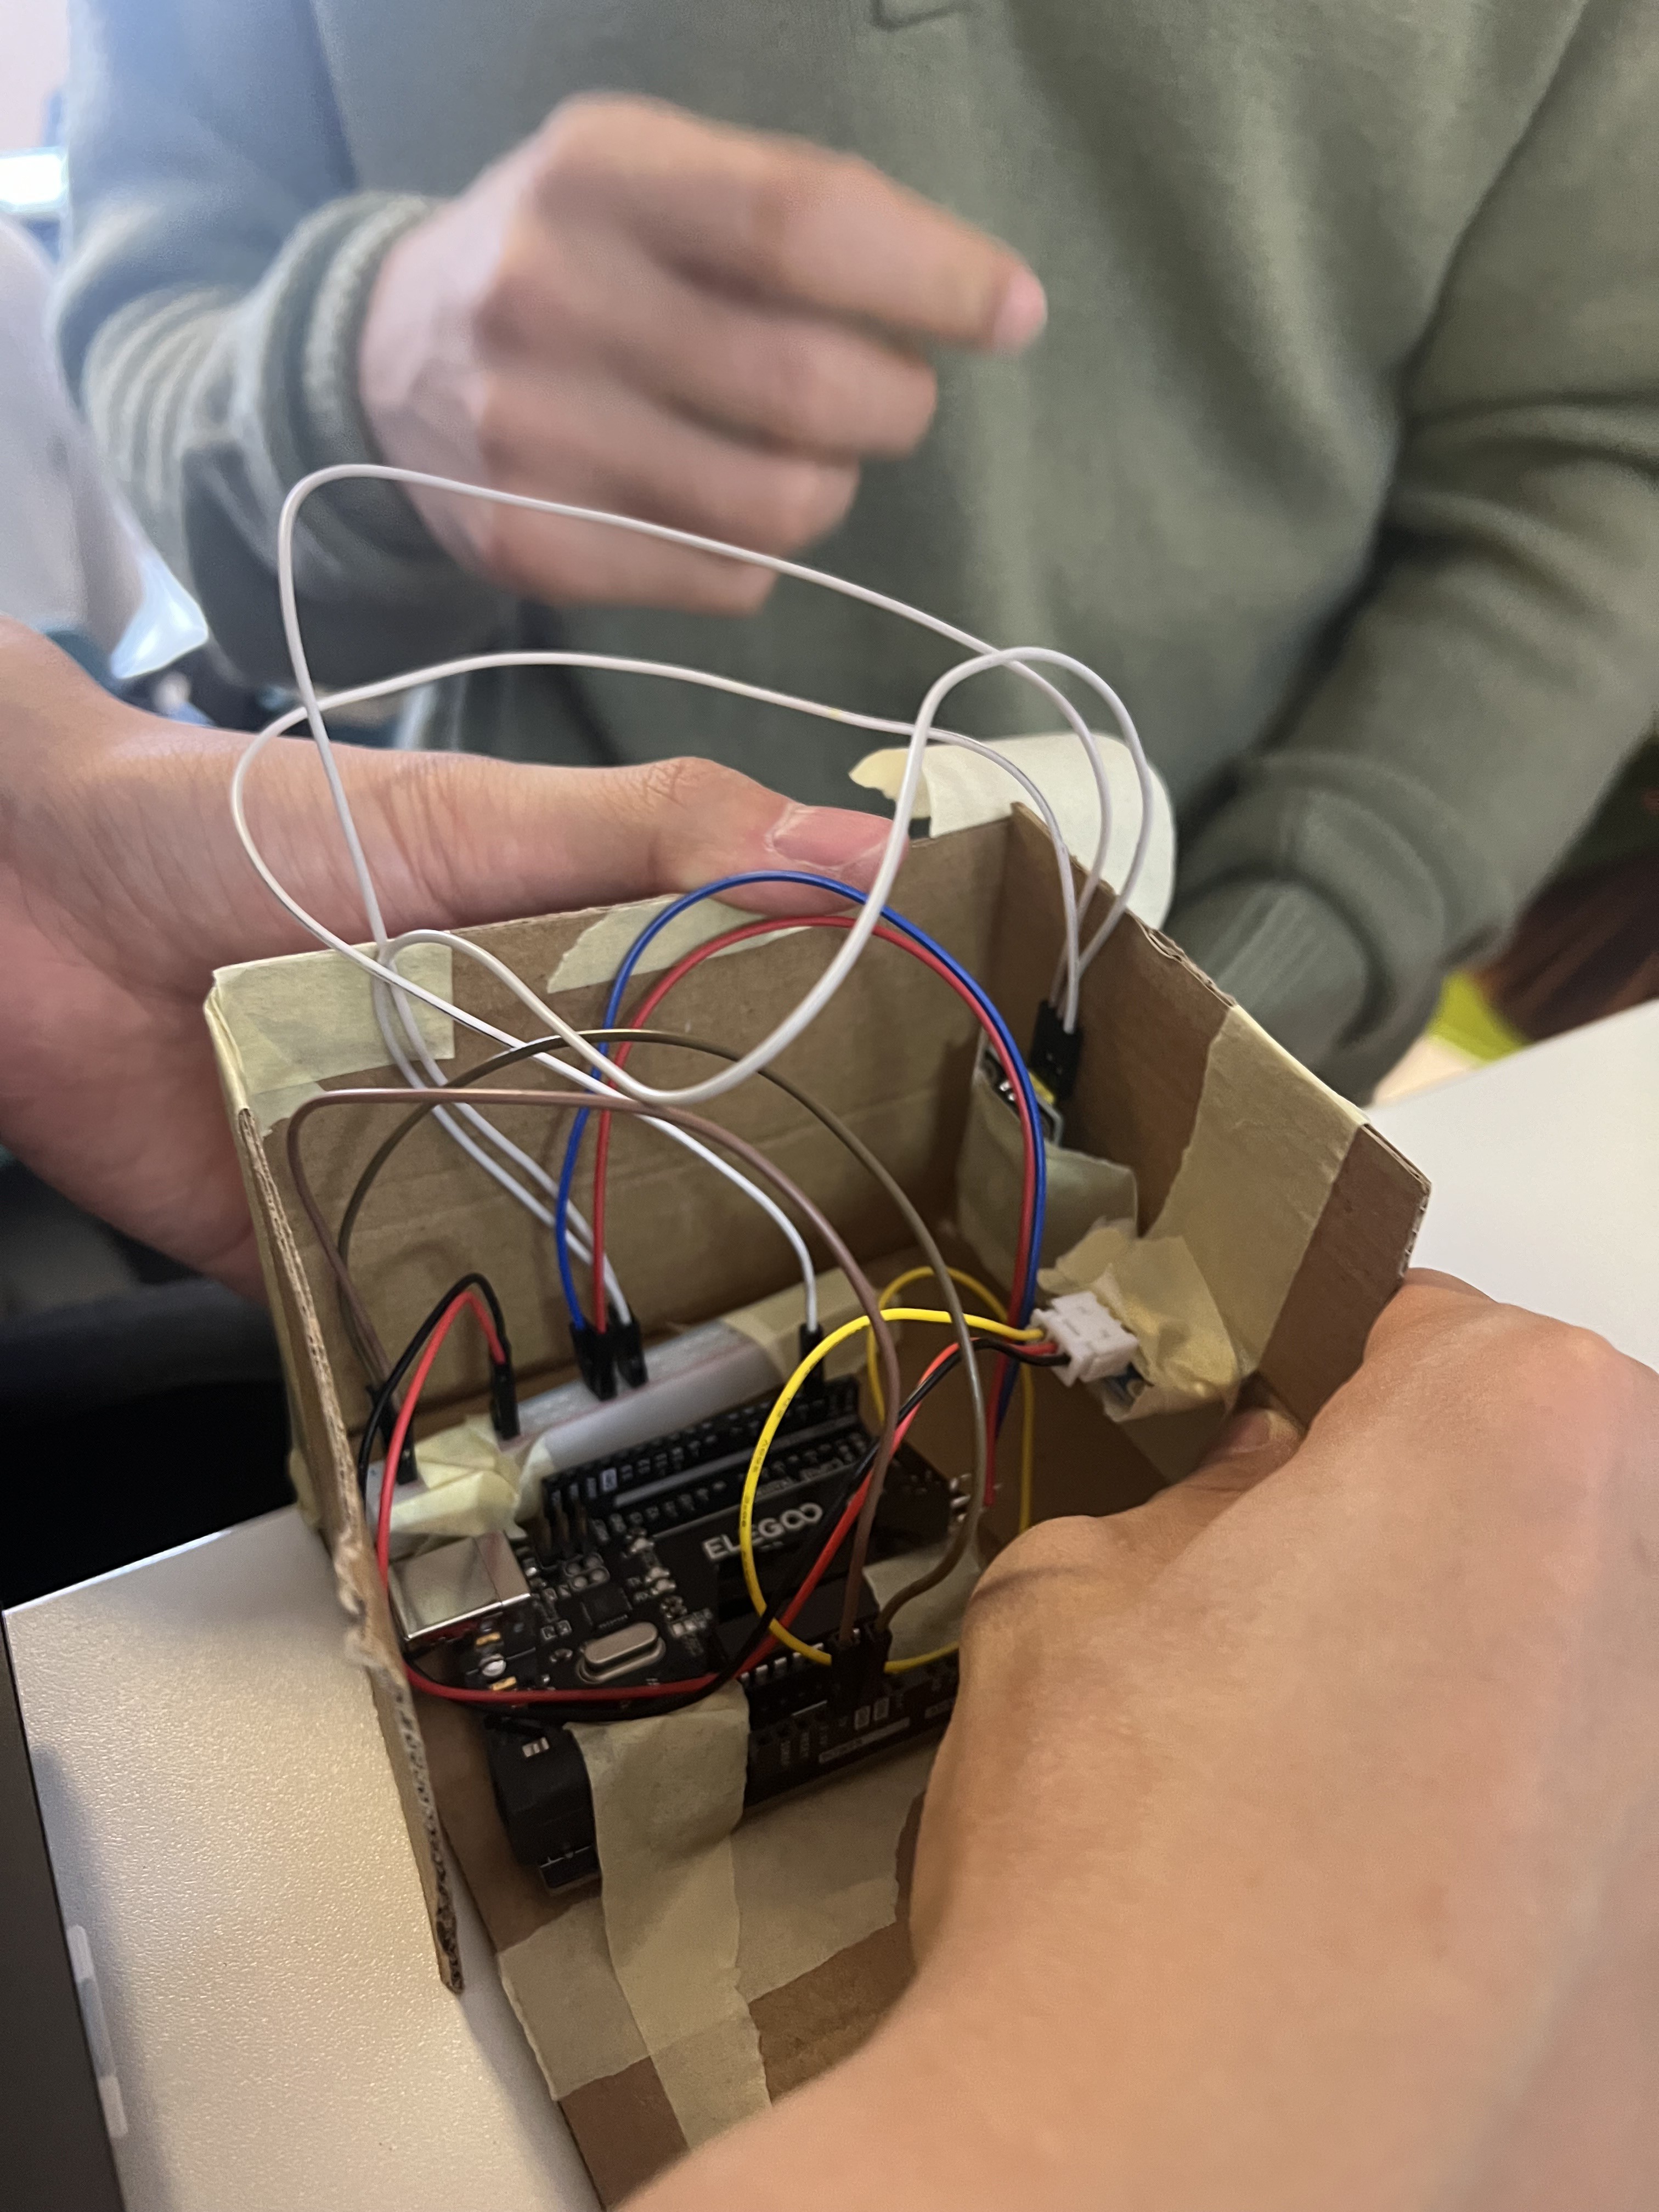
Using Arduino provided the advantage of freely connecting desired sensors and components and implementing functionalities through coding.

We tried to achieve the following two functions: 

1. Control the power of the lights by detecting clapping sounds (loud noises). 

2. Change the color of the cloud section of the light based on the environmental temperature. 

We aimed to implement a switching function that responds to clapping sounds, and details are outlined below. 

There are many ways to distinguish sounds, but we distinguished them by adding our own condition. They were trying to grasp the characteristics of only the clapping sound through the ratio between each measured value. As a result of comparing numerous experimental values, it was found that the ratio within a specific range of clapping sounds was the main focus. In general, it could be confirmed that clapping has some characteristics.

To achieve the second function, we used the DHT11 temperature/humidity sensor. The DHT sensor retrieves temperature and humidity data once every second (1Hz sampling rate) according to its specifications. Detailed functionality implementation is described below. DHT11’s power consumption, 0.3mA (measuring) 60uA (standby), General Sound Sensor’s power consumption, 20mA), we determined that there were no issues supplying power directly to the Arduino via a USB cable. 

 Since the power consumption of the LED strip, ring, and the whole system we used was not very high (The LEDs we use are of the 5050 specification, drawing approximately 18mA of direct current per unit. With approximately 30 LEDs in use, the total power consumption from LEDs is calculated as 5V * 0.5A = 2.5W.

Our system had to change color according to temperature. To achieve this, we used a DHT11 temperature and humidity sensor. It's easy and efficient to use the data it captures. As a reminder, our lamp is designed for home interiors. The conditions we set for color change are as follows: Below 18 degrees, the color is blue Above 23 degrees, the color is red  And in between, the color will be white, indicating a temperature suitable for interiors.

Power by: supply power through commonly available USB output adapters from various electronic products or via PC USB cable connections, which most households have.
Rated Power input: 10W (5V 2A USB output).
Final_avec_micro.ino

This is the final code including all sensors and LED

ino - 2.87 kB - 01/12/2024 at 13:04

Download

led.ino

Initial code for Switching LED

ino - 1.13 kB - 01/11/2024 at 23:35

Download

sound.ino

Measuring and Printing the Sound Level

ino - 365.00 bytes - 01/11/2024 at 23:35

Download

delay.ino

Modified Code with Small Delay

ino - 1.37 kB - 01/11/2024 at 23:35

Download

counting_zerocrossing.ino

Final Code with Counting Zero-crossing

ino - 2.91 kB - 01/11/2024 at 23:35

Download

View all 7 files

  • 1 × Transparent Nylon Fishing Line To maintain the tensegrity structure
  • 8 × Truss Head Screw Work as a hook for the nylon string to hold
  • 14 × Flat Washers Flat plate screw fastener
  • 8 × Hex Nuts Screw Fastener
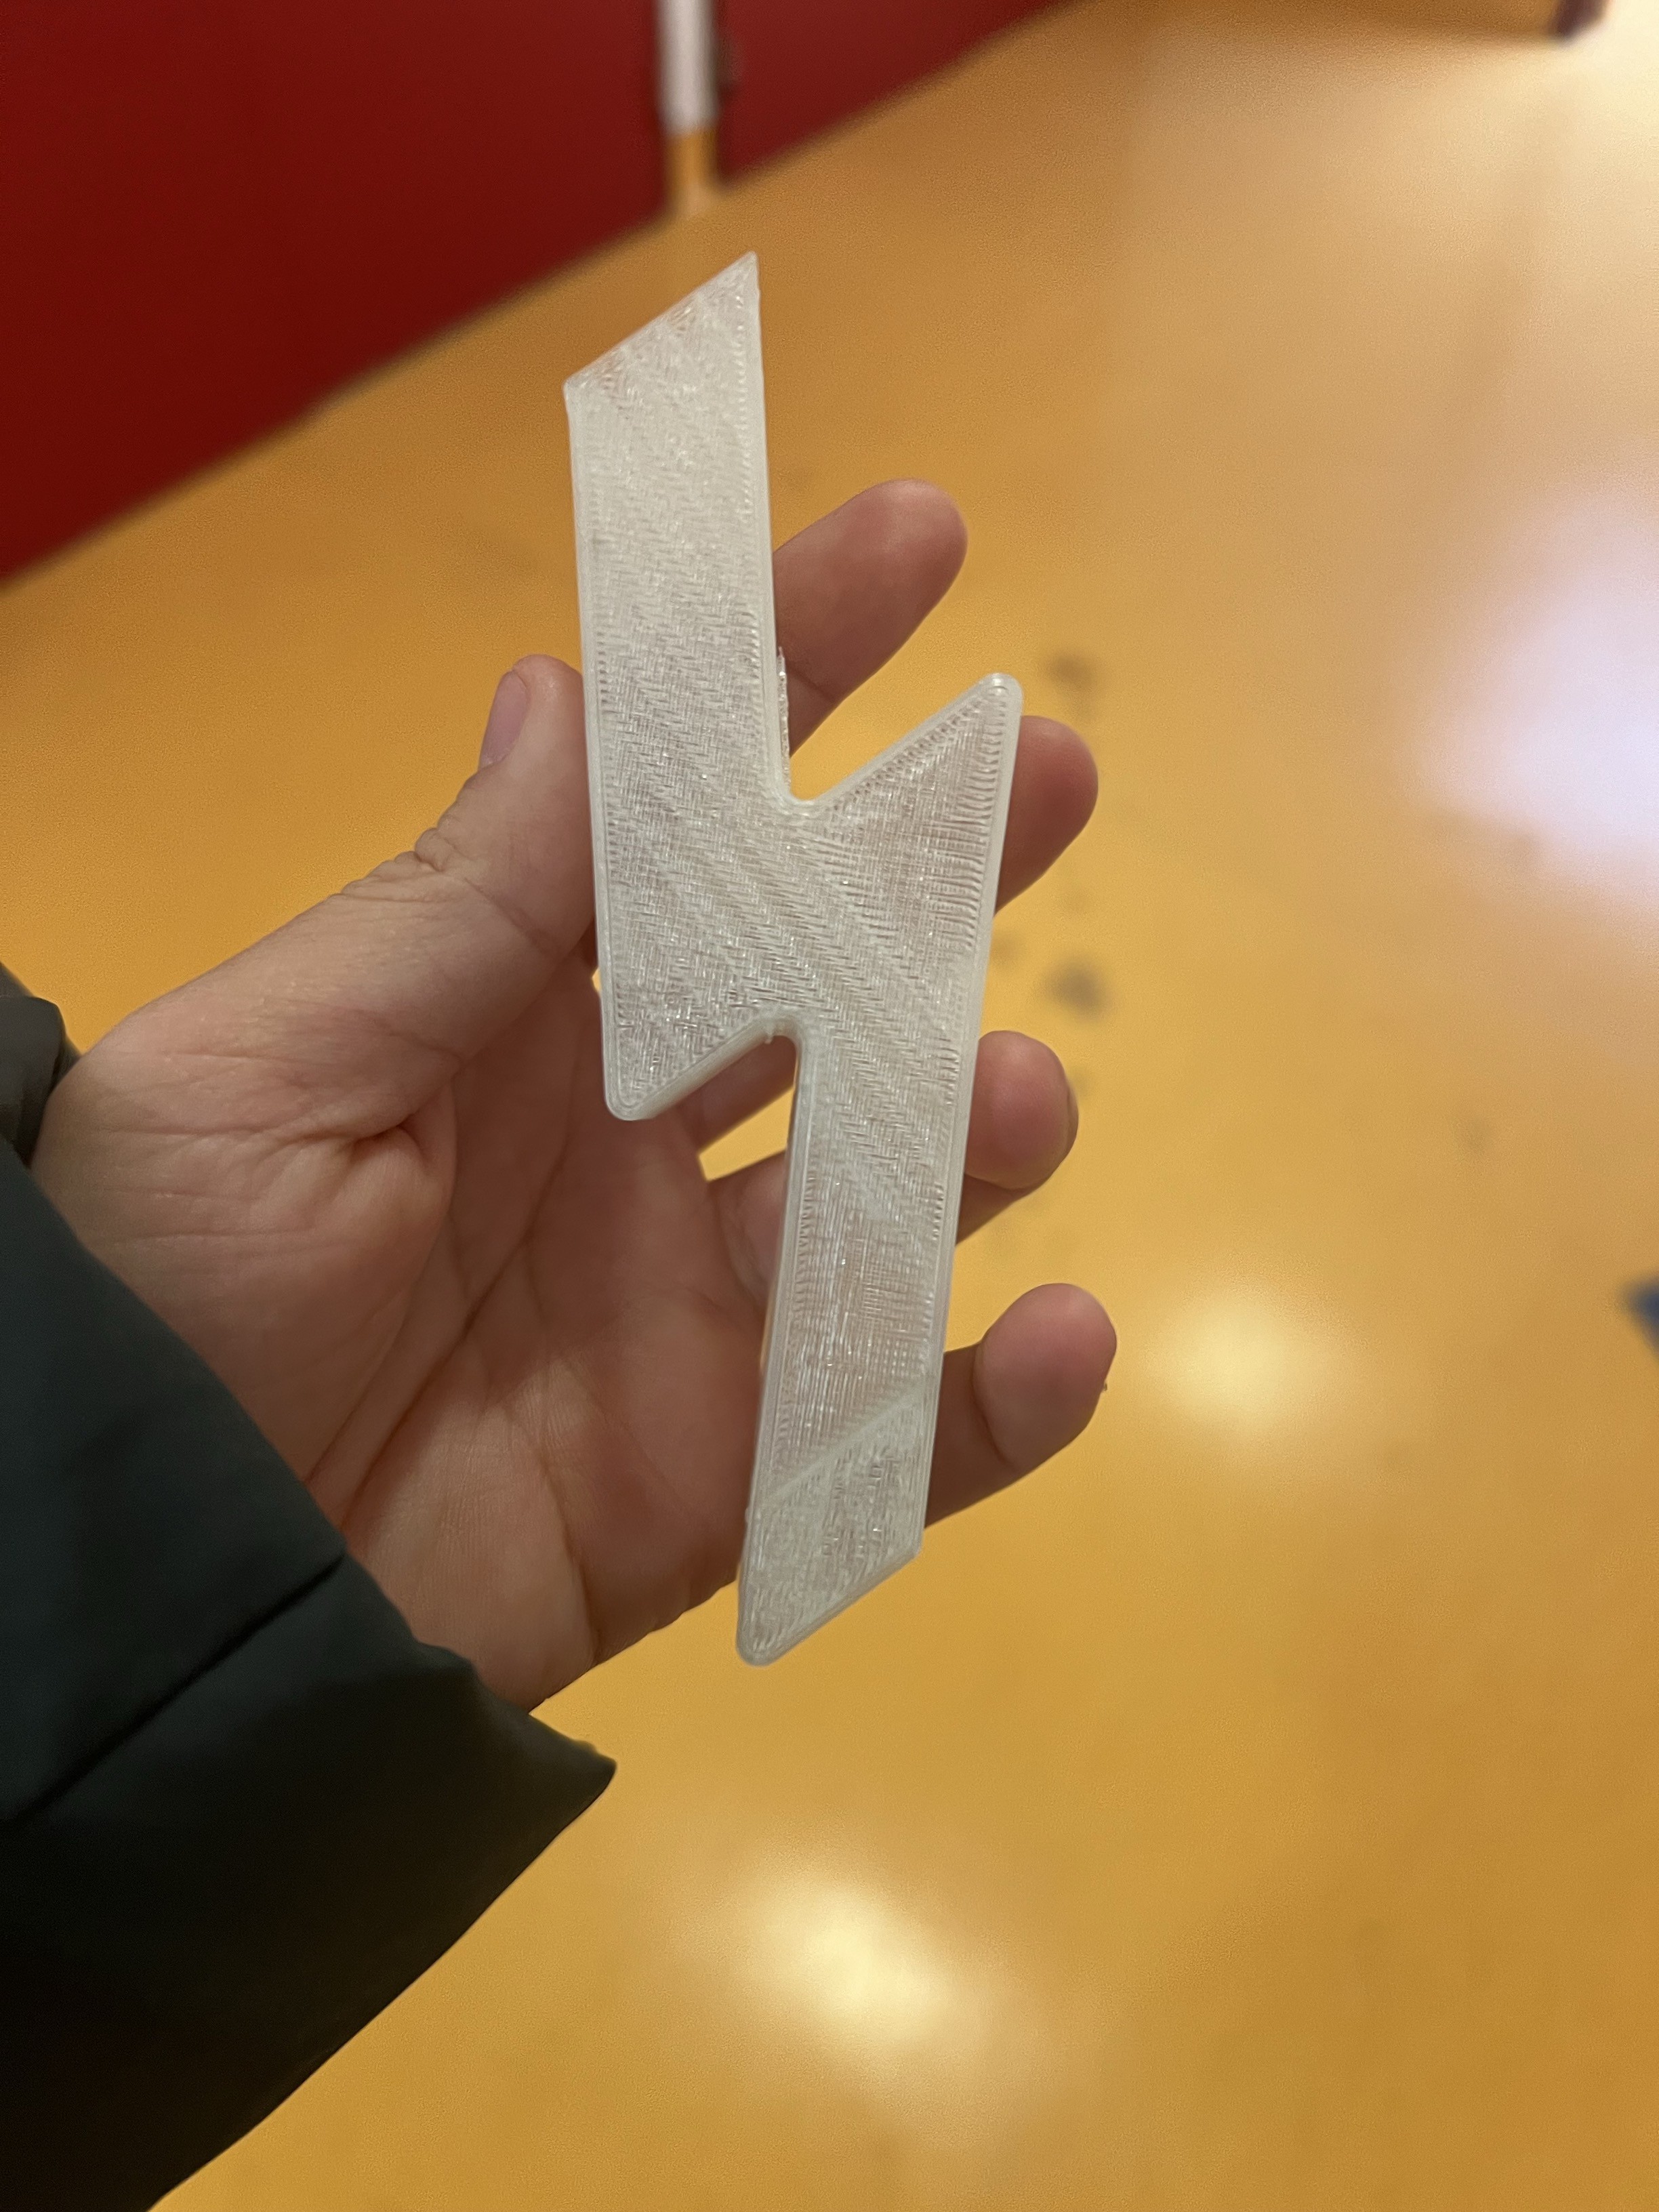
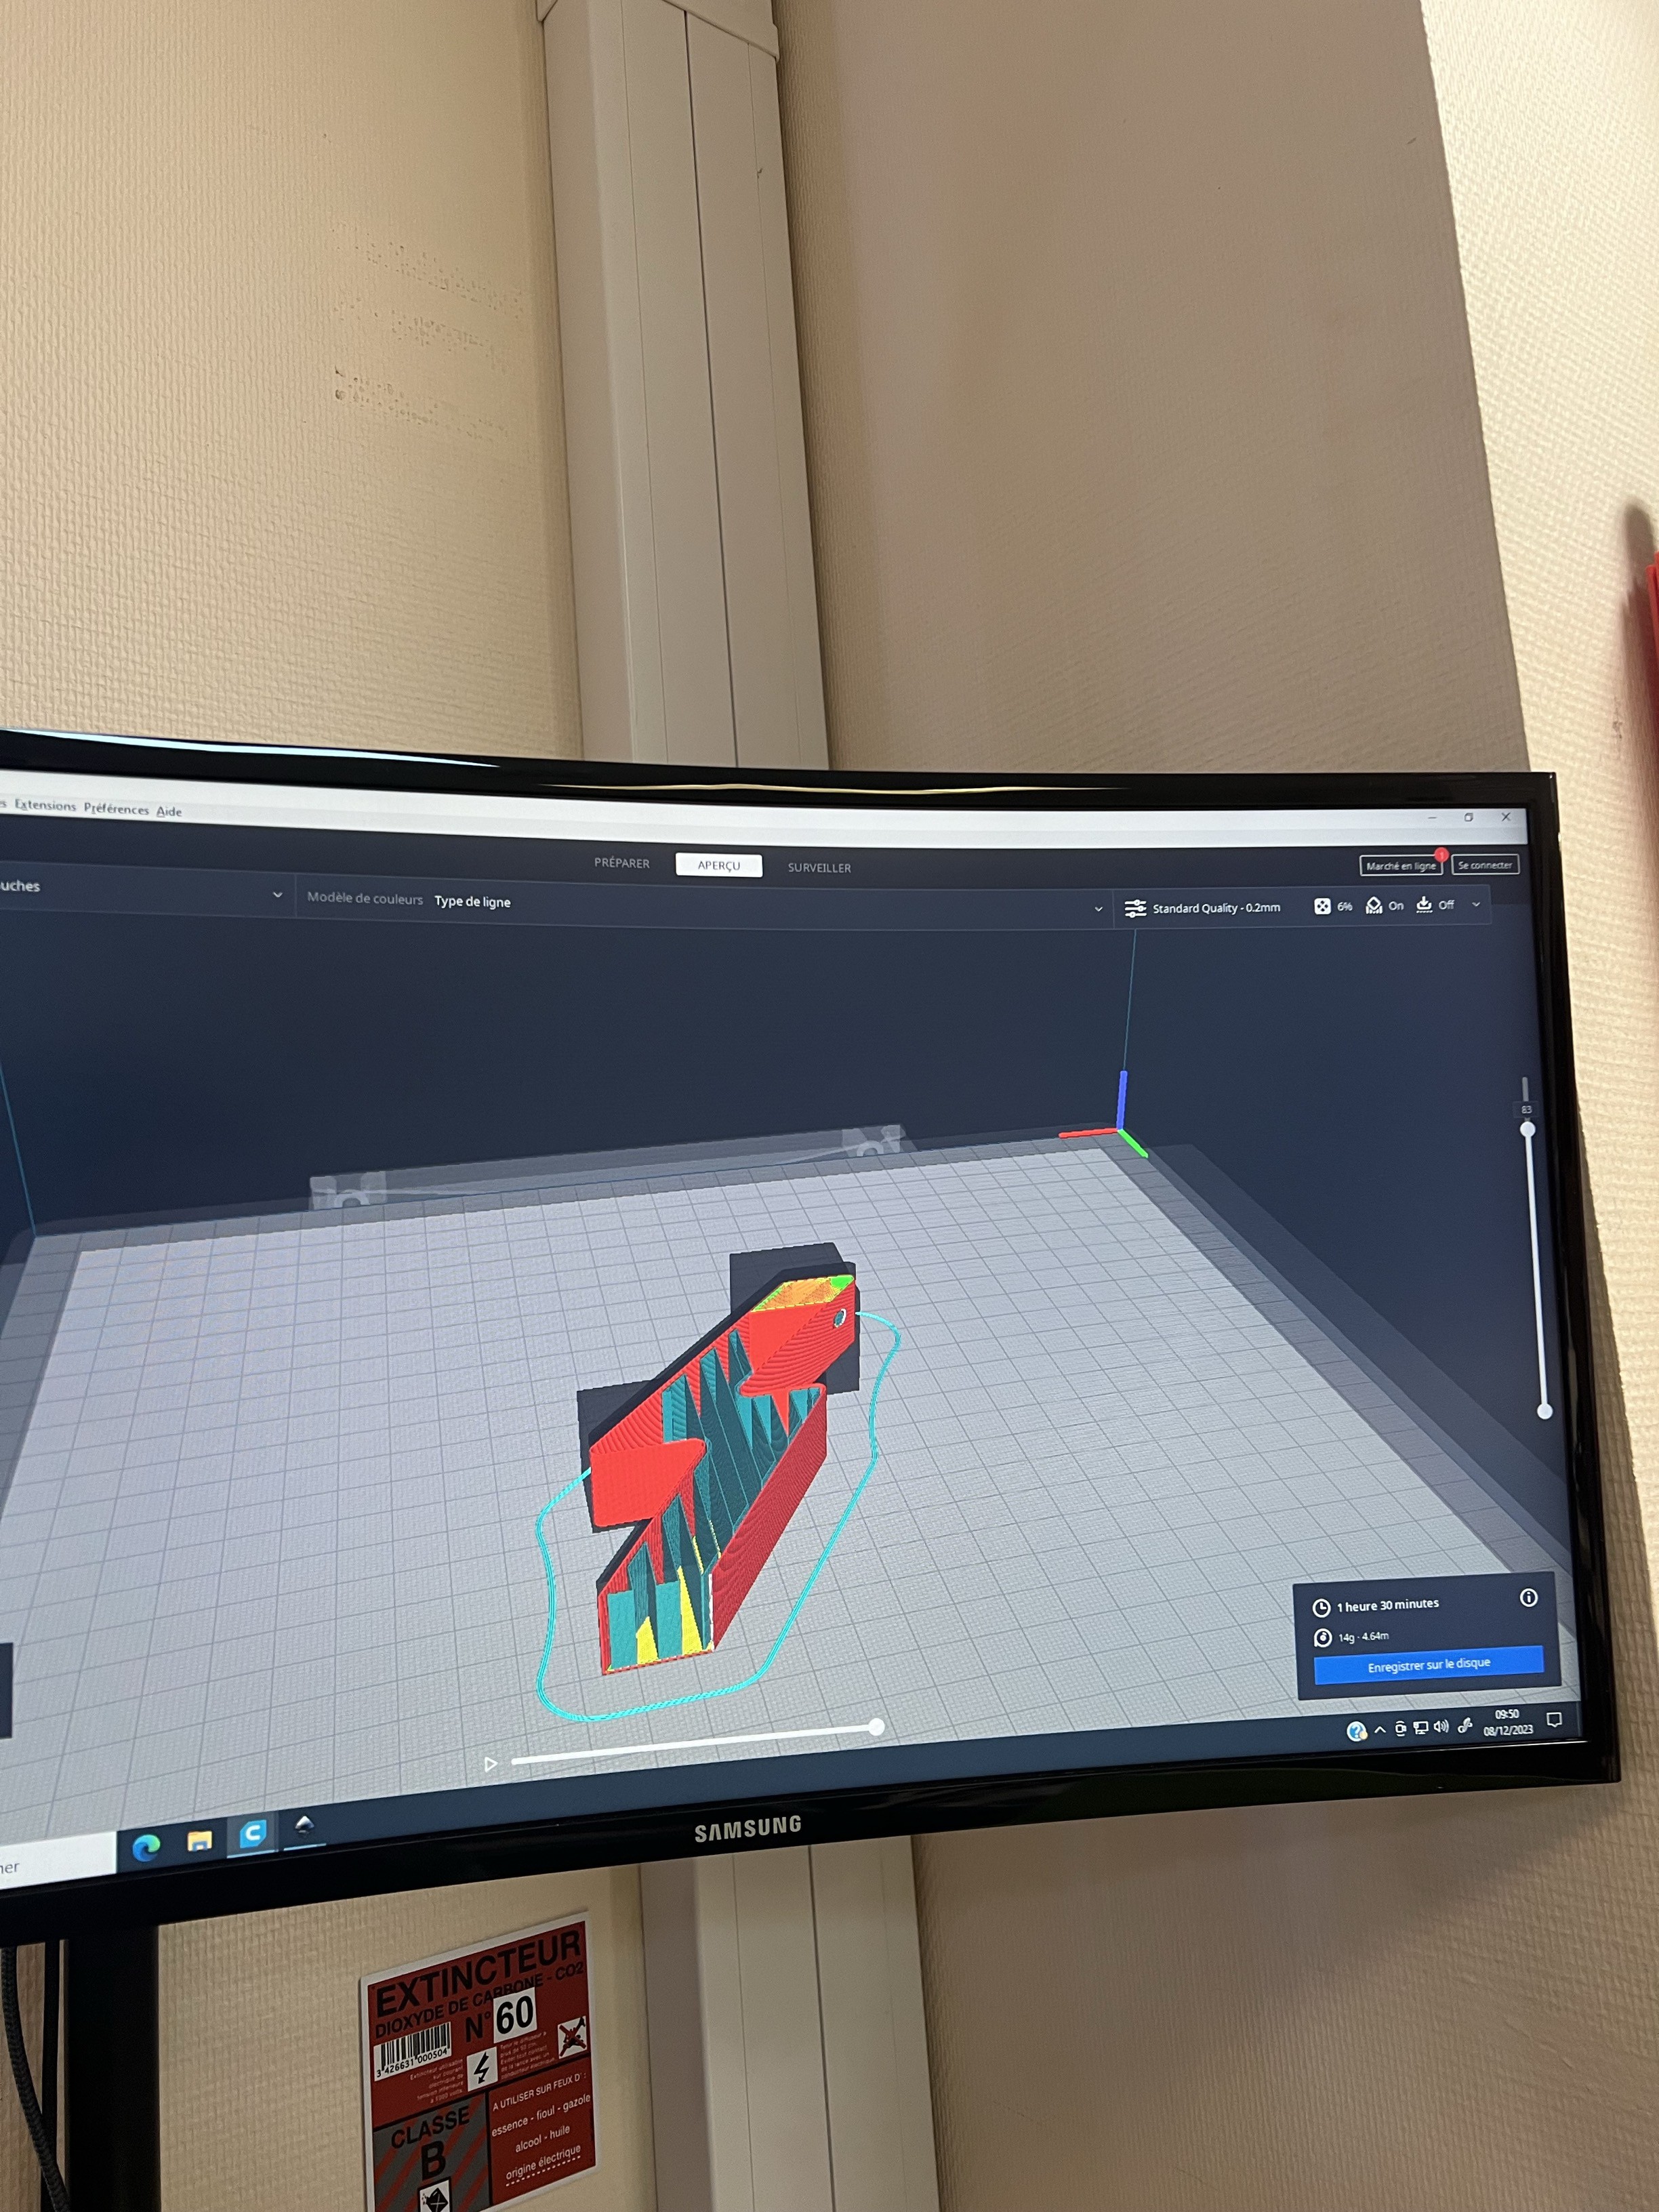
  • 1 × 3D Printed Thunderbolt Hollow Clear Plastic Thunder

View all 18 components

  • Decoration

    jeany.han01/12/2024 at 23:11 0 comments

    we just use clay to make the tree and chopped green styrofoam for the tree. We already make the cloud to put on top of the structure and also painted the bottom box to brown (as a ground)

  • Challenge the structure

    jeany.han01/12/2024 at 23:08 0 comments

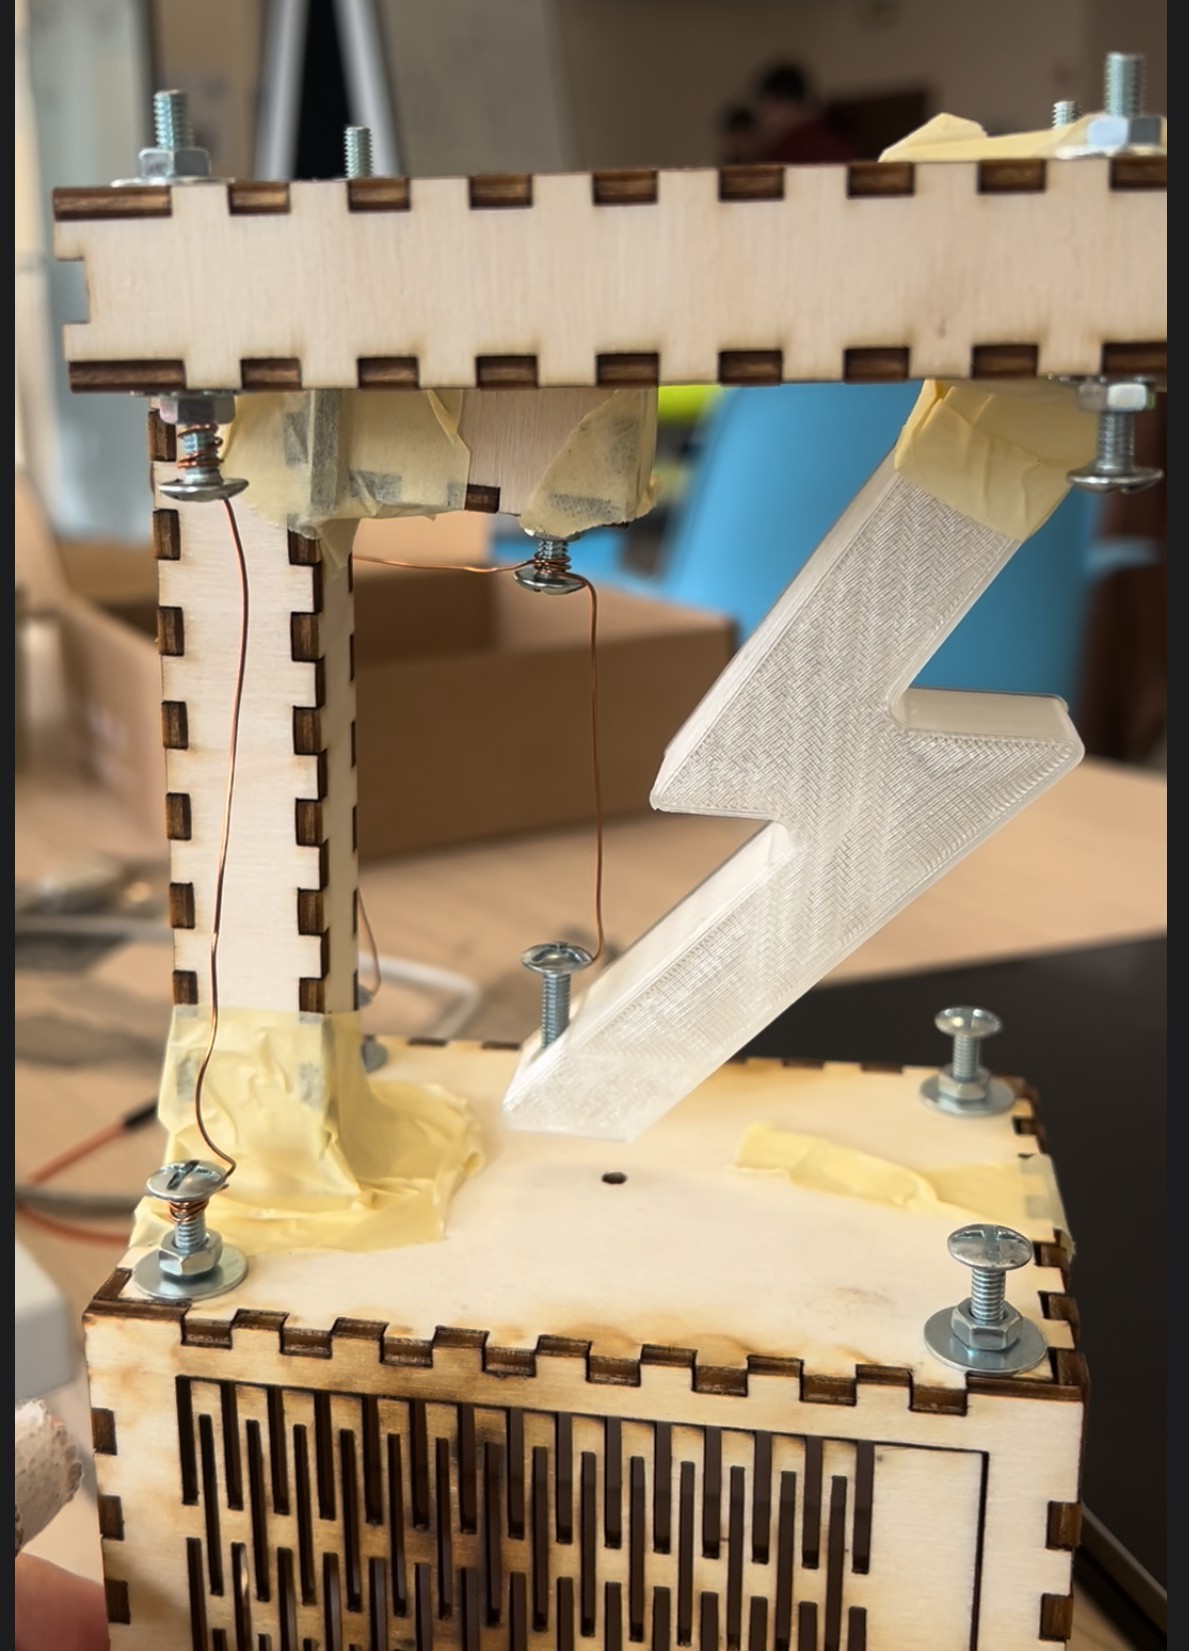
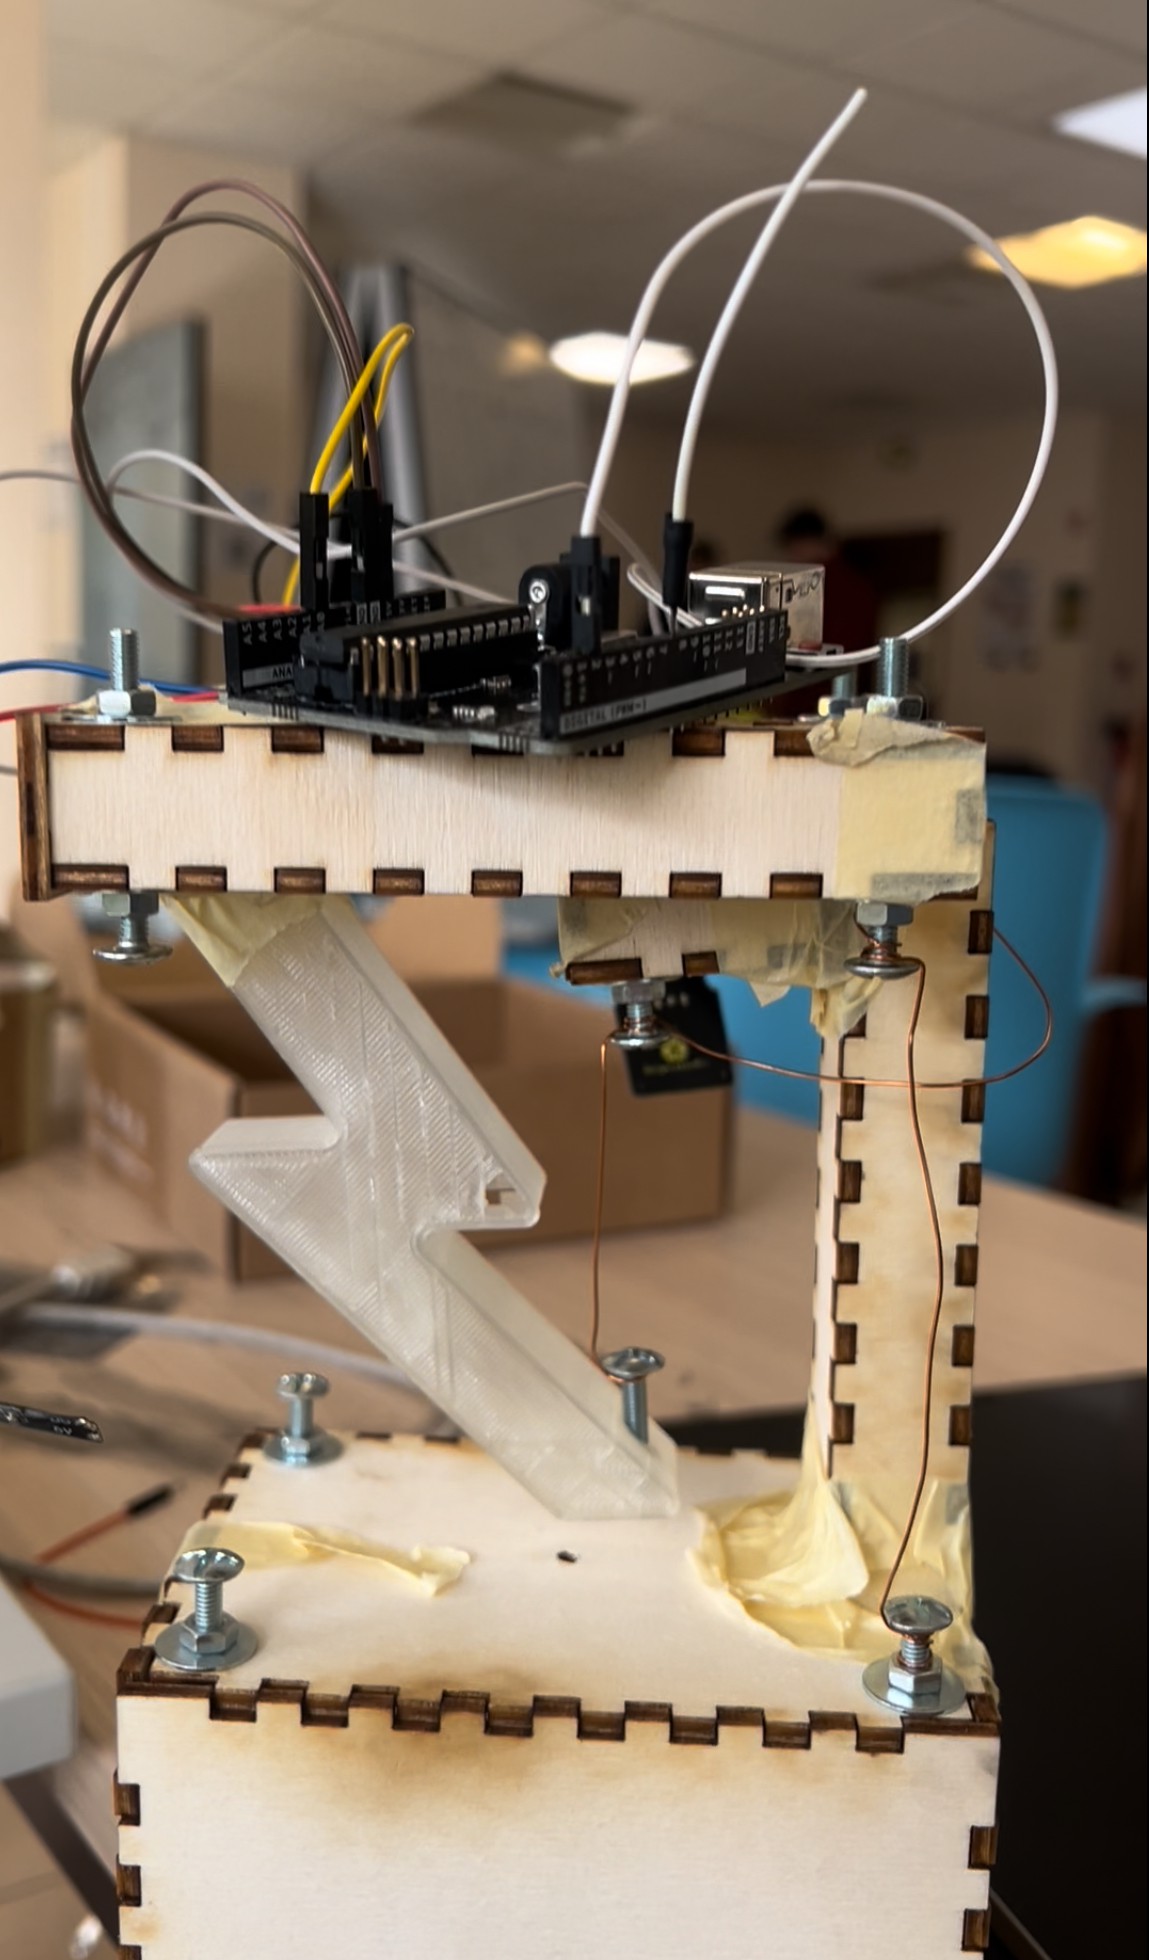
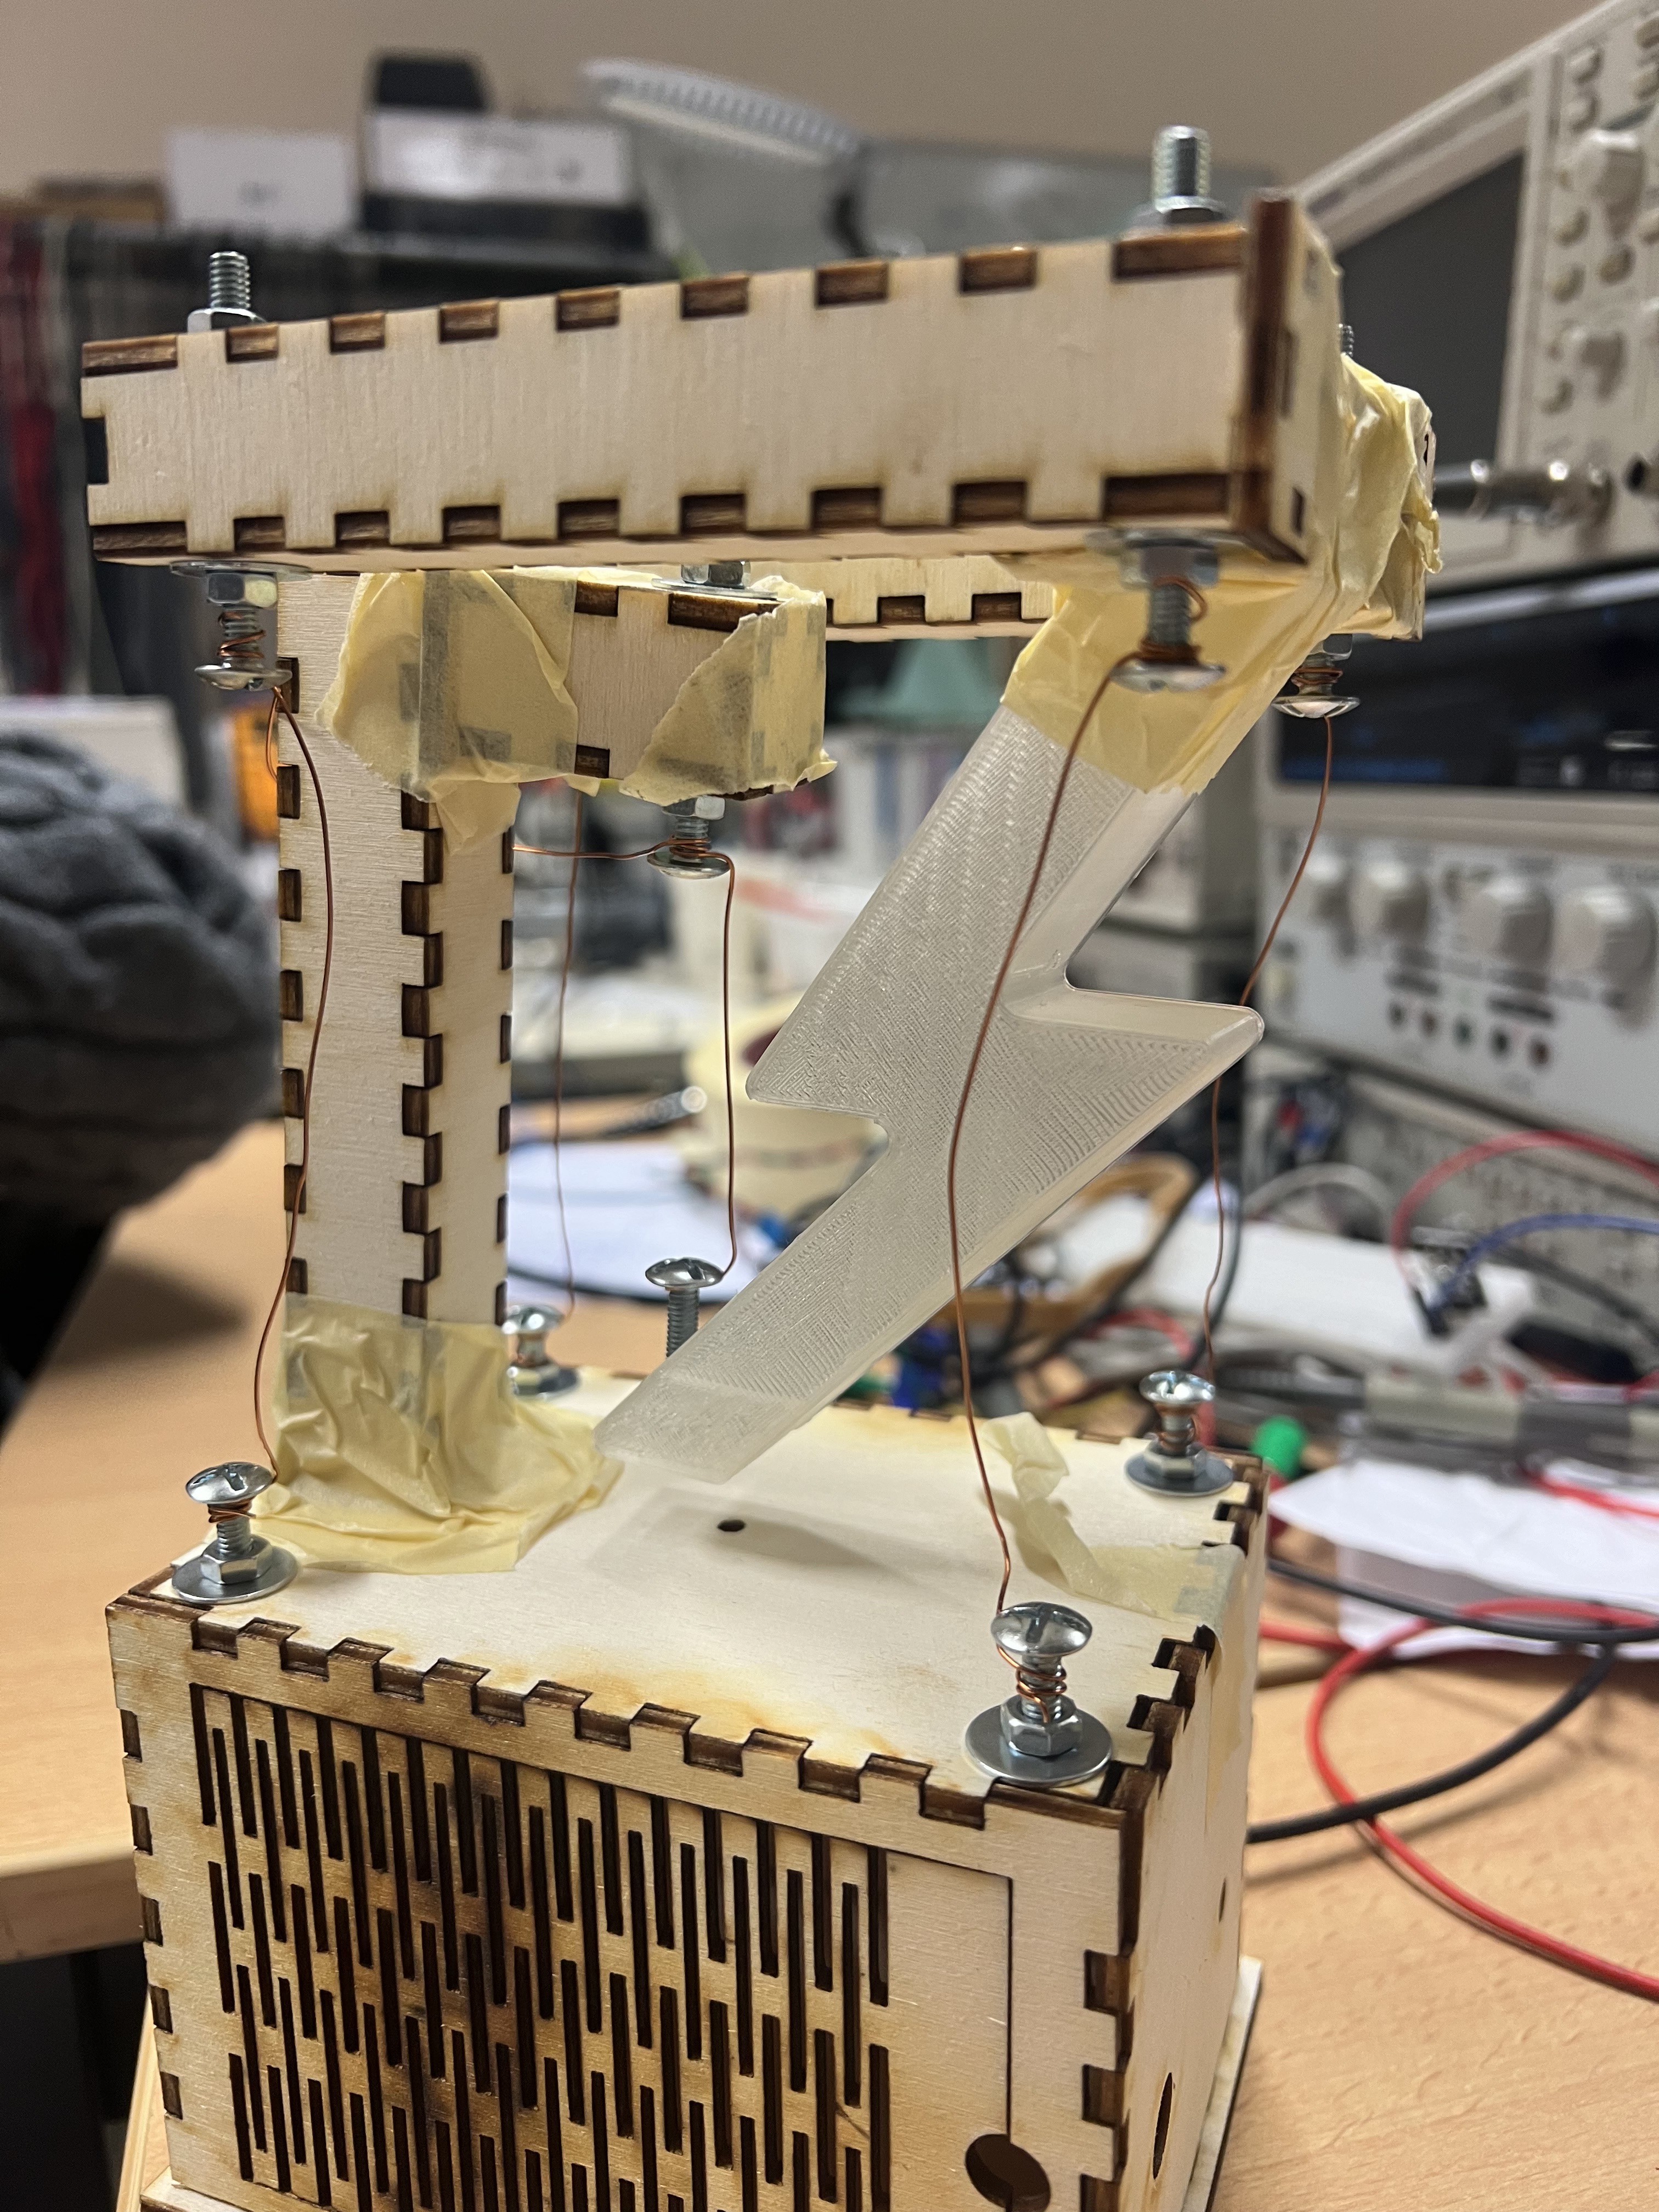
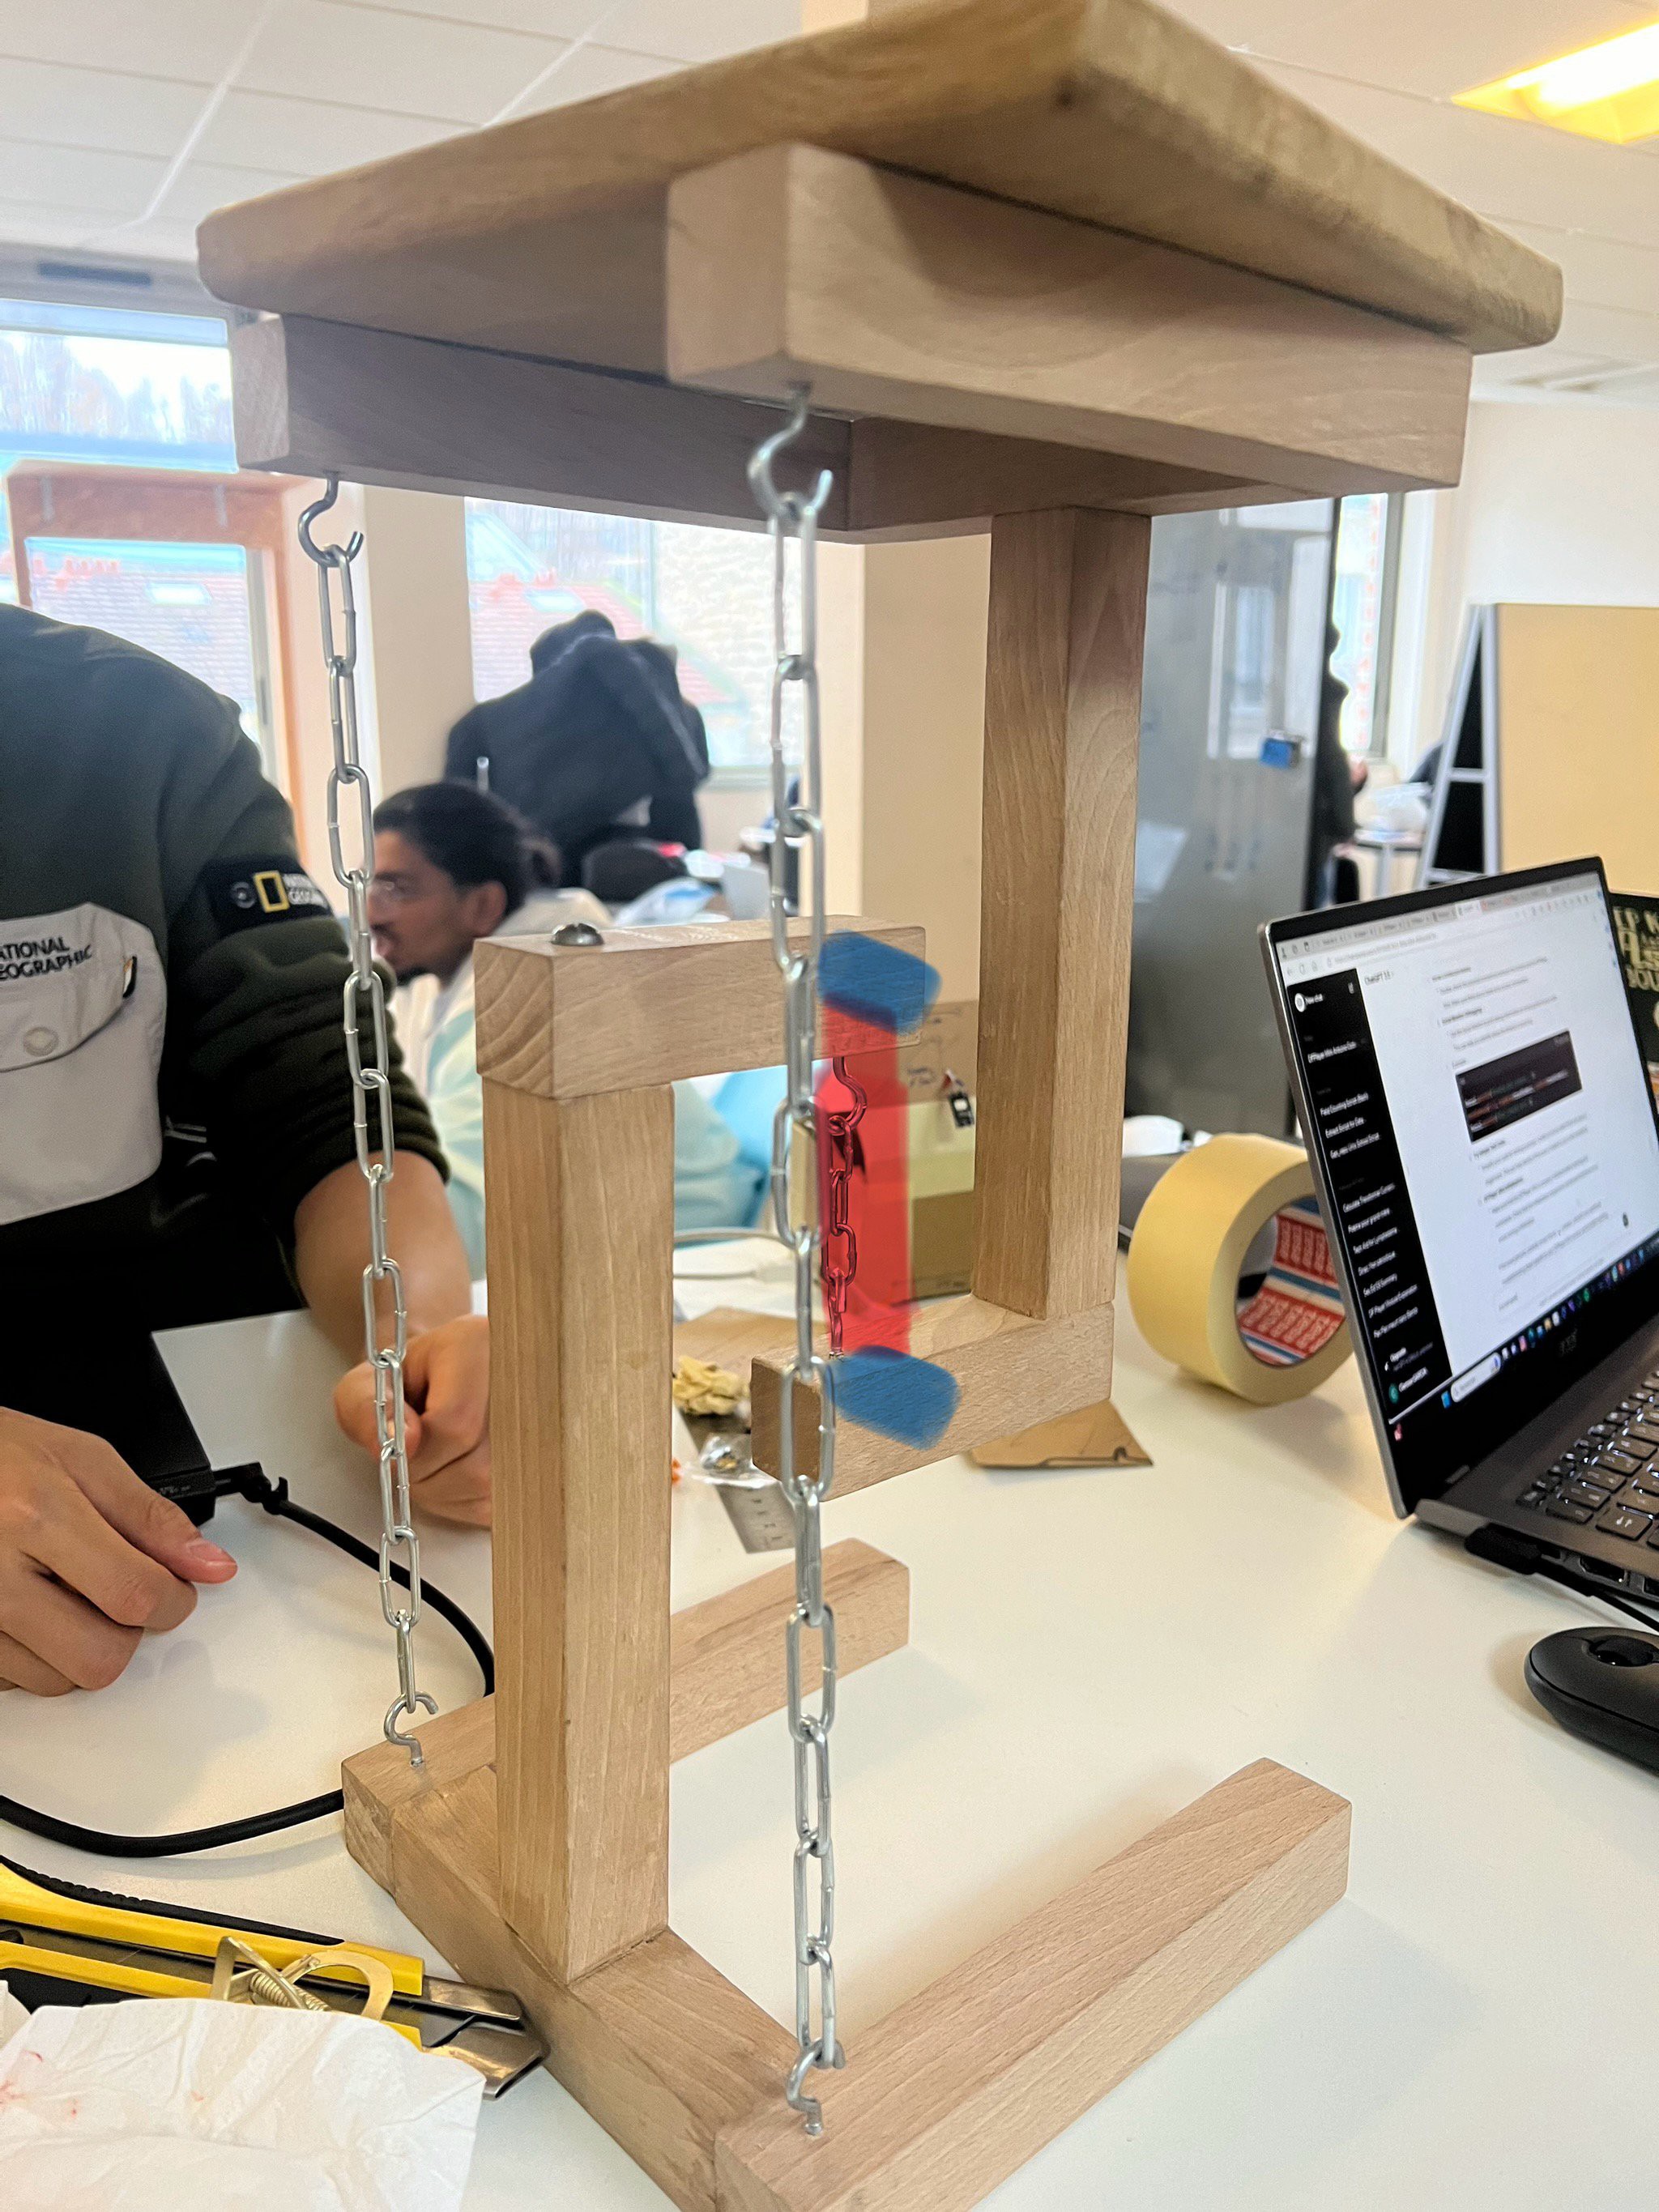
    So I wanted to tried out is it going to work and hold everything if I remove the 2 poles and I did removed it. Magically, it worked! Which is really a real tensegrity structure. We even tried to put something on top of it and it worked it didn’t fall out eventually. 

  • Assemble the pieces together

    jeany.han01/12/2024 at 23:03 0 comments

    We got all of our pieces and assemble them together and tried out the tensegrity. We got advised by our lab professor to attached all the pole which originally the tensegrity required only 3 poles. Because he scared that with my pieces 3 poles won’t hold everything. So I tried according to what he told us it worked!

  • Print and cut our pieces

    jeany.han01/12/2024 at 22:59 0 comments

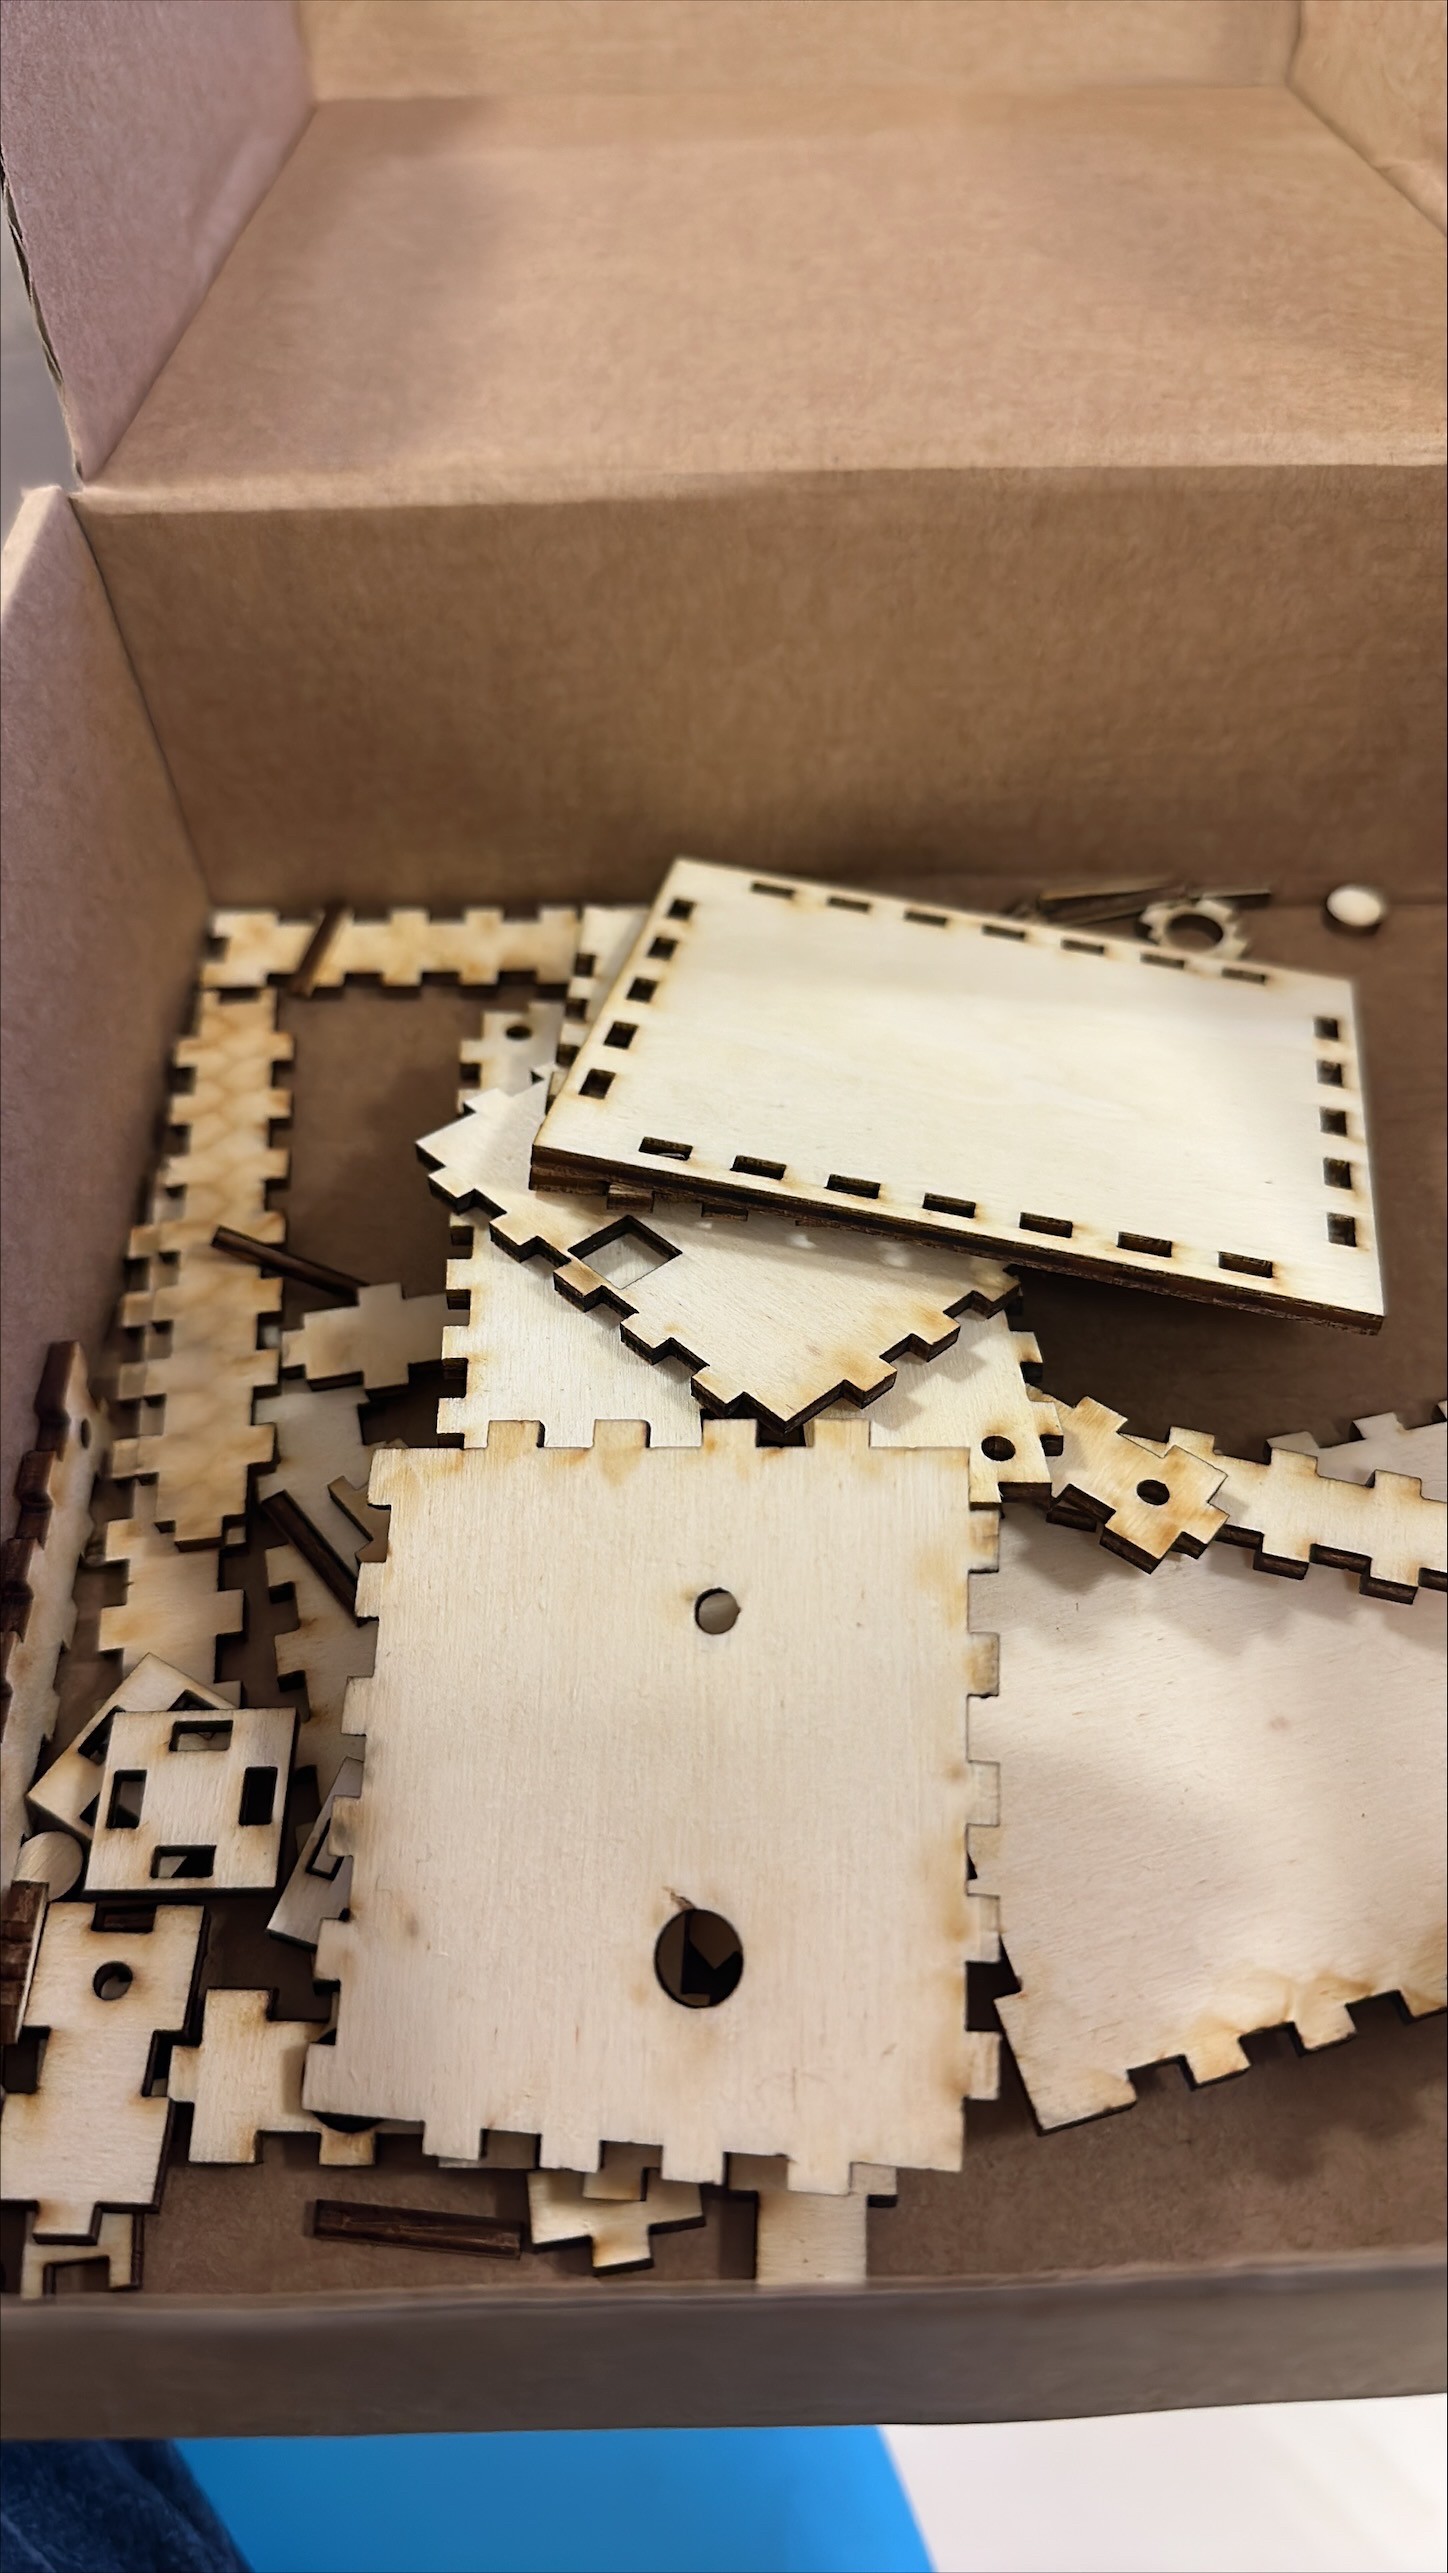
    We decided to take the action and print our 3D printed thunderbolt and laser cut our box case.

  • Understanding how the tensegrity work

    jeany.han01/12/2024 at 22:57 0 comments

    Luckily, we are able to get our hand on a real pieces tensegrity because one of our professor have them in his office and we asked to have them and understanding the structure. It really help to understand how it really work and all measurement of all the wood should be really precise and the most important part and hold the structure is the middle part (is where I highlighted)

  • Final prototype of the bottom case

    jeany.han01/12/2024 at 22:53 0 comments

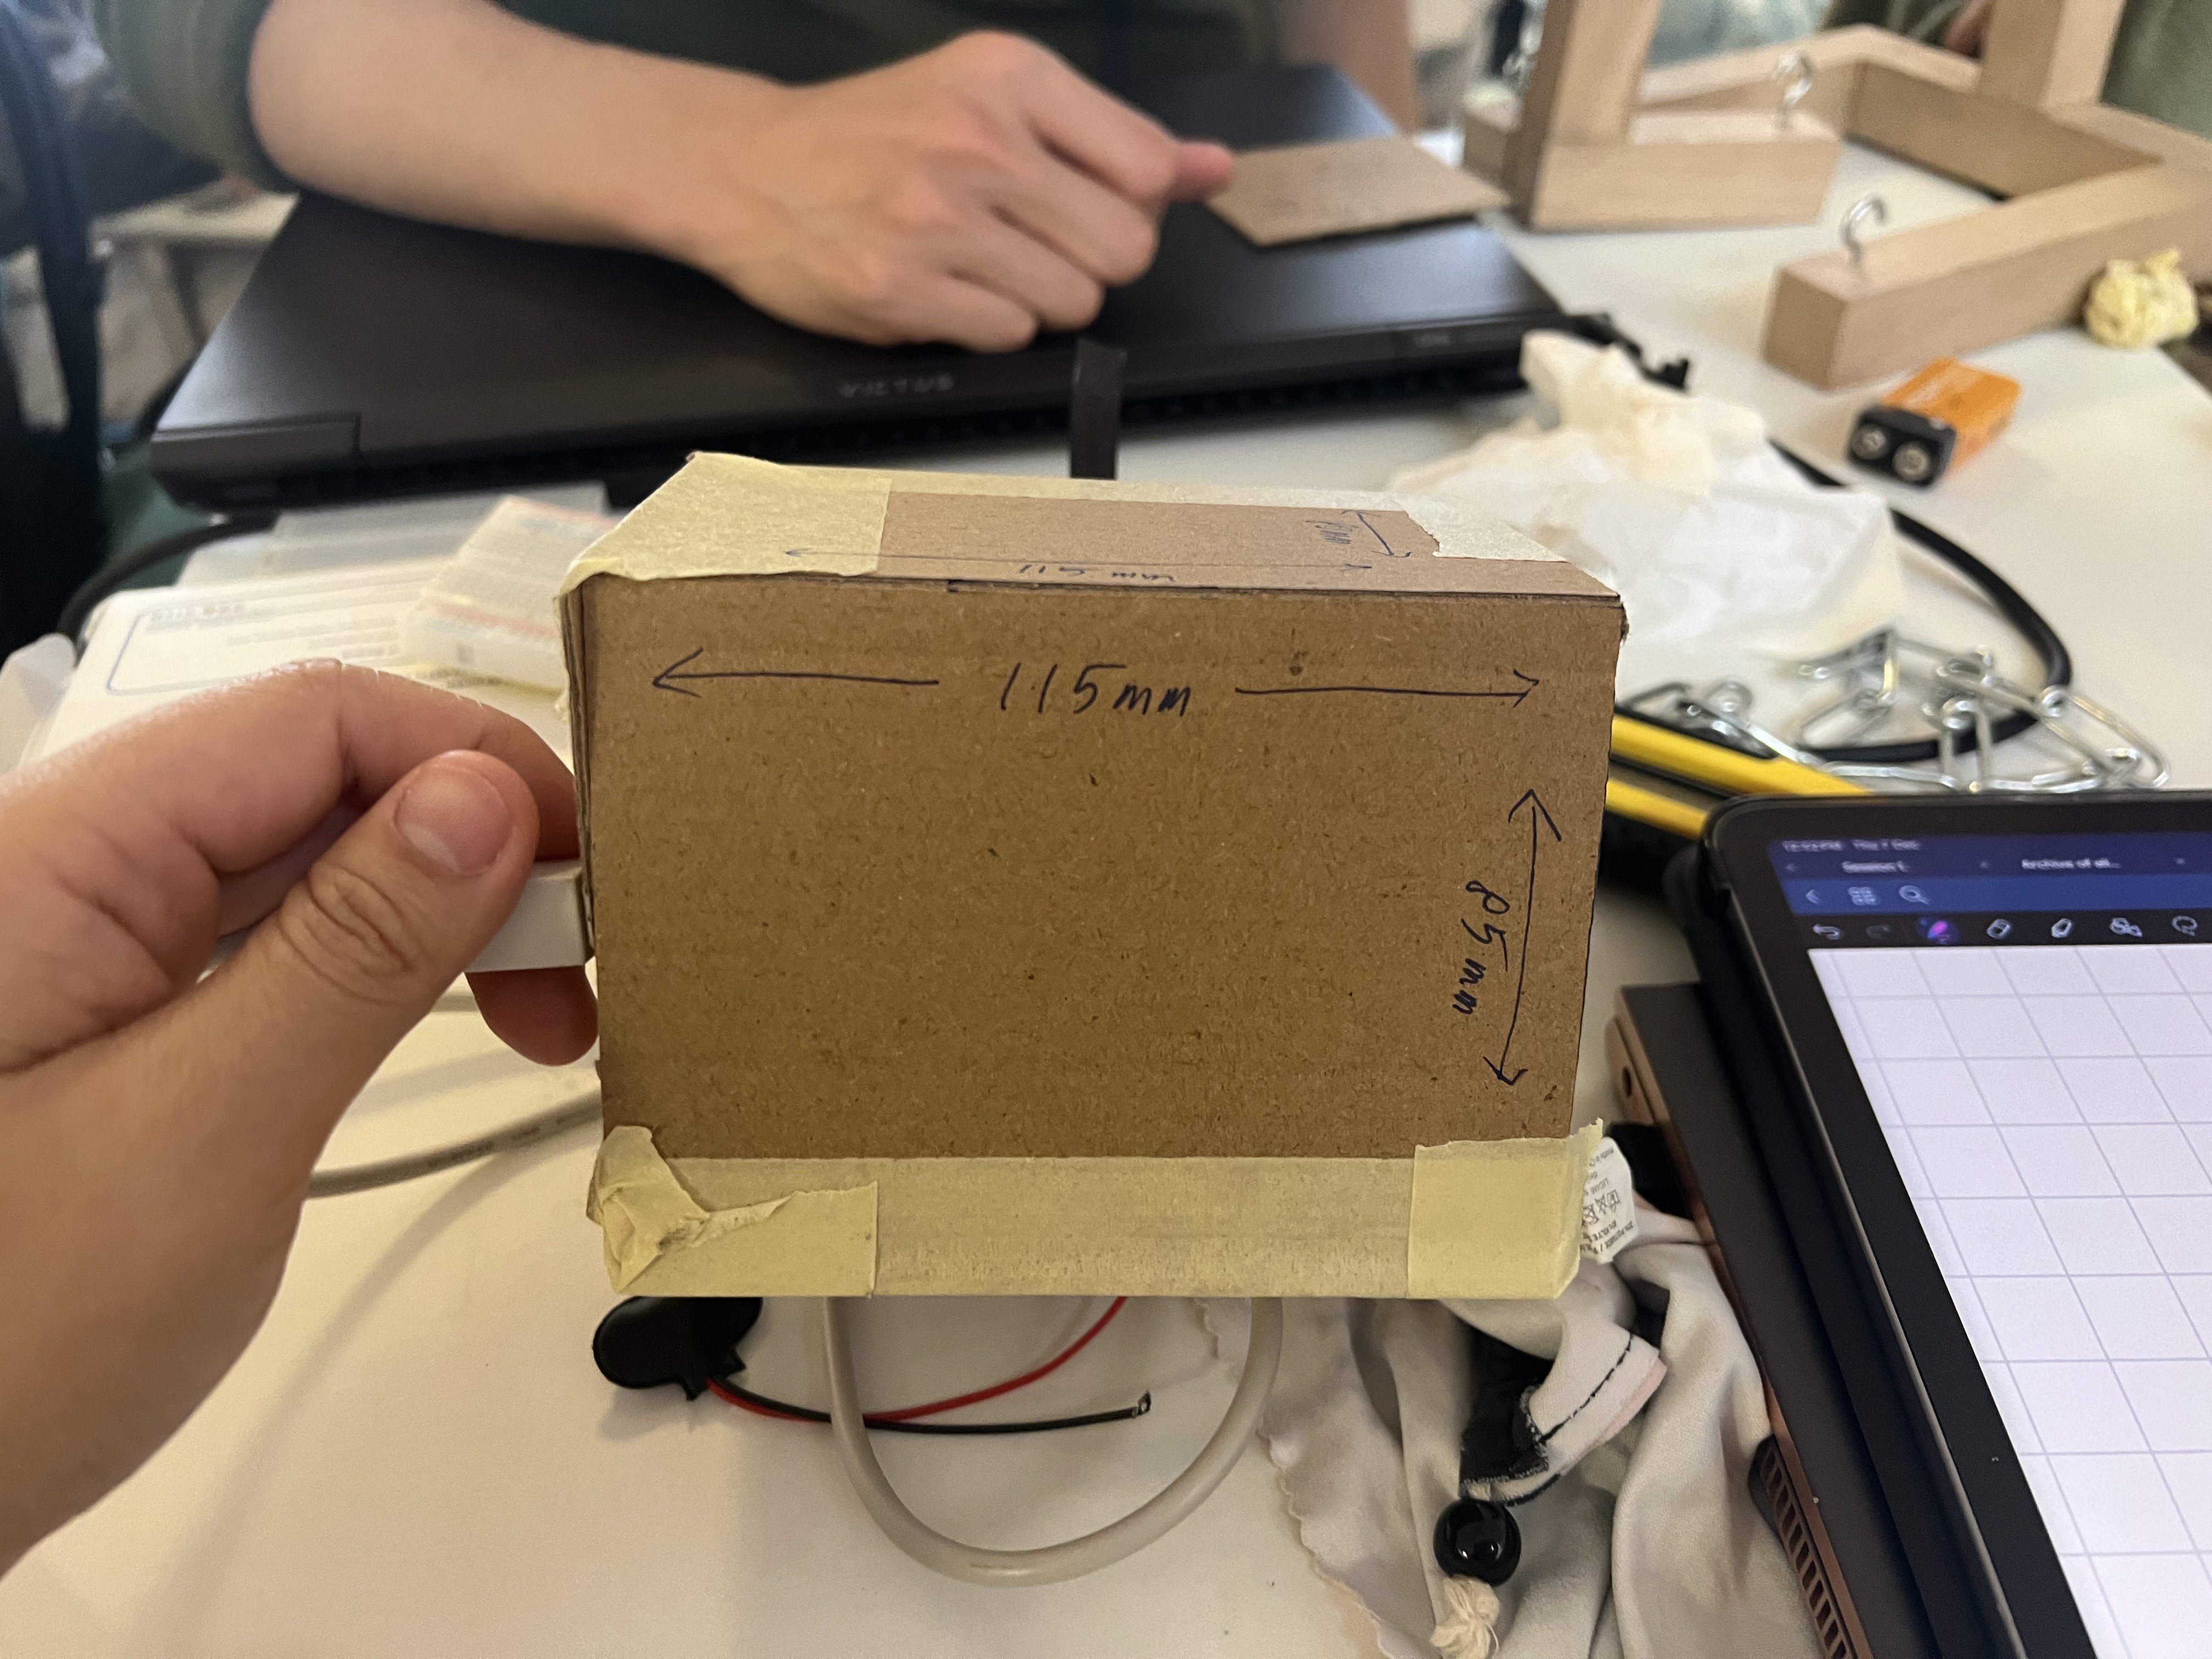
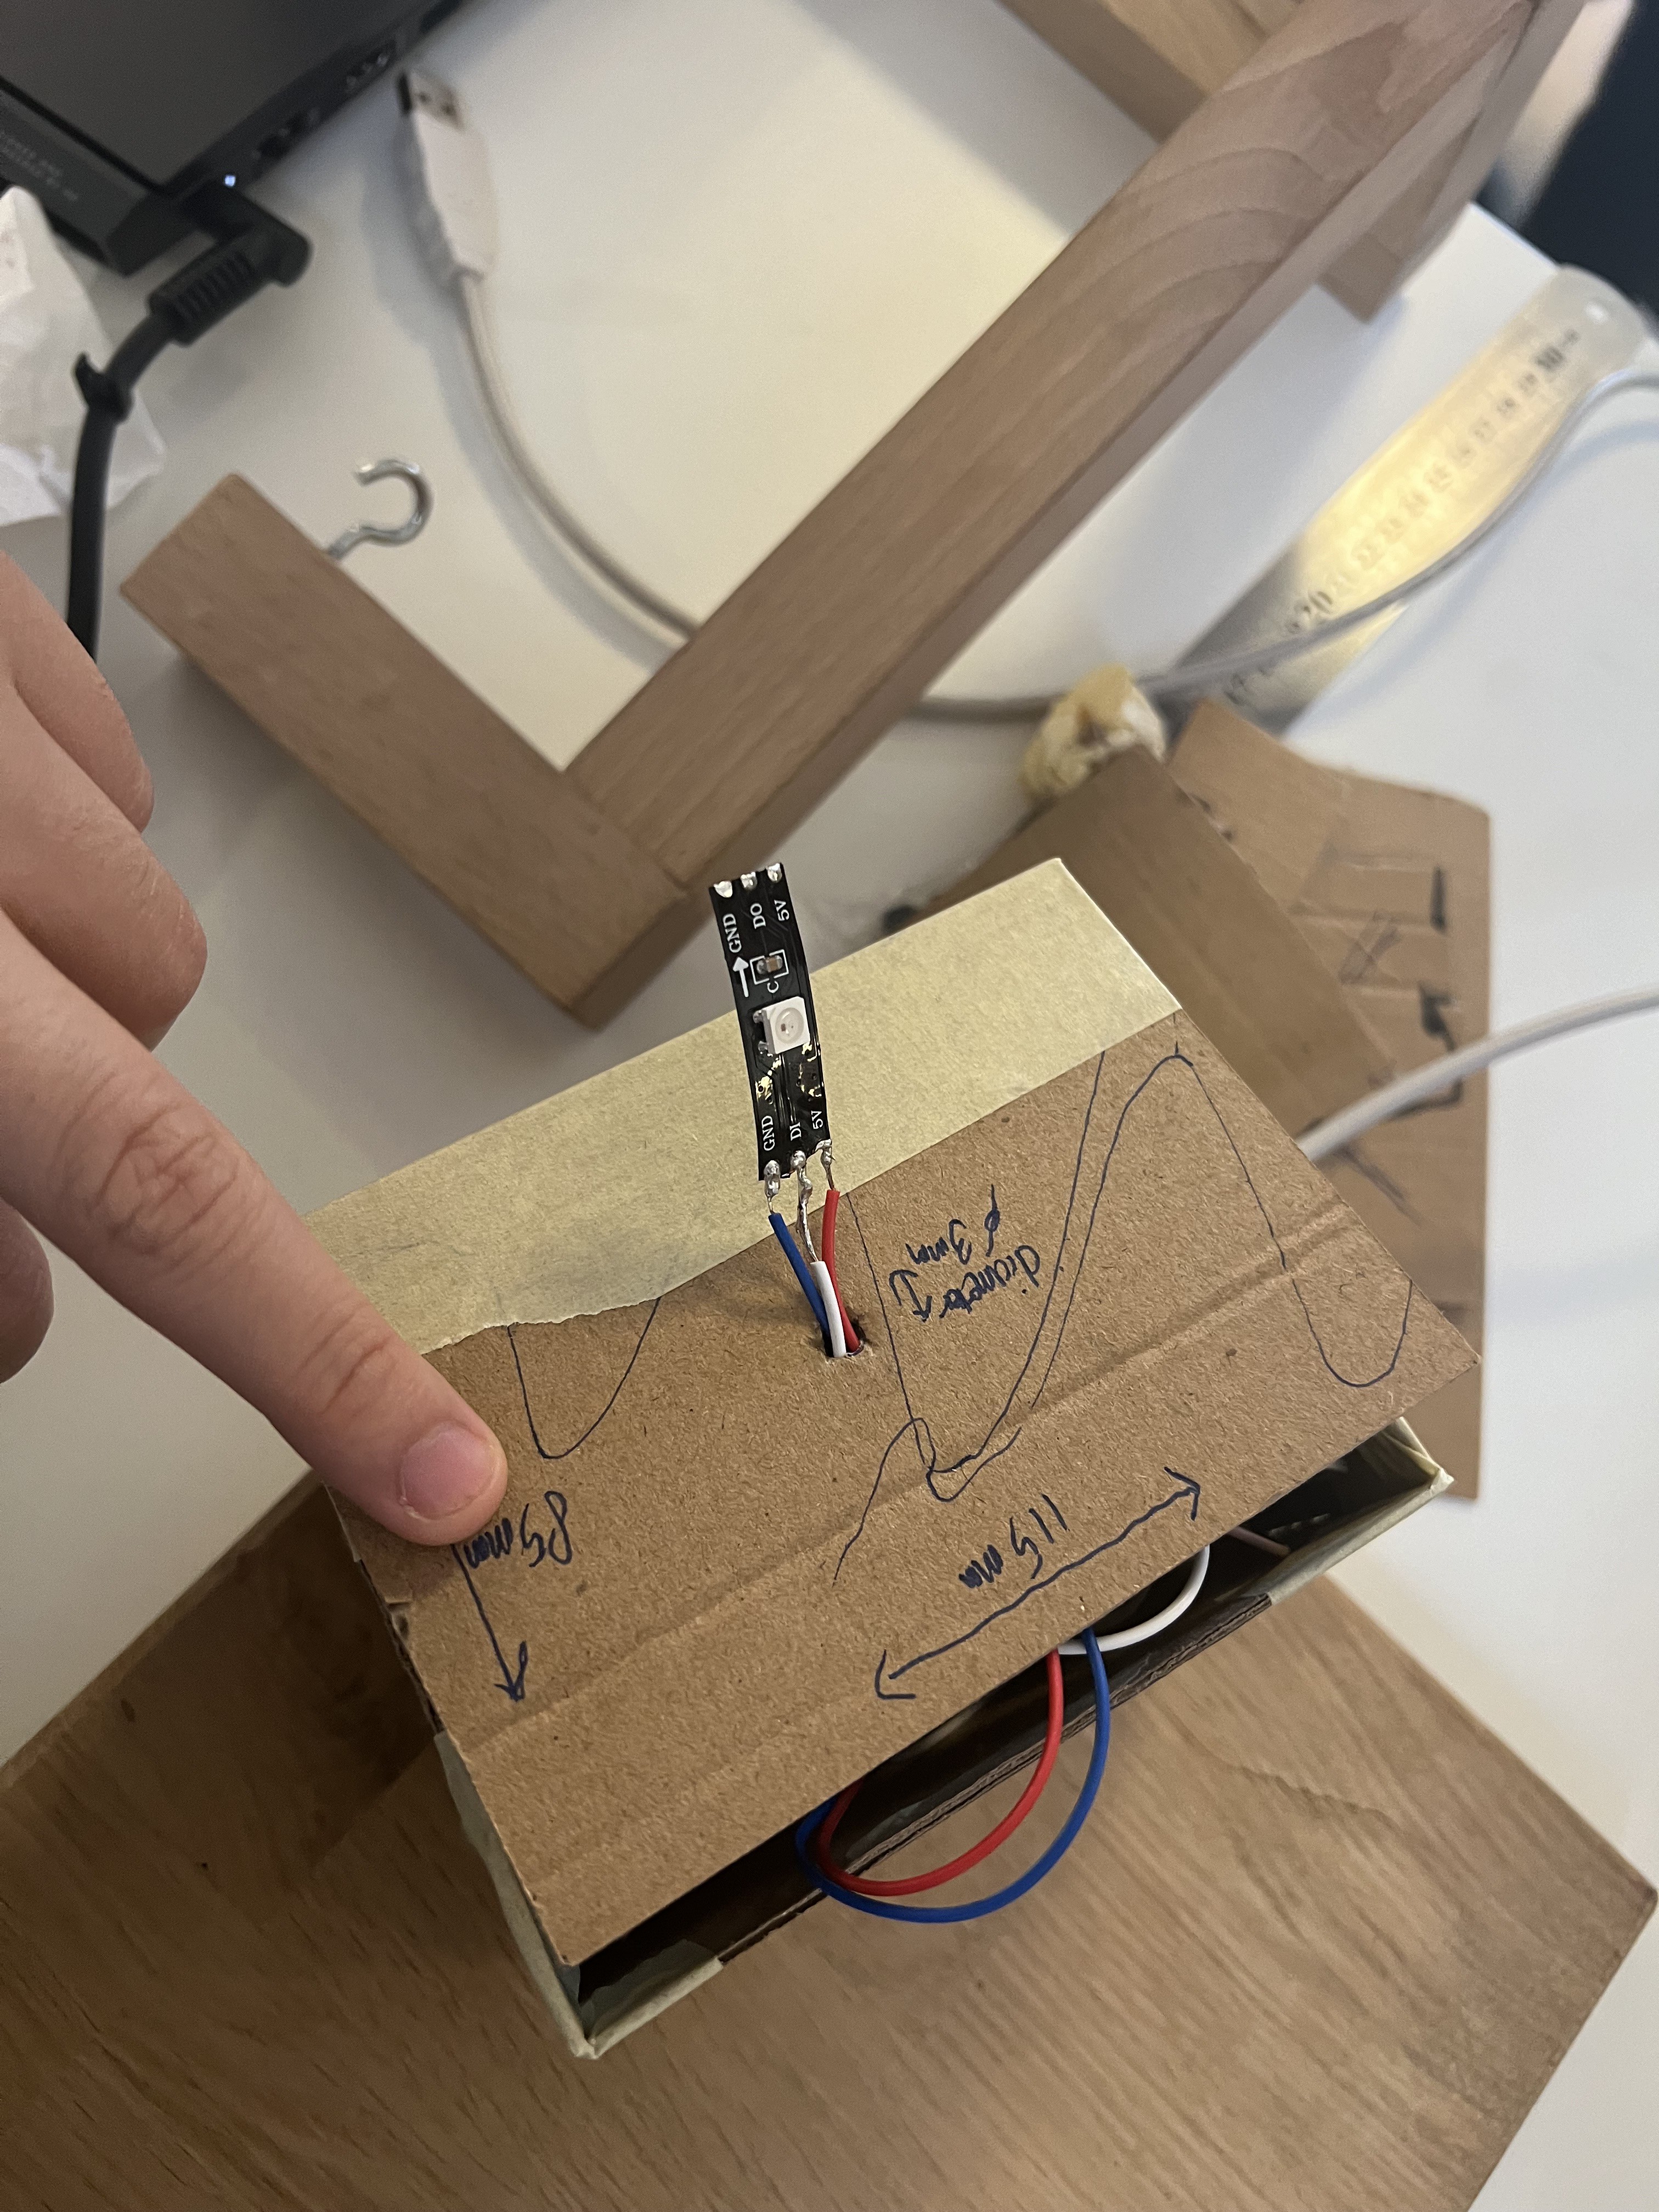
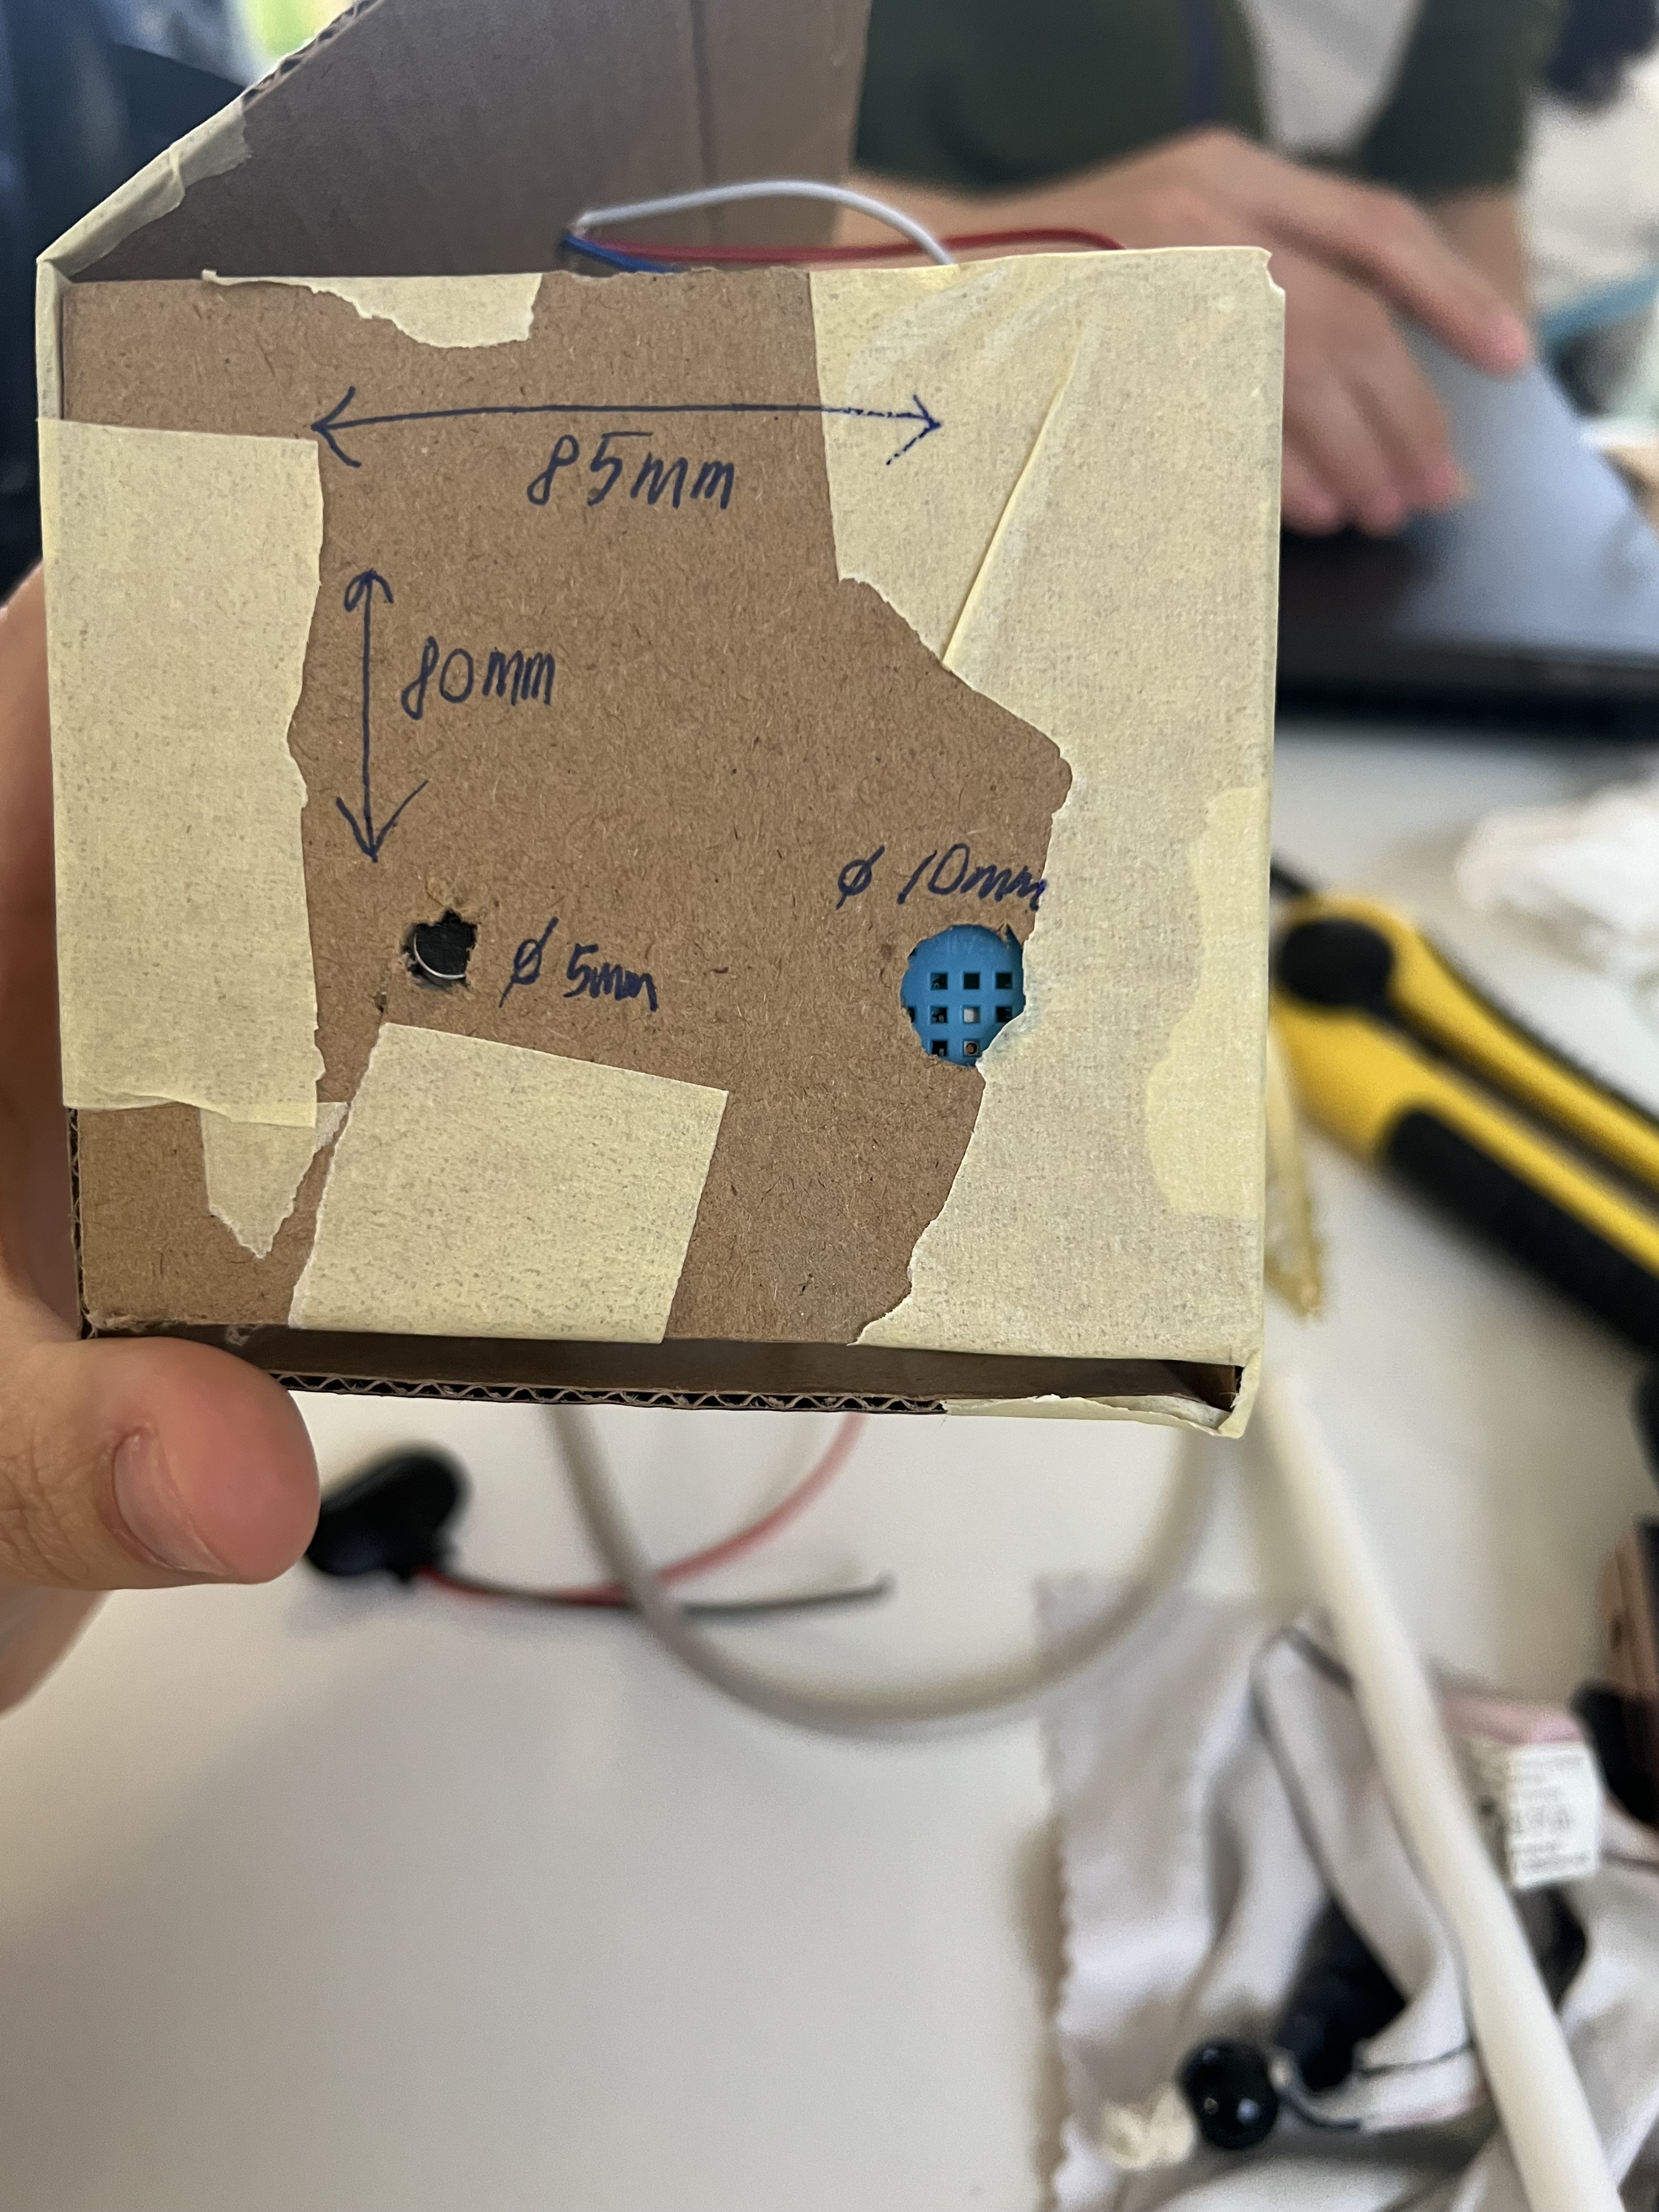
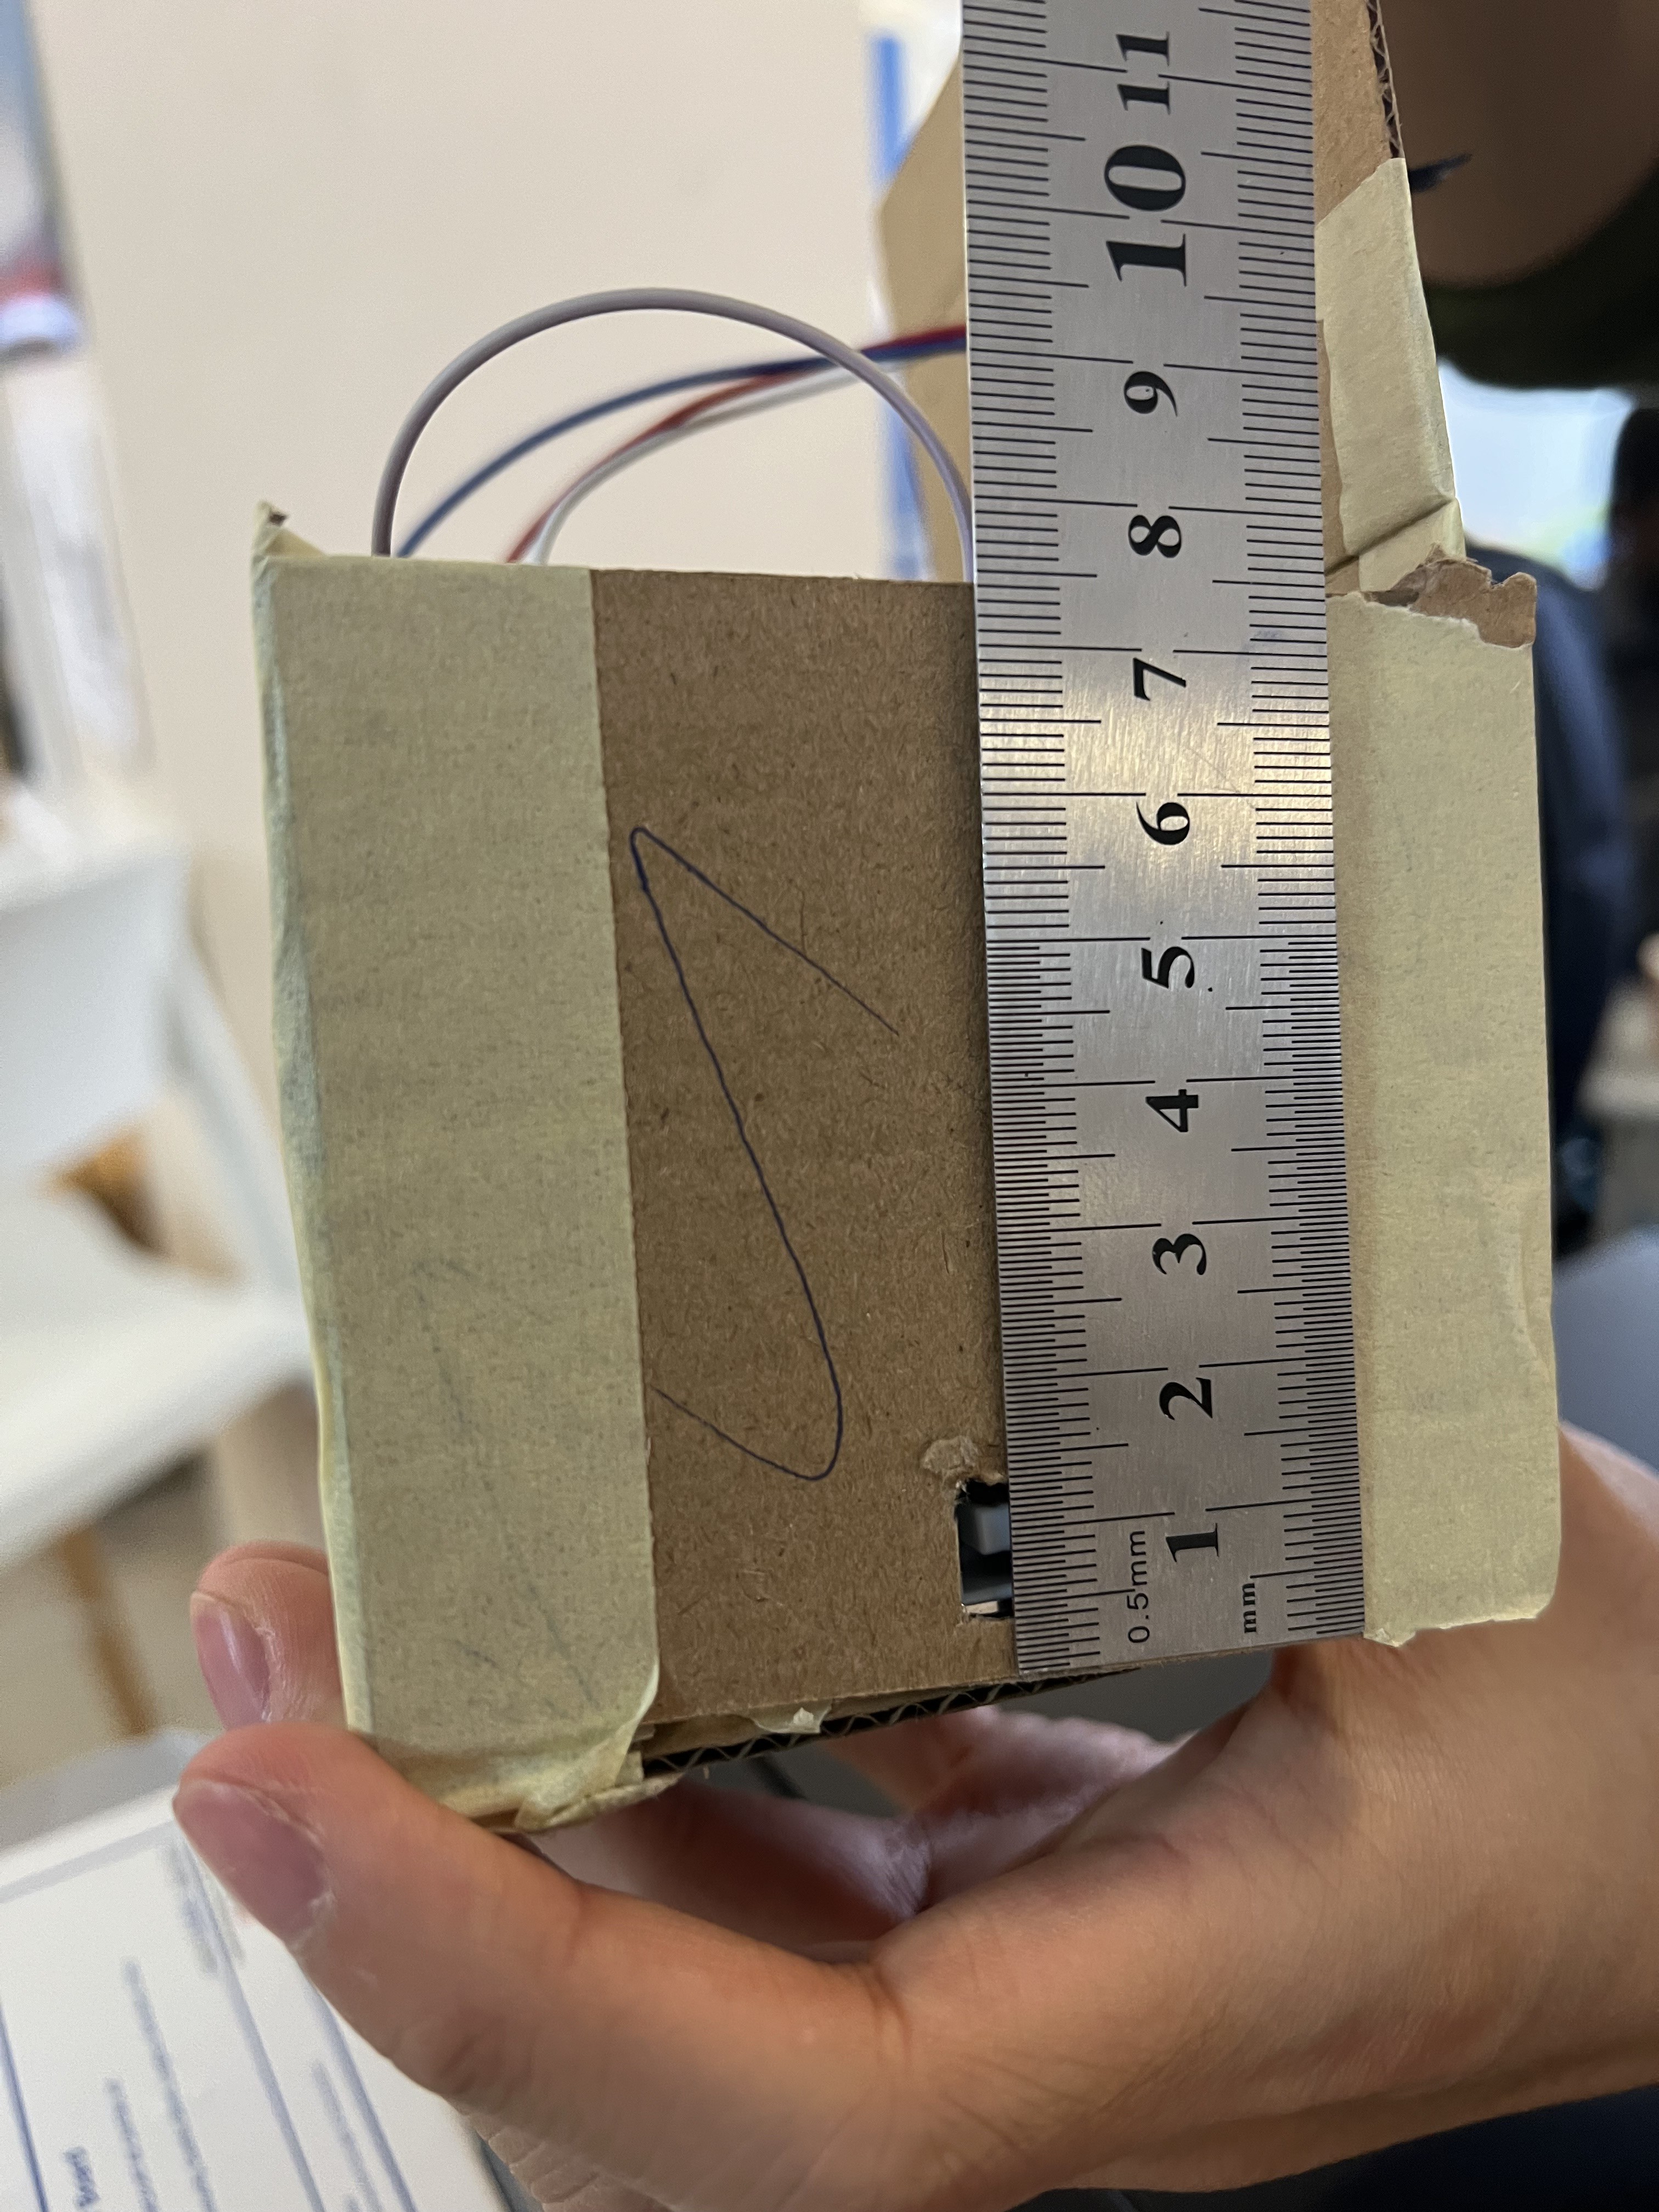
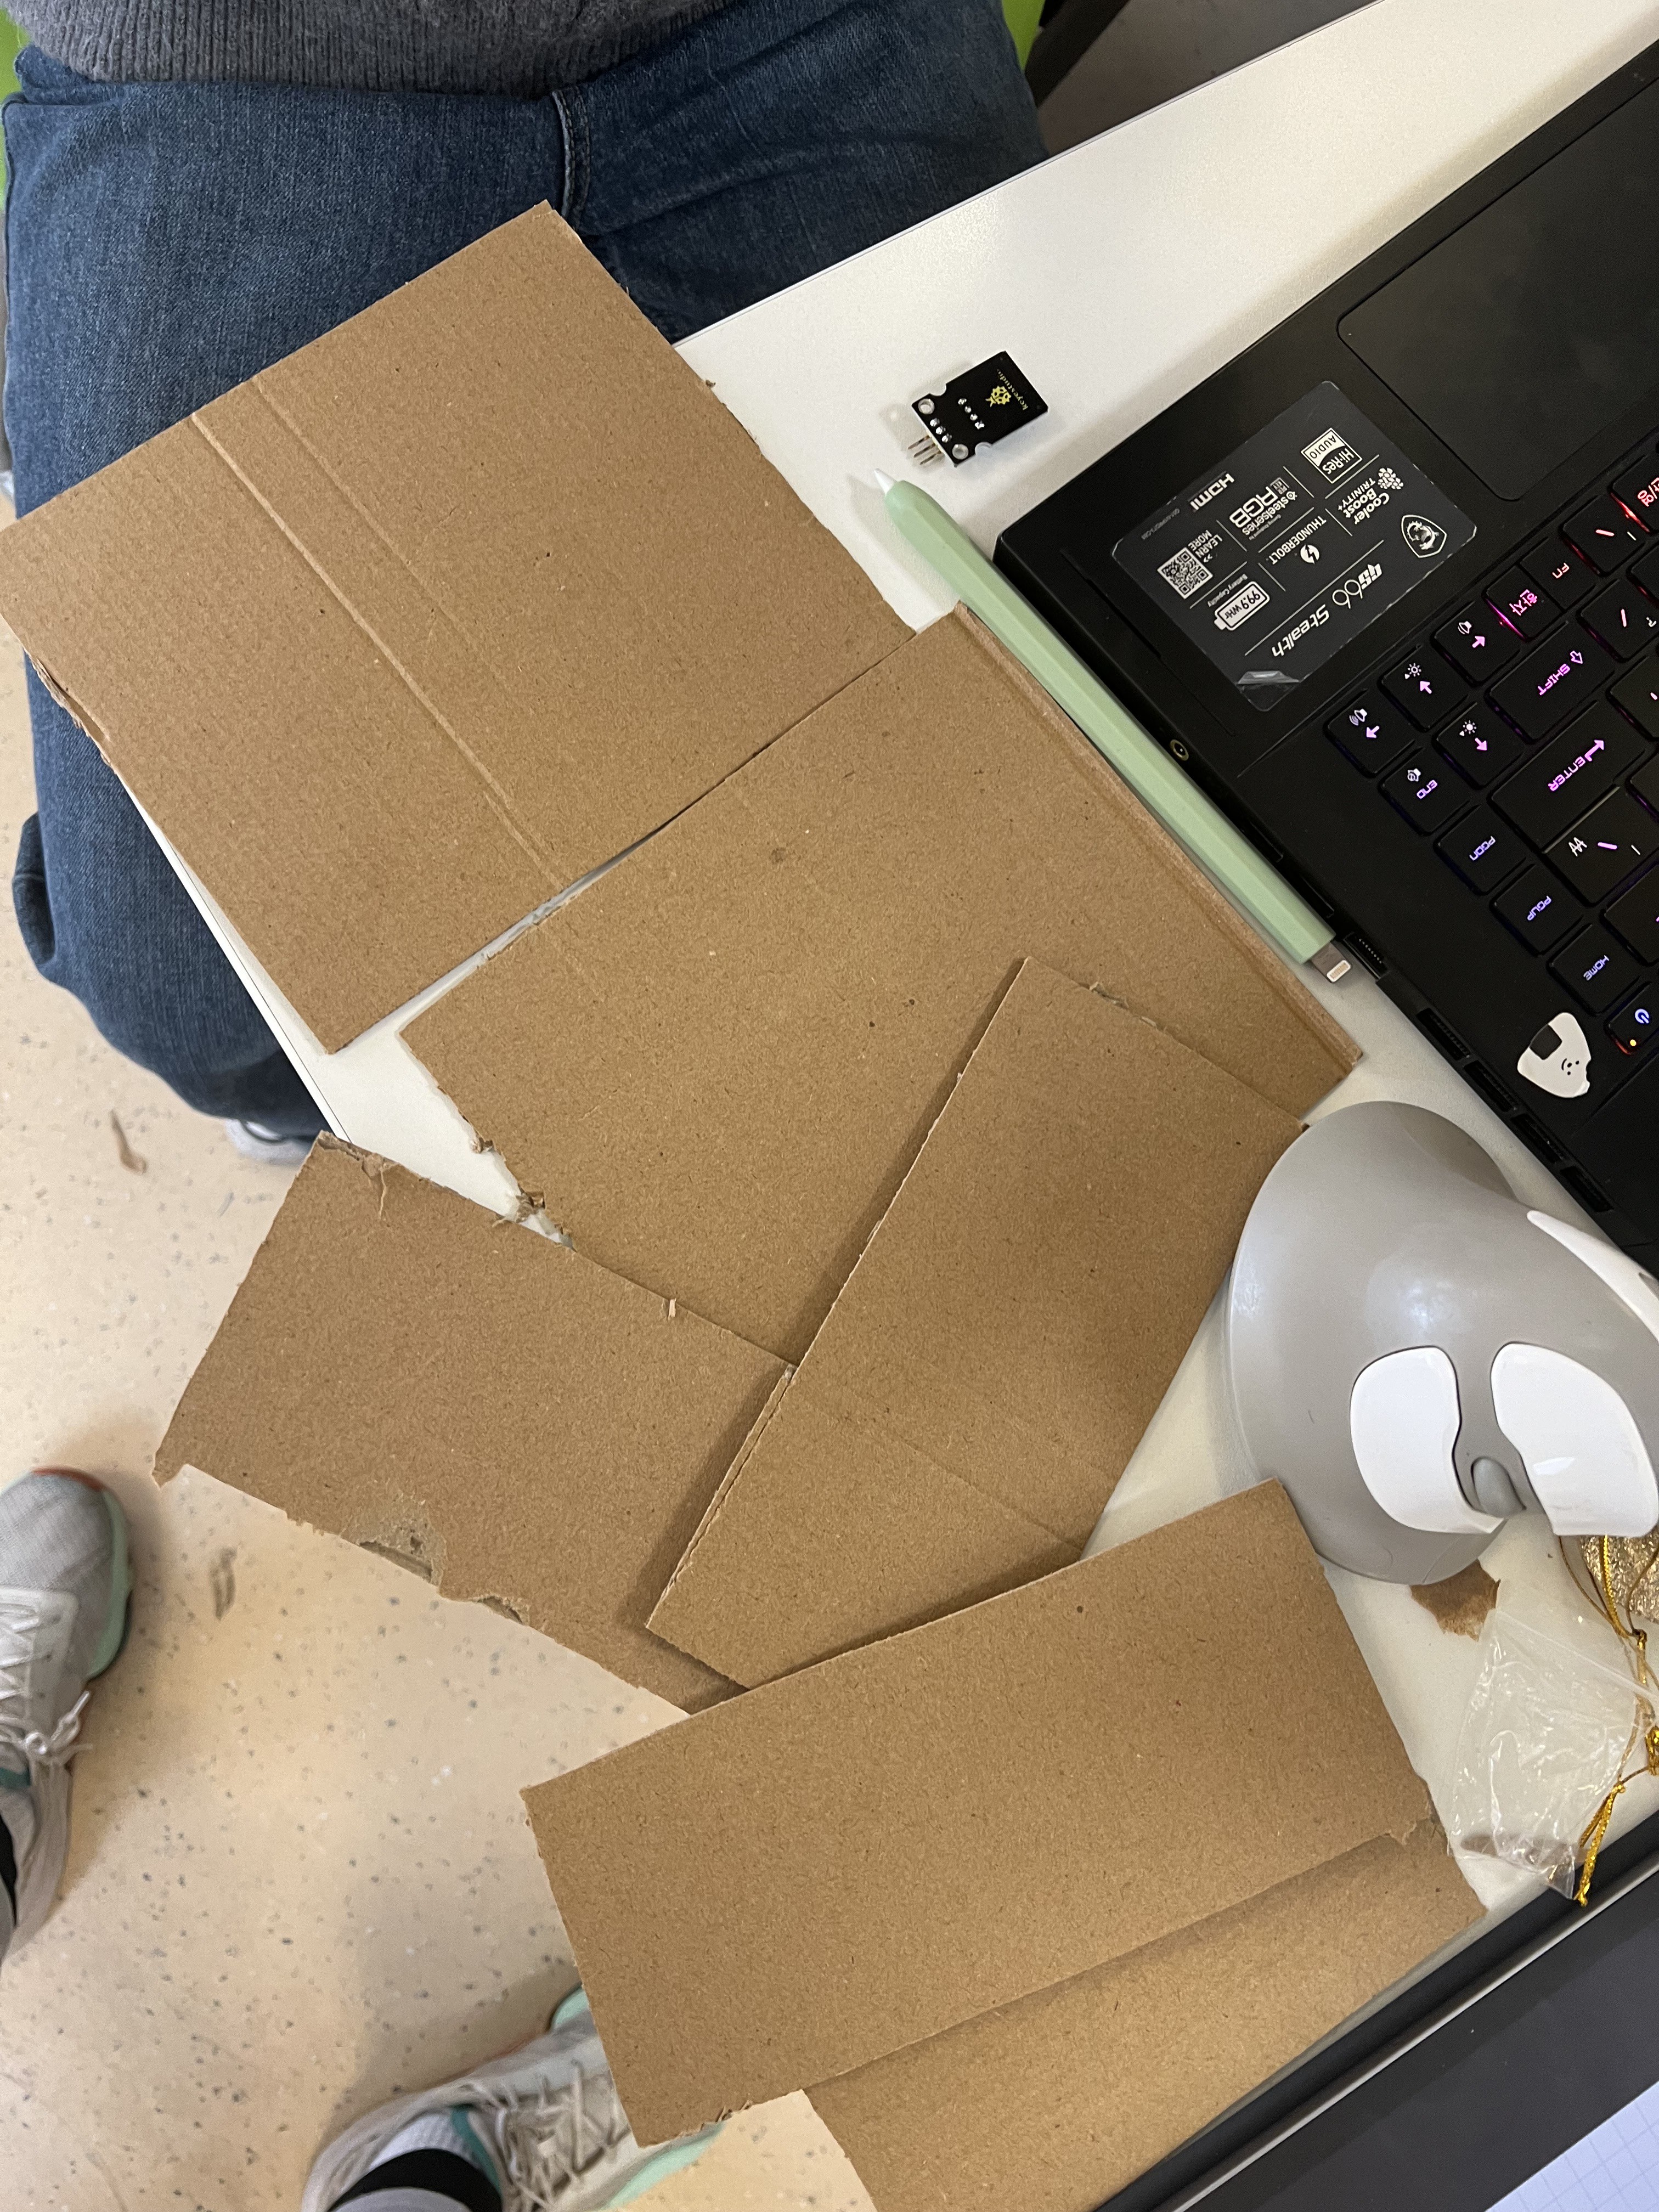
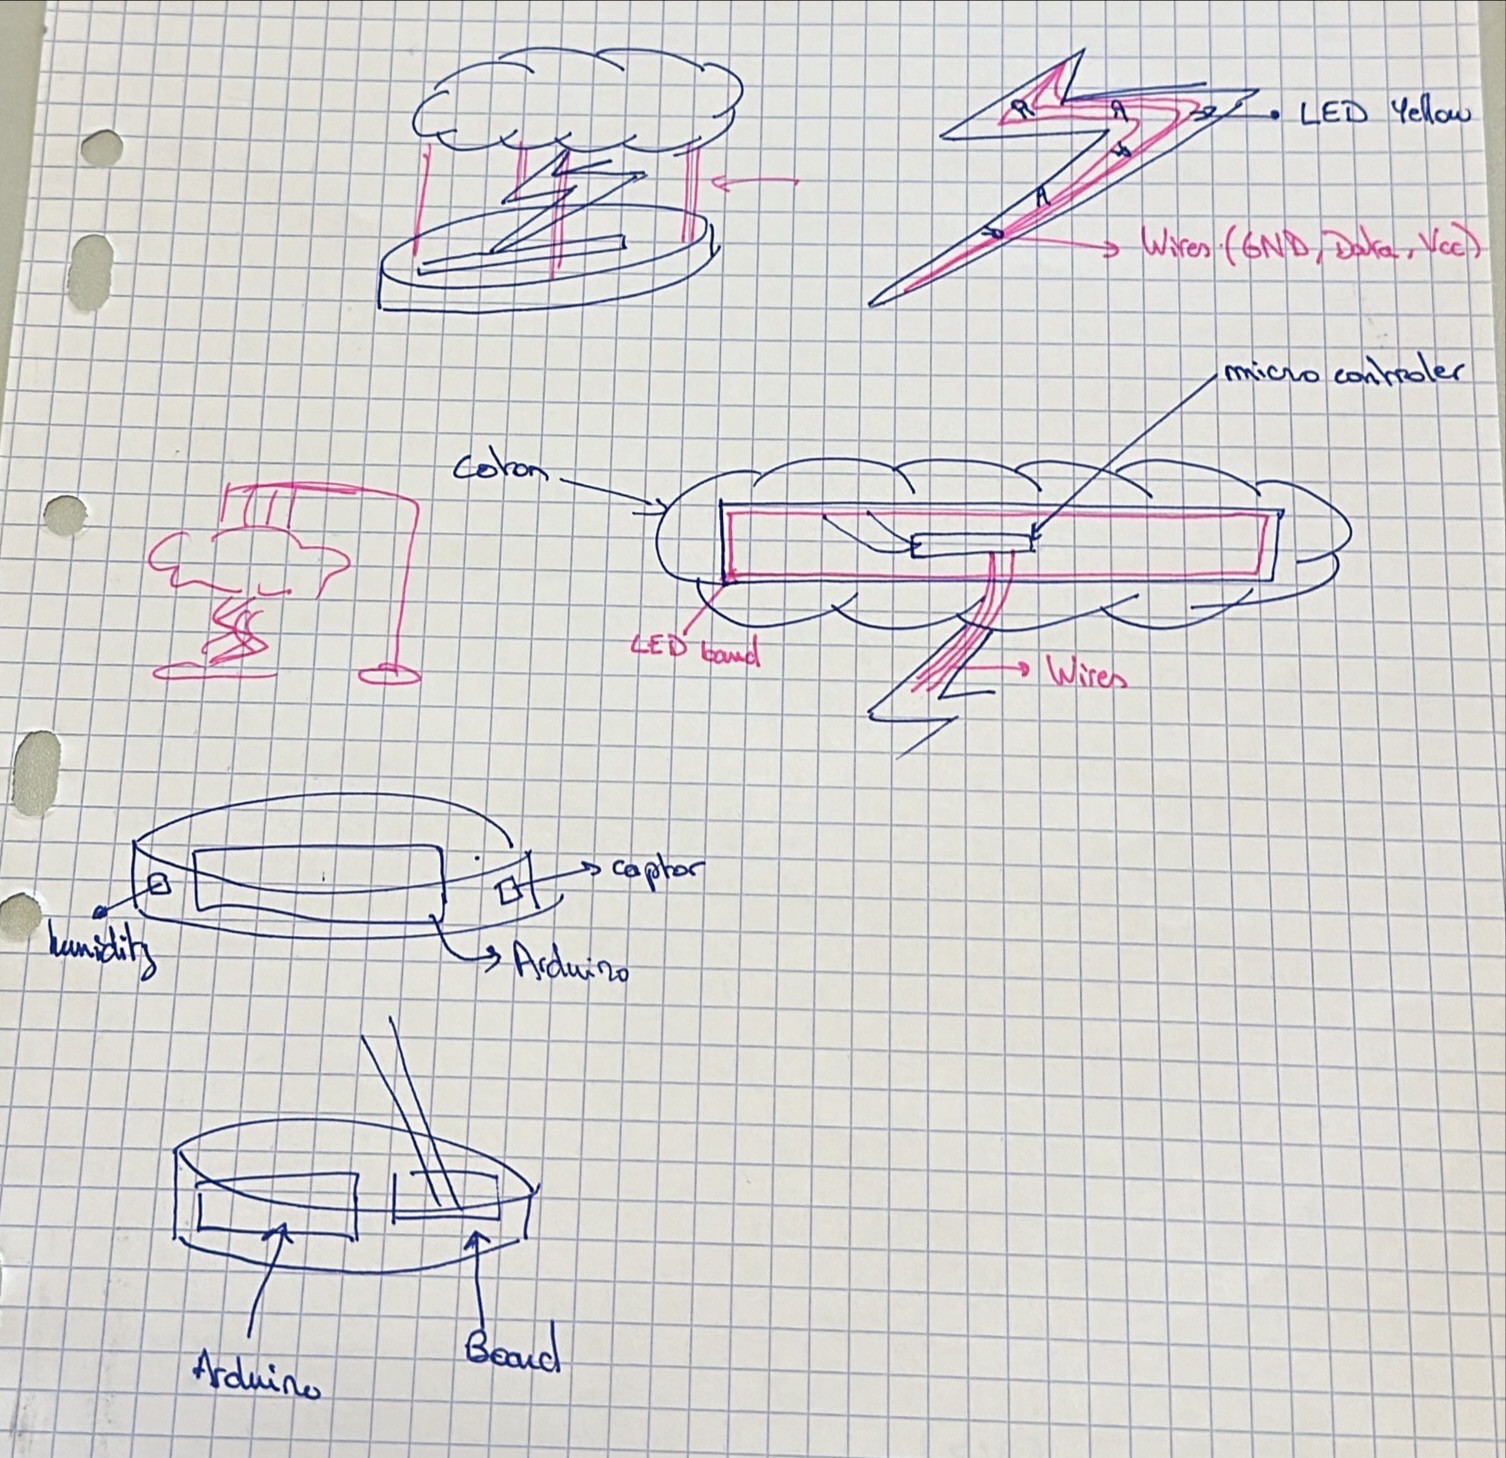
    Our first cardboard is abit to big as our case so we created another and we really precise dimension and measurement for each sensors and other equipments.

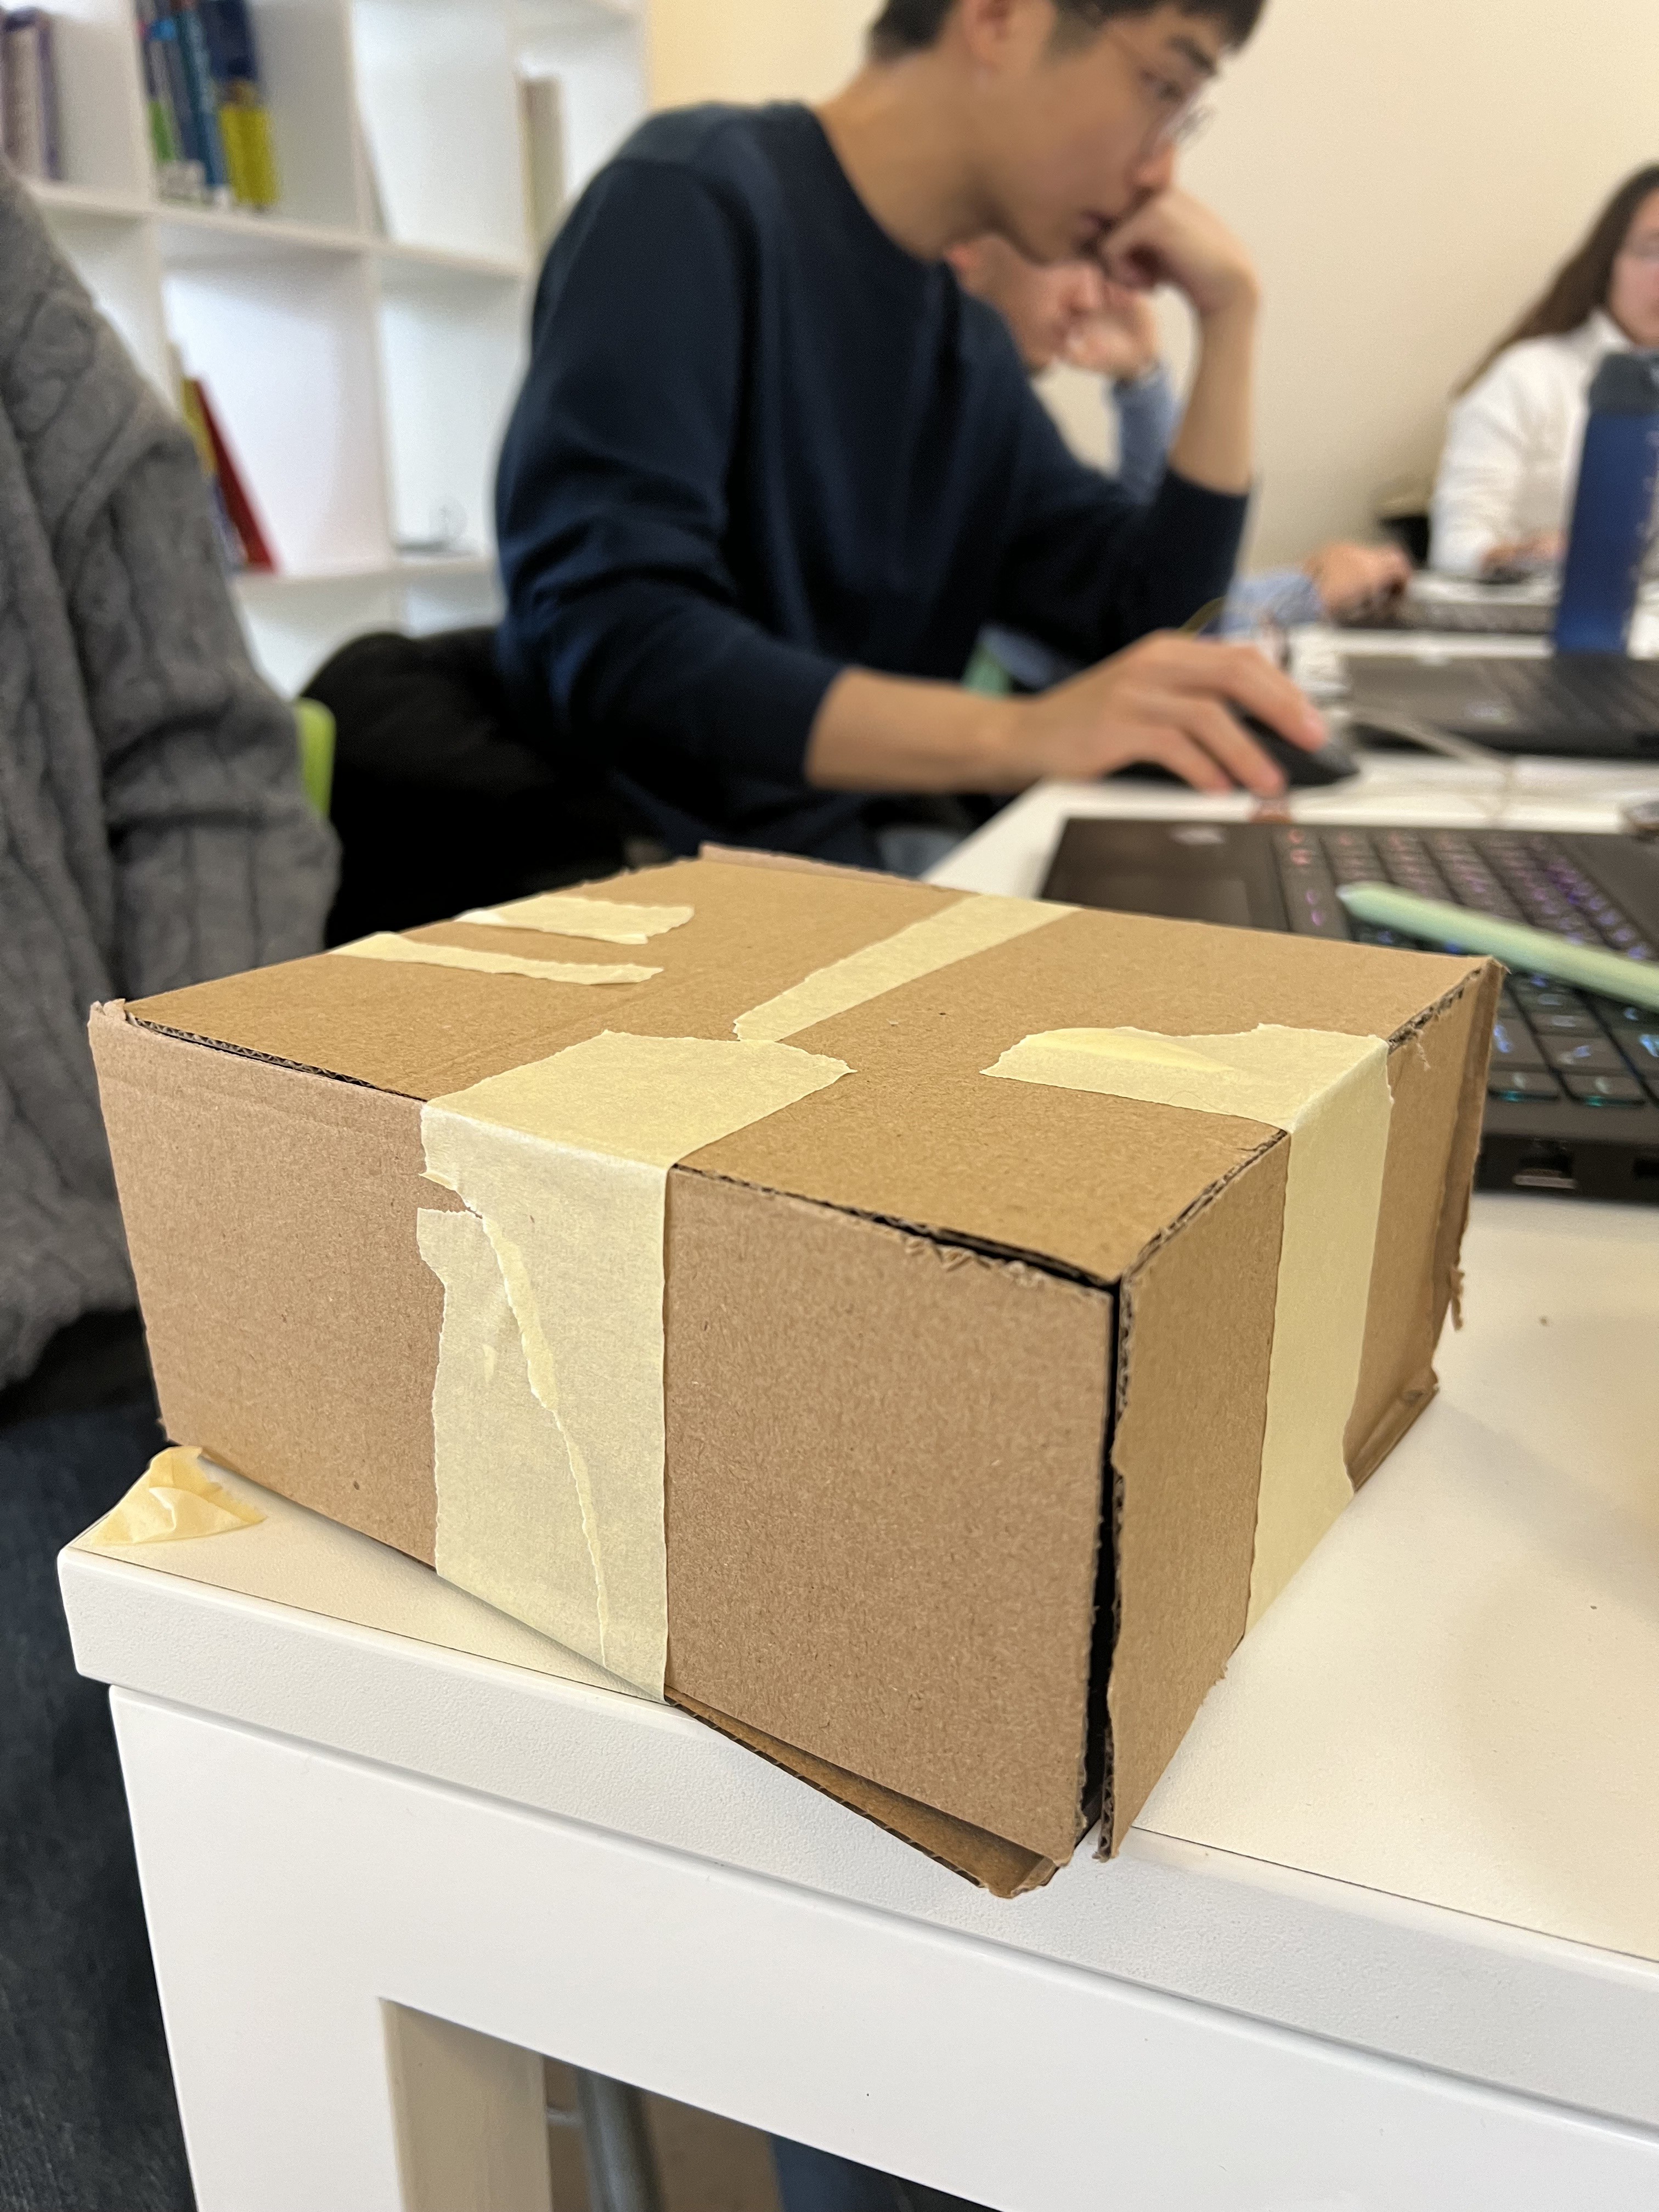
  • Create a case prototype

    jeany.han01/12/2024 at 22:49 0 comments

    We decided to cut cardboard to create our prototype case of our project (as a bottom base where we going to put all our equipments like all the sensors and Arduino board and others. 

  • Introduced to tensegrity structure

    jeany.han01/12/2024 at 22:47 0 comments

    Got introduced and advised by our supervisor to look into this structure and study about it maybe it can help us to develop a new idea. So then it really help us to develop our idea to a whole new place. We drafted some ideas onto it and focus on how we going to make it look like as an final product.

  • Move on to the new plan

    jeany.han01/12/2024 at 22:44 0 comments

    Since our experiment with electromagnetic energy is not working, we started to move on the plan B. We wanted to keep some original ideas and integrated into the new idea.

  • Come up to the idea of wanting to do a levitating lamp

    jeany.han01/12/2024 at 22:37 0 comments

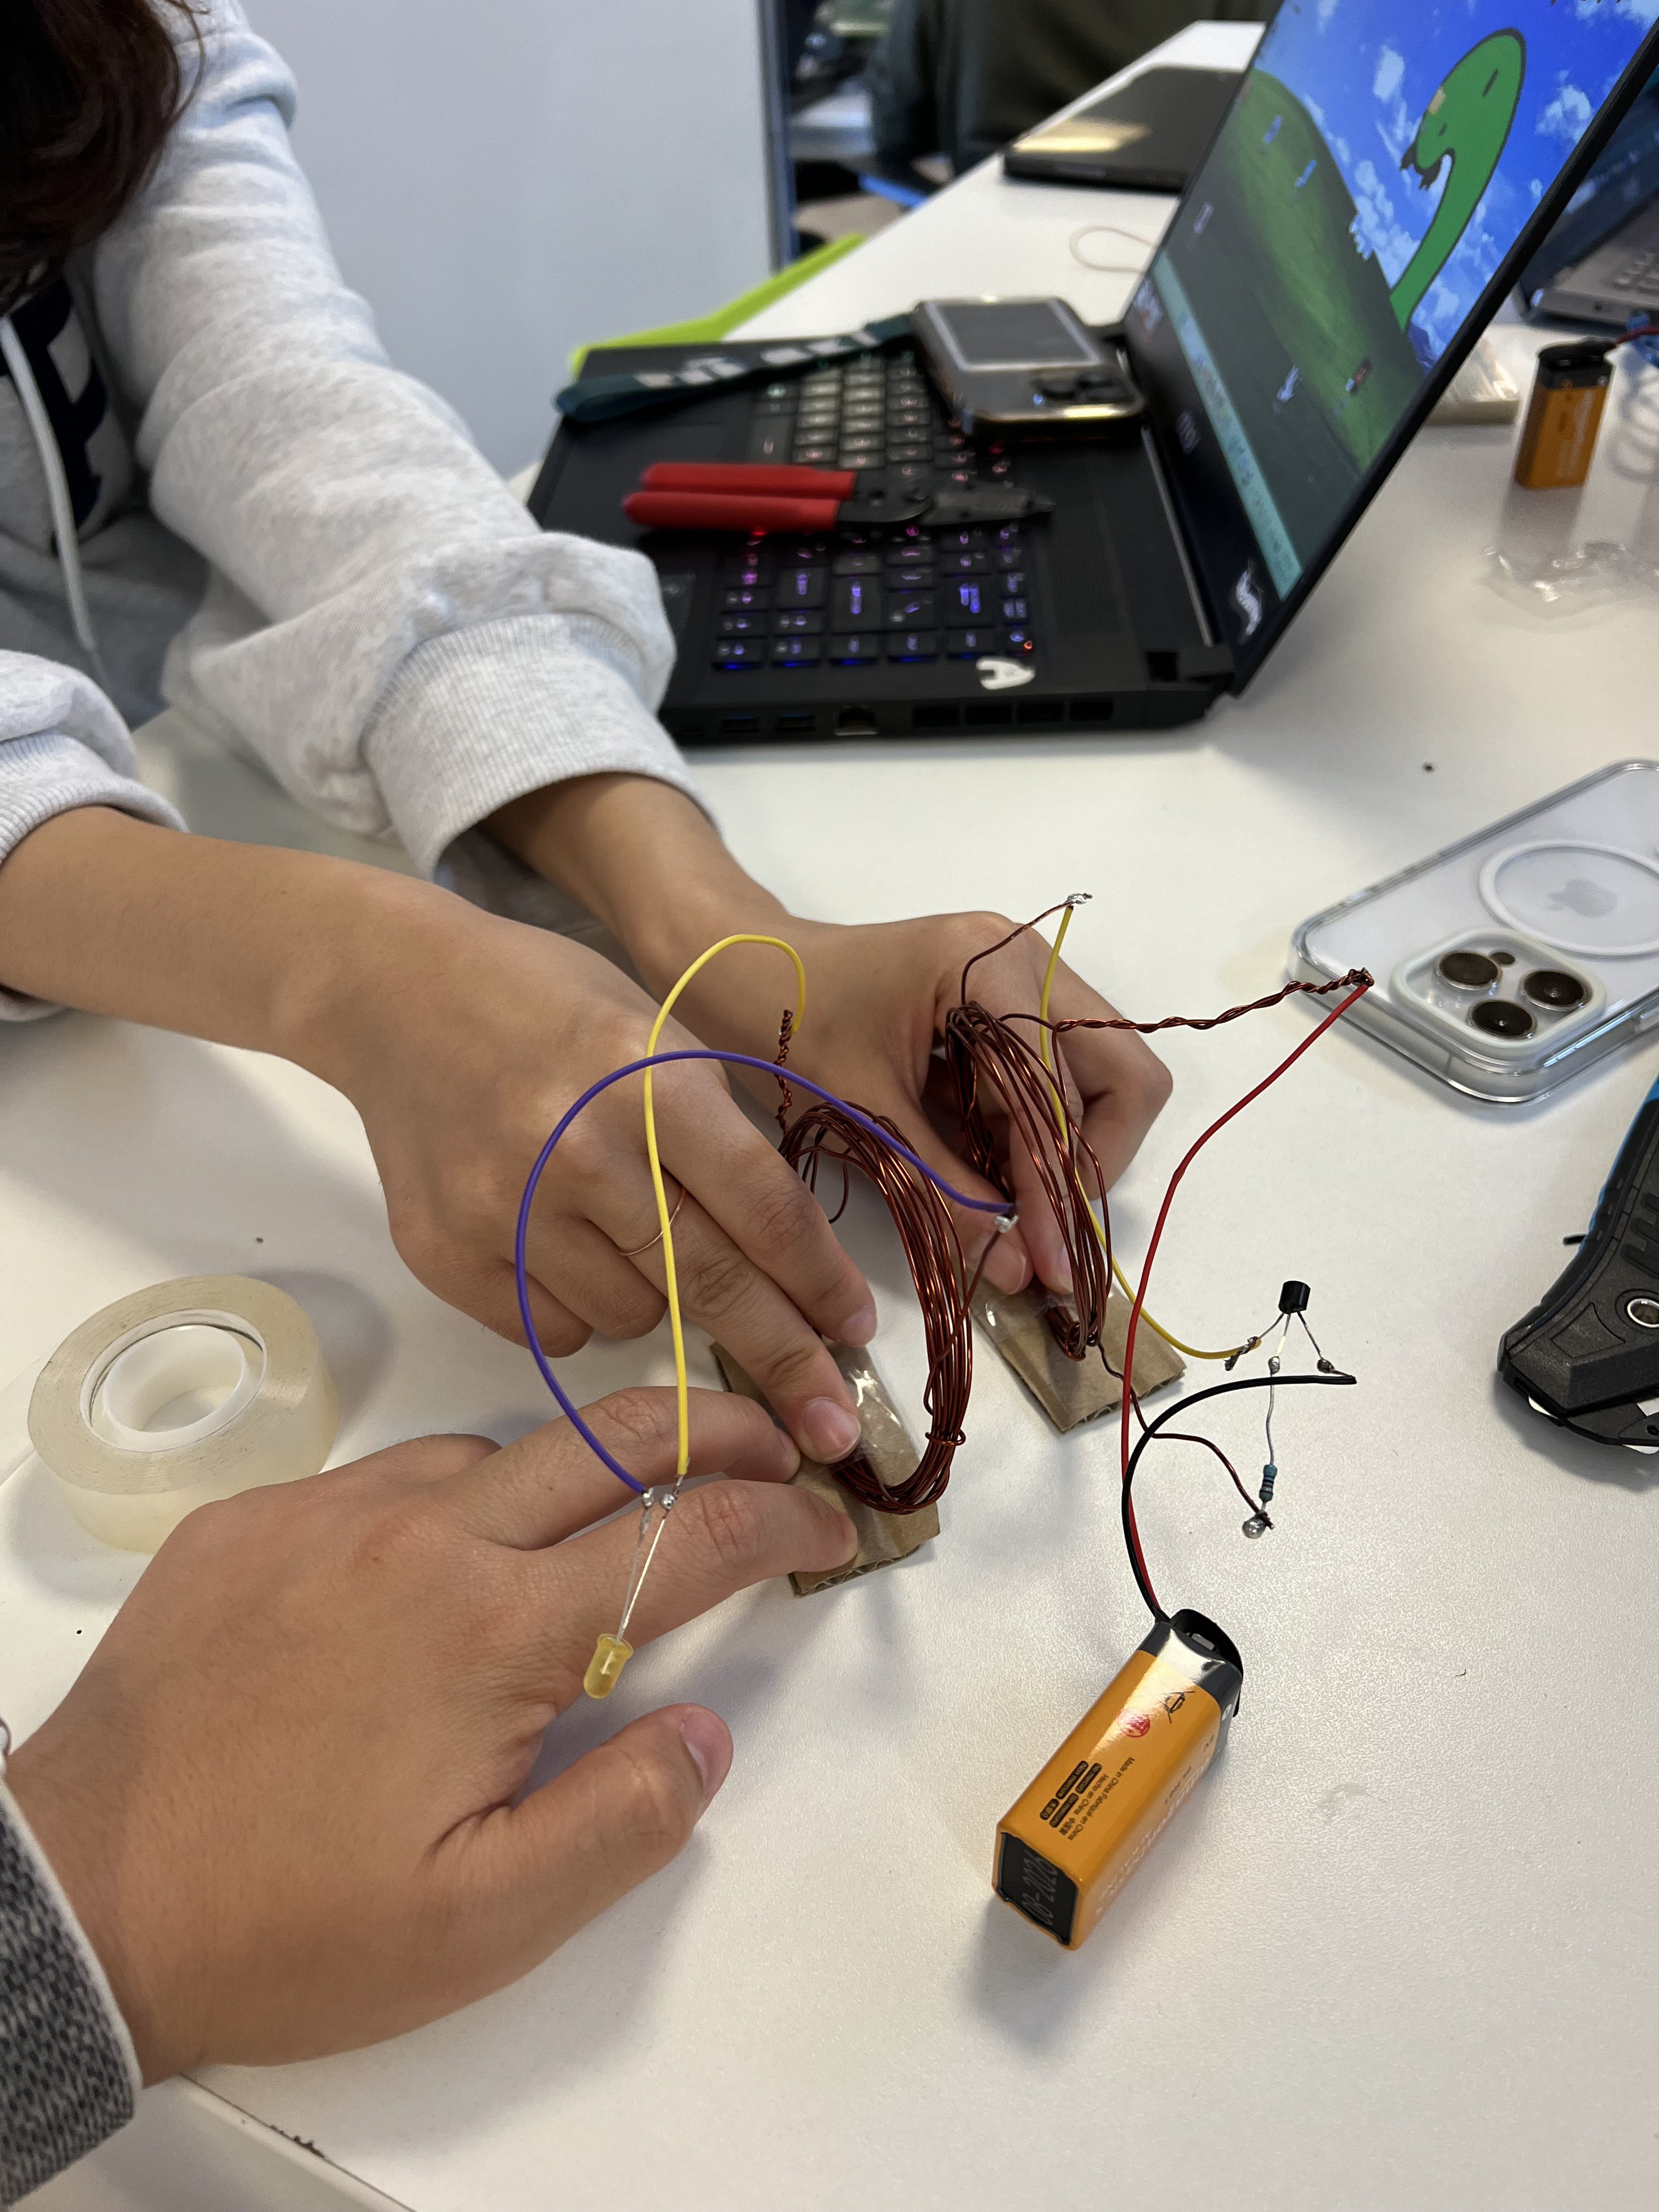
    Because to make it levitate we need to use and experiment with electromagnetic energy and we search up in YouTube tutorial for it.

View all 11 project logs

  • 1
    Download and install Arduino software

    It required for install and edit the code onto the arduino board. 

  • 2
    Go to the site below to find the box shape that fit for our project.

    https://www.festi.info/boxes.py/BasedBox

    Also we need to adjust the dimension according to what we need and laser cut it.

  • 3
    Use Fusion360 for the 3D printed material

    We used it to design our thunderbolt with a hollow in the thunder shape.

View all 16 instructions

Enjoy this project?

Share

Discussions

Similar Projects

Does this project spark your interest?

Become a member to follow this project and never miss any updates