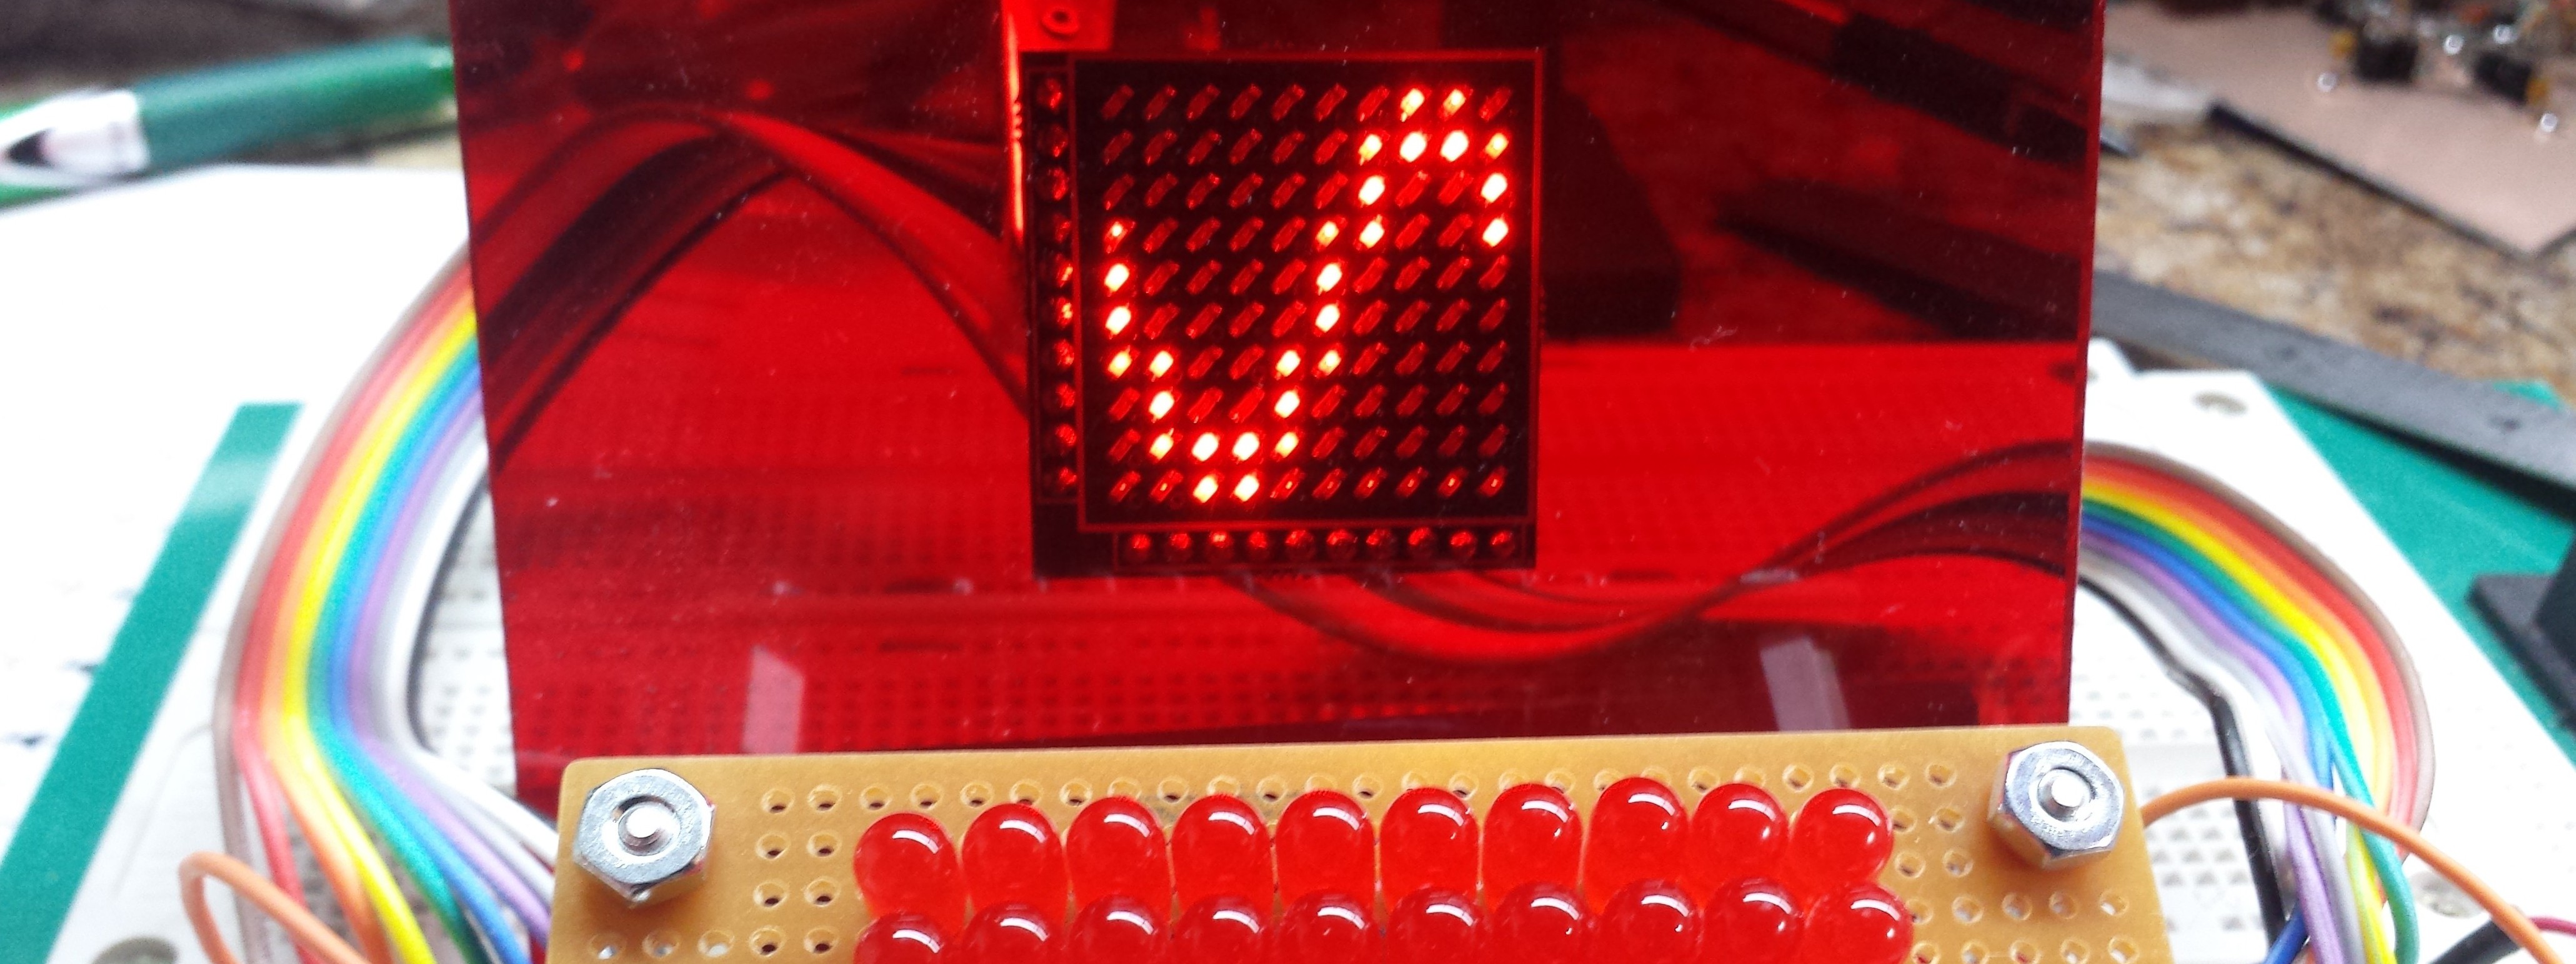
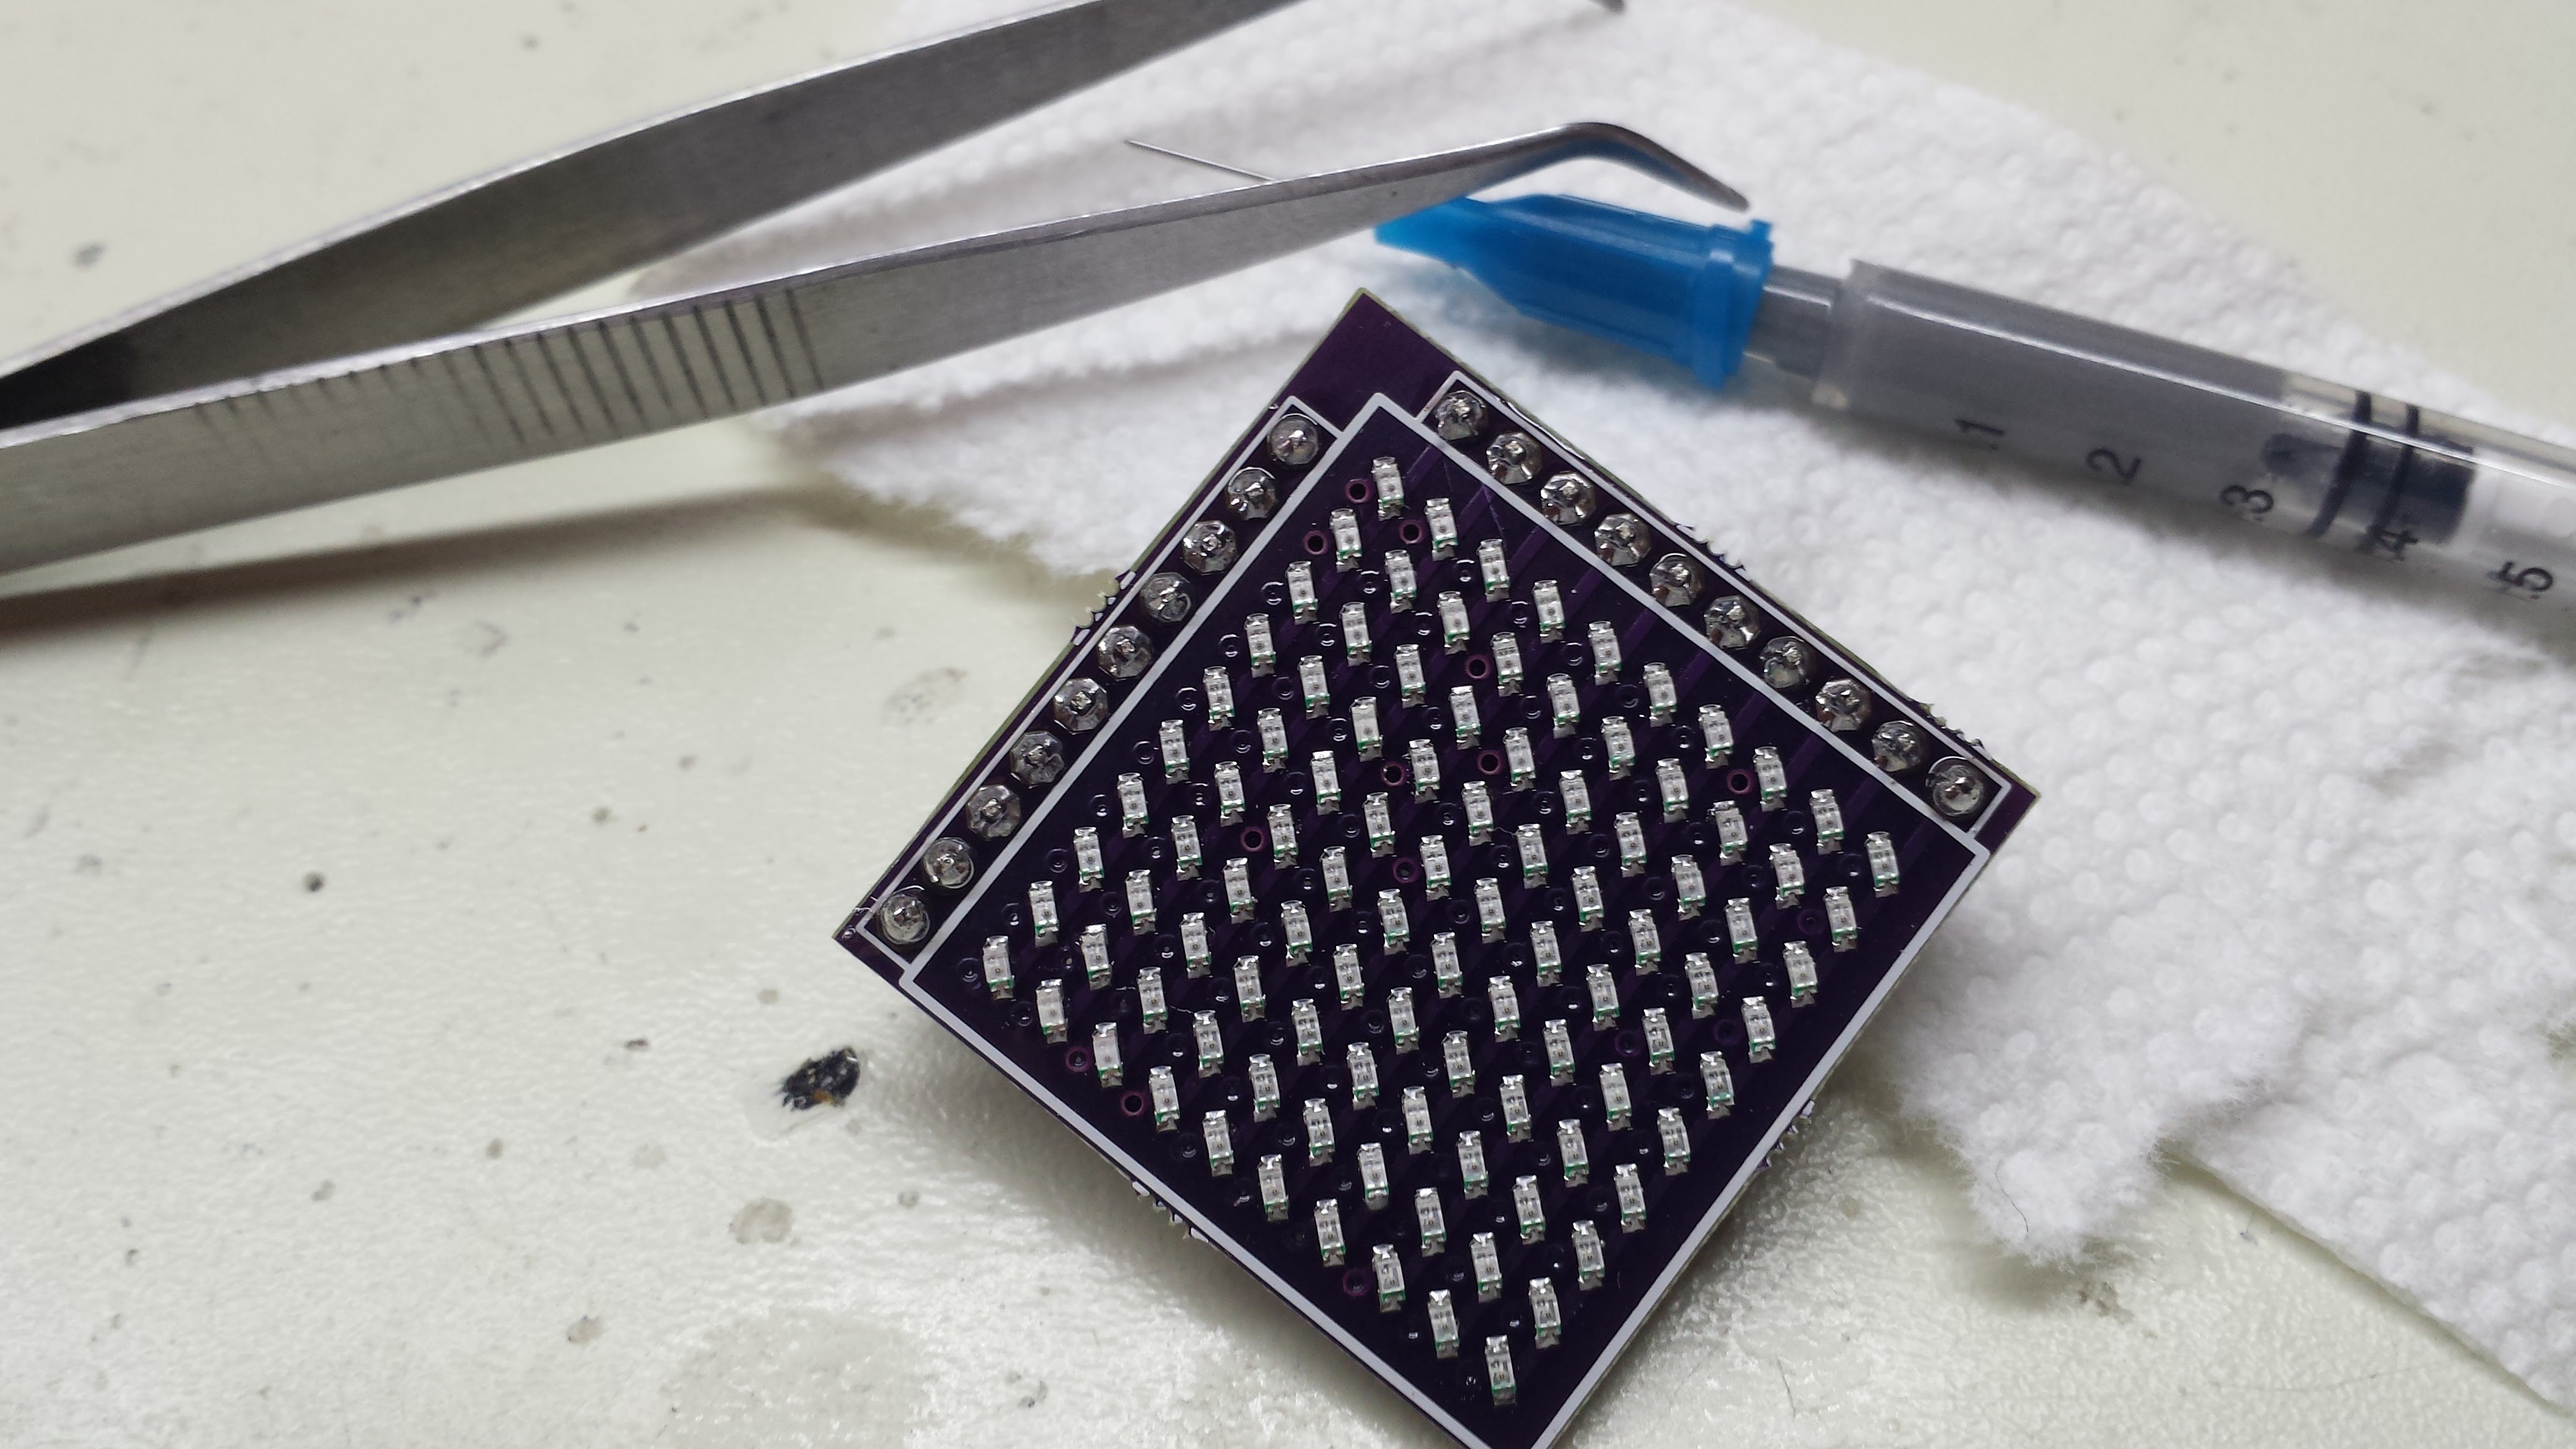
The PCBs arrived today from OSH Park, and I had the opportunity to populate one after dinner.

It works, and it is smaller, but there were two things I don't like about this display. First is the extra space between LEDs; I think it's distracting. I am considering:
- Decreasing the space between LEDs (which may make it more difficult to populate the board
- 3D printing some kind of bezel to be used with a sheet of ground glass (or equivalent) to fake closely-packed pixels
I also found the contrast lacking, so I added a sheet of standard #2423 colored acrylic, which I've used on other projects for LED contrast filters. This helps a lot.
I've seen some really tiny LED matrix displays on hackaday.io - how close can people get the LEDs reliably? Mine are on 100 mil centers.
I applied solder paste with a 1 ml syringe and 25 ga blunt needle, then placed the LEDs with tweezers. The whole assembly took less than an hour, including several magnified checks before skillet reflowing the board to make sure none were on backwards. I applied a little too much paste, which caused some solder balls to form, so I spent ten minutes prying them out of the flux with a dental pick.

As with the previous display, it looks better in motion:
I have two boards left, and some green and UV LEDs to try. I picked up cans of fluorescent green and glow-in-the-dark spray paint to experiment with making a phosphor screen for the UV LEDs. I'd really like to see if I can simulate the feel of an analog scope screen.
I also figured that I probably couldn't do a 32x32 array in one sitting. 100 was easy enough, and I might be able to do 200 at once with minimal fatigue, but then I'd have to take a break. I'll probably paste-and-populate 200 or so each day for a week or so, then reflow the board. That might be difficult to do with a stencil, but with a syringe, I can take a while to get all the parts on there.
 Ted Yapo
Discussions
Become a Hackaday.io Member
Create an account to leave a comment. Already have an account? Log In.
Very exciting!
Are you sure? yes | no
There should be a DIY kit for this circuit !
This is much better ("educational") than all those µC-based designs...
Are you sure? yes | no
Yeah, I think the original 3914/4017 design (with a more robust trigger and decent front-end) could make a nice kit. It's limited - I see a maximum frequency for the 3914 at around 50 kHz - but simple enough to understand all the pieces. A 10x10 5mm LED PCB would be easy enough for a beginner to solder.
I'm not in the kit business, but I think someone could come up with a nice educational design.
Personally, I want to see many more LEDs and much greater bandwidth. I might try a 16x32 screen next, then ultimately 32x56.
Are you sure? yes | no
> 32x56
Why 56 and not 48 or 64?
Are you sure? yes | no
@jaromir.sukuba I wanted close to 16x9 aspect ratio so it would look like all the other screens in the lab :-) There's no particular reason, otherwise. Any multiple of 8 on the horizontal is easy enough with '164 shift registers.
Are you sure? yes | no